How to Build DIY Camper Van Cabinets - 12 Easy Steps to Professional Face Frames

How to Build DIY Camper Van Cabinets - 12 Easy Steps to Professional Face Frames

diy+campervan+custom+cabinets

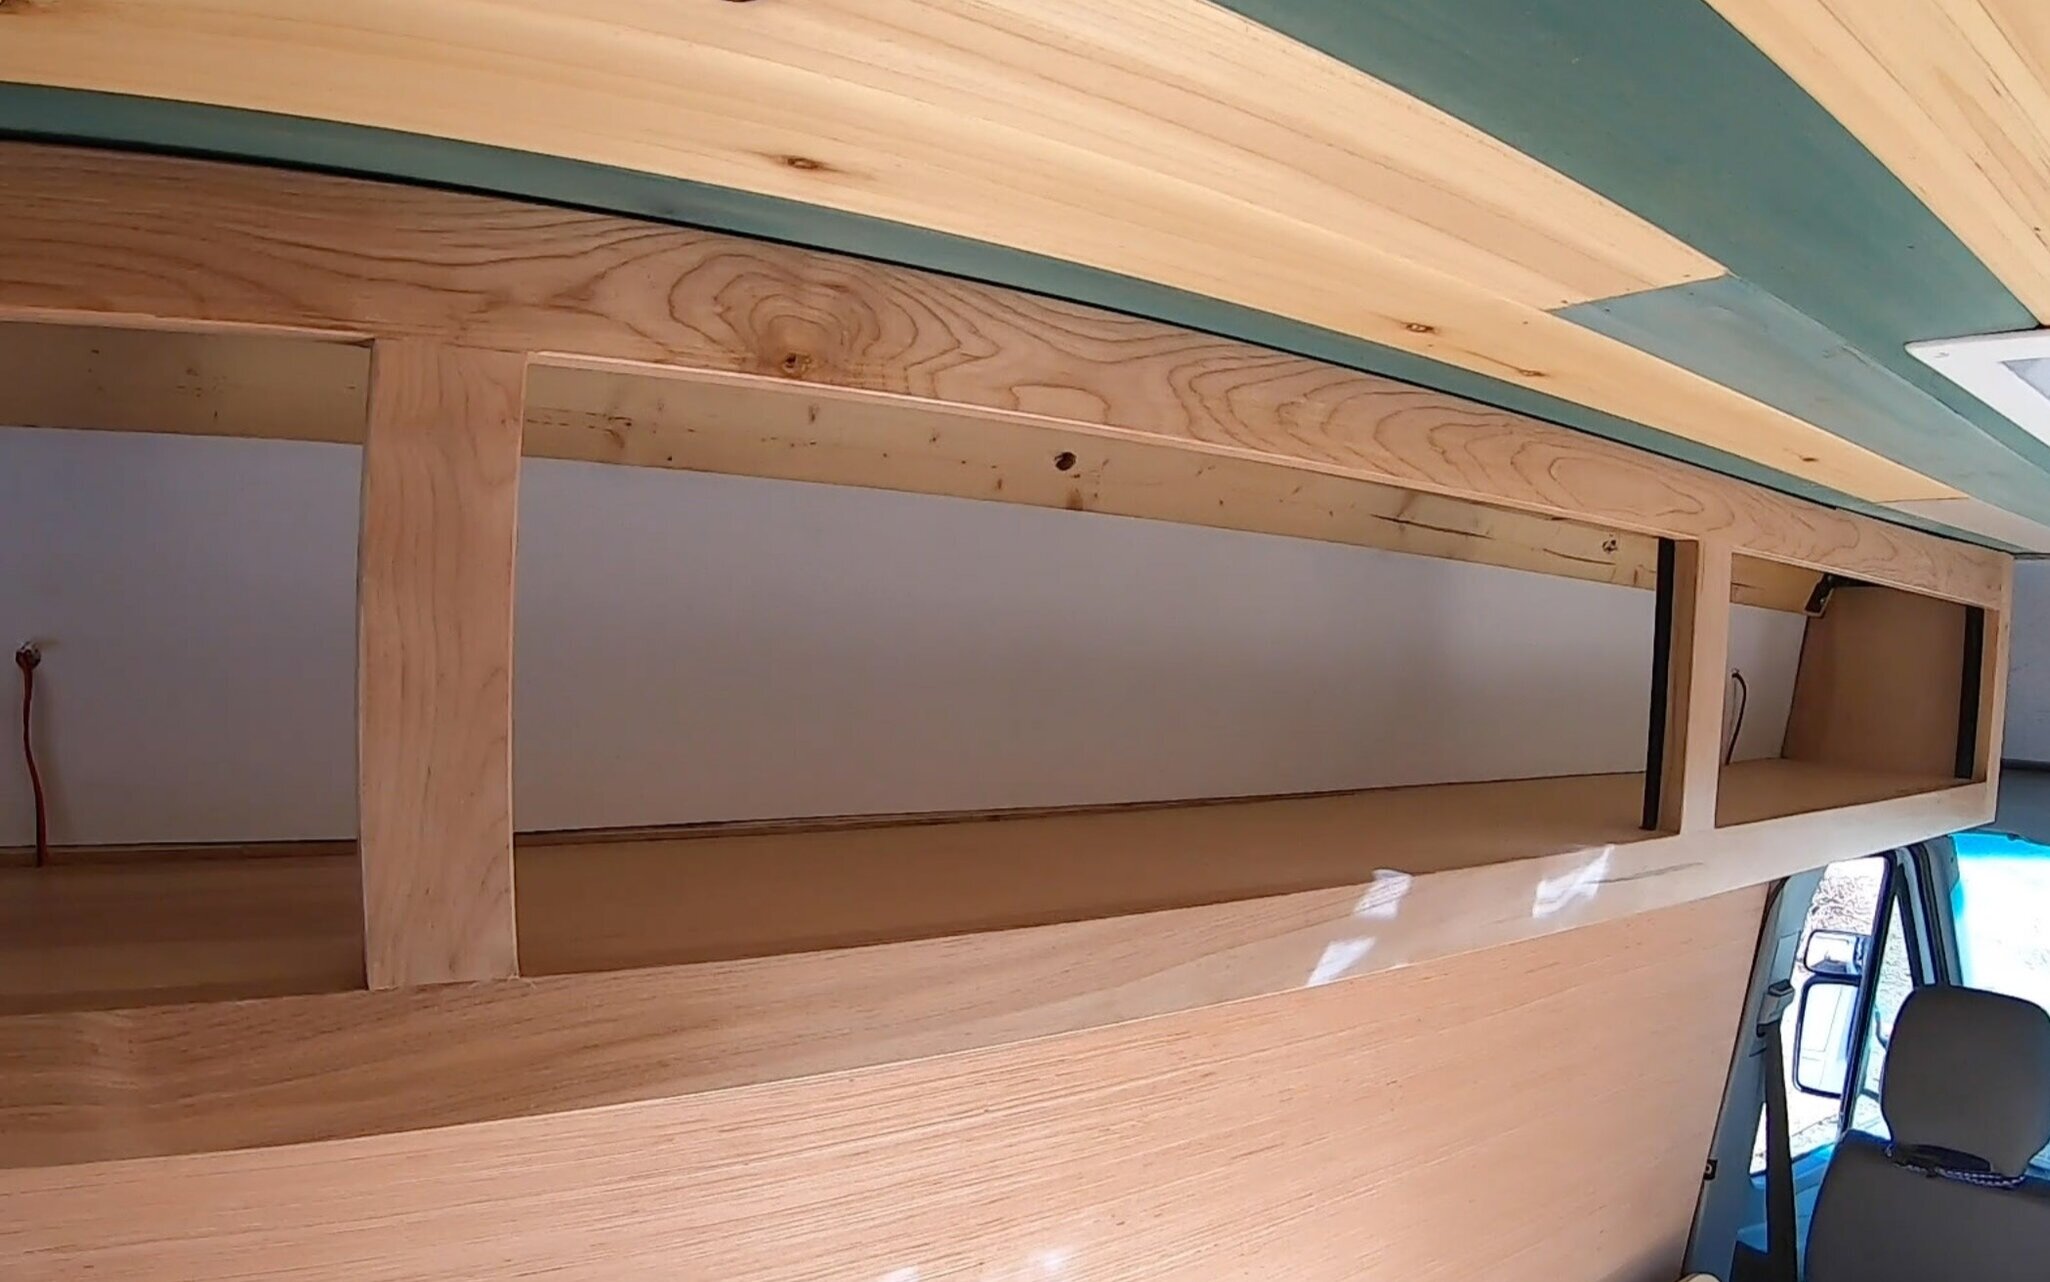
Now it’s time to give your cabinets a professional look.  Face frames will take your cabinets to a whole new level.  We highly recommend building face frames they really help clean up the cabinets.  Also they will make a world of difference when attaching your door fronts to your cabinets.  

We have a very easy to follow step by step video of how we made our face frames in our last build.  If you are a visual learner this will really help. 

Face fames are a pretty straight forward 12 step process.  You not need but it helps to have the following tools.

Table Saw - https://amzn.to/3ooEvt6

Planer - https://amzn.to/2FWDo2n

Mitre Saw - https://amzn.to/3otJNDU

Belt Sander - https://amzn.to/3om5XYF

Palm Sander - https://amzn.to/35yKF1i

Kreg Jig - https://amzn.to/3dTi9ey

Kreg Screws - https://amzn.to/35ArTGy

Quick Screws - https://www.quickscrews.com/

Router - https://amzn.to/2HAVk3x

Router Bits - https://amzn.to/31HlMiL

Nail Gun - https://amzn.to/2HC2Omh

Step 1 - Layout

DIY camper van upper cabinets how to

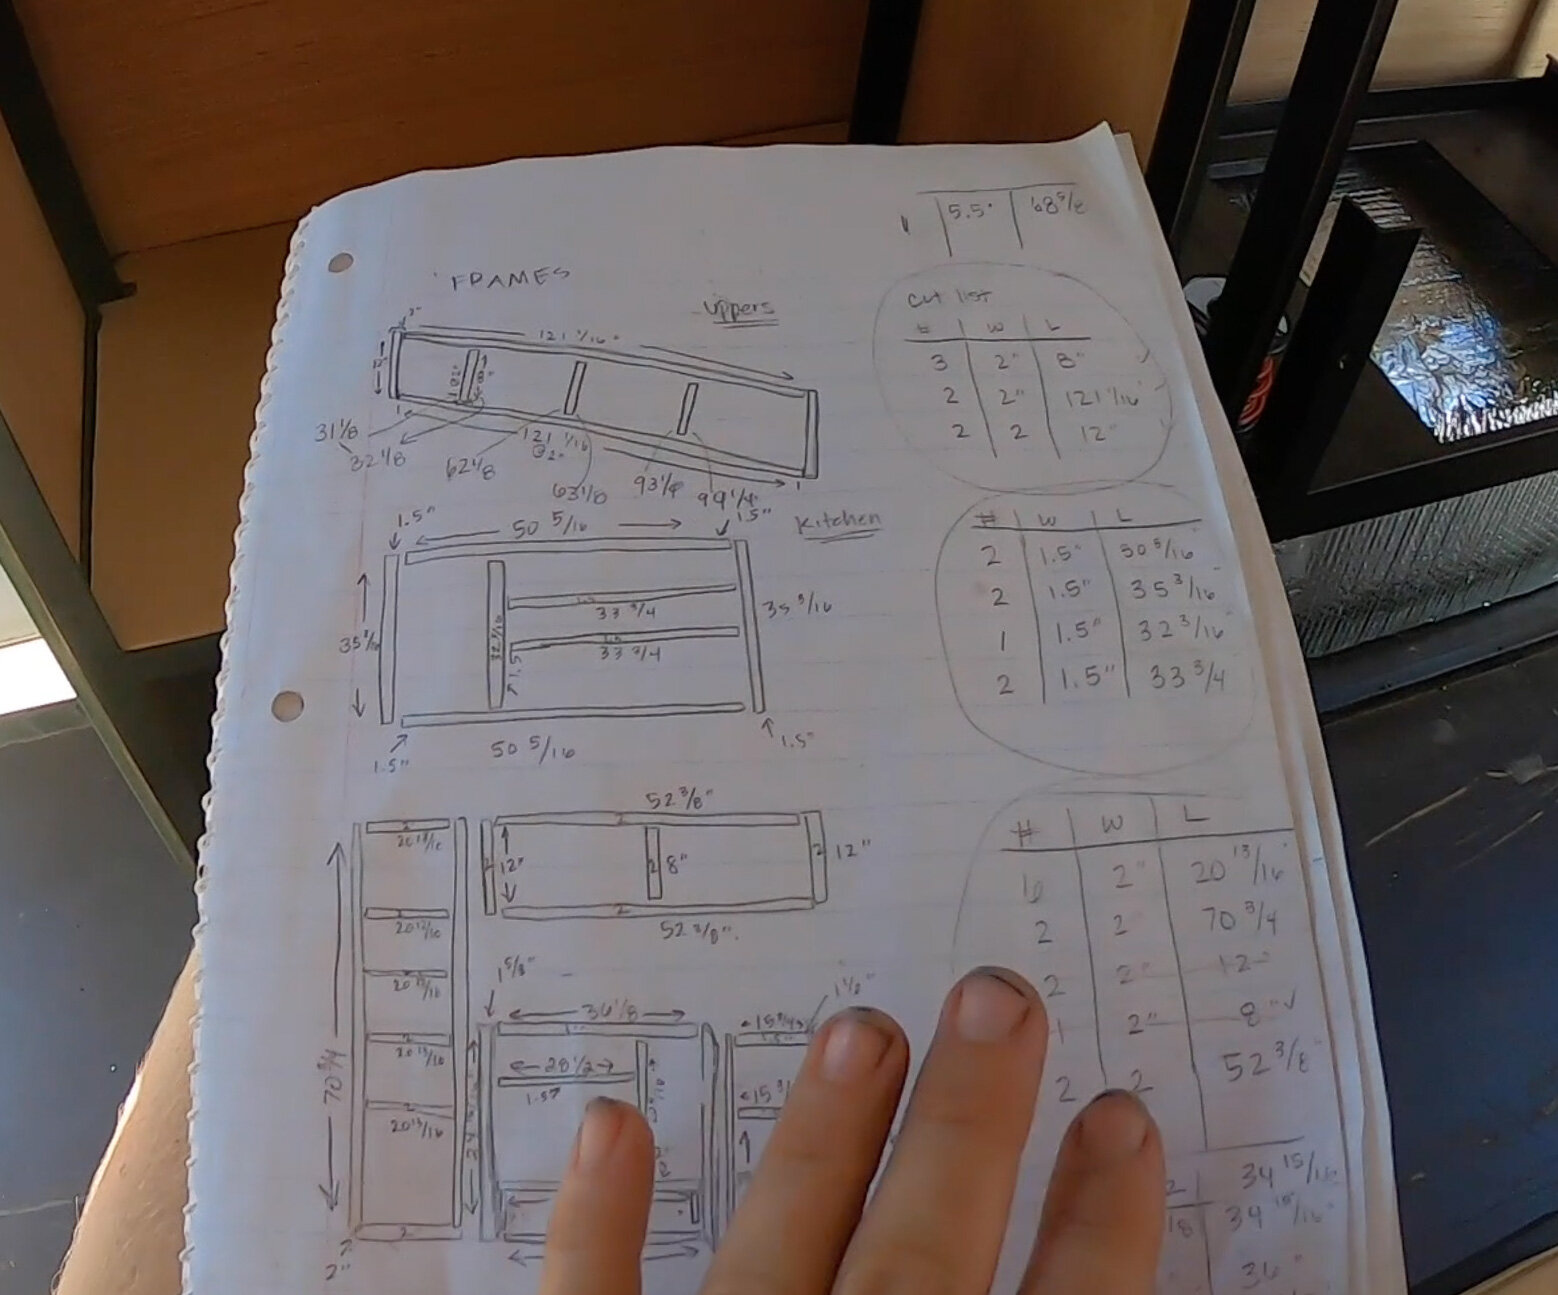
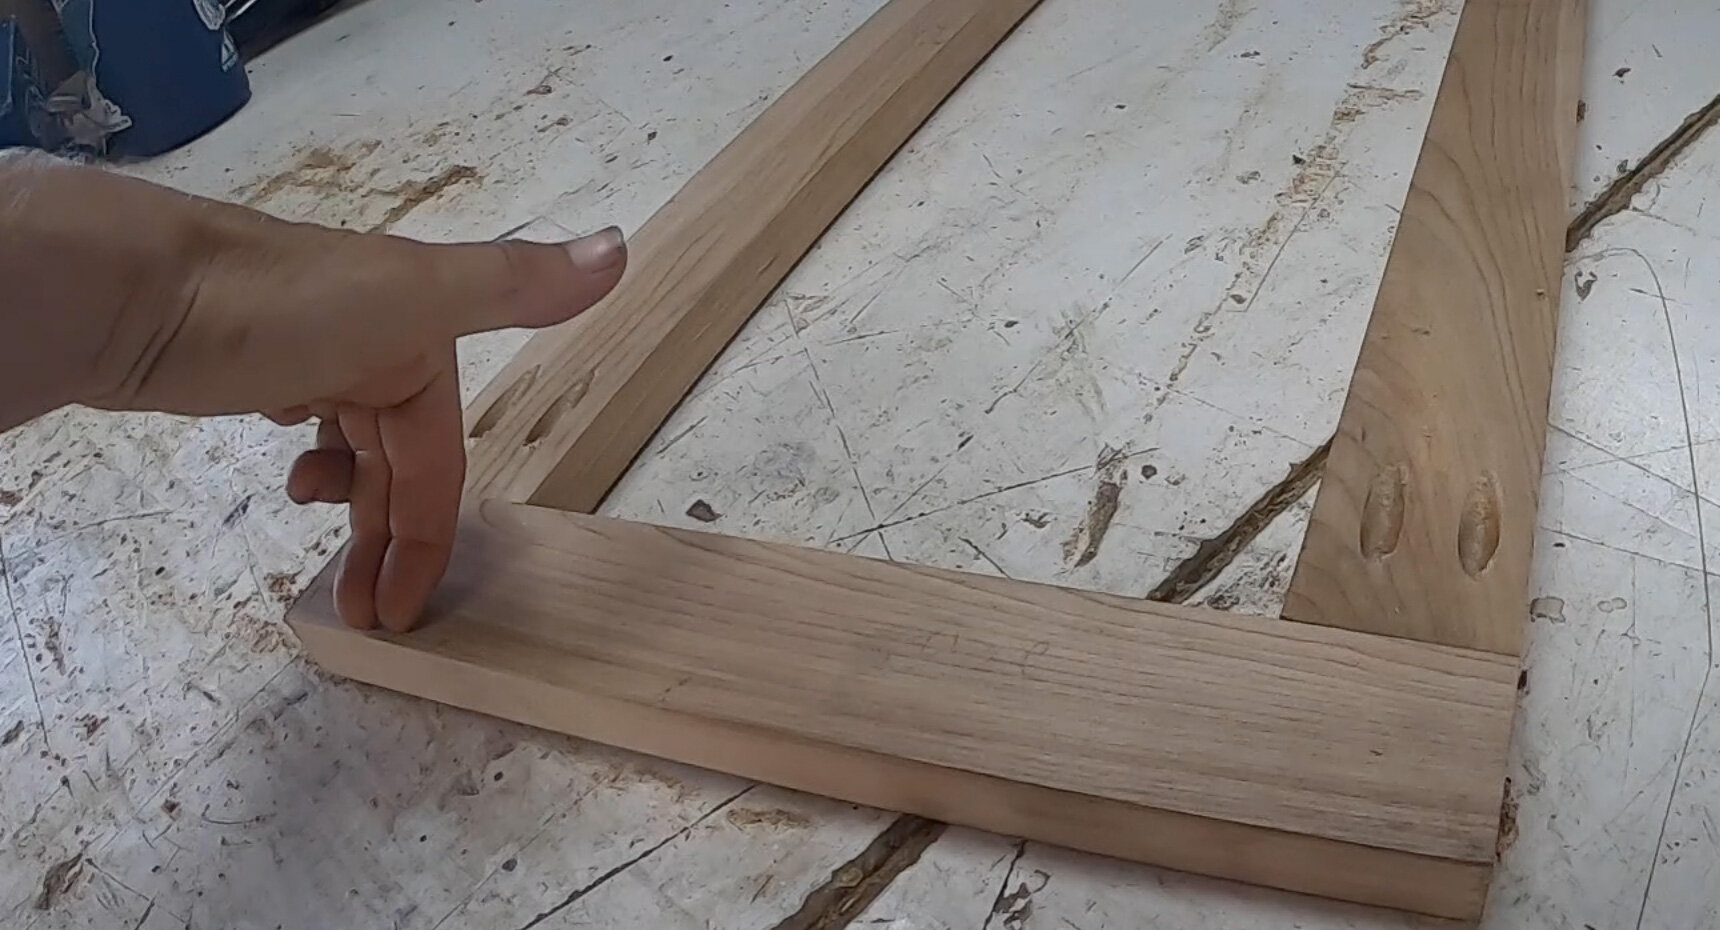
Plan your layout Draw Everything out and take your measurements.  We always recommend drawing your layout ahead of time. Remember when framing your cabinet “Sides go long and sandwich” (refer to the photo below.)  

Face frame have two to them components styles and rails.  Rails are the outer sides of your frames they are always on the outside. They will always run top to bottom and are “sandwiched” with your styles.  Your styles  are pretty much anything in between your rails and will always be sandwiched.  You will need to remember what styles and rails are for steps 6&7

Step 2 - Materials List

how to build DIY Sprinter van cabinets

Now that you have your layout drawn out and all measurements have been taken.  You’ll now be able to make a nice organized materials list so you can see how many boards you will want to buy at your local hardwood supplier.  Since lengths and widths will vary on your frames, this will really help you determine how much supplies to purchase.  

For your material, you’ll want something light but hardy; we recommend birch.  Talk to your local hardwood store and see what they recommend; they are a wealth of information in their field.

Step 3 - Cut All Boards to Width

building custom van cabinets DIY Camper van

Once you’ve purchased your materials, we can start ripping with the table saw all your frame widths.  We highly recommend measuring out and drawing and writing on your boards (with pencil). This will help you down the road when you are cutting to length.  Dani and I like to measure and mark all our frames on the uncut hardwood before running it through the table saw.  Remember to leave a 1/8” of extra material because we will plane 1/16” of an inch off each side to clean the frames up. **Don’t forget to reference your layout when you get confused before making a mistake.**

Step 4 - Plane

diy van conversion

Now that we have all our widths cut and measured, it’s much easier to plane all the boards at once.  ***Remember when cutting your boards to width in step 5 to leave and extra 1/8” on an inch** The planer will help clean up the saw marks and rough edges from the table saw, and mill.  What you want to do here is plane each board down 1/16” of an inch on each side. 

Step 5 - Cut to Length

diy sprinter van build cabinets

Now that you’ve ran all your frames through the planner and your frames are starting to come together.  Now its time to cut all your frames to length.  Since you measured and marked all your boards in step 3 this should be a quick step.  Use a mitre saw cut all your boards to length, don't forget here to account for the saw blade and mind your line so all your exact.  Some times this is a measure 5 times process.  Always refer to your layout when you are confused.  

Step 6 - Kreg Jig

diy sprinter van conversion cabinets

This step is straightforward.  Bust out the Kreg jig and jig all your styles.  You will want to jig two holes on each side of all your styles.  

Step 7 - Build Your Frames

mercedes sprinter camper van conversion diy

Now that you have your frames cut and jigged it’s now time to assemble your frames.  You’ll want to use the keg specific screws we highly recommend Quick Screws.  Once again remember your styles and rails here when putting together your frames.  It helps to measure a center line where your style will be attached on all your rails.  Also we recommend using a wood glue like to help keep all the junctions very secure. 

Step 8 - Router All Edges

how to build cabinets in your van

The frames are assembled and looking amazing!  Now you’ll want to take a router to al the edges to not only give them a clean look but also to prevent splinters and sharp edges (they can be very sharp!).  We just plane around the outside edges and it really helps clean up the small imperfections.  

Step 9 - Belt Sand

how to build cabinets for your van

Now lets get those frames smooth as a babies bottom.  You will want to sand just the front of the frames.  We will take care of the sides next step.  You will now belt sand all your styles first then go back and and sand your rails to eliminate any cross grain scratches that may have occurred while sanding the styles. 

Step 10 - Palm Sand

building sprinter van cabinets

Now get your palm sander and hit all the sides and get them nice and smooth on the outsides and inside of the frame.  No need to sand the backsides of the frames.  

Step 11 - Paint

van conversion diy cabinets

Now you’ll want to paint or stain your frames. We highly recommend if you got with a stain to put  a sealer coat on top of the stain to keep it from getting dirty.  

Step 12 - Install 

How to make van cabinets diy sprinter conversion-

Once the paint is dry, this can take days; it’s time to install those bad boys onto your cabinet frames.  If you went with wooden cabinet frames, we recommend using a pin nailer and wood glue to attach the face frames to your cabinets.  If you went with metal cabinets,  we recommend attaching them from the back with quick screws.  Make sure your hole is pre-drilled in your metal beforehand.  Now take a few steps back, high five yourself or your partner, and be proud of what you’ve accomplished.   

Building a Sofa Bed in Your Van Conversion

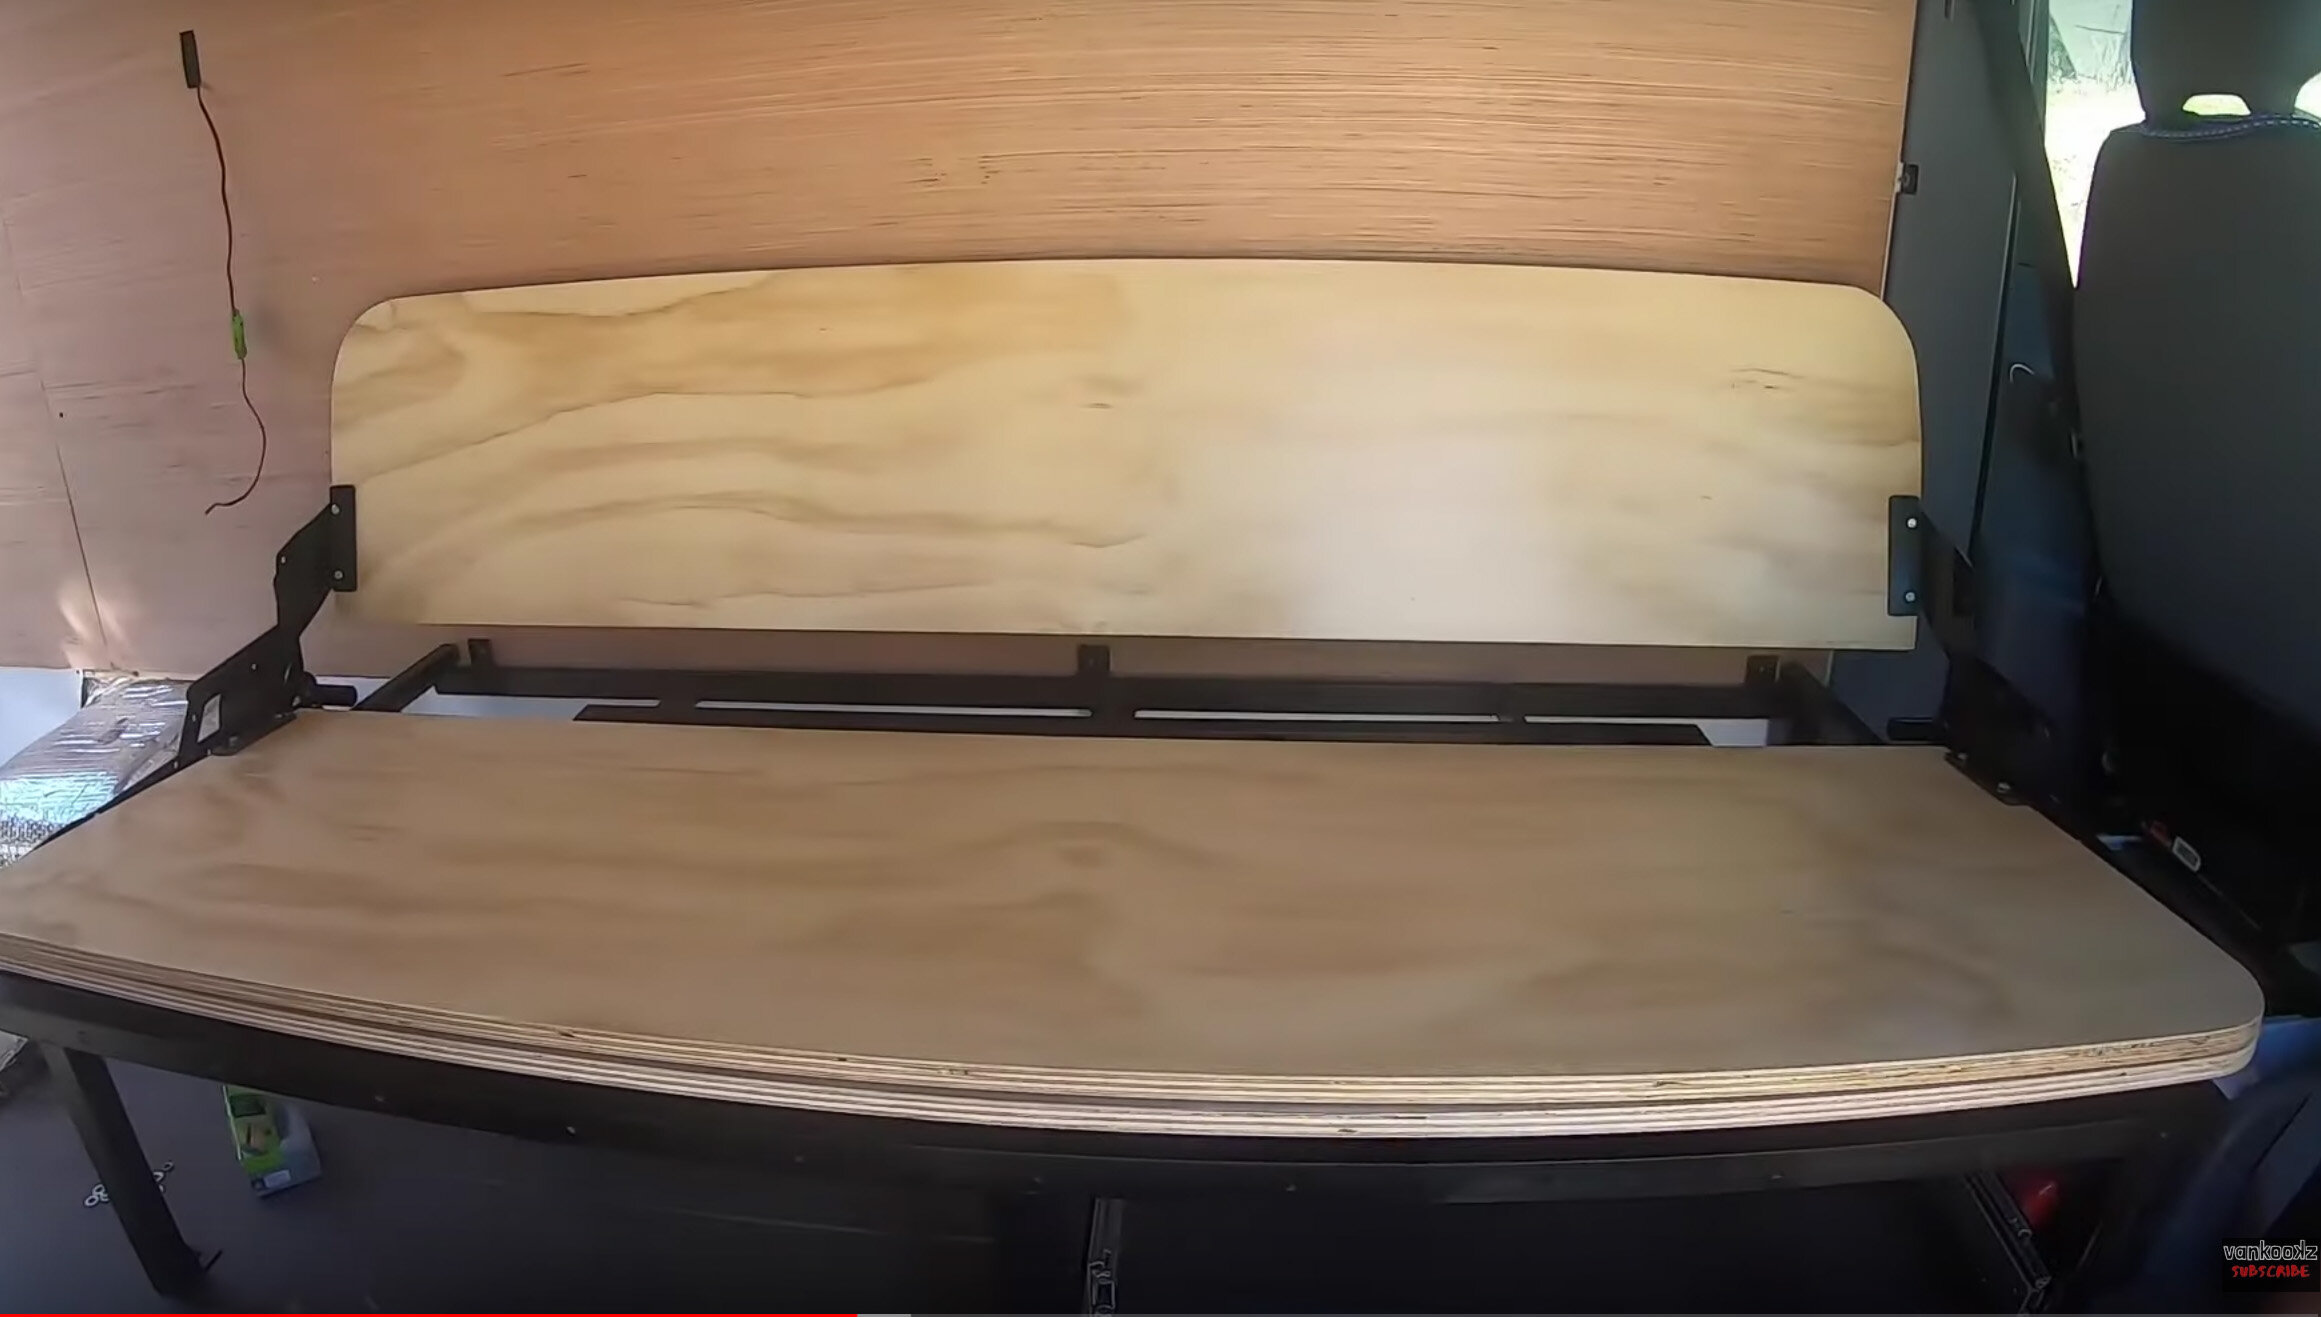
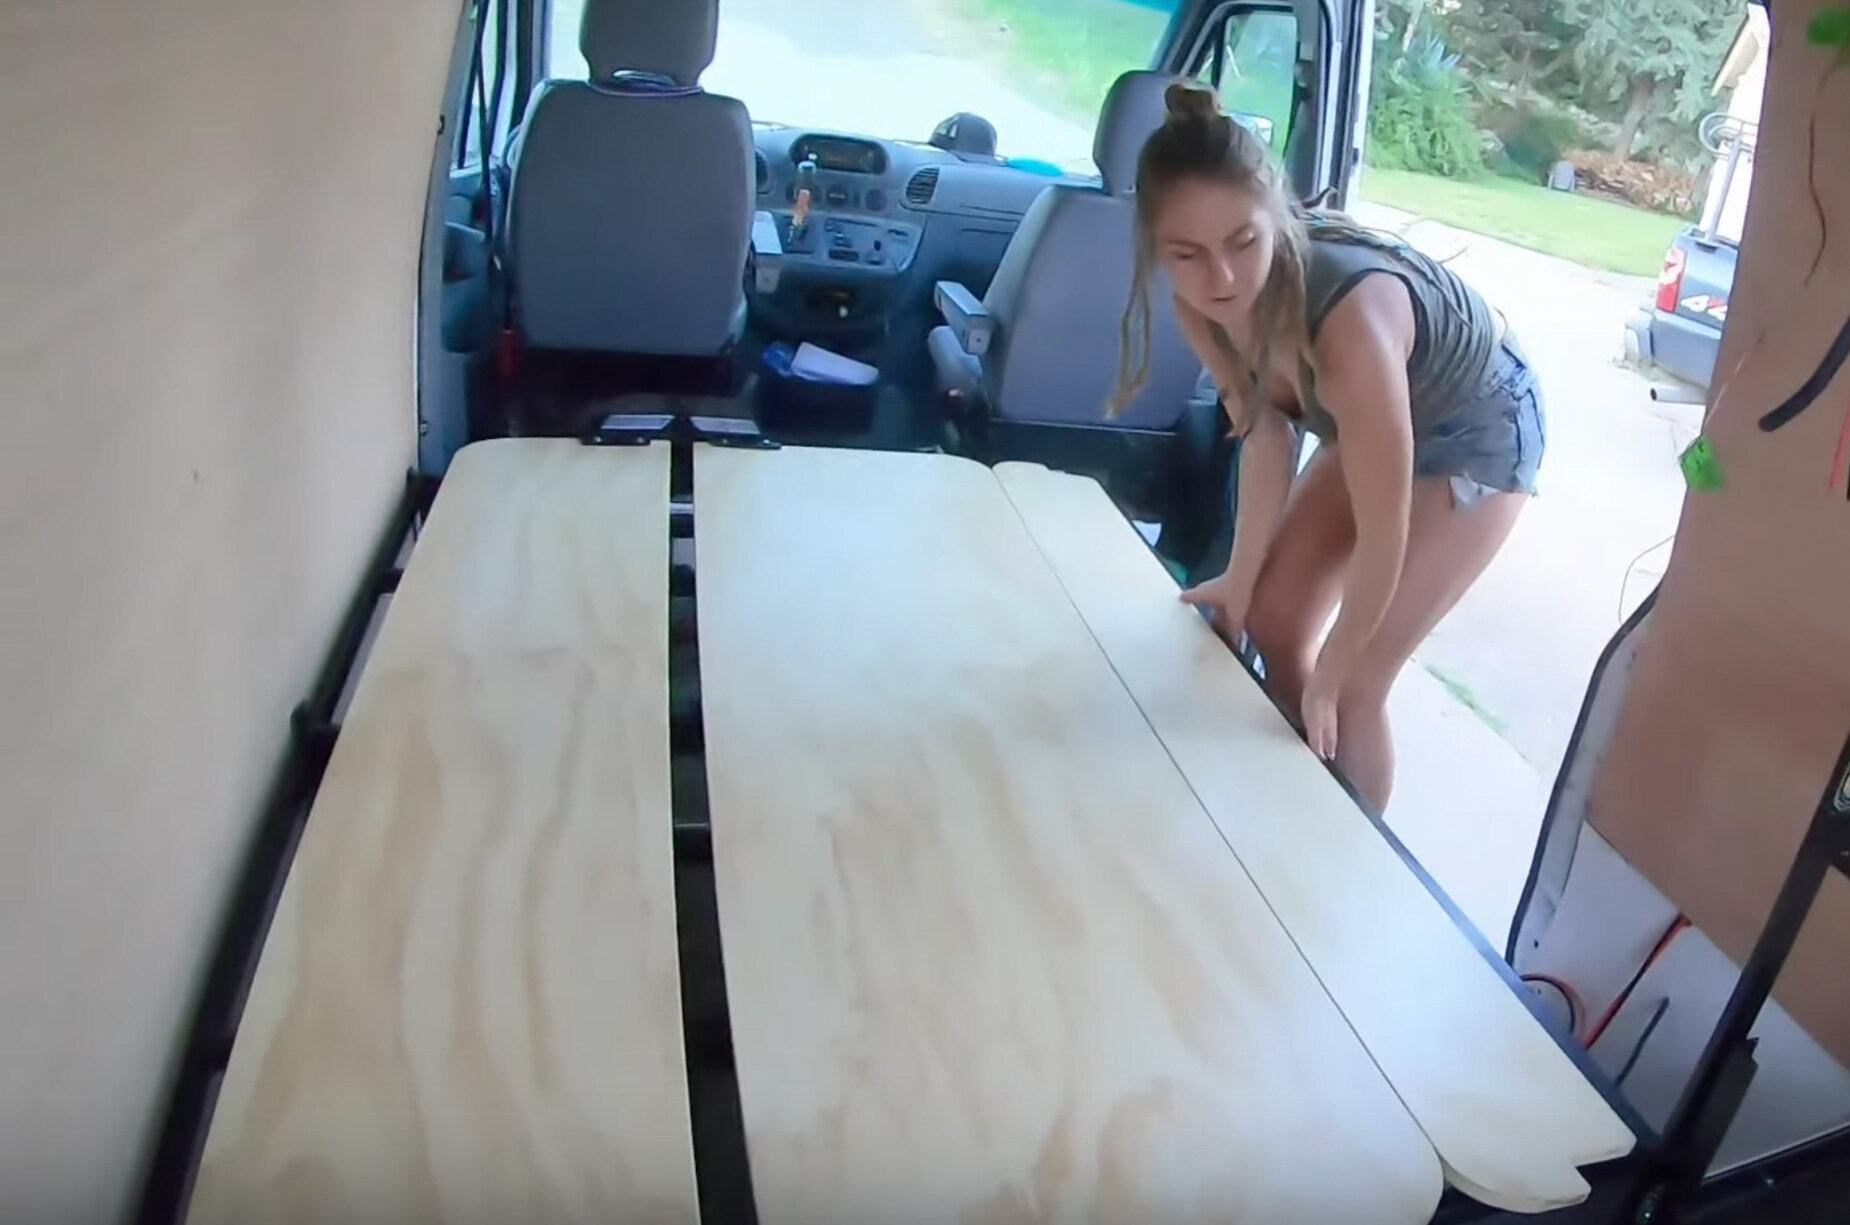
As per any tiny space, you will need some type of multifunctional furniture in your new home.  Our most complex task was designing a couch that could also be a full size bed and still have ample drawer storage underneath.  

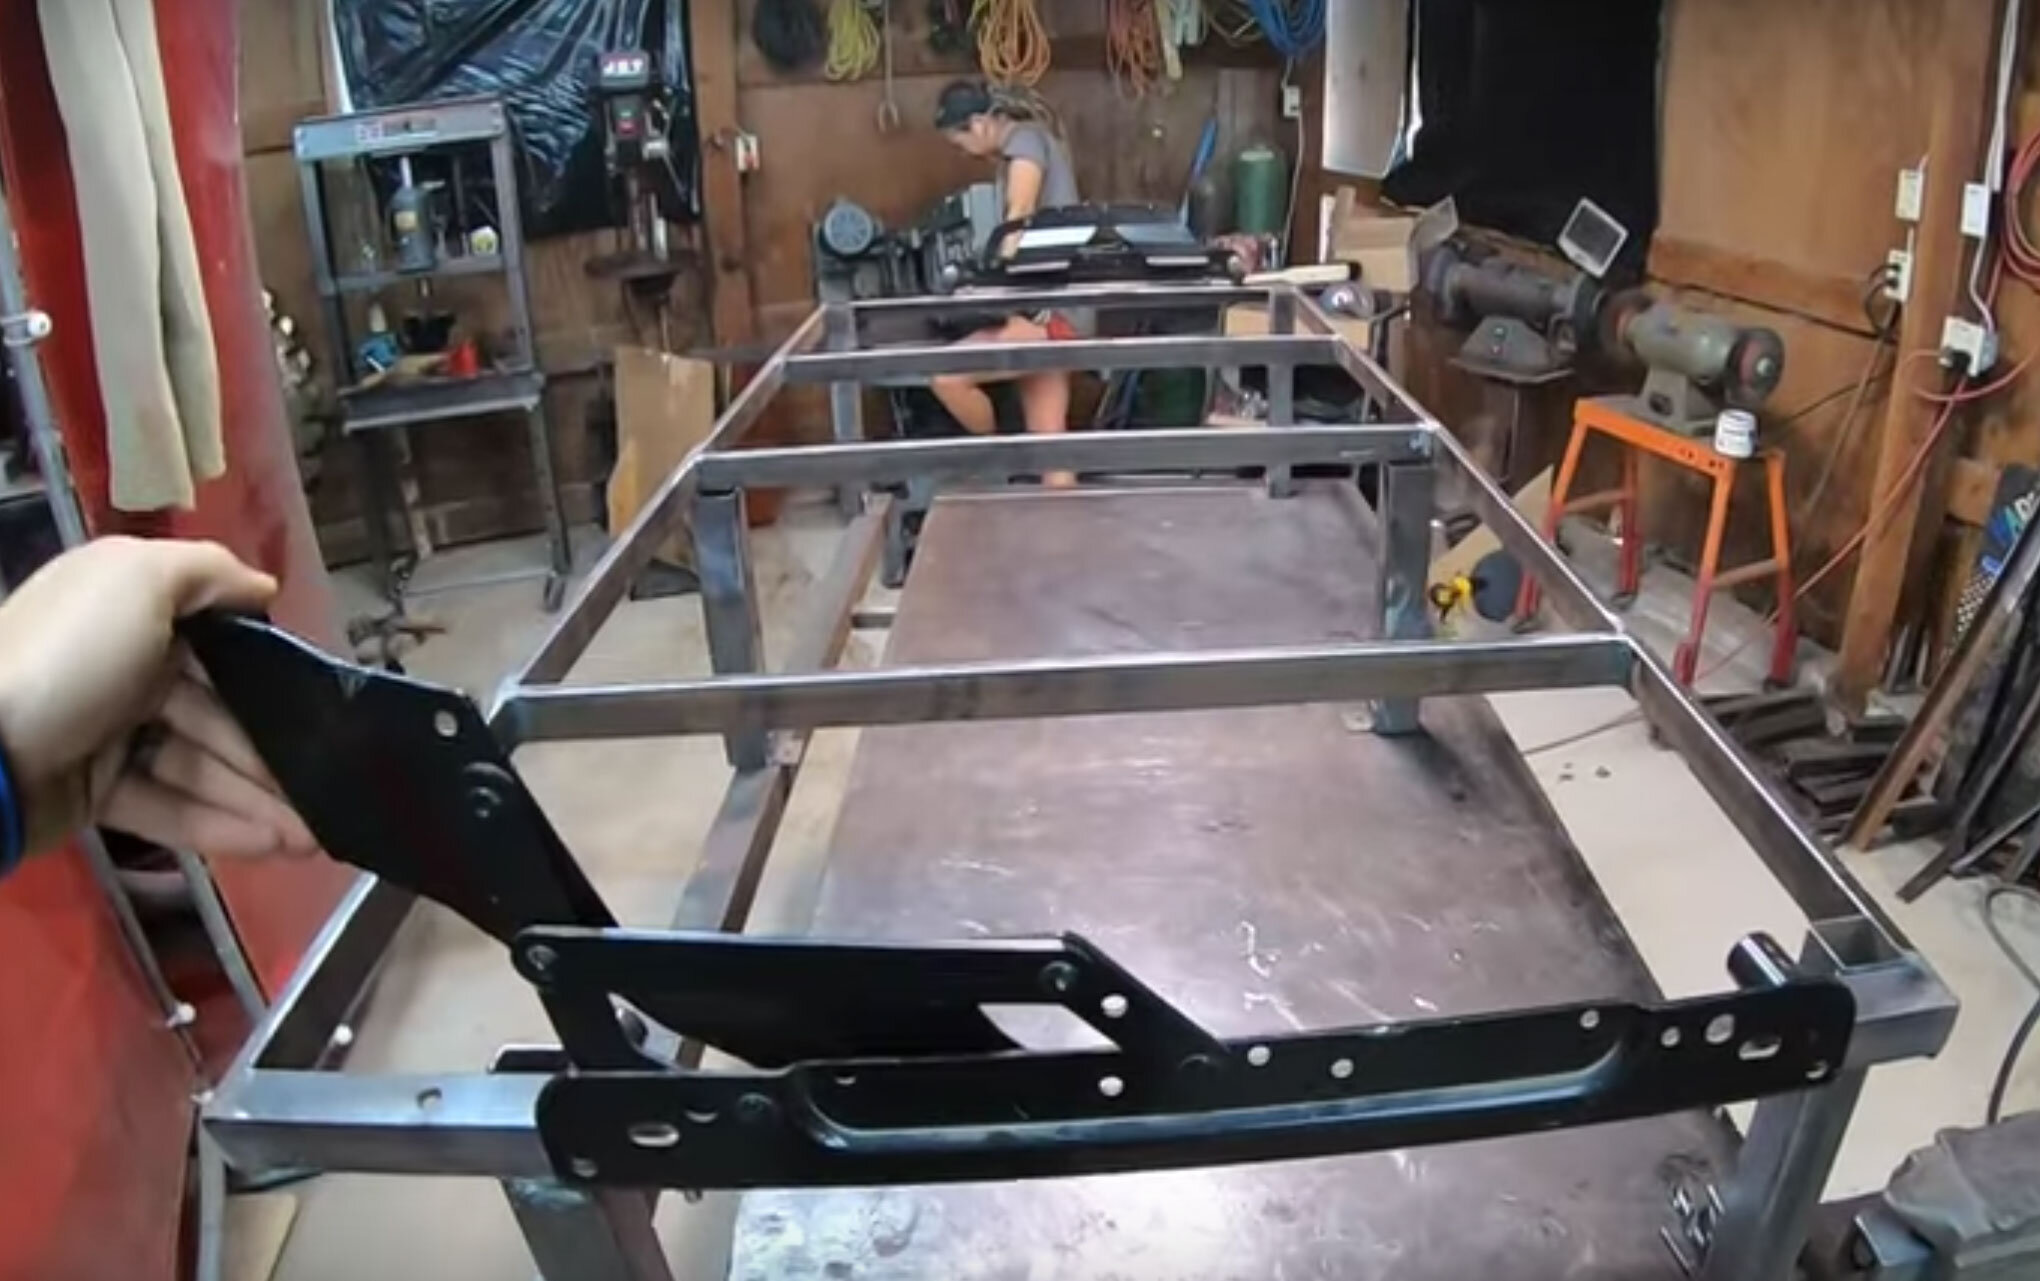
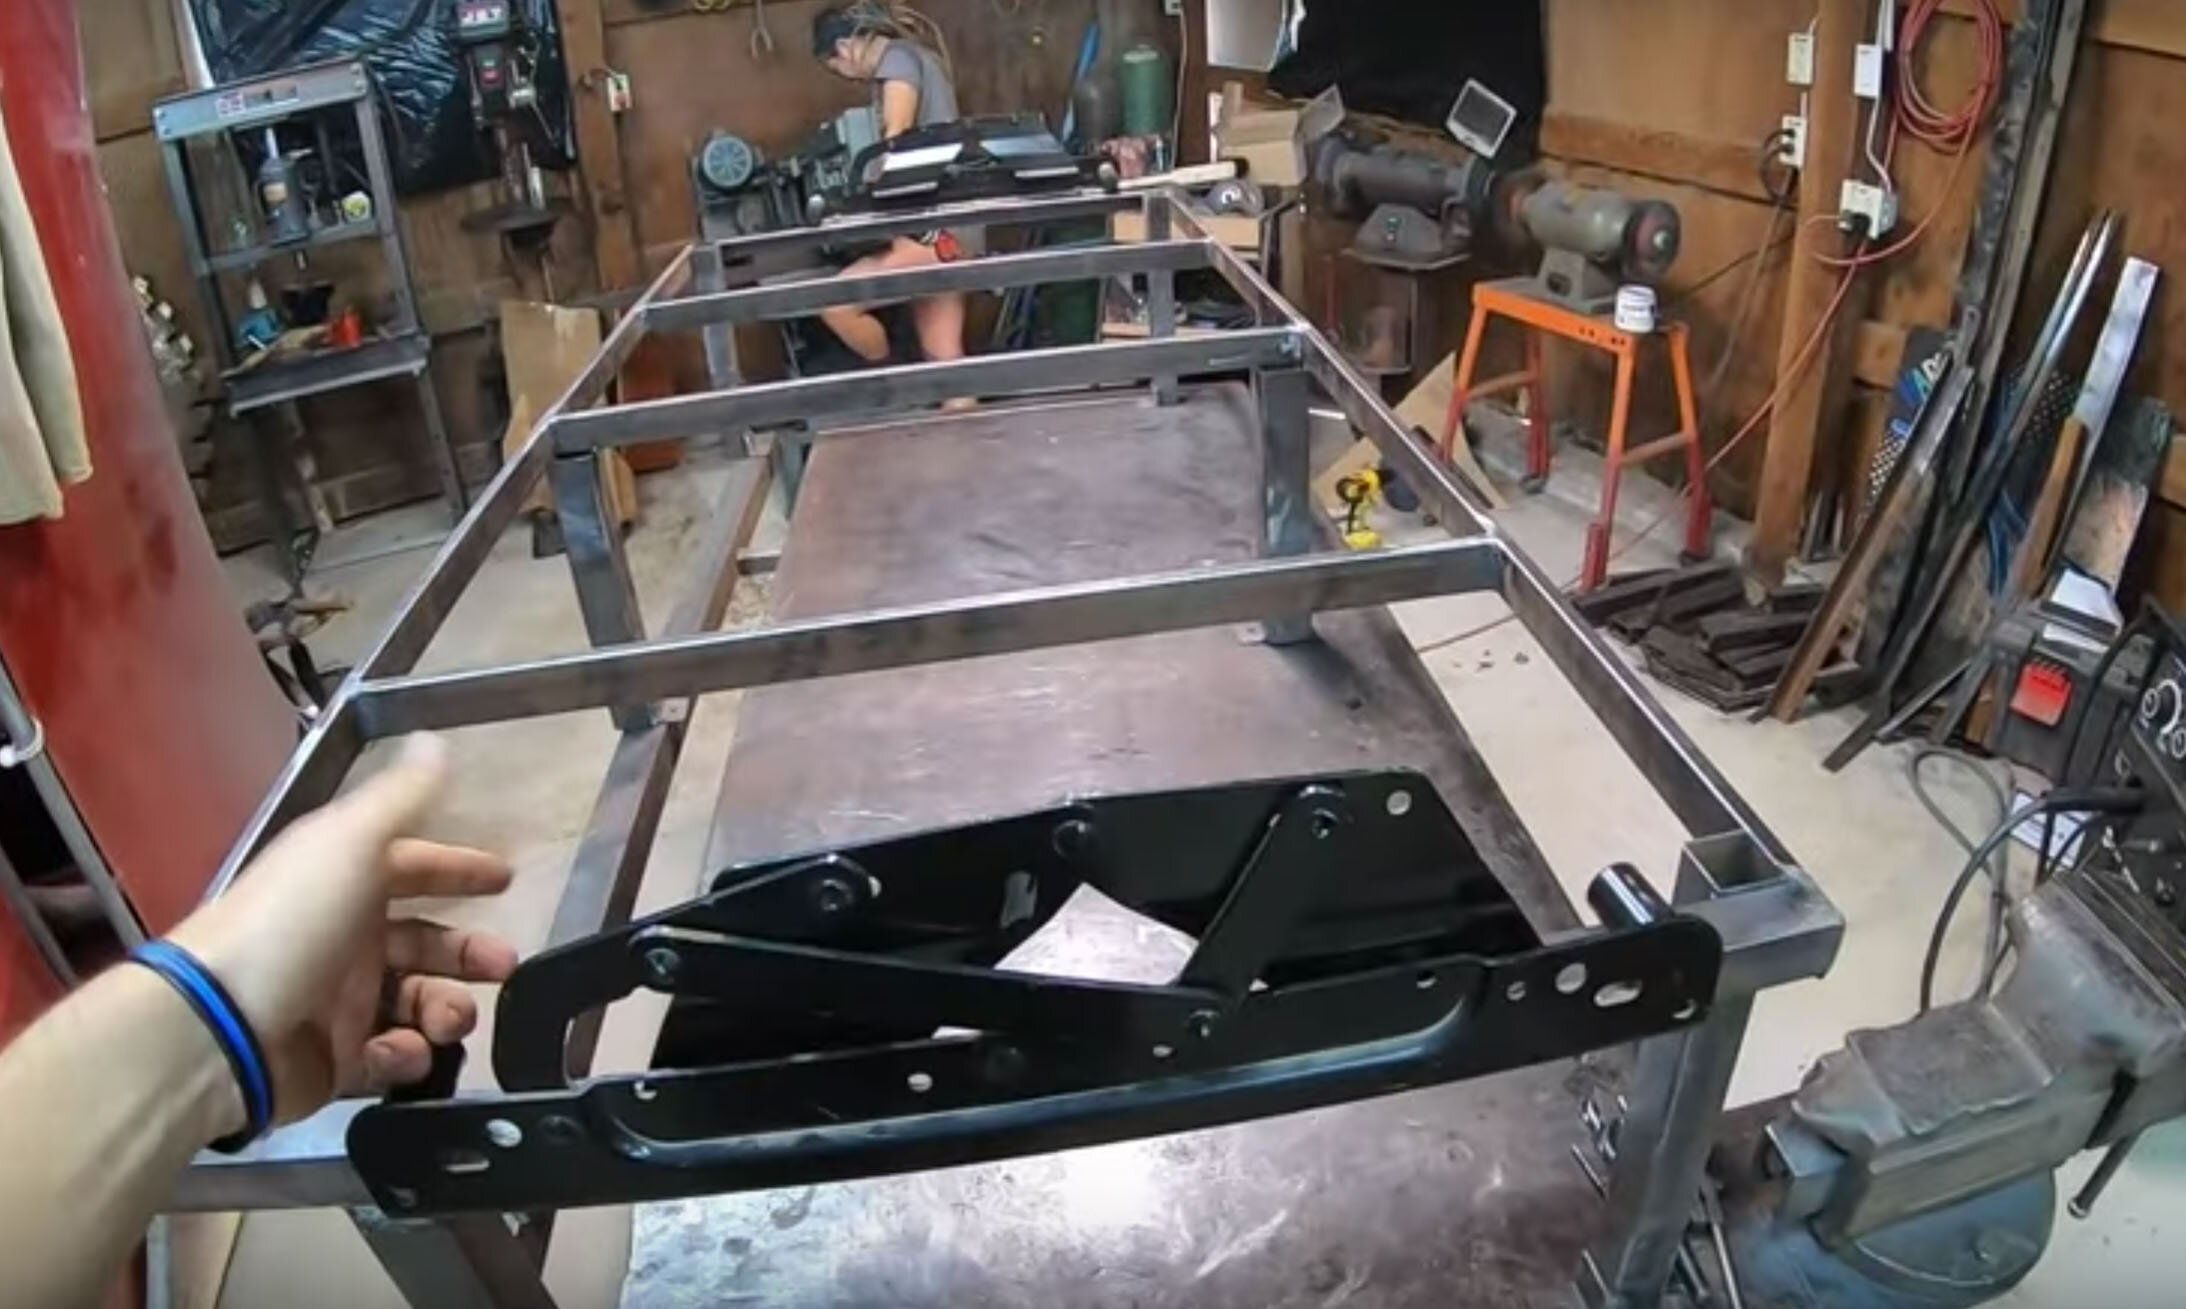
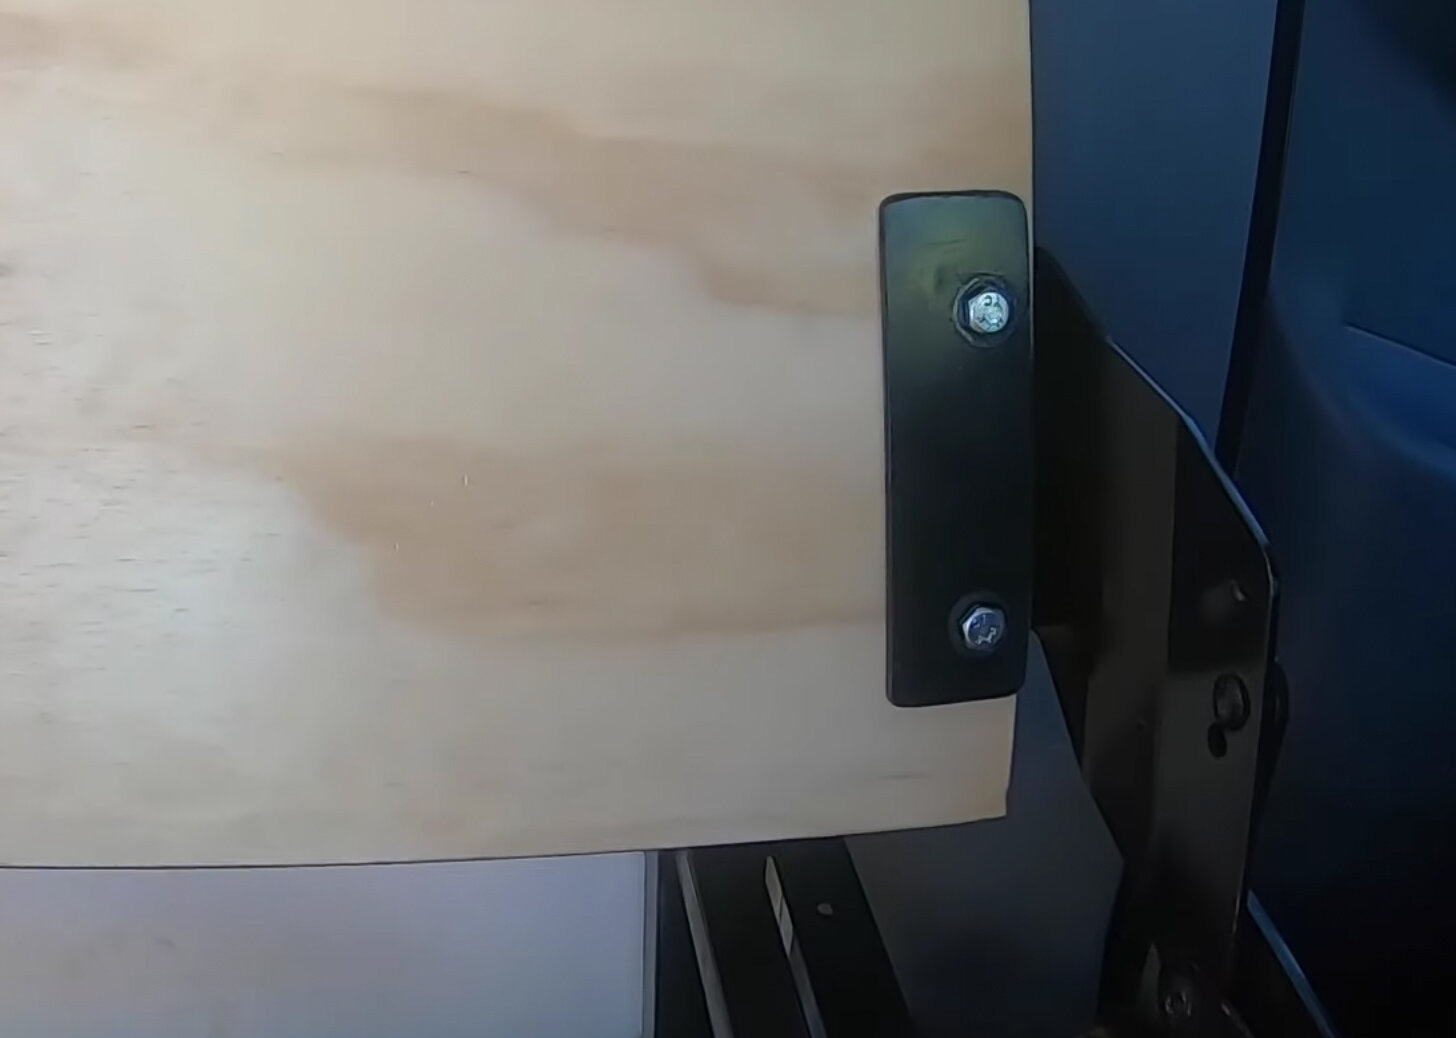
This was the first piece of furniture were build because we know the van would have to morph around the space that this took up.  The first problem to solve was how to get the bed to go from a couch to a full size bed.  We knew we need some type of bed hinge like one you would find on a futon.  So we went to an RV junkyard and found a “rock and roll” bed hinge similar to this product. (https://amzn.to/2SEZz0L)  
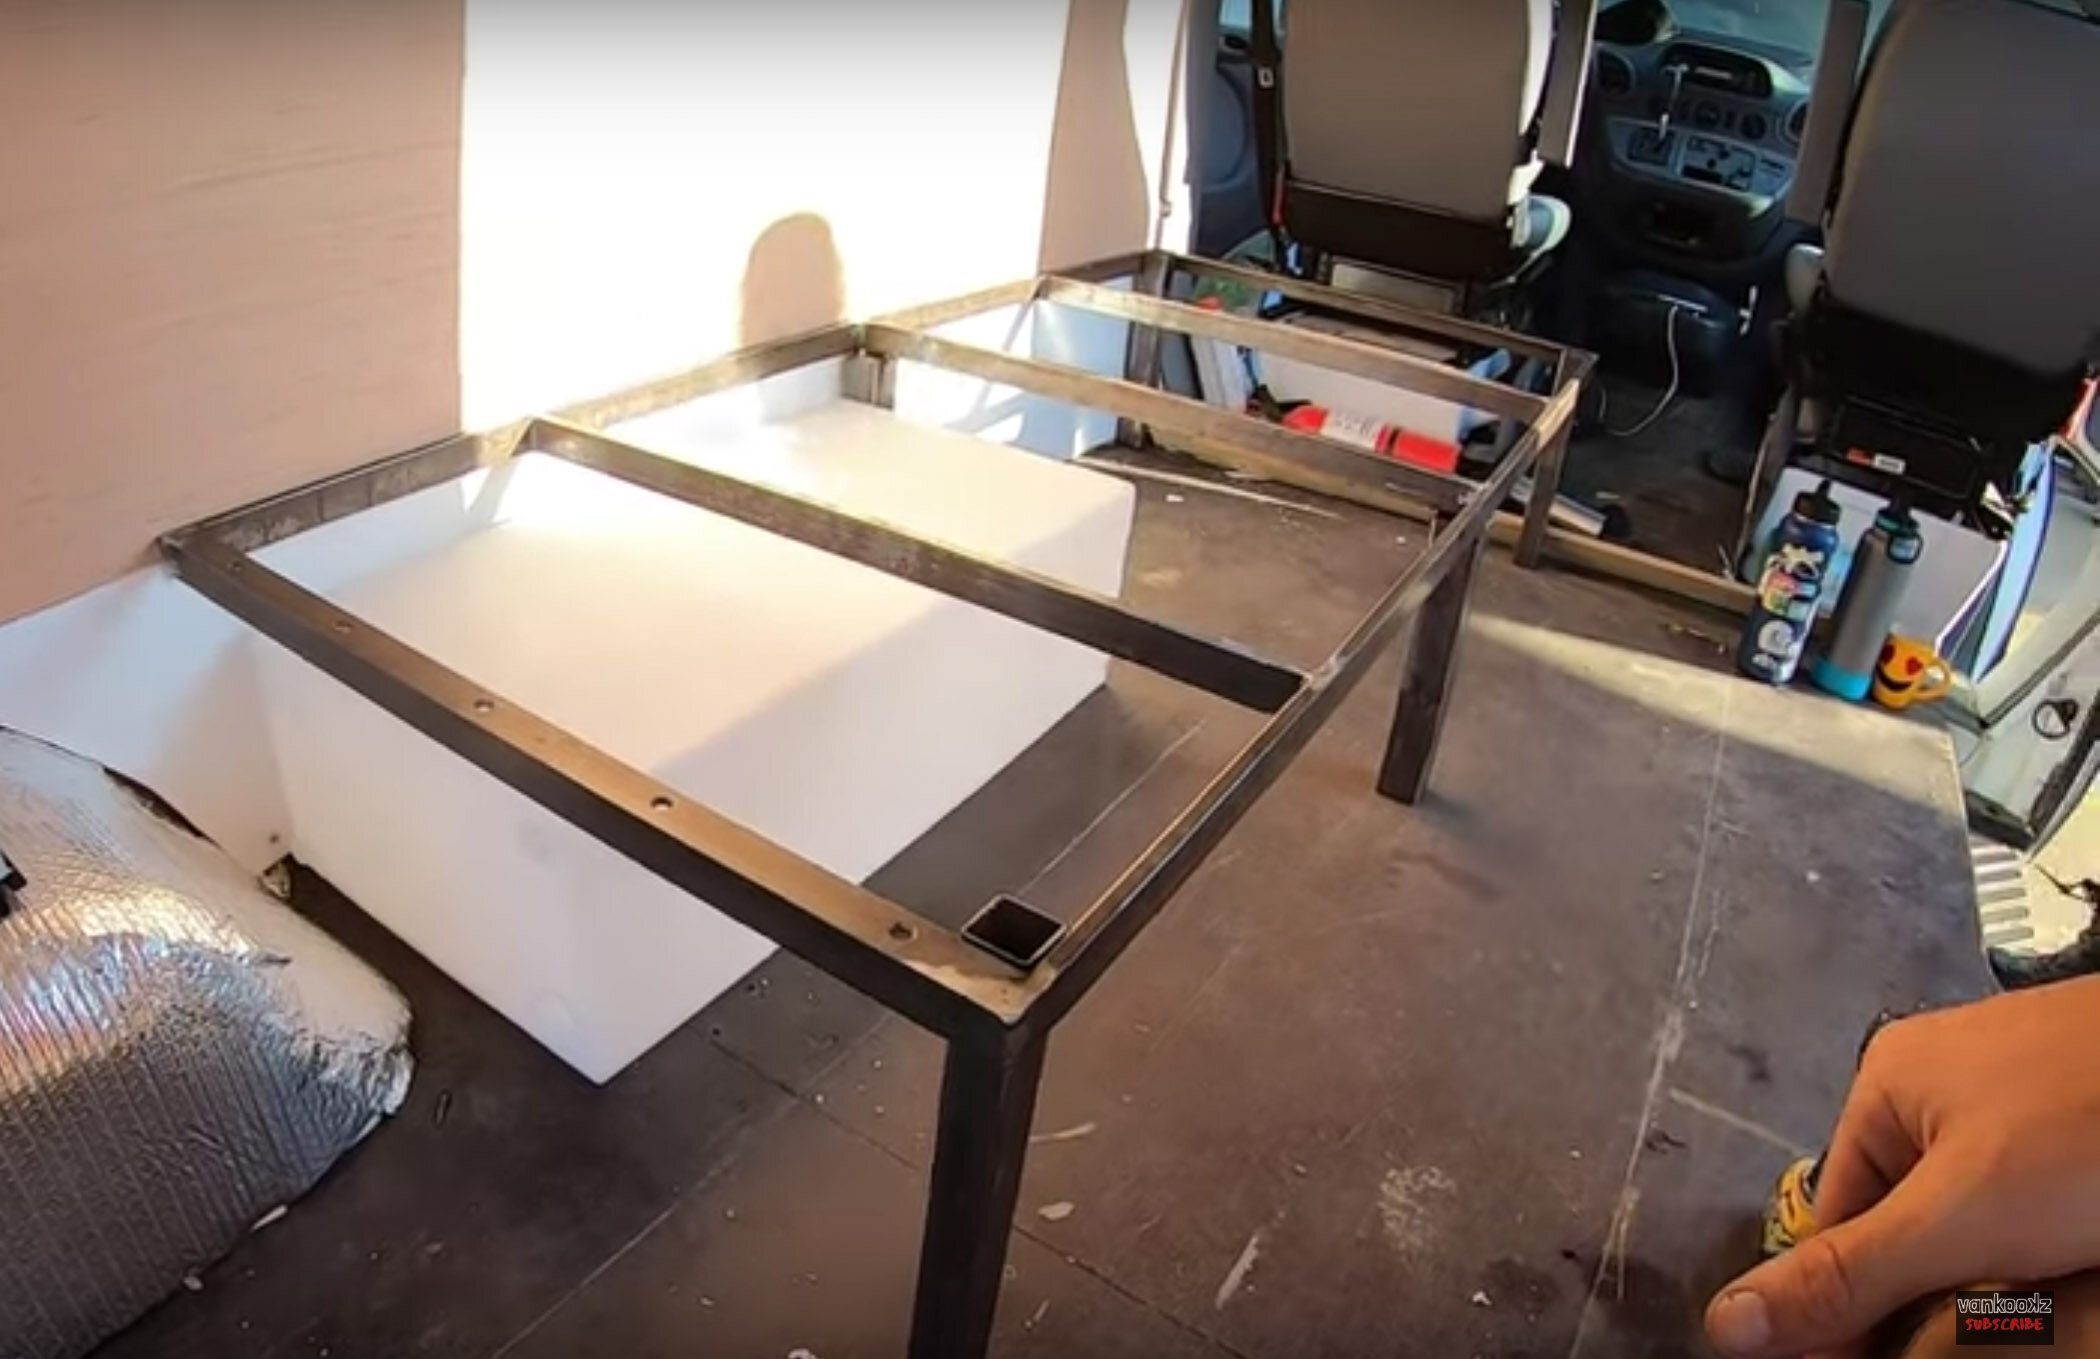
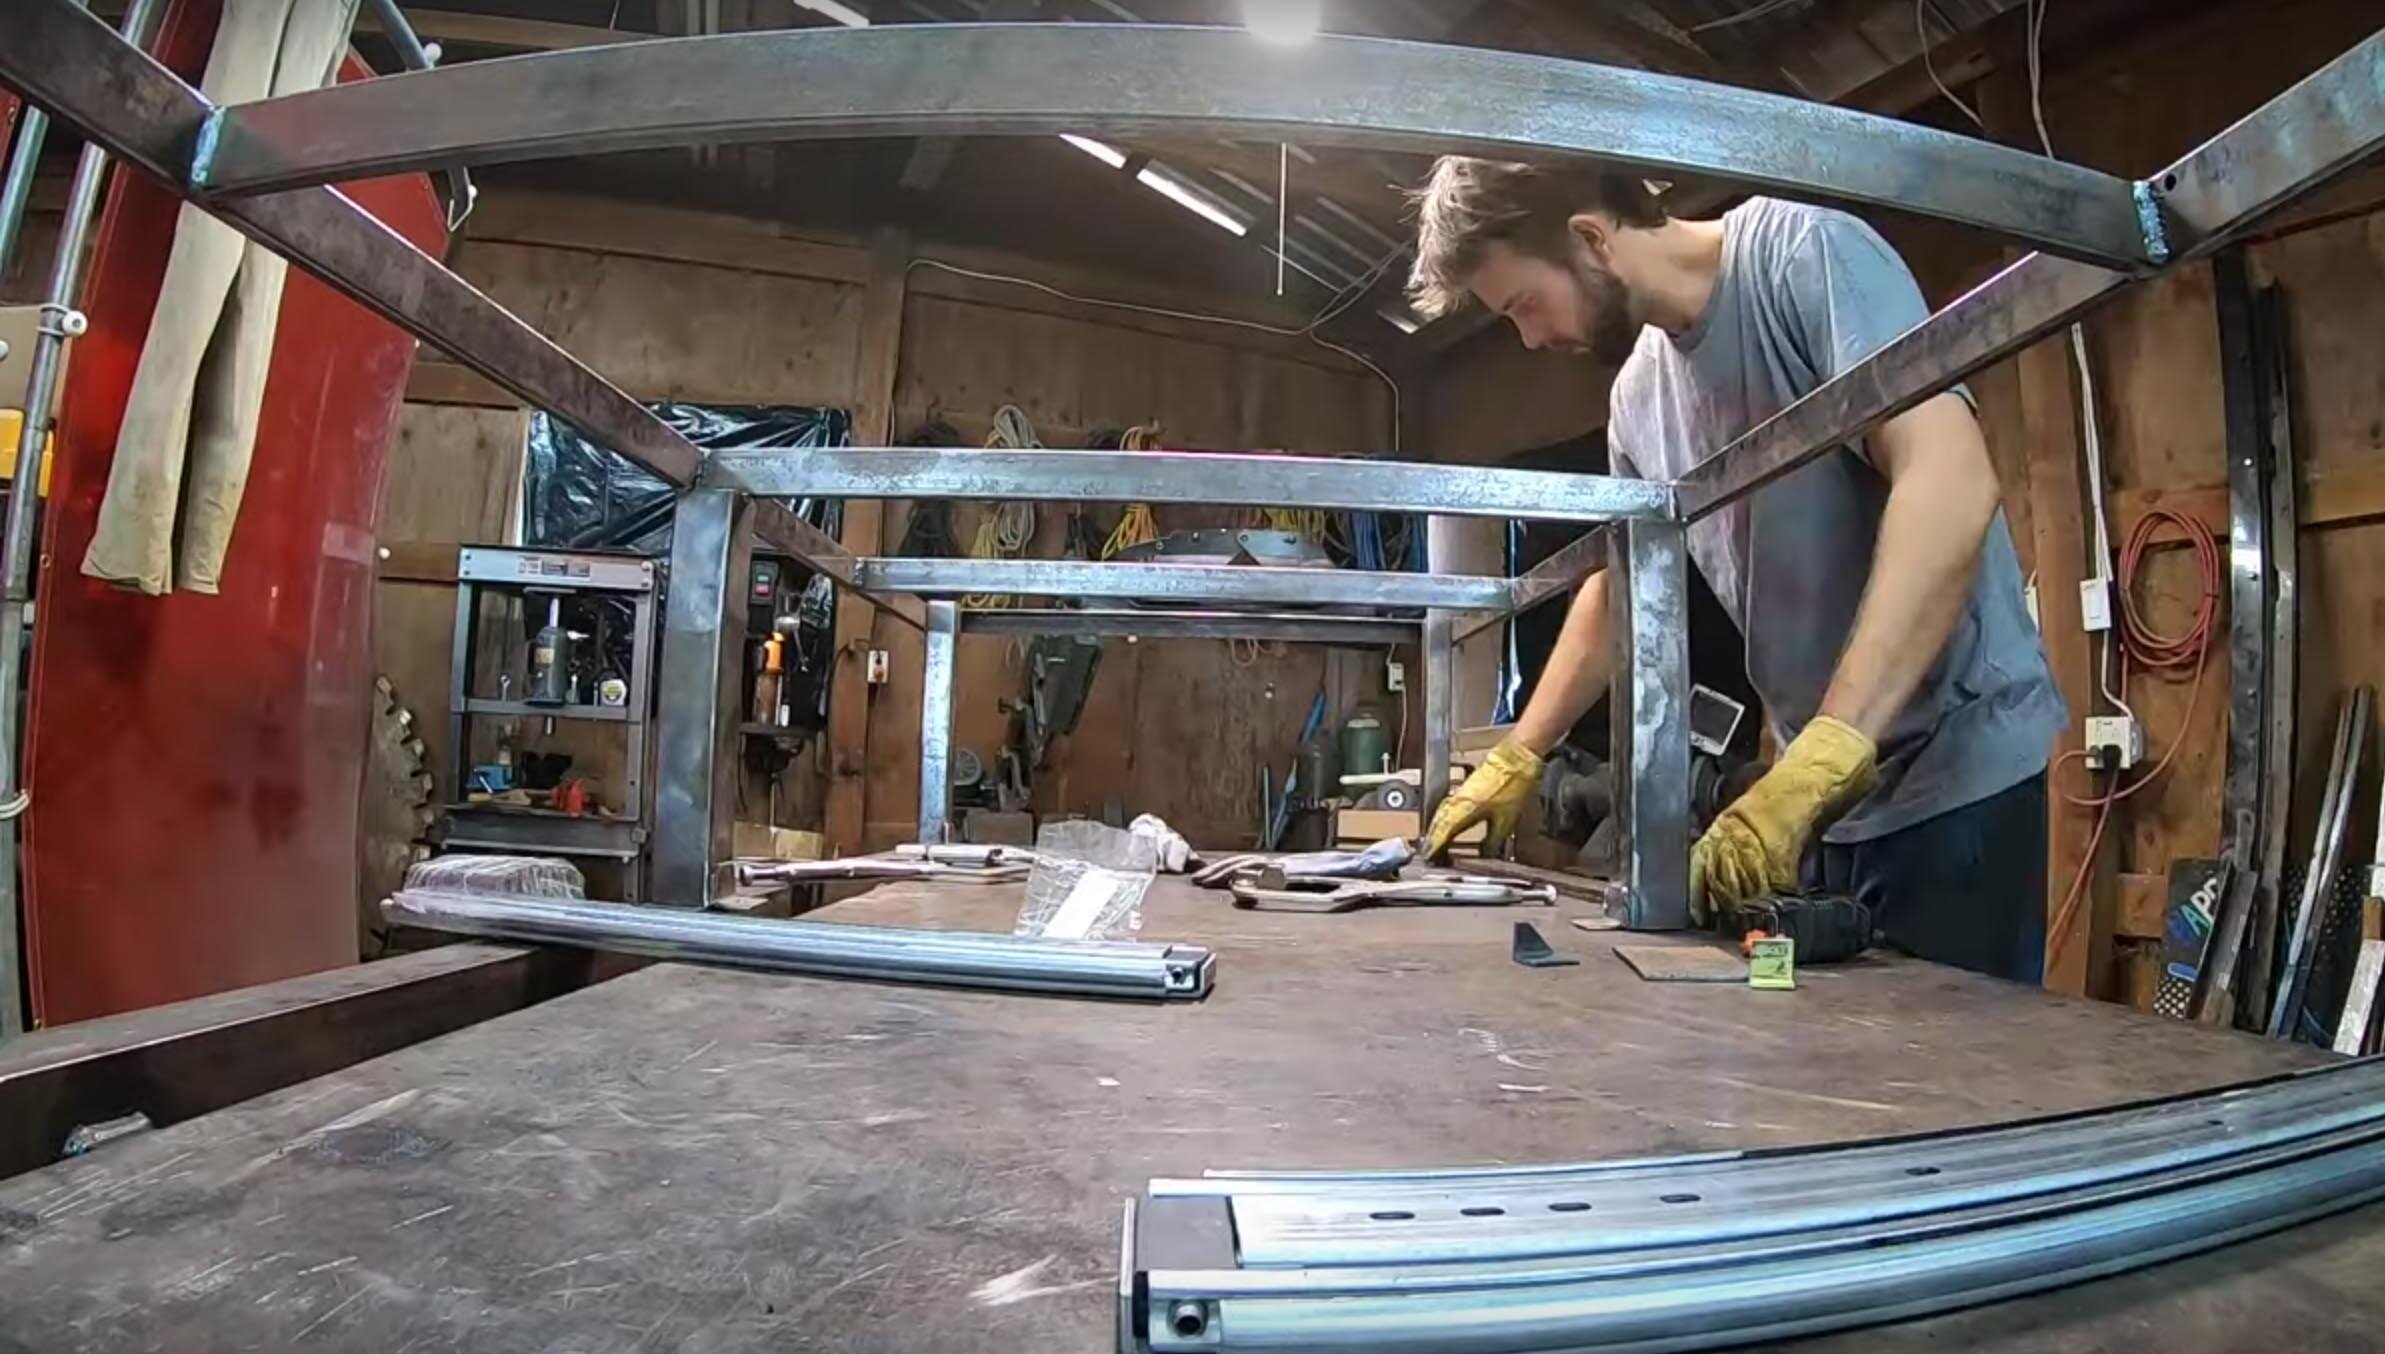
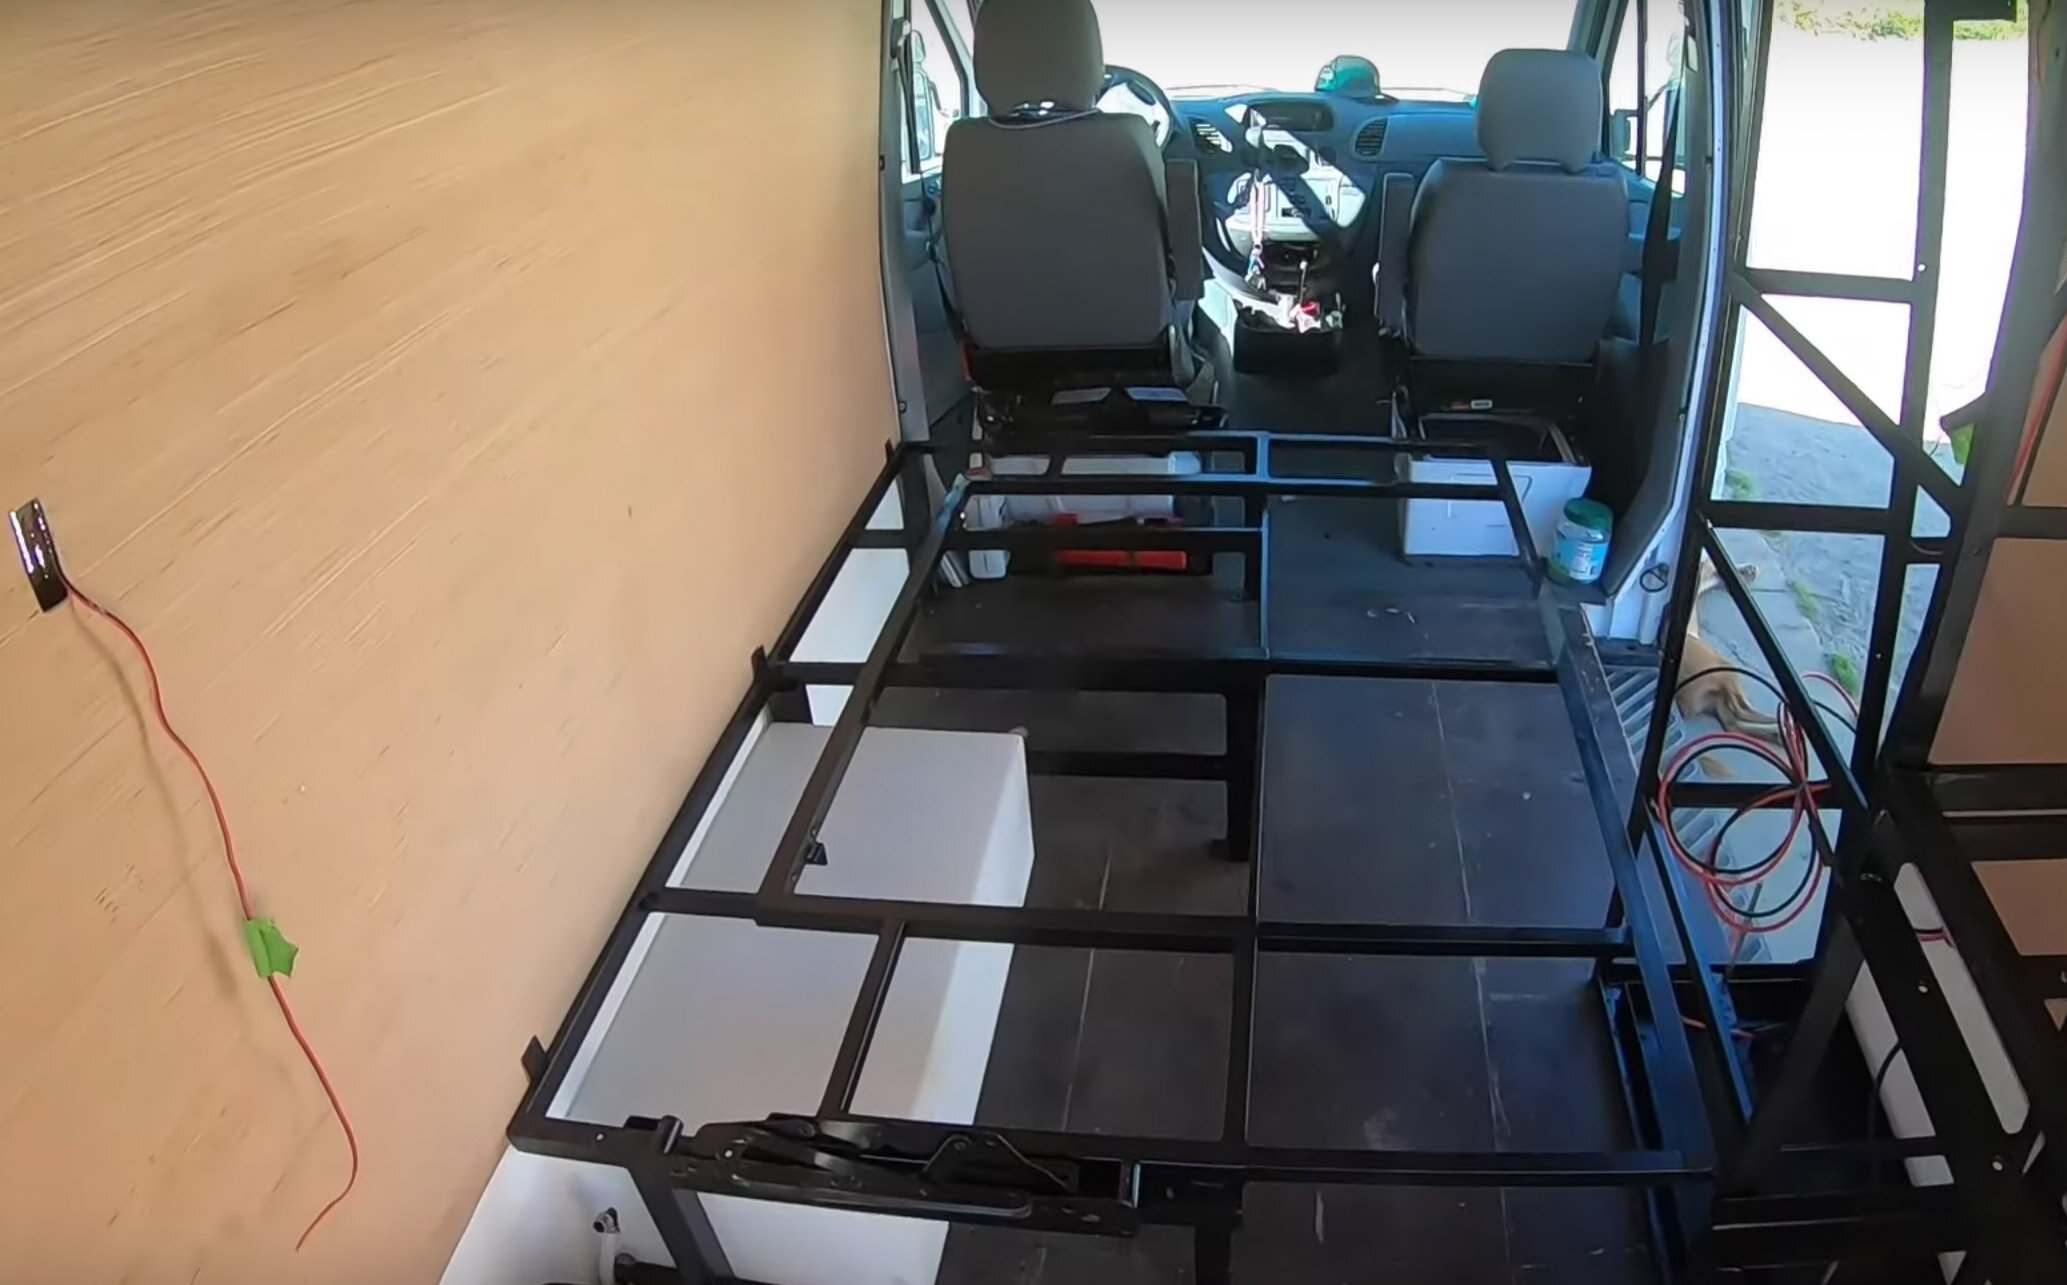
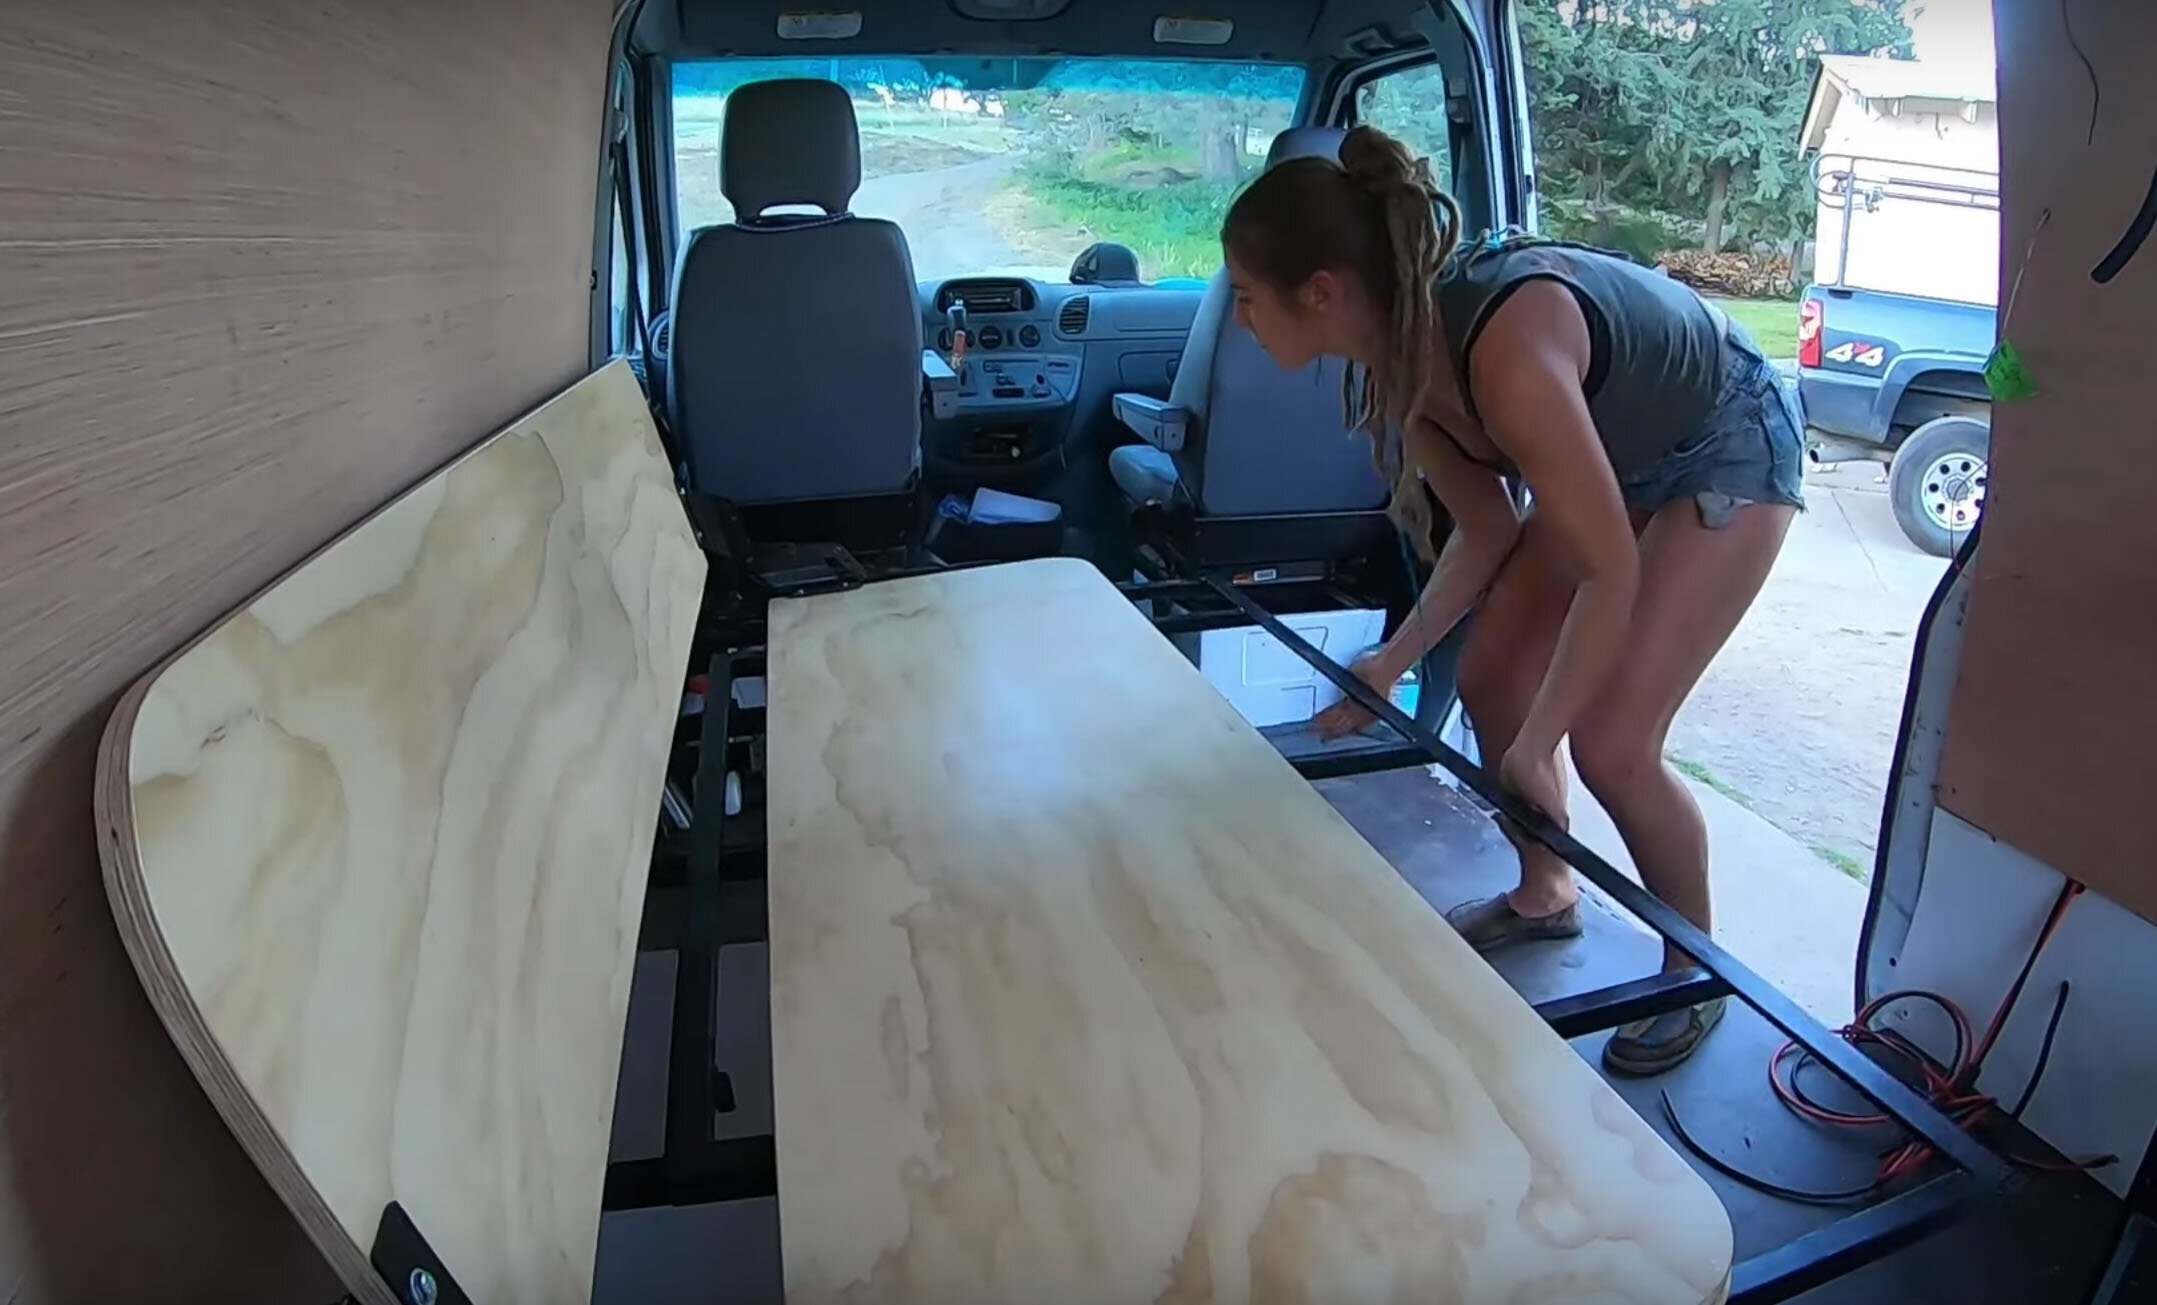
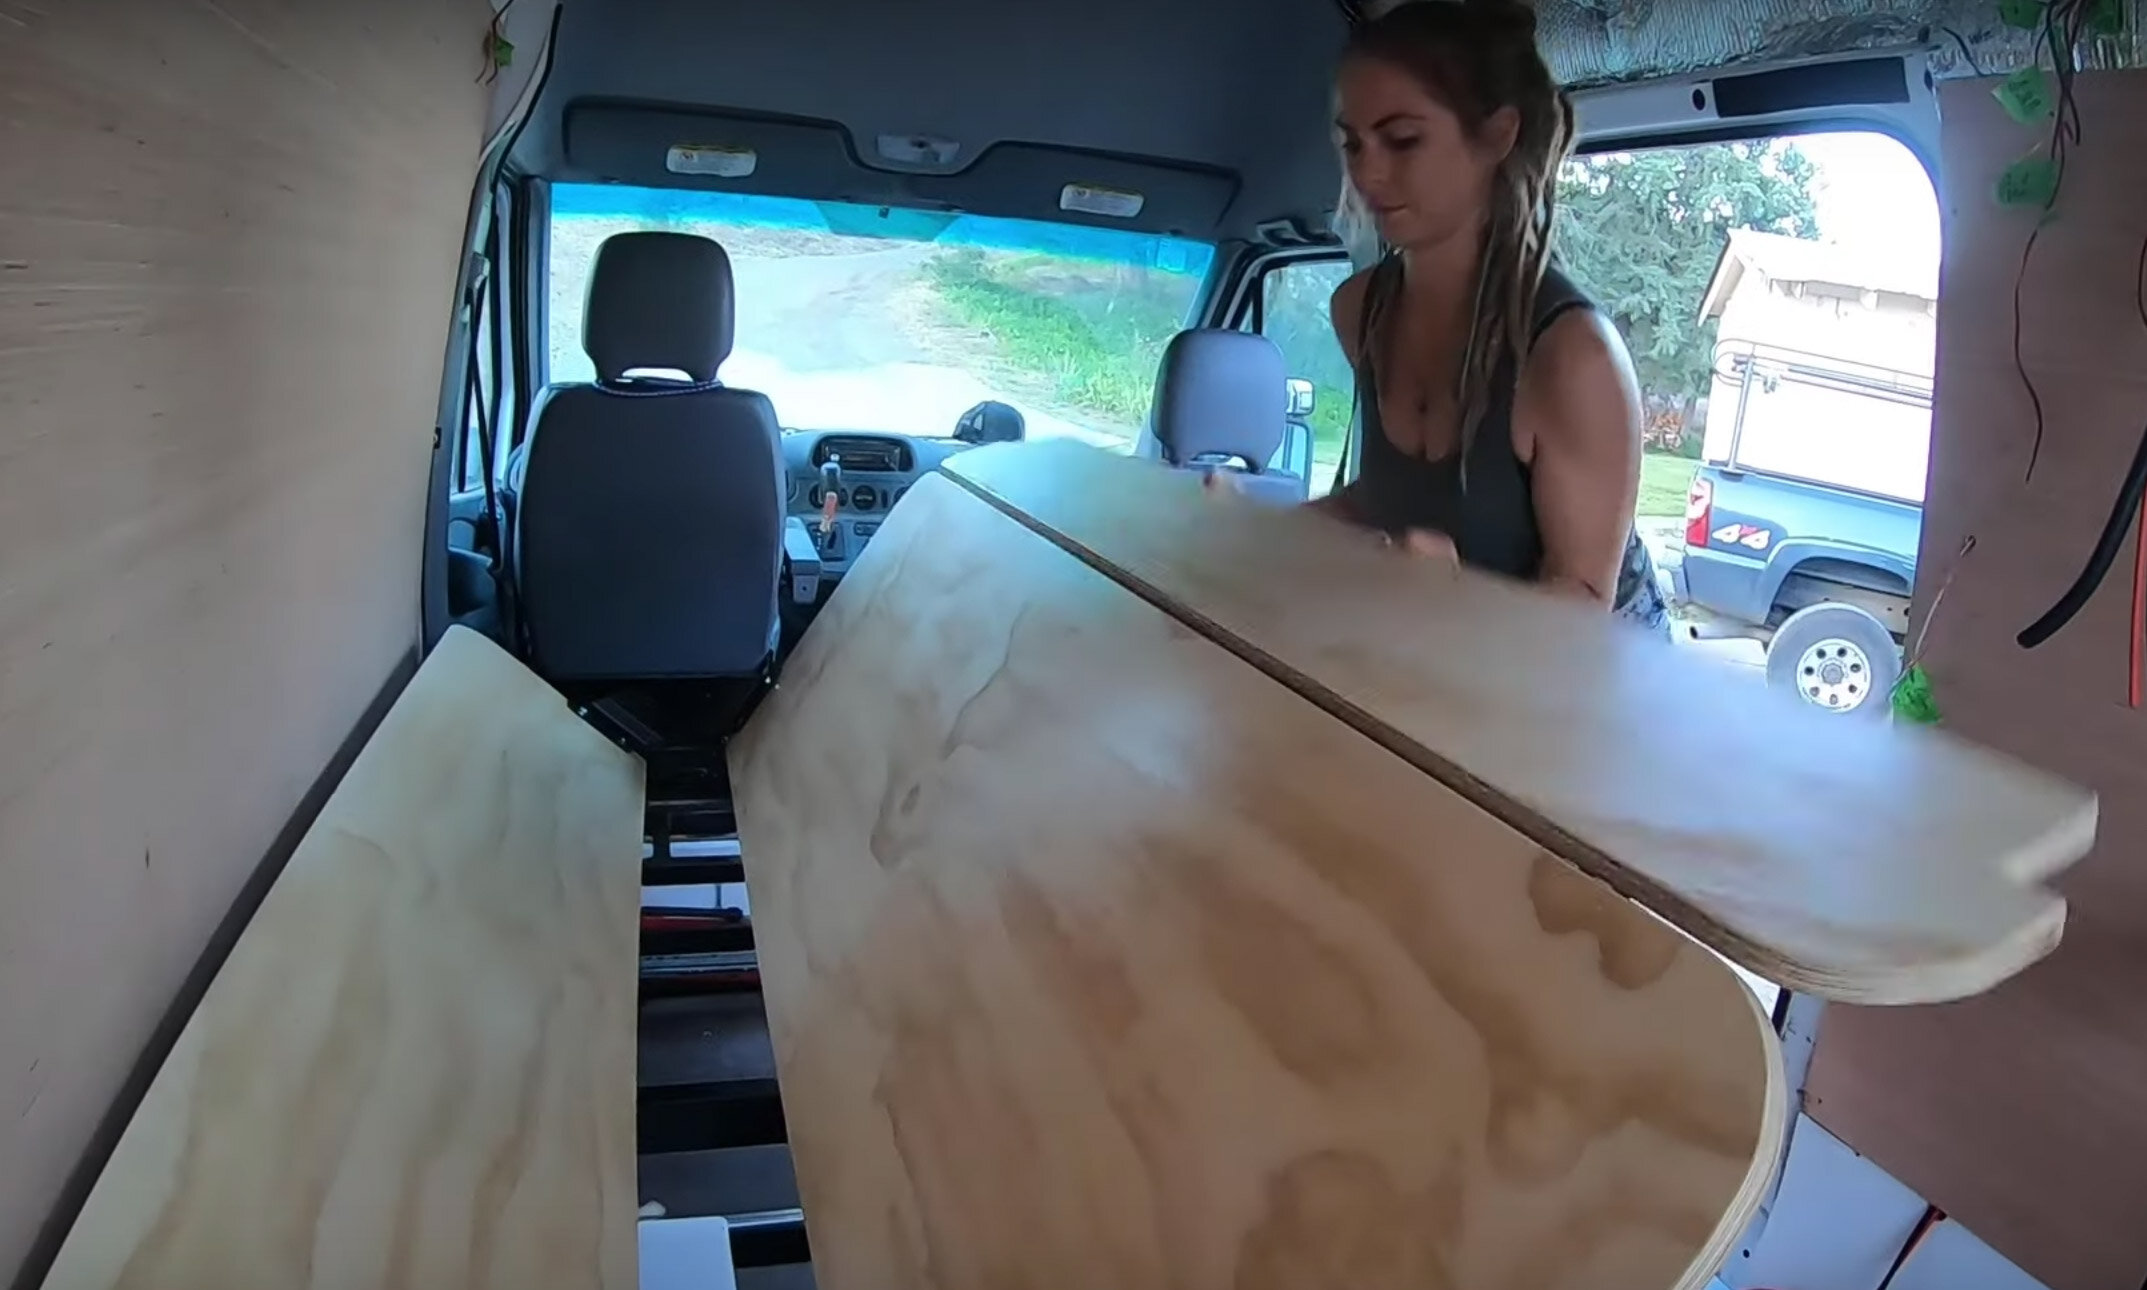
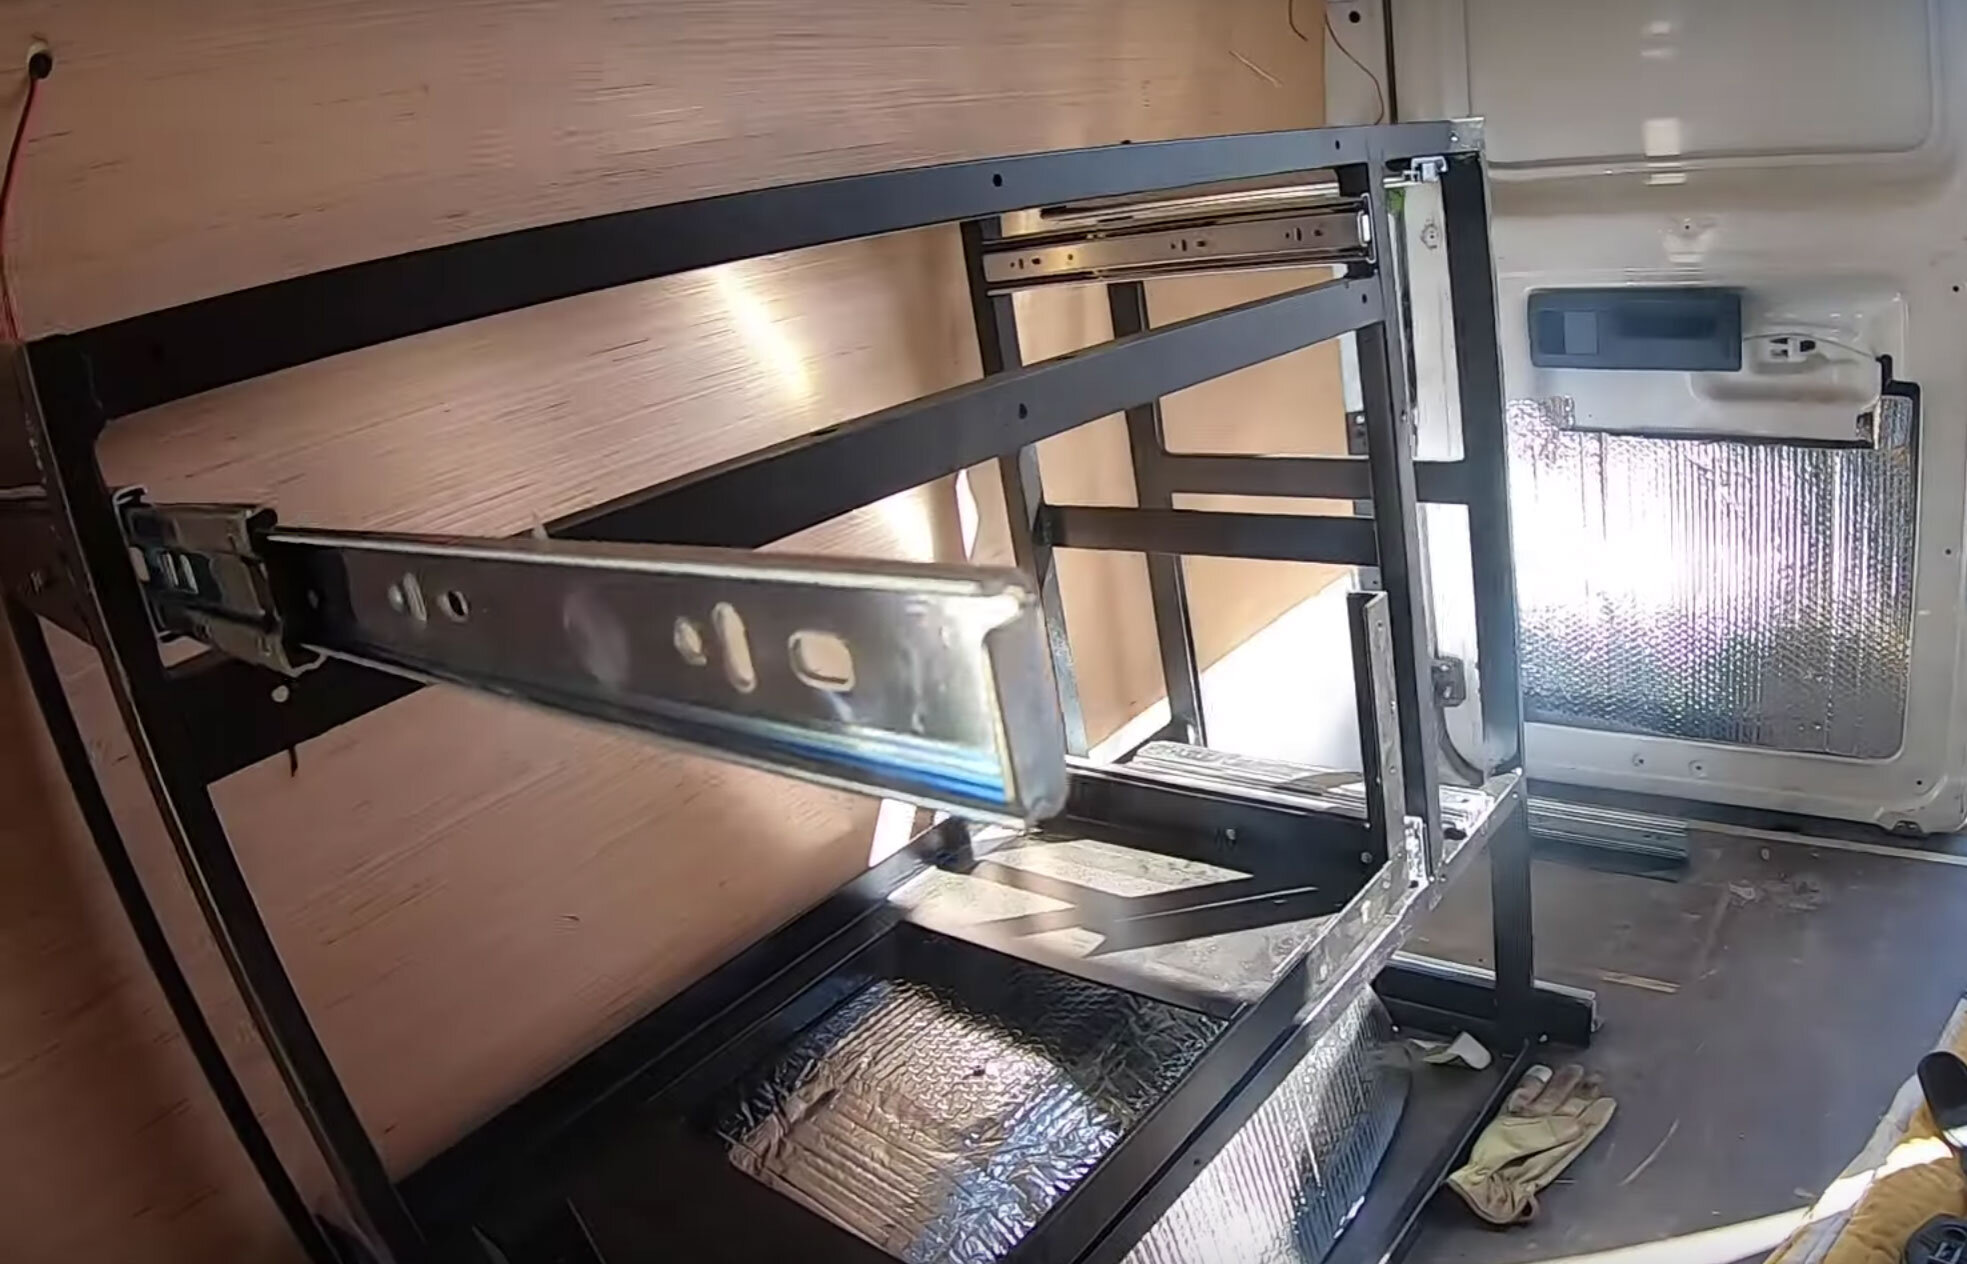
After finding the proper hinge, we welded the base and legs of the bed.  The hinges were then bolted onto the edge of the frame and tested multiple times.  Once we realized that it was going to work, we needed to design a way that the couch/bed could pull out to accommodate the full size mattress, when it goes into “bed mode”.  What we needed was over a foot of additional support for under the mattress, once it was converted into “bed mode”.  We designed a pull out frame under the couch frame that you could pull out to get the additional support you needed.  
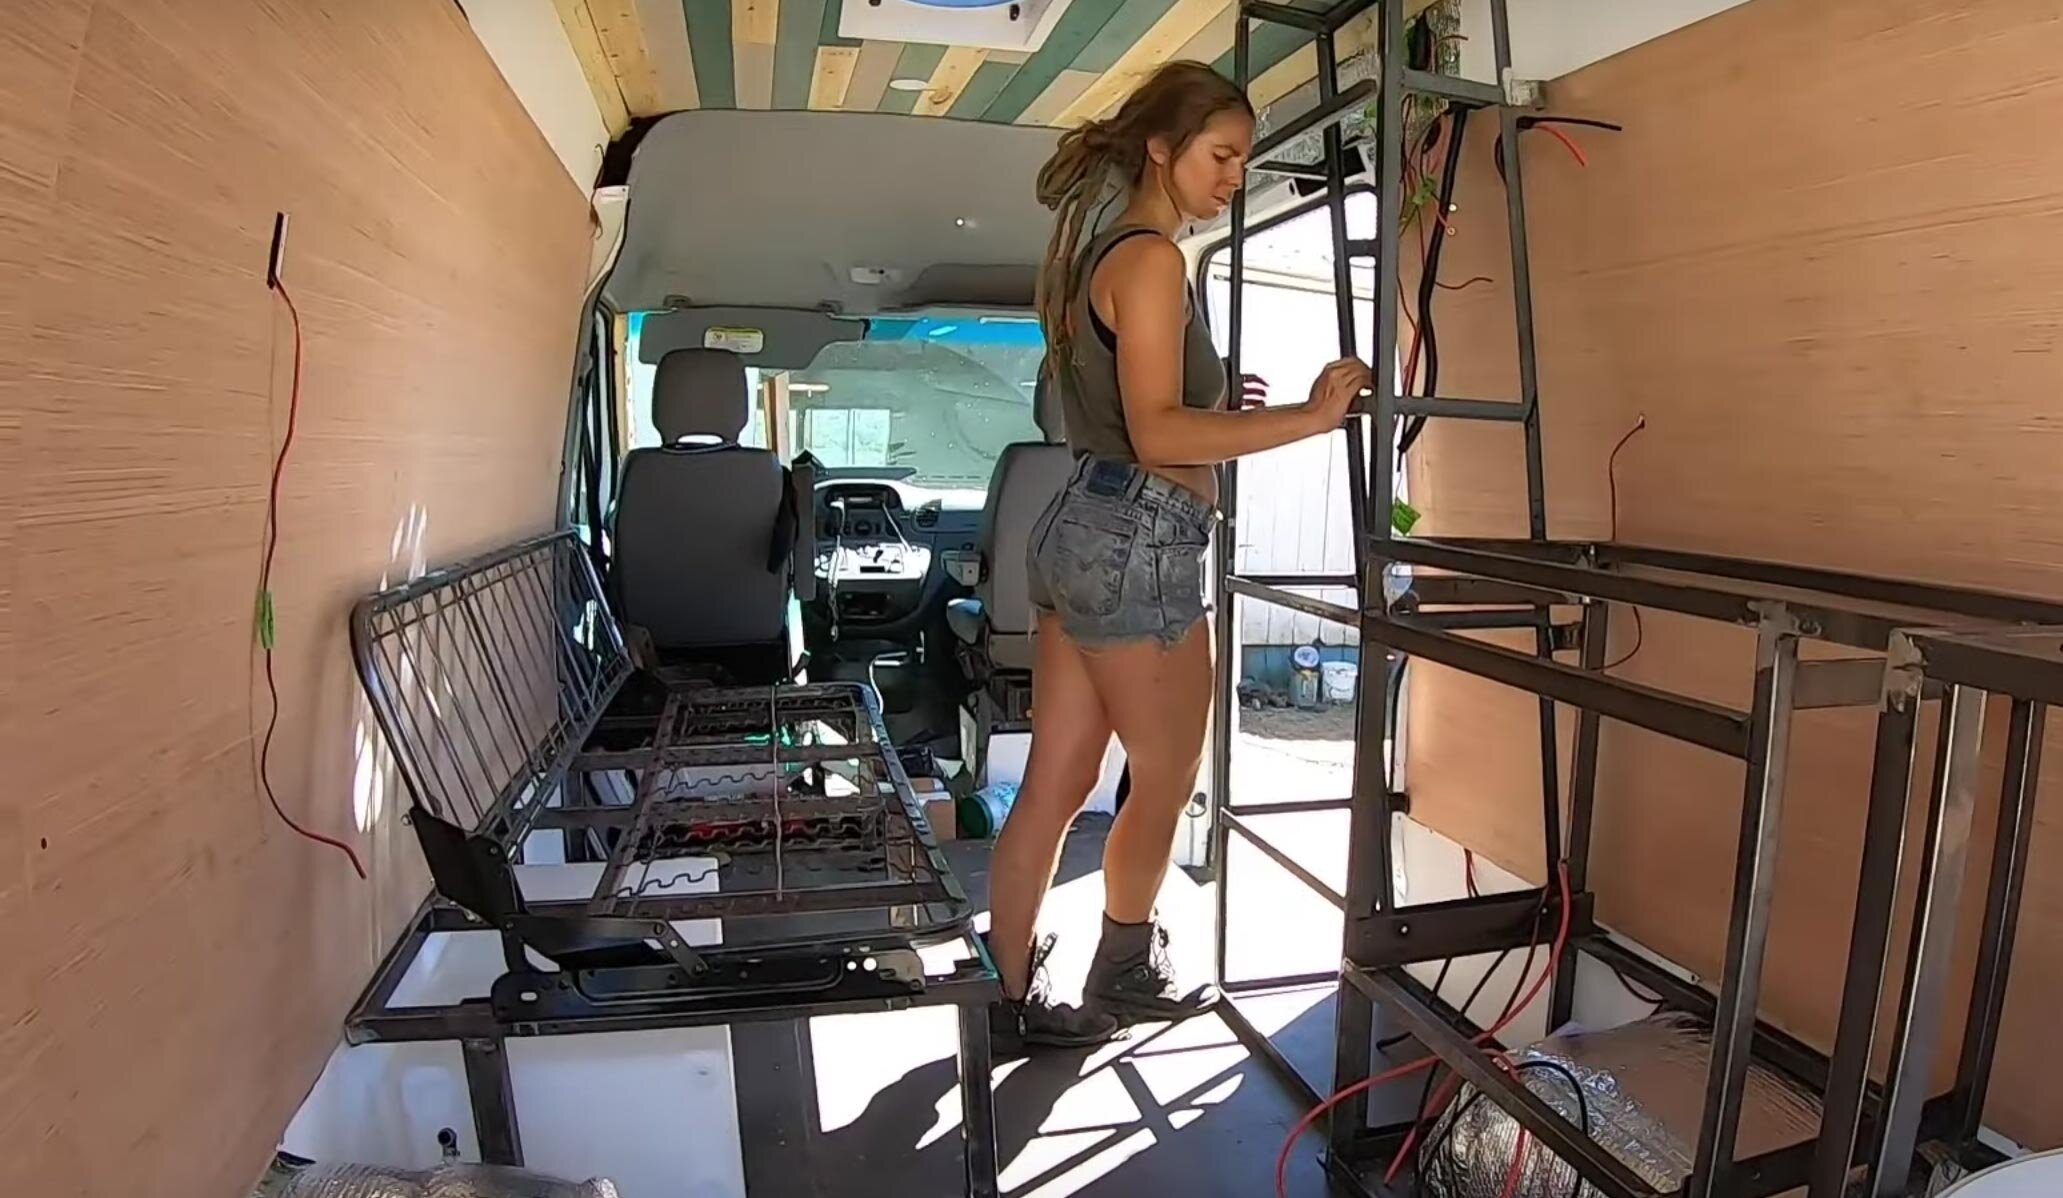
Now, we needed a frame to hold it all together.  We were able to use 3/4” plywood and cut it to size of the bed frame with an additional piece that would be piano hinged to the base. So that way, it could support the mattress on the additional pull out slats we added. (See Photos)  

Once the bed frame was in and working, we needed to get a mattress on the bed to see how easy it was to use this design.  We found the perfect mattress at IKEA and after some alterations it fit perfectly to our bed frame.  After some trial and error and many alterations on the sewing machine, we got the mattress to fit perfectly and is very comfortable in both “couch mode” and “bed mode”.  

We successfully designed a functional couch/bed and now we needed to add storage underneath the frame.  We installed two heavy duty drawers frames and built out two large and deep drawers, out of a nice refinished birch to give it a professional look.  We also use the bed to store our 26 gallon fresh water tank underneath.  We were extremely pleased with how this multifunctional bed turned out and that most of all it was both comfortable and functional.

Building Cabinet Frames in Your DIY Van Conversion

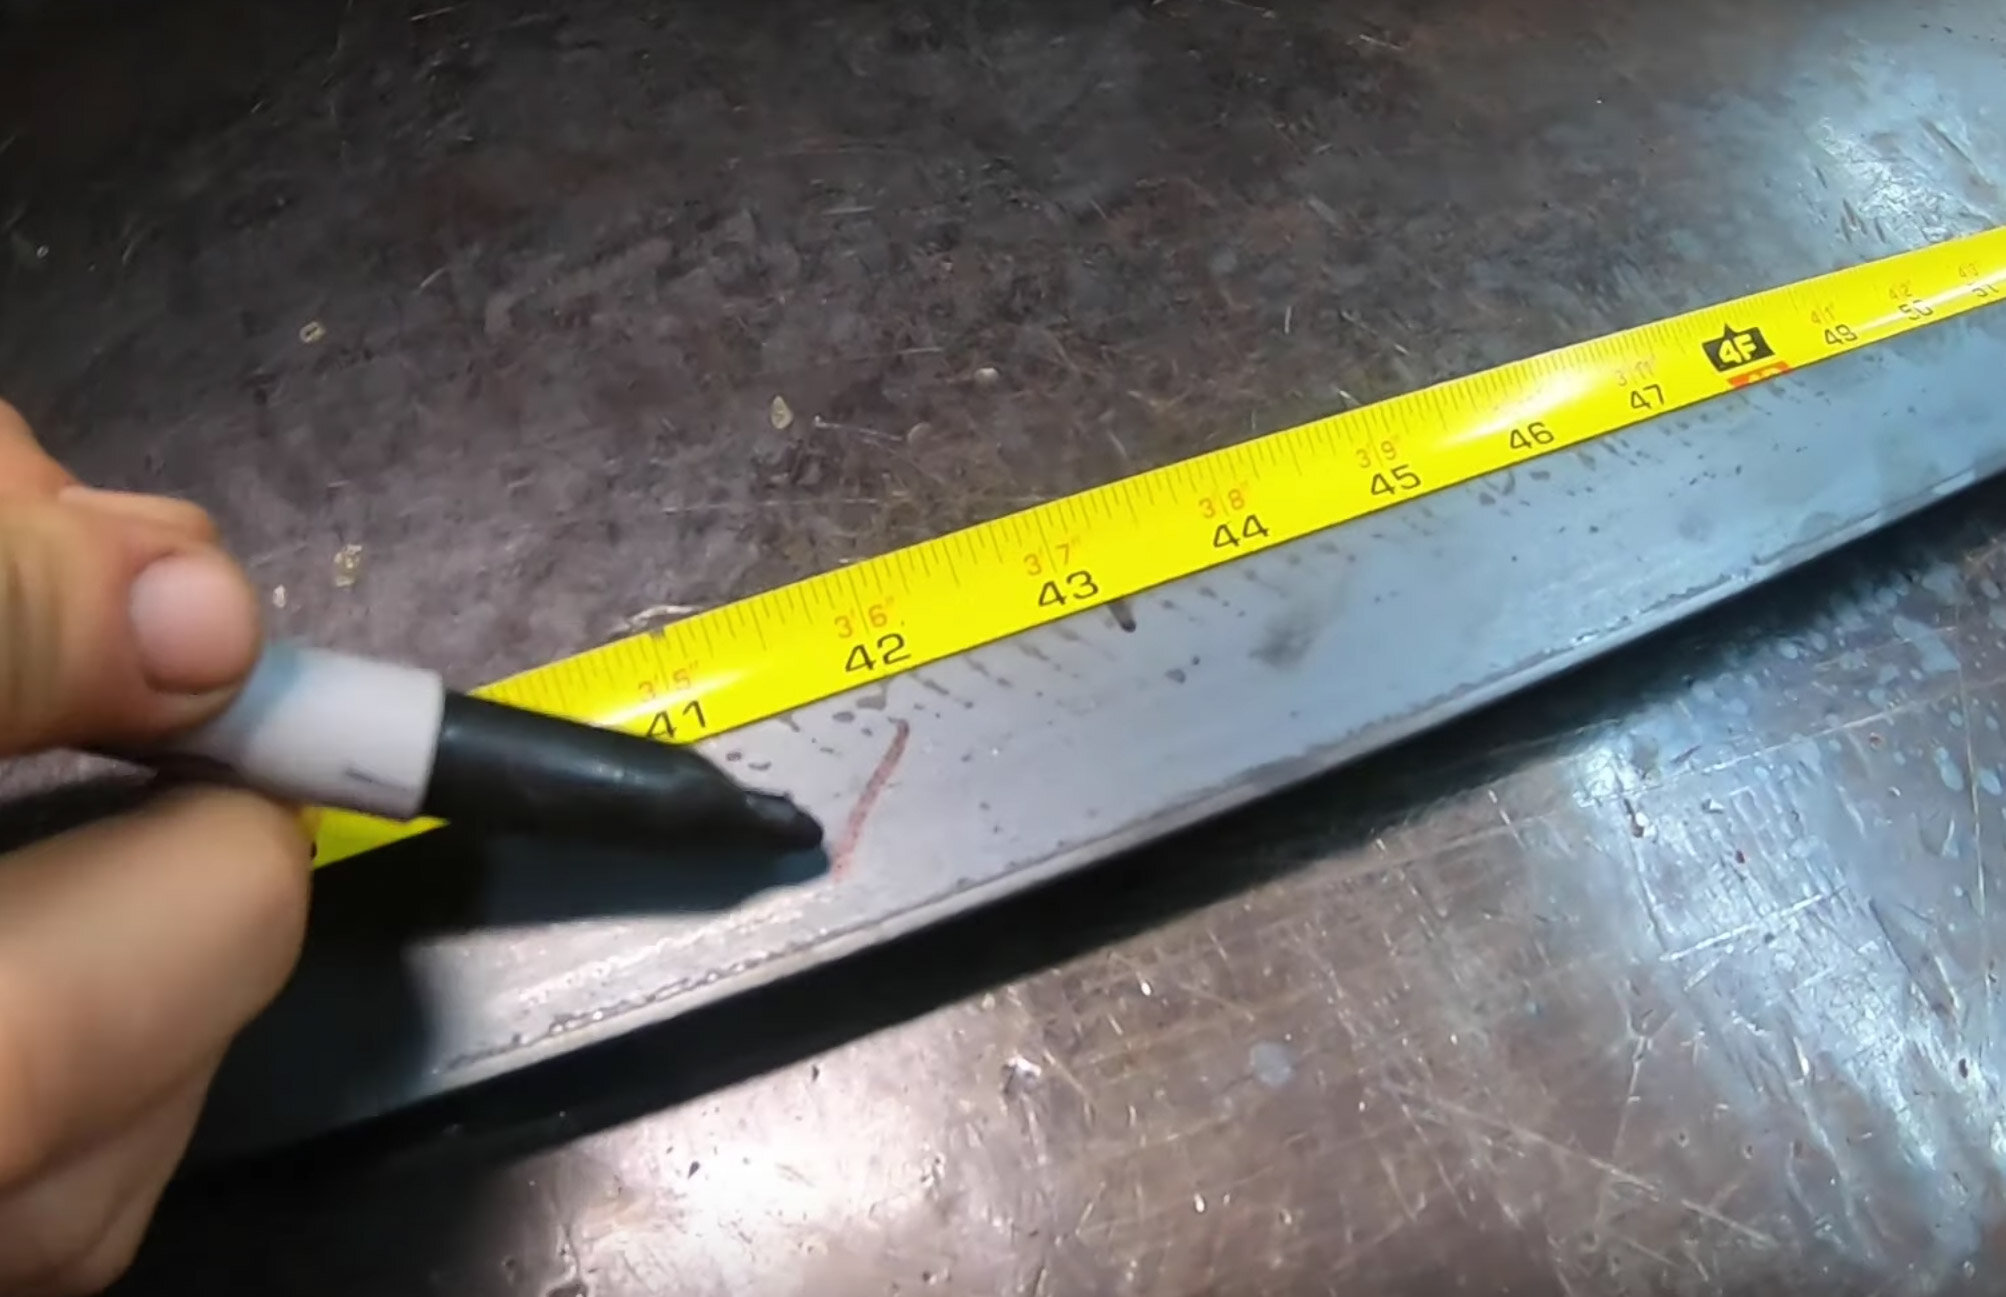
This can be one of the more daunting tasks but you will be amazed by what you can do with your creativity here.  Get your measuring tape out because you will be using it a lot in this step.

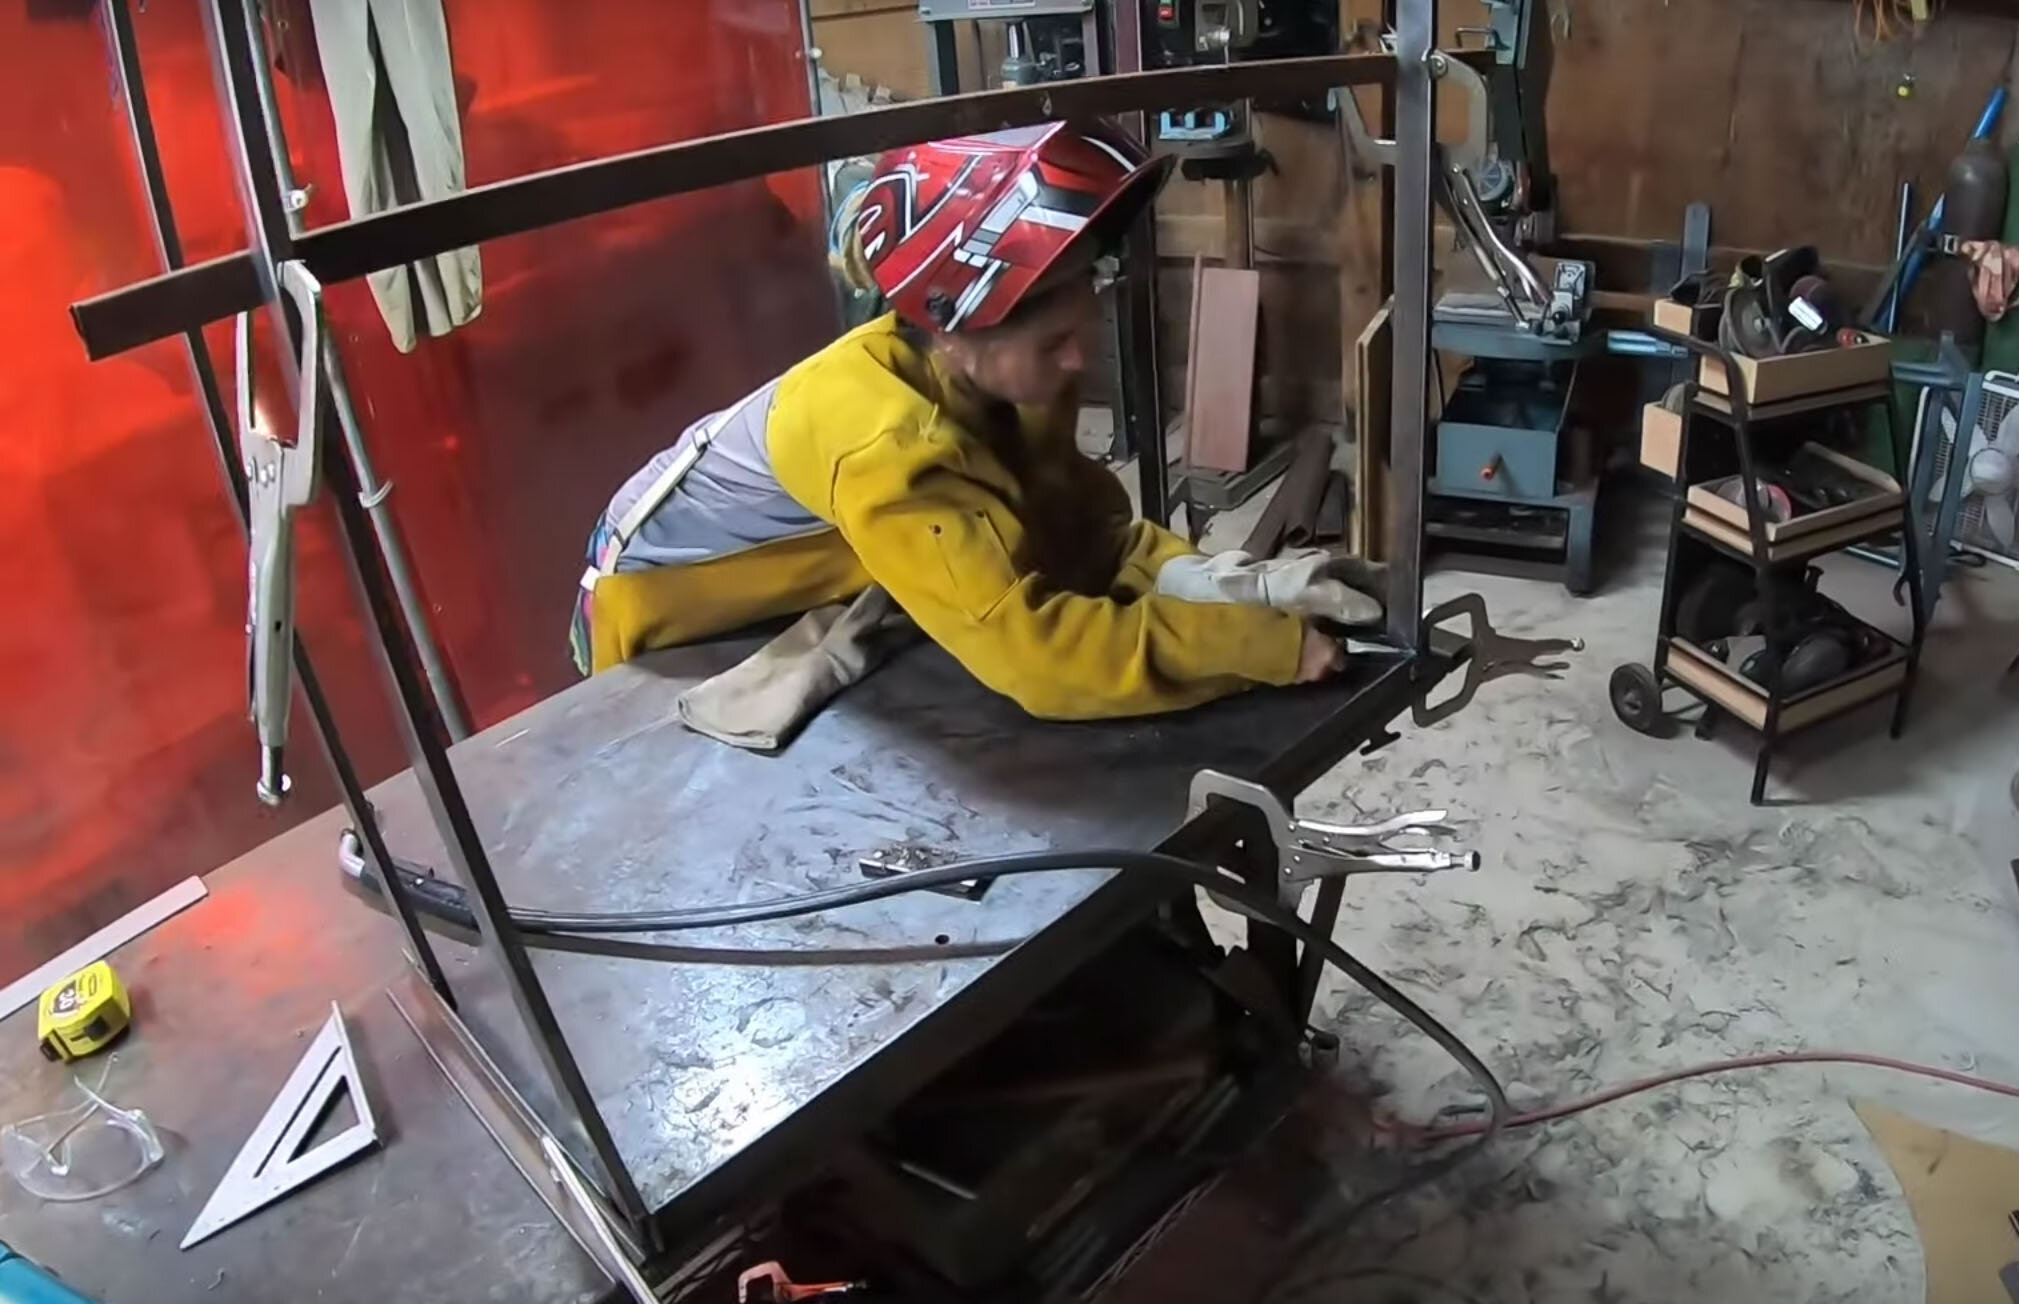
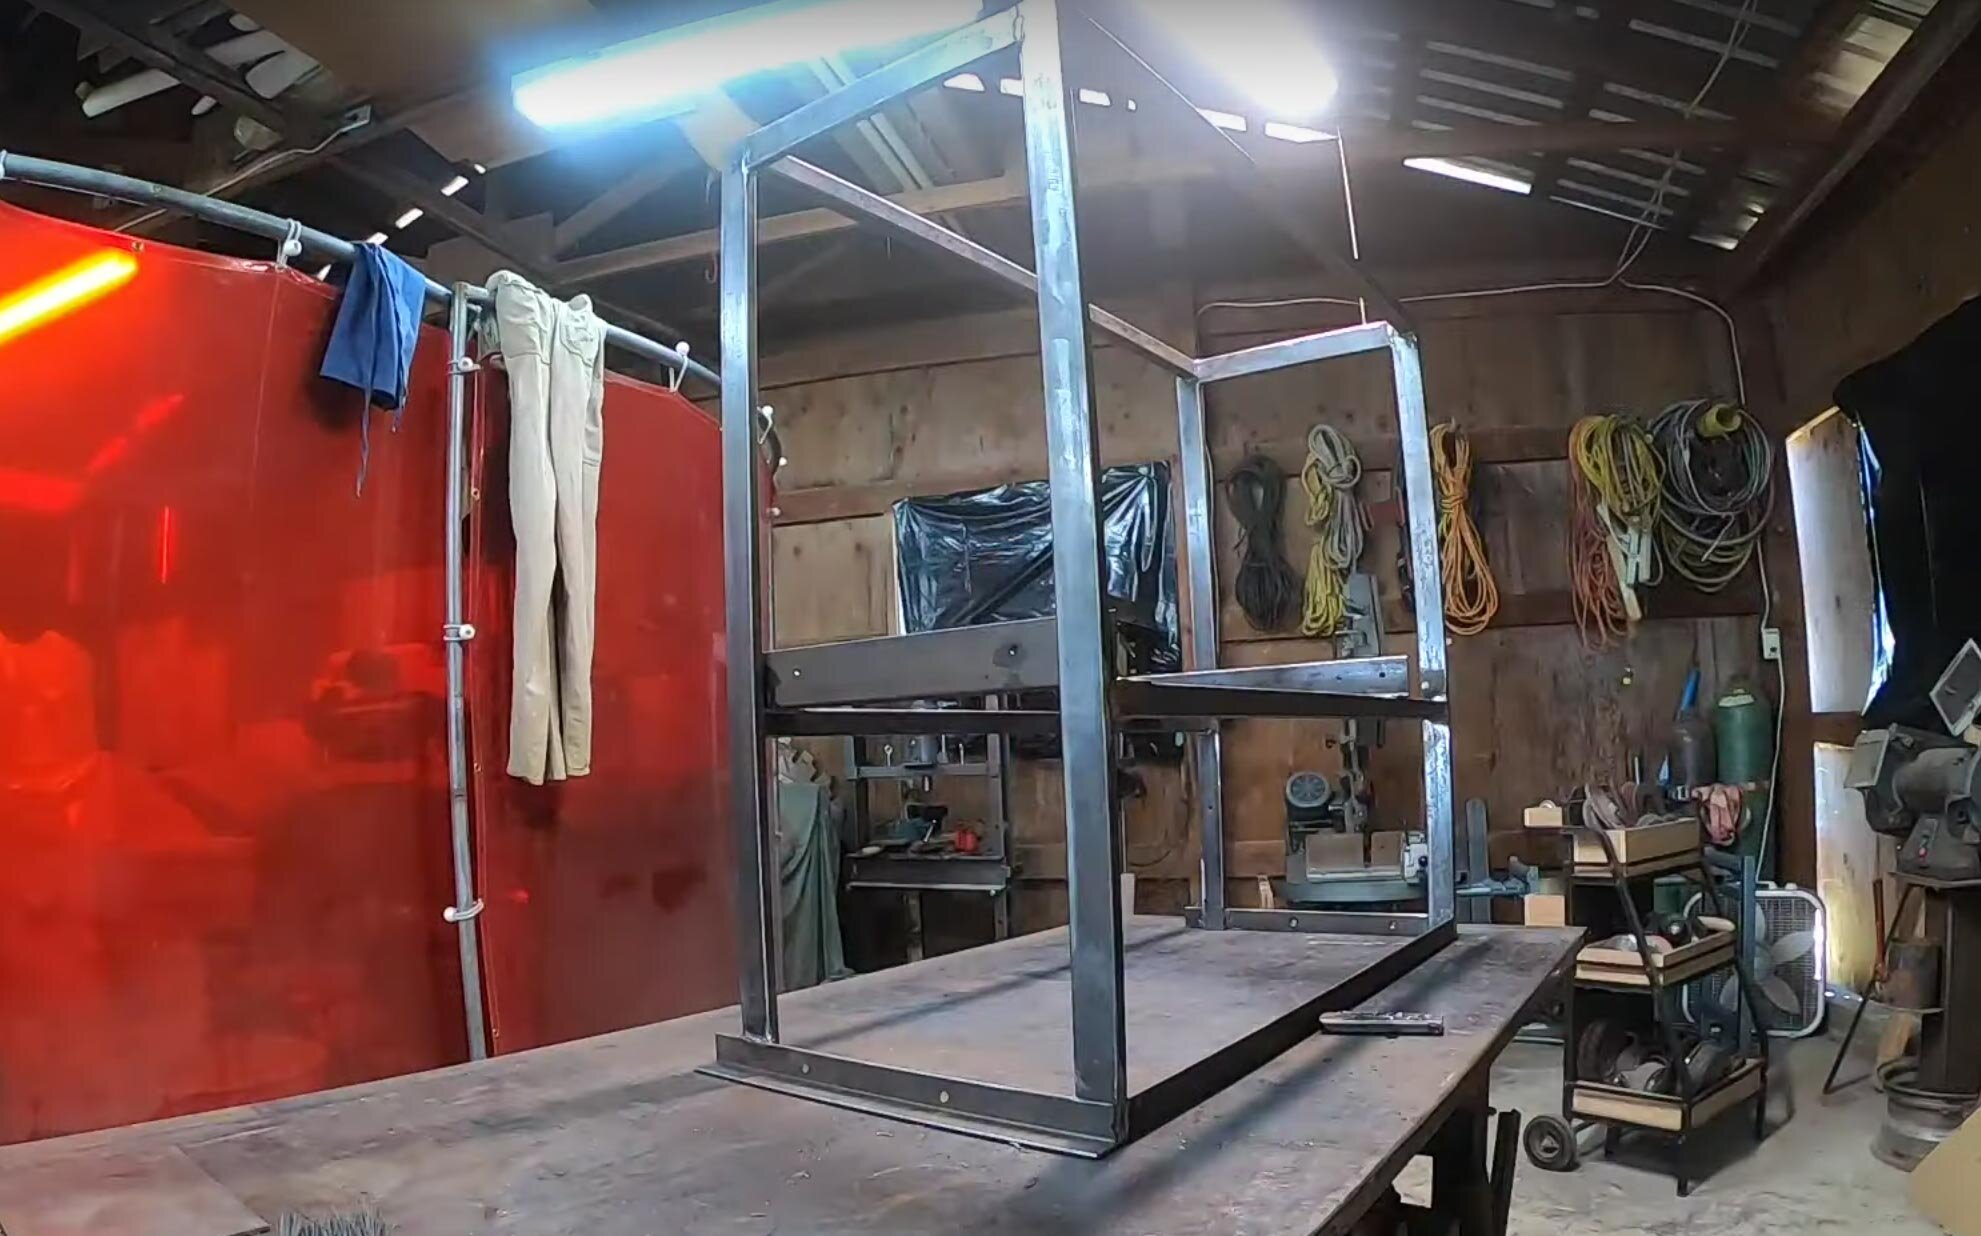
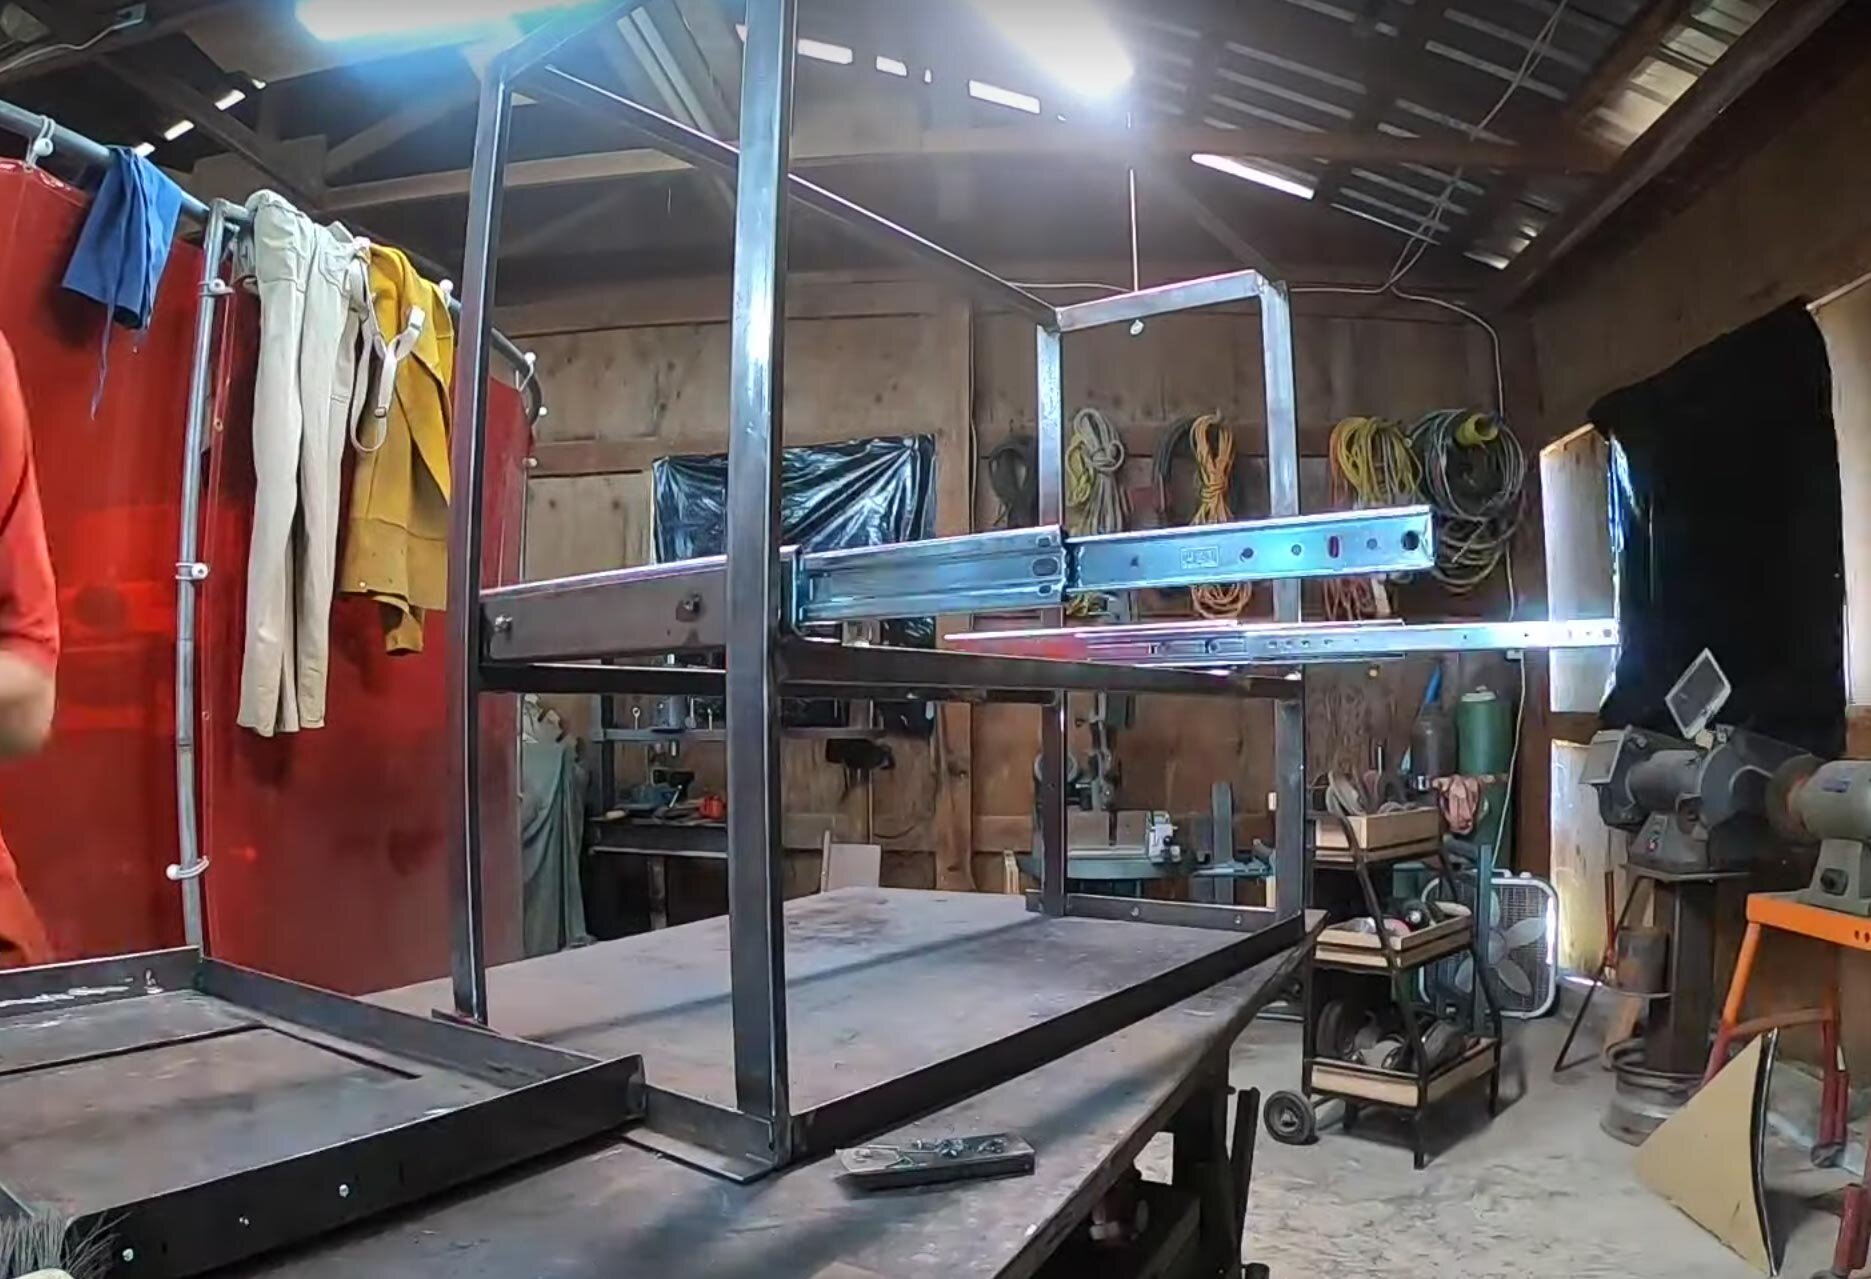
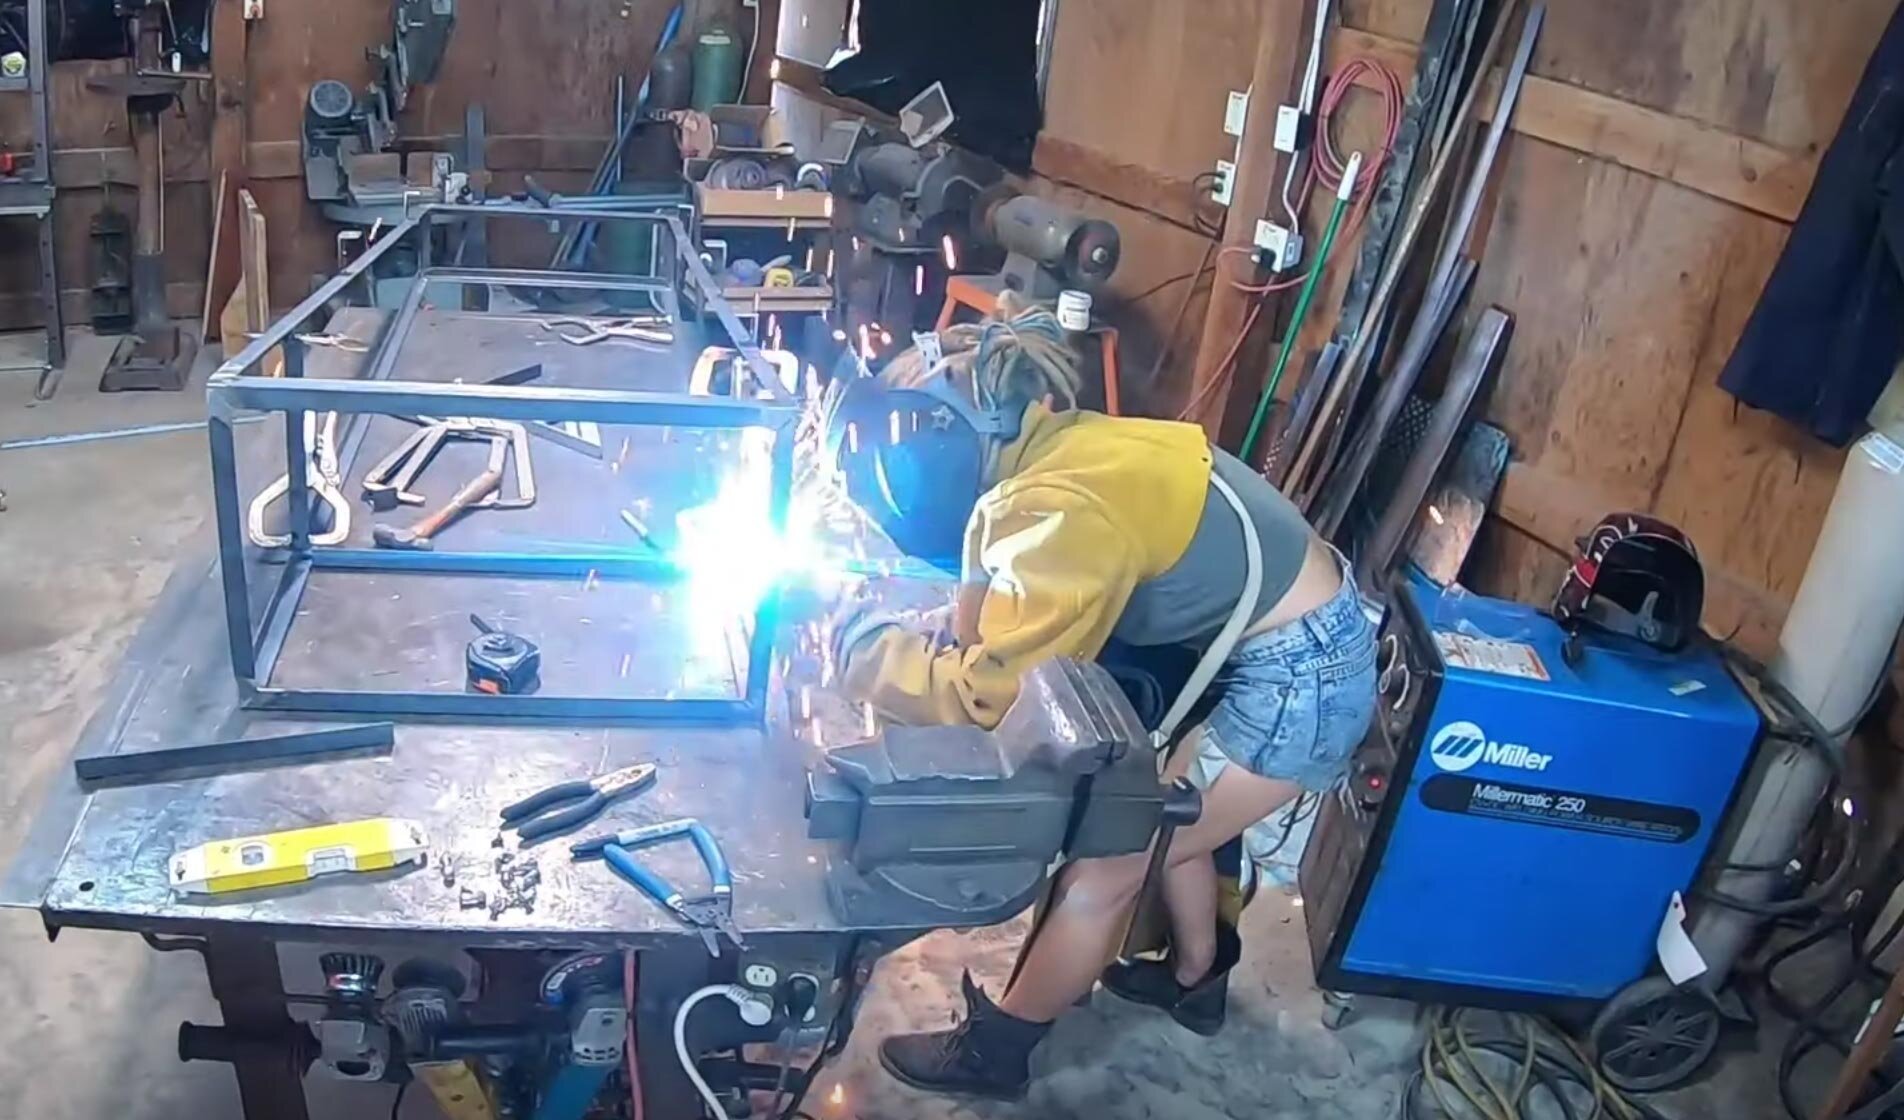
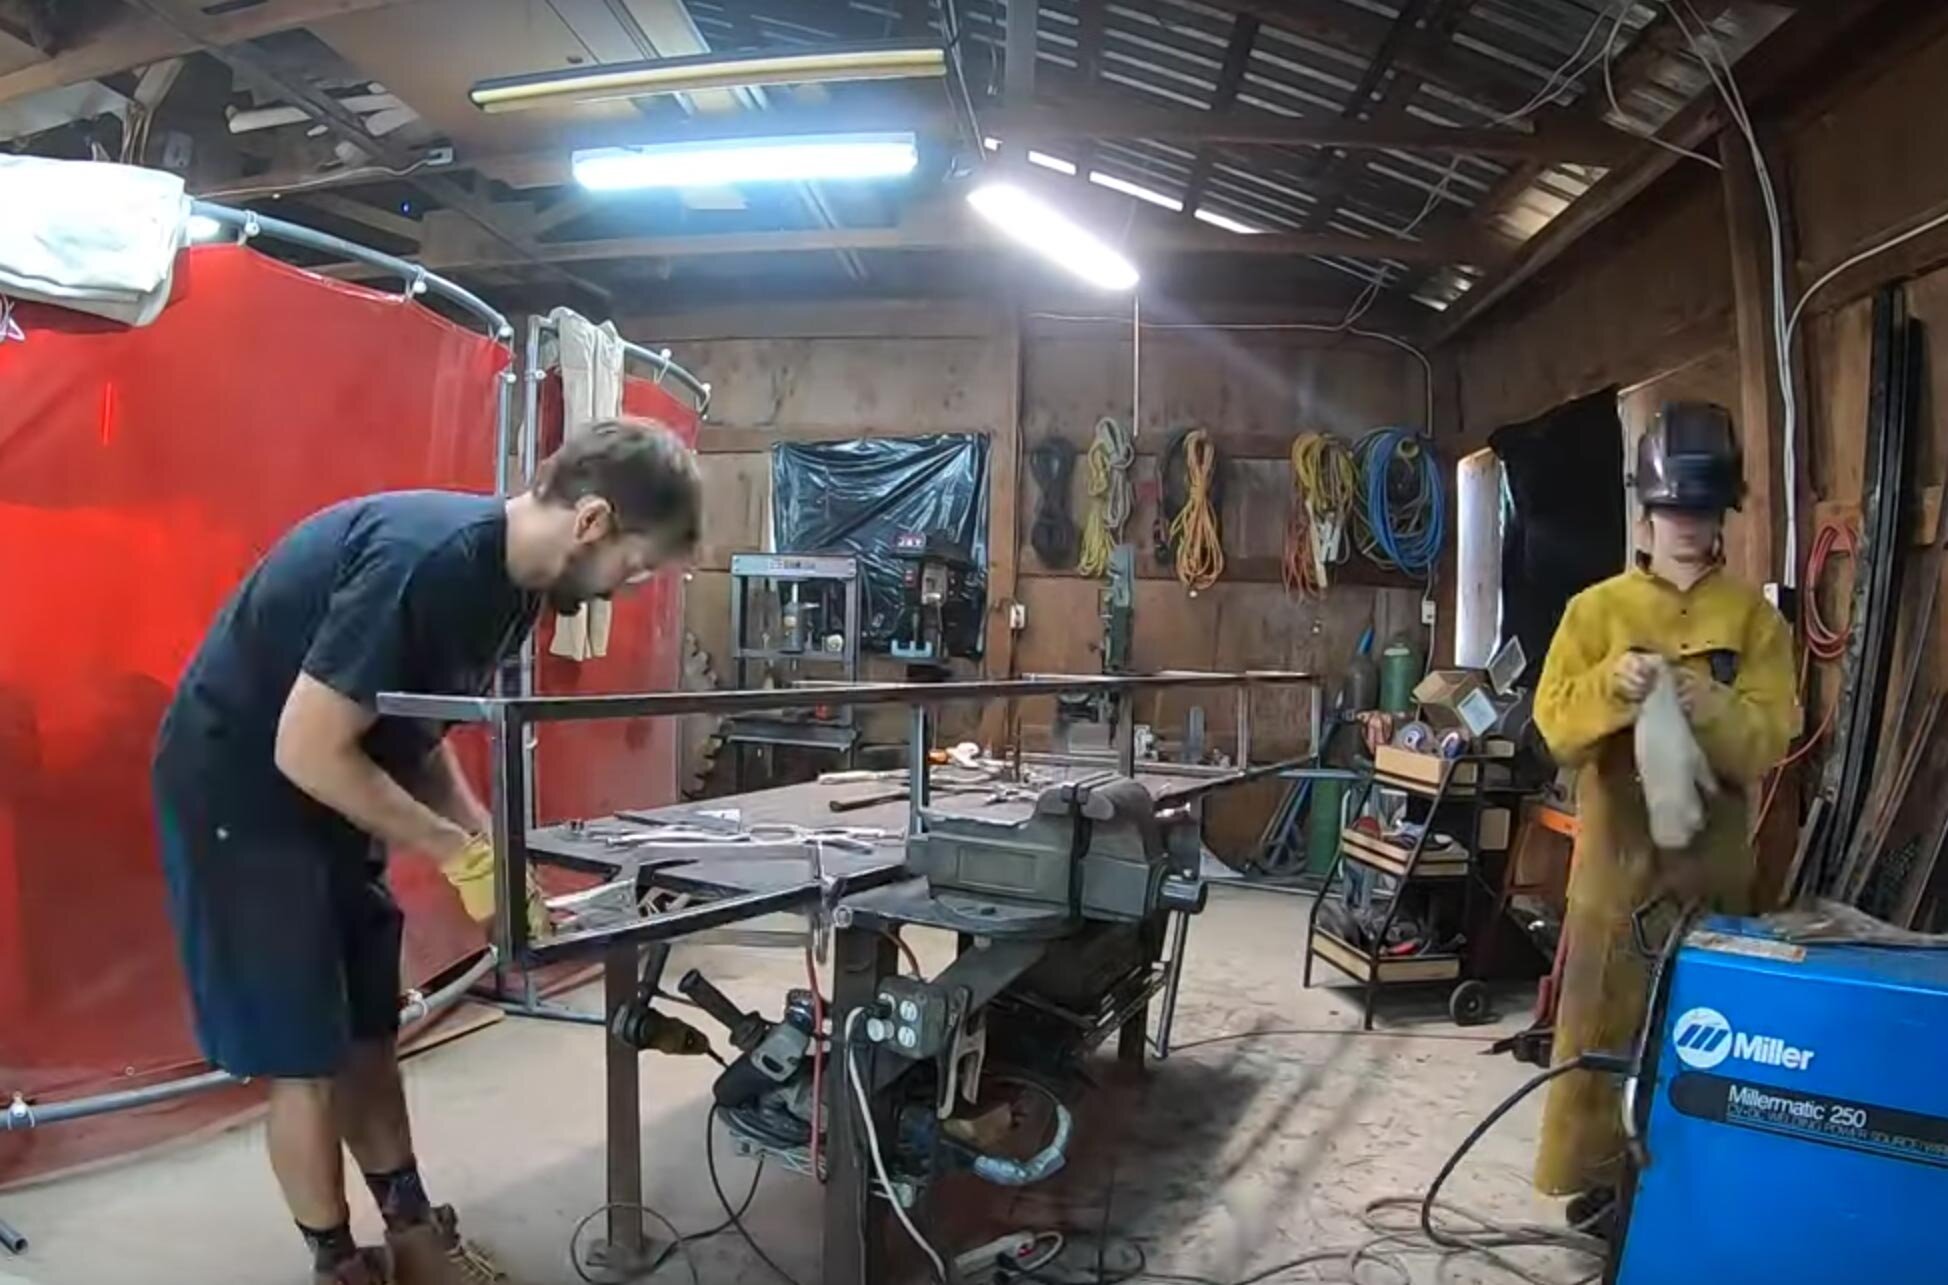
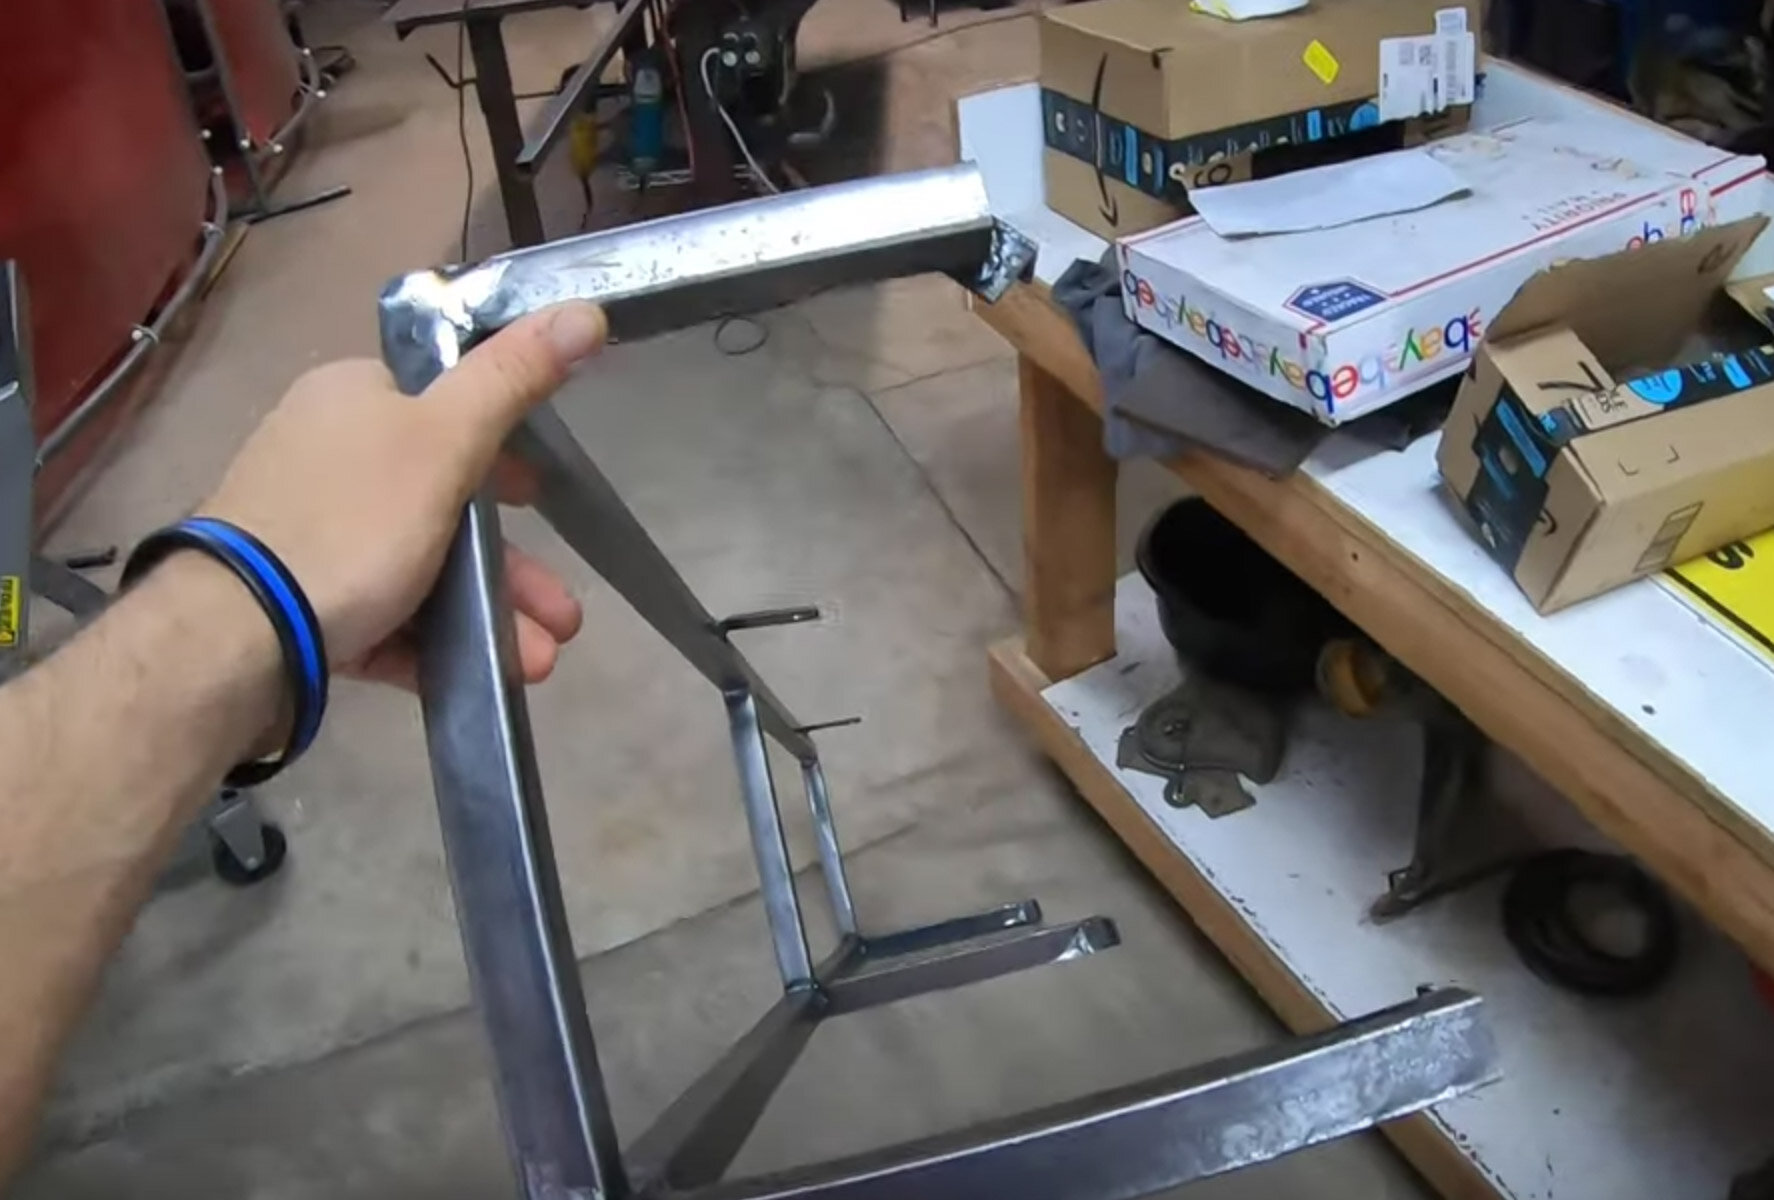
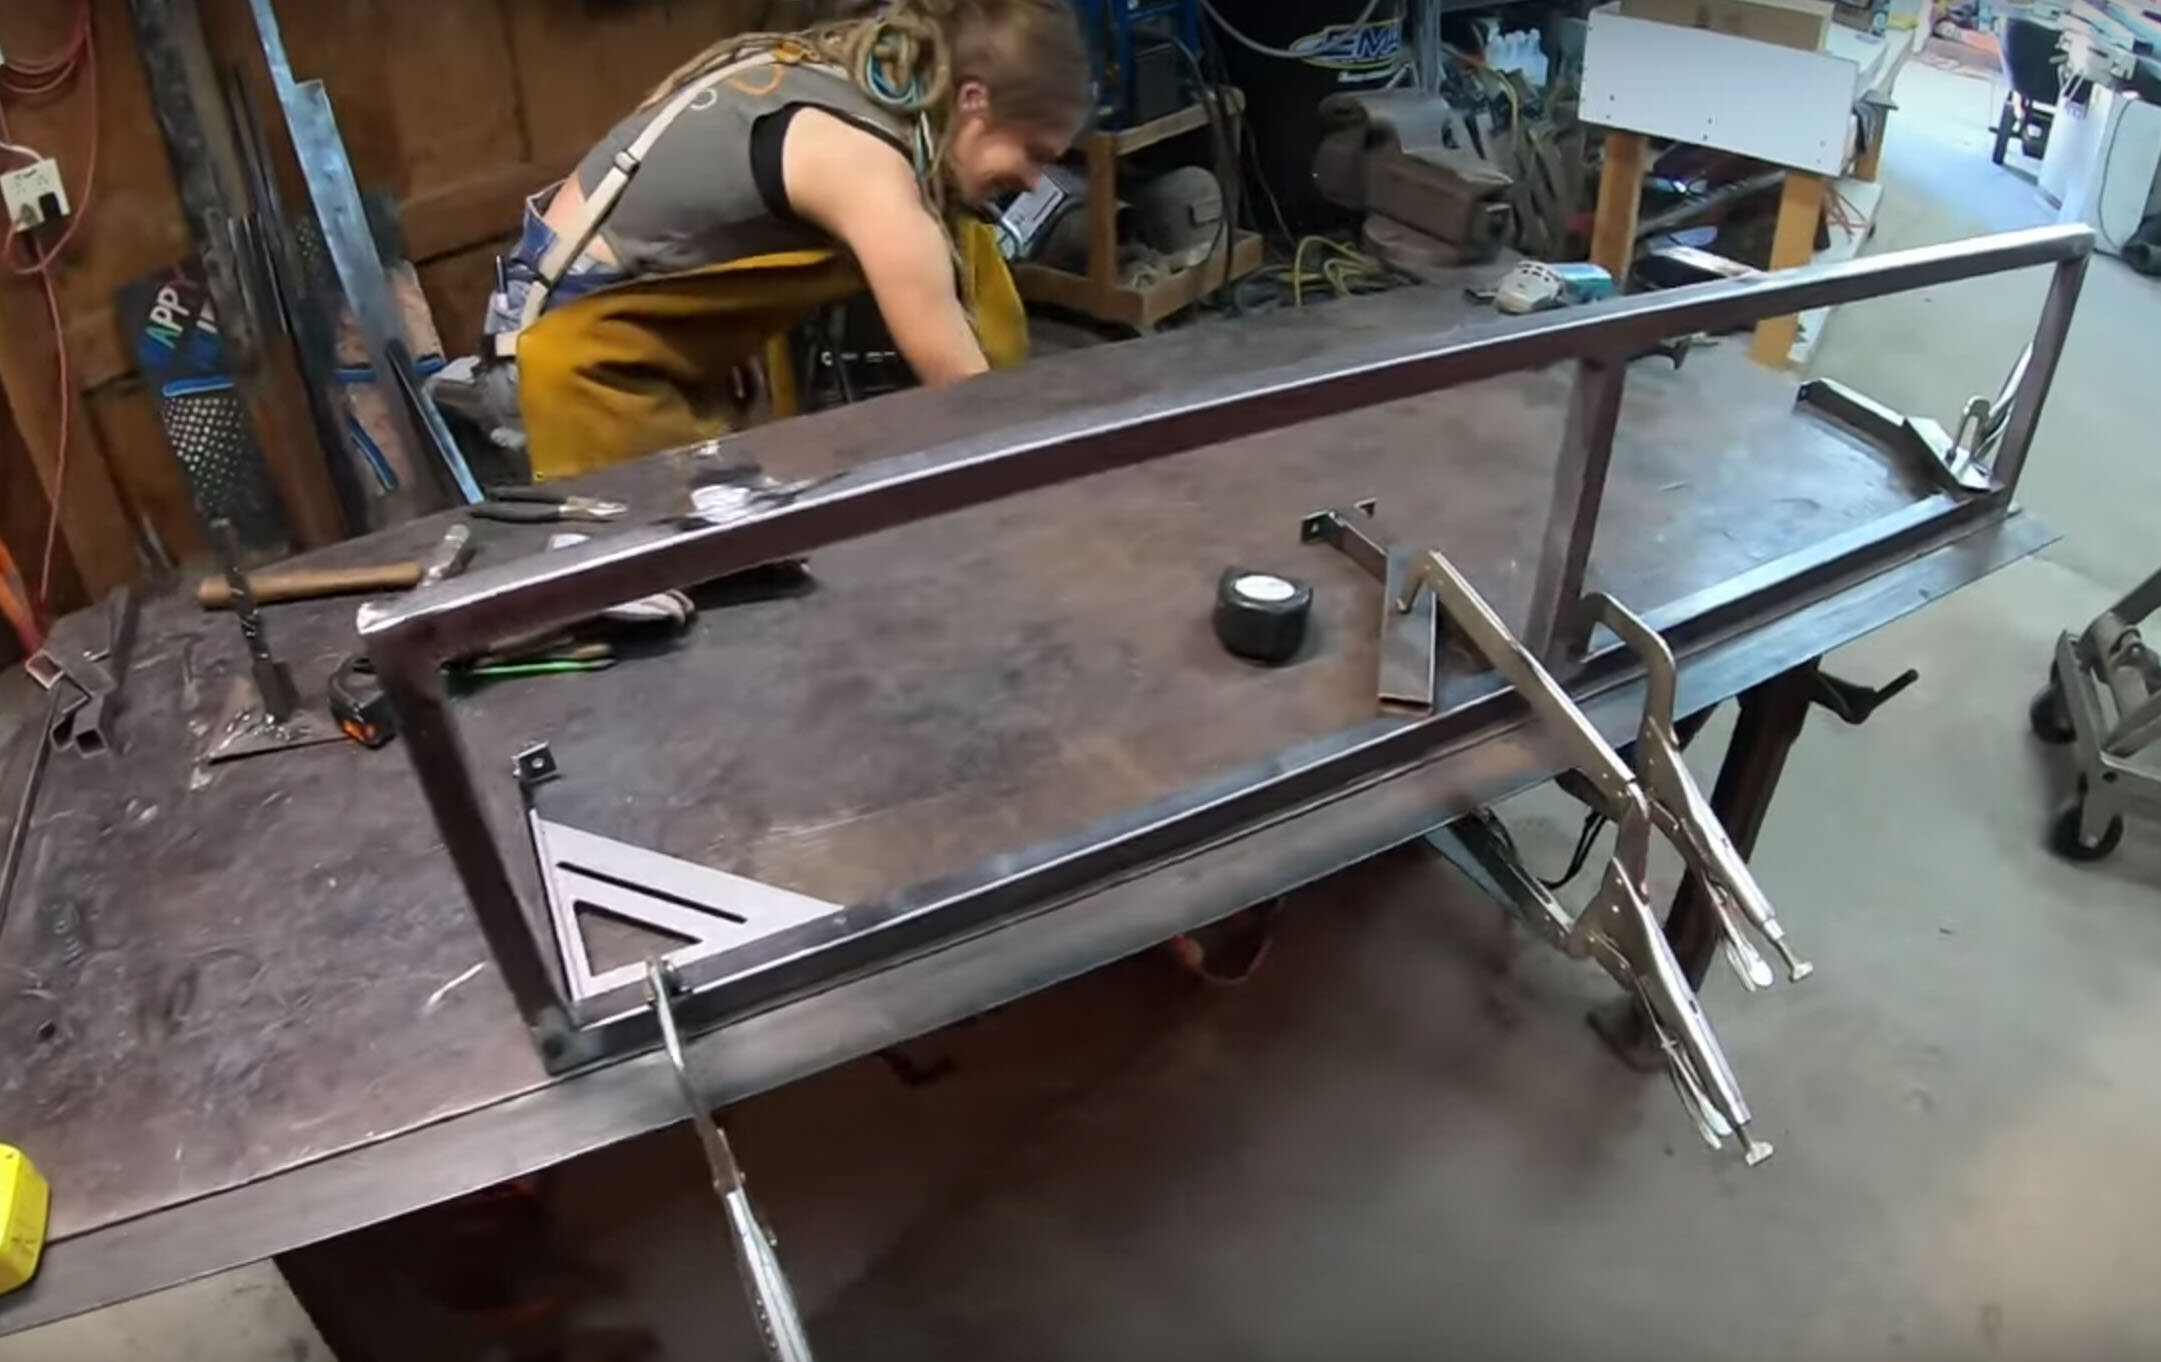
We've built cabinet frames both inside the van and in the shop and we've realized it’s a bit easier to build all the frames outside of the van.  We also wanted to make all the framing out of steel. So that way, it will be extremely durable and will be able to take all the vibrations that the van will be provided along the journey.  

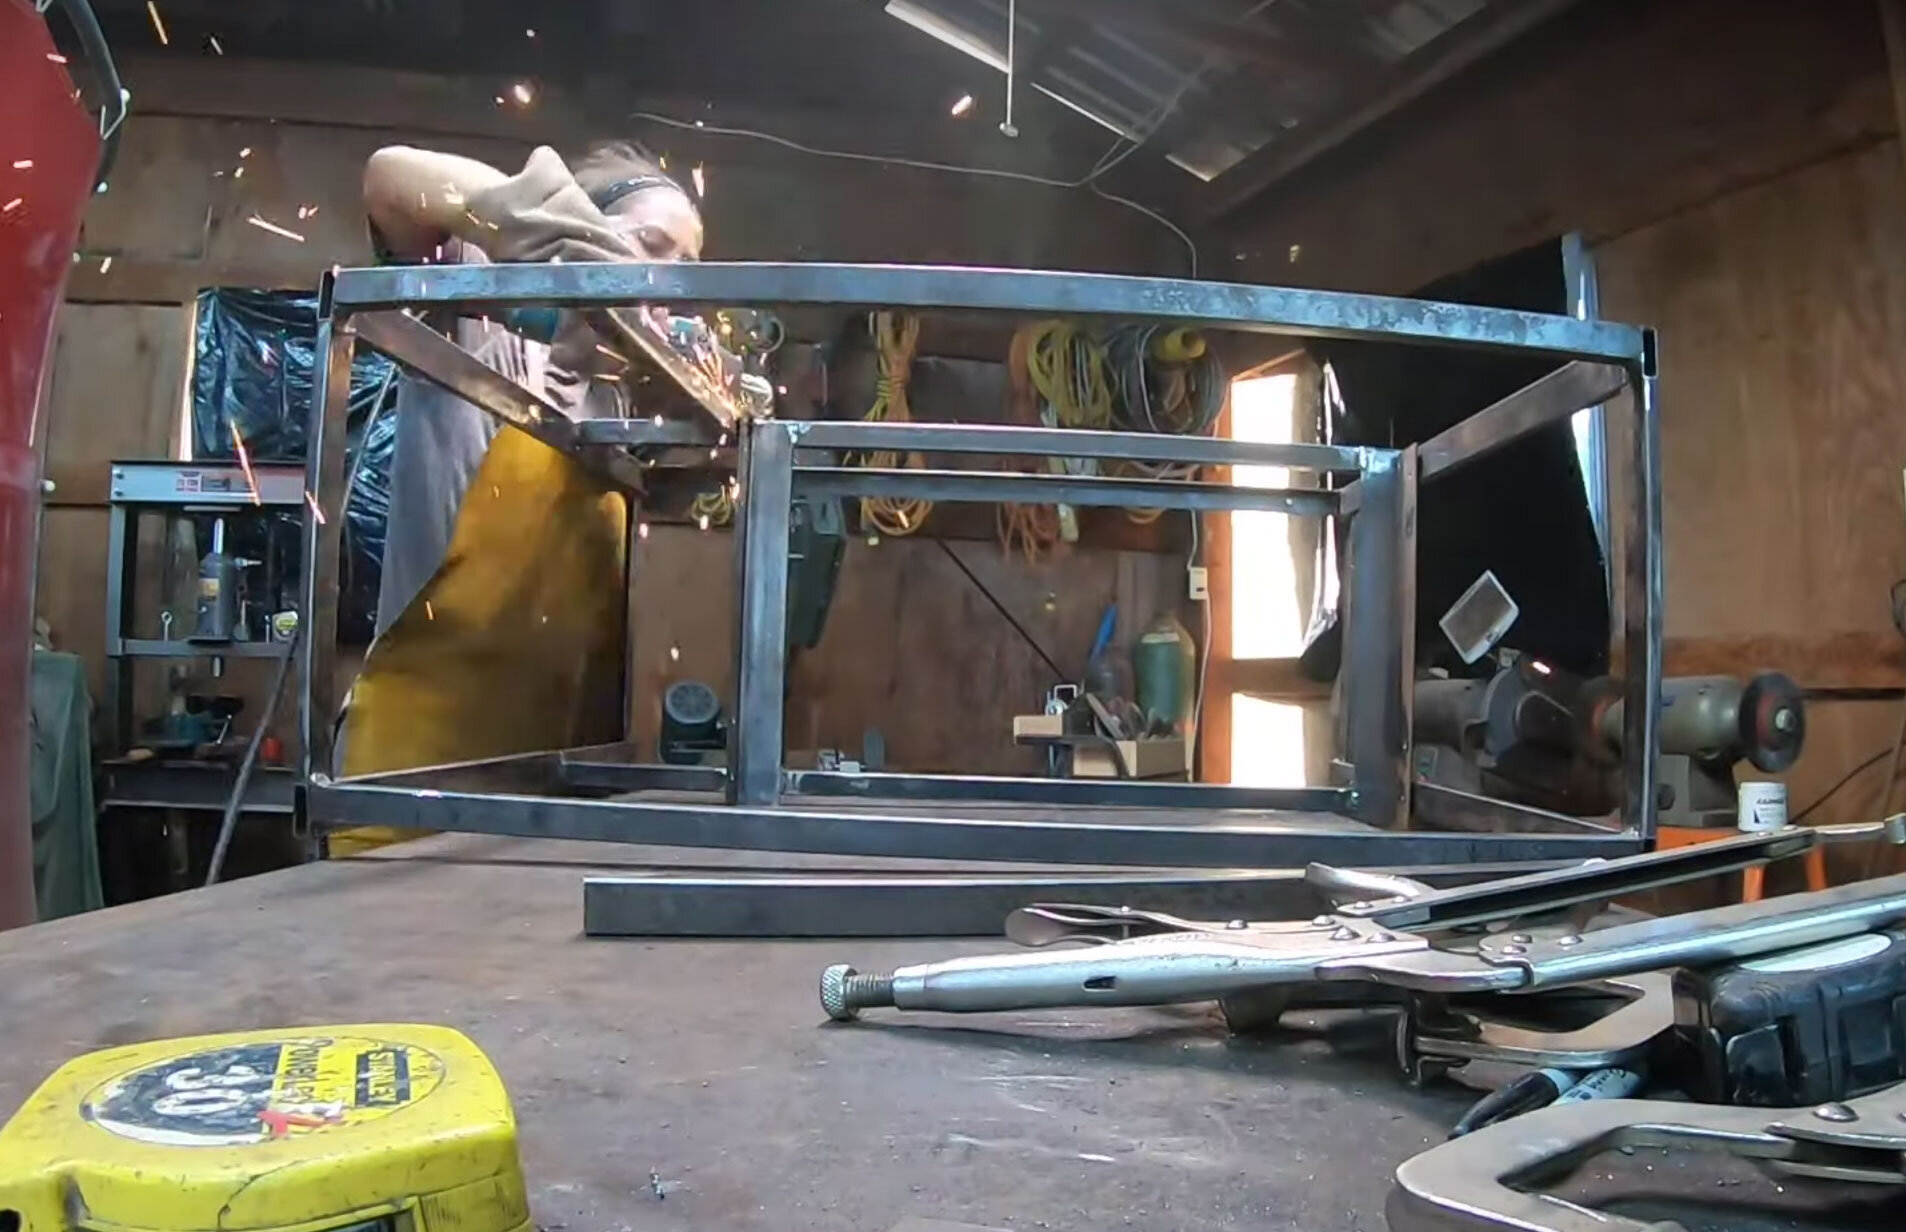
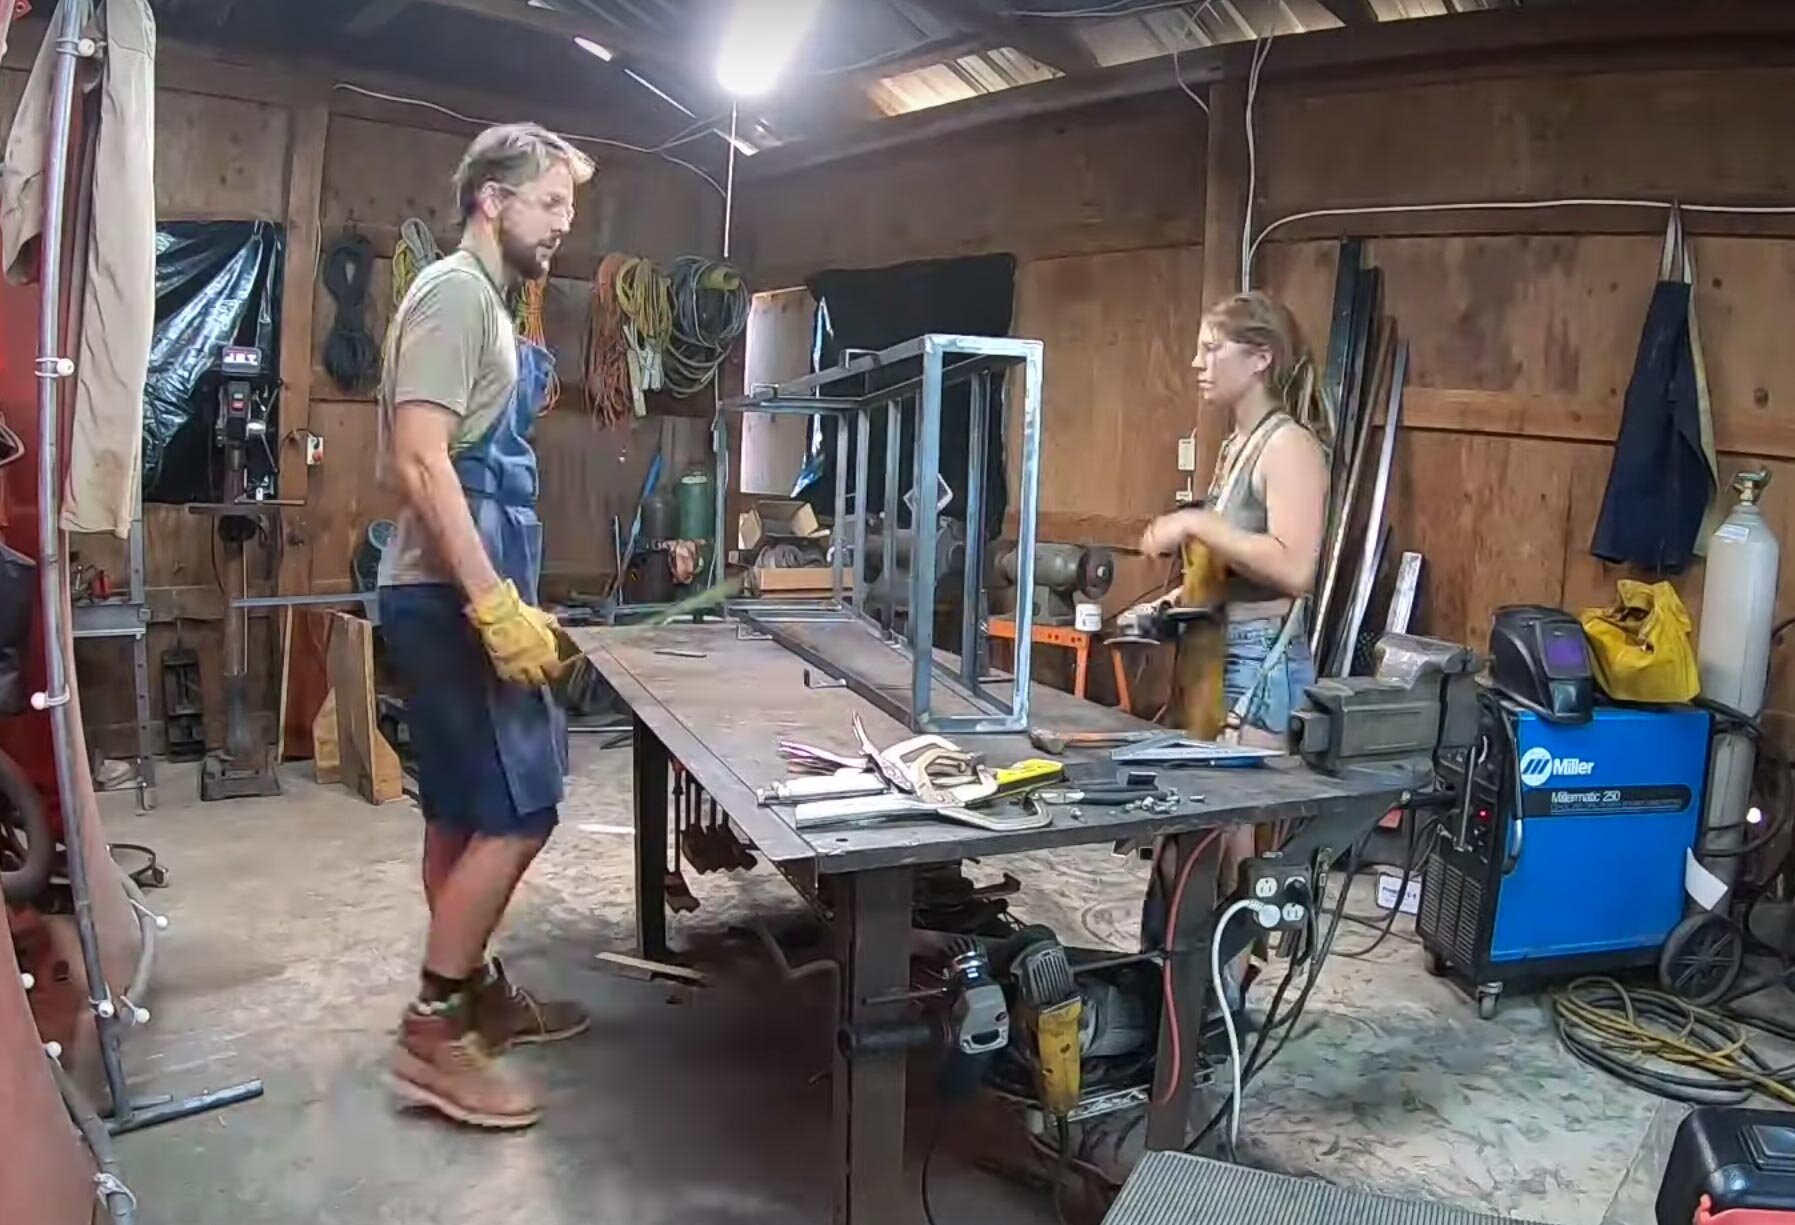
Welding all the frames was an arduous task and we would probably not do it again simply because working with wood is so much easier and quicker.  With that being said, if you’re up to the challenge we think that the steel frames are more lightweight than wood because they require so much less material and are much stronger than the wood framing.  Welding all the cabinet frames took us much longer than anticipated, but the result is so much cleaner and stronger. So, it was worth every second.  

Building and framing cabinets in a van conversion sprinter van diy--22.jpg

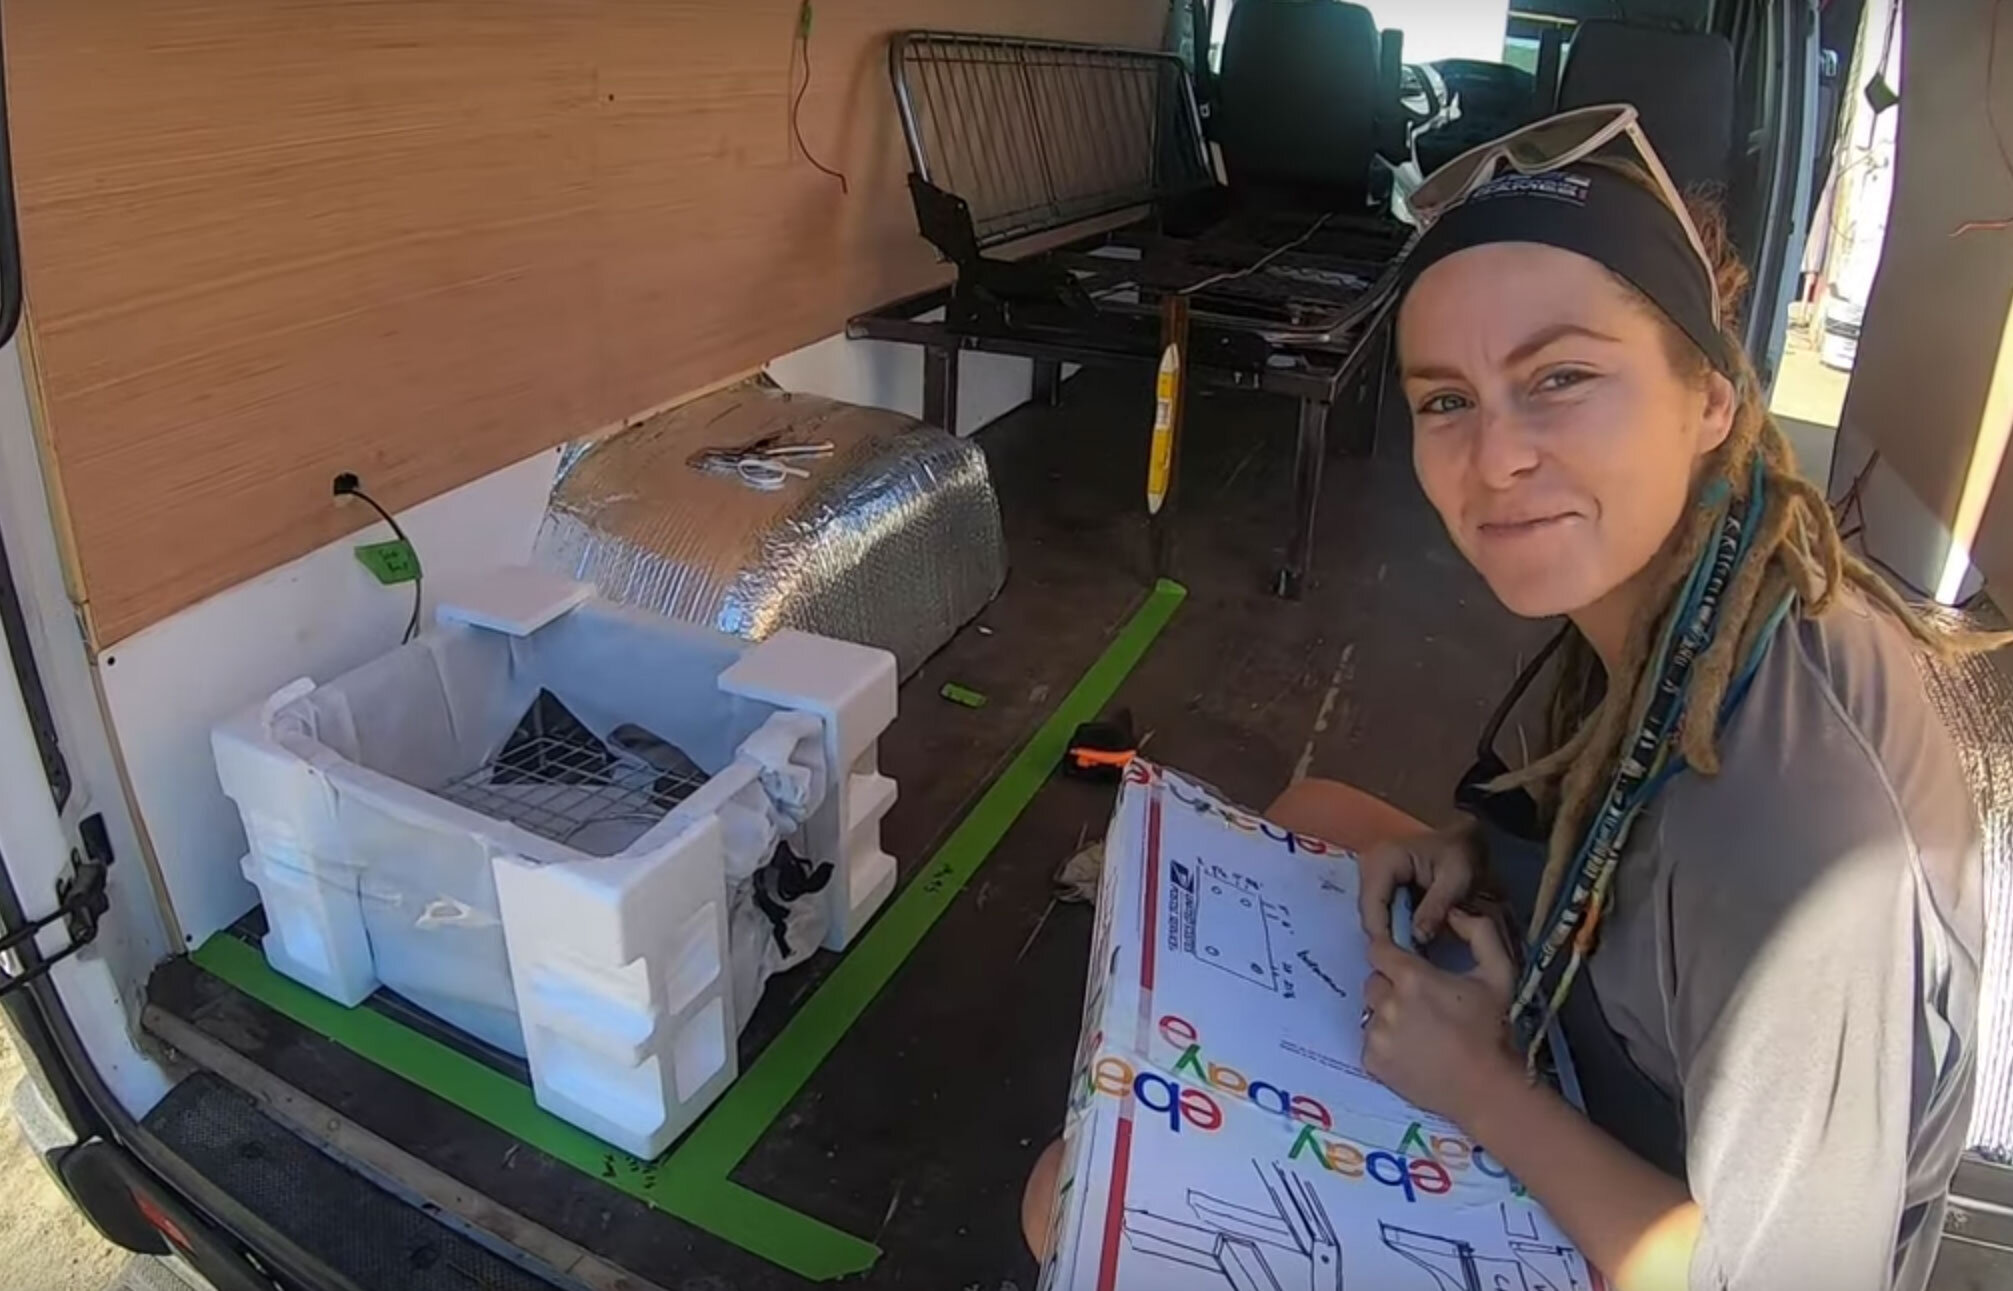
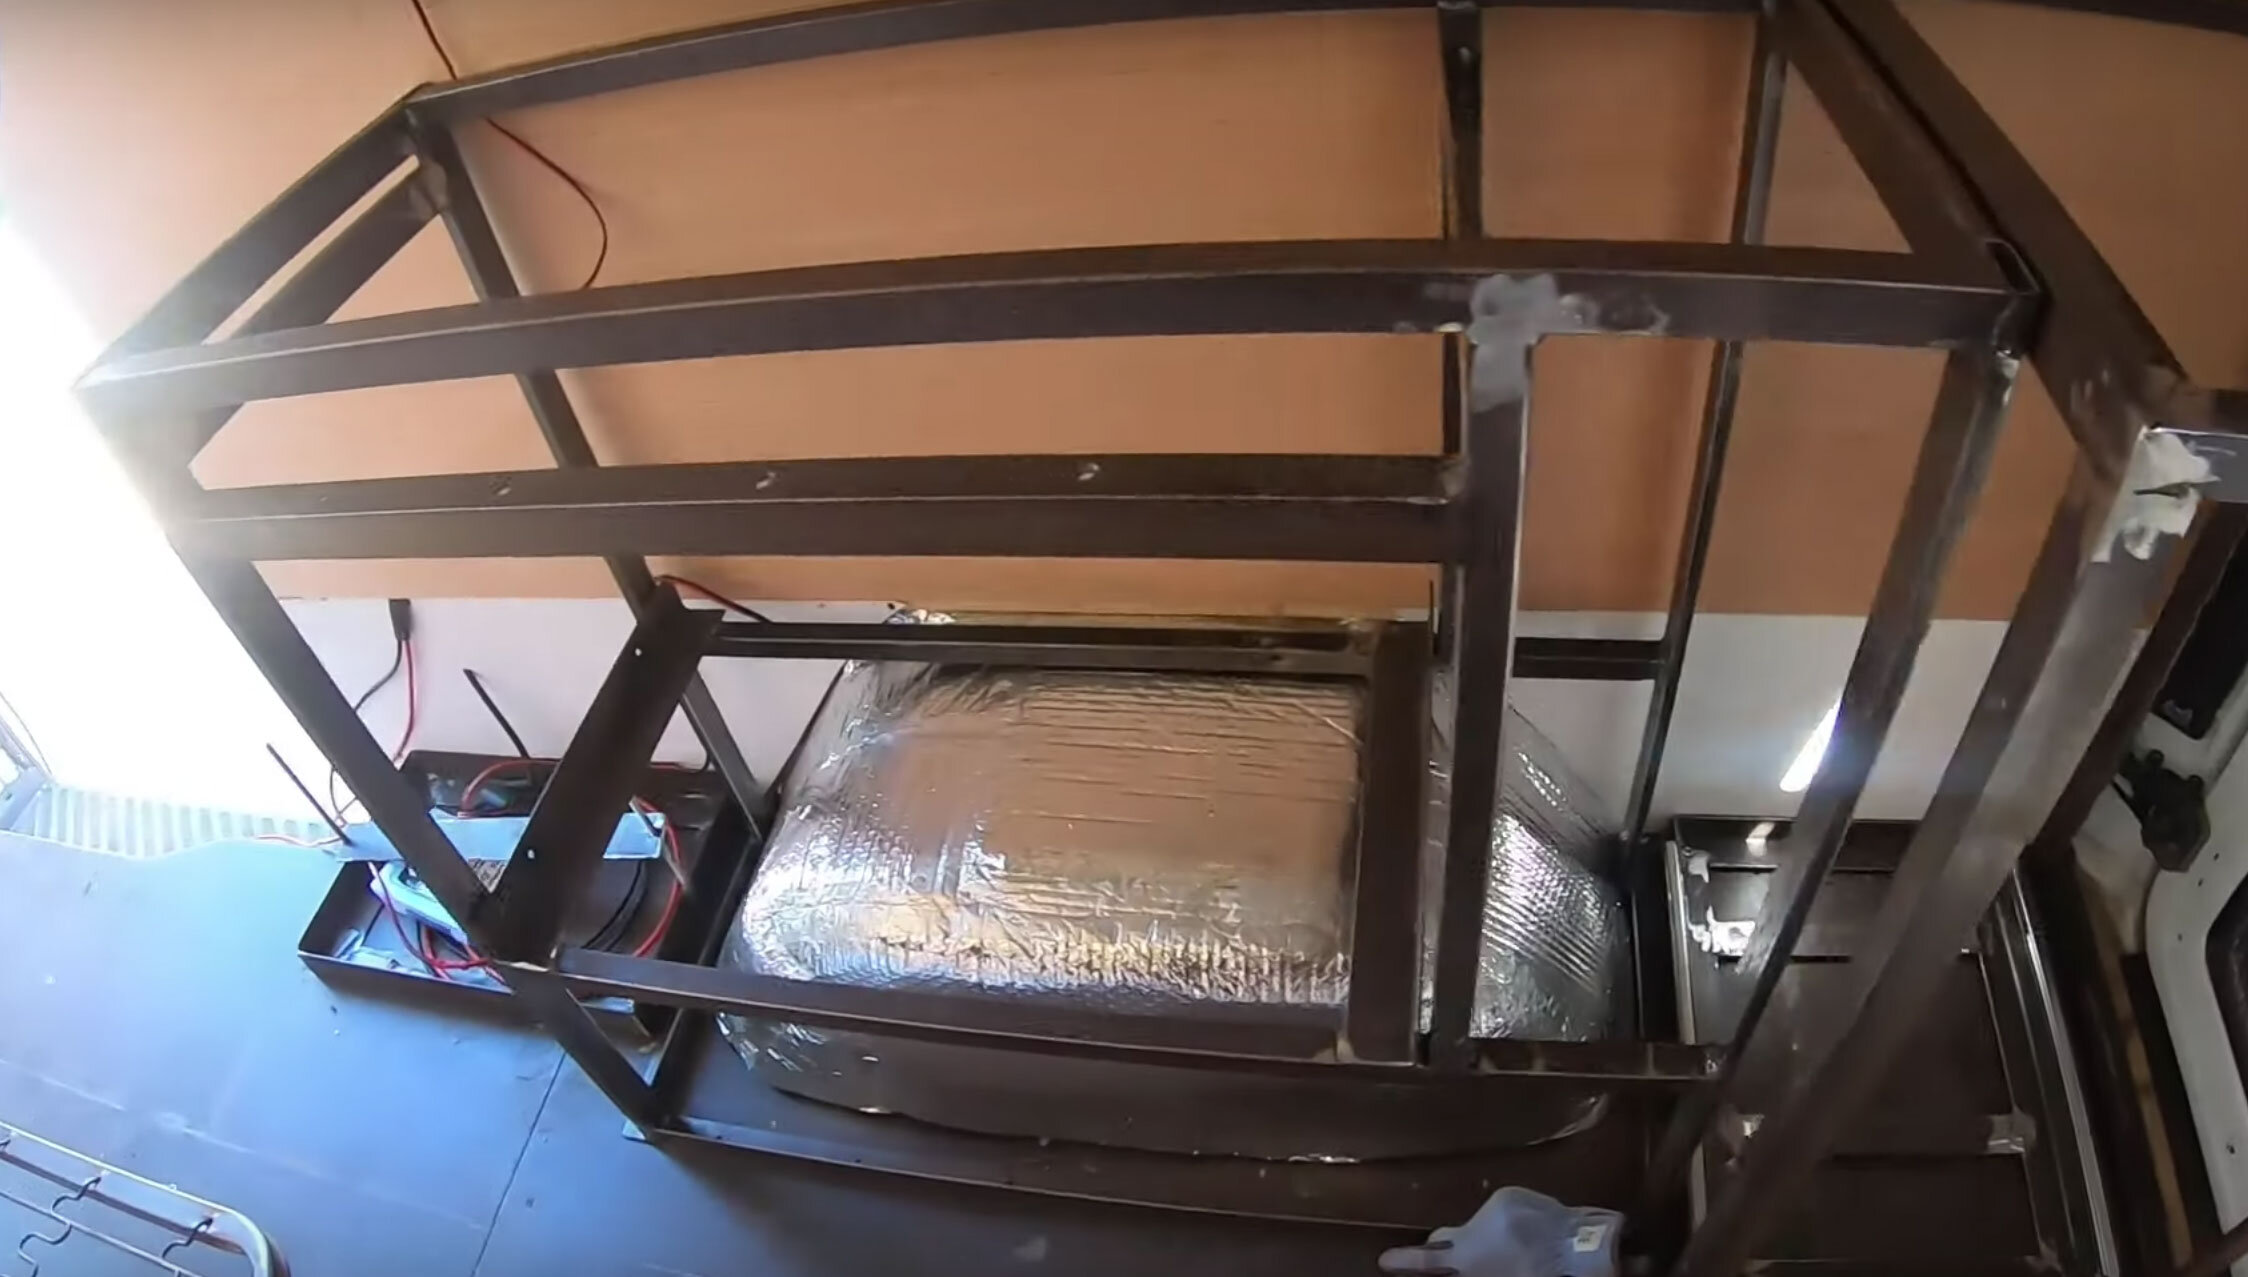
After measuring space and drawing it out many times, we were ready to make our first frames.  On the van's floor, we use masking tape to tape out the size of all cabinet bases to get an idea of how much space we will have. We measure the sizes between the tape and sketch up some drawings. Then, we always start with the cabinets' base and build them up from there, always referring to our drawings as we go.  You will need to account for building in a curved structure, so most times, the base dimensions will be much different from the top dimensions.  This is where your drawings and measurements need to be on point, or you'll be reworking some of your masterpieces. 

You will also want to become best friends with your T-Square to make sure every aspect of your framing is square.  If not, you will have some difficulties getting your drawers to slide smooth or having a level countertop.  

We like to start with our largest cabinets, first. Then, do all the smaller upper cabinets later. So that way, we can see what the dimensions of the upper cabinets need to be to still have headroom and ample space to feel comfortable.  Since there is no right or wrong way to build a van, you’ll notice it’s very ambiguous to choose dimensions for some of these cabinets.  Not all builds are alike. Sometimes, you gotta bend the rules a bit to make something fit.  That’s why it’s easiest to build large items, first, like beds and tall cabinets. Then, work around them, while making countless drawings, to get your space perfect for you.  

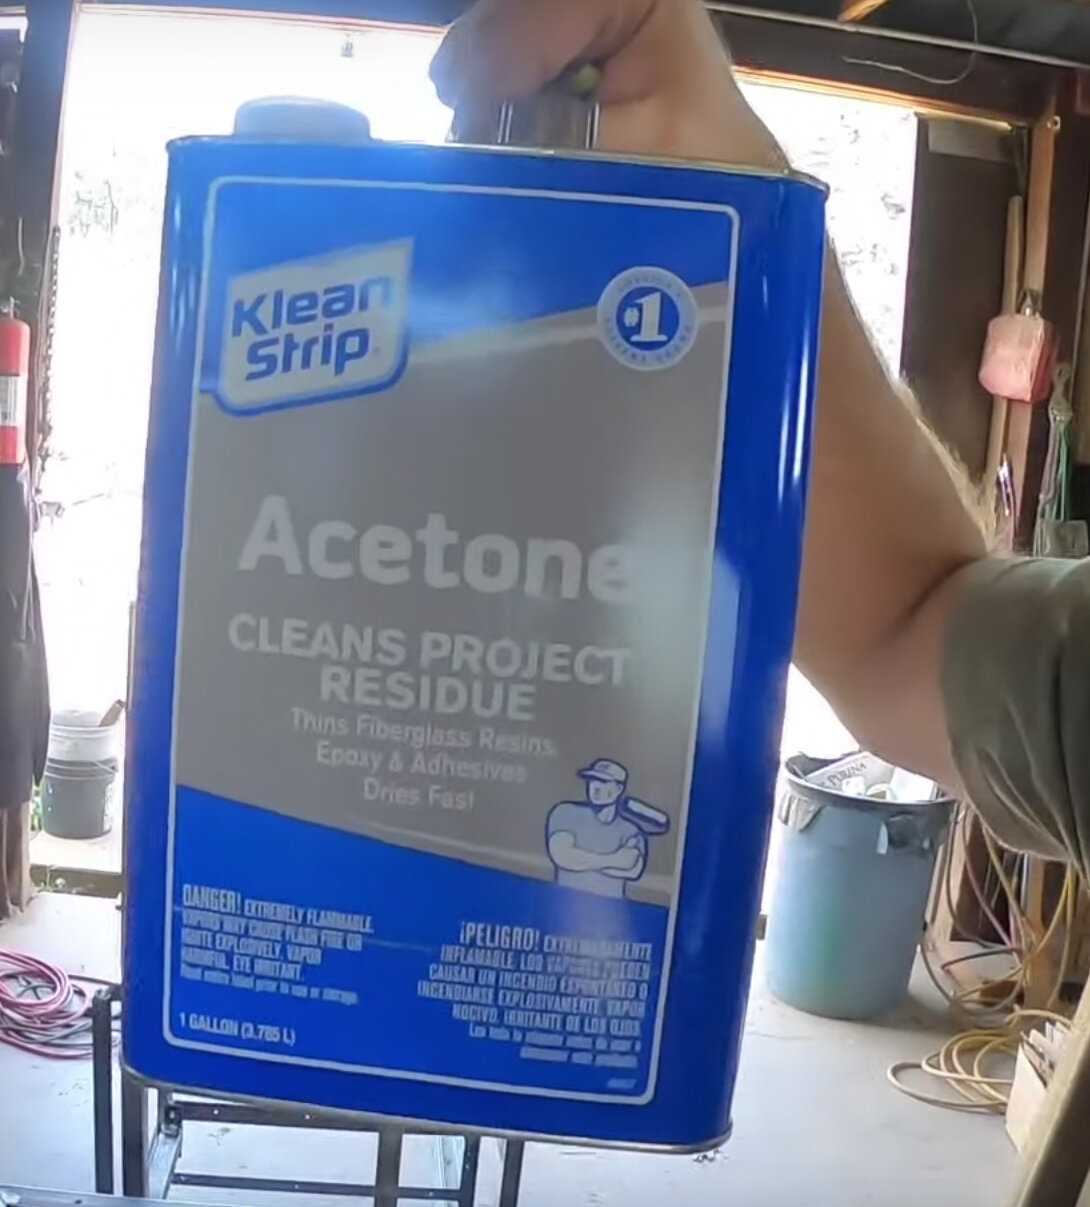
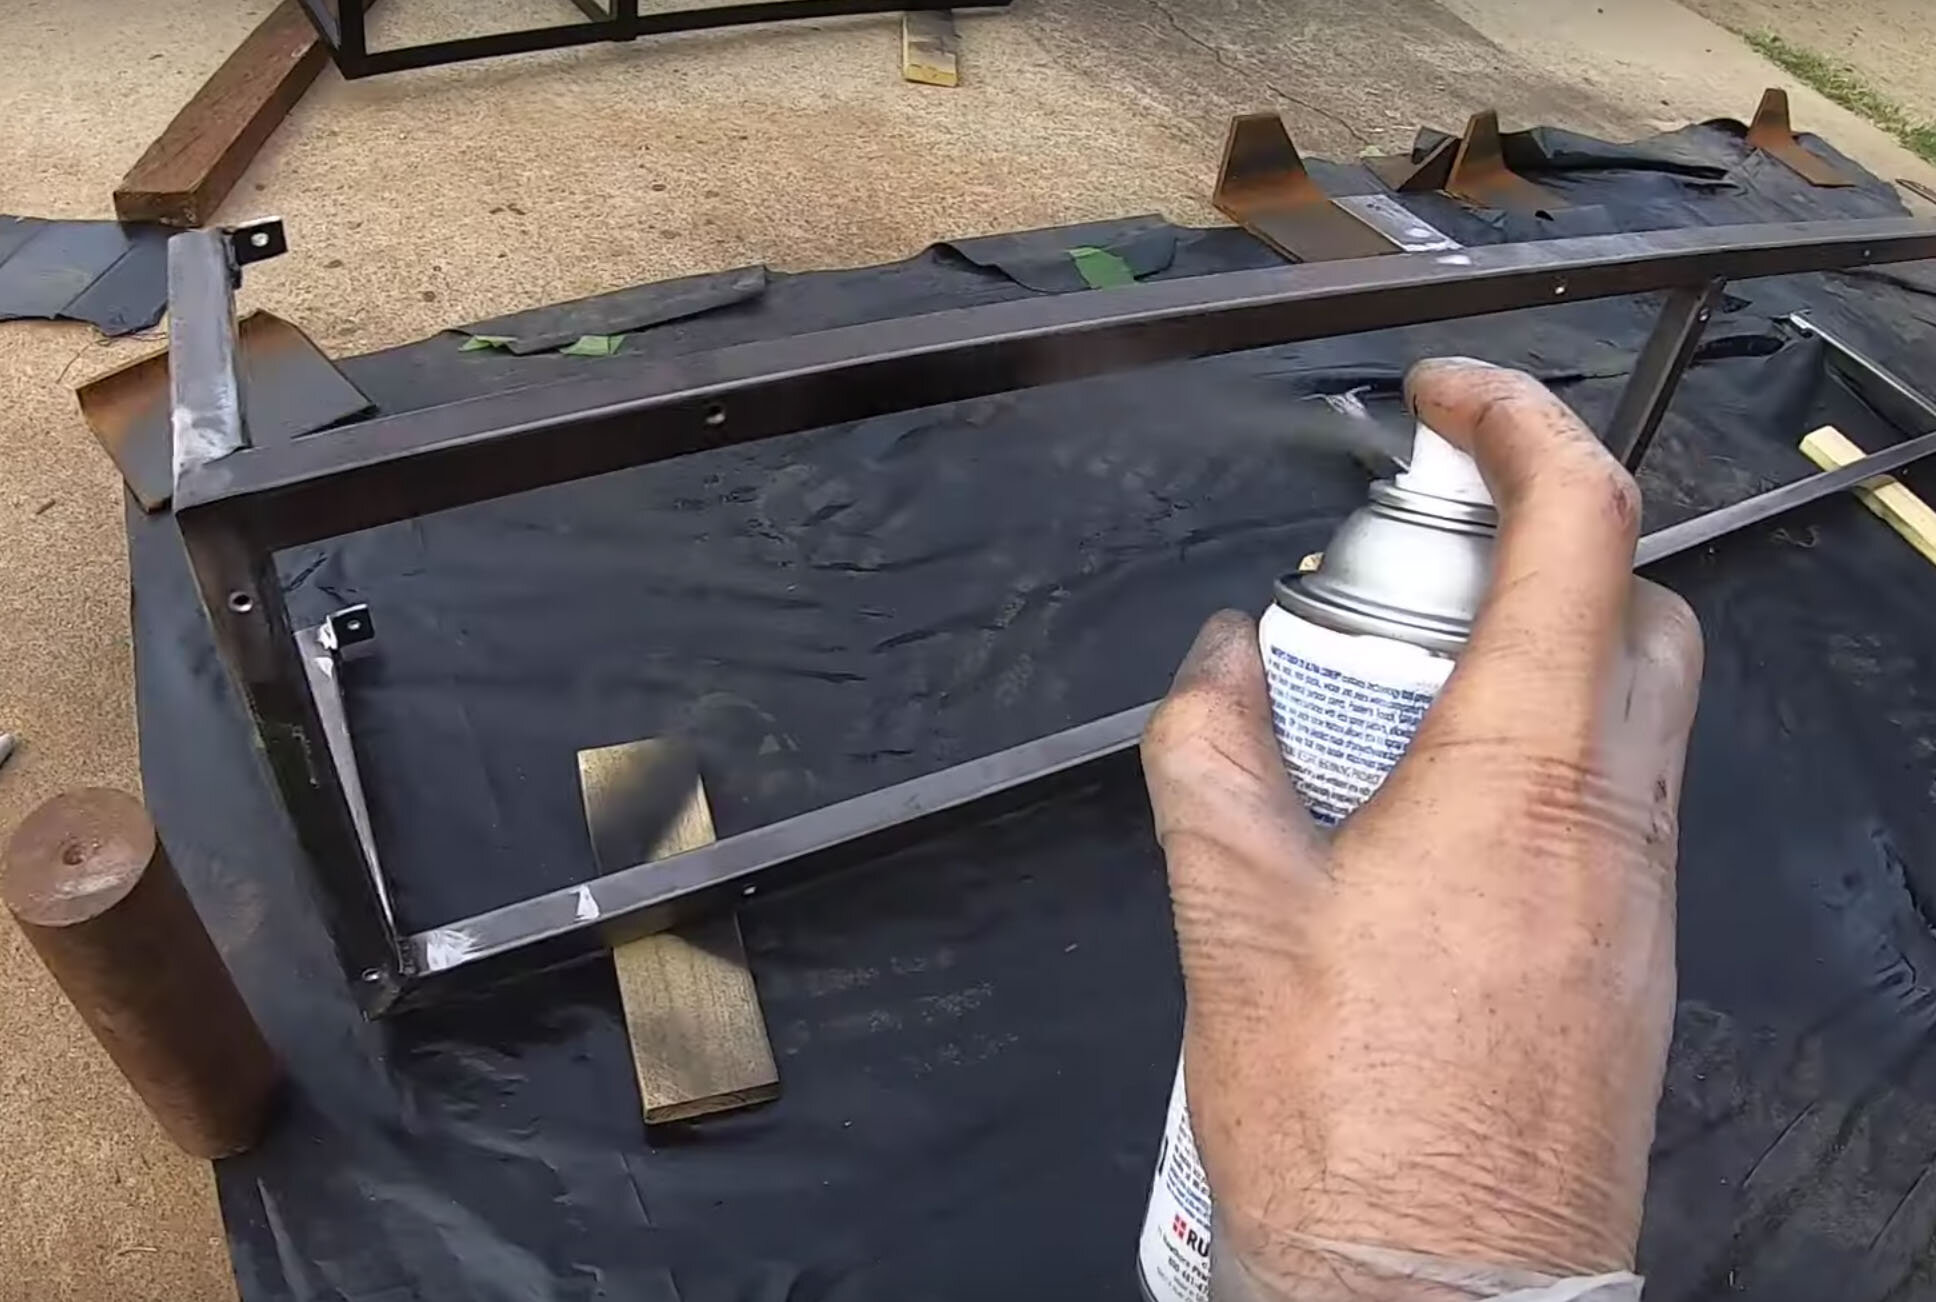
Once everything is framed and fits into the van perfectly and you are happy with your frames. It’s much easier to paint the cabinet frames now, outside of the van, compared to when they are installed inside the van. Since we welded all of our frames, we first needed to clean all the metal with acetone before we spray painted everything black. Painting the steel frames is very crucial otherwise all the frames will rust and not look very nice as a finished product.

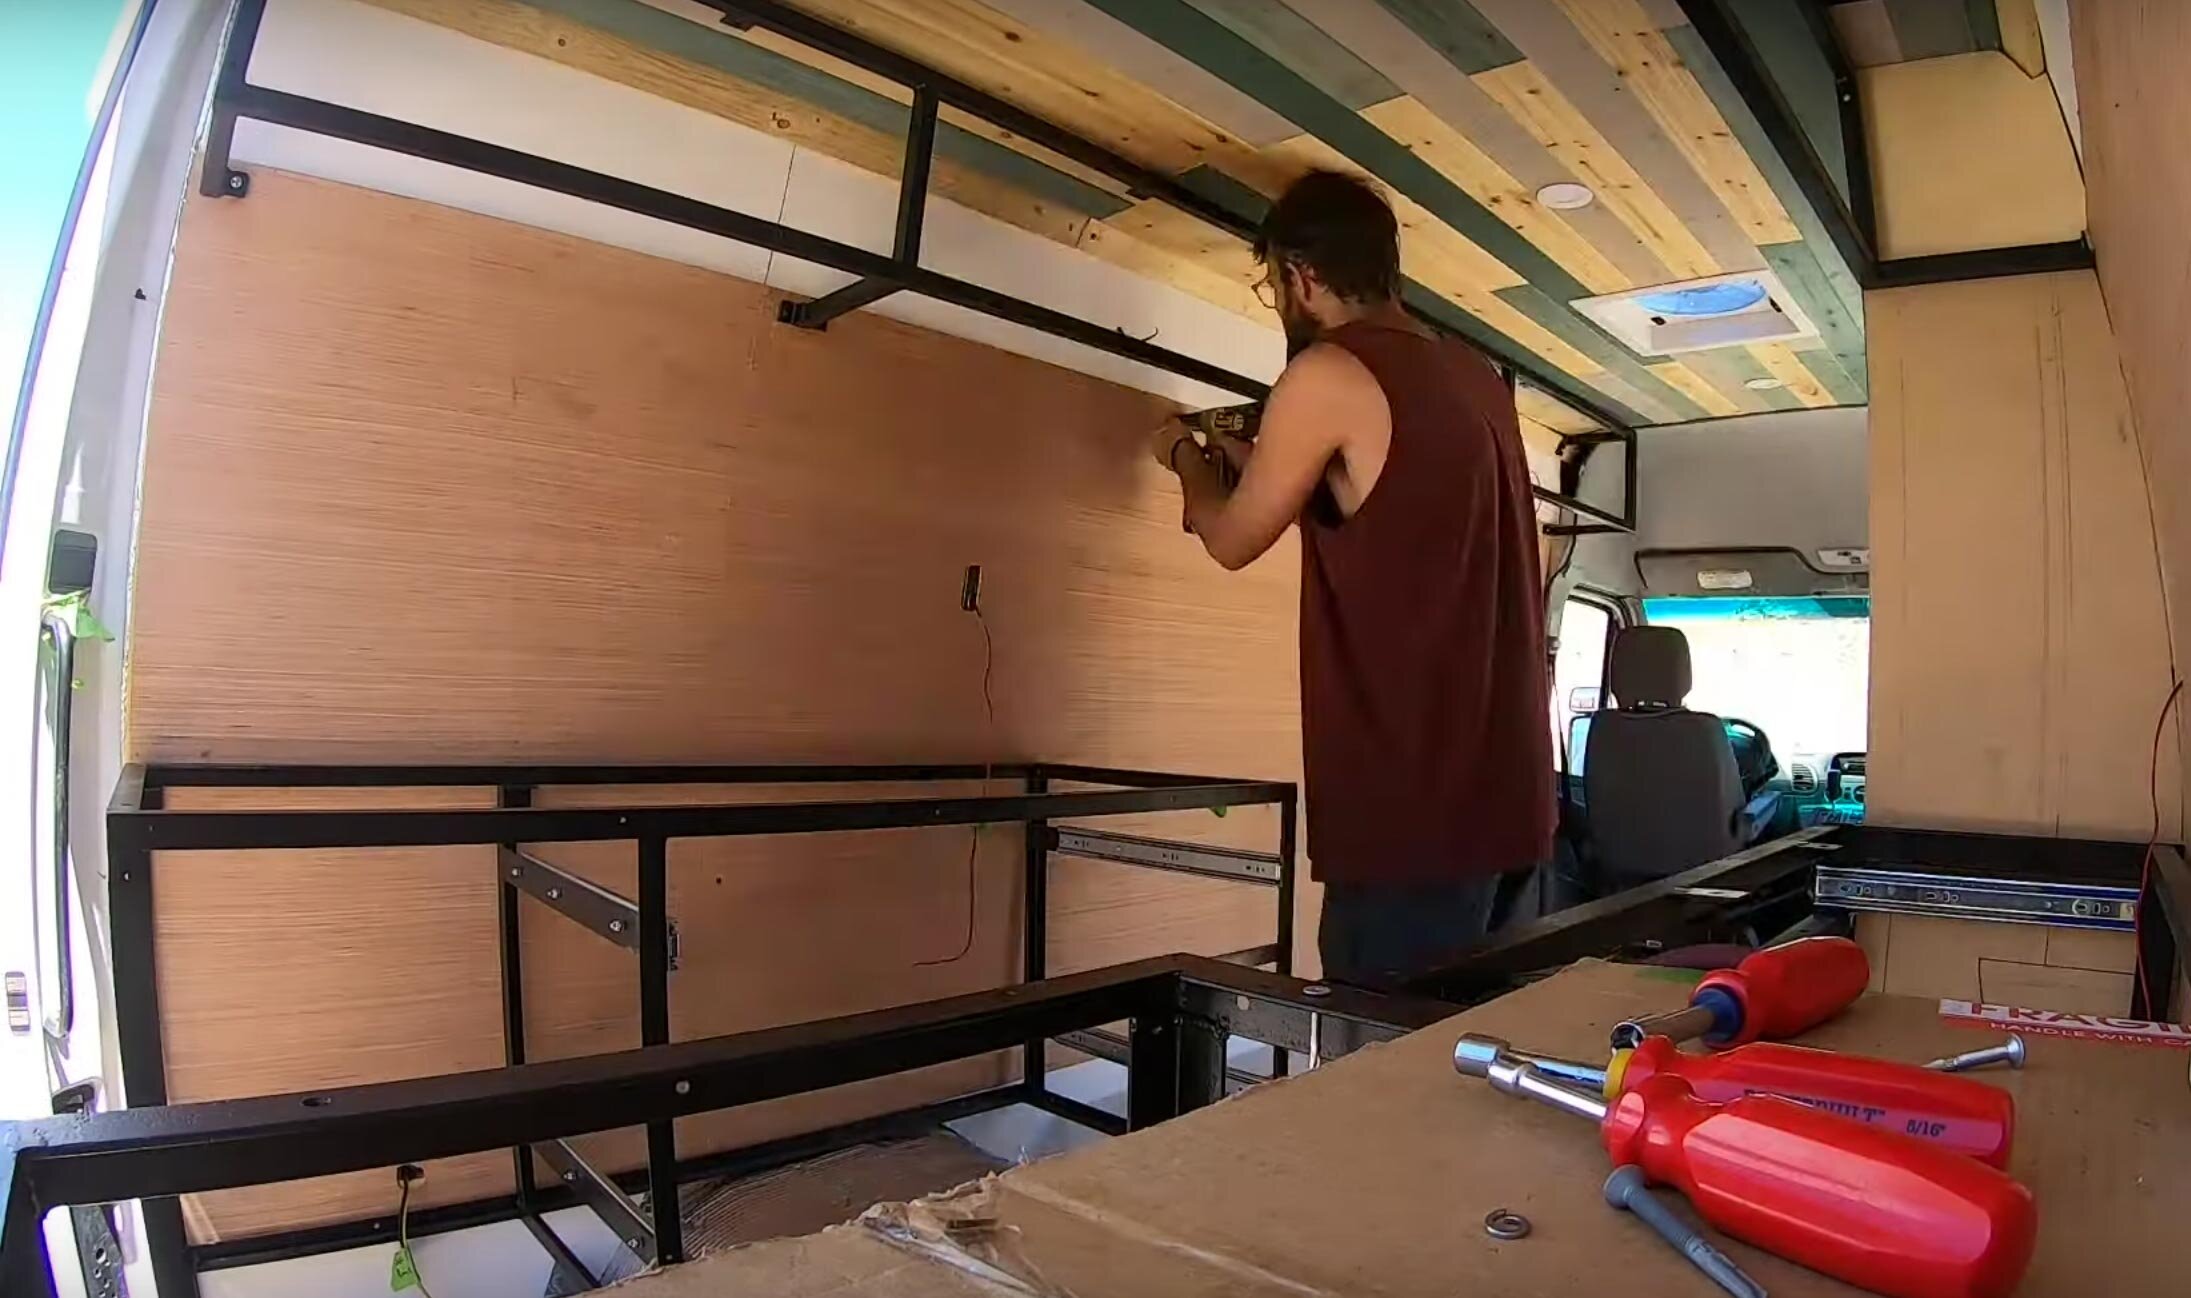
Once your cabinets are all framed up, you’ll need to secure them to the van walls.  This is where your original layout design will payoff.  Hopefully you framed your wall up so that everything can be easily attached to the framing, securely. You'll want to screw in the base to the van floor and the backs of the cabinets to the framing behind your walls. 

After you have all your framing installed in the van, you will really feel accomplished and your van will really start to take shape here.  The sky’s the limit for creativity in your van build. Just remember to do what works best for you and your space. 

Building Metal DIY Upper Cabinets in Your Van Conversion

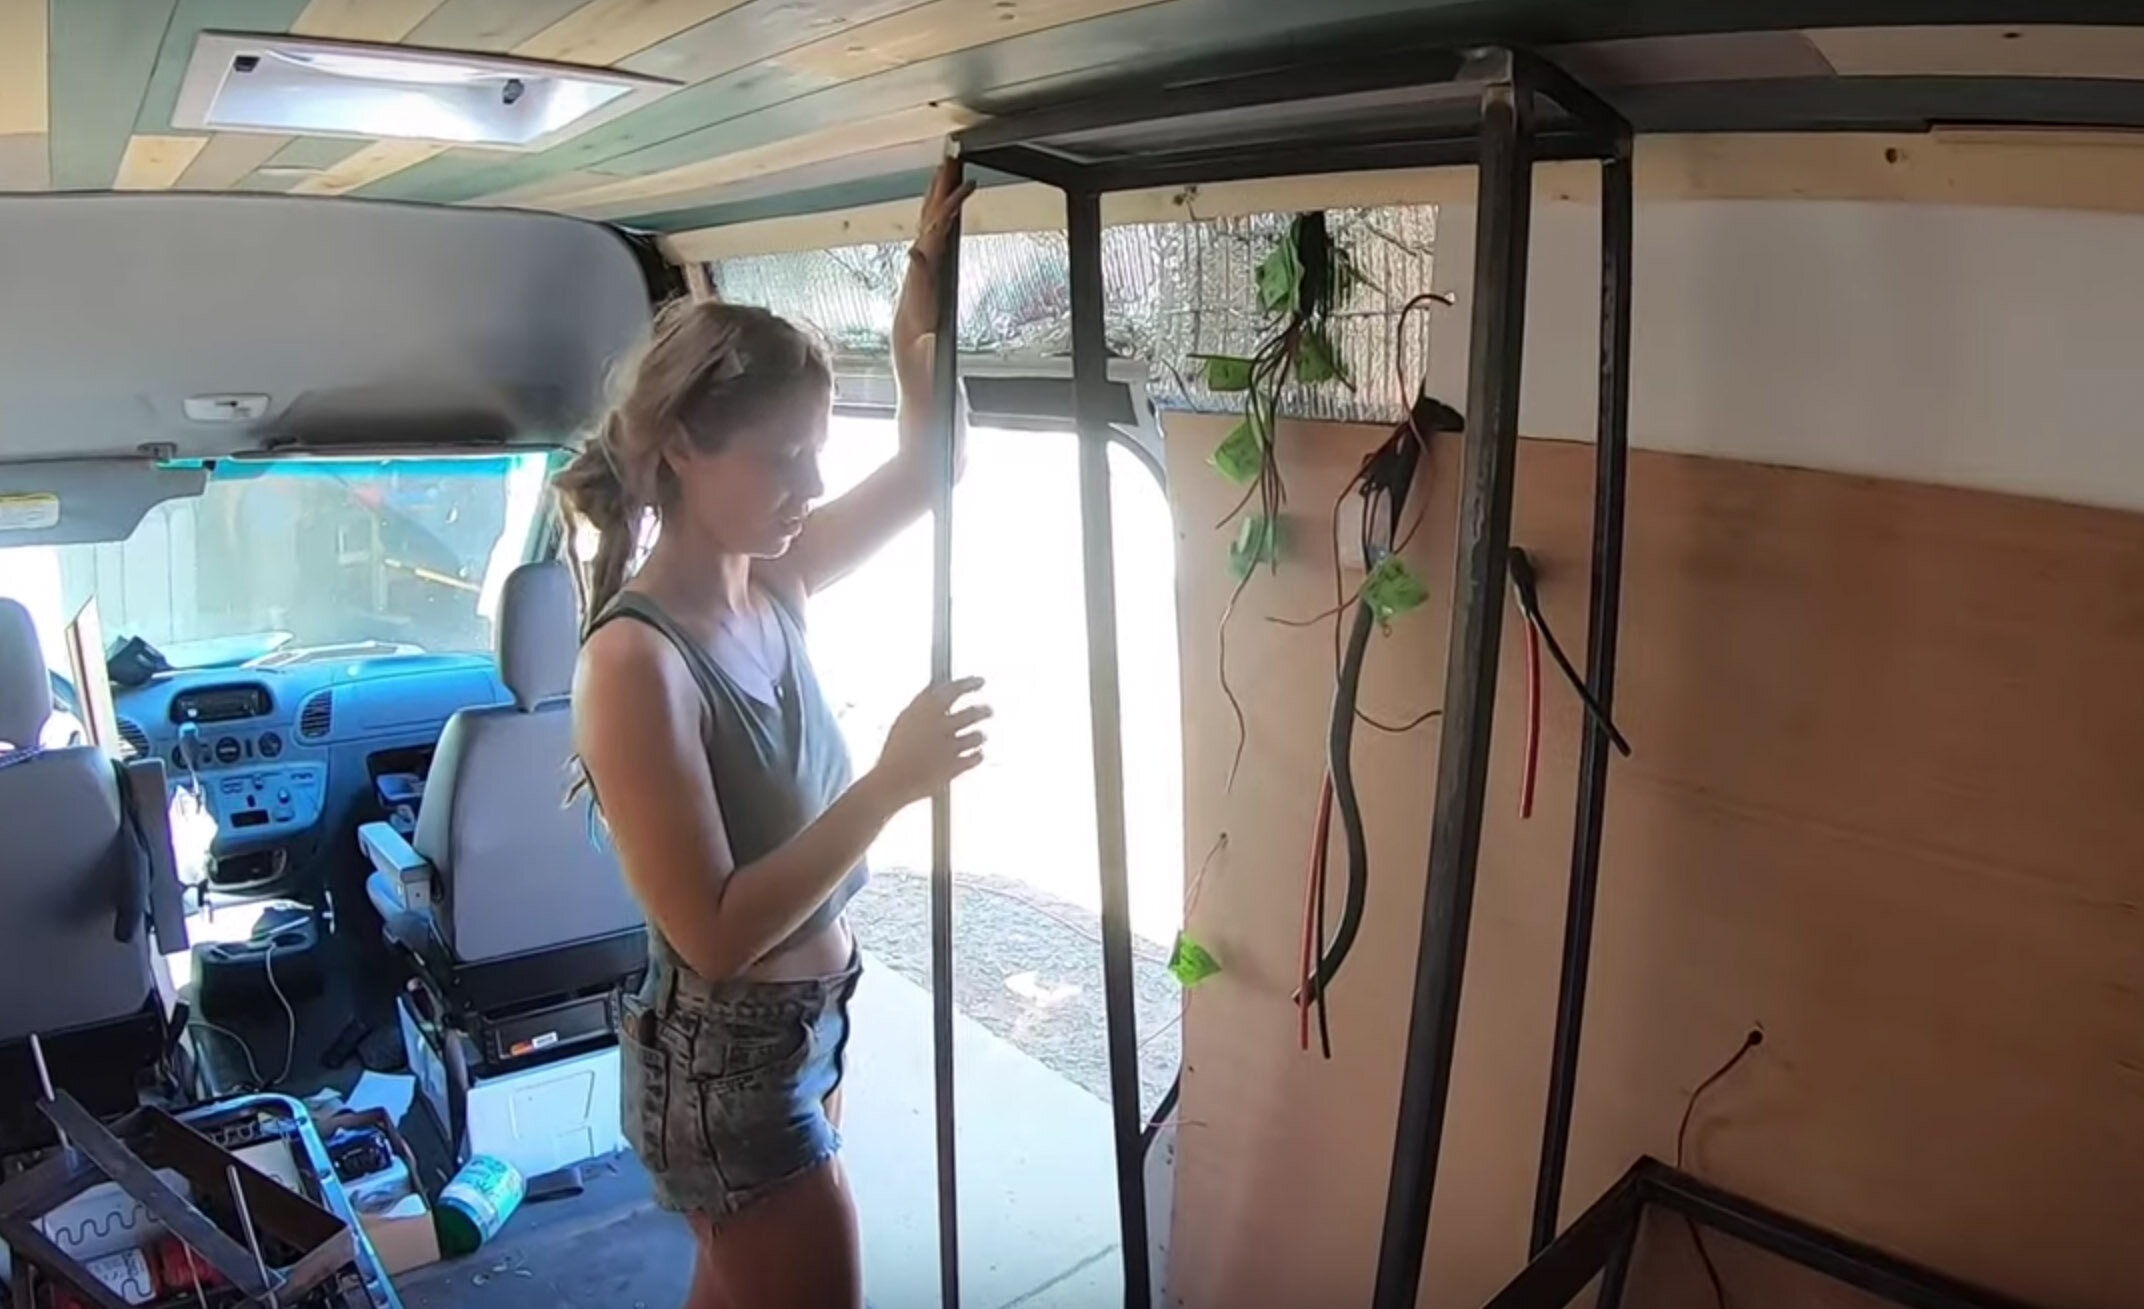
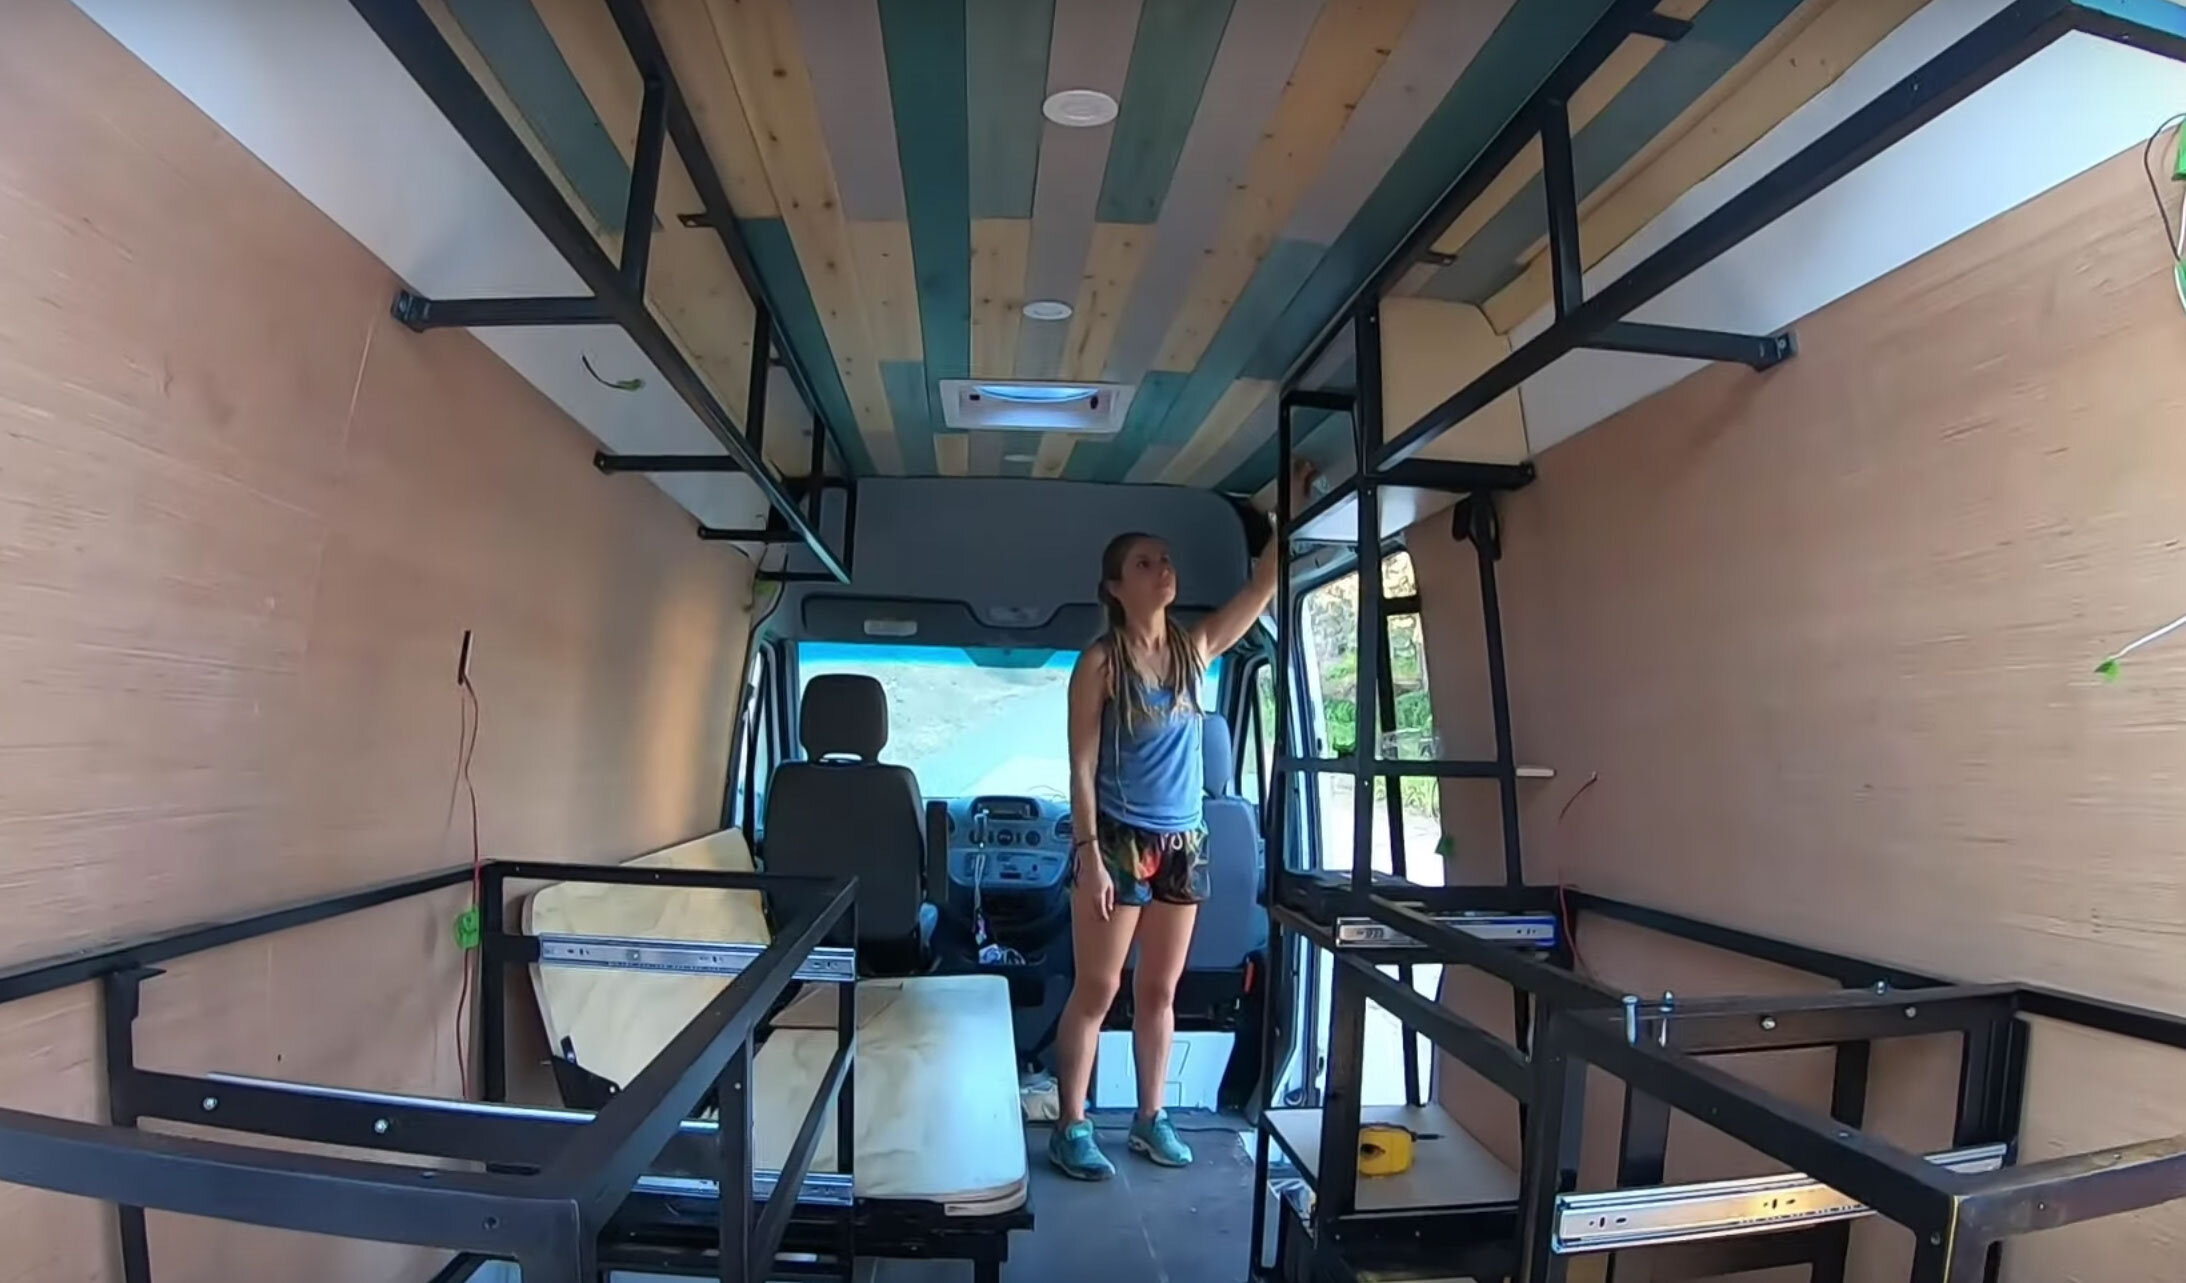
Once you got all the lower cabinets framed out, it’s time to start on the upper cabinets.  The best way to start this project is by taking your measurements and drawing out what you your cabinets to look like.  We used a steel framing and wanted it to be very minimal, light, and strong.  

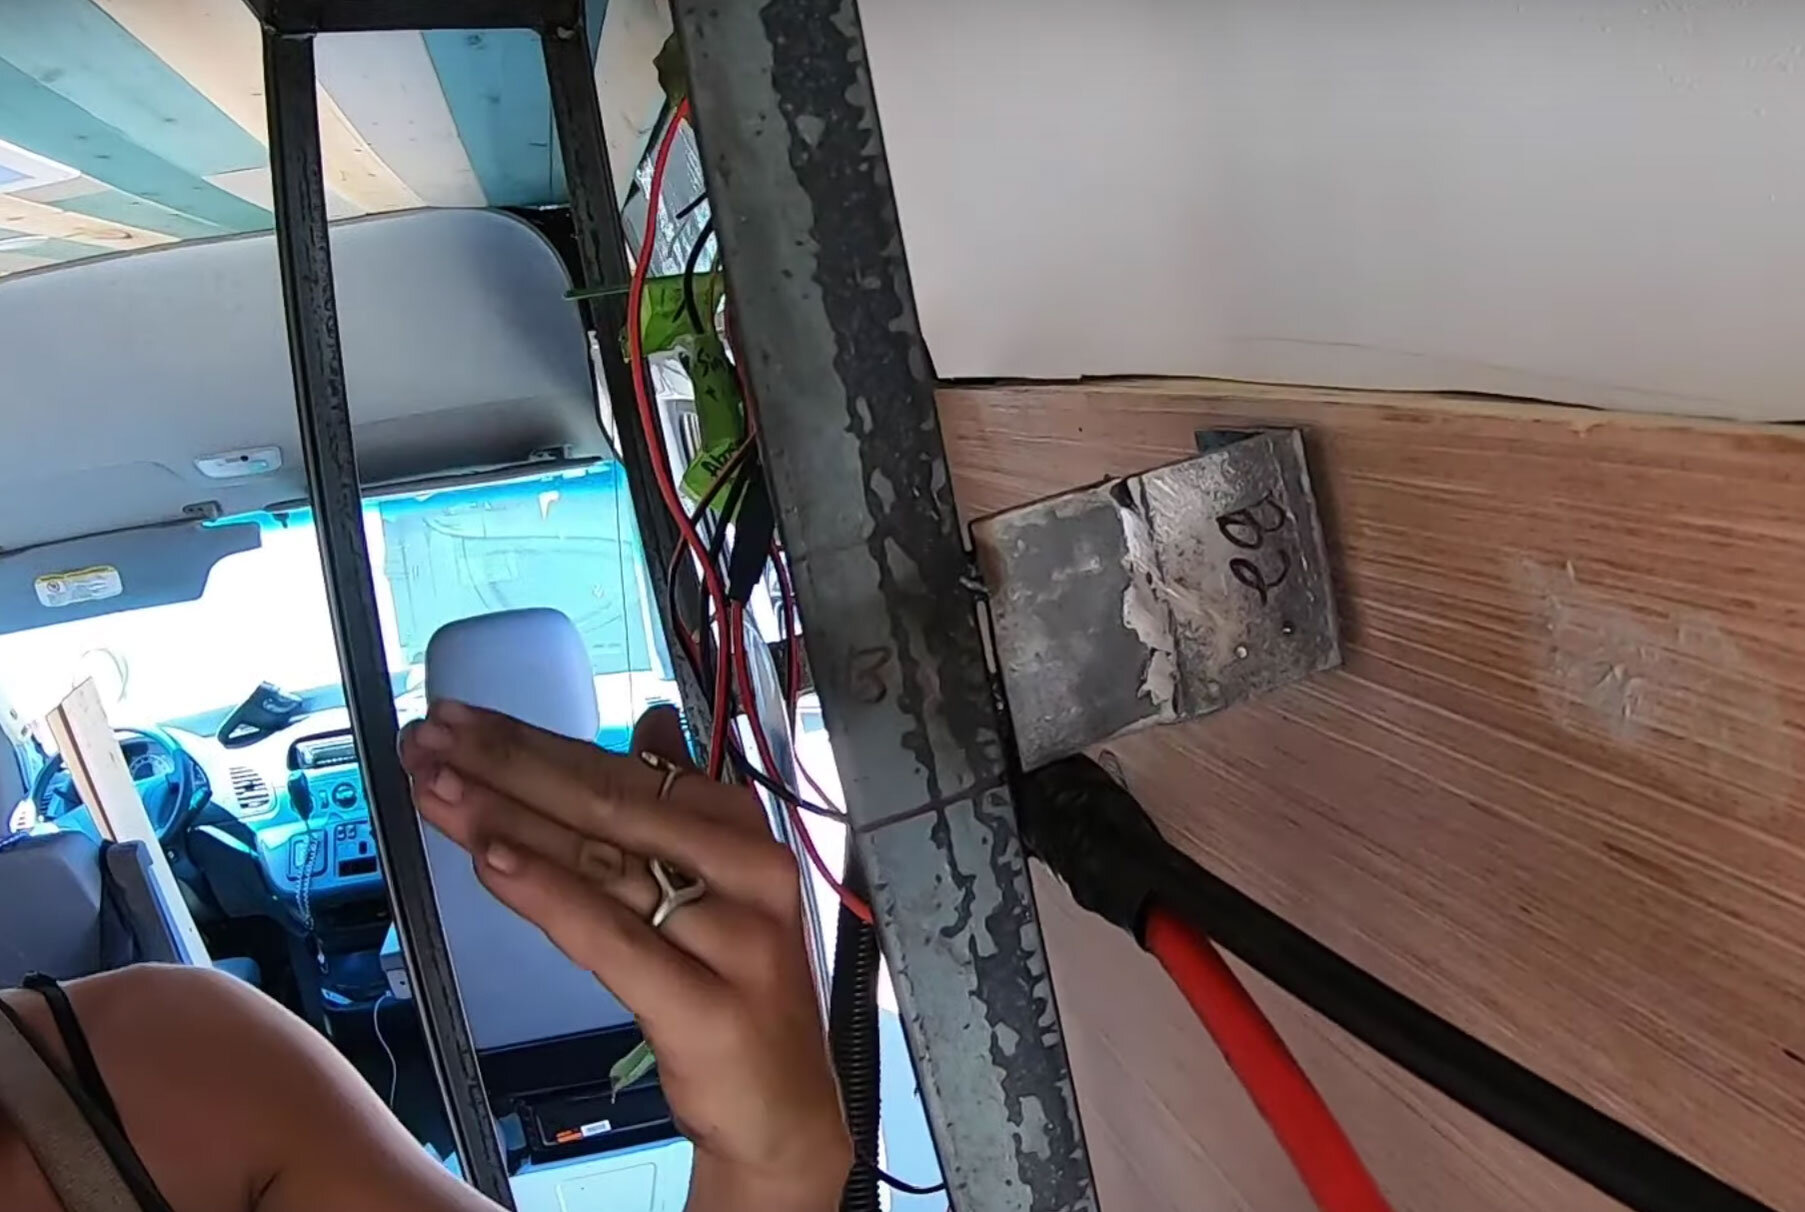
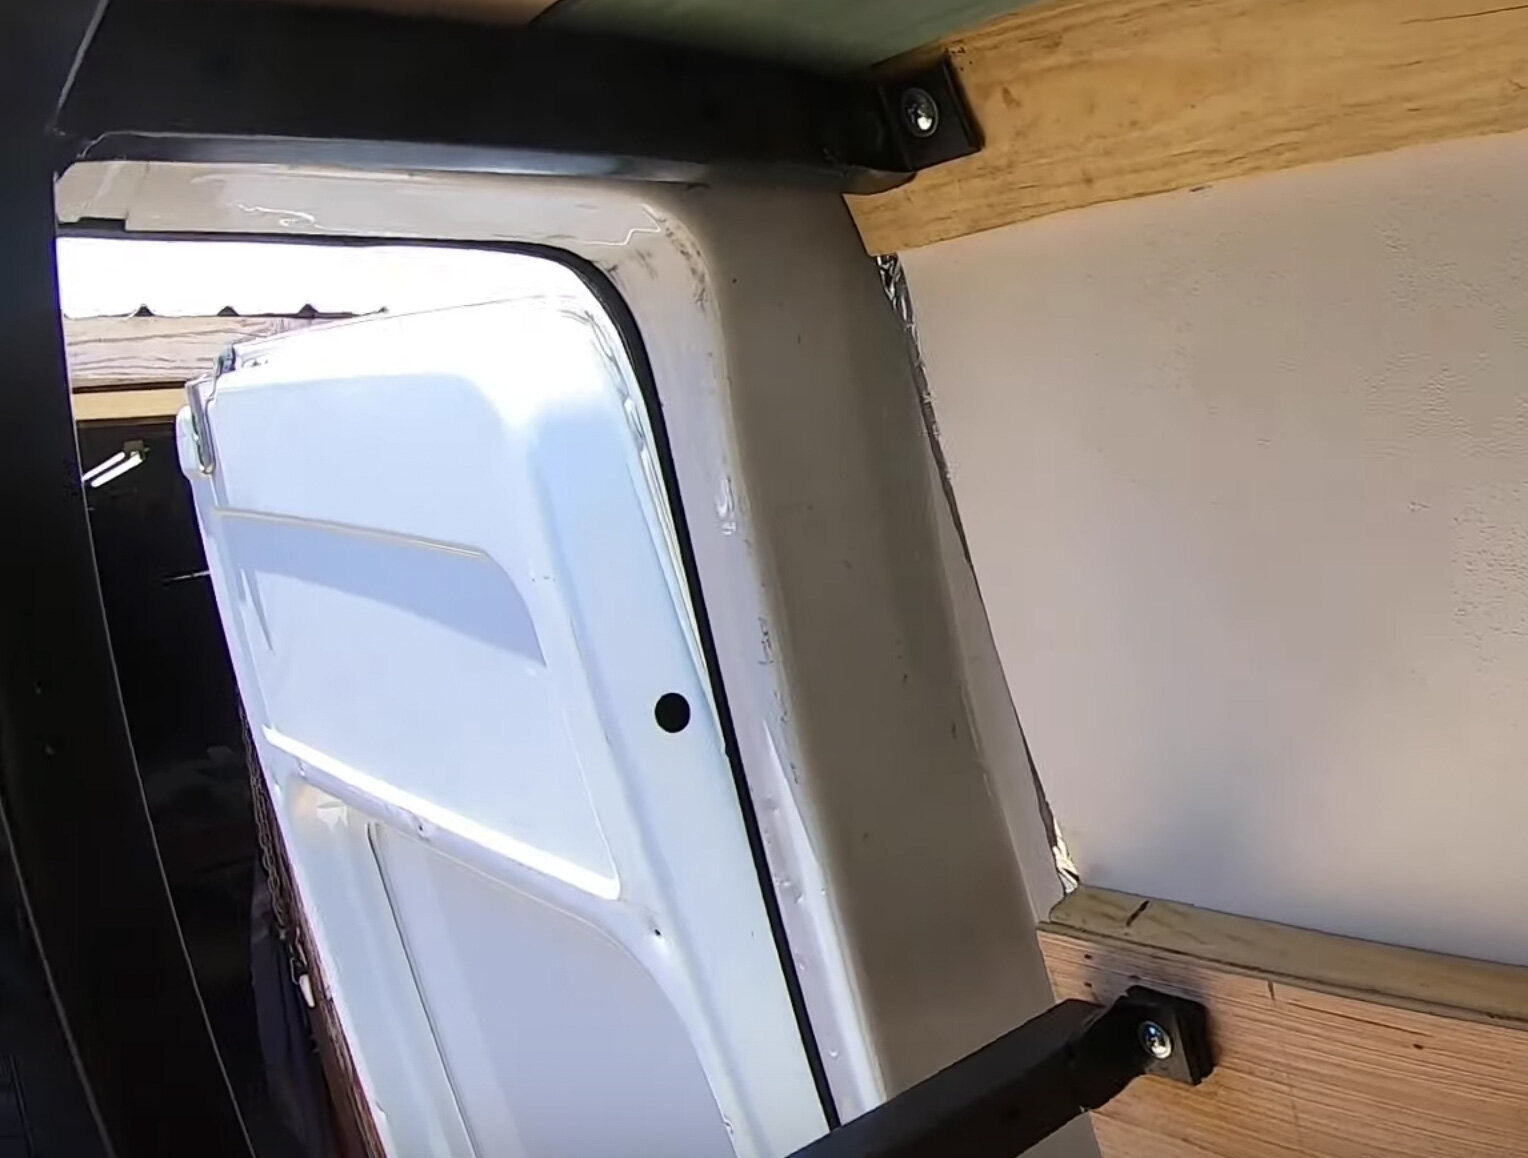
When starting the design and build process, you need to take into account how your cabinets will attach to your wall.  If you’ve been following our protocol then, you will have already framed the van according to your how your cabinets will attach to the wall.  We really want to stress the importance of having strong anchor points and positive connections (no gap between wall and frame) at each point.  

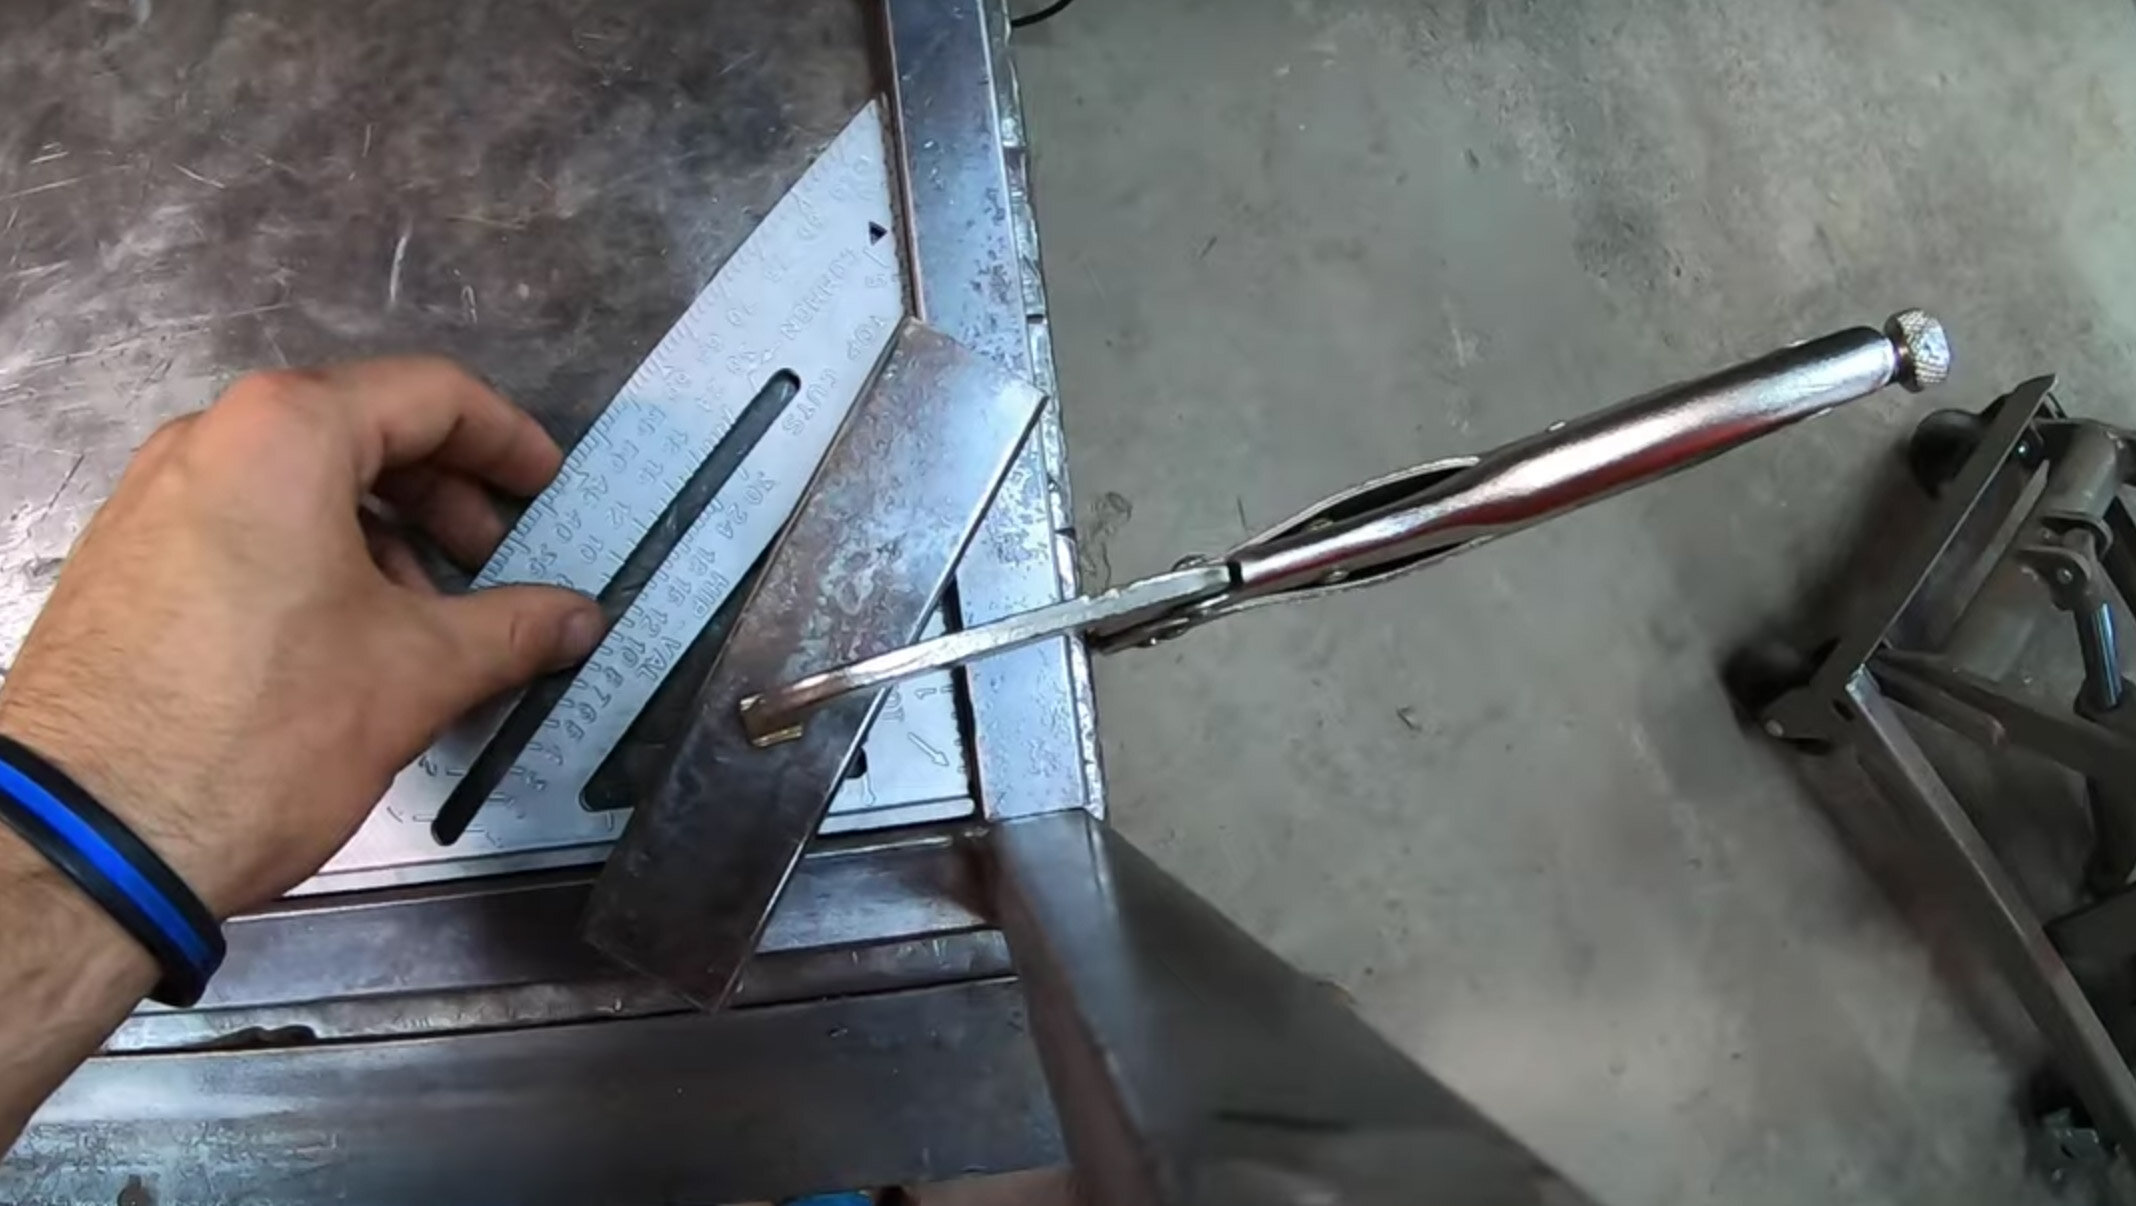
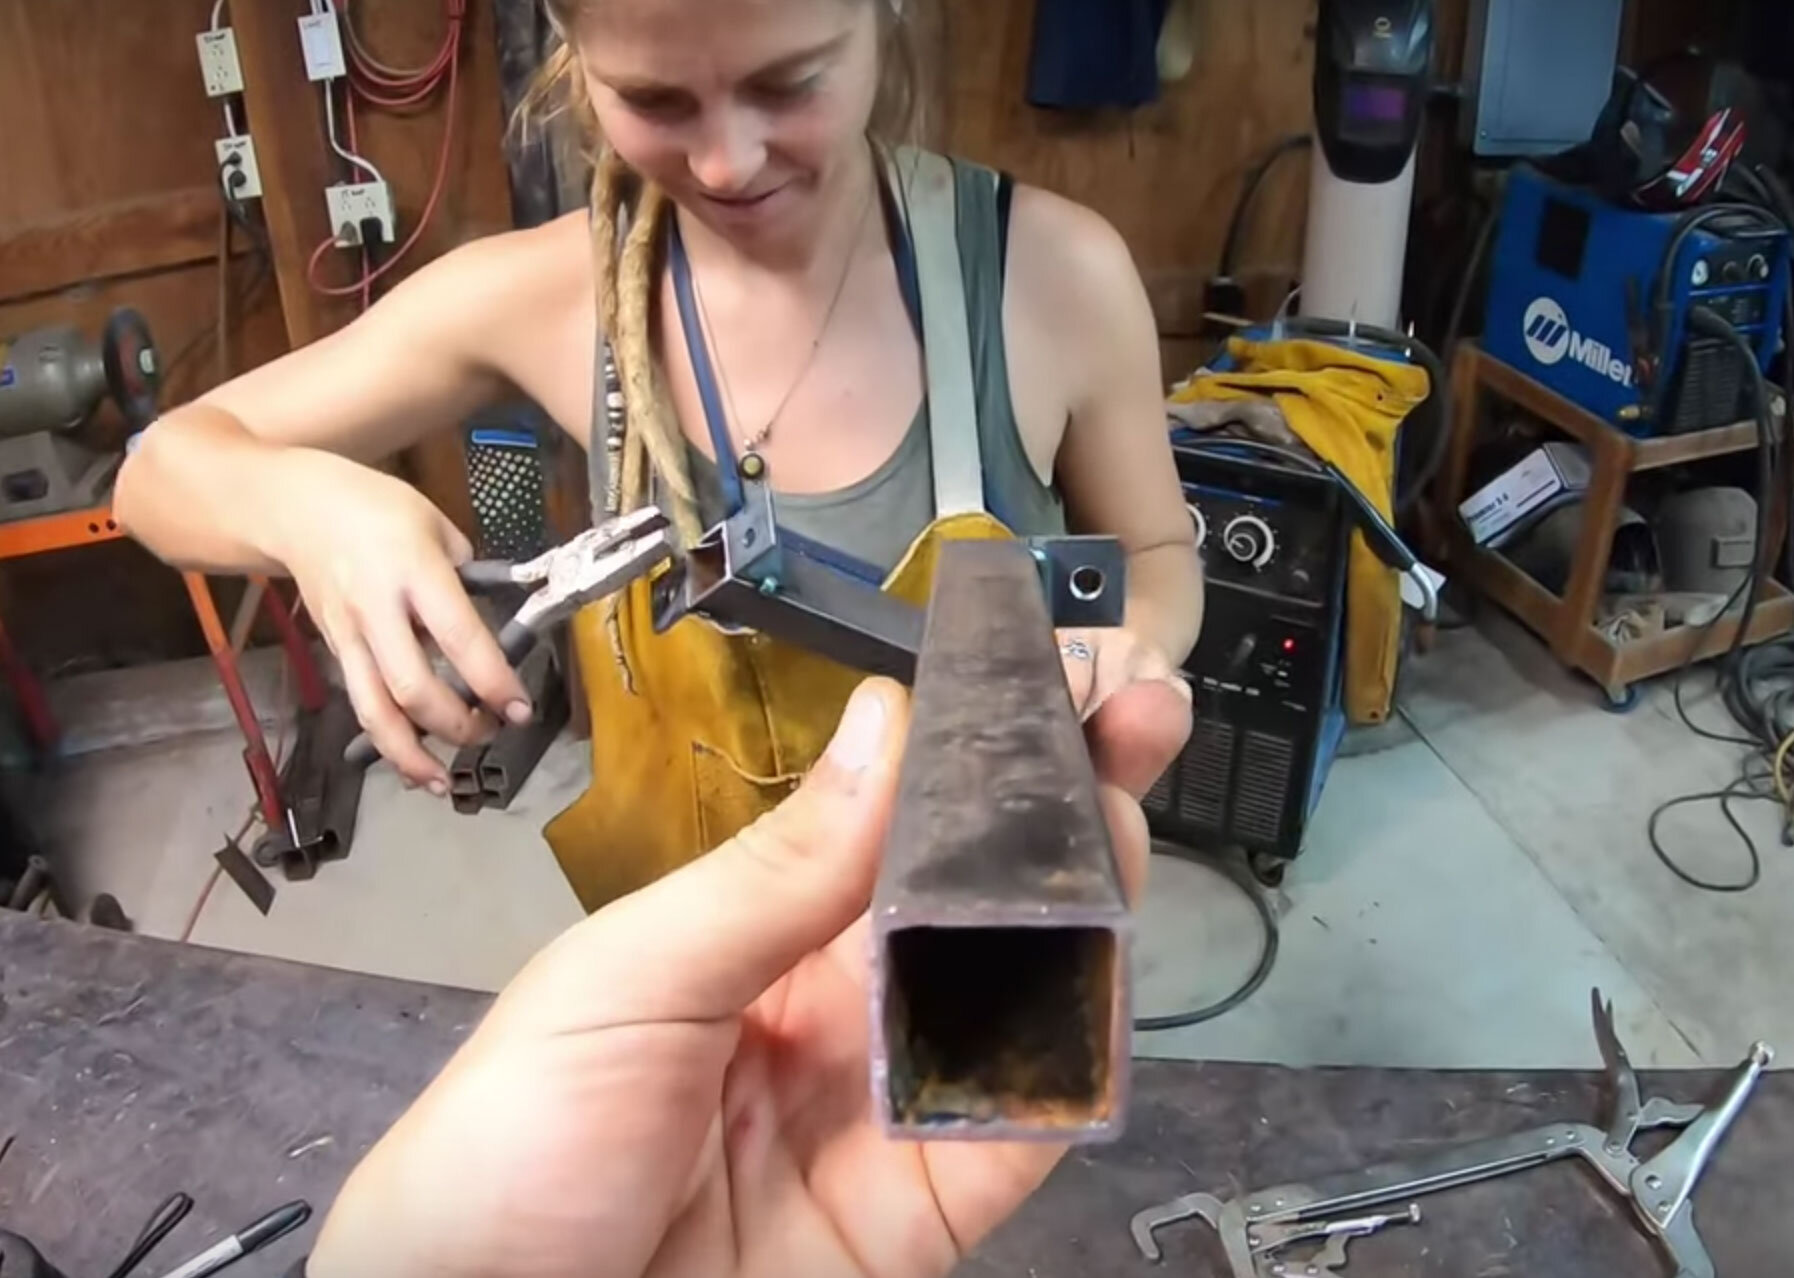
We welded up a frame out of 1/2” square steel, with a very straight forward design.  We first welded the cabinet openings, where the door will be.  We kept the size of each door consistent and figured this out by dividing our total measurement by the number of doors we wanted.  Once we had a nice face frame, we then welded on our anchor points.  We also accounted for where our upper cabinet meets the ceiling framing and added additional anchor points along the top of the framing.  We kept a very basic design, with two anchor points, one on top and where the furring strips along the wall were and it worked great. 

Once we attached the frames to the walls, with a positive connection at every point, we test the strength of the anchors with some weight, Dani could literally hang off the upper cabinet they were so secure.  

From here, we will move onto scribing the sides for all the cabinets and then on to face frames.

How to build cabinets in a van - Match the curve of the van every time

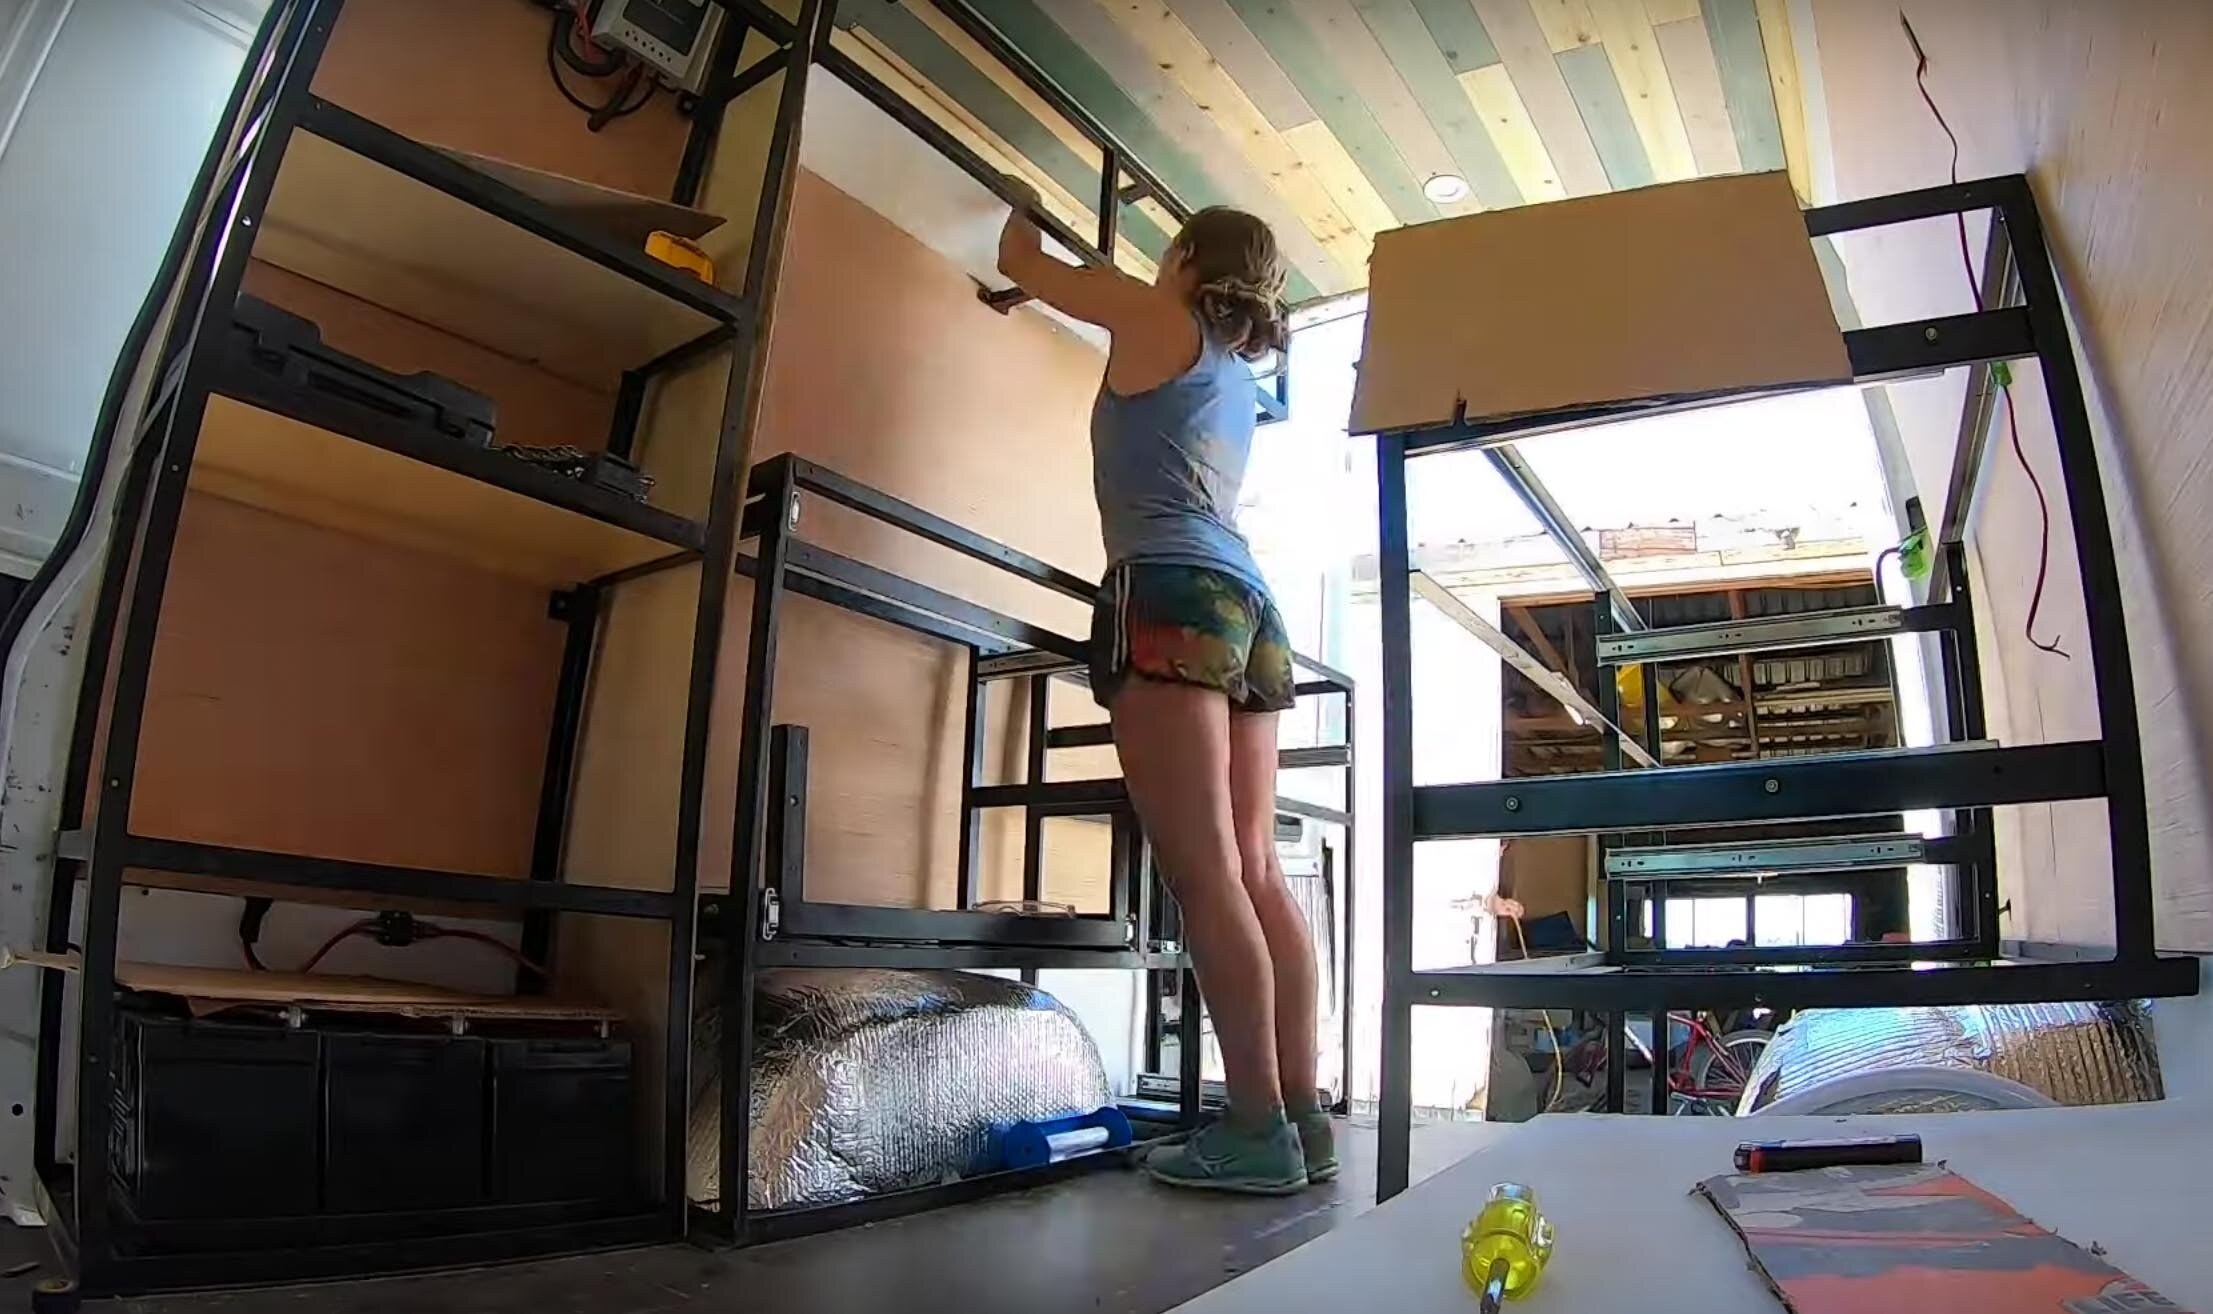
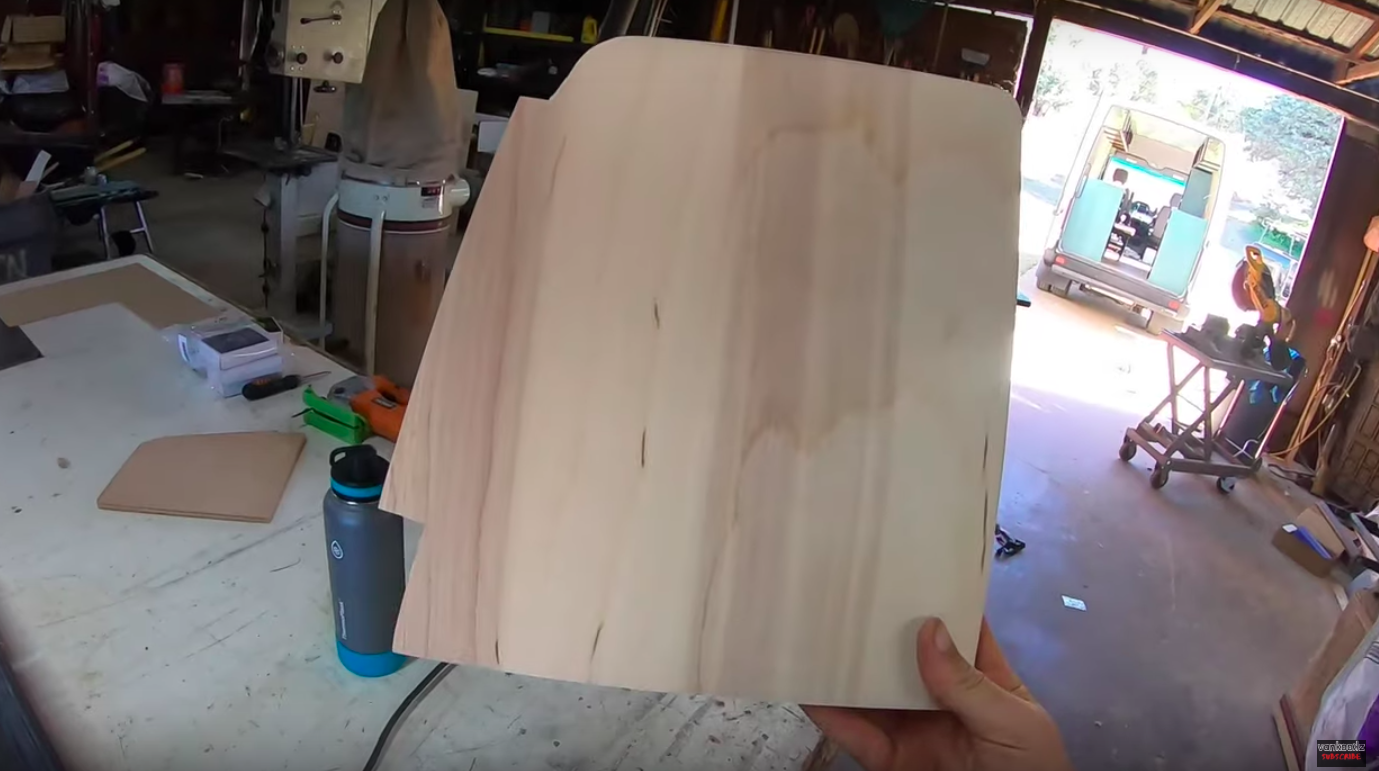
After you have built all your cabinet frames and have them securely installed into your rig, it’s now time to cover up the sides to all the cabinets and get them looking professional.  This process is called scribing and if you put in the time here your results will look amazing. 

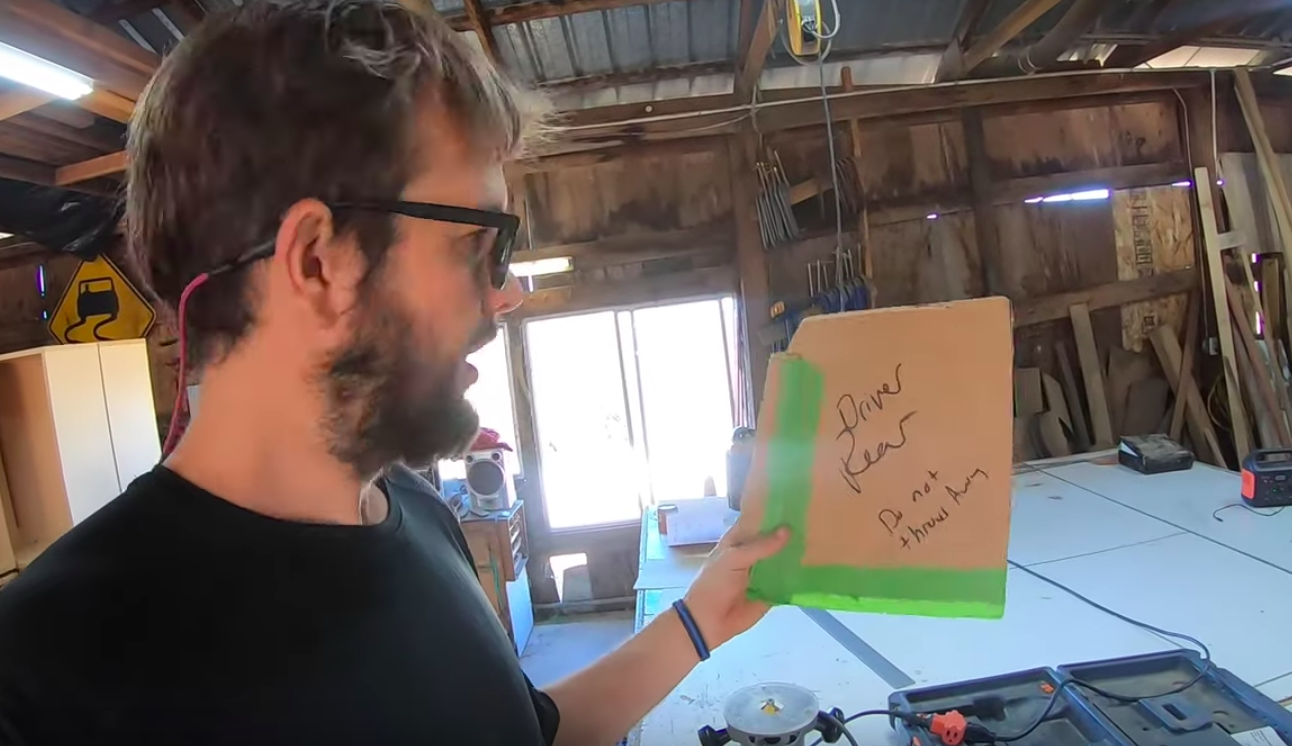
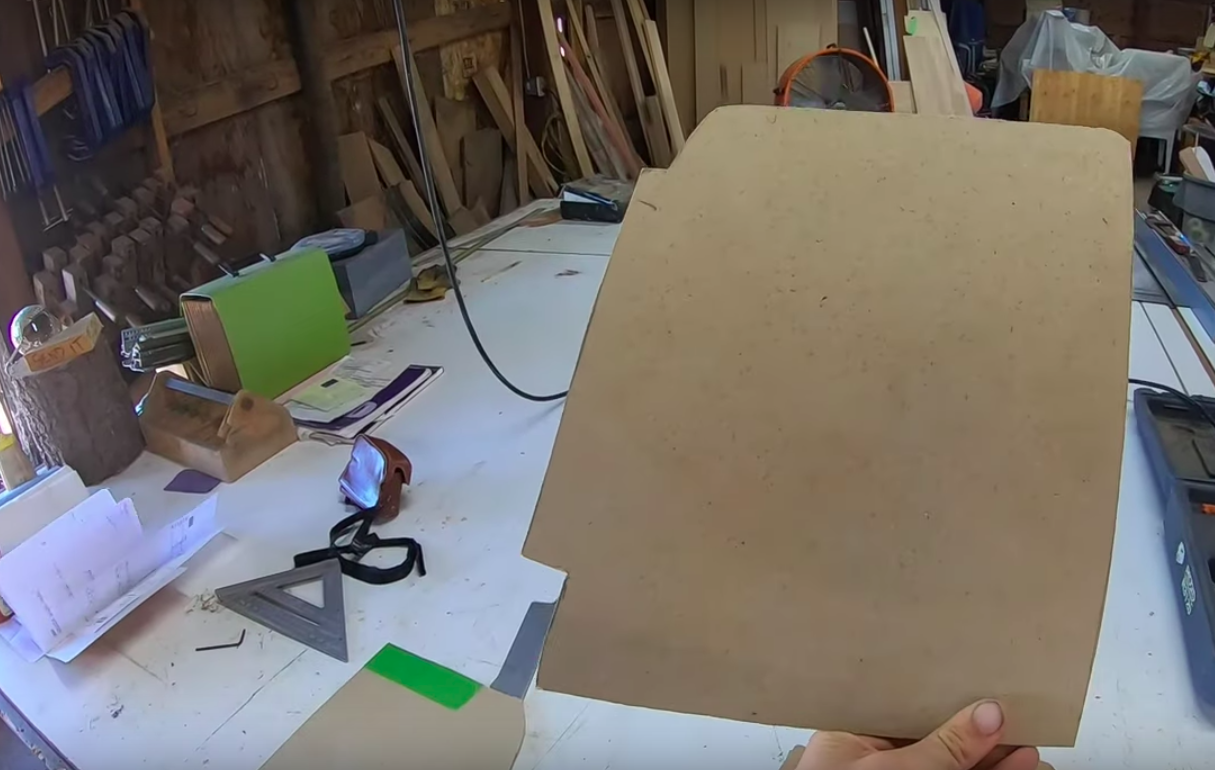
To start, what you will need for this task is some Ram Board or cardboard to make stencils of all your cabinet sides.  We used a razor and a large T-Square to cut them all.  From here, you will want to trace all these stencils to MDF particle panel, which is a thin particle board.  It’s best to have your cardboard stencils be more on the larger size. So when you go to scribe the sides of the MDF, you won’t cut the stencil to small.  

What you’ll do here is take the particle panel and place it on the side of the cabinet you need to cover. You will want your particle board to be a little longer and taller than your desired size of the cabinet side because you are going to scribe it down to size.

Screen Shot 2020-03-18 at 3.22.00 PM.png

To do this, you need to hold your marker or pencil in your hand. I like to have the outside of my hand touching the van wall, as I drag the pen down to trace the curve of the van onto the particle panel.

From our quick “How to build a shelf in a Van” video on our YouTube channel. This video is great if you have been fighting with those van curves. This will show you how to conquer those curves for good!

From our quick “How to build a shelf in a Van” video on our YouTube channel. This video is great if you have been fighting with those van curves. This will show you how to conquer those curves for good!

Now, you’ll want to cut the particle panel with a jigsaw, you’ll want to cut a few 1/16”ths of an inch before the line to leave some of the line.  This will allow you to get the scribed side perfect with your sander. 

How to build a cabinet in a van

Once you’ve made the cut, take your sander and sand down to your line. The sander allows you to be more precise than the saw.   

Building van cabinets

Now that you have your particle panel templates perfect, you will want to transfer them to your plywood or whatever material you’re using for your cabinet sides.  This is the exact same process as you did with the cardboard to particle panel. You’ll just want to be careful now to get it perfect.

building van cabinets

Once you’ve scribed, cut, and sanded your side panels, you’ll now need to paint or stain them before you install to make your life easier.  We went with a nice turquoise/teal stain for most of our cabinets and left our uppers natural with a polyurethane clear stain. We highly recommend using a sealer, as well here, to help protect the stain from water and any potential vancidents.  

Now, you’ll want to attach your sides to your cabinets.  If you welded all your frames like us, you’ll need to drill plenty of holes before hand to attach all the sides.  With wood, it’s simple. Just screw the sides onto your frames.  

This step requires a lot of patience, we highly recommend using the particle panel after the cardboard.  This was our first time doing this, we would usually just go off the cardboard but the partial panel is more rigid and allows you to get a perfect fit on all your cabinets.  It’s an extra step in the process but it is worth it.  

Framing and Installing Interior Wall and Tonge and Groove Cieling in a DIY Van Conversion.

The number one most asked question in every van project is. How do I attach my wall to the van? We are here to help you get through this. You’ll have a professional look once you are done here.

12 Volt Van Conversion Battery Basics and Wiring Diagram 

How to wire your battery bank in parallel

Wiring a 12 Volt System in parallel Van Conversion DIY --2.jpg

Once you’ve picked out the perfect location for your battery bank to live, you'll need to start wiring the batteries in Parallel.  This is an easy process and you’ll learn a lot along the way.  

What you will need here to get the job done is: (Amazon Affiliate Links)

2 or more 12 Volt AGM Batteries - https://amzn.to/2P1c4Bp

8 AWG Cable - https://amzn.to/37tdZVO

Battery Terminal Kit - https://amzn.to/37wQtr3

Wire Snipper/crimper - https://amzn.to/2V5HoTD

Wiring the batteries in parallel

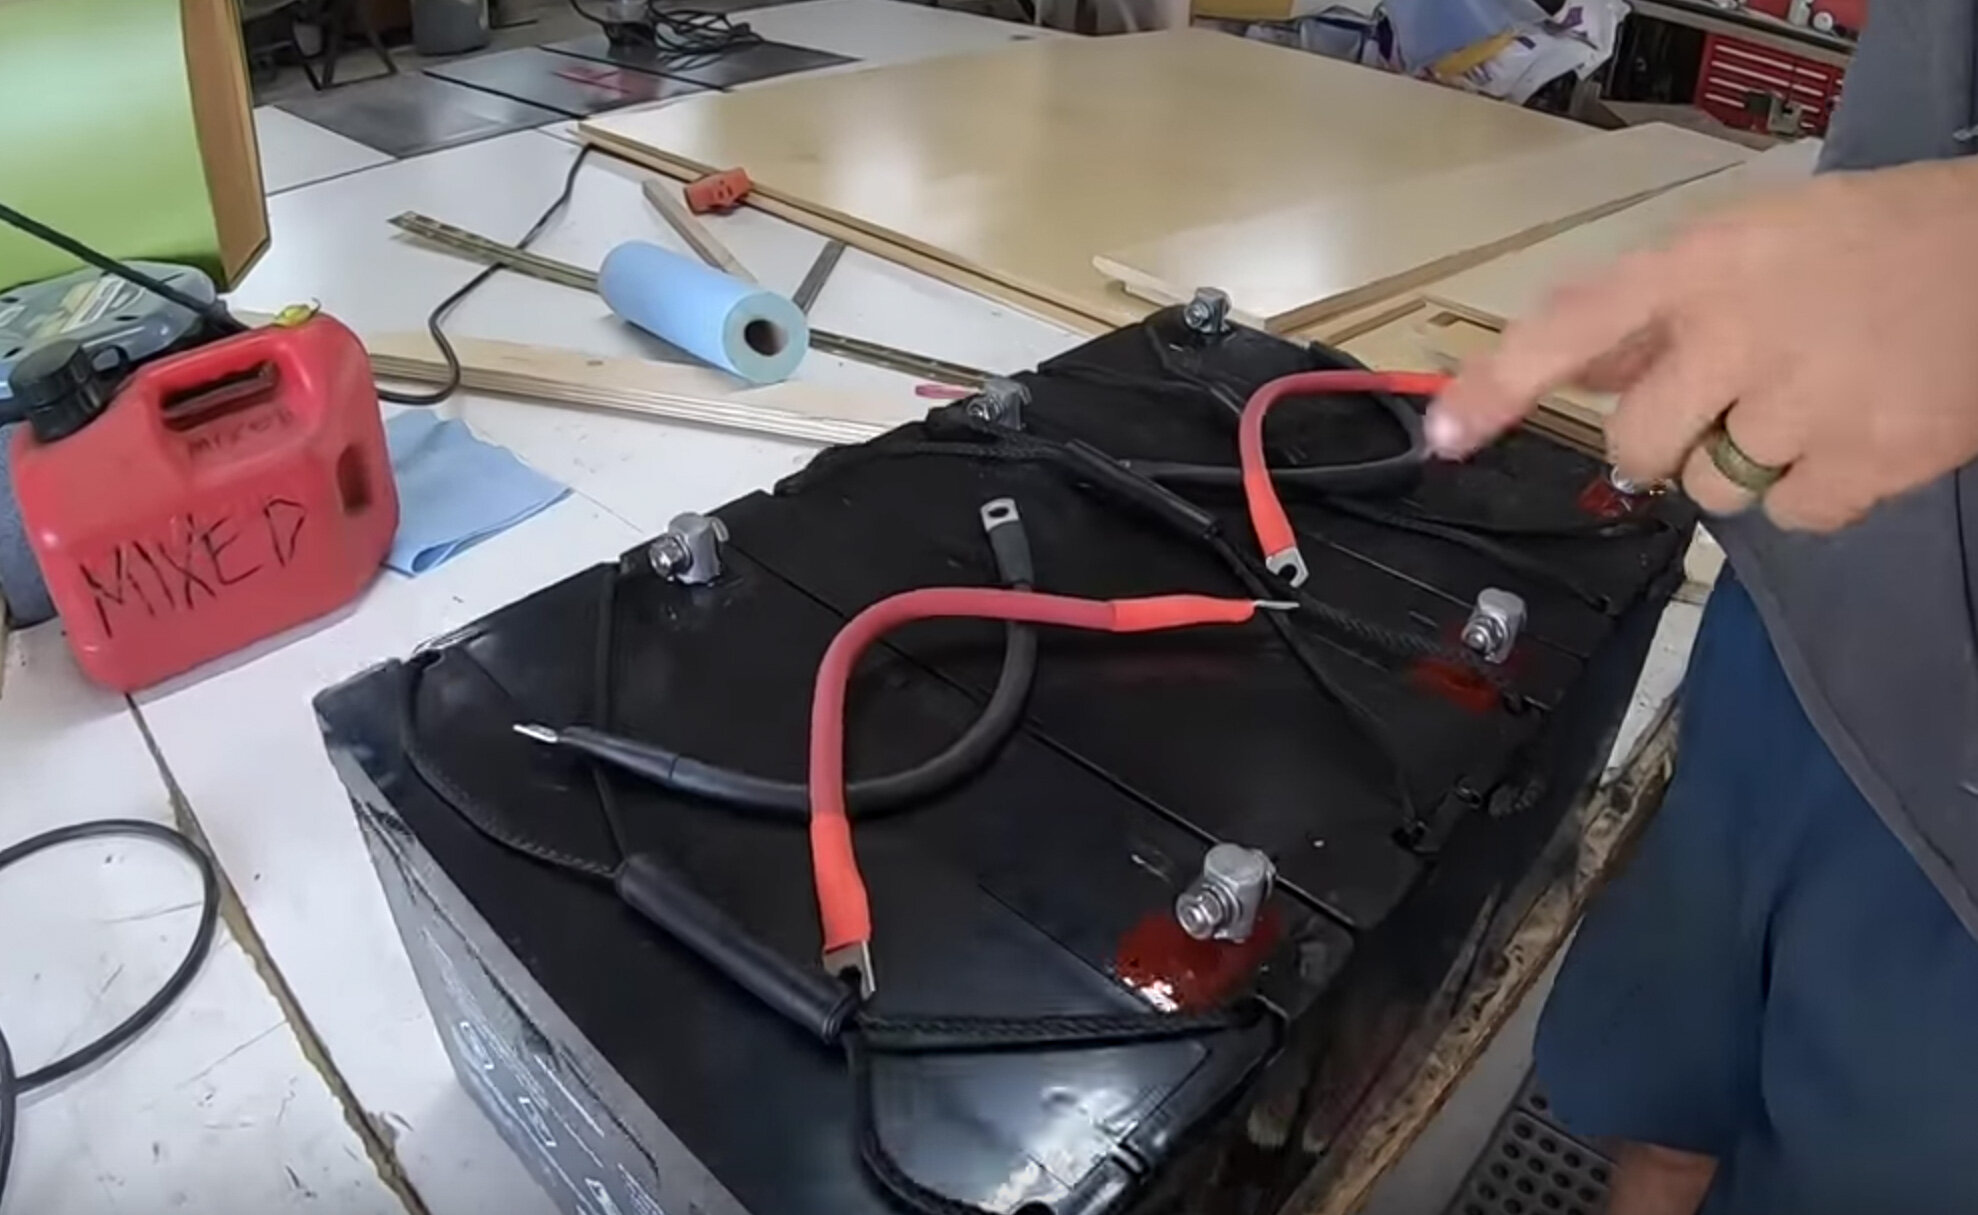
This is a pretty easy straight forward step. What you want to do is wire all the negative (-) connections together and all the positive (+) connections together. What this will do is it will convert your two 12 volt 100 a/h batteries into a 200 a/h battery bank at 12 volts.  To do this, you will use the 8 AWG cable and cut it to size and crimp on a battery terminal connector.  Make sure you crimp these on as tight as possible, I like to use a vise here and get the connection very solid.  If you have loose terminals, you will have voltage drop and your battery bank won’t be working efficiently.  I also like to use heat shrink here. You don't need a heat gun; a lighter will do the trick. 

Wiring a 12 Volt System in parallel Van Conversion DIY --3.jpg

Once you have your batteries wired in parallel, by connecting all the positive terminals to each other and the negative terminals to each other. The next step is to establish a positive ground near the location of the battery bank.  I like to use the chassis of the vehicle for this.  What I do is drill a hole in the body of the van.  You will want to sand all the paint and metal shavings off so that you have an metal on metal contact.  Now, you will just put a bolt and some washers through the body of the van and make sure you tighten this bolt as tight as you can get it.  If you have a bad ground, you will have voltage drop and all kinds of issues with your system. So establishing a solid ground is very critical to the efficiency of your power system.  

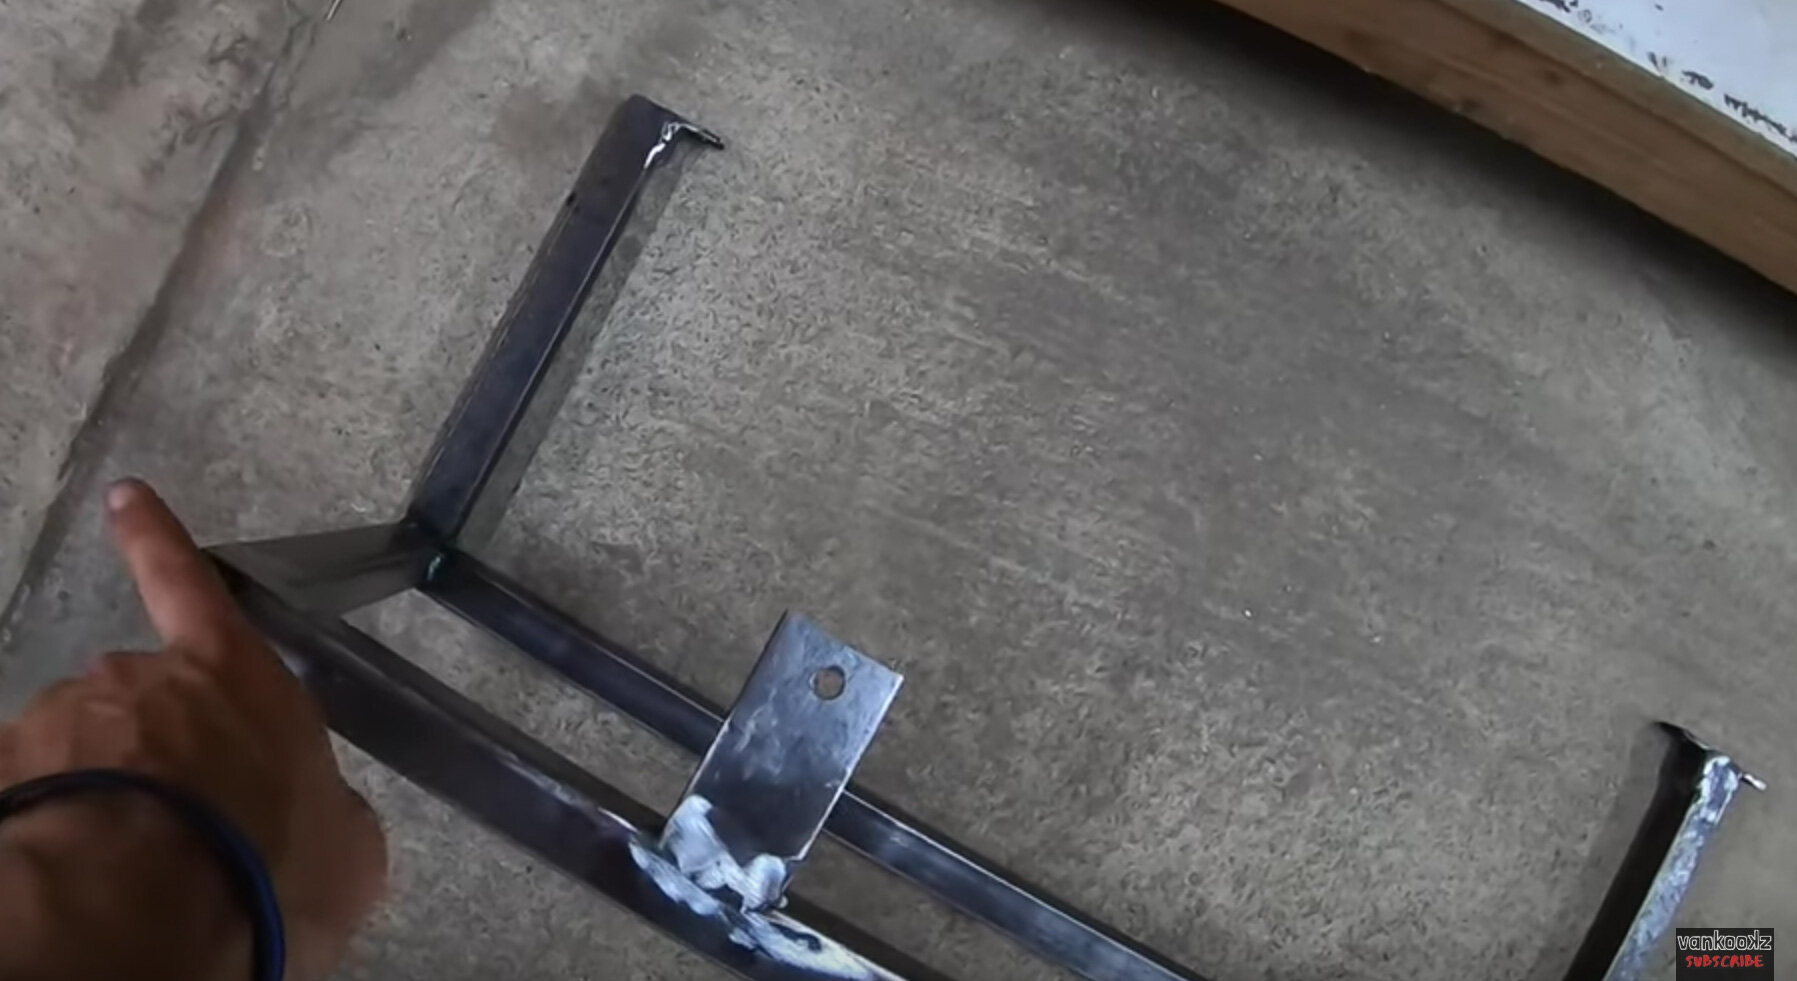
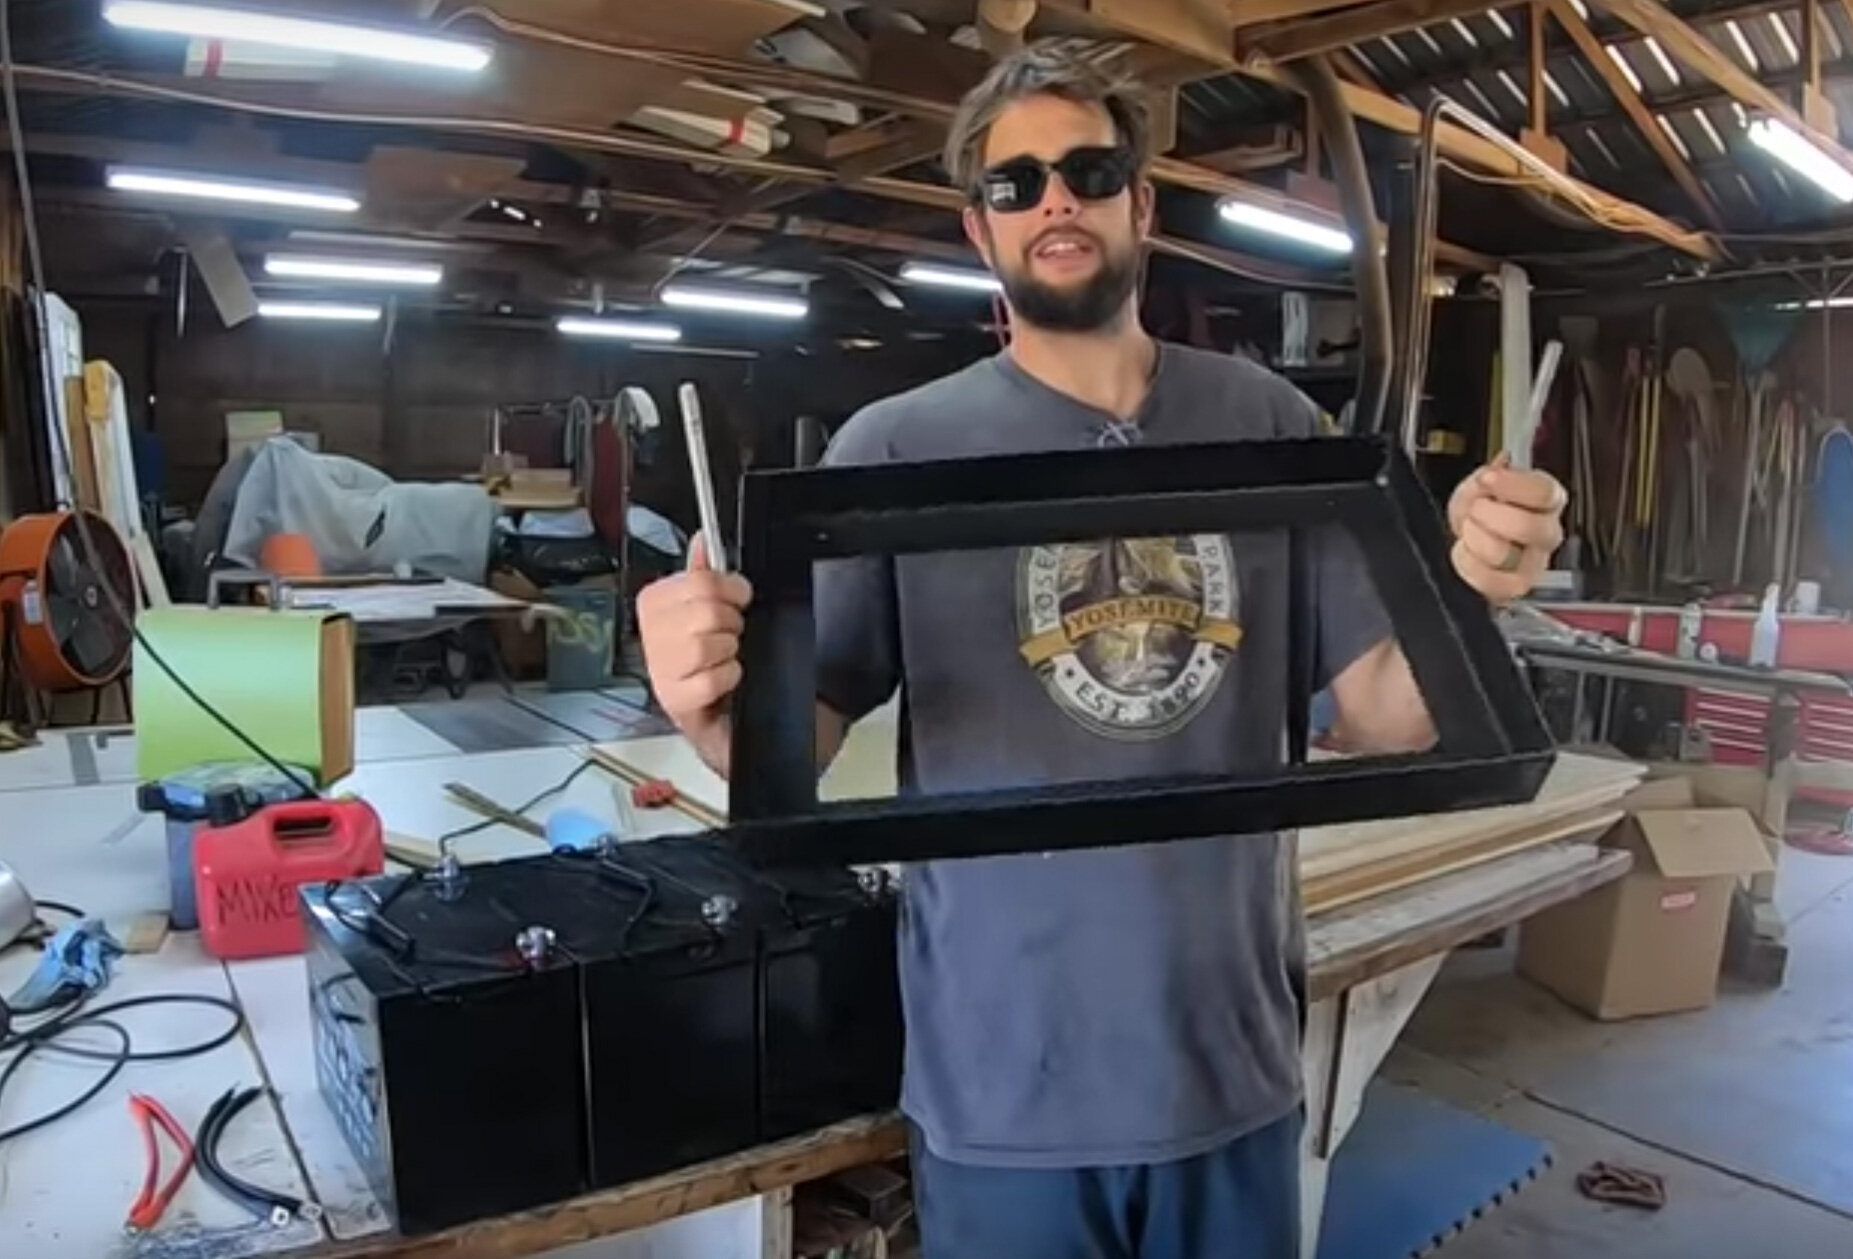
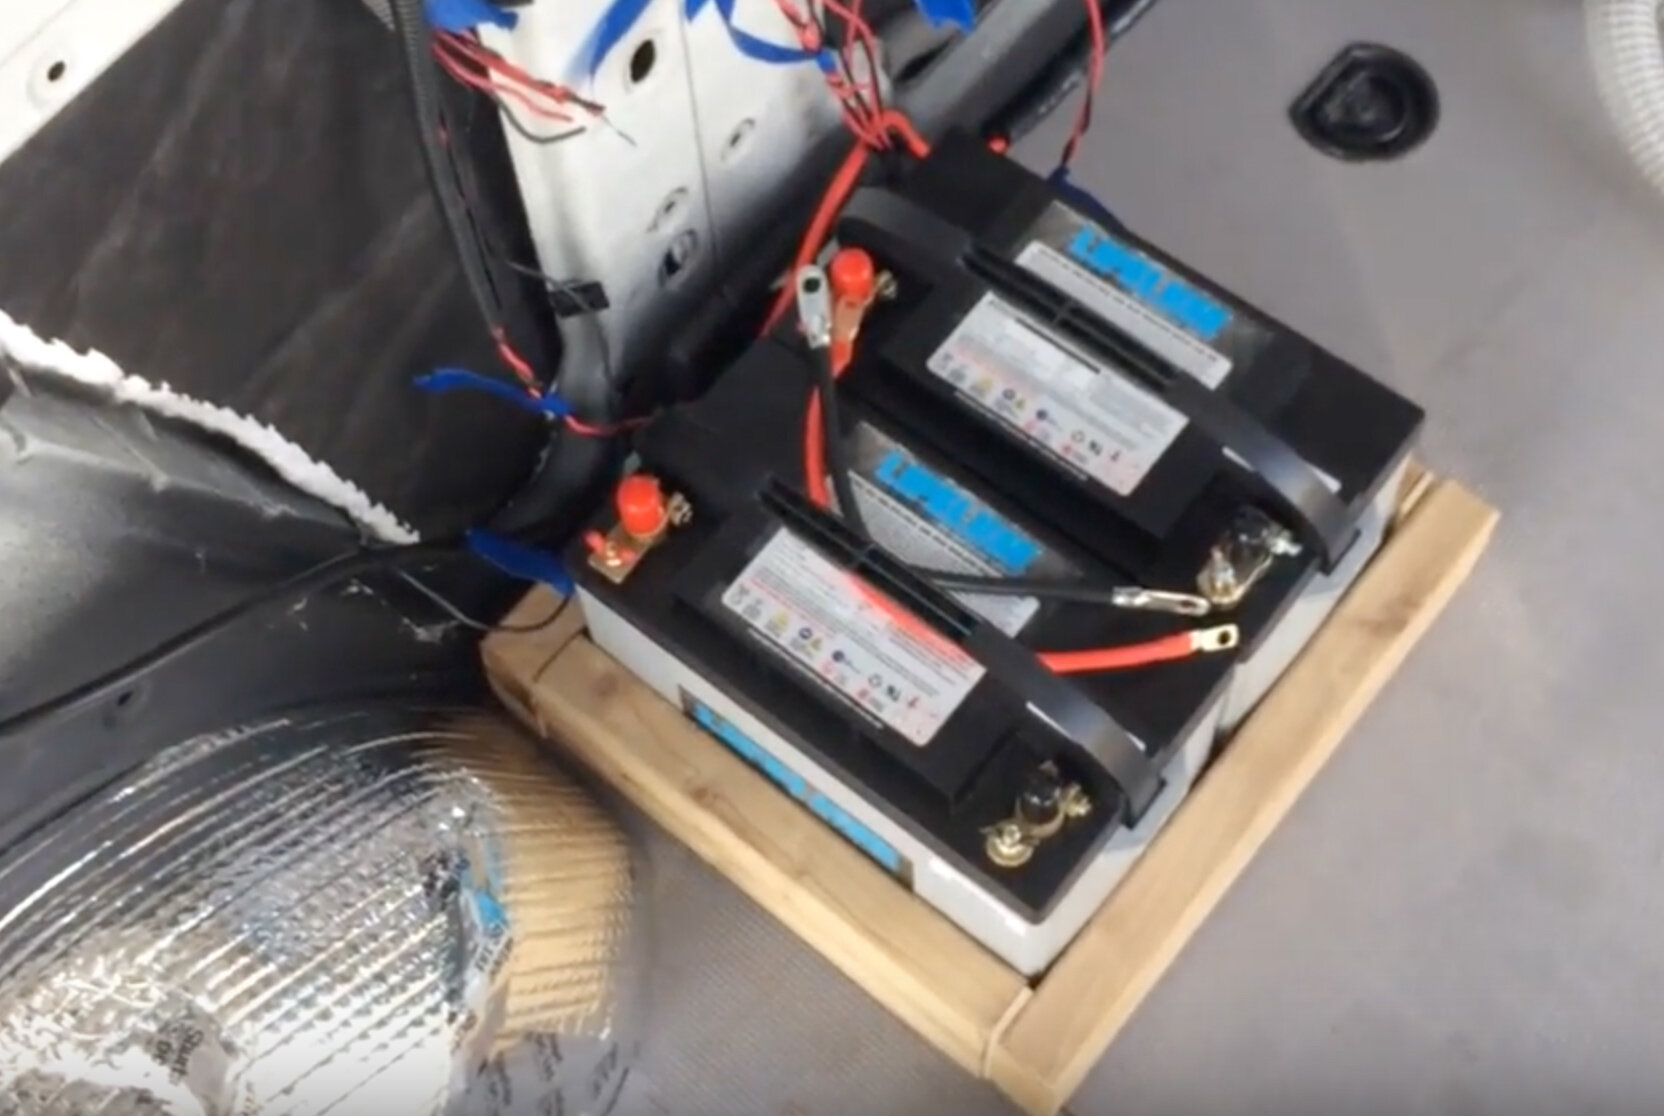
Now that you have your ground connection bolted in and solid, you are ready to build a sturdy frame for your batteries to live in.  This is important to keep the batteries from not only sliding around, but also becoming projectiles.  You'll want to secure the battery frame to the floor of the van.  You can make this out of wood or metal.  We are lucky enough to have access to a welder. So, we constructed a very secure metal battery bank box.  On previous builds, we have just build a wood frame that fit the batteries perfectly and we never had issues with it. Now you are ready to start running your wire.  We’ve included a free wiring diagram below to help you get started.

Download free wiring Guide for your camper van!

Download free wiring Guide for your camper van!

A First Step in any Van Build - Wiring a 12 Volt Power System in your Van Conversion

How to wire a camper van step by step. We will show you everything you need to do when you wire your campervan and show you what you’ll need to get the job done.