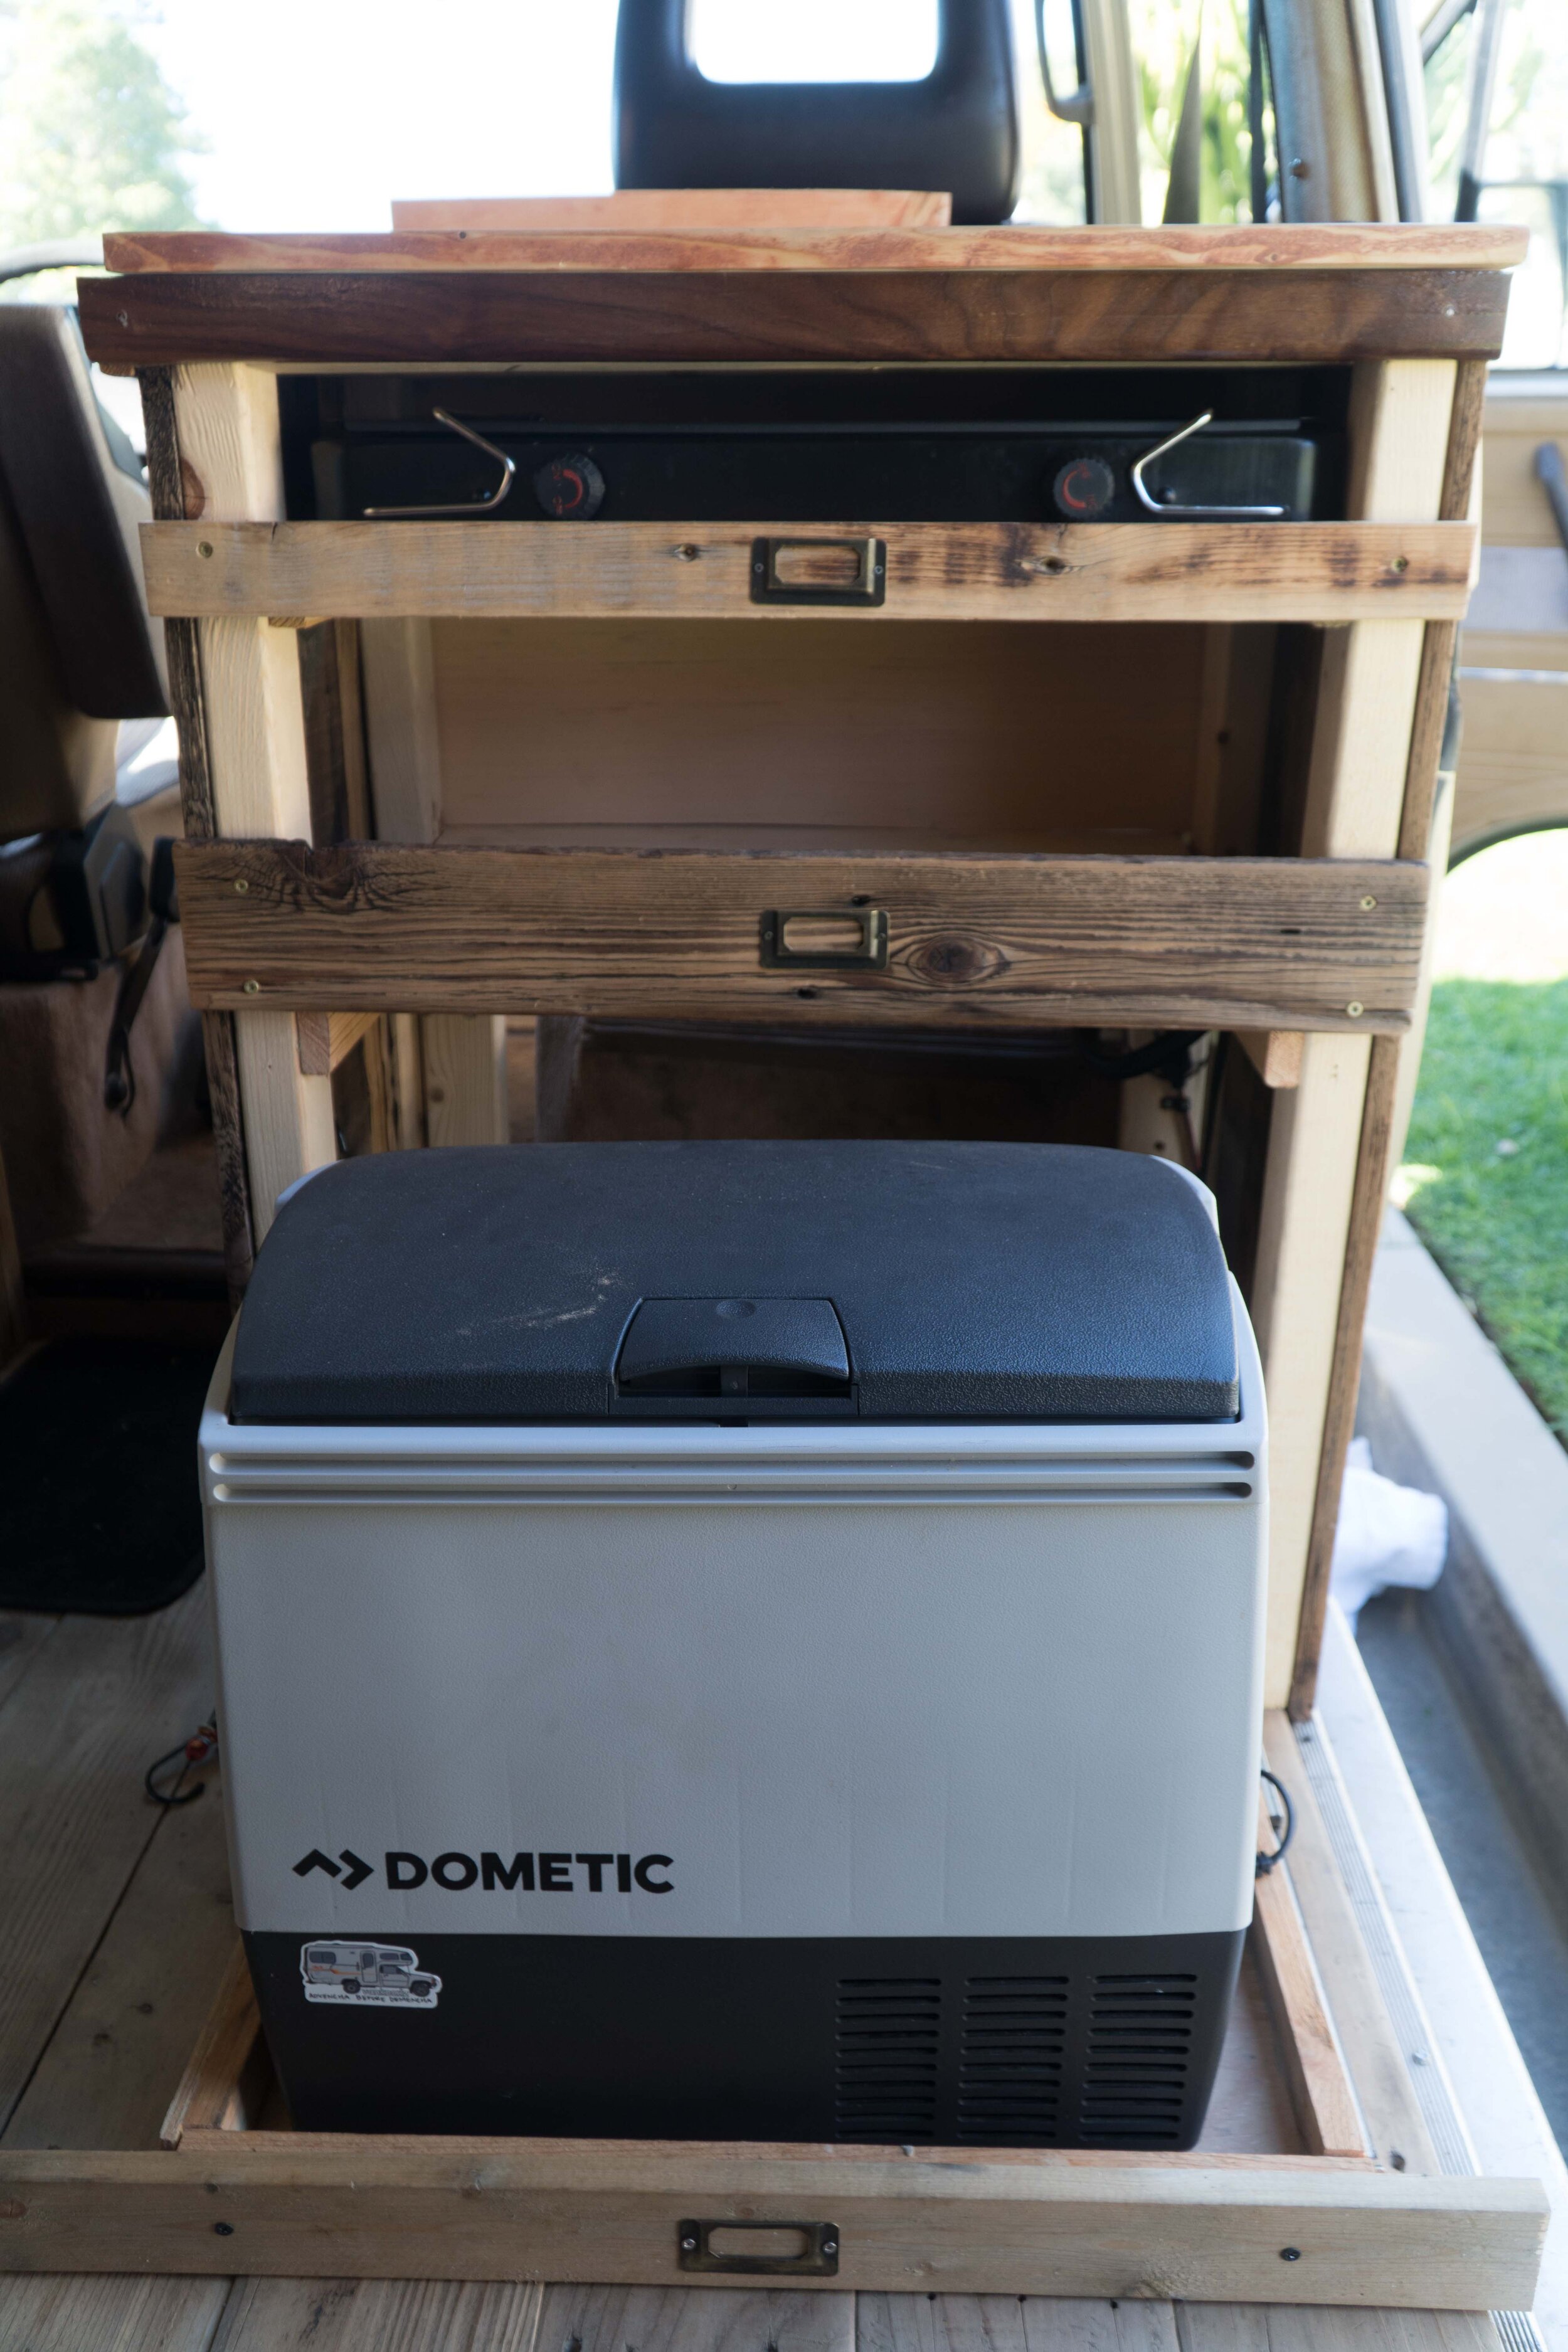
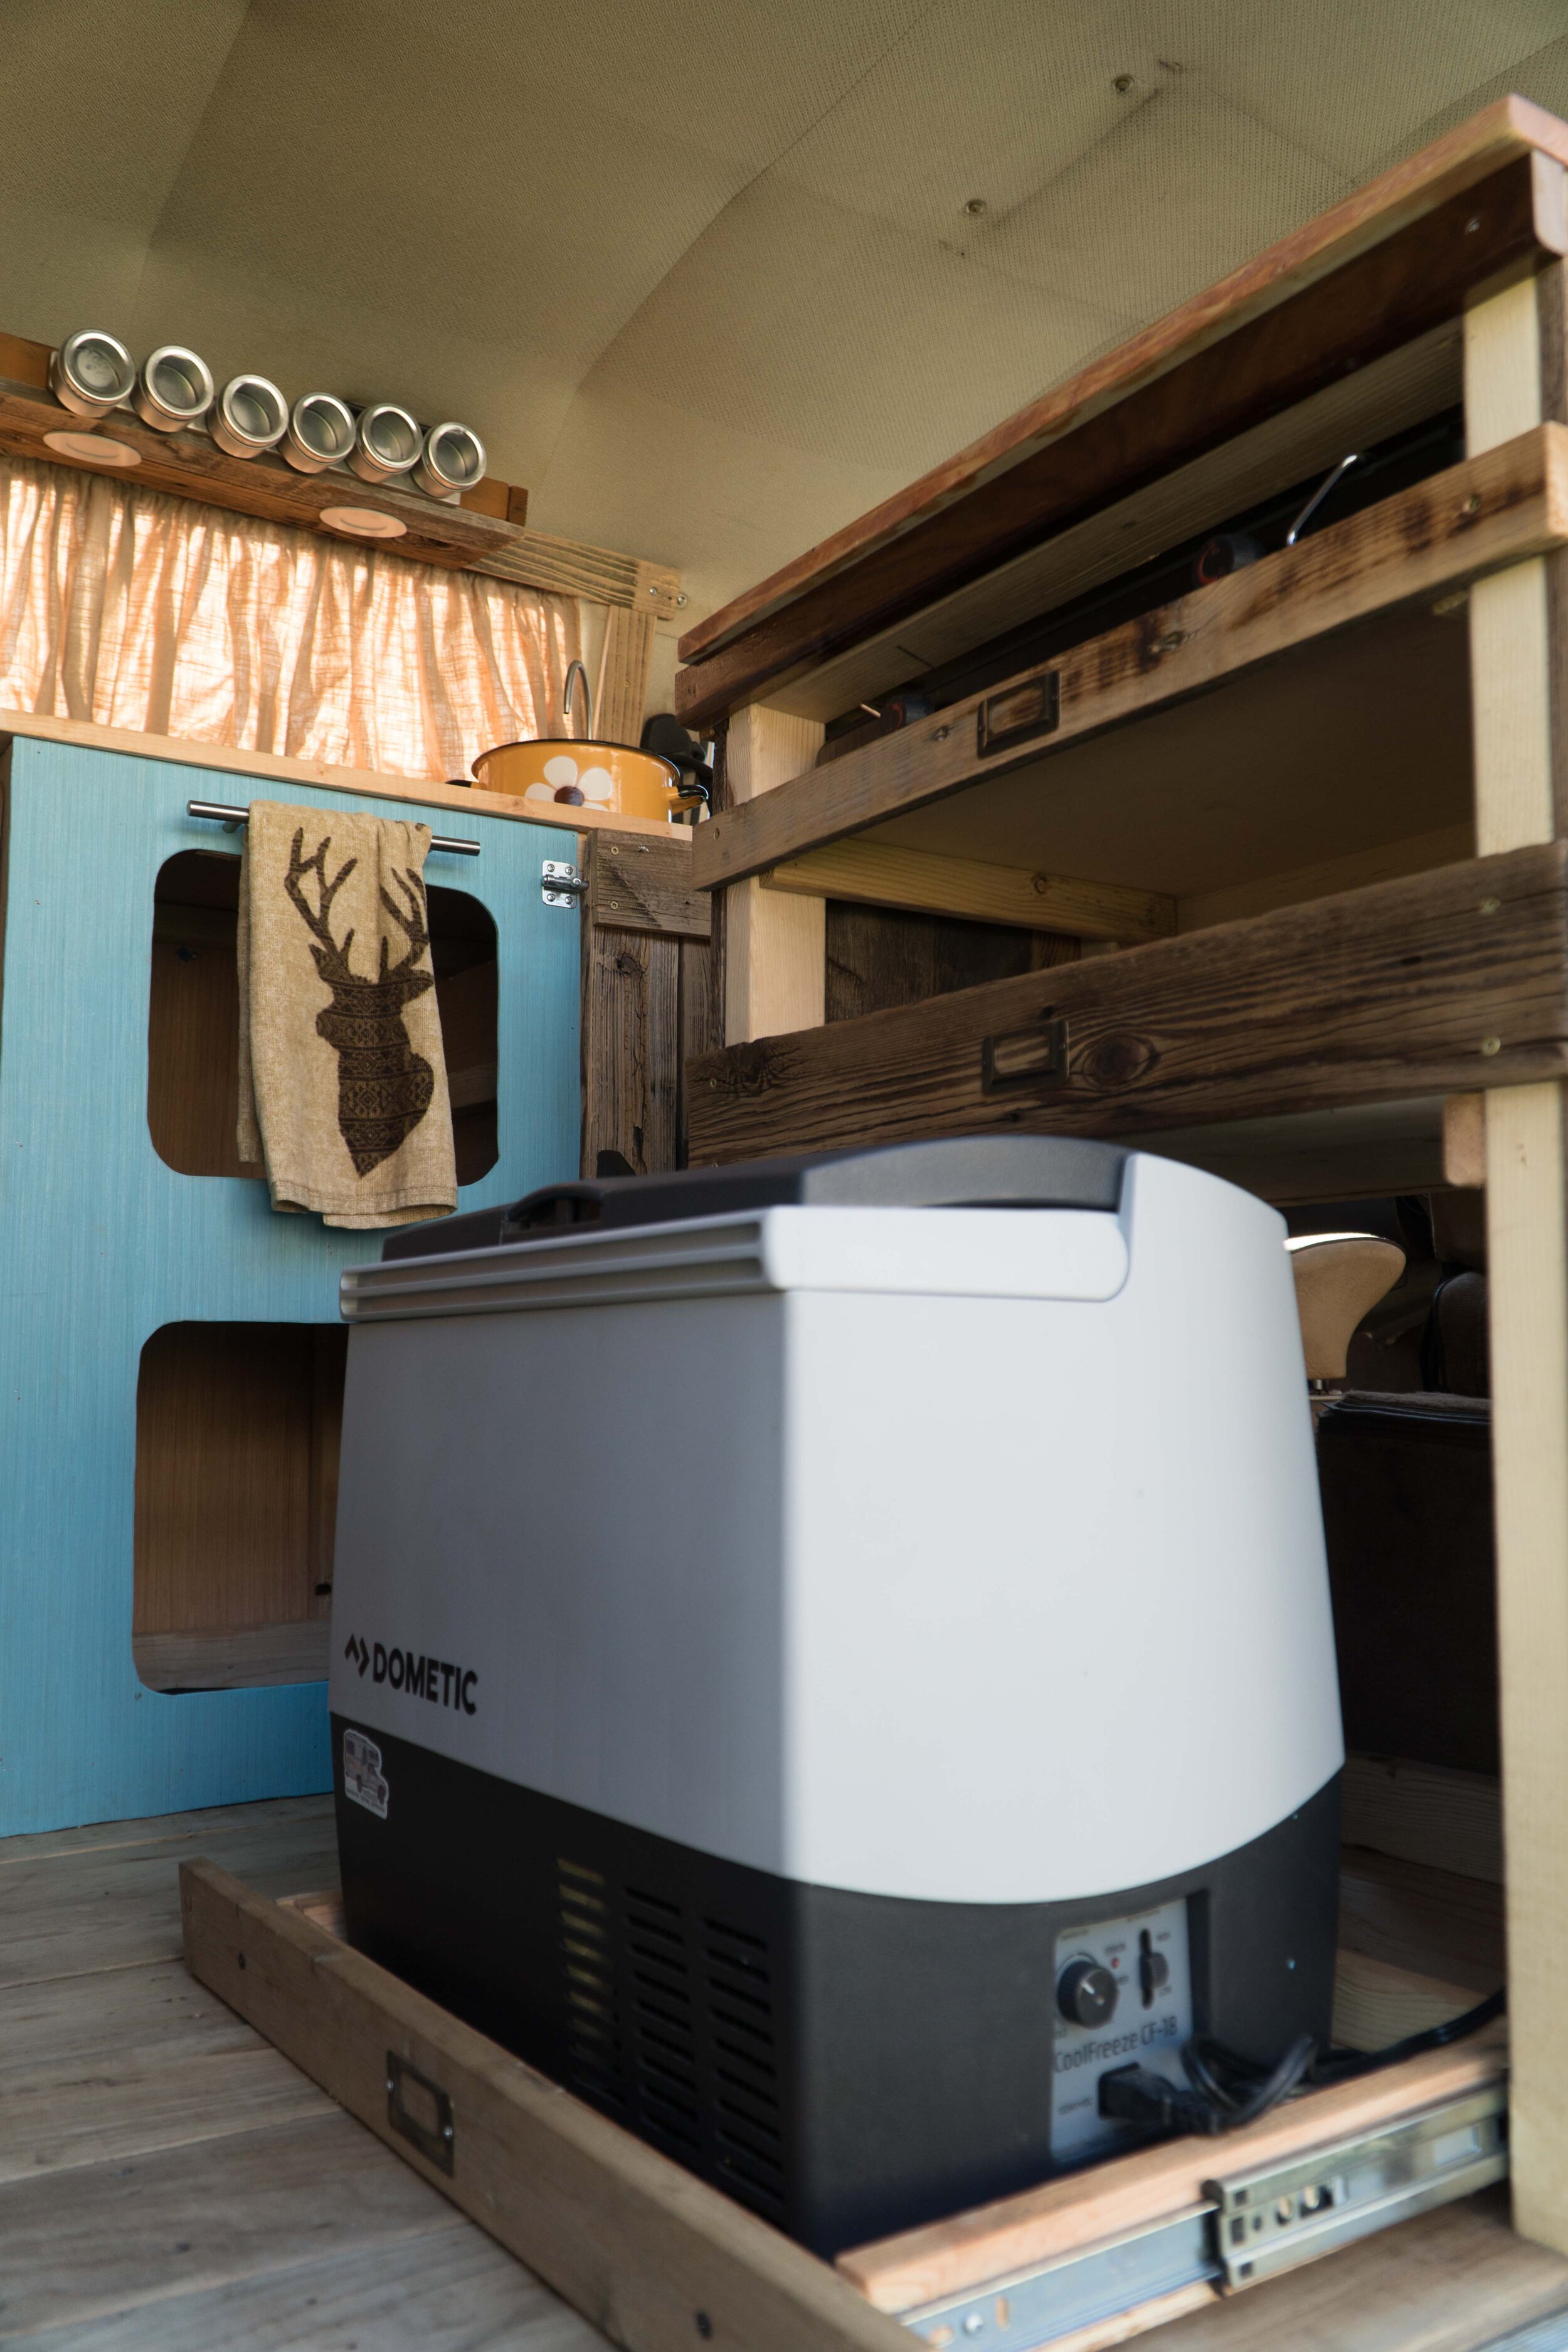
Another daunting van task was the custom cabinets and what to do with the “kitchen”. We wanted to make life, as easy as possible. We planned for a single pull out drawer and one door front on the cabinets. We were planning on leaving everything else open and easy to access.
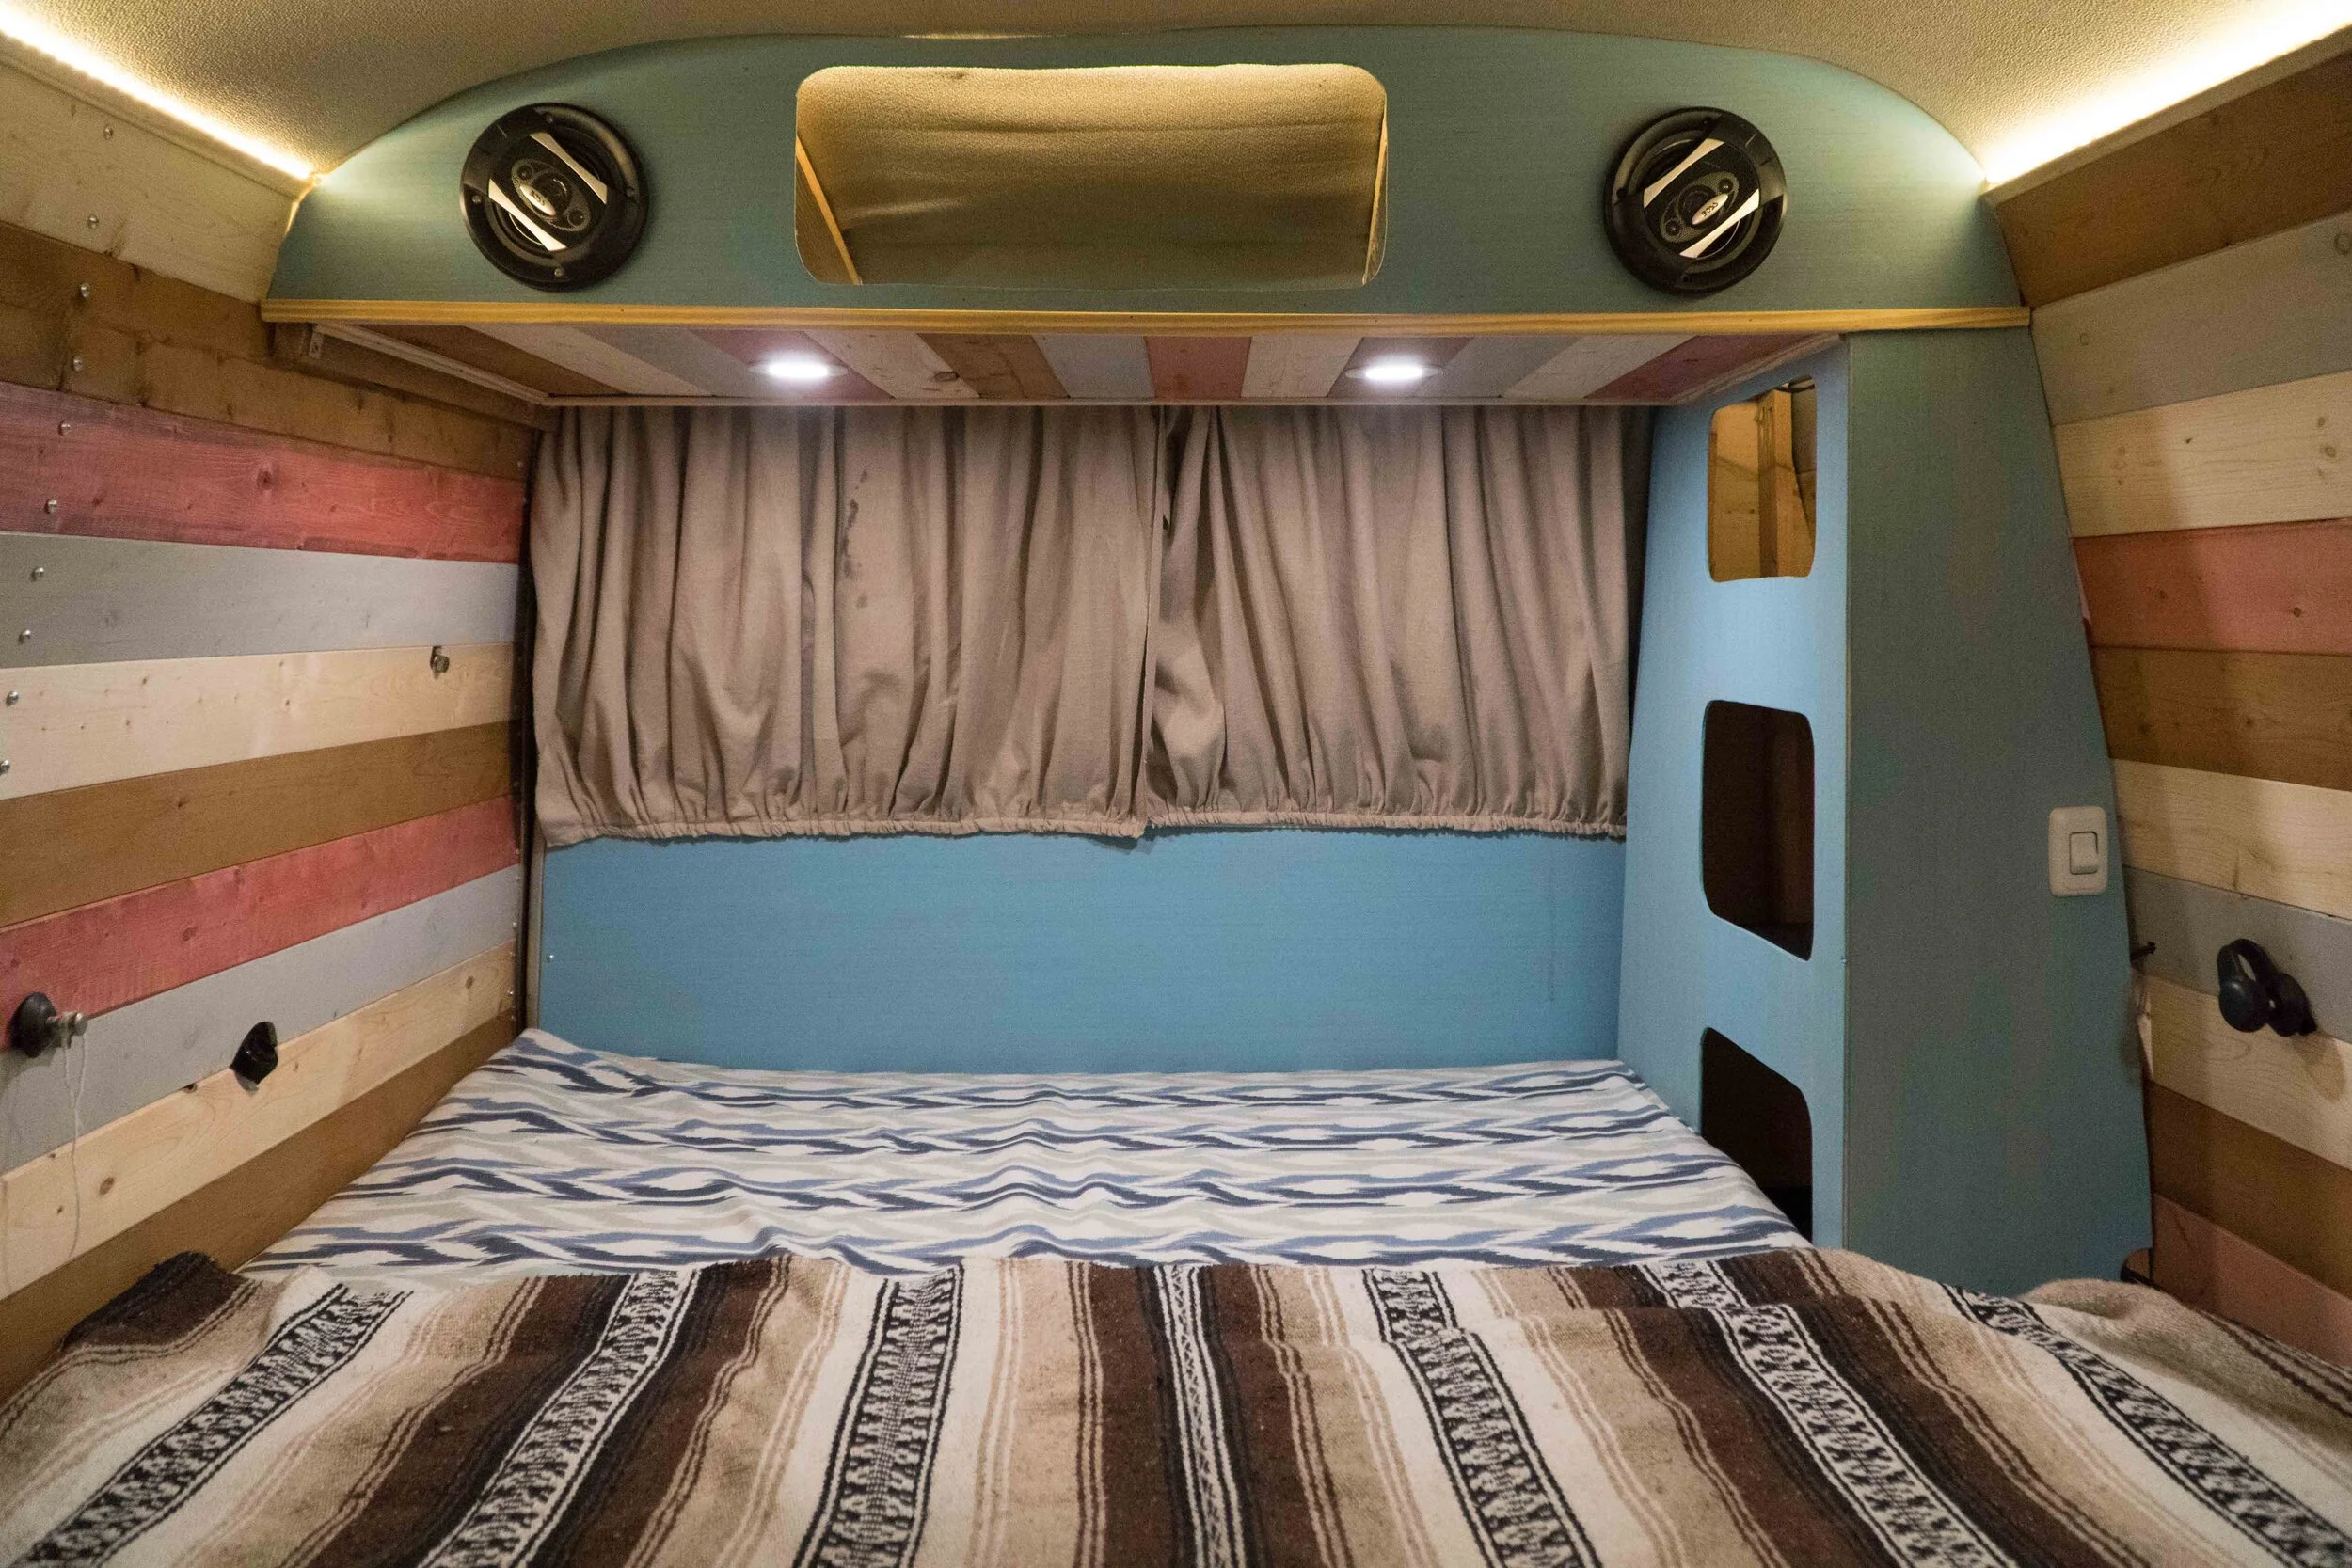
For the rear cabinets, we knew we wanted a small back cabinet with an over bed storage to hold additional clothes since the van is so small. We decided to go with how the Westfalia layout tends to come stock, but kooked it out. We used our favorite Kregg Pocket Jig to assemble the cabinet frames, without using millions of L-brackets.
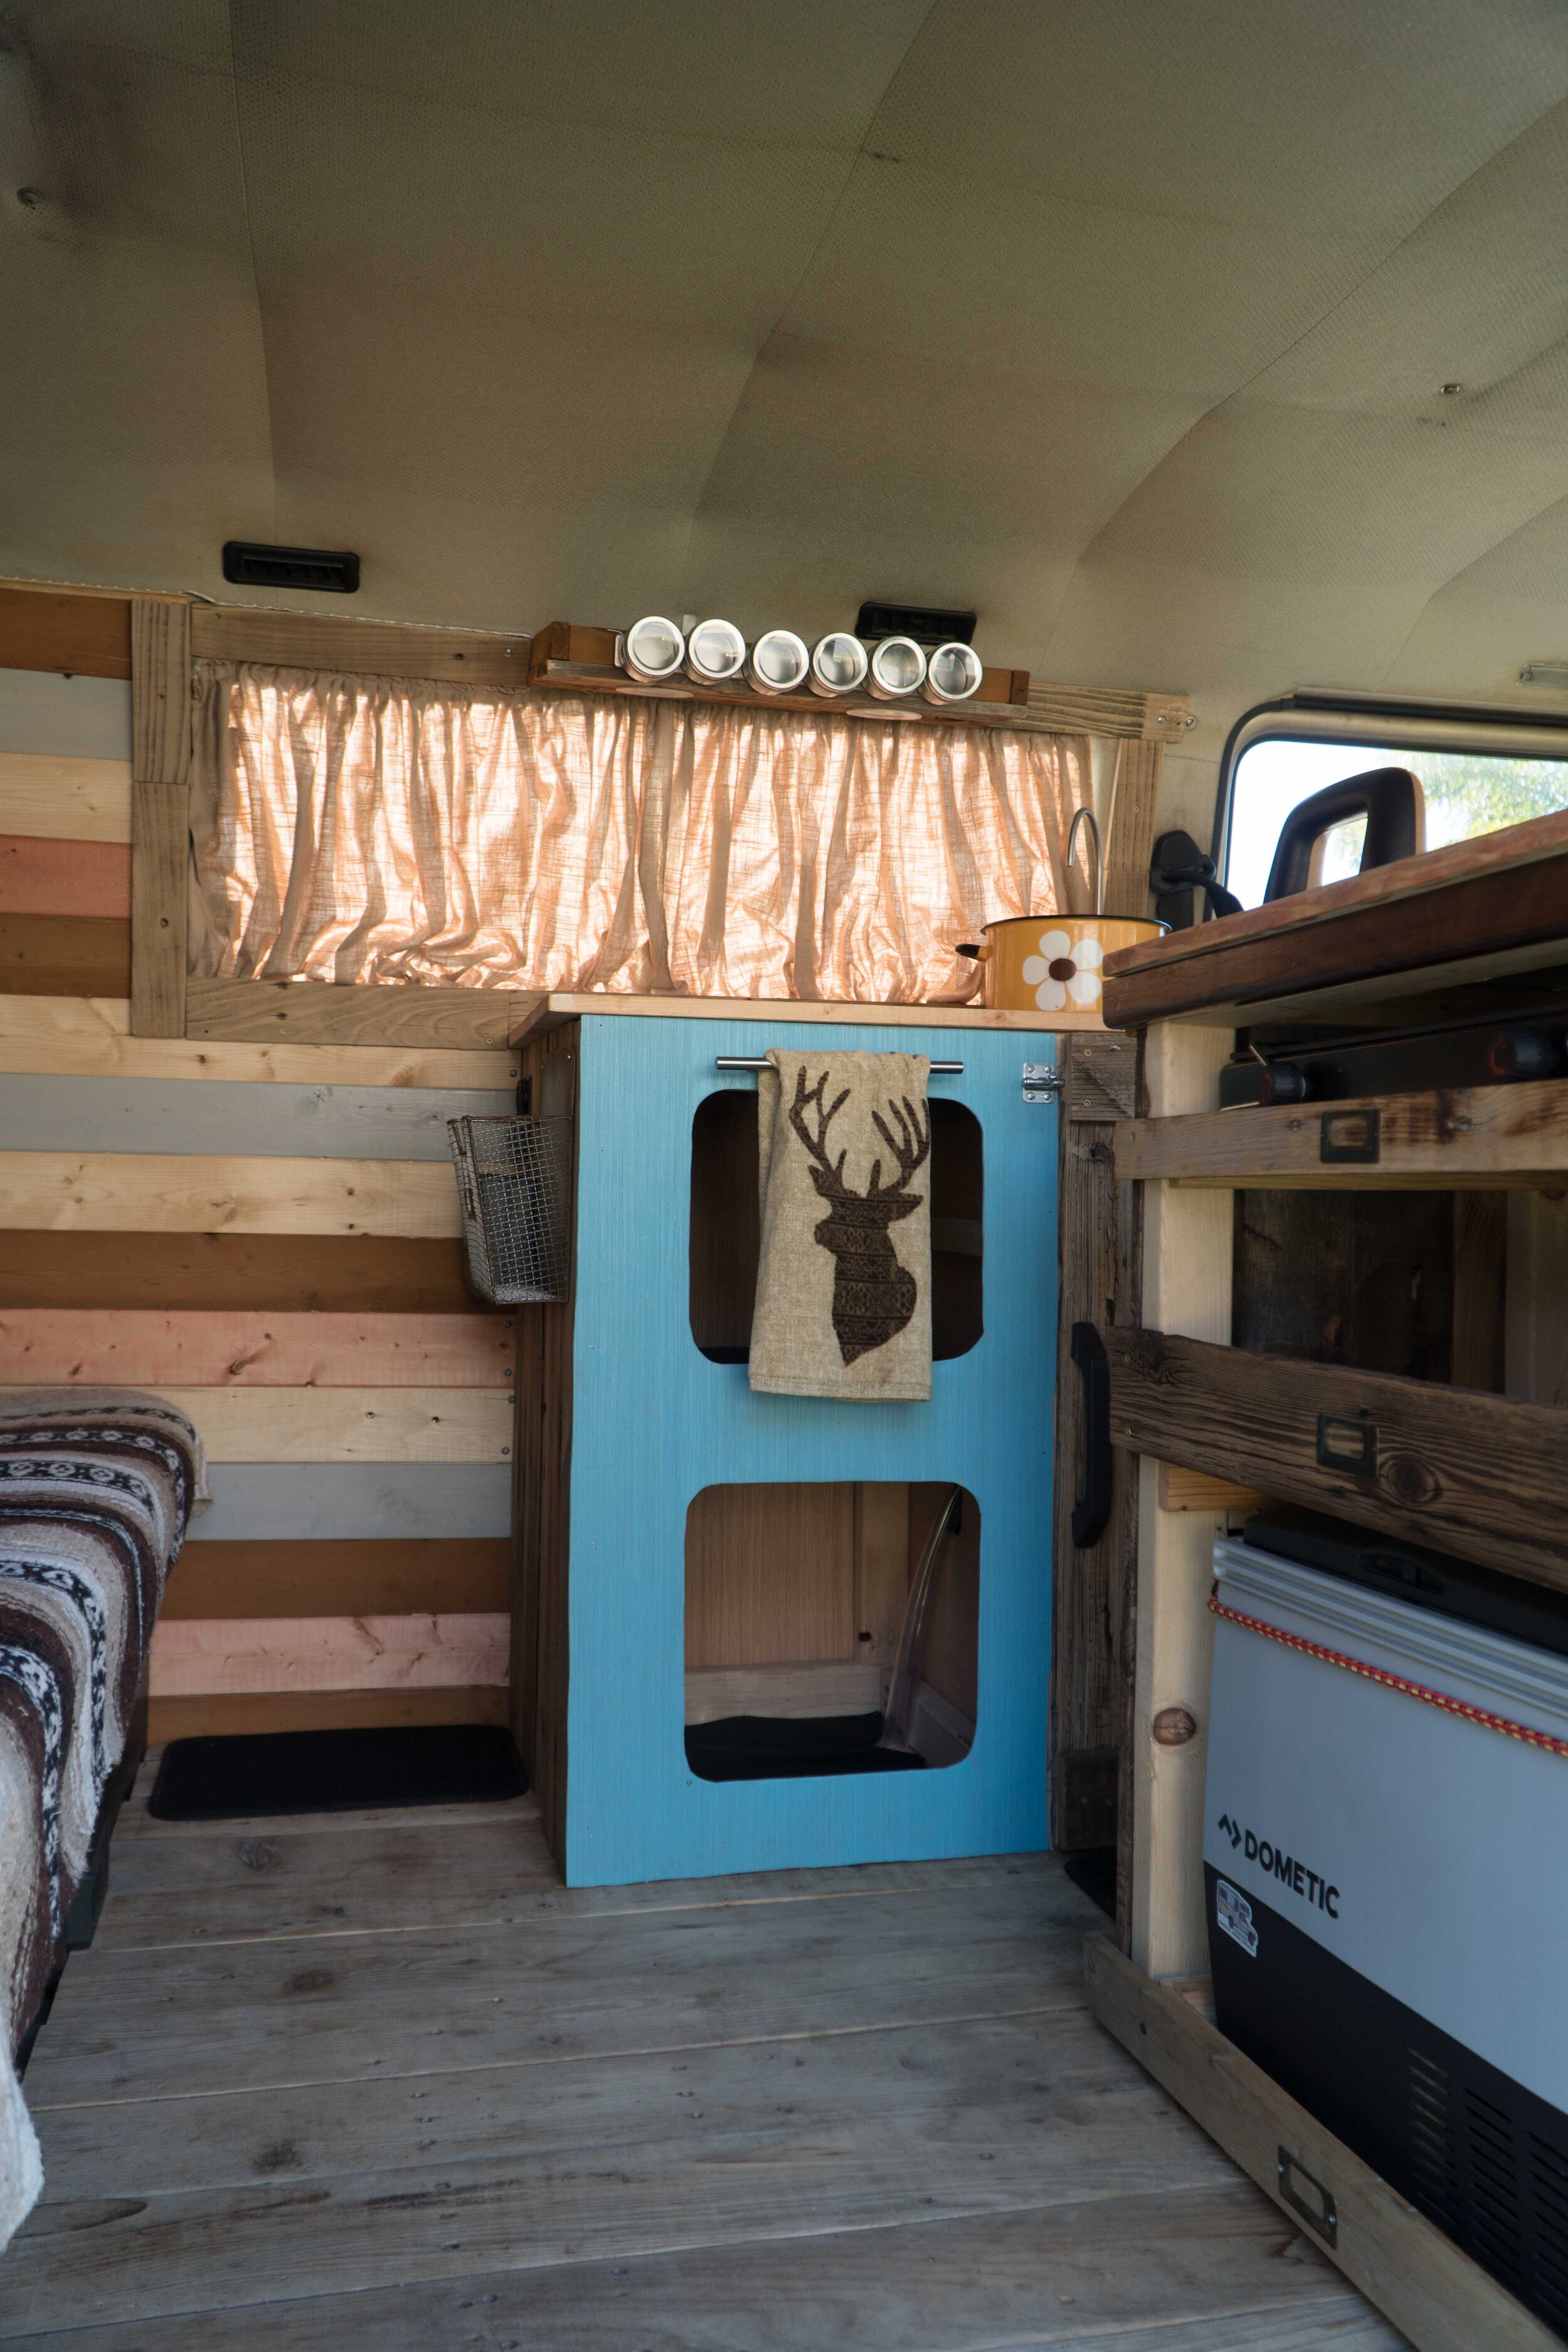
We attached all frames to the van, using self tapping metal screws. We used thin furniture grade plywood for all the fronts and used a jigsaw to cut out all the ovals. We painted the walls a nice Vintage Aqua stain.
We left a nice area to hang jackets and put shoes in the far back drivers side corner. On the over head storage, we used our scrap tongue and groove pieces and it really added some flare to the van. The van came with some 6” Boss Speakers that we put into the front of the overhead cabinet, as well as, a LED light strip to light up the inside. The whole cabinet looks really pro and we are pretty impressed with ourselves.
The kitchen was the next step in the build process. We have a small area. So, we needed something very efficient. We went with the fridge on a slide out drawer with plenty of food storage above it as well as a place to store the cooktop.
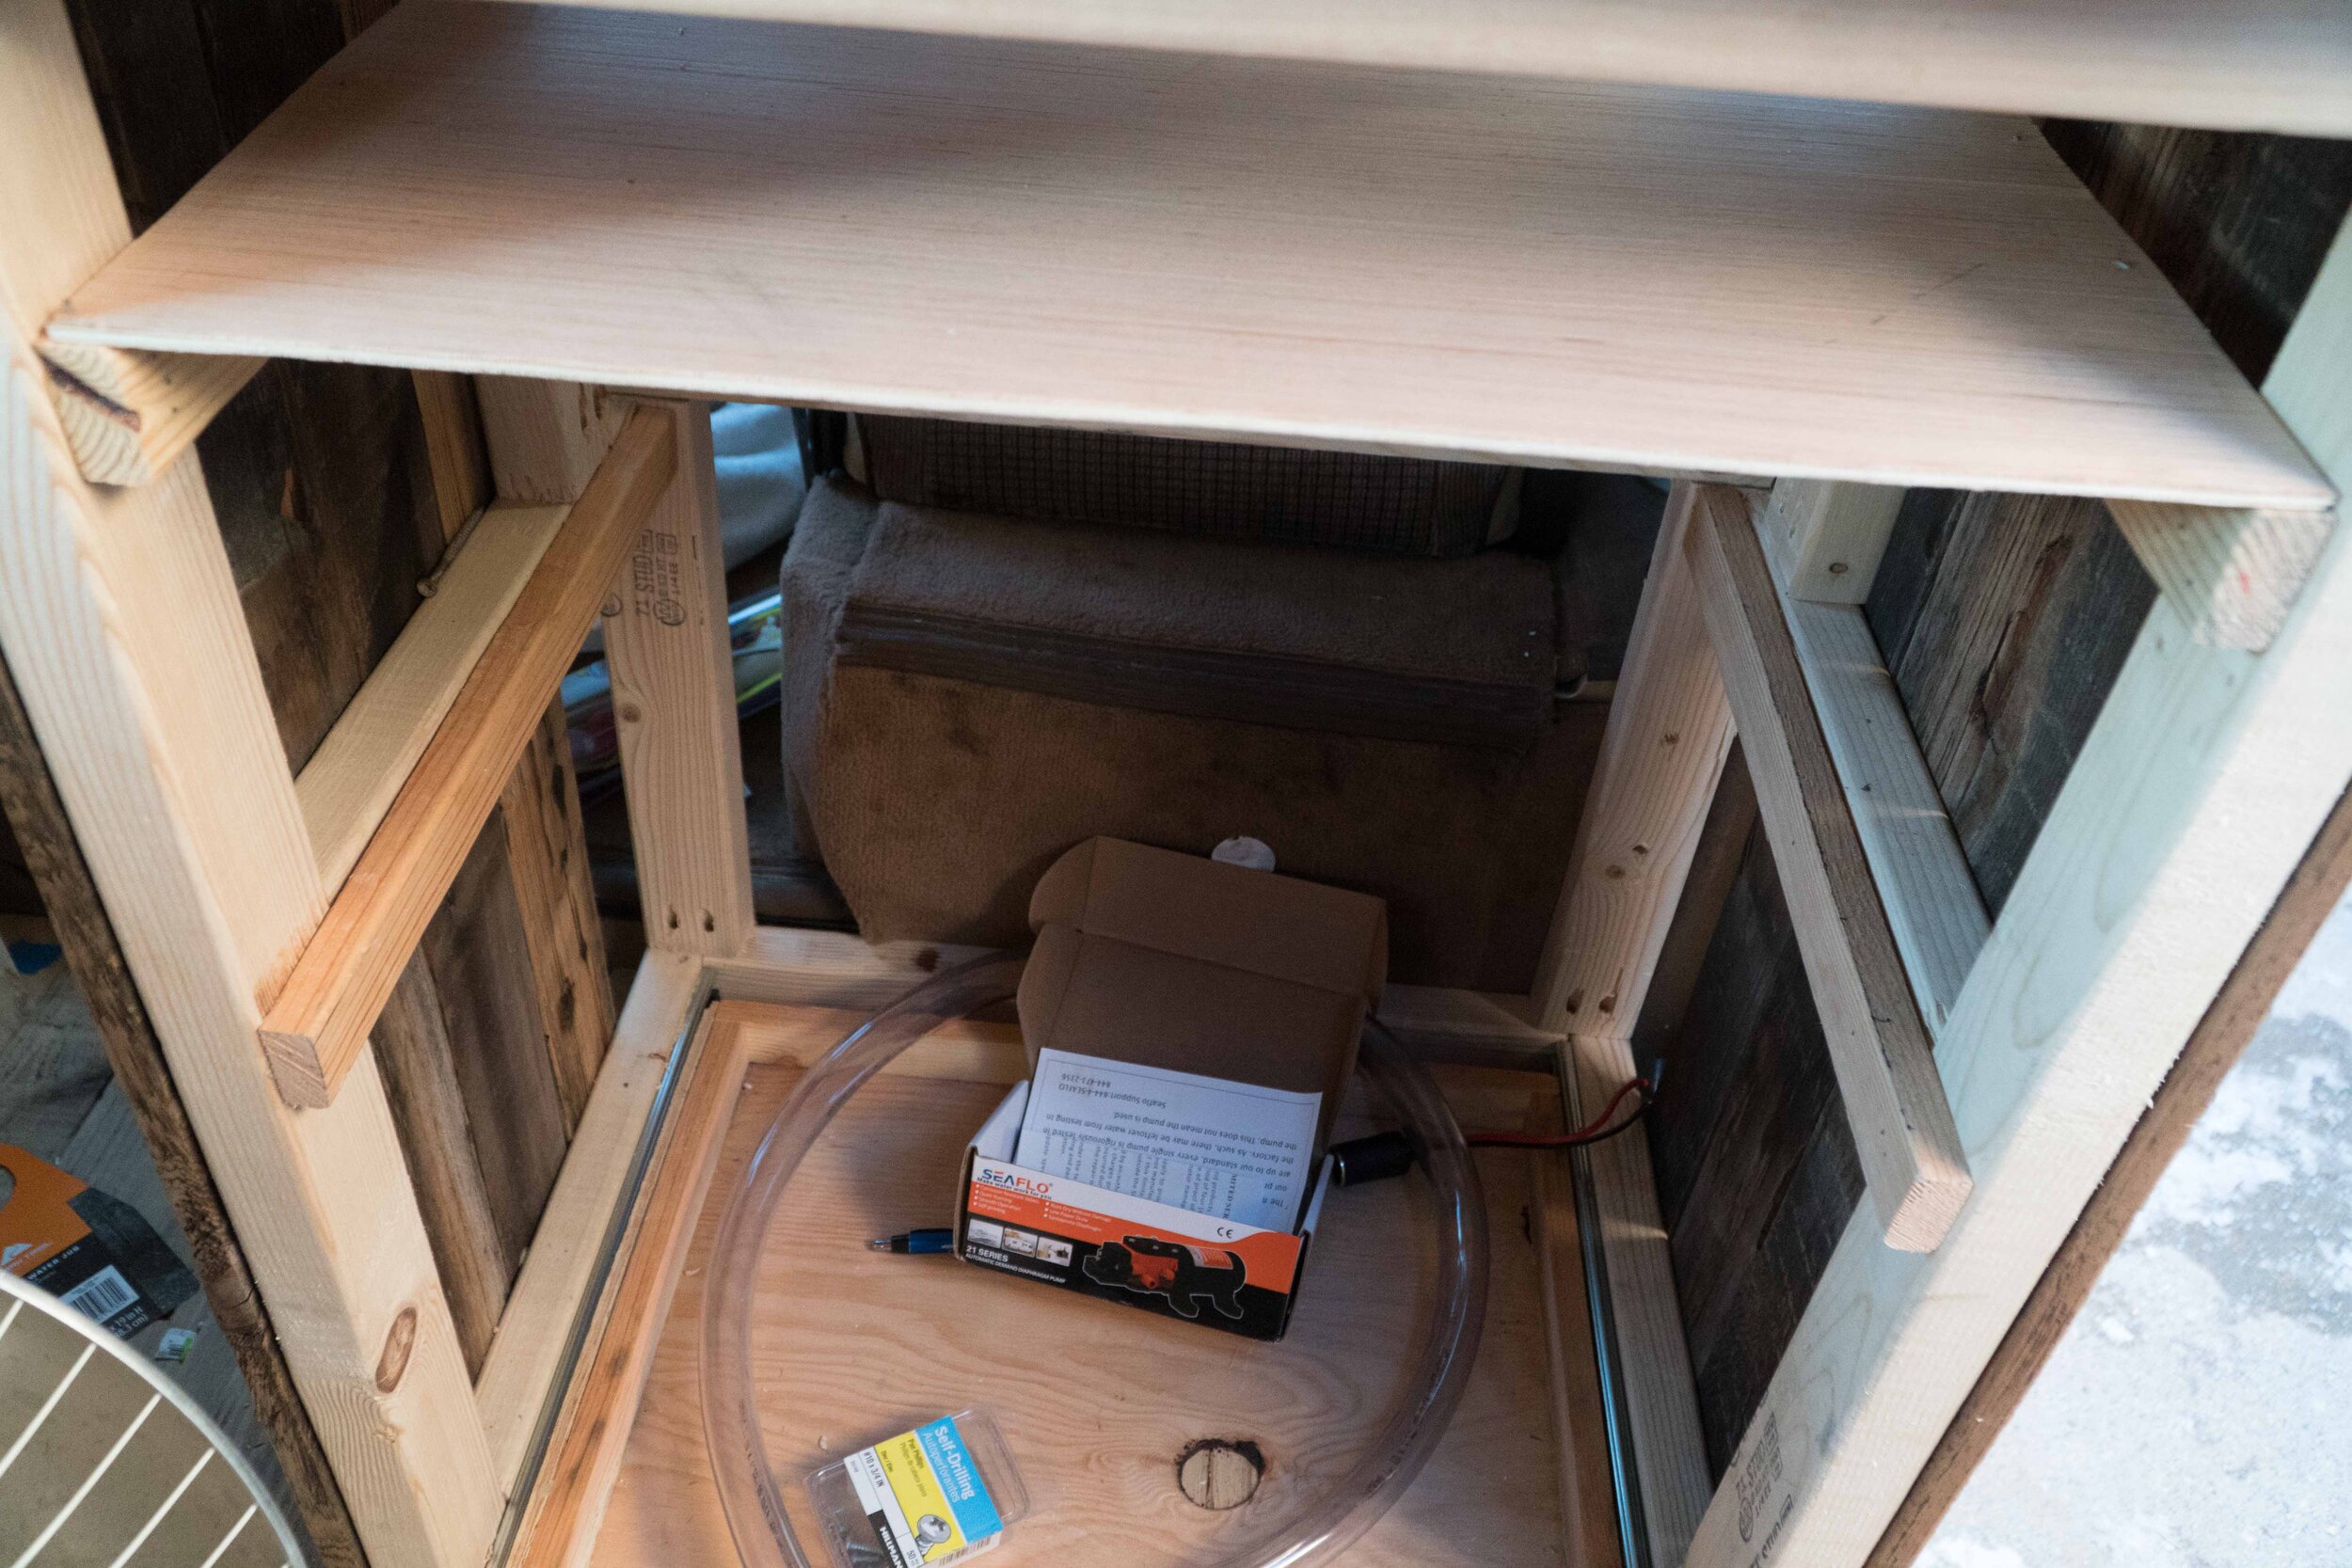
We used an 8 foot stainable project panel that we got from Lowe’s for around $30 for all the countertops. On the other side, we wanted to have a sink and we wanted some additional counter space along the window. We also needed storage for our 12 gallons of drinking water, as well as, plenty of storage for larger items such as propane tanks and Mr. Buddy Heaters. We left the storage open and added a nice rustic door with our left over fence pieces to cover up the water jugs.
We found more old wood behind the ditch. So, we sanded it down and decided to use it for all the siding for the kitchen cabinets. We also made a small shelf for spices and fruits above the kitchen sink.
Once again simple, cheap and easy was the motto here. We used large L-brackets to hang the shelf and Kevin added some nice lights to accent the countertop nicely. We utilized the existing holes that once held a handle to fasten to the shelf to the wall.
We wanted to make the cabinets easy to build and easy to use and we think we did a great job on this. We really felt the with the Sprinter that we went above and beyond, on all the drawer systems. Doing a simple build, with little or no moving parts seems to be the way to go in the future.

