Installing the electrical system in the van is a much easier task than you would expect. If you’ve come across this, I’m imagining you are doing as much internet research about electrical systems as we did. We have ZERO experience with electrical-anything prior to this install. So don't let it scare you, you can do this!
I’ve attached a few Amazon links for reference. We bought a majority of the wiring hardware at our local auto stores like, AutoZone and Napa. We also found that our neighborhood True Value had almost all the electrical parts we needed. When you are wiring a 12v system, your best bet for fuses, wires, terminals, basically anything will be at the local auto store. Everything else, except the solar panel and batteries, were bought on Amazon. (You can buy the batteries on Amazon, but they are $100 more. I put the link to BatteryGuys below to get them at the price we got them at. It was really fast shipping too.)
Step 1. The first thing you will need to decide is what appliances and power do you want in your van. We are running the following 12v devices:
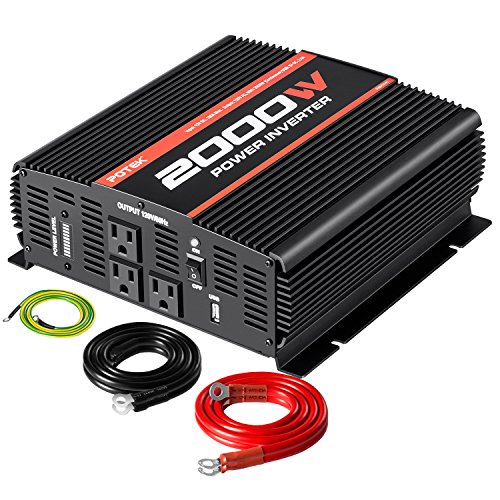
We Also have a 2000W Inverter running off the batteries as well.
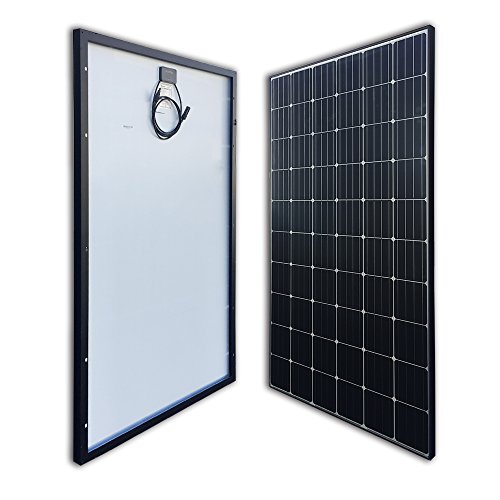
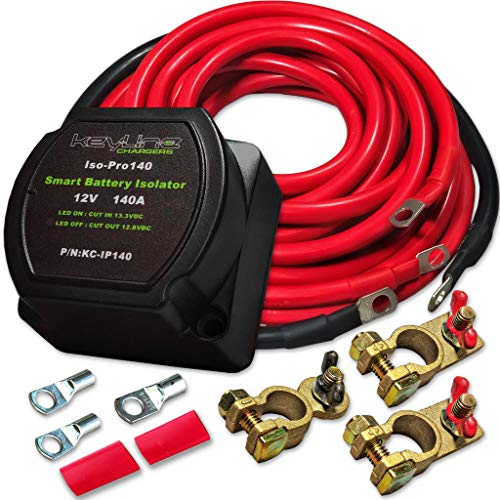
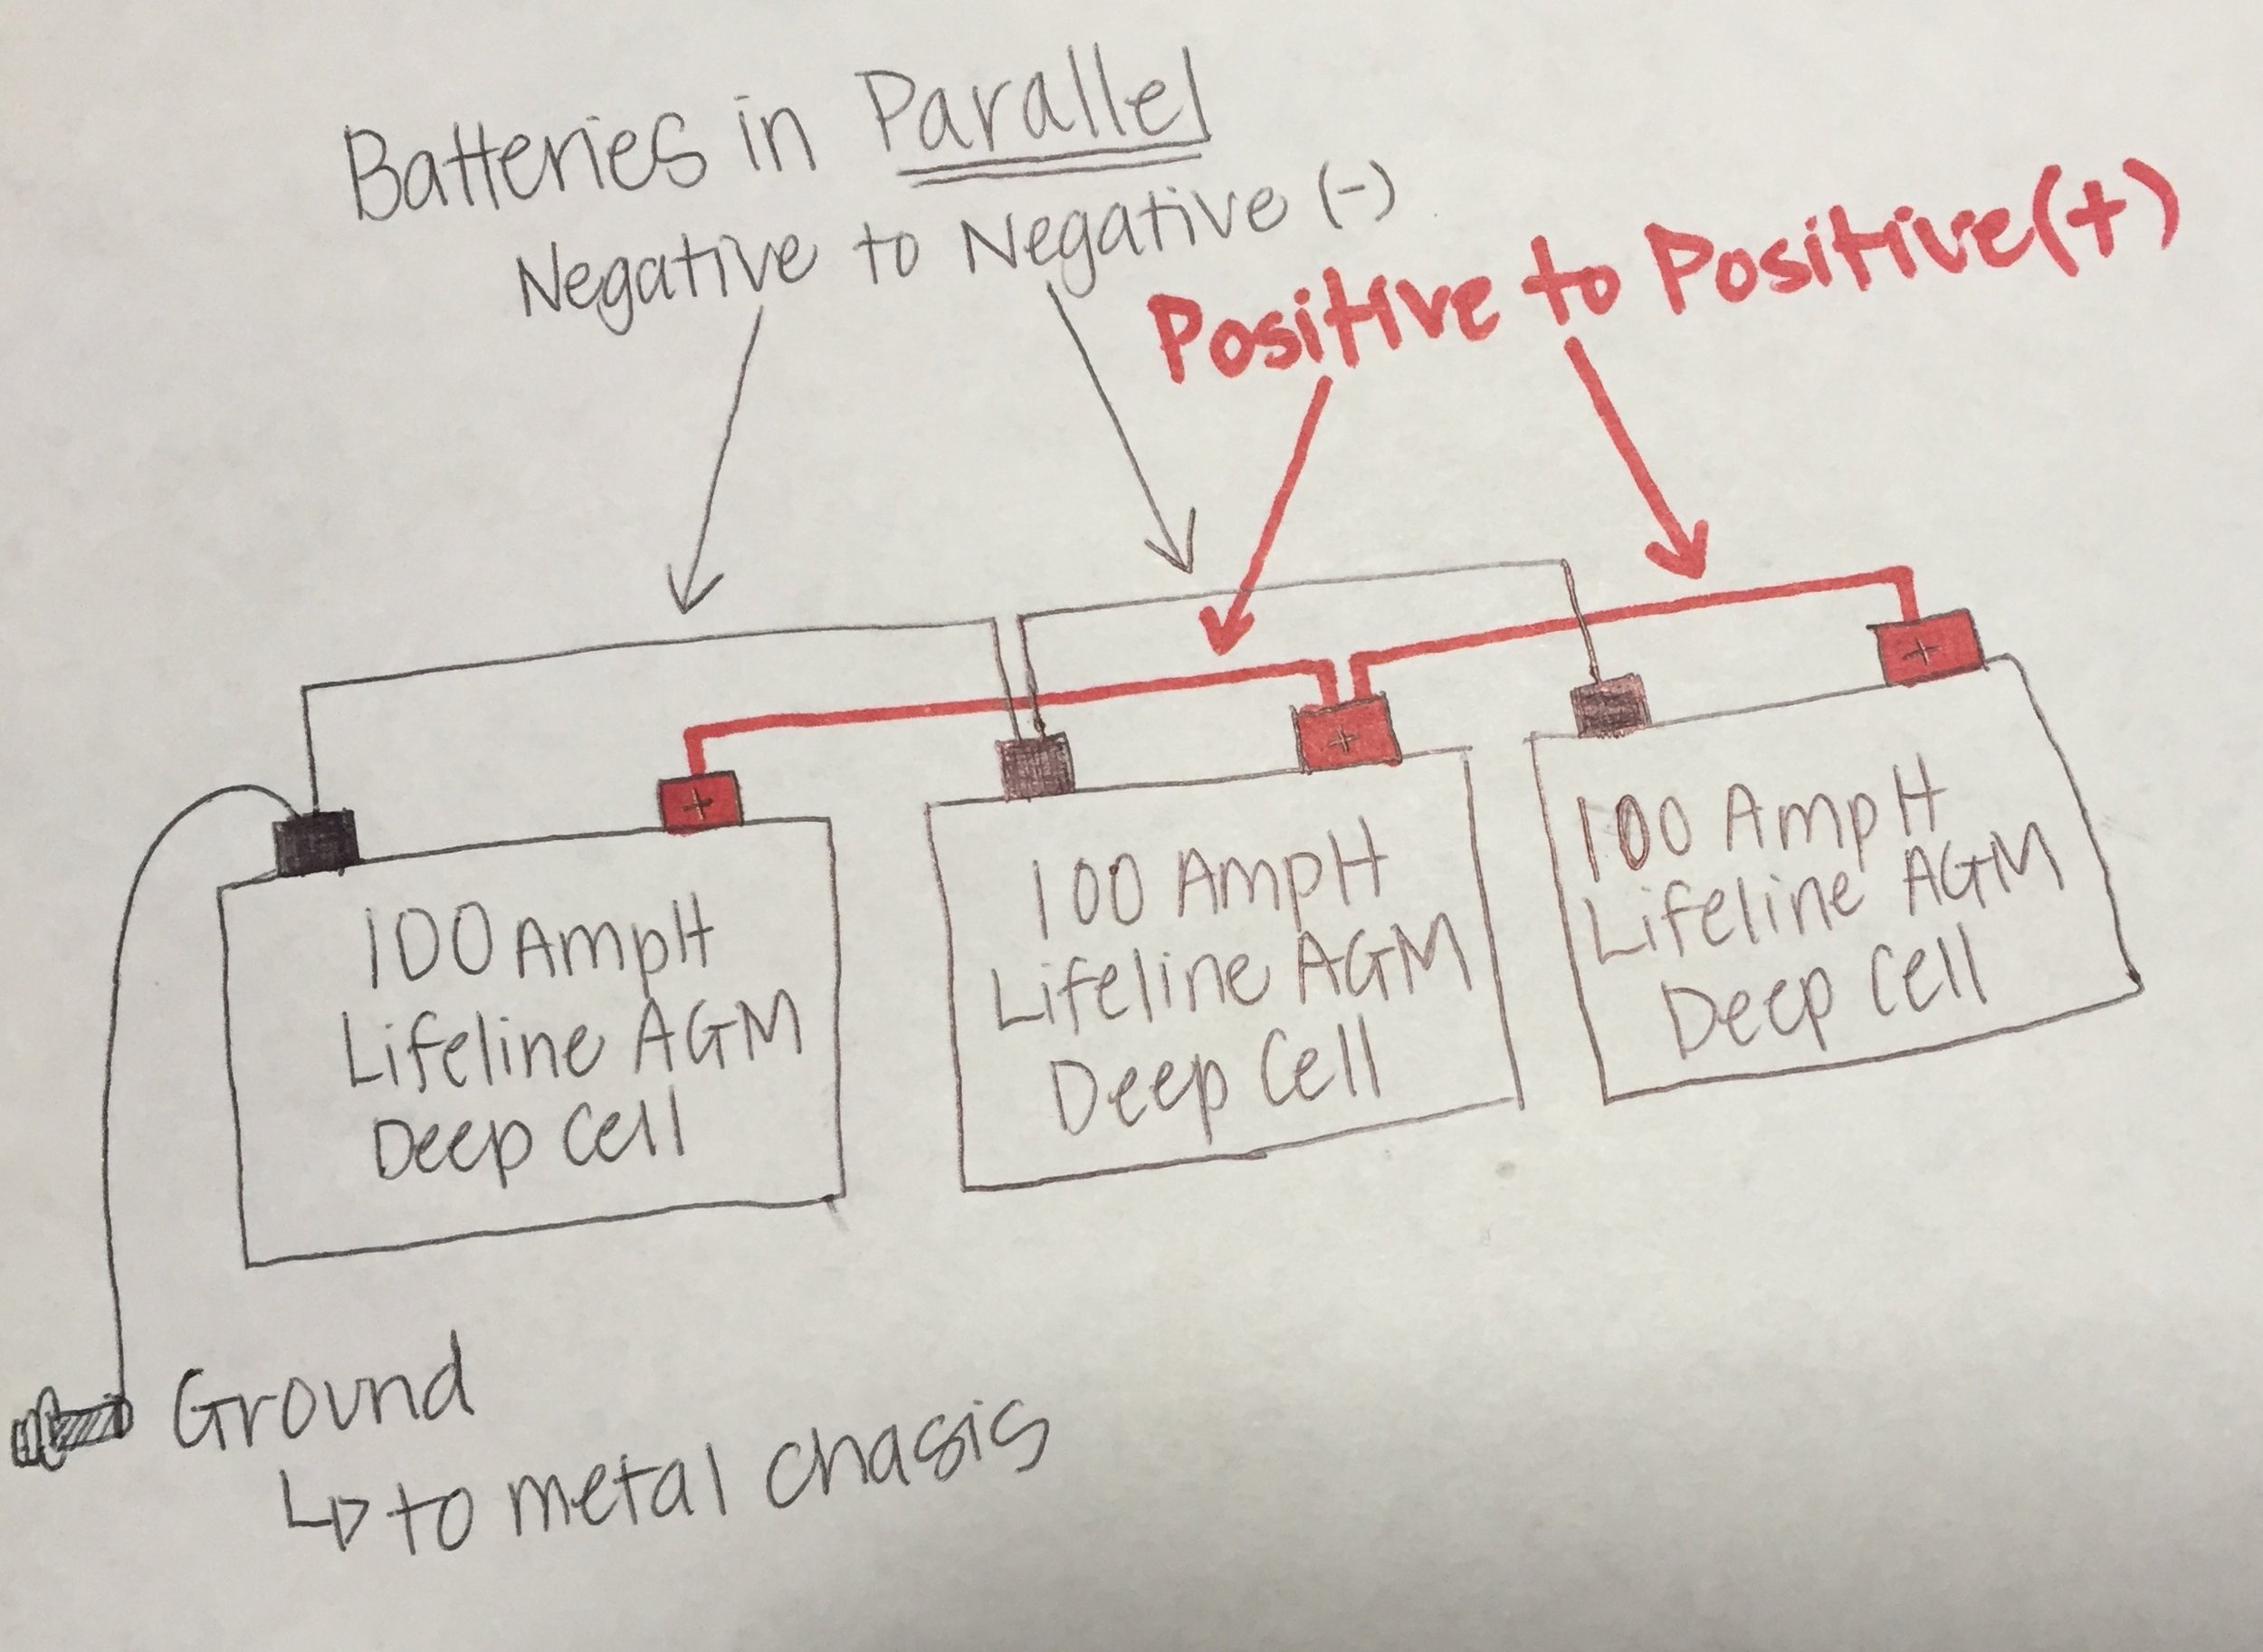
Step 2. At first we decided we were going to have 2, 100AmpH Deep Cell AGM LifeLine Batteries, but we decided that we would need 3, so we added one more, which was a good call. All three batteries will provide us with 150 Amps at 12v. We will charge all the batteries with a 300 Watt mono crystalline CertianTeed Solar Panel from SolarWholeSale.com and a Keyline Battery Isolator while we drive. (Install Video Here). The large solar panel should have no problem charging the batteries every day and we figure if we were stuck with out solar power and were conscientious with our energy use, we could go for a few days before we needed a charge up. Our goal is to be 100% off the grid and if we absolutely need it, we will be able to charge up with a battery charger.
Step 3. Now that we’ve assessed our needs, what we need to power, and how we will charge and power everything, we can start the fun part. The first step is to set up your battery bank. The first thing you will want to do is find a good spot to ground your batteries.
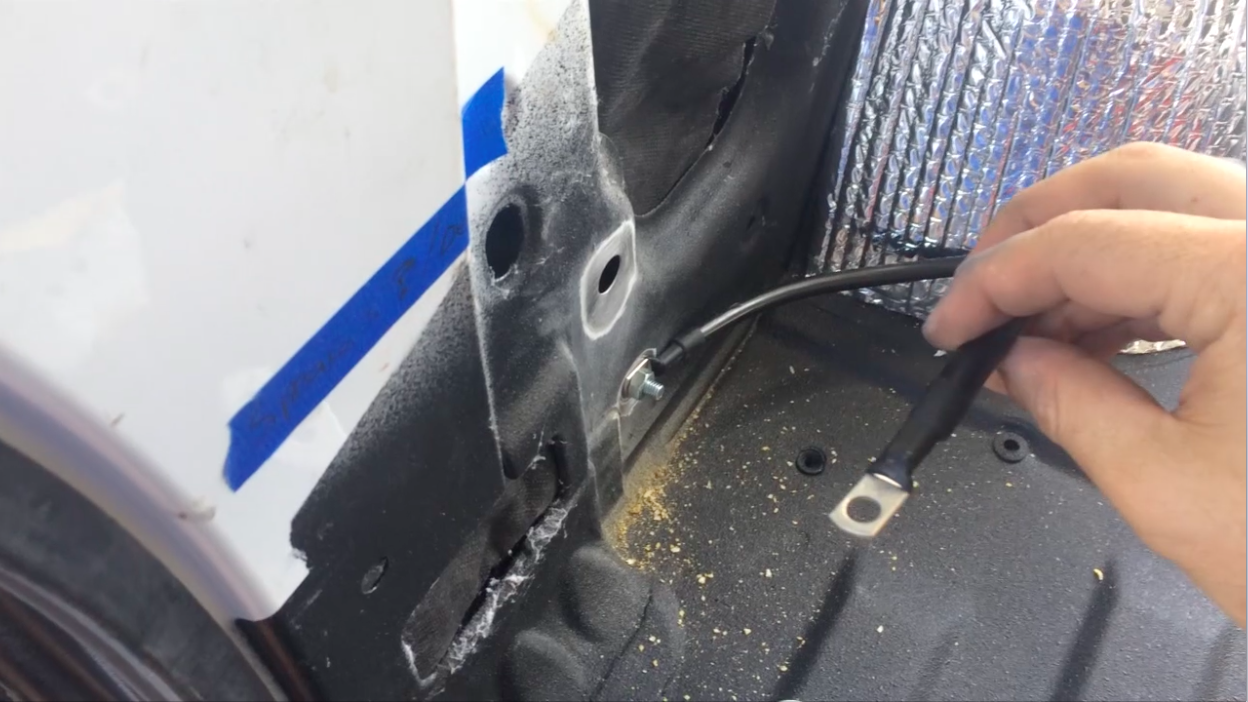
I used the frame of the interior walls as a ground and put a solid bolt through a hole. You should always test your ground to get a good connection. You will need a voltmeter. To test the ground, attach your cable and get the reading off the volt meter. Try another area and see if you get the same reading. If it is different, you will need to establish a better ground connection. From here, you will want to wire your battery bank in parallel. Check out my basic diagram below. Also, when it comes to crimping battery terminals, we just used a vice and it worked very well to crimp the terminals and get proper connection on the battery cables. Always pull on your crimps to make sure that the connection is strong.

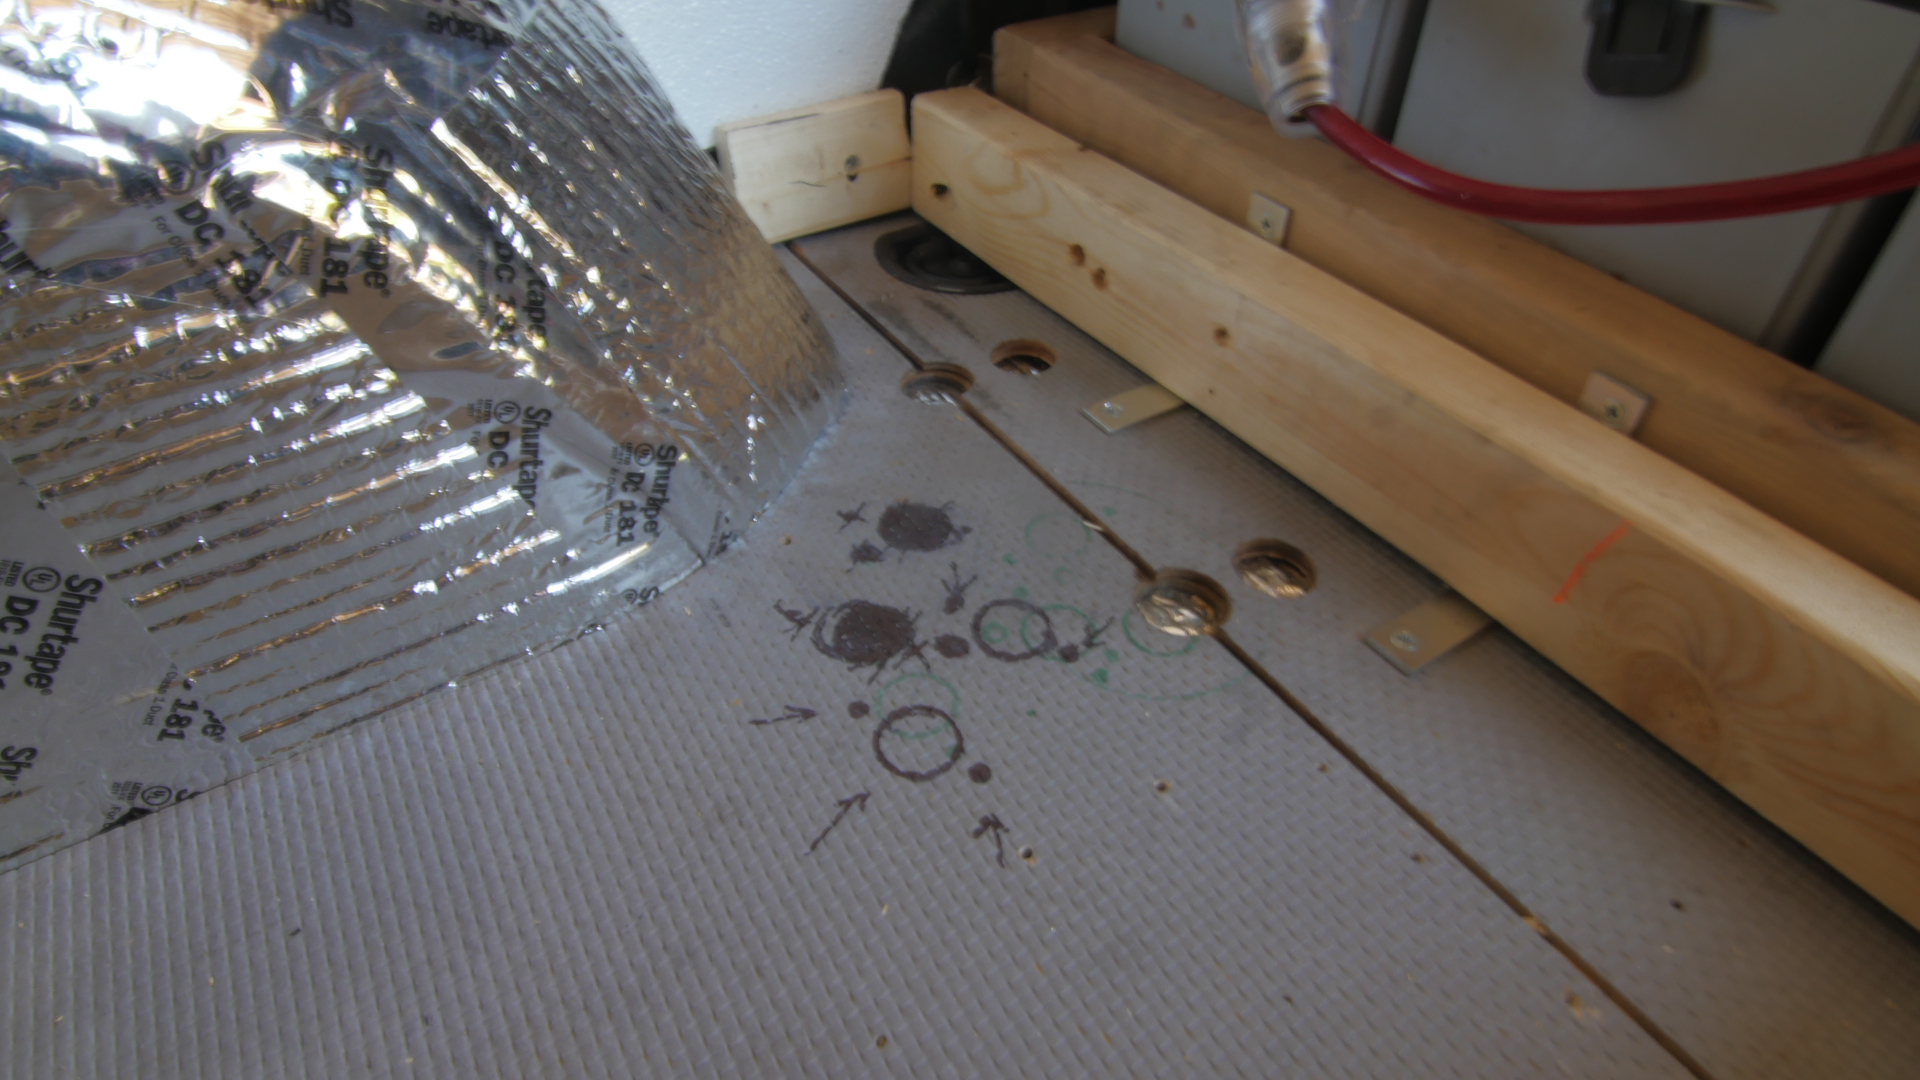
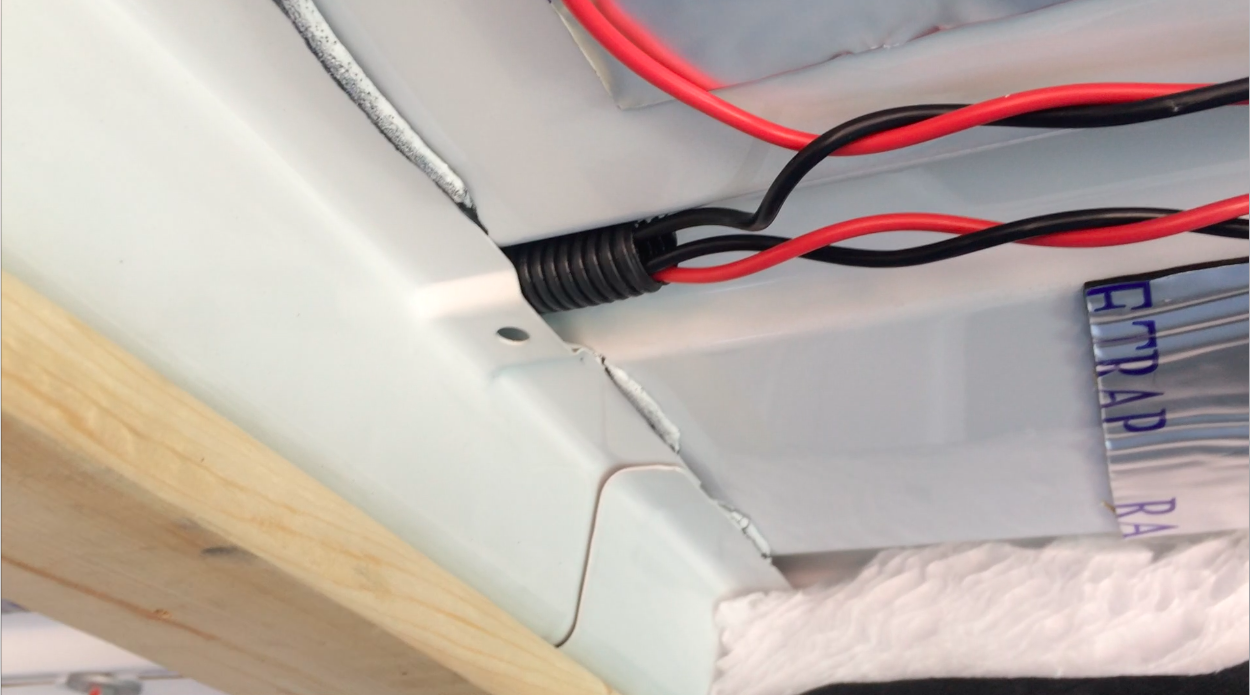
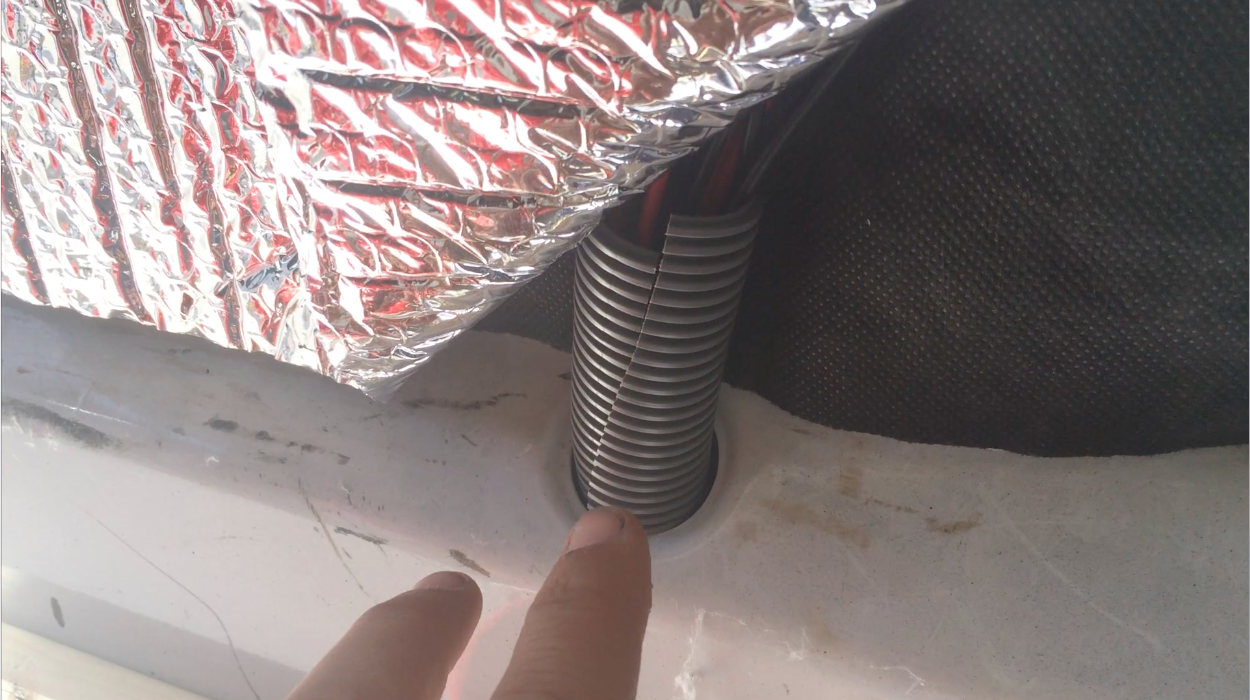
Step 4. Once you've got the battery bank wired up, you are ready to start wiring the van. We used about 180 feet of 14 Gauge Black and Red Wire. What we did while we worked on the first stages, was tape-off everywhere in the van that we wanted our outlets/appliances/lights. We seem to be changing plans everyday. So this was a tough part for us and took quite a bit of planning. Once we decided where everything was going, we measured and cut the wire from the fuse box to be to where the switches and accessories will be. We were extra careful and we insulated our wires anywhere they had a chance of rubbing up against metal and possibly becoming damaged. We used about 20 feet or more of the plastic conduit to protect the wire and about 20 feet of the foam pipe insulation as well. We also used left over reflectix and electrical tape to create our own insulation in other areas. (See Video) After you measure and run all the wiring to its location, make sure you label every cord. I used masking tape and a sharpie and wrote what every cord went to on both ends.


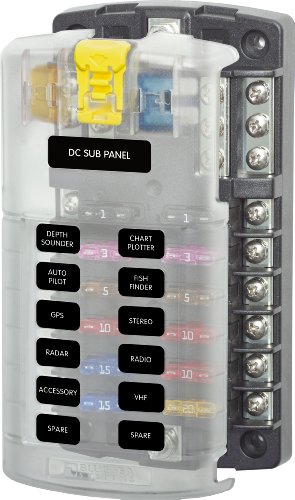
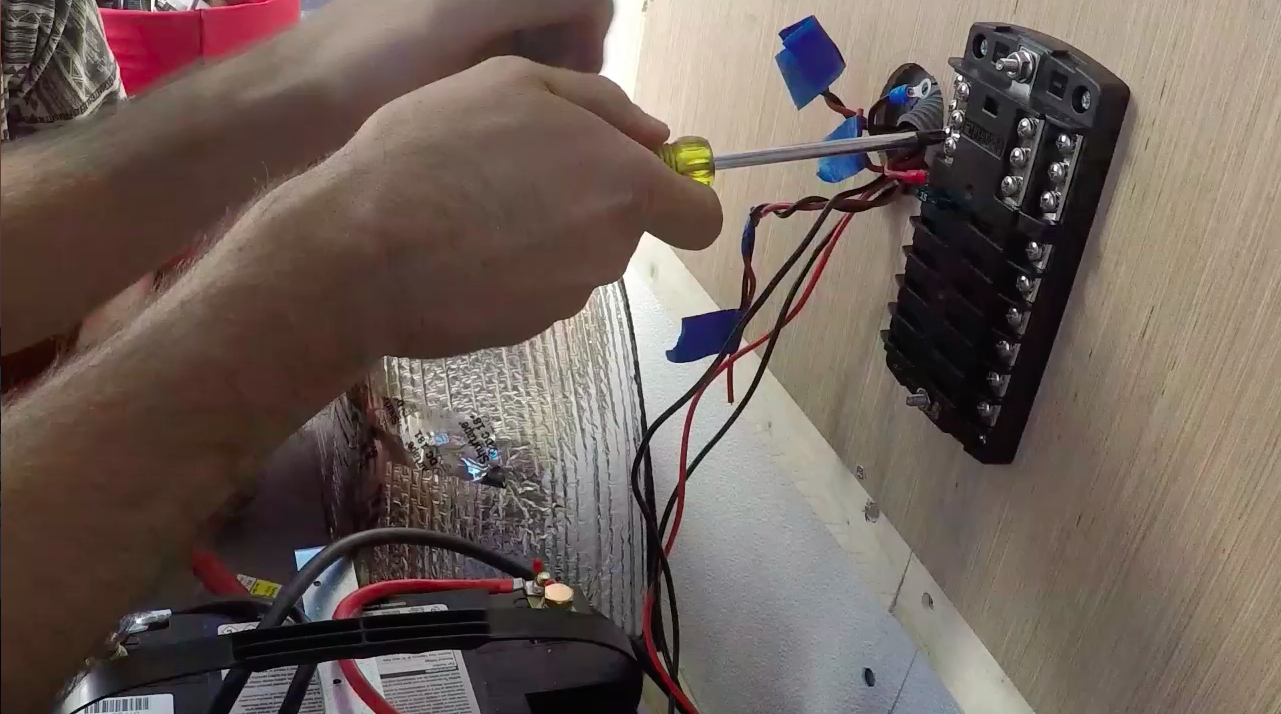
Step 5. You can now install wire terminals on all the positive and negative wires and connect them to your fuse box we used the Blue Sea Fuse Box and it works out great. The Blue Sea is nice because it has 12 ports which is about all you need. After you have all your wire terminals installed and determine where you will put each positive wire. You can connect your ground anywhere to the Blue Sea Fuse box it doesn't have to correspond to any specific area you just need to ground the negative on the bus bar. ***NOTE! While doing this, do not have the fuse box connected to the battery and never have any fuses in fuse box with live wires. The fuse is basically a switch and once you plug it in, it will be live.


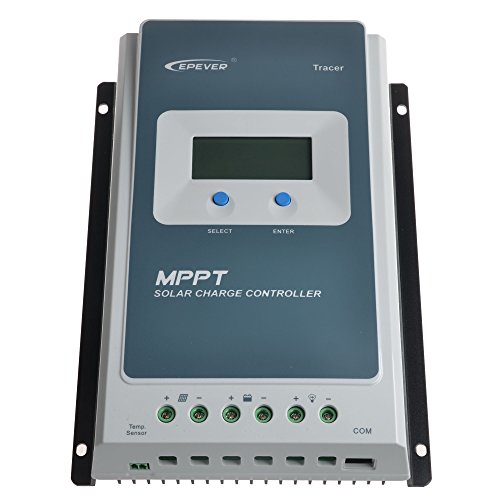
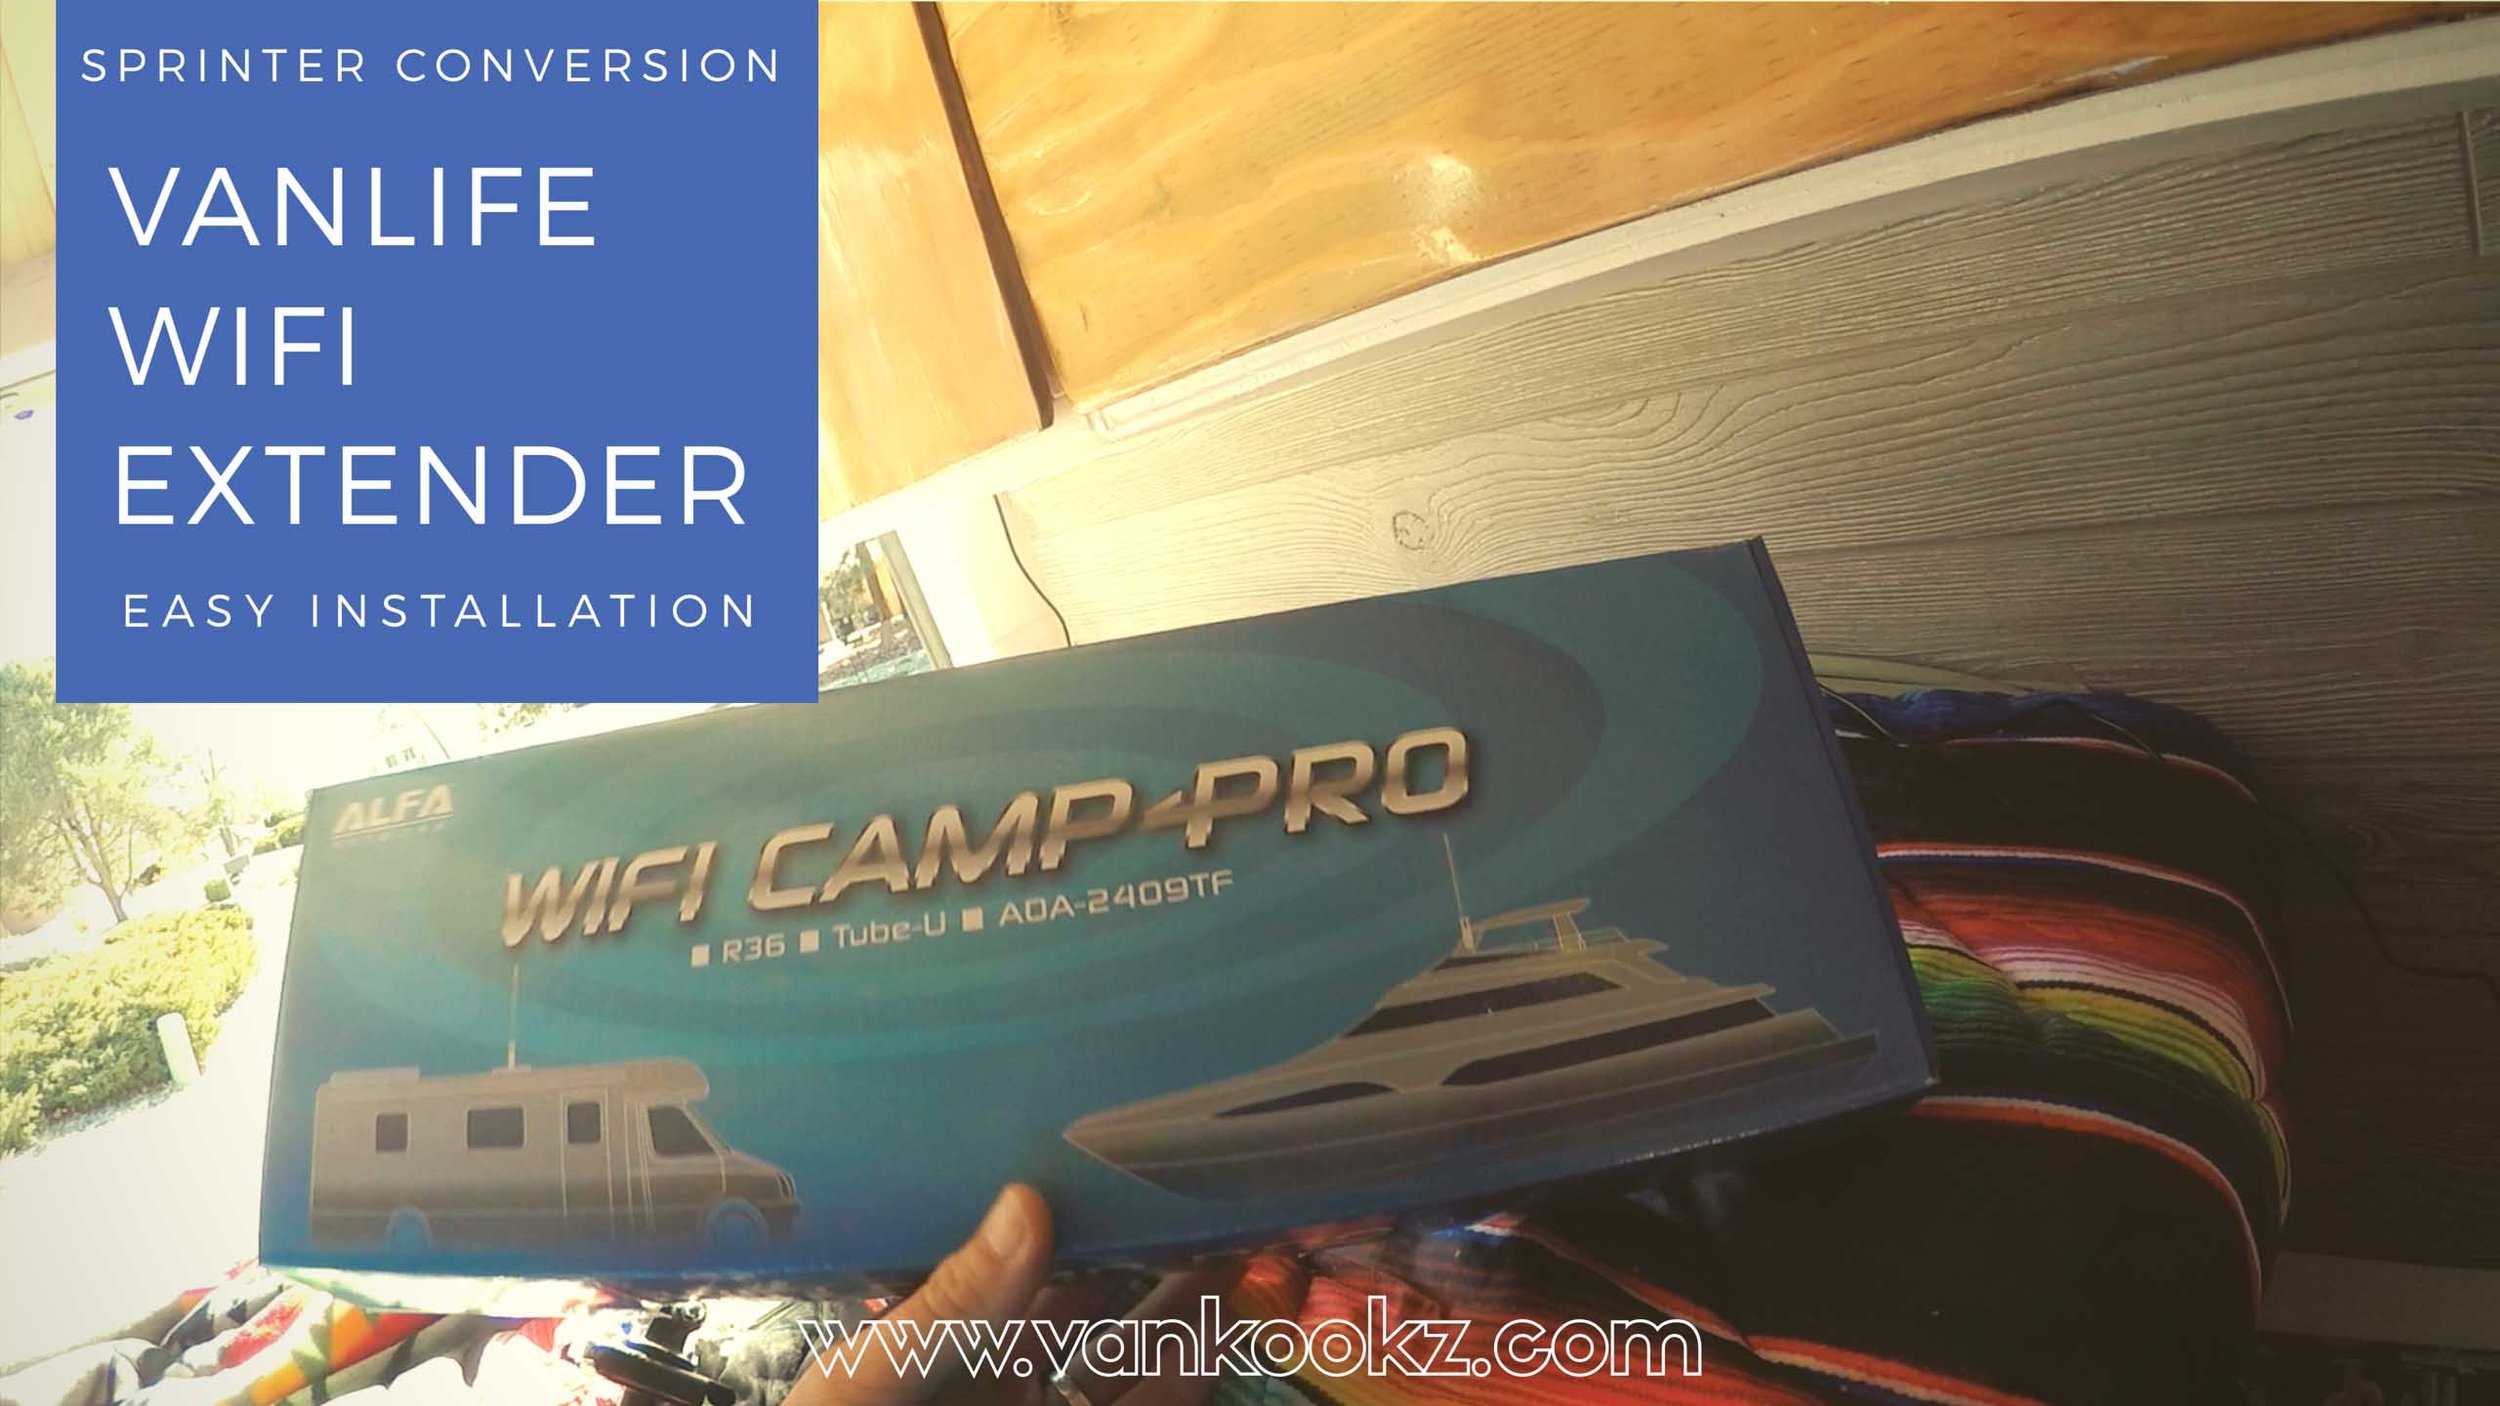
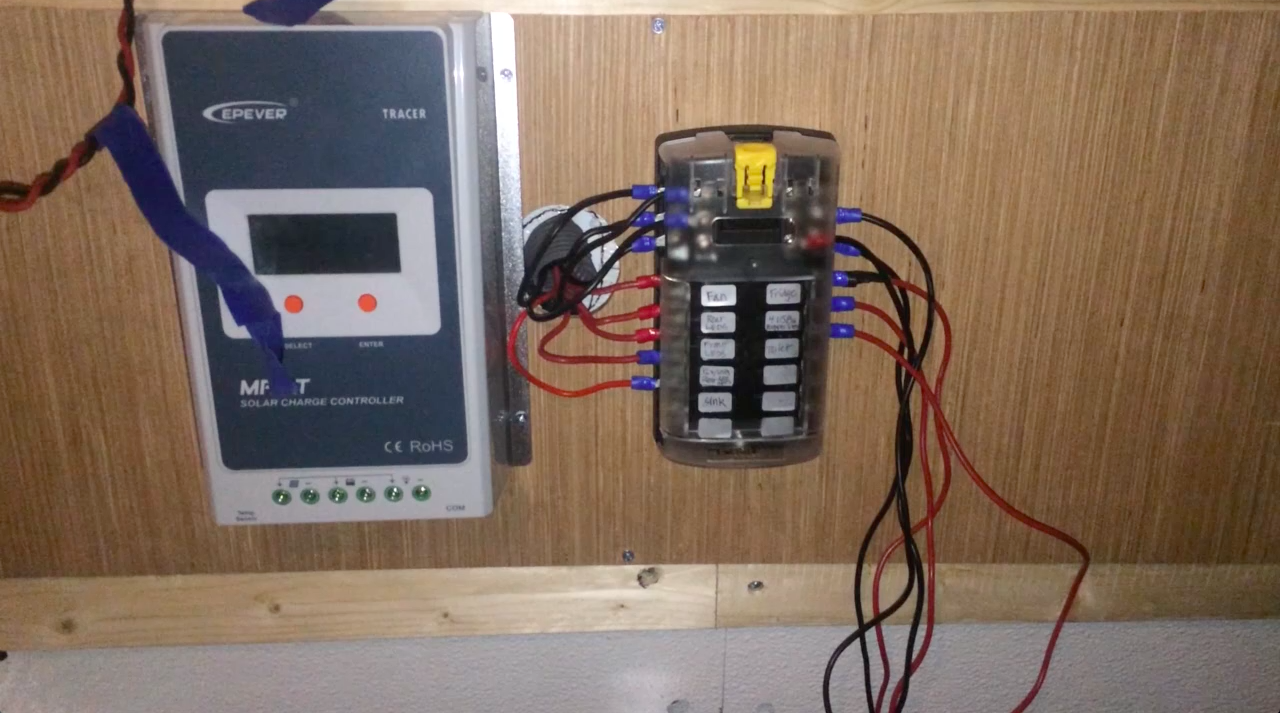
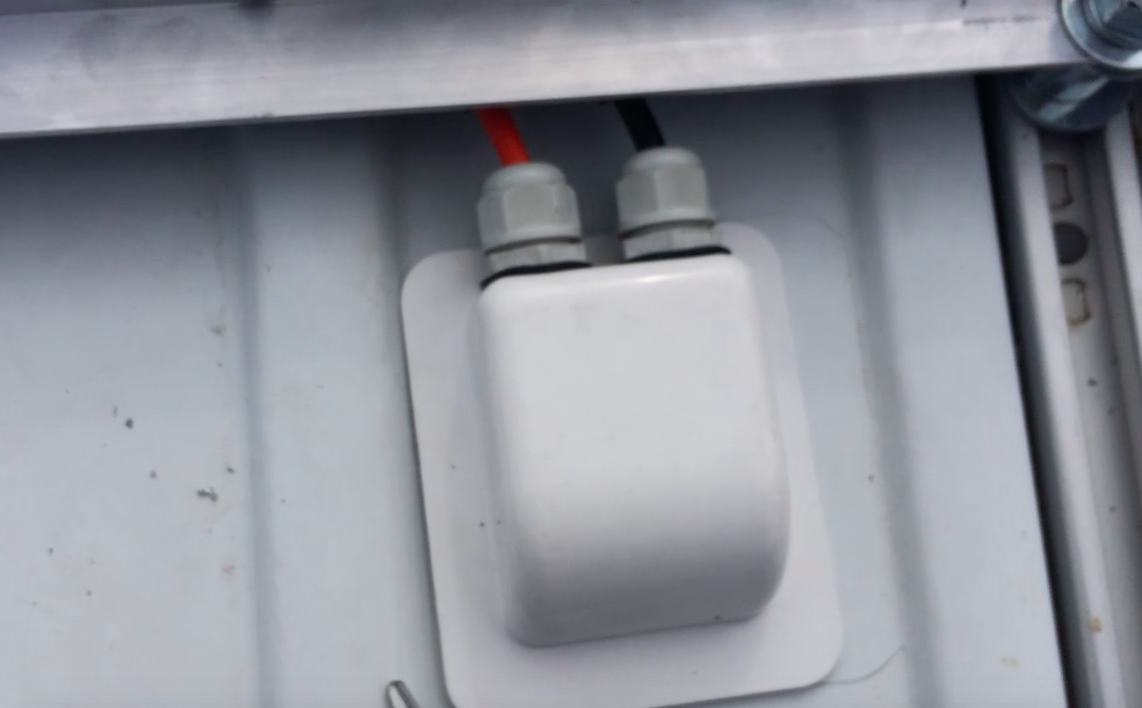
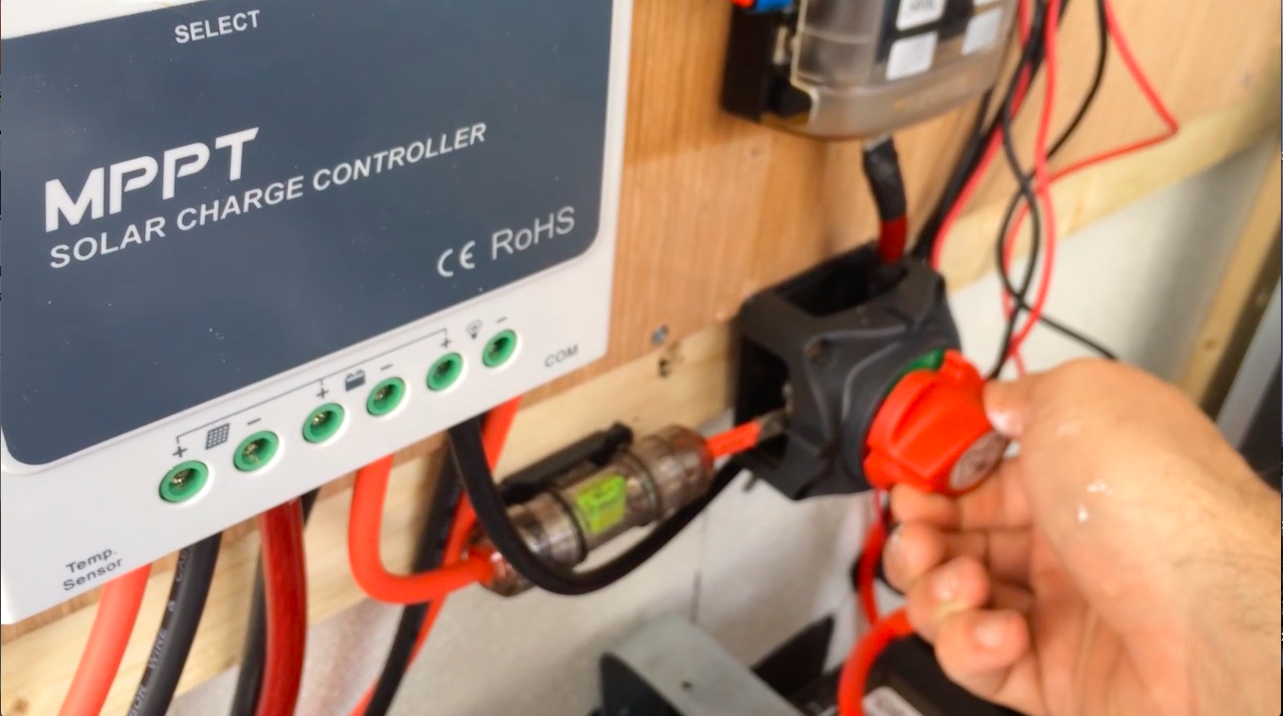
Step 6. If you haven't installed your solar panel, you may want to consider doing this now. I have a page for a DIY solar rack for under $100 here. After the solar panel is all hooked up, I recommend getting a set of cables with build in MC4 connectors here. As well as this port for your cables to go through your van roof. Drill the holes for the cables. Install your charge controller next to your fuse box. Do not hook anything up. We went with this charge controller it comes with a monitor that tells you what your current load is pulling, it has super fast shipping, from this seller, because it isn't shipping from China, like a lot of other sellers, and it has been working amazing for about a month. I will check back in to update later.
Step 7. Now, you will begin tying it all together. First, disconnect the ground cable from your battery bank. Now, you will want to start setting up the ground work for your fuse box to connect to your batteries. What I did, was I installed a switch to power down my load so I can completely shut down the system. I did this by using 6AWG Wire, 120 Amp Fuse, and a few battery terminal connectors. Check out the Diagram Below(+++++).
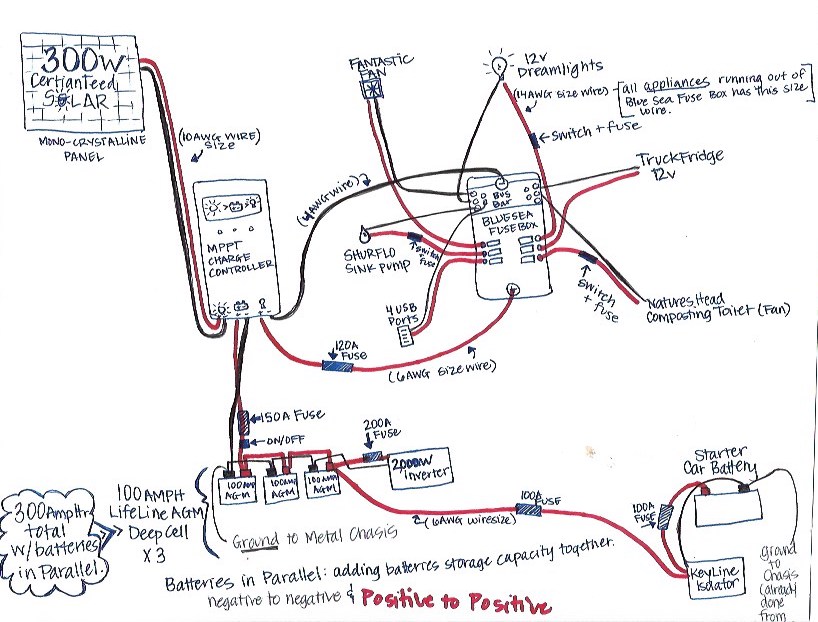

Step 8. There is still more cutting, striping, and crimping in your future so don’t even think about putting those wire strippers away. Measure and cut the wire from your positive and negative terminals of your choice on the battery to your charge controller. Although it’s not mandatory, you will probably want to buy a 150 Amp Fuse. I found some at my local car audio store.
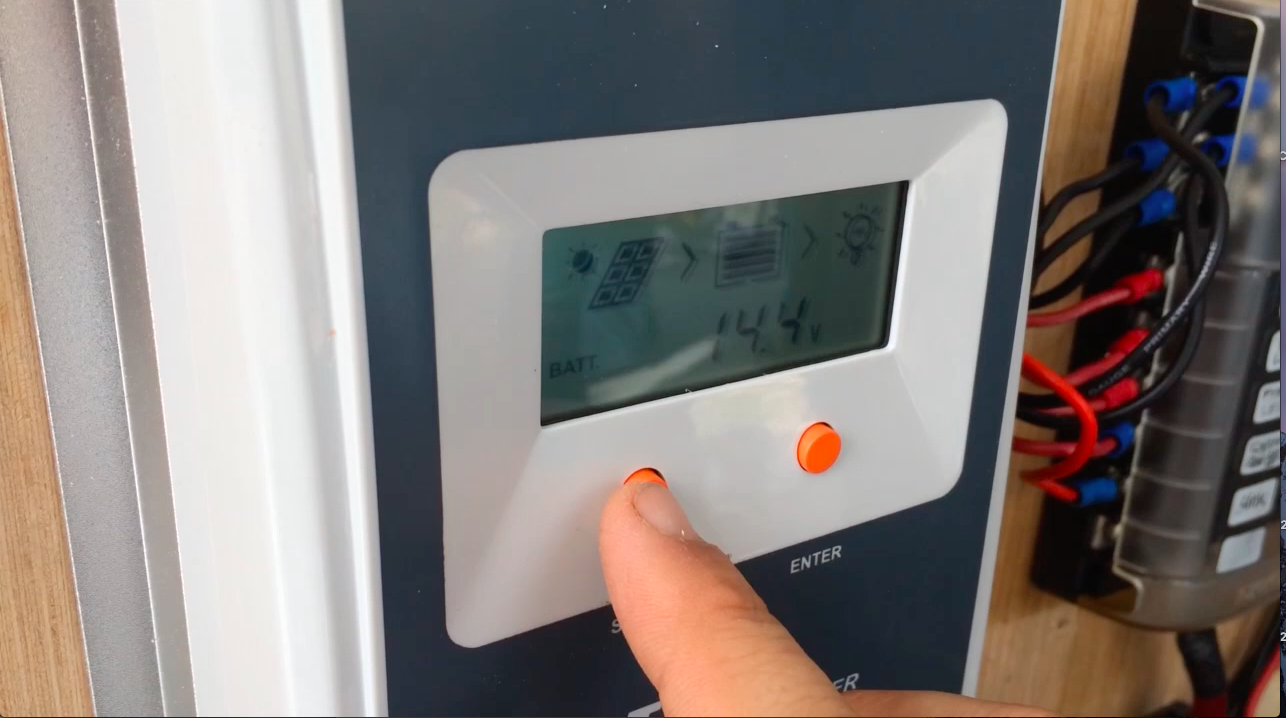
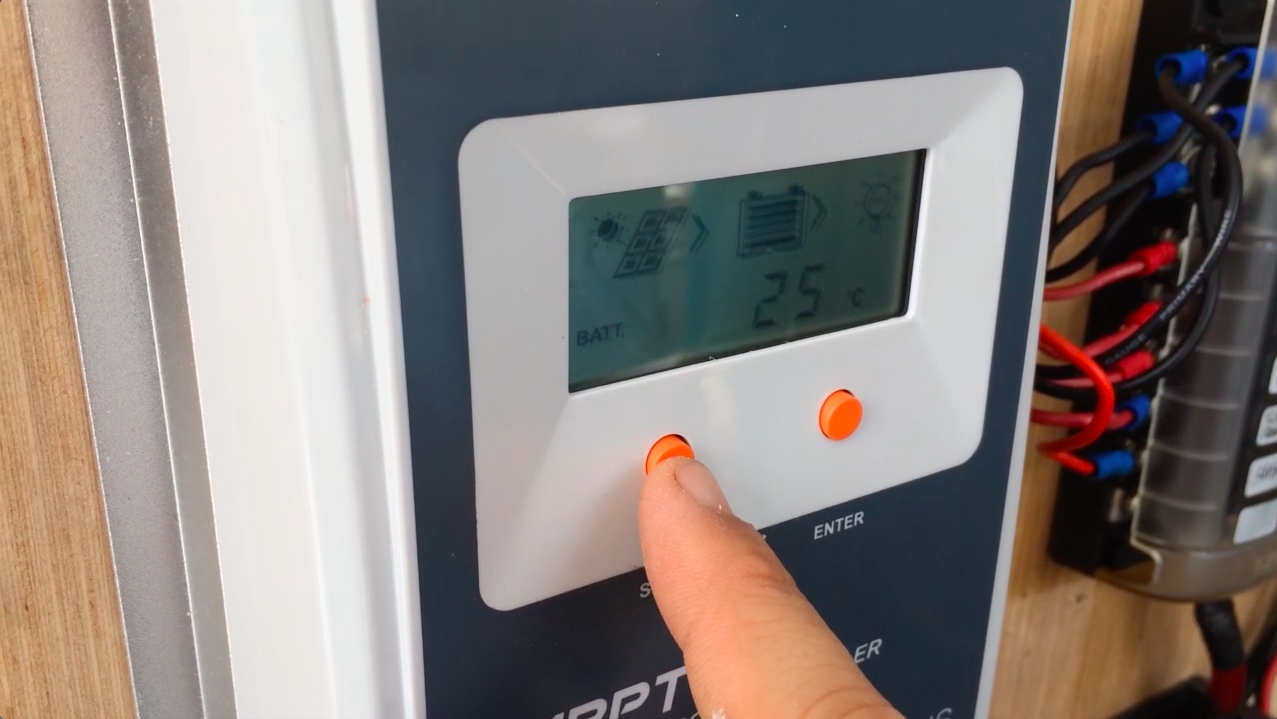
Step 9. Connect the wires into the charge controller and then connect the MC4 connectors on the roof. Positive first; then, Negative. After that, you should see a reading on your charge controller about whats happing with your system. This was a happy moment in the van build.

Step 10. Connect your inverter to your Battery Bank. This may be the last of the cutting and crimping. I used a 200 amp fuse here and a 2000W inverter.