2.2 Insulation: Thinsulate and Reflectix
This is probably the most controversial van topic out there. We spent hours researching this, reading blogs, watching video after video on Youtube, then scouring the comments section of people’s Youtube builds for hours. It was exhausting. There are various ways to achieve a climate-controlled insulation in the van, but apparently, no one online could agree on one way to do it, in a van.
While yes, the desired r-value depends on what your needs are, but the method was the scary part.
Apparently, a lot of traditional insulation for houses such as fiberglass and spray foam, according to many comments in response to YouTube builds, promotes rust. No thanks; reading that once was enough for us to pass on the idea of dealing with more rust. Although moisture-wicking, wool can apparently create wood rot in your frames. Again, hard no-thanks after dealing with wood rot in one of our first remodel/conversion adventures in the Toyota Dolphin back in 2012. That project went south after we had to tear the entire structure down because of wood rot. We are still planning to turn it into an Art Car for Burningman. (Stay tuned for that build)
Anyways, all scary scenarios that we read about aside. We had to make a decision and with all the conflicting information out there, we still felt we had informed ourselves enough to make an educated decision.
What did we decide?
We went with Thinsulate 600ML. Thinsulate works not only as a thermal barrier, but also a sound barrier to muffle outside noises. It’s light and packs a pretty good R-Value of 5.2…it could be better, but we still like it.
Some of the pros we came up with after long hours of research:
Thinsulate is safe and easy, like cutting quilting material. Thus, not needing a hazmat suit like fiberglass installations. It doesn’t hold moisture like denim as the “hydrophobic” fibers in Thinsulate resist moisture, mold, and mildew, if it did ever get wet. Thinsulate is removable and less messy than spray foam. We liked that the pros out weighted the cons on this choice. So, we went ahead and ordered 50 linear ft from eBay, found here as our Amazon friend didn’t carry it.
All the videos and tutorials that we had watched before starting the project, people with the 144” wheel base that used 50 linear ft roll of Thinsulate had windows on their van. Our van does not have any windows. Supposedly, it was enough but we crossed our fingers anyways. We planned on doing the ceiling last and possibly using one sheet of Insulated Polyurethane R-Maxx Sheets on the ceiling, if we ran out, at that point. Luckily, we didn't have to do that. The amount we had cleverly cut was perfect. We even had some extra and shoved it where ever we could.
First, we started with the bigger surface areas to make sure we had enough for those areas. We easily cut pieces to size, with some good scissors, labeled them, and set them aside.
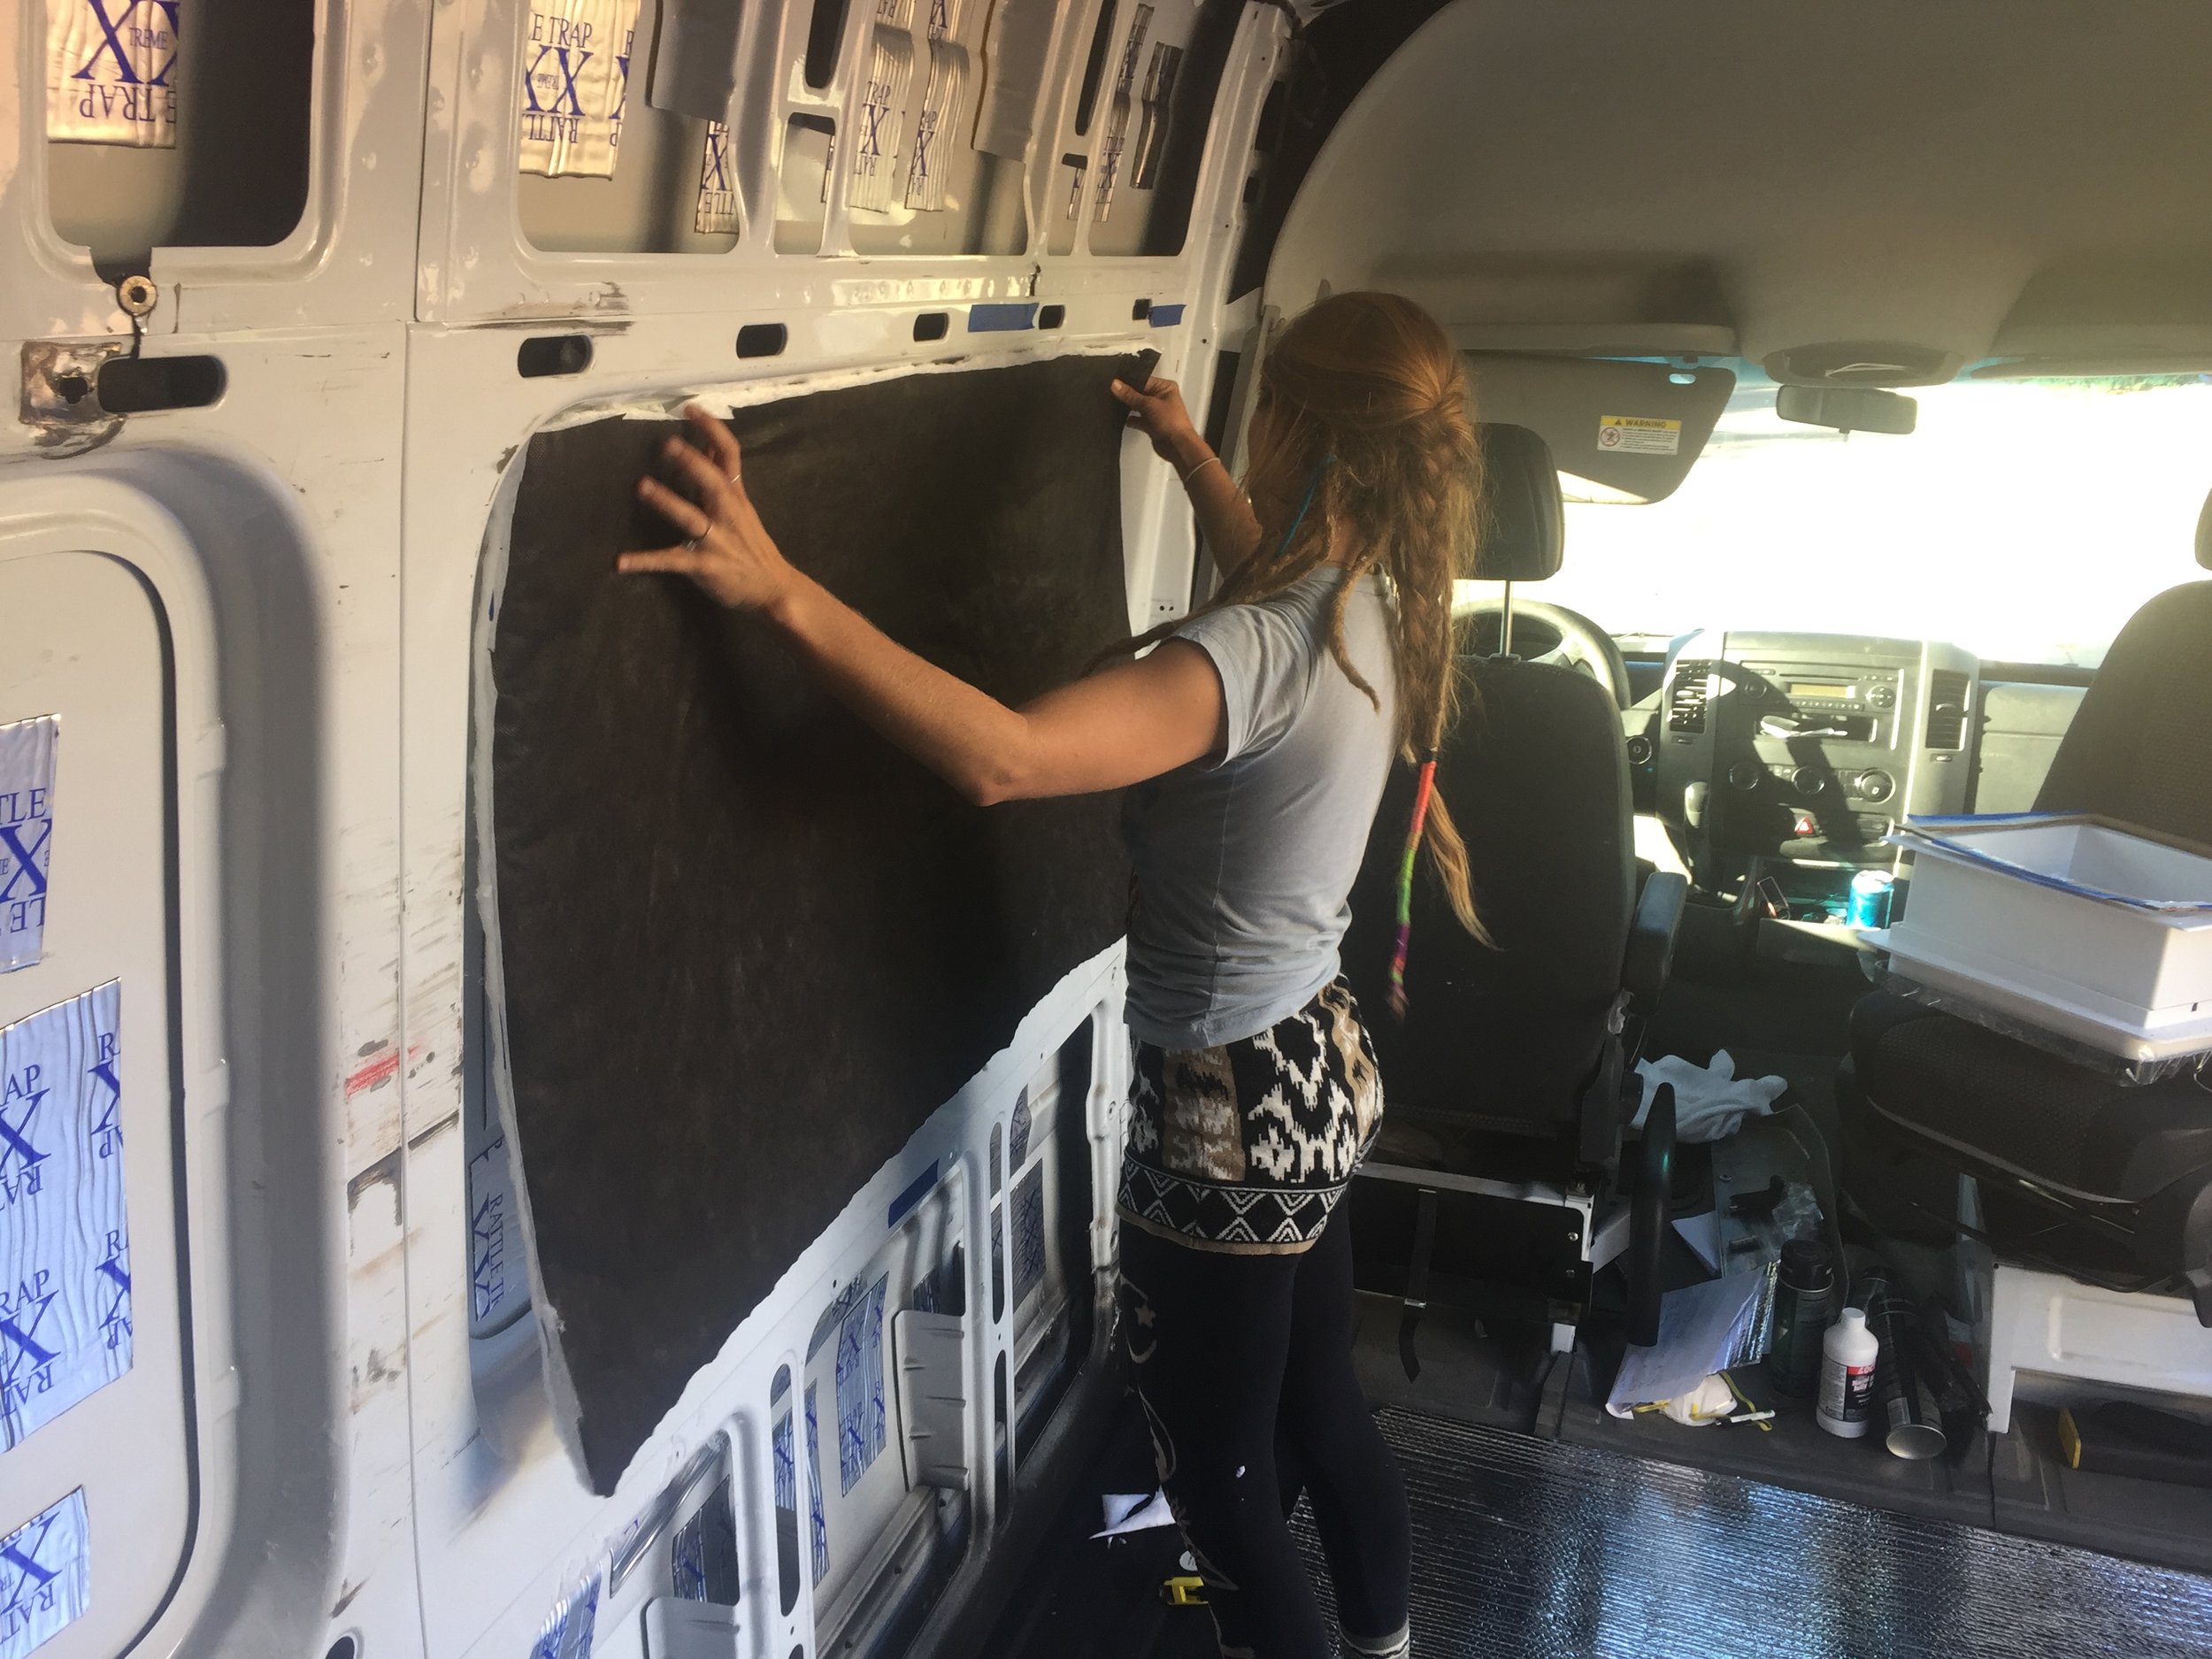
We then started at the bottom panels and worked our way around kind of just matching the weirdly cut pieces to a possible puzzle space on the van somewhere. Thinsulate is pretty rigid and really easy to work with. We kept saying it was like putting a custom fit sweater on the van. It expands from the packing to a pretty good size.
To apply the Thinsulate to the walls we used 3M 90 Contact Adhesive Spray. This stuff is amazing! But, you do need to wear a really good filter mask and have the van very well ventilated. My dad had one of these lying around, 3M Dual Cartridge Respirator.
We bought, opened, and used 5 bottles of the 3M 90 Adhesive spray. The 5th still has some juice, but has come in handy for other projects with it’s adhesive strength.
Next, we added a little bit more to our insulation value (on a budget) to the Thinsulate by adhering, with the 3M 90 Spray, Reflectix to the Thinsulate. This should act as a good mositure barrier and add a couple R’s to our value. It was an inexpensive R-value addition.
We purchased:
One 48”X 50’ Reflectix Foil Insulation - $96
One 24"x10' Reflectix Foil Insulation -$28
Reflectix adds a bit more light weight and easy R-Value, at the small cost of $124 to do your entire van. Not bad, at that price we pulled the trigger.


