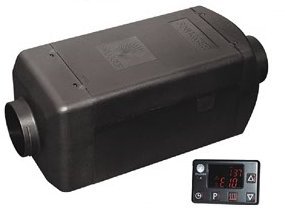
Unboxing the Snugger Diesel Heater
The instruction manual that comes with the Snugger seems to be quite ambiguous (or maybe it's just how overwhelming and intimidating it all seems). There are a lot of diagrams but there really aren’t many instructions, which scared me. Usually, I go to YouTube for help, but we found no install video’s of the Snugger Bunk Heater. So, we were on our own.
The design is pretty much the same as the Webasto diesel heater and the Espar diesel heater so I could still use most of the how-to videos out there on the more popular diesel heaters. The Snugger is the more affordable one of the three and least popular on YouTube installs. It has different color wiring. So, some of the videos online couldn’t walk me thru that part.
We unboxed everything and thought holy moly what have we got ourselves into with all this stuff?!
But, as it turns out, Snugger's kit includes things for all scenarios into their kit. So, if there are things in the Snugger Box that you aren’t using, don't worry.
We laid all the wiring out to see what we were dealing with. It seemed to be one huge cable. On one side, it had one cable with a bunch of wire colors with silver connector pieces coming out of it. The other side of that wire split off into three wires. One for the fuel pump, one for the controller, and one that goes to our battery system via our Blue Sea 5026 Fuse Block. On each end of those three wires, there are differing color wires with silver connector pieces on them.
These, you have to connect thru the backside of a quick-disconnect piece, creating one side of a quick connect piece. You will create both sides of the quick-disconnect connectors doing so by matching the corresponding colors with the corresponding holes, as laid out in the diagram that accompanies the installation guide (This was floating around loose in the box and we almost missed it. It was a xerox’d black and white copy of pictures of the connectors with red, yellow, orange, etc labels were shown for each wire going into their respective connector pieces). It is really easy (once we found that piece of paper). ***Do not connect the purple and black wire to a quick connect until you send it thru a hole in the van because it will not fit out the hole with the connector piece on.***
Now, to hopefully the last holes we will have to drill into the van!
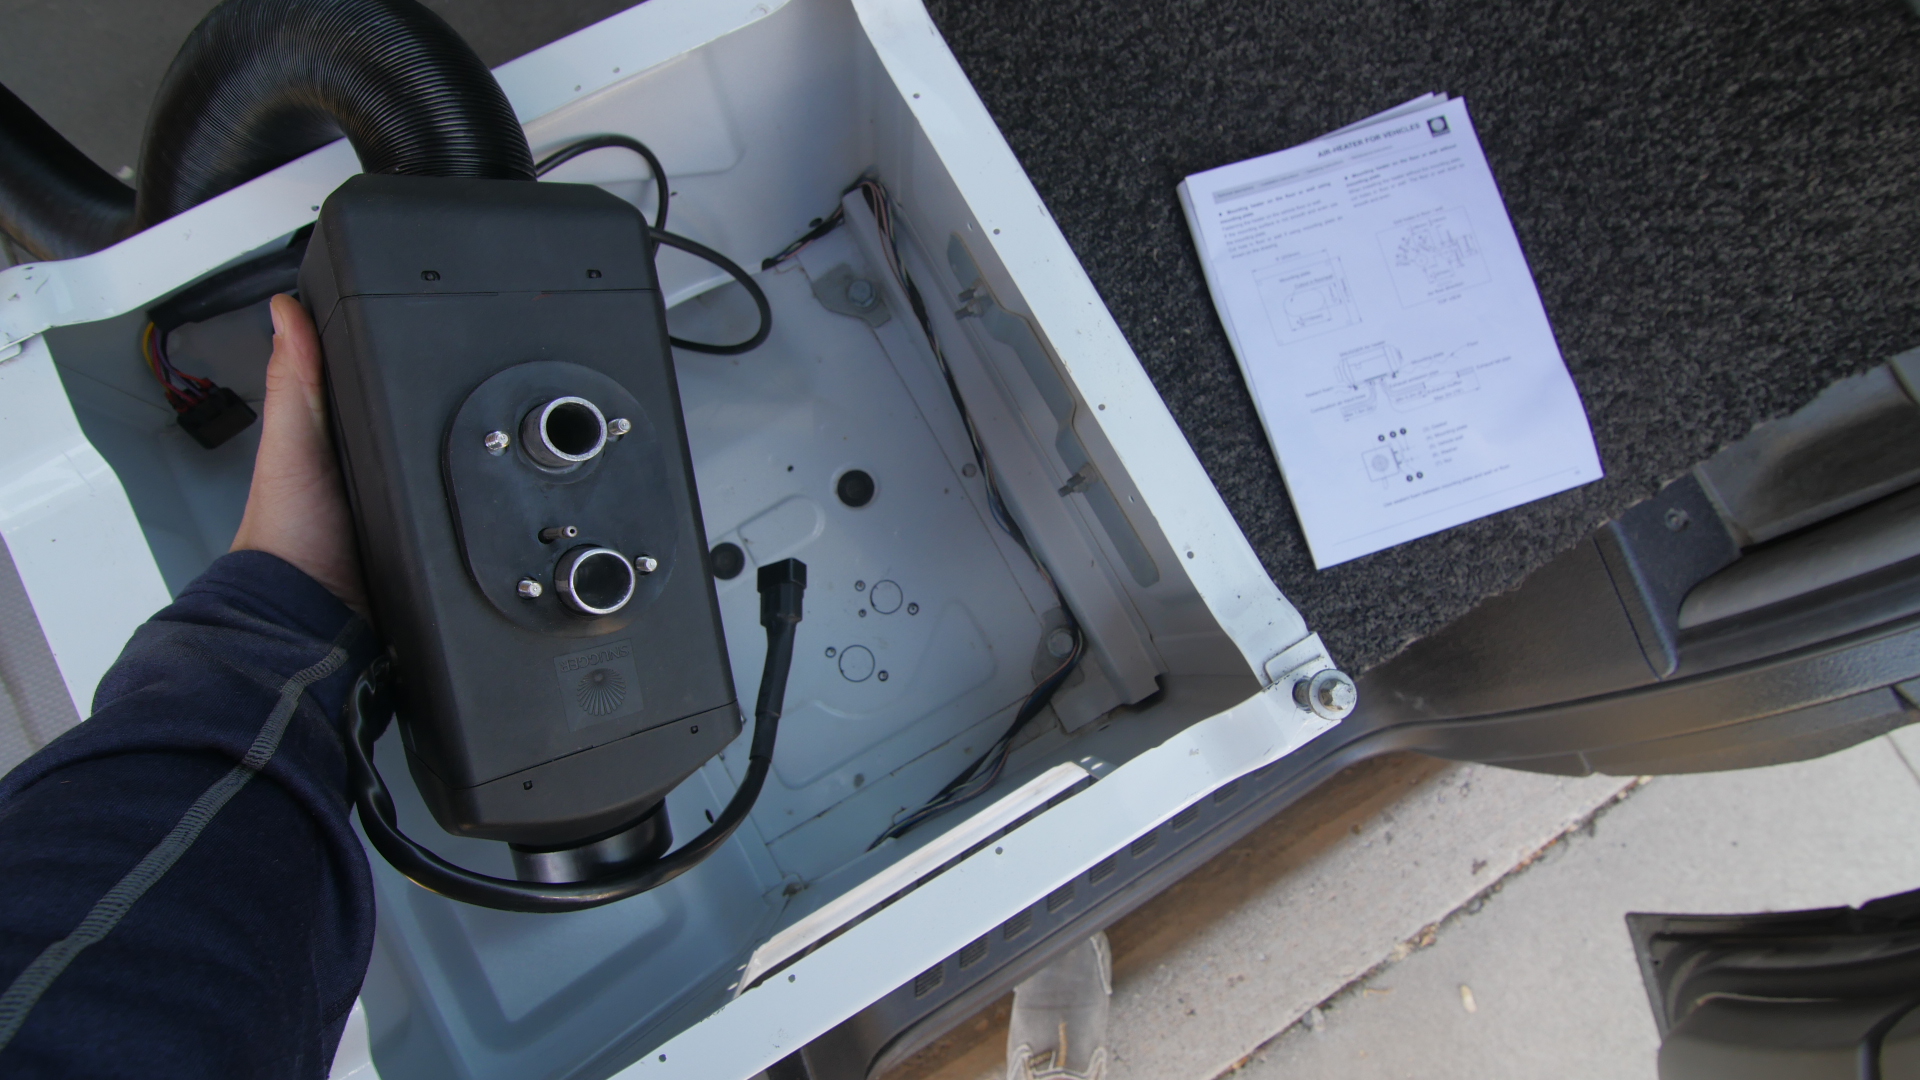
We debated about where to put this. But, in the end, we went with the tried and true under the passenger seat. It is enclosed in its very own space, which is a huge plus. Also, there is so much cord that there was really no excuse not to utilize it and putting it next to the wheel well would be locating it right next to our batteries thus, needing about a 6” of wiring, not six feet! Also, it saves space. After a couple of cold mornings, we realized that insulating our van, without a heat source kinda turns our van into a cooler. Since we already kind of had a layout, there were only two places it could go.
On first thought, under the lounge area of our layout, we could place it next to the rear driver side wheel well to keep the fuel line simple and on one side, but once we got under there and measured, we realized it might be kind of difficult to fit it in such a tight space, with a shaft near the area we were planning to install, and near the tires I wasn’t sure about rocks or road debris hitting the installed area. This scenario was also going to take up a lot of precious storage room because it needed to be enclosed, if it were around other loose items so they don’t go up in flames.
On second thought and last minute change (We do this a lot. Some how following this little last minute gut instinct hasn't steered us down a path we don't like), we decided under the passenger seat seems to be build for it, as it seems to be in its own enclosure, that isn’t flammable. There is a groove that seems to hold the shape of the Snugger. Plus, we had watched video after video of installs about the under the passenger seat because that is really all we could find. So, we knew dropping the piping down in that area was good to go. It was just the maneuvering the fuel line from the passenger side to the driver side that I was trying to avoid. It seemed complex going from the passenger side to the driver side over mufflers and drivetrain. It sounded too complex. But, as we have told our selves before with this build that if we put in the hard work now, it makes everyday living easier. So, we decided on the heater going under the passenger seat. So we got to removing the passenger seat.
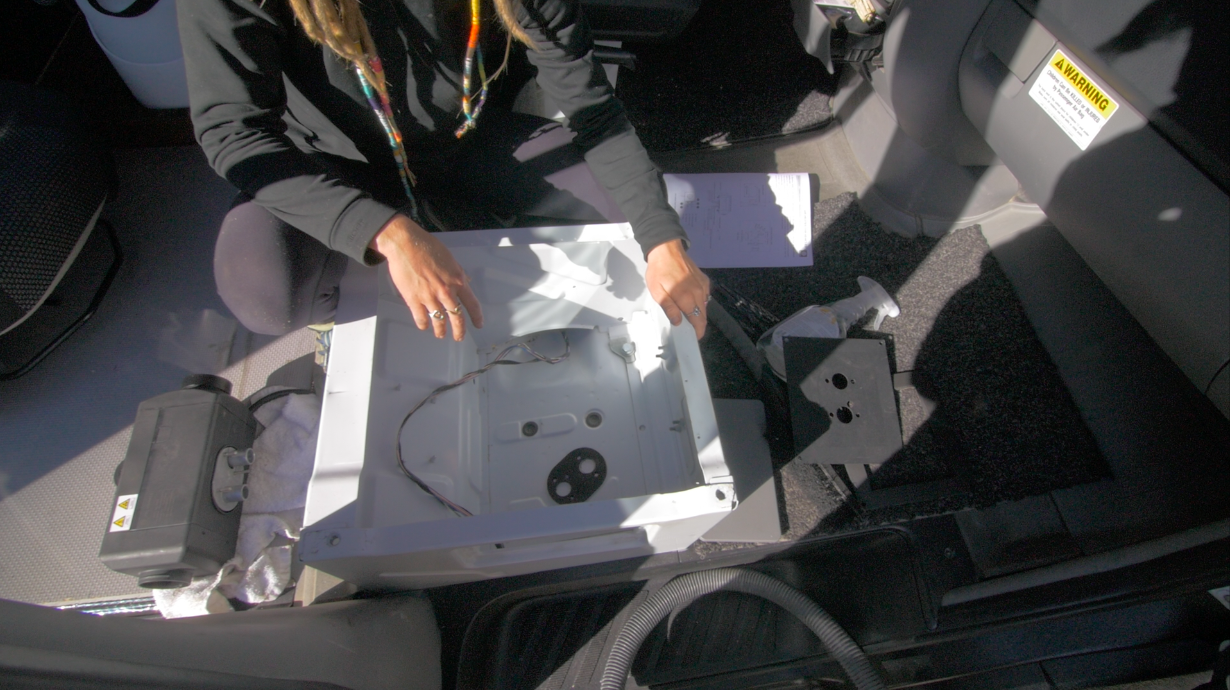
After the seat is removed (refer to our post about our Swivel Seat install here. Follow the instructions until the seat is removed), you can put your car on blocks or send your tiny wife under there. Let’s be real, this heater is for not very cold resistant Dani who impulse bought the heater and promised she would head up the headache. So, she’s stoked to get under there and figure it out to make sure she has heat. We just threw down the box that the solar panel came for Dani to move around on under the van. It worked out great!
We cleaned out the area where the heater would go and then stenciled out where the heater was to be mounted and drilled some pilot holes. We decided not to use the mounting plate and just drill the holes needed.
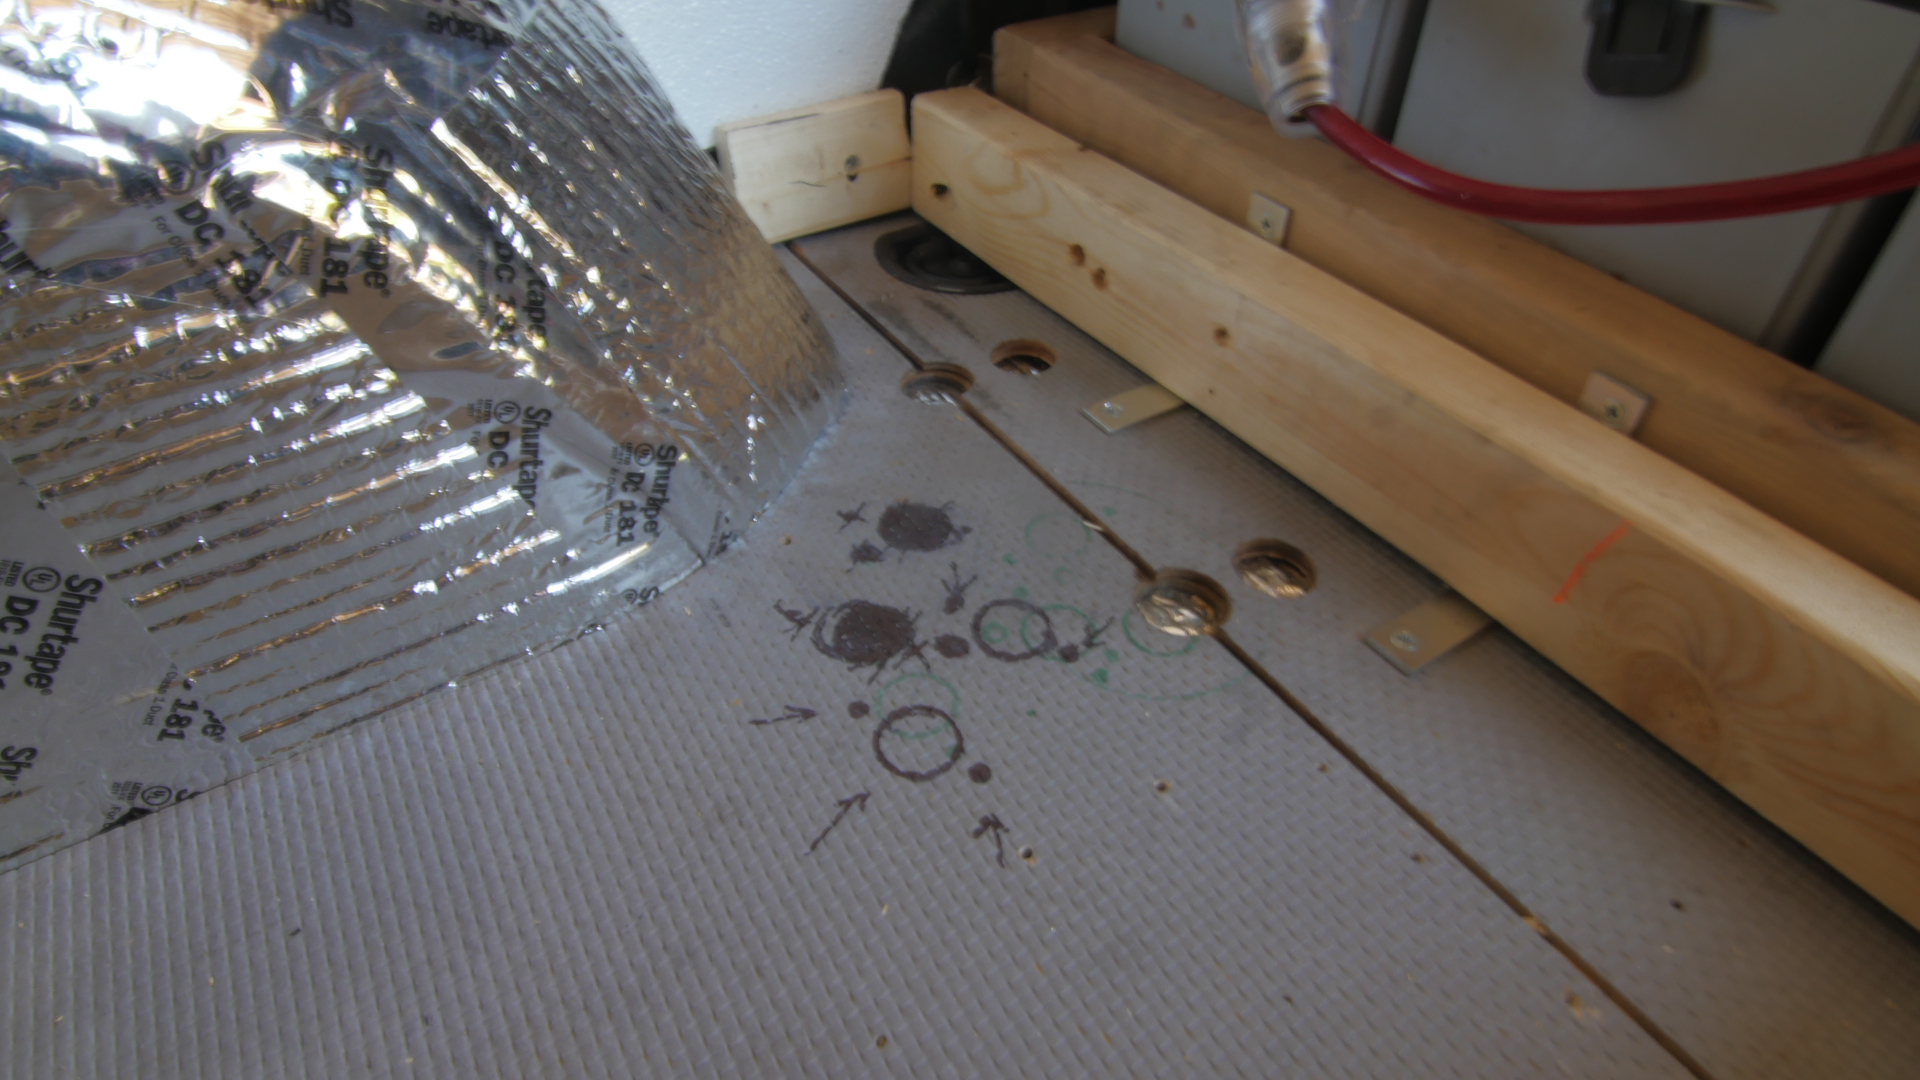
While Kevin was looking for the correct hole saws, I ran the wiring underneath the floor piece to the battery (the controller wiring went this way as well, because we were mounting our controller near there) and the fuel pump wiring dropped down beneath the car in a stock hole. This involves lifting up the cabin floor and unscrewing the wiring protection plate. Under that black plate and underneath the stock wiring, there are two holes that go to the underneath of the van. The one closest to the driver seat is the one that you want to drop your fuel pump wiring down. You’ll want to get a little rubber grommet for the hole to protect your wire. Because we didn’t know the size, we got a couple different sizes at True Value for about $0.27 each.
**Hopefully, you followed the tip in the beginning about sending the wire down that hole first before connecting the quick connect to the ends of the wires. We blew it and jumped the gun on that one.**
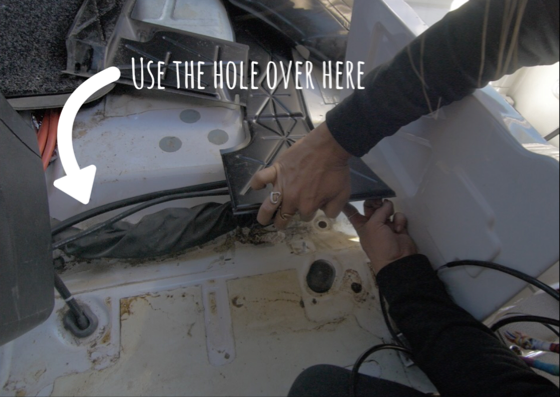
In the video, I point to this hole. When I got under there, I realized there was a way better hole that dropped that fuel pump line right inside the fuel tank's heat shield area making it easy to run to the fuel pump wiring to the fuel pump.
Once that was fed thru, I got under the van and fed the fuel wiring where I thought it would be best. I made sure to protect it with some heat resistant sleeves (I bought mine locally after I didn't pre-order this because I didn't plan for the last second change of plans. I should know better by know :) ) I tried to give some detail on video. It’s hard to give a good perspective in such a tight space, but I hope it makes since because it wasn’t as hard as I was anticipating it to be. All of it was way more intimidating that it actually was. If you had all of these things ready you could get it done pretty quickly without stopping to look for these things:
5/16 drill bit
Small flathead (to get into tight spaces for tightening the clamps)
1 1/16 Hole Saw
Small Zipties
3' of Heat Sleeve (for Fuel Line coverage over Hot items)
#10 Socket
Bracket for muffler (we made this)
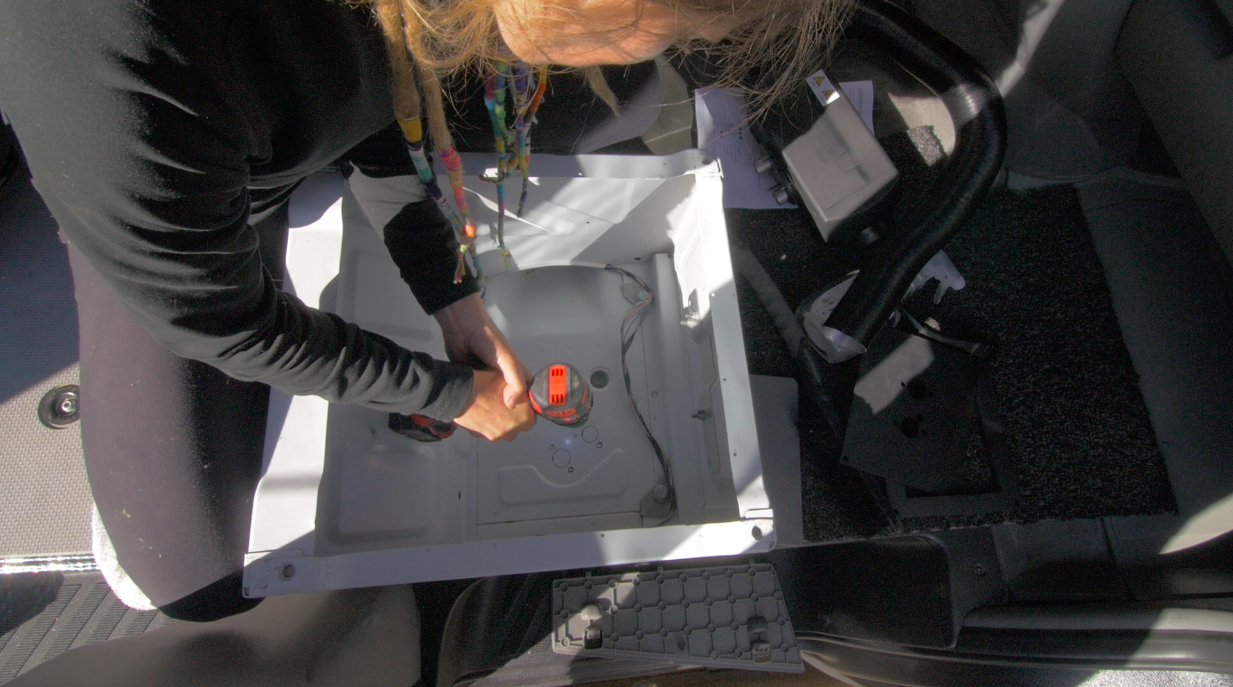
Once the wiring was in and Kevin was back with the hole saws, we started drilling out our sharpie template.

We filed sharp edges of the hole smooth, vacuumed any metal debris to avoid rust, and then we painted the fresh cuts with primer. Then, we put the Snugger in it’s new home. I got under the van and attached the clamps, nuts, and pipes to their fittings.
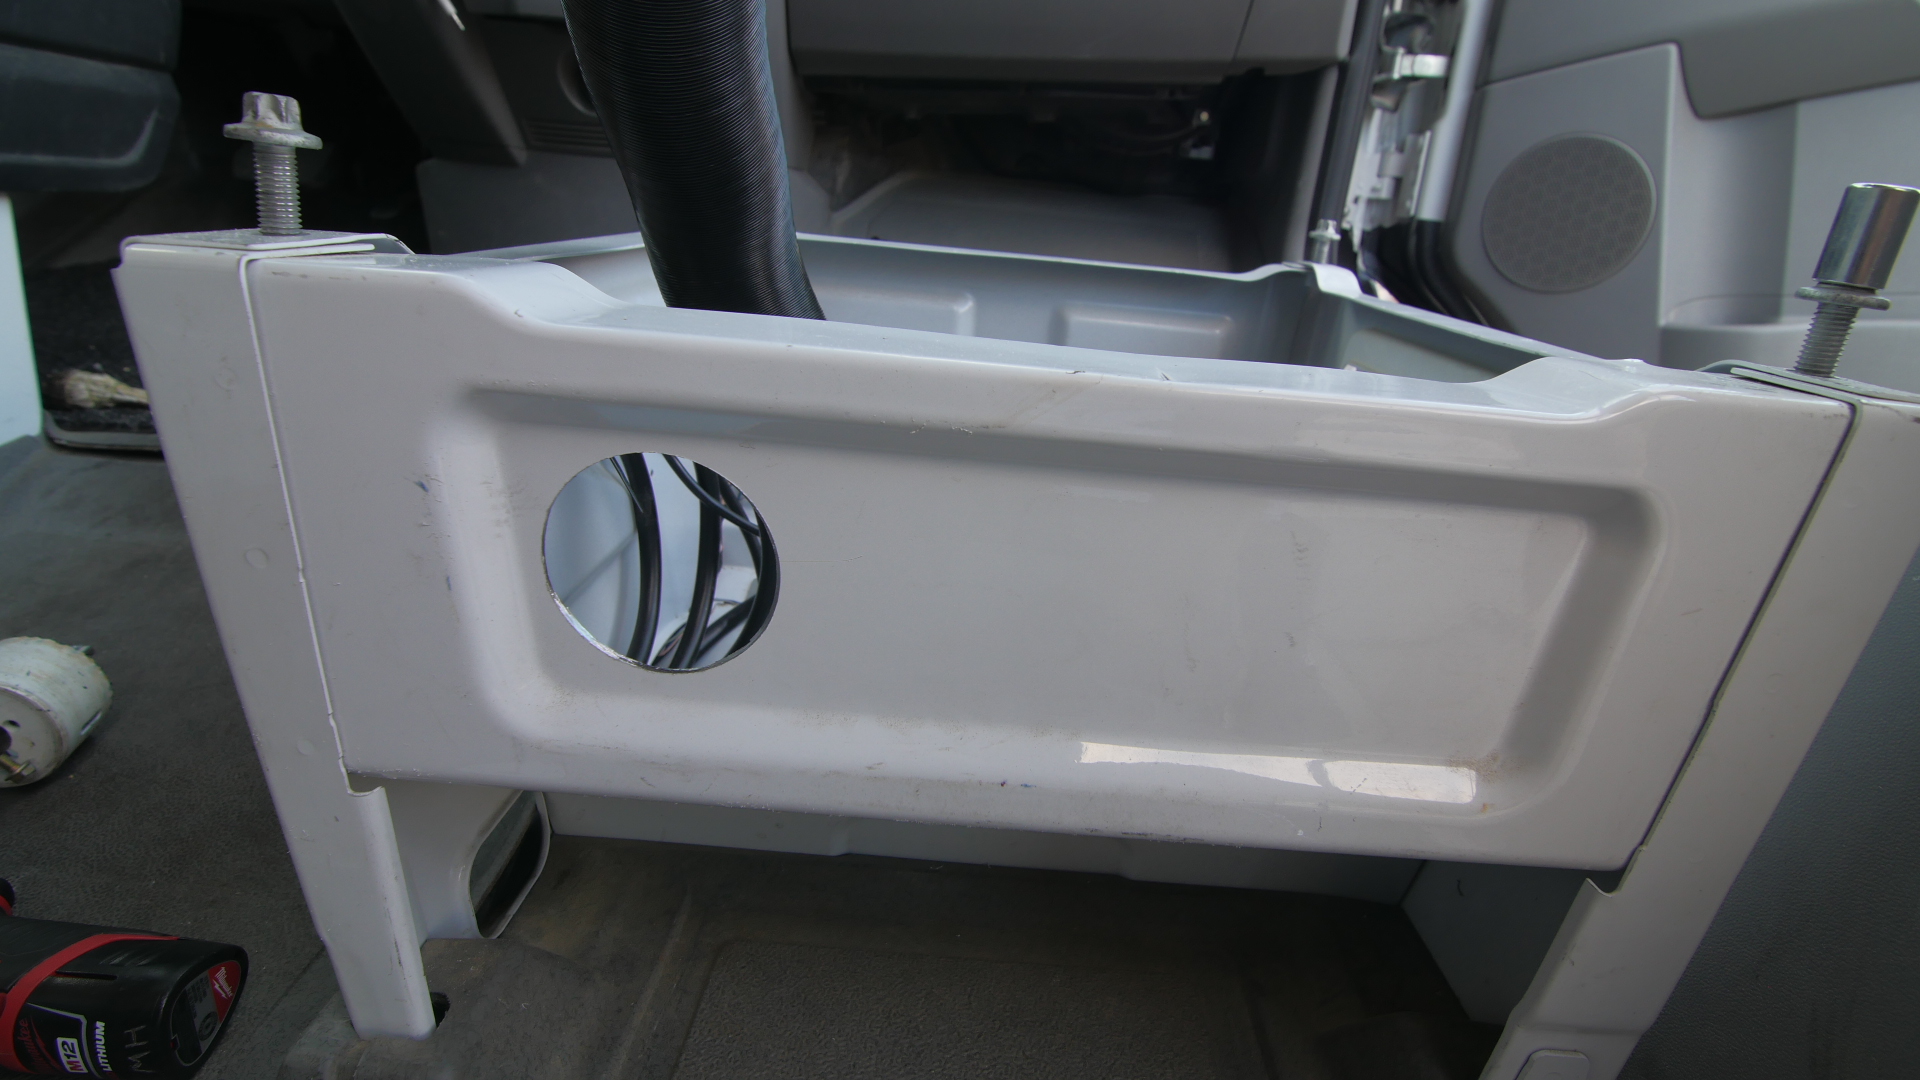
The black intake tube goes next to the fuel line. I clamped it and then I ran it forward, over the box in the doorstep, behind and protected by the mudflap.

The silver hose is the exhaust. It should run towards the rear and exits to the side, not just remain under the van, but exit out. There has to be at least 8" from the beginning of the exhaust to the muffler. Essentially, you want more exhaust tube after the muffler to quiet the tiny jet engine exhaust sound. (Apparently, there is also a certain amount of back pressure that the unit needs so the exhaust tubing shouldn't be extended too much past what is supplied.)
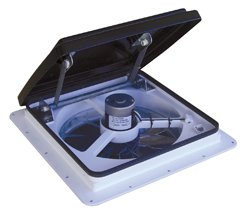
With all the fittings attached to the bottom side of the Snugger, Kevin added the hot air duct to the Snugger, cut off the excess (once he had his hot air vent measured out) then he cut the hole, and attached the vent!
We then, moved over to the fuel pump and mounted that on the beam above the fuel tank and at a 30 degree angle, with the wire connection pointing up and towards the front of the van.
Then, we grabbed the fuel line that we ran thru the frame. We strung two clamps over it, shoved a rubber fuel connection on the fuel line, and put the other end of that connection to the fuel pump. (If the fuel line seems like it is having a hard time going into that rubber piece, get a hair dryer or a heat gun and warm up the rubber piece and get it pliable--they should go right in after). Then, we slid the clamps up and into place, over the connections. We clamped them down and connected the quick connect power wire to the pump.
On the other side of the fuel pump, we did the same rubber and clamping connection. We also added the same black plastic split wire looming. On the other end of the fuel line coming out of the fuel pump, we put the Dorman Fuel Line Connector 800-188 piece that we ordered from Amazon on the end of the fuel line and connected it to the Aux Fuel adapter. **This particular Dorman part took forever. I have no idea why, it was supposed to be Amazon Prime, but mine was held up for some unknown reason. Long story short, I tried every place in town trying to get it so I could finish, as this was the one thing holding up our install, but everyone claimed they had to be special ordered coming from the East Coast?! So we just waited patiently till it arrived. So, I highly recommend ordering this ahead of time, if your Sprinter has the aux fuel line adapter. This part allows your fuel line to easily plug into that Aux fuel line. Apparently, this aux adapter starts in models 2008 and up, but I have a 2007 and there was one there! (Another reason we ordered—no drilling into the fuel tank, yay celebrate!) So, I would check to see if you have an Aux fuel line before you write it off.
Once, all the underbody stuff was finally finished, we moved into the van. We connected the power to our Blue Sea Fuse Block, connected the remote to its quick connect partner. Then, connected the quick connect at the unit. Then, we power'd it up for a test run before we put our seat back on. It takes a couple minutes to get the fuel thru the line. Ours was blowing out cold for like 5 minutes till it finally got some juice thru that long line. Then, we could hear it fire up. It got cozy real quick! It was pulling 12 amps at warm up and then chilled at around 2.7-3 amps (our lights were running too).
You can find the snugger heater here - http://amzn.to/2hHxeHf