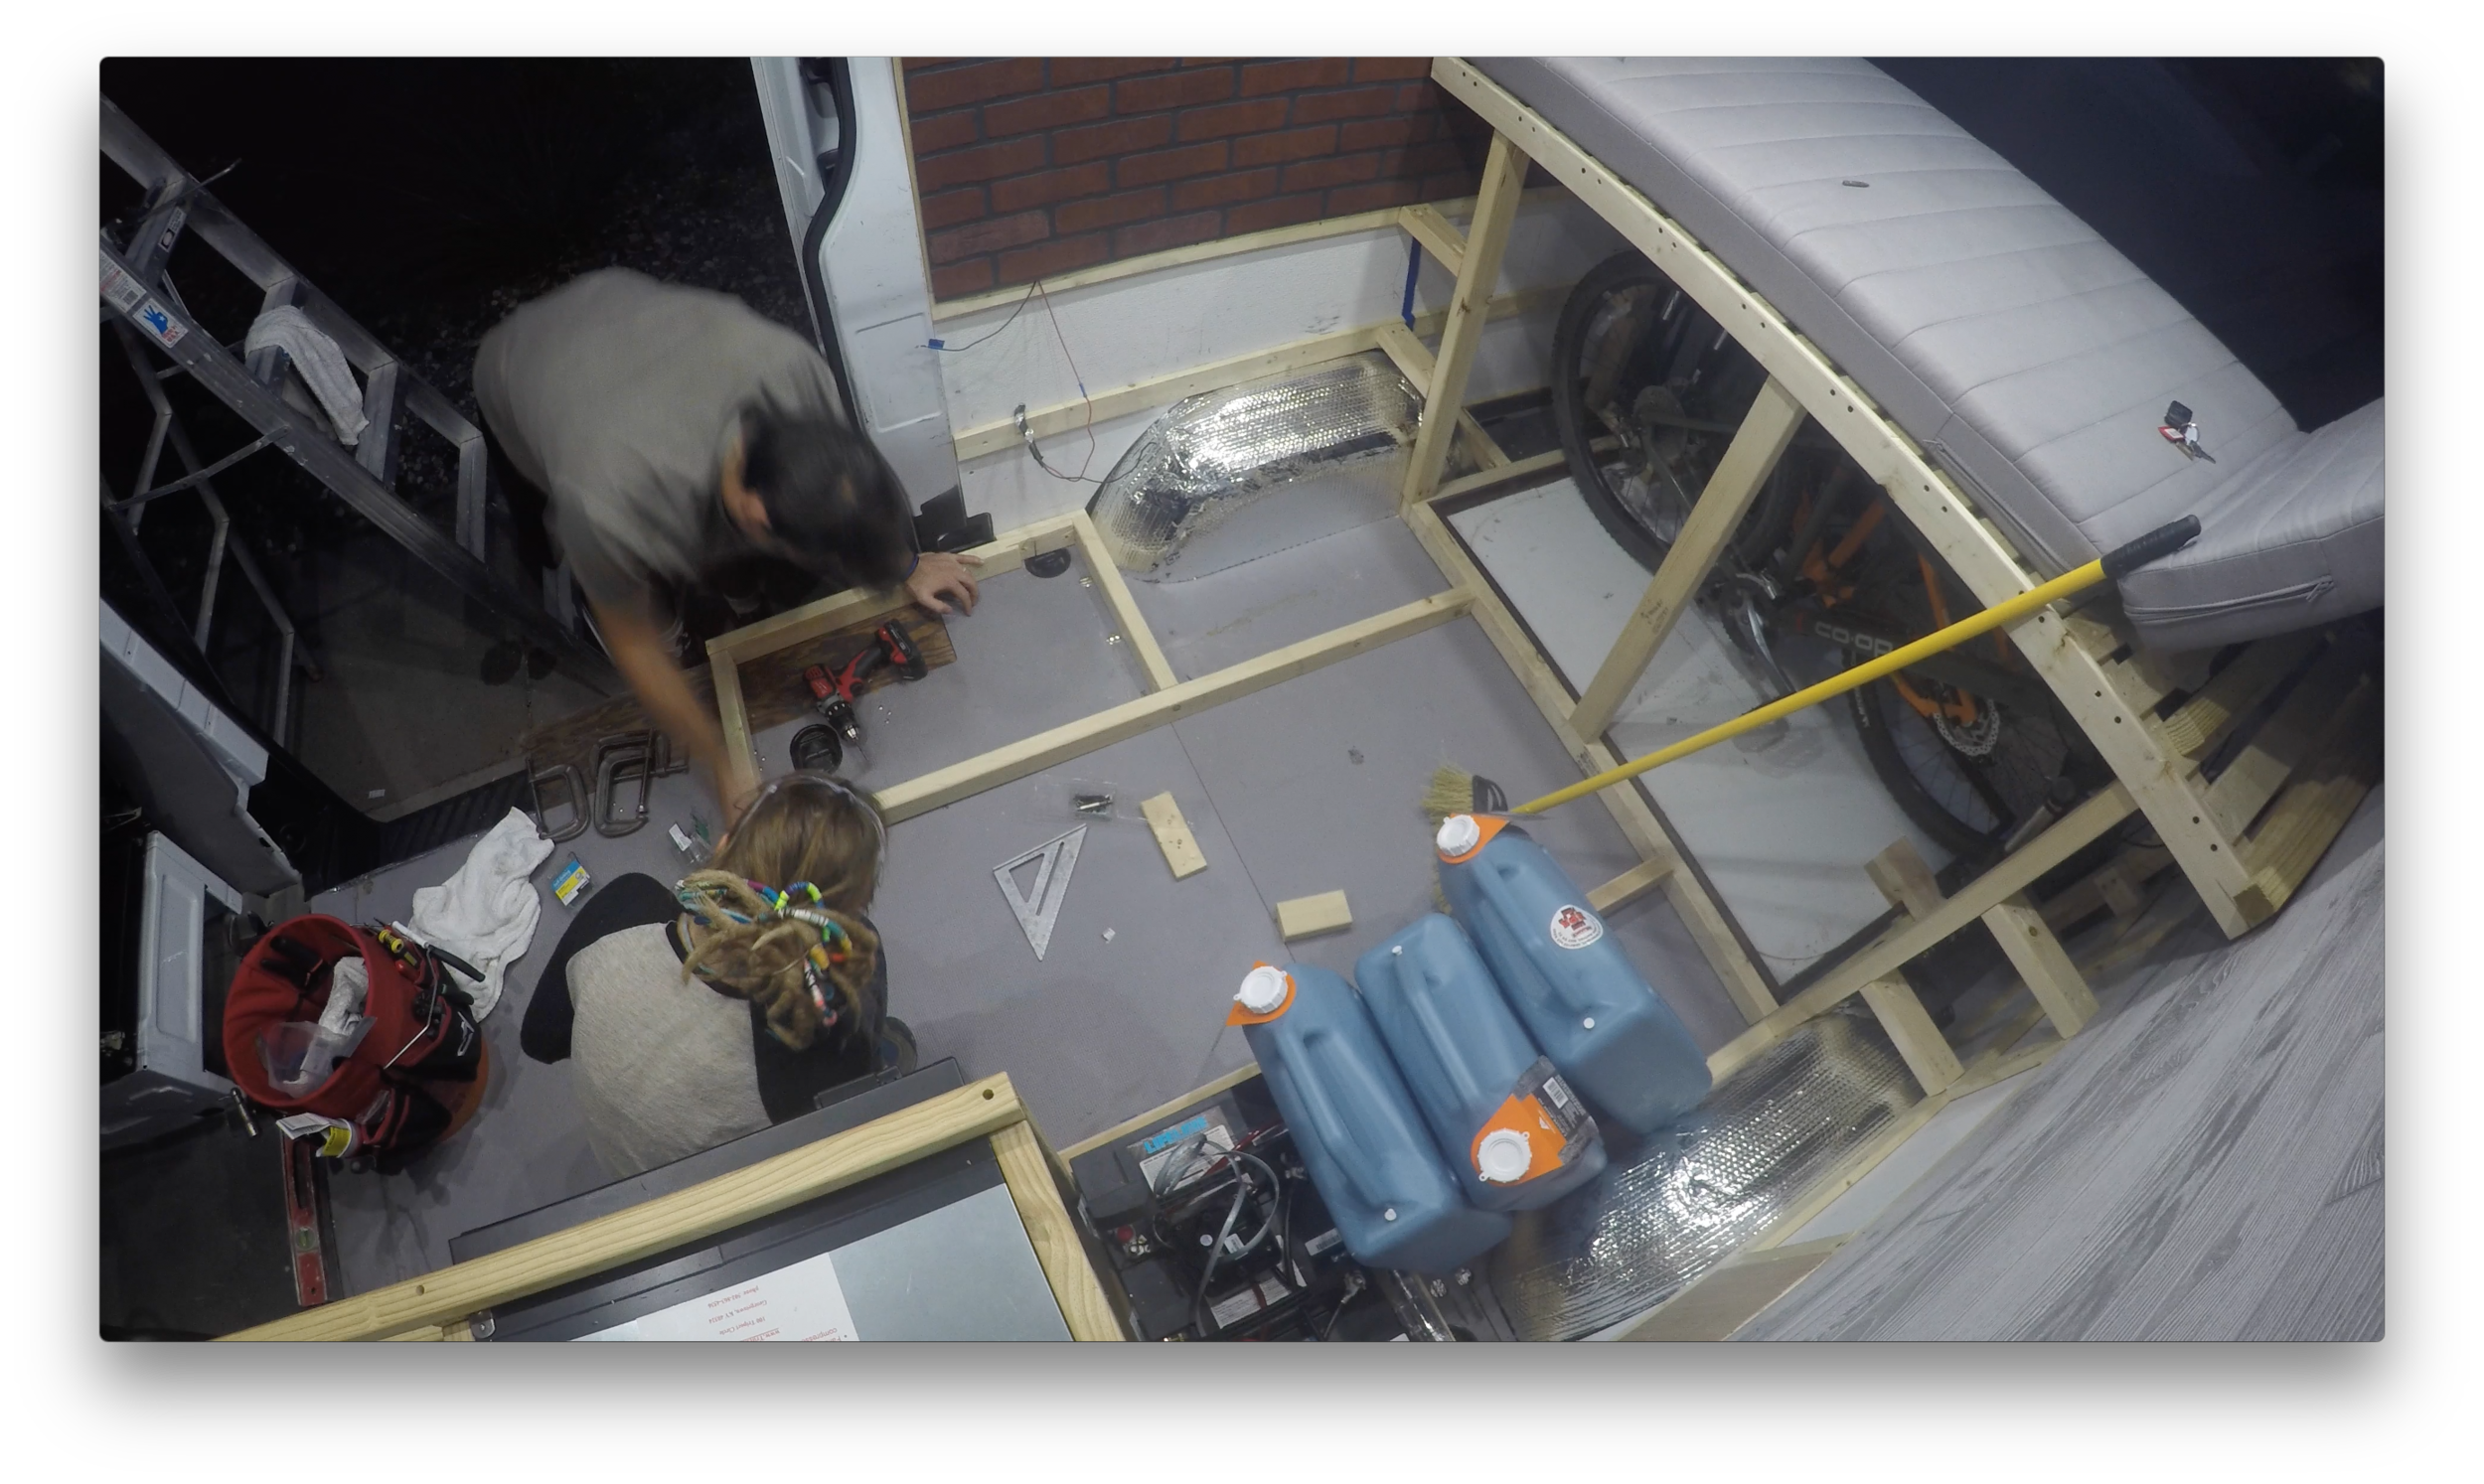
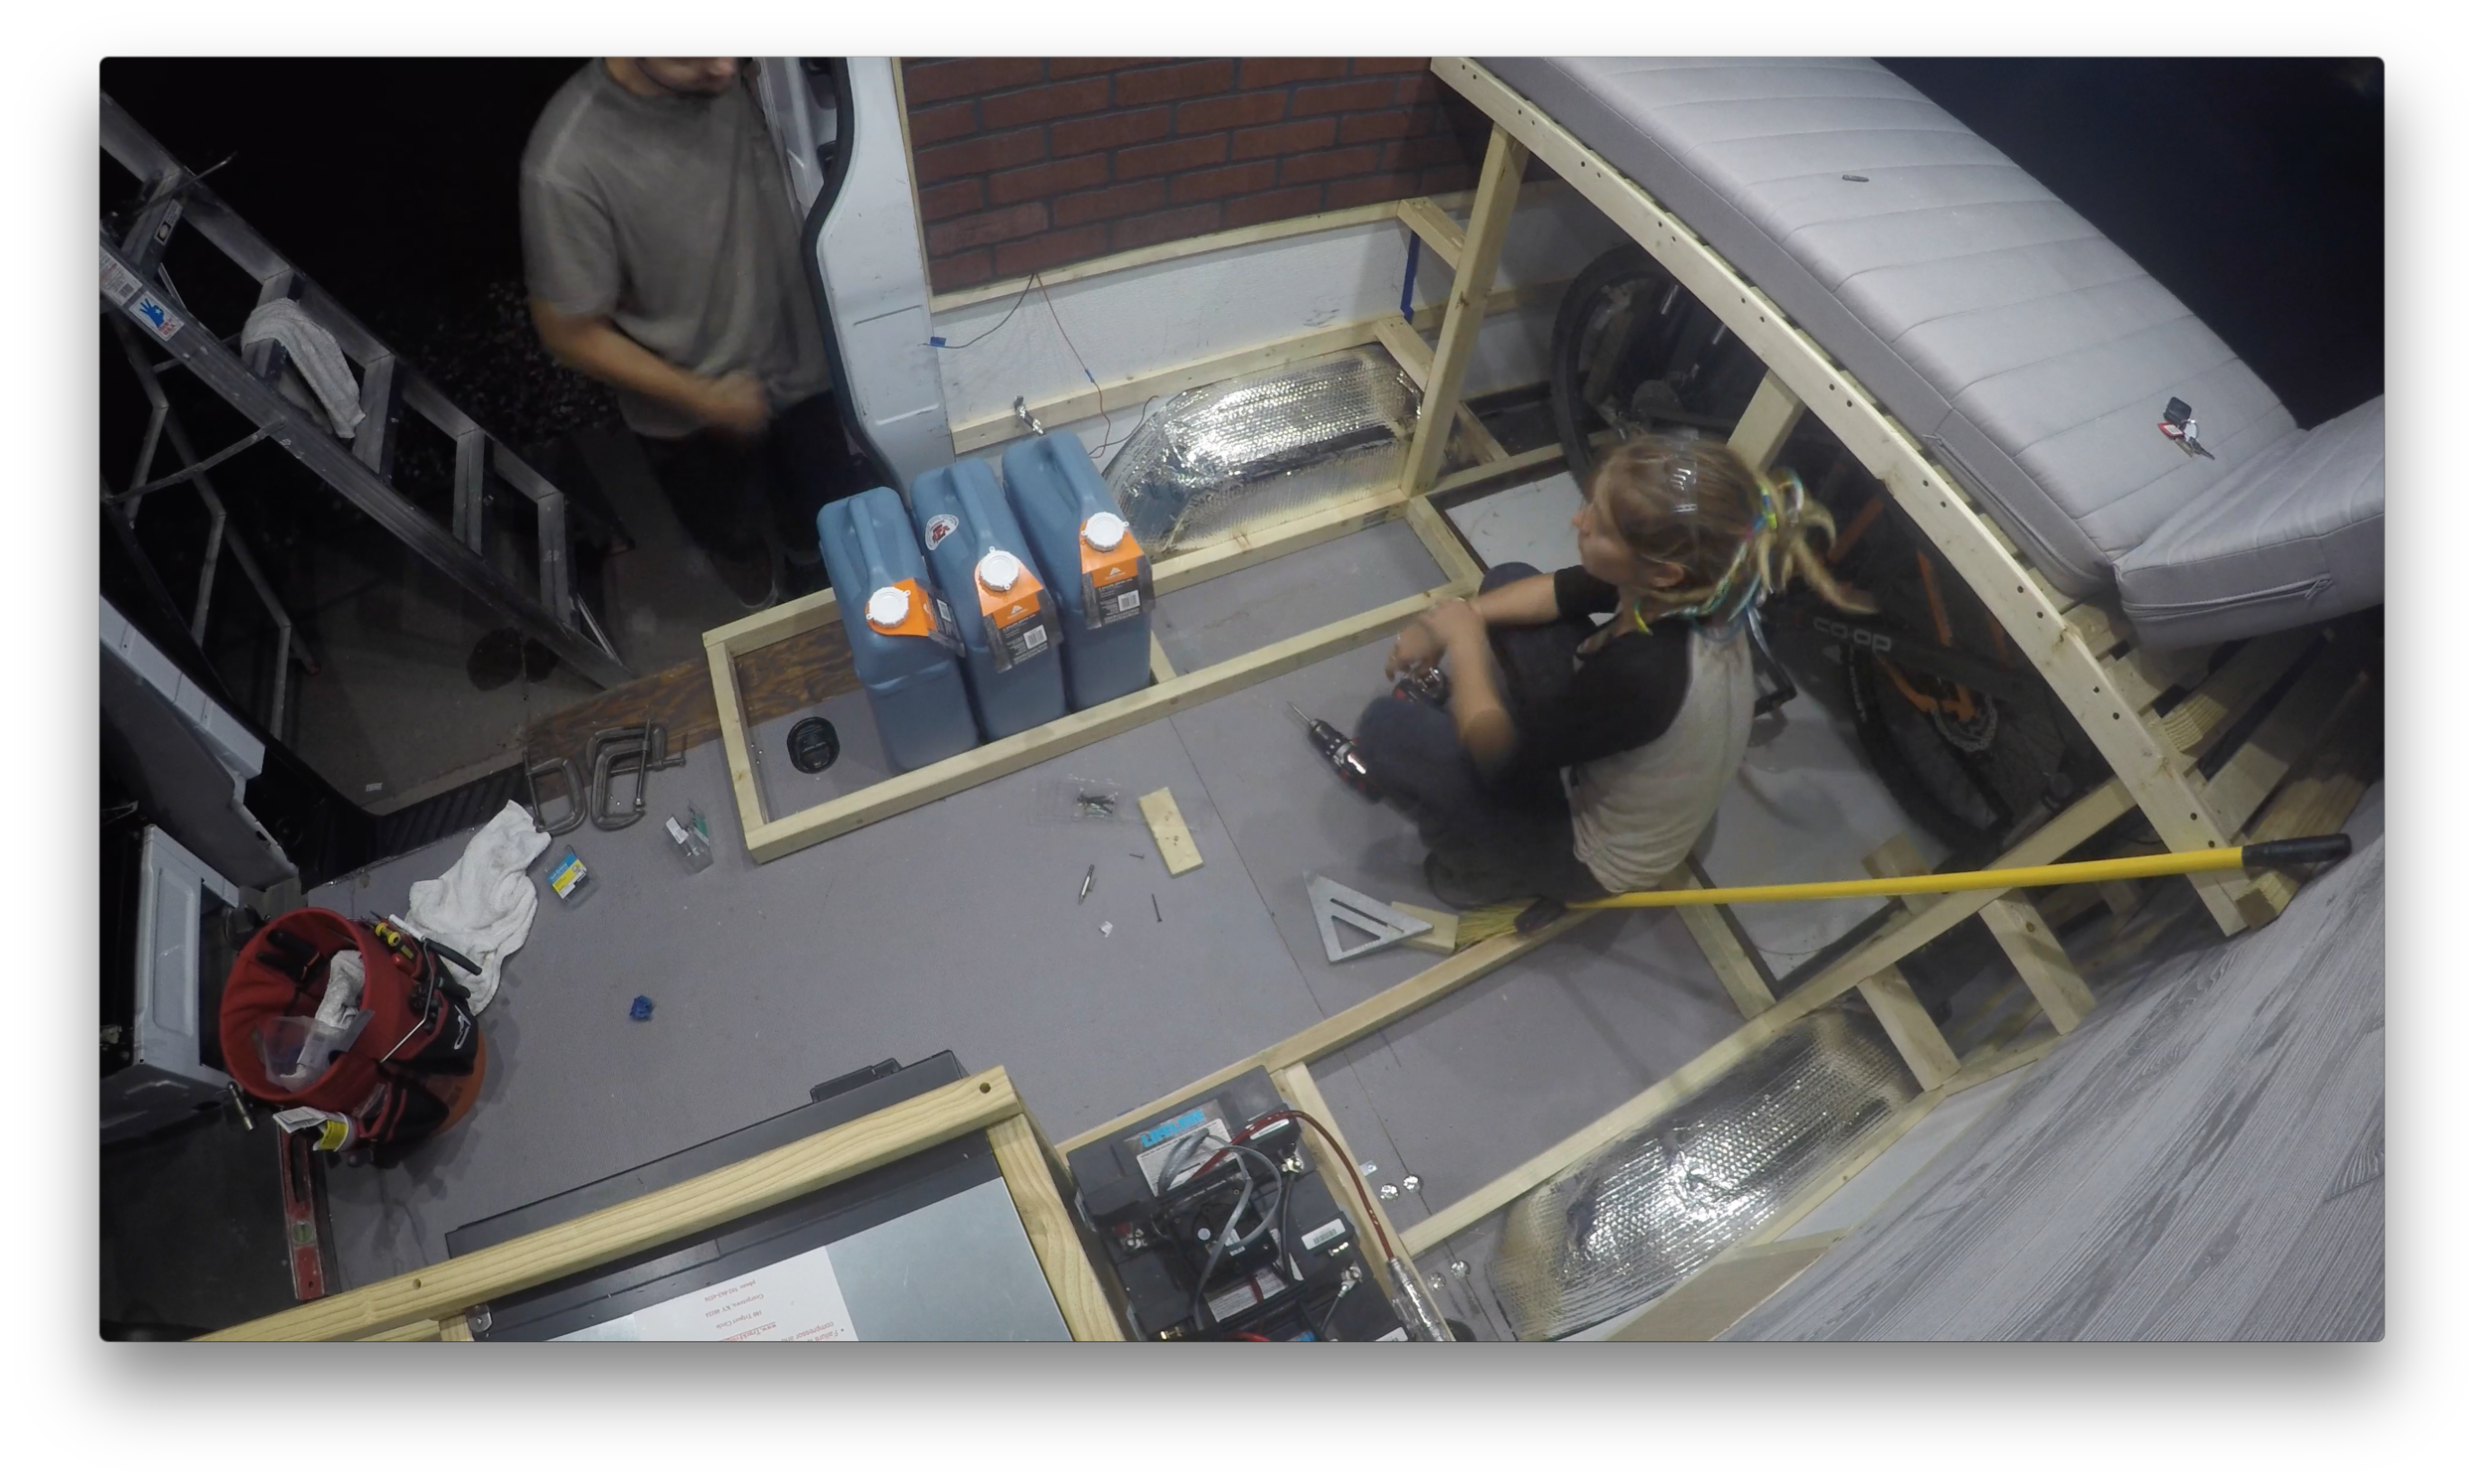
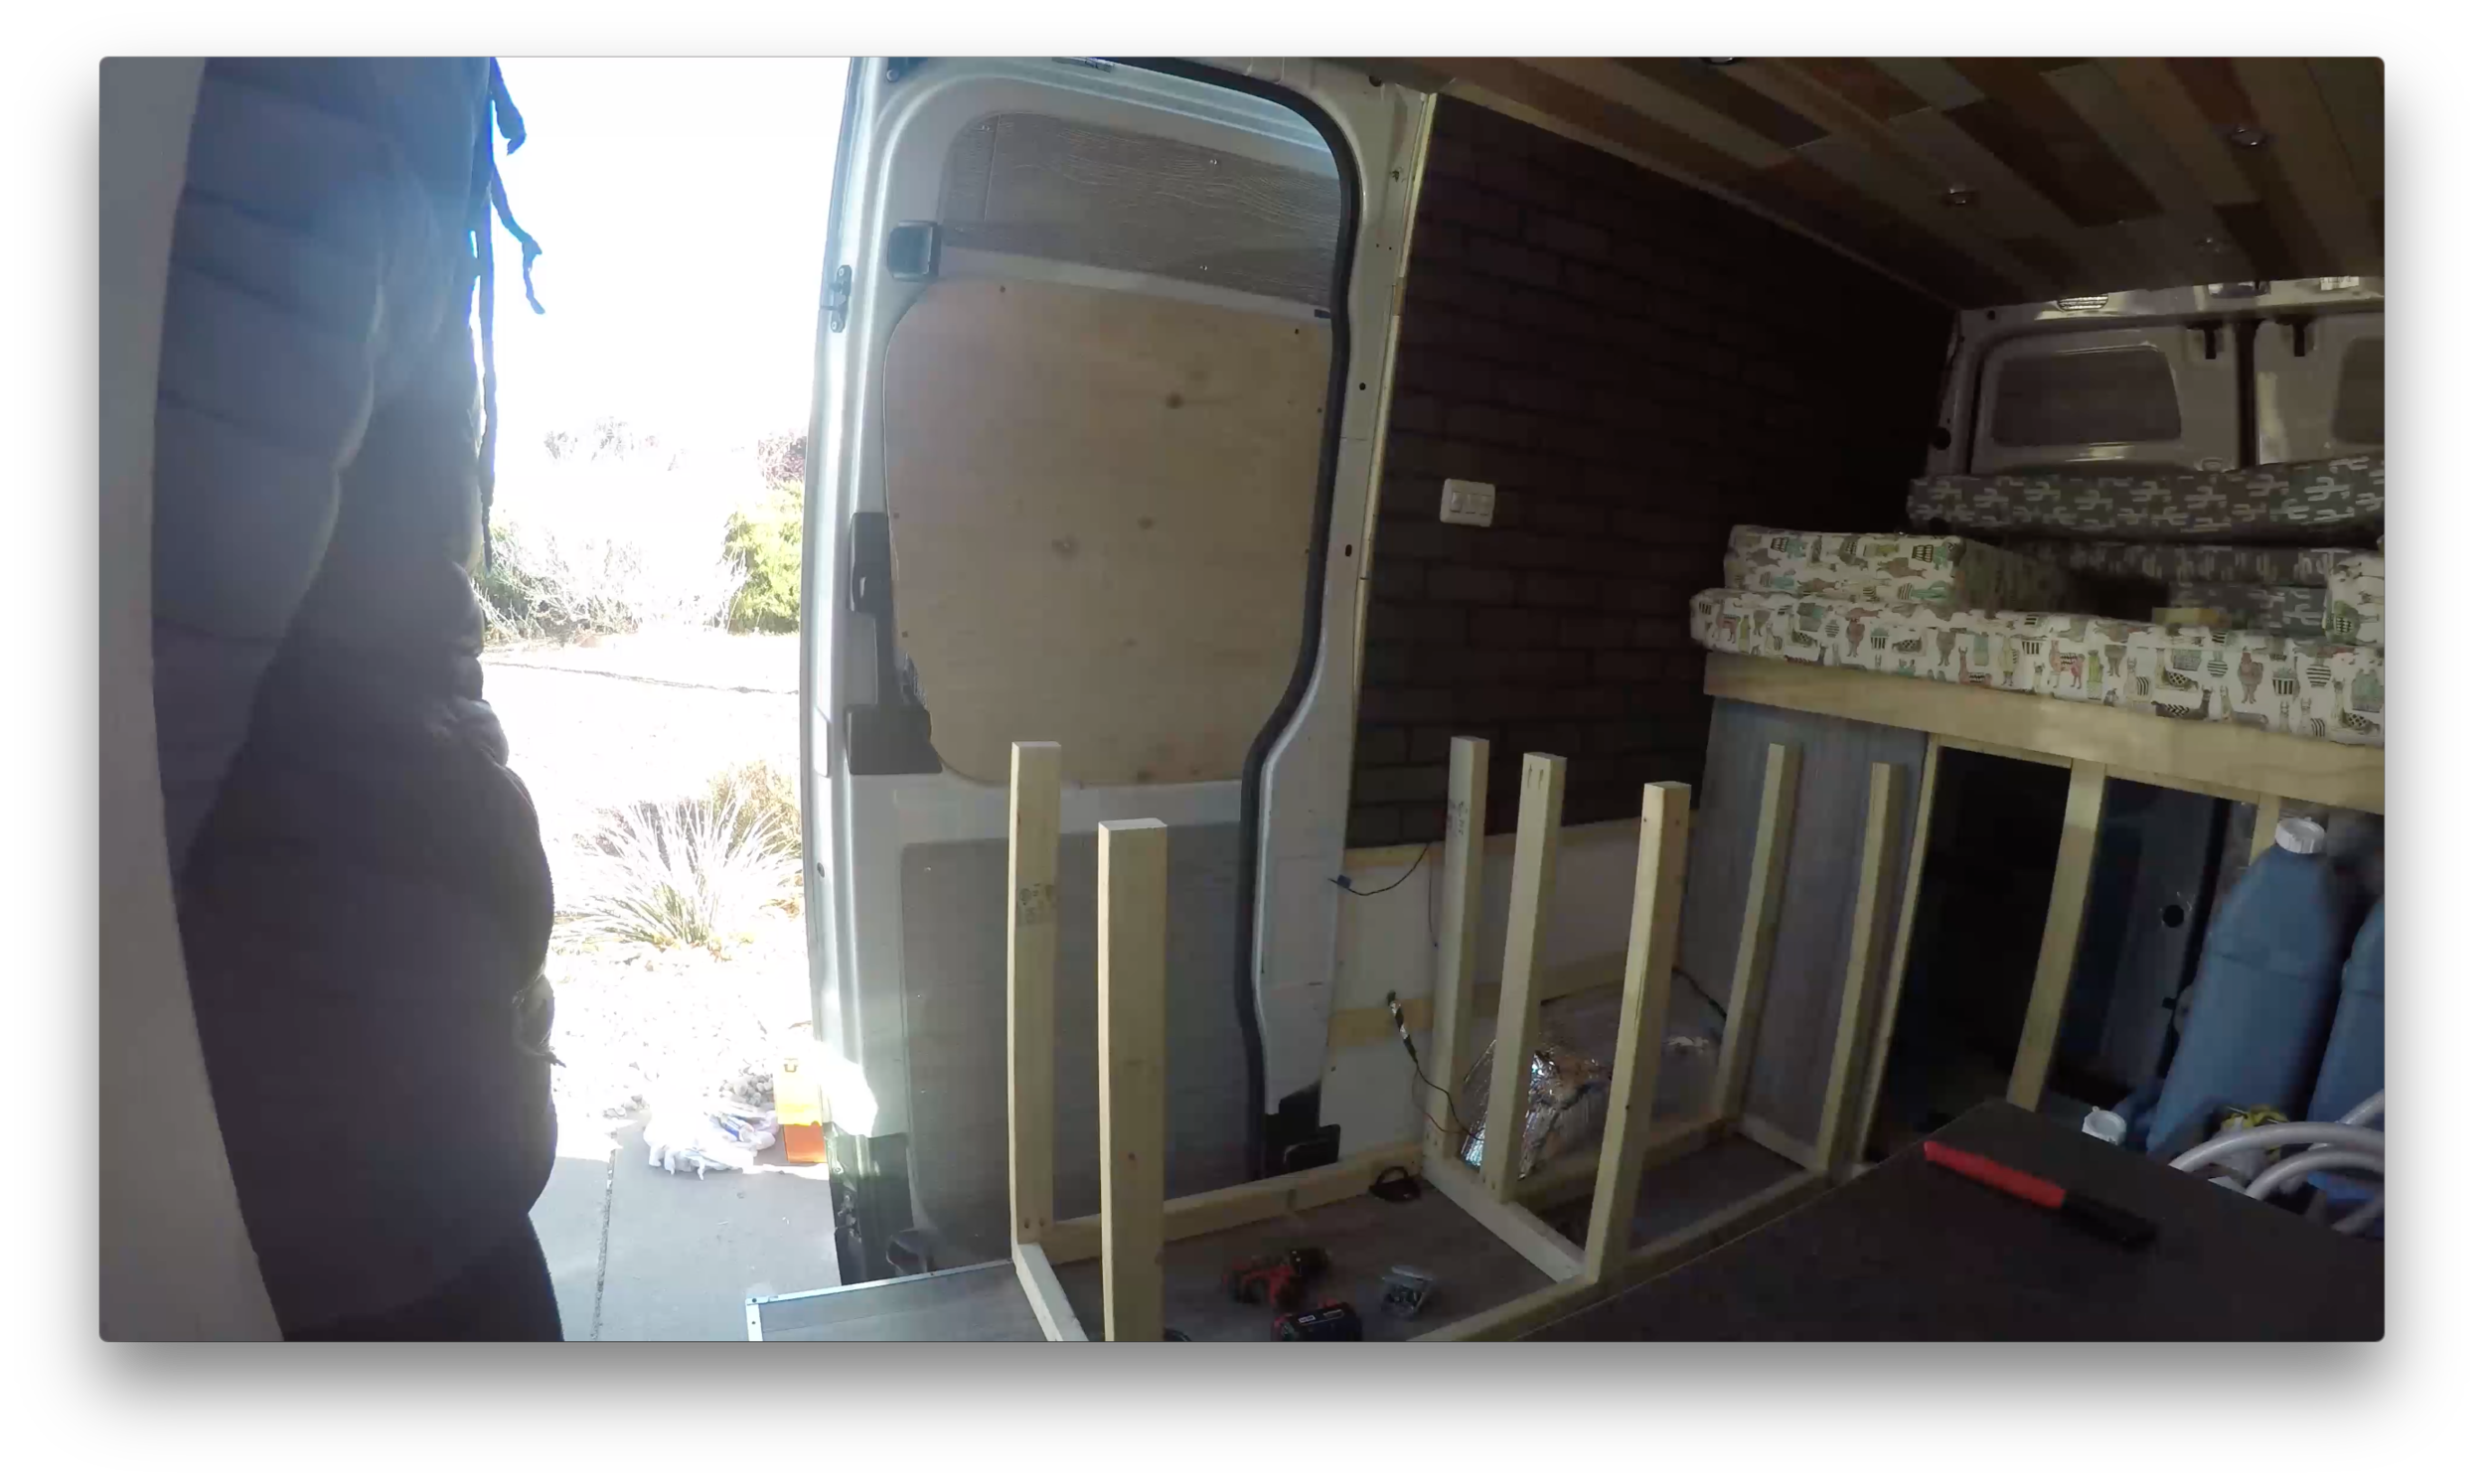
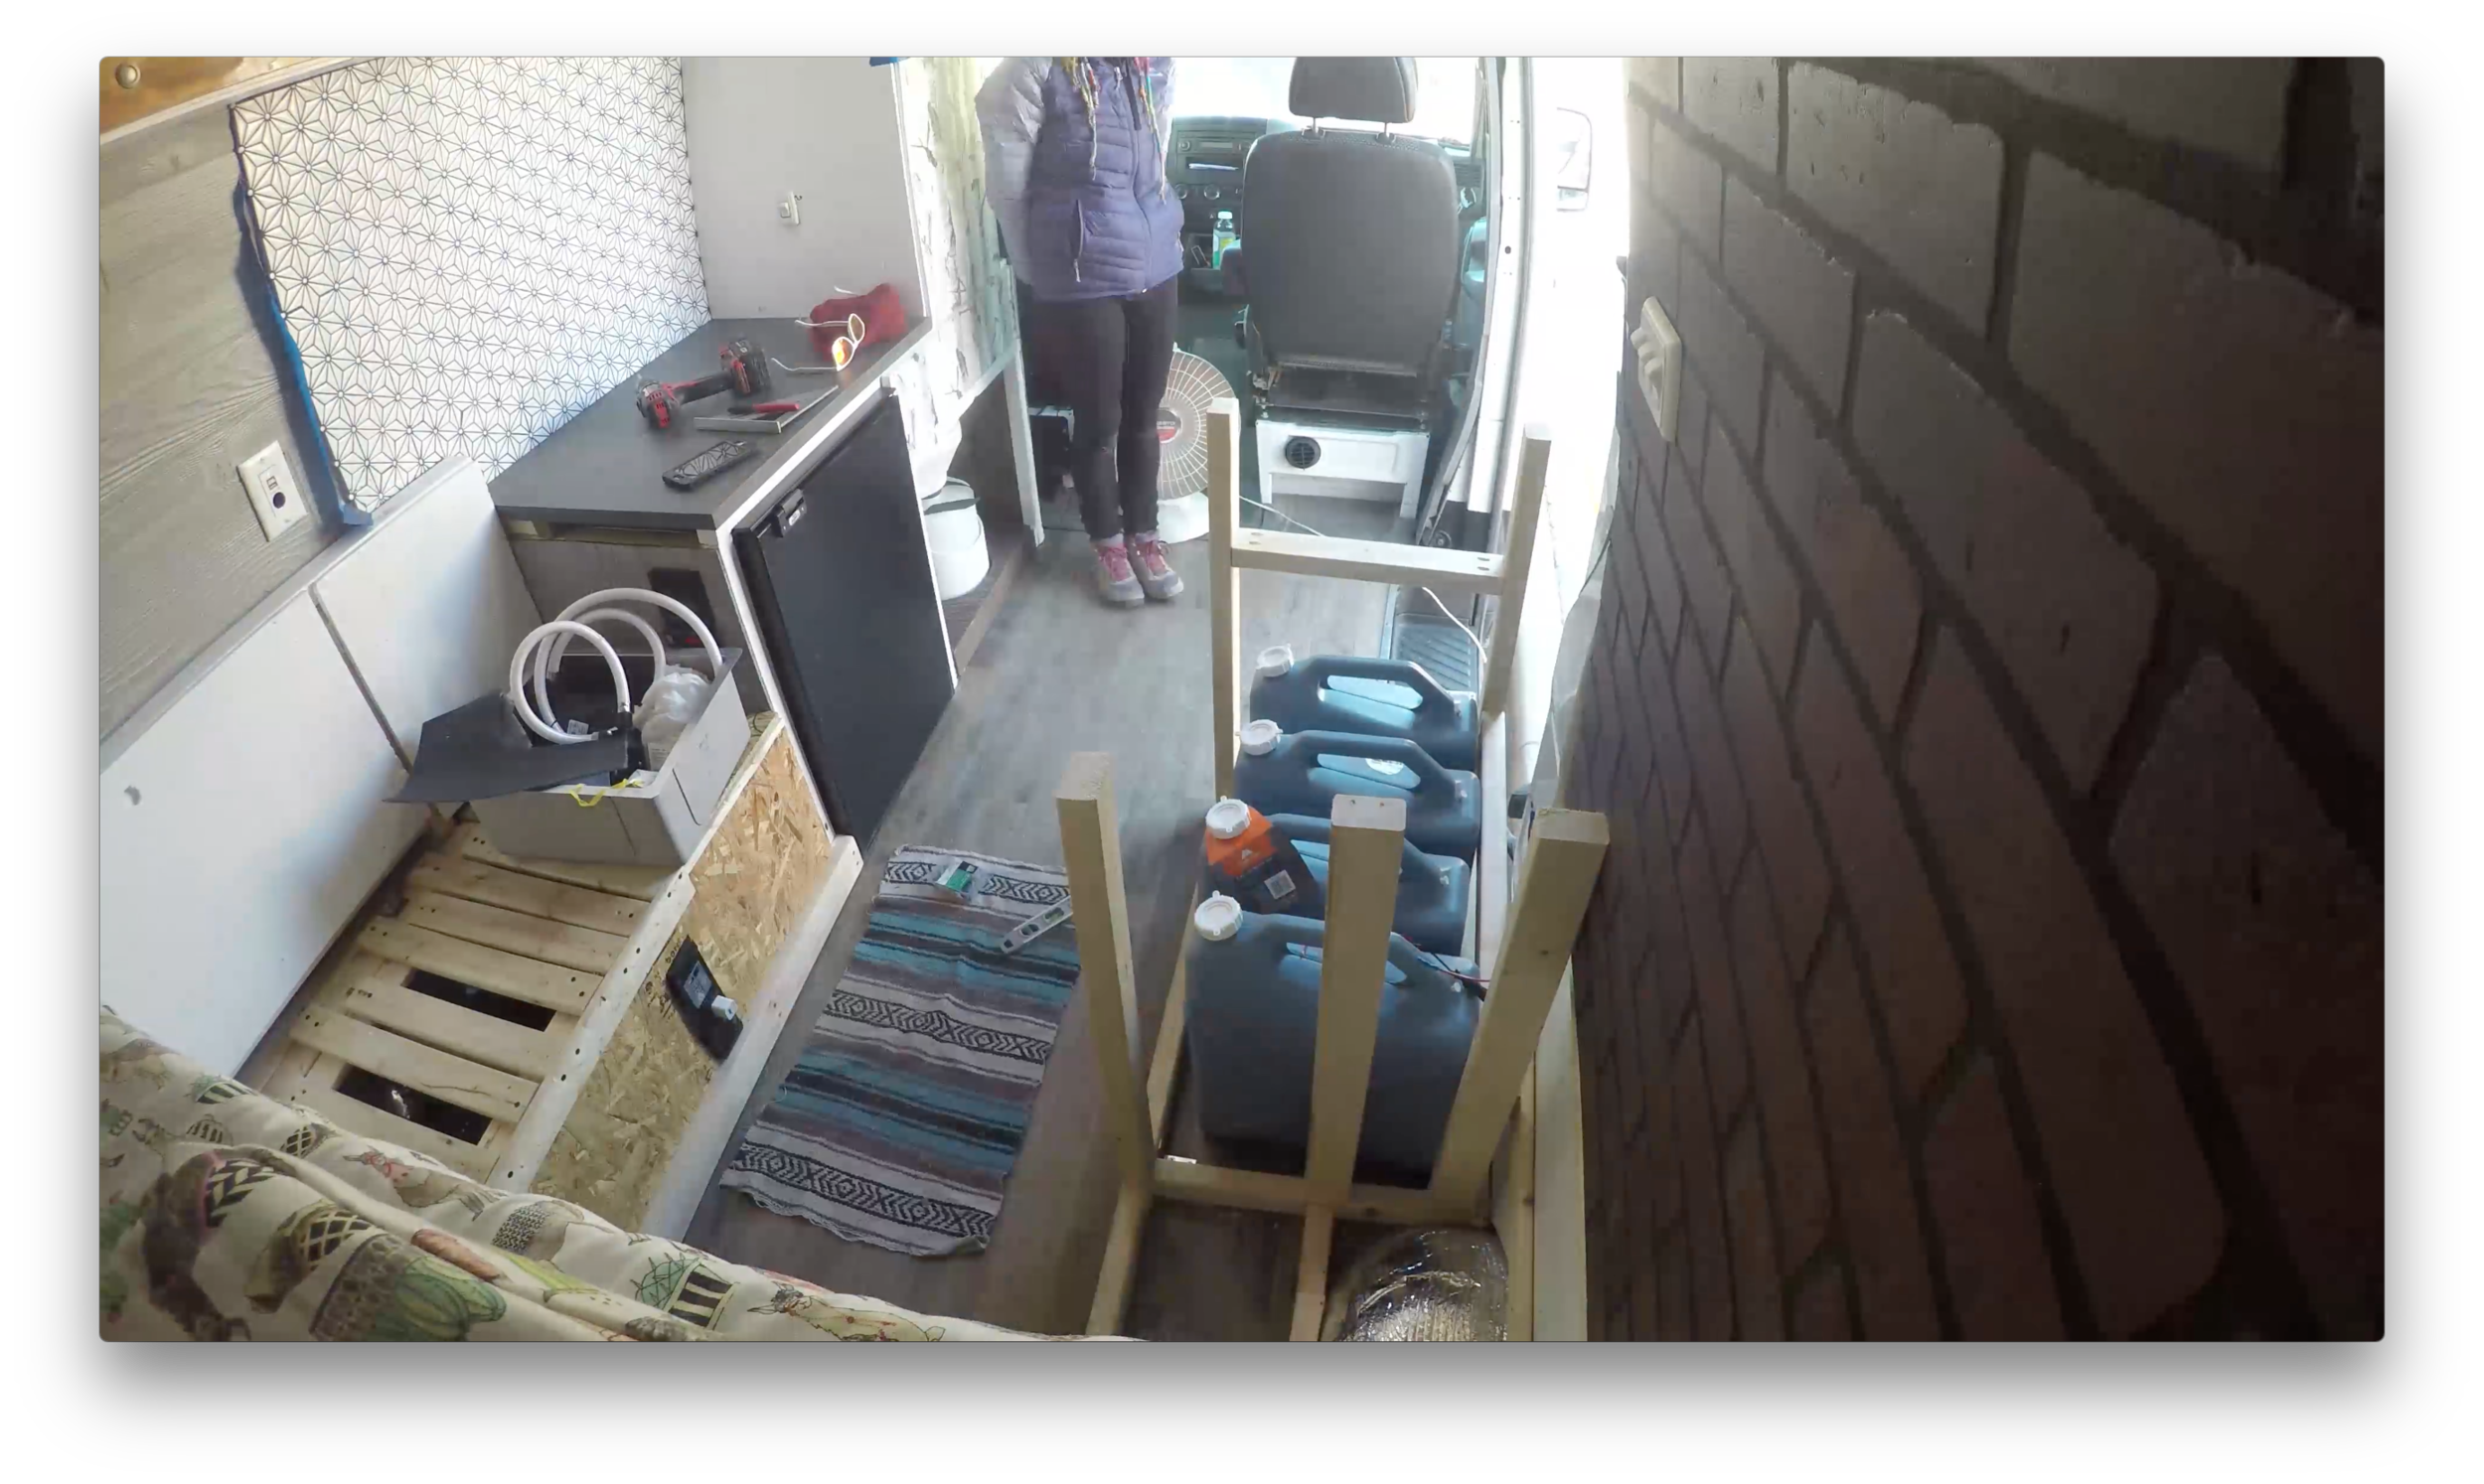
Phase 9.1: Tires

off road sprinter tires

One of the first things we noticed about the van was the state of the tires when we bought them. We knew we had to get new tires ASAP. Since that time was in the middle of winter, and because we knew that we did want to go boon docking, off sealed roads on BLM and National Forest land, we knew that we wanted some tires that handled well in weather and off road capabilities. We went to Firestone to check some out because we’ve had some pretty patient and knowledgable people sometimes, but we must have been there on a busy day because they just gave us a price sheet and let us walk out the door. 

From there, I went to Discount Tire, I told him what we planned on using the vehicle for and how much driving we would do. He went over a few tires with me. One of them was the current tire that was on the van. The previous owner was pretty stoked on them, Mitchellen Defenders. They were great for highway driving. Better on the gas mileage and supposedly quieter and smoother ride. But, their tread wasn’t as aggressive and we knew we were gonna be on bumpy unmaintained dirt roads. 

He recommended the BF Goodrich KO2 All Terrain tire 245/75R16  It is a great all weather and all terrain tire and seemed to fit what I was going for. He said they might be a louder ride, but I don’t hear it. 

Over all, we are pretty stoked on the ride so far and we have probably driven more dirt roads than paved roads. They’ve really preformed. 

Phase 8.2: Wifi Extender

Wifi in your van!

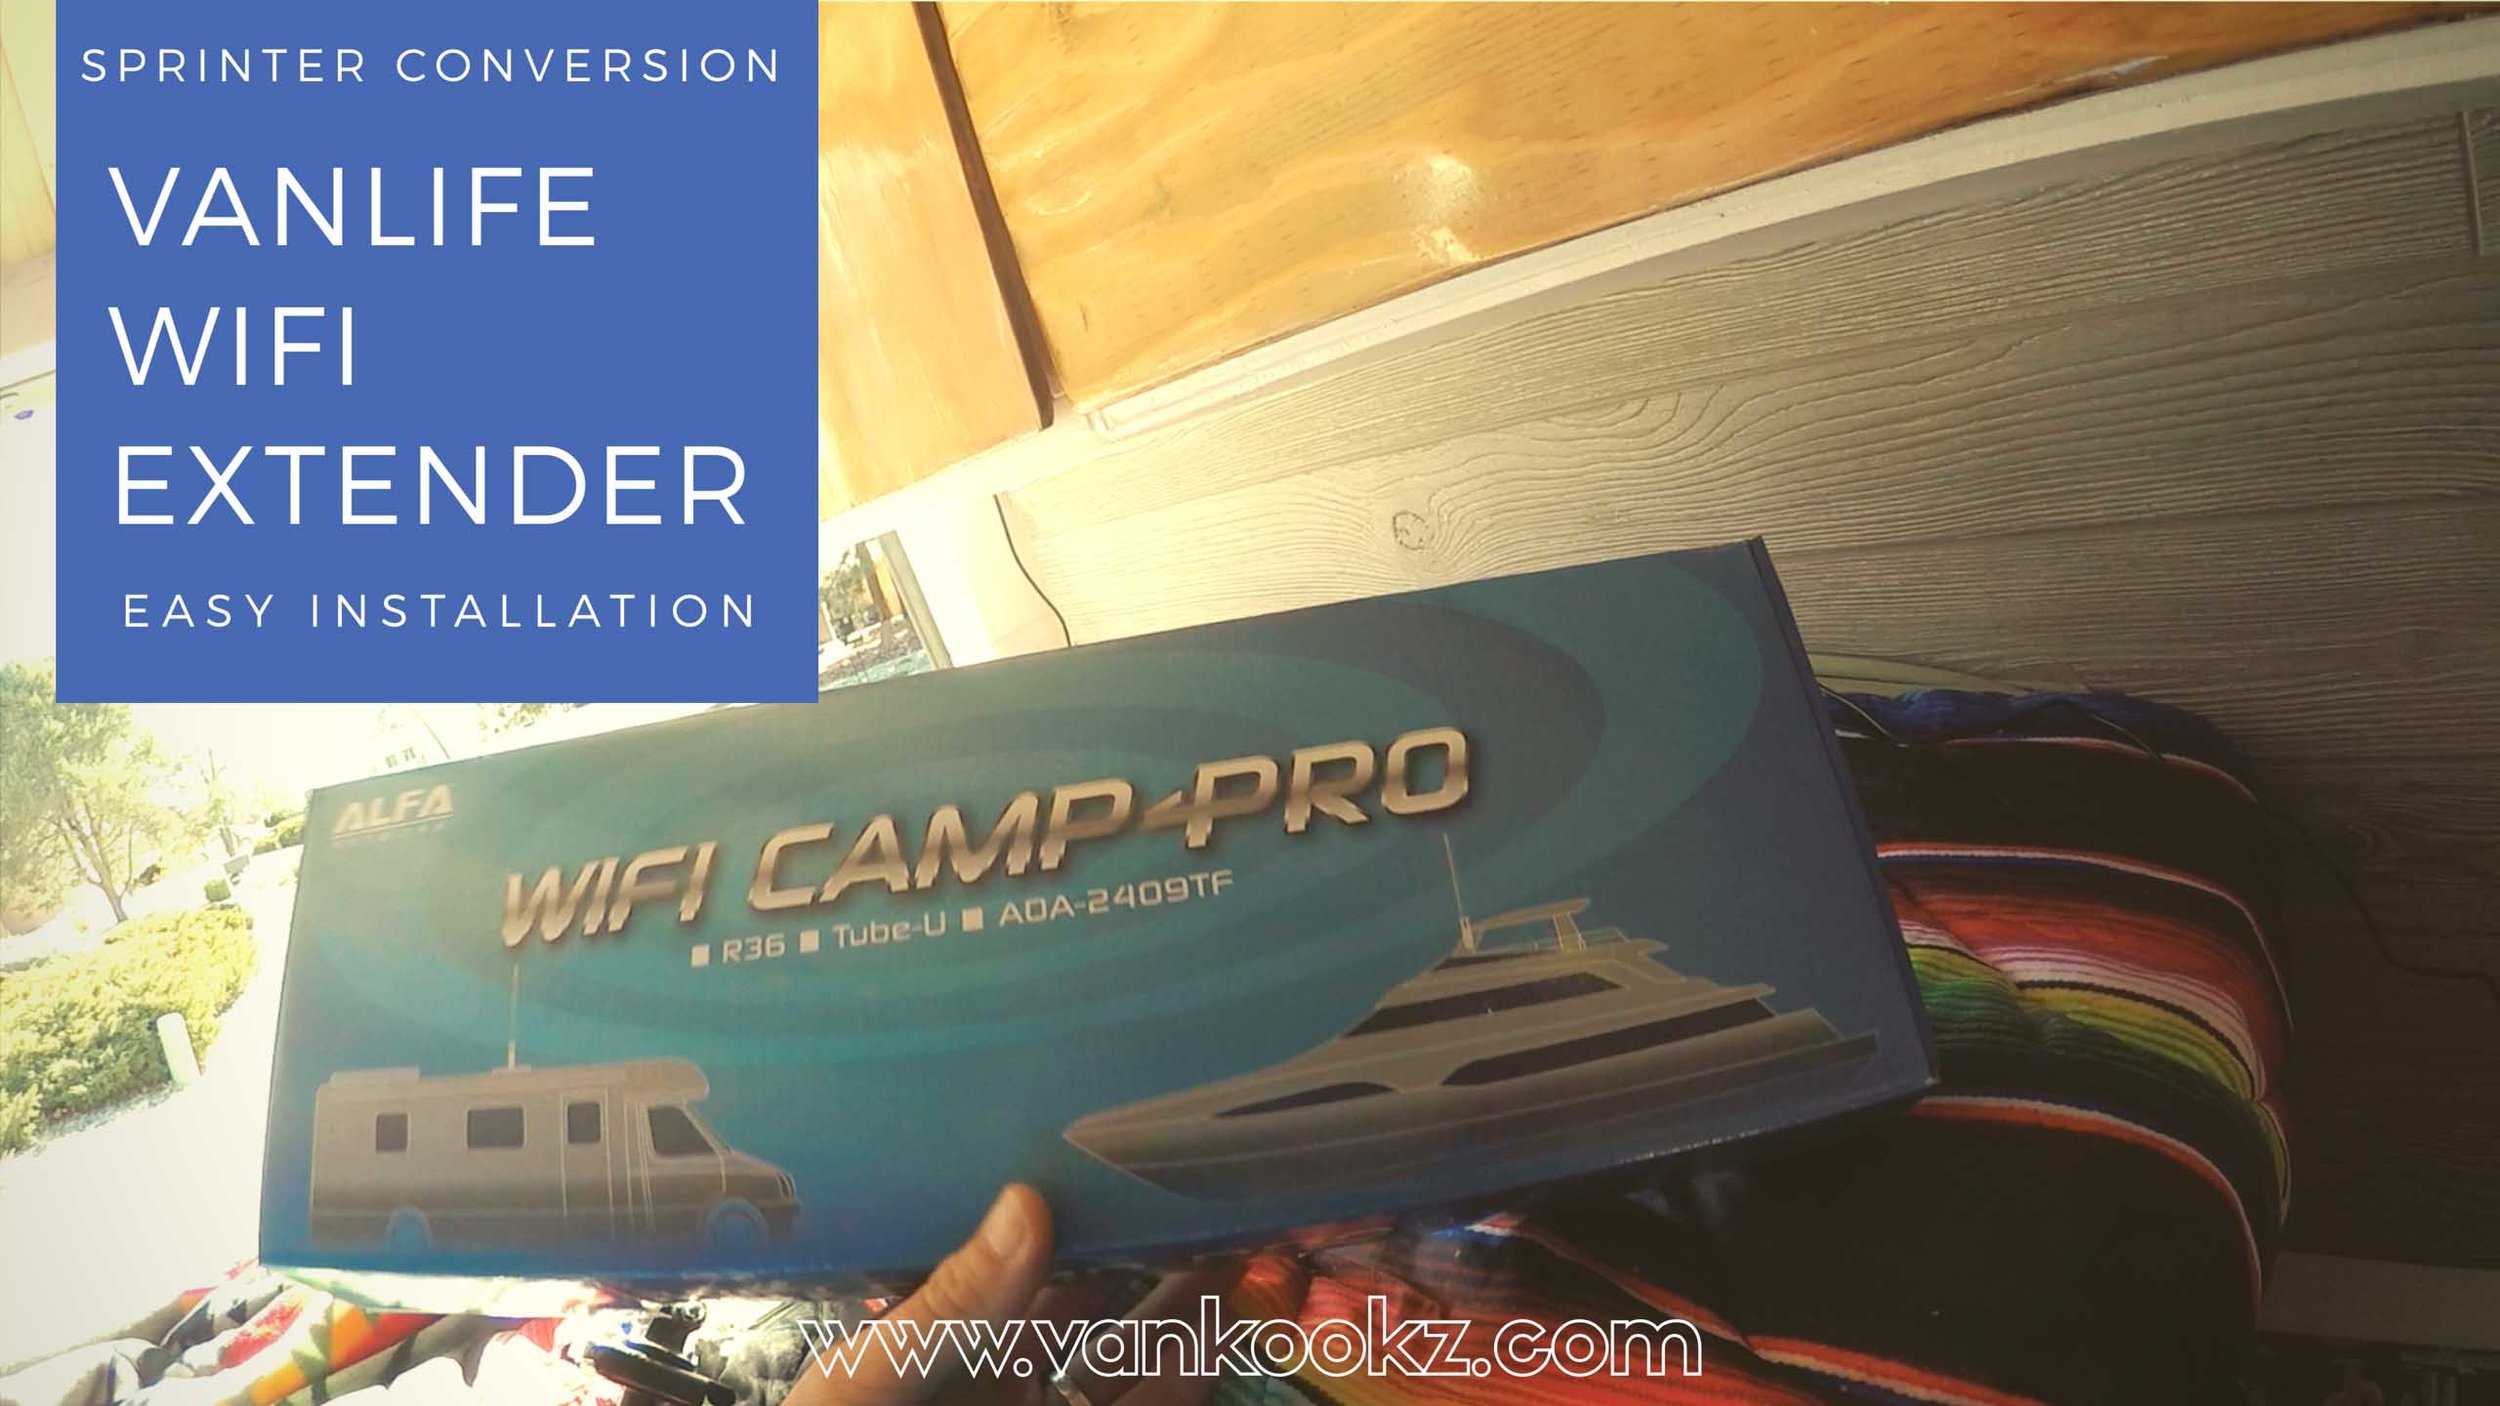
Alfa WiFi Camp Pro long range WiFi repeater kit

Since we have so much insulation and Reflectix in the van walls, we’ve noticed that we get better signal when we are in the cab area or when the slider door is open. So we started researching how we can make that situation better, as we planned on using wifi outside places, but inside our van—stealthy. Aka, not with our slider door open to get better reception. 

After researching, we learned about long range WiFi repeater kits. Most of the ones that we found online were about $350-$400. We almost said, screw it, libraries aren’t that bad anyways, but then we found that Alfa WiFi Camp pro for a fraction of that price, a more reasonable price for something that we aren’t going to use except when we are secretly freeloading on connectable free WiFi. 

So basically, there is an antenna on mounted to the outside of the car. That is hooked up by USB connecting the antenna, outside the van, to the secured wireless router, inside the van. You repeat and create your own wifi signal inside the van. 

This was the easiest install to date with the van build. We mounted the huge long range antenna  with the provided ZipTies to the solar panel; it took all of 2 minutes. If you mount the antenna sideways, as we did, per the instructions, you should put the self sealing waterproof tape around  the USB area and the part where the Antenna screws onto the base.

Then, with the USB running coming out of the base of the antenna, I popped the USB cord that needed to connect to the inside WiFi router through the break light area. I used a T25 screw driver to unscrew the top break light. I got a wire clothes hanger, fed it thru the cavity behind the break light from the inside to the outside where the break light was popped out. Once my hanger was expose and poking out, I tied the USB cord to it and pulled it thru to the inside. Once the USB cord slack had been reeled inside, I screwed back on then, butle tapped the break light back into place. Later when I found it to work, I put some lap sealant to really make sure there was no water creeping in there. 

Once we had the wifi Router mounted, we connected the USB. Then, when we want to use it, we pull out the power cord and plug it into the cigarette lighter. 

It isn’t the worst, but I am sure it isn’t the best. We have already used it more than a dozen times. We’ve been able to comfortably and securely use un-secure and open networks from our van, in a parking lot. 

Phase 8.1: Rear View Camera

I don’t know why I avoided DIY’ng this for so long. I think I went and got this project quoted a couple times. It was always some outrageous price. I didn’t care what it looked like. I was going for functionality. Our 144” Sprinter fits into a regular parking spot, the side mirrors are awesome, and the only thing that bothered me was that because I had no windows, I was blind to what was behind me and that was unnerving overtime as I drove. I figured, if I could install the Snugger heater, and it works and kicks ass. I could install a reverse camera, with the help of some YouTube research. And with the help of Amazon Prime, I could get it done cheap and fast.  

I found a couple videos, and as usual, I usually go with a Frankenstein, drawing inspiration from many peoples savvy videos, creating something that works best for me and my situation. 

So, I wanted to spend as little on this as possible, but I did want to be able to reverse without always having to jump out of the van and direct like a dorky parking attendant. Plus, I also wanted to see what was happening, behind me, while we were driving. To do that, I have it powered and running all the time. I do not install it the “correct way,” where you tap your camera and monitor into the reverse light factory wire. So that it pops on only when in reverse.  Mine is on 24/7, with out a switch. I can unplug the cords at anytime we are boon docking and know we don’t need it rather than dealing with a switch. It works out fine and we are really happy with how cheap and painless the install was in comparison to the install quotes we were given. But, that is usually how that goes. 

Originally, I bought this $37.99 Wifi transmitter to pair with the camera.  It was meant to be a plug and play situation, where you mounted the camera, plugged it into this transmitter, download the app and you are good to go. You can check the camera on the app from bed, if you hear something suspect at night.  But, I found the app access to actually be a real pain in the butt. I was really wanting to use it for when I was driving. So this wasn’t going to work, because you had to make sure that your phone connected to the wifi transmitter. The phone always timed out, as well. So it didn’t act as a replacement for rear view mirror, like I wanted it to. It was just distracting and took to long to connect to the wifi, then open the app, then begin to reverse. So we scratched that idea after tolerating it for a bit. 

To get the camera installed, I removed the top brake light and fished the wire thru the cavity behind the brake light in-between and the interior light. I put some butle tape down and some lap sealant where the wires drop in thru the break light slot. We ran the wire down thru the “garage” and under the couch area, added an RCA AV Extension so that it would reach all the way to the front, where the monitor would live. I mounted the E- Sky flip up Reverse monitor  on the dash. Then, I tucked the wires down and around the base of the windshield, out of sight. Those wrapped around by the door. I guided the wires inside the door weather stripping all the way back behind the toilet, where I tapped into the power on the toilet fan. I tapped into the power before the switch for the toilet fan. That way, I would have power no matter if the toilet fan was on or not.

For the price we paid, this is perfect. It does the job for under $50. We can see behind us,  confidently parallel, or reverse into tight spots. Plus, from how we decided to wire it, we use it regularly as a rear view mirror. I have no idea if it is the camera or the monitor that has the mediocre resolution, but I really don’t care about that. Just an FYI, it isn’t the best High Def resolution. But it works! I would do it over again for sure. 

($17.59) Monitor : http://amzn.to/2EAGNSR

($8.95) RCA Plug DC Power Cord AV Extension cables: http://amzn.to/2BAnoyr

($17.99) Rear View Camera : http://amzn.to/2F9lsg9

(37.99) Wifi Rear view transmitter : http://amzn.to/2C6M56V

Phase 7.2: Multifunctional Ottoman

We had always planned to have an Ottoman for use with the couch as well as the swivel seat.  After getting comfortable in the van during the build and testing it out we realized that building the ottoman was the missing piece.  We also needed the ottoman for laundry, coconut coir, and other random things.   

The ottoman was a quick and easy build, that was almost made with all scrap.  I measured the height of the couch and built a frame out using 1x1’s.  I used the beaded masonite that we used for the kitchen countertop siding.  The cushion was made from the remainder of the couch cushion.  The cactus fabric was sewed by Dani and was left over from the couch.  We put short office type carpet on the base so it could slide easier and not scratch the flooring.  We pin nailed all the siding to the frame and used caulking to clean up the edges, we could have used siding to clean it up but we were ok with the caulking.  

This was a very straight forward build and didn't take much time.  It is a mandatory piece for our van.  It is very multifunctional piece all in all it’s storage, laundry, an ottoman, a step for the bed, an extra seat, and the cushion doubles as a bed extension.  

Phase 7.1: Building the Kitchen Cabinets

We are just going to refer to the passenger side of our van cabinets as the kitchen, since the majority of kitchen type items live in these cabinets.

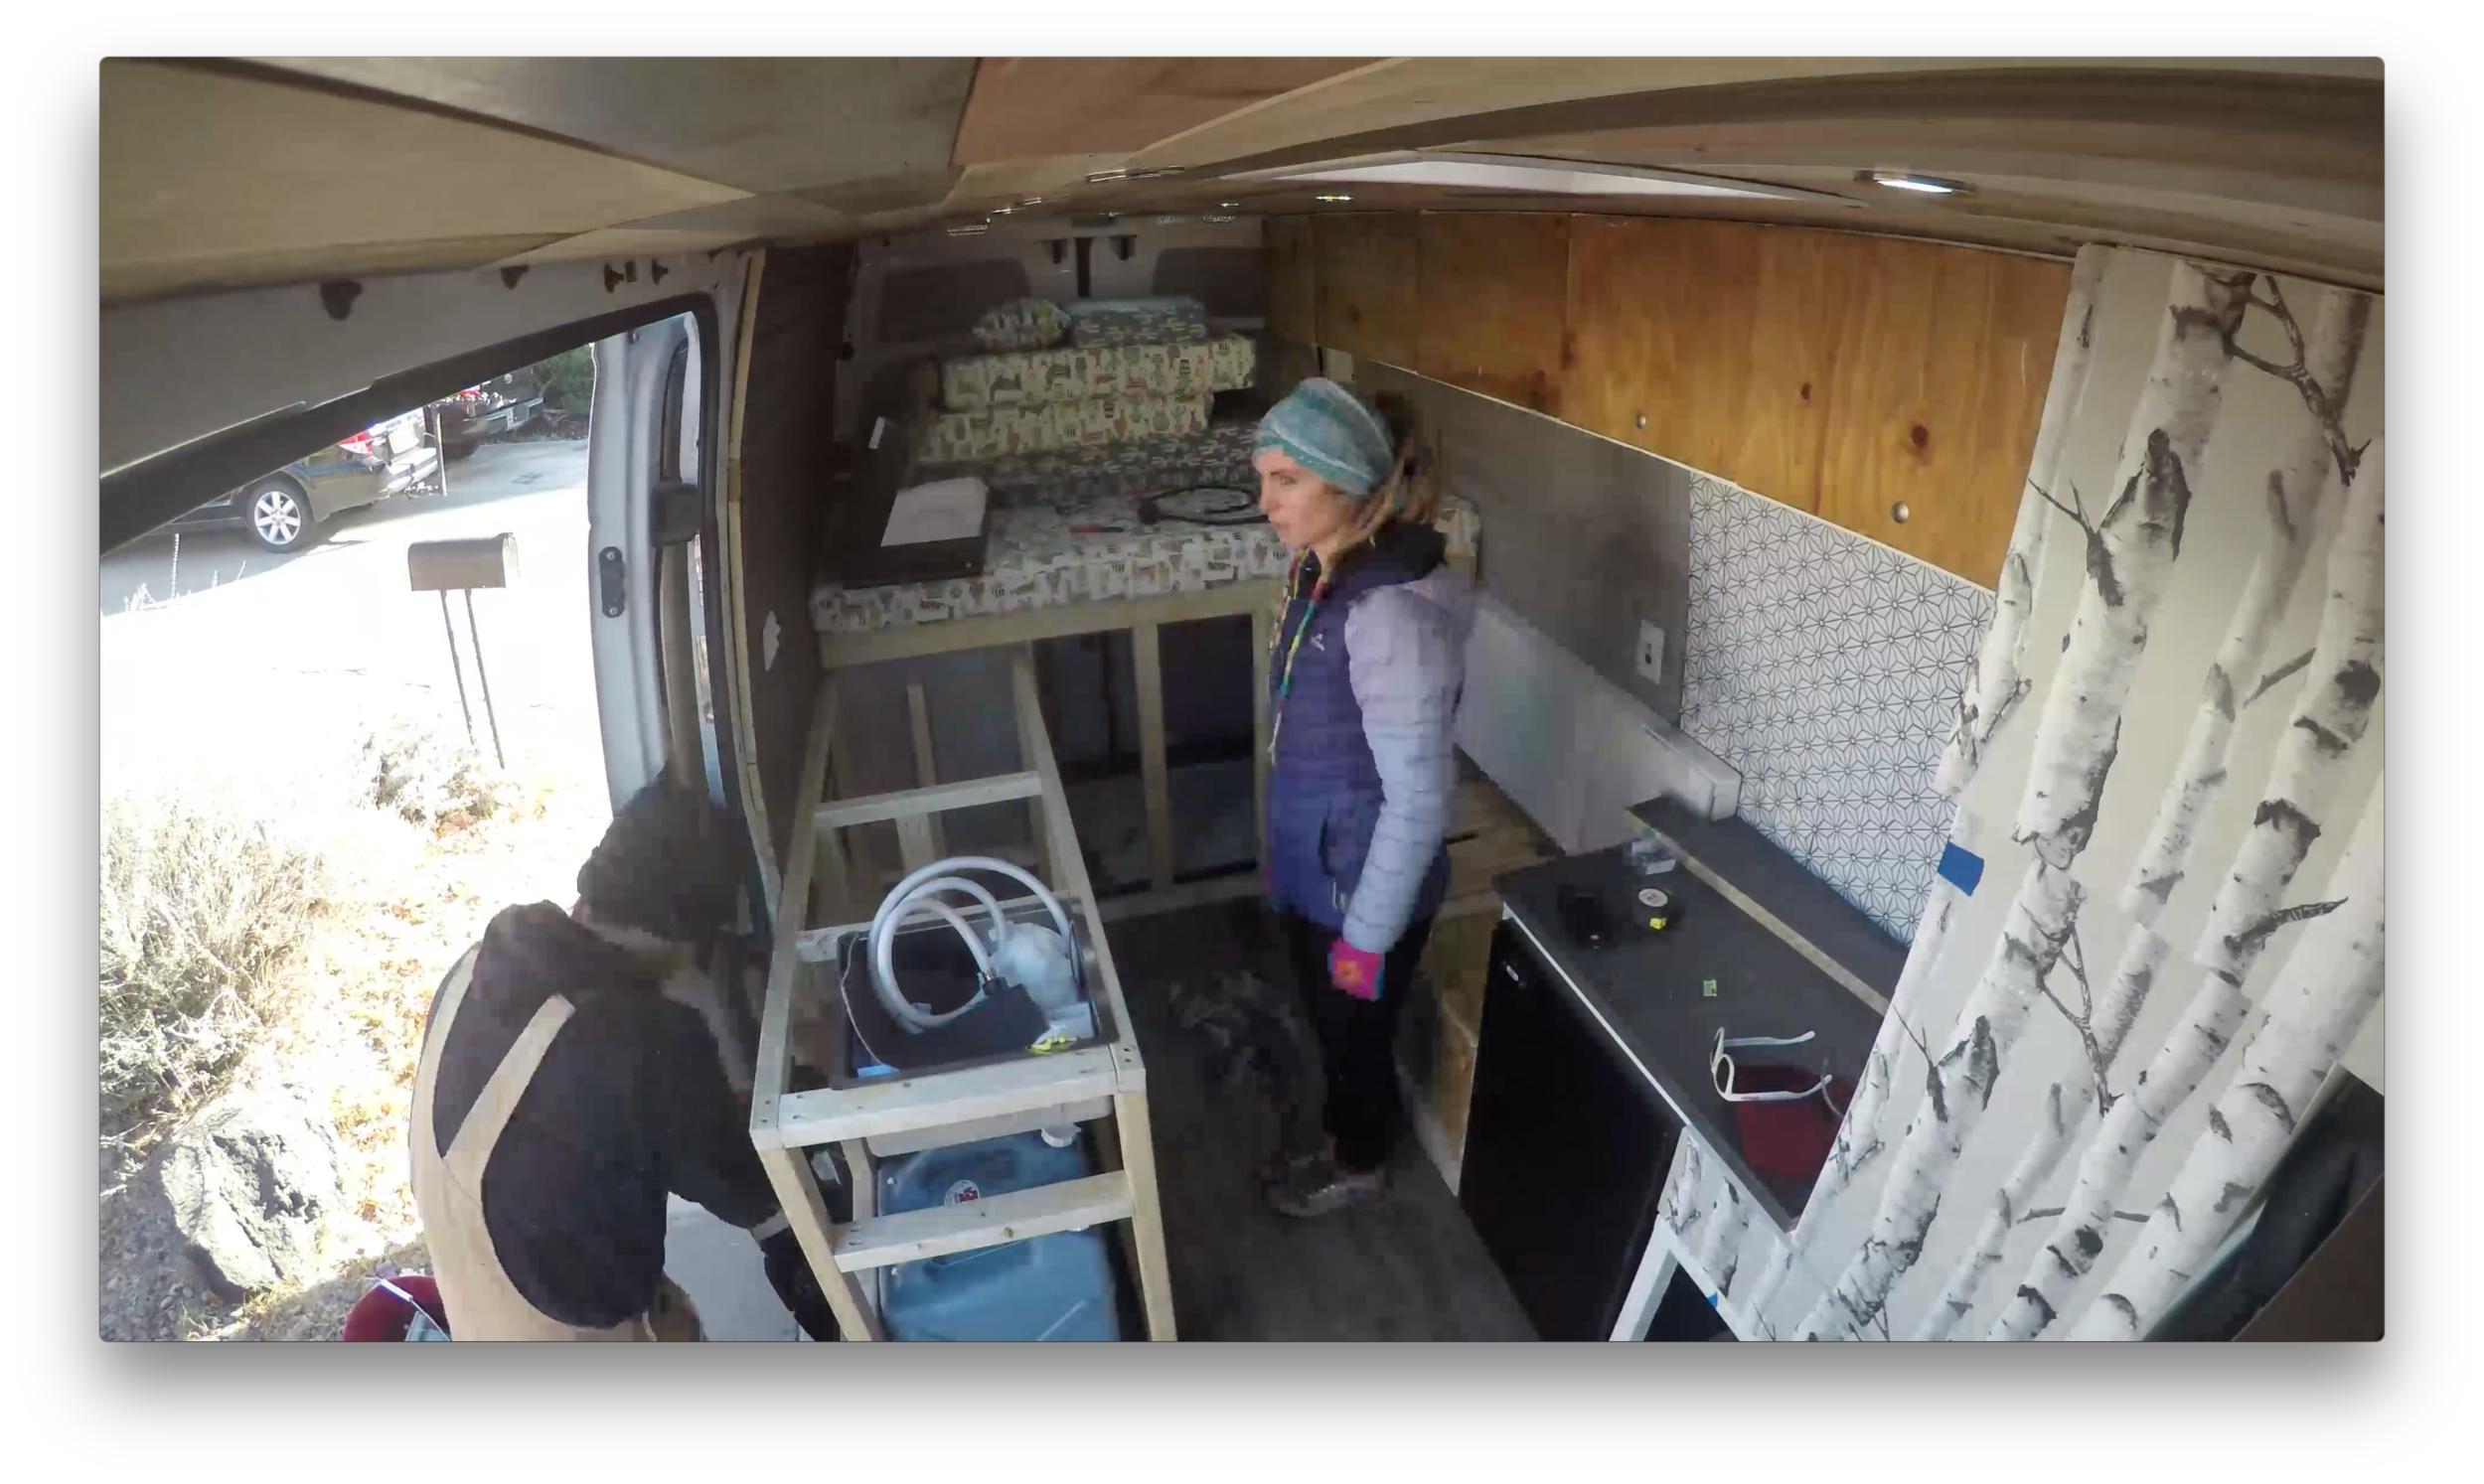
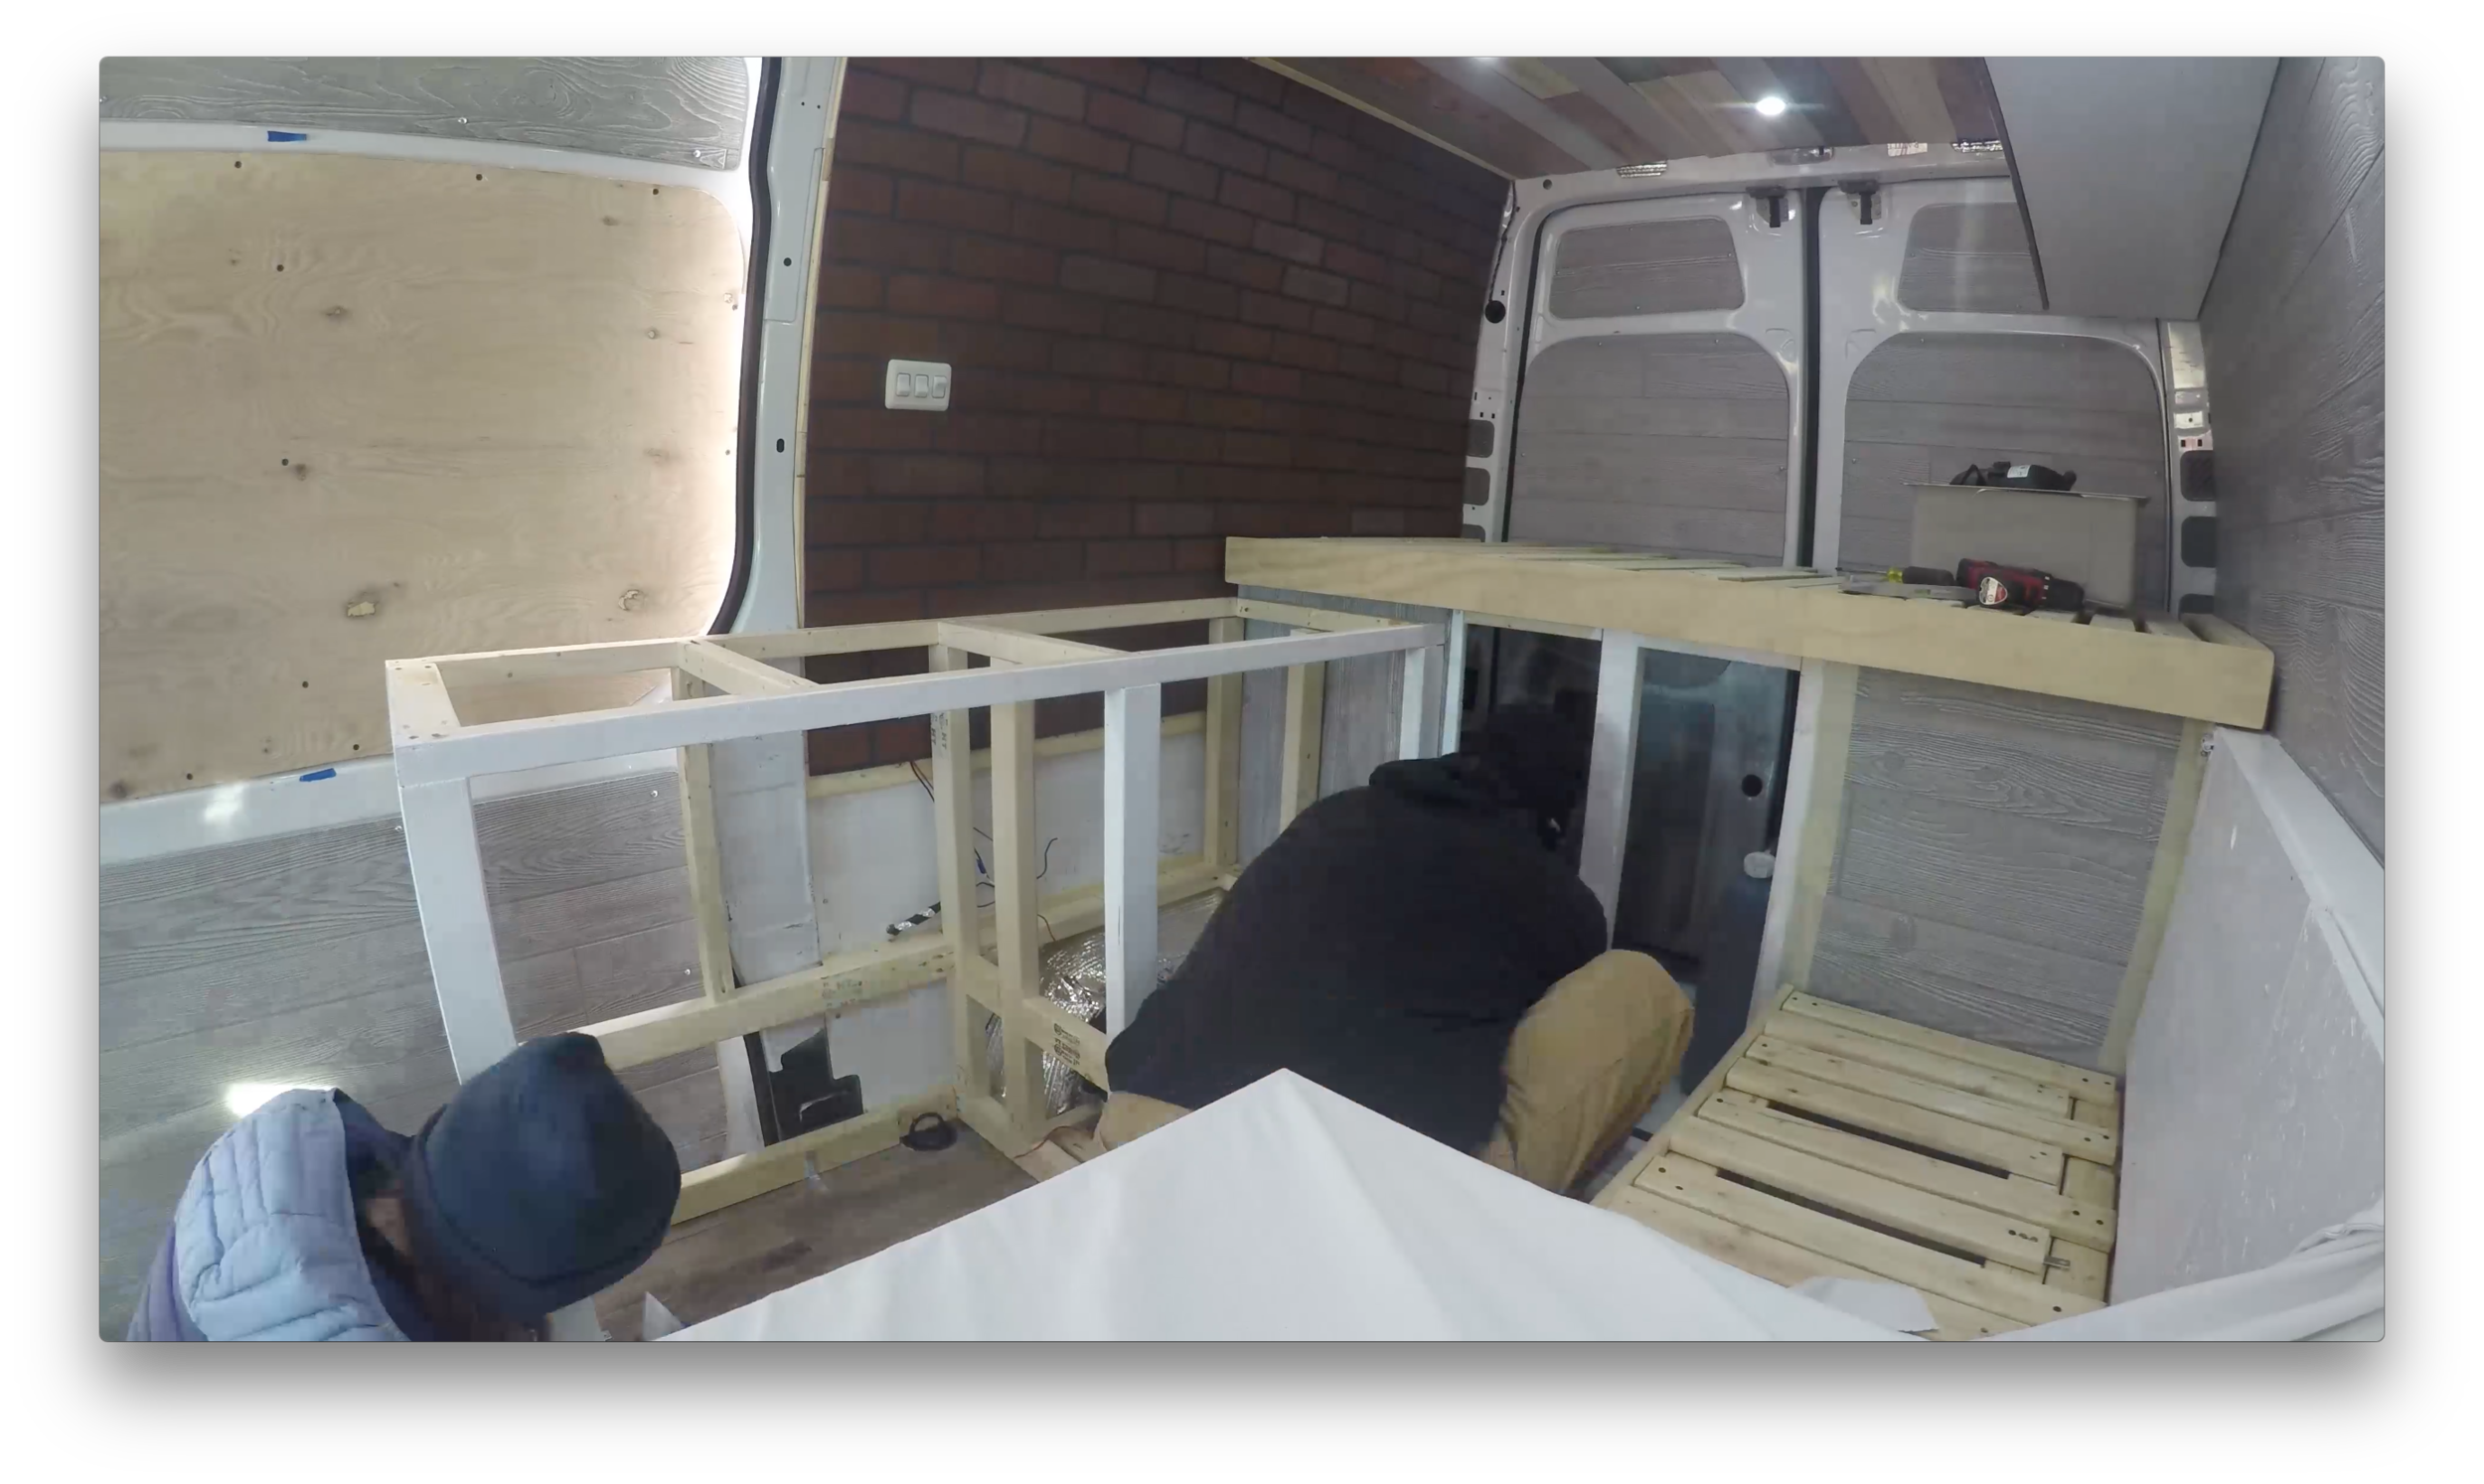
After knocking out the cabinets on the driver side of the van, we knew a little bit more about cabinetry and framing.  So, the kitchen seemed to be an easier task.  The first order of business was to design and build out a frame that would house our water where we it would be accessible.  We used 2x3’s for the framing and attached the base to the van with some heavy duty L Brackets.  After we framed the countertop out, we started framing out individual doors and drawers.  Once we framed a majority of it out, we learned from prior jobs that it’s easiest to paint in this stage.  So, we painted the frame white with a few coats. We used thinner cabinet grade wood for framing out the doors and drawers.  We were able to use scrap wood from our walls to line the sides and bottoms of the doors and drawers. 

One of the more difficult parts of this build was finding a countertop that we both enjoyed and was small enough to fit in the van.  We found that all the Home Depot and Lowe’s pick and pull countertops were ugly and way too deep.  We even thought about a natural live wood slab but after looking at the specialty wood retailers in our area, we decided that they were too heavy and too expensive.  We finally found what we needed at IKEA.  It took nearly a decade to ship, but once it arrived it was the perfect style and fit for the van.  The countertop that we ended up going with, is the IKEA Ekbacken concrete effect and it was cheap, at only $100 to do the entire van. Plus, it fit our look and style more than the ugly pick and pull choices, so it was the best option for us.  Also since this countertop is made for a kitchen island, it’s a bit slimmer and has finishing on all sides, which was nice because we had to flip it around for countertop on the driver side.  

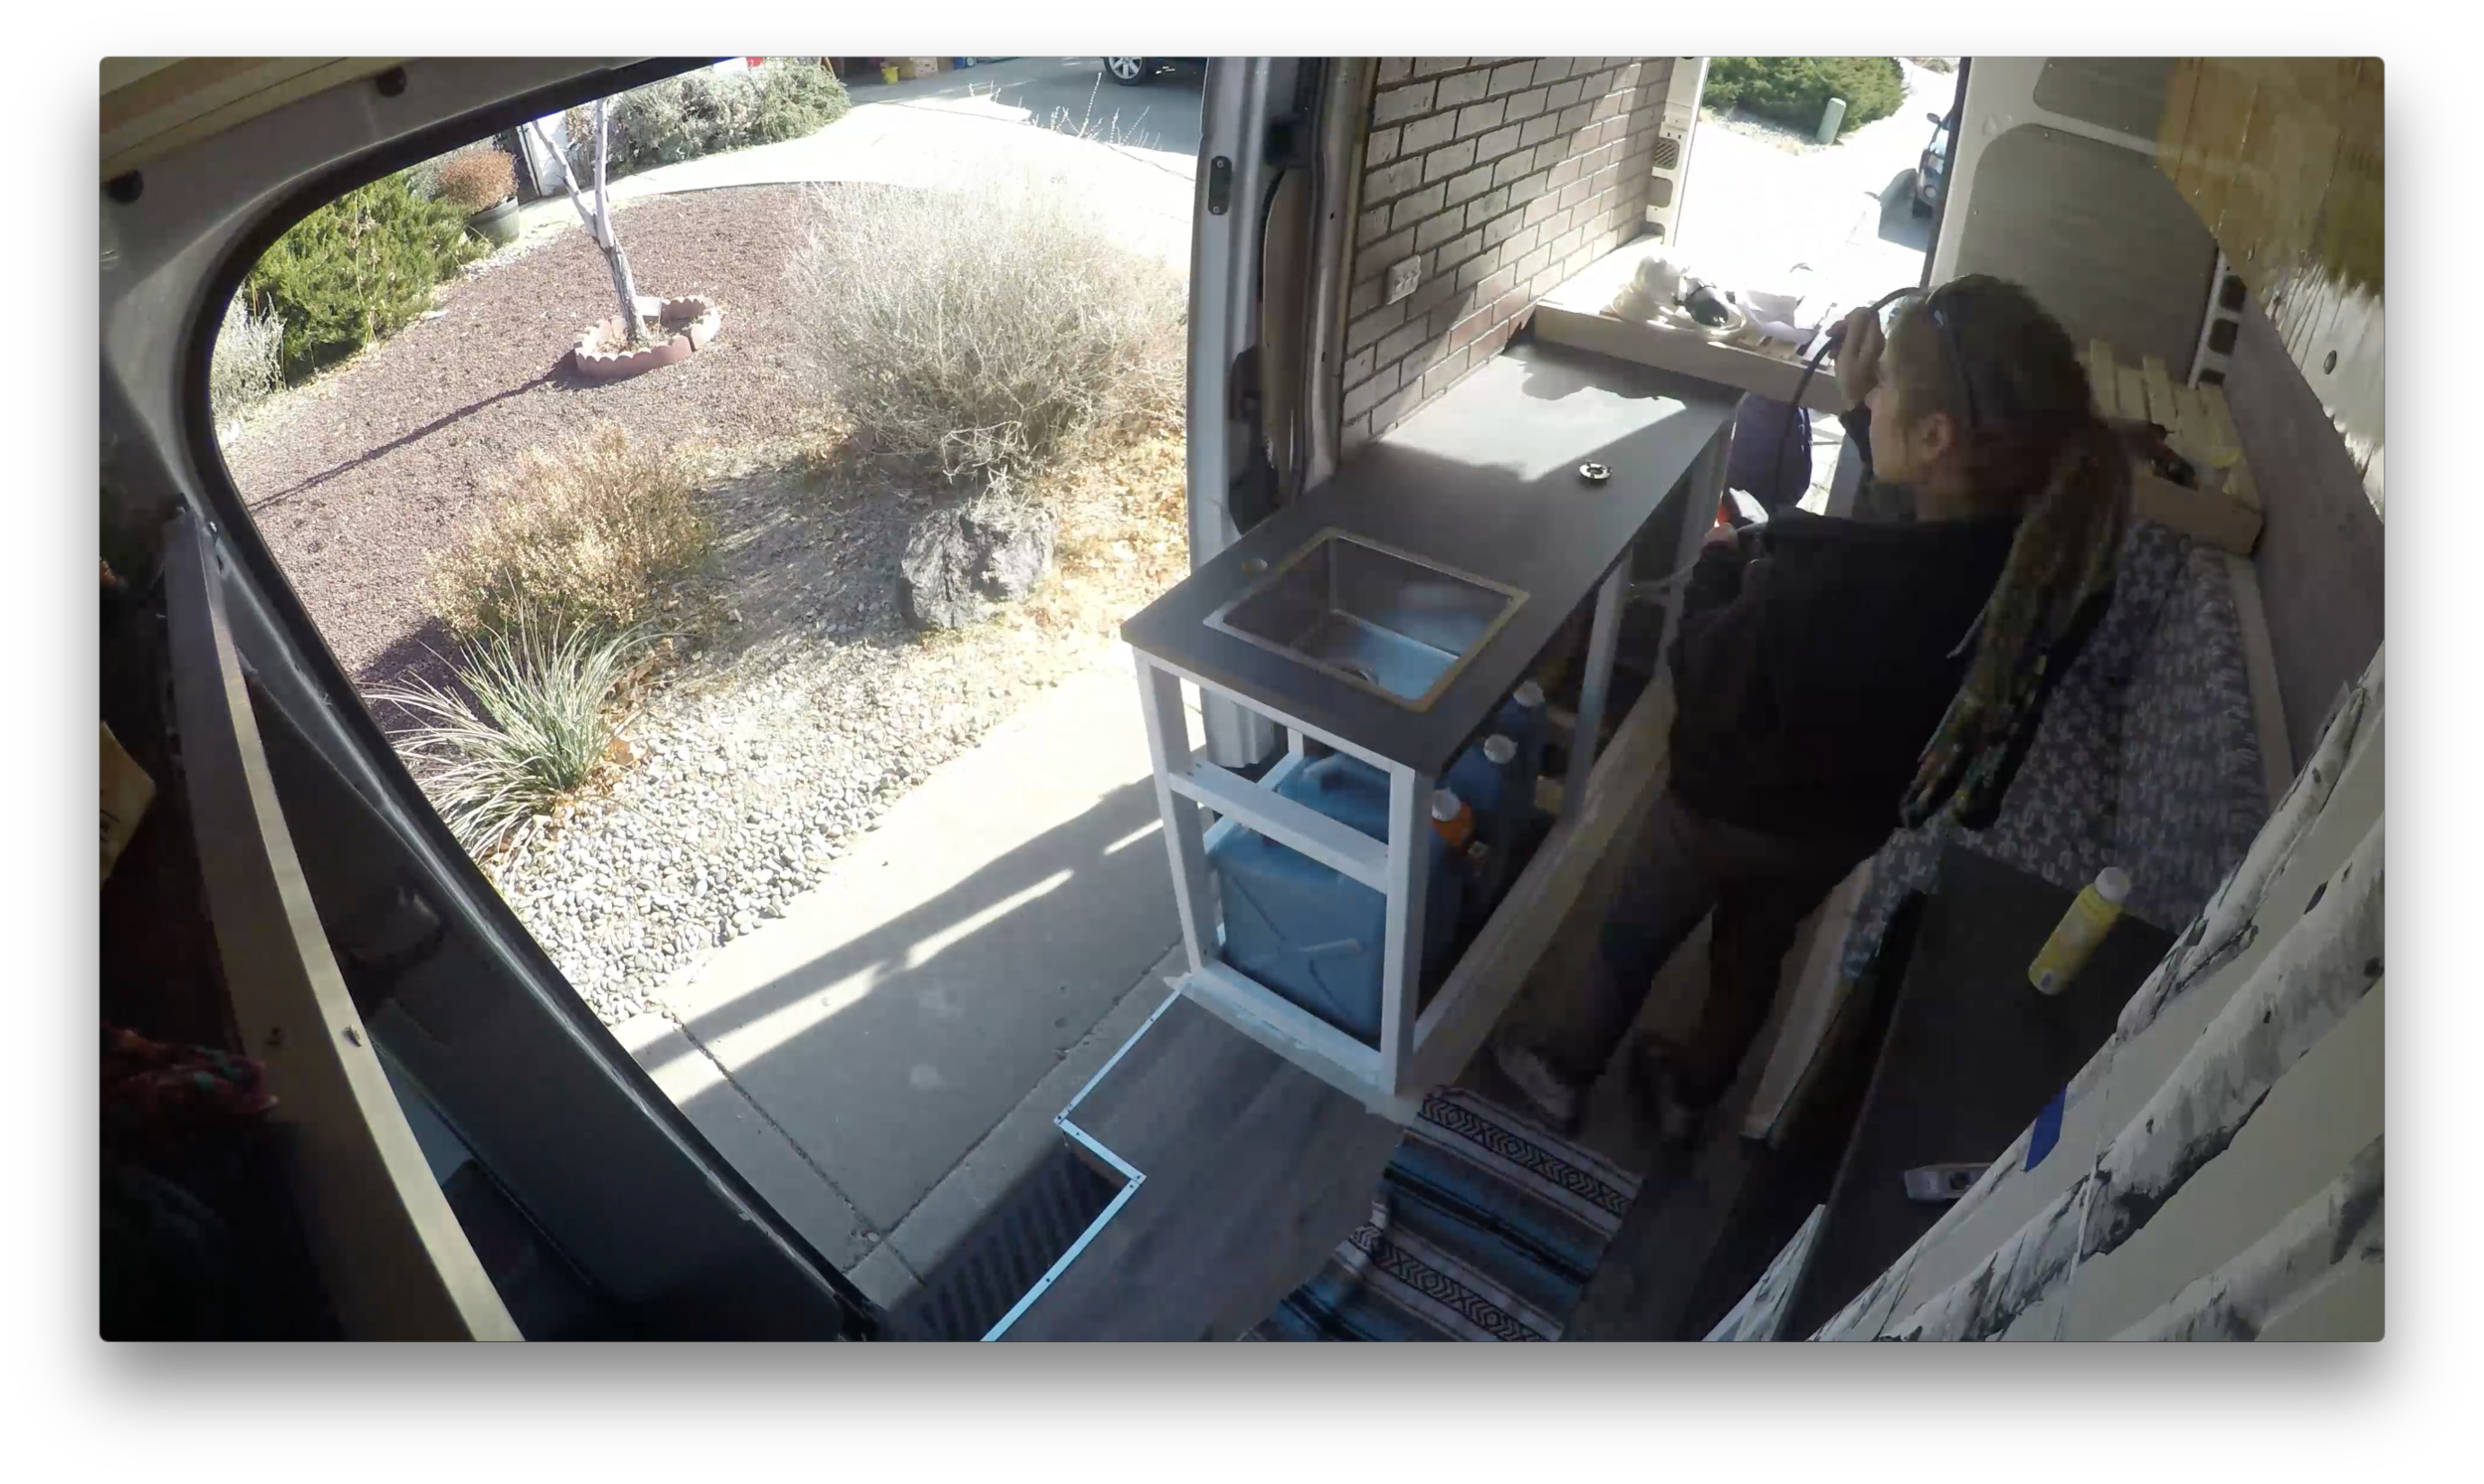
Once we finally got the countertop, the job really went by quick. We actually needed it, physically, to measure correctly making sure the bed functioned and slid out on top of it, as it would rest on it. Once we had it all measured out and the sink where we think we wanted it, we used the stencil provided with our Dawn sink to cut out the sink basin with a jig saw.  We used a hole saw to cut out our faucet hole.  Installing the sink, faucet, and plumbing was much easier than anticipated.  I think once you get in a flow in the van build and knock out a few tasks that you never thought you were capable of, everything else seems so much easier or less intimidating.  We attached the countertop on with liquid nail and some long wood screws that we countersunk from the bottom.  We caulked around the edges where the countertop met the wall. 

Next step was hooking up the plumbing.  We went with a Shurflo Pump with the Silencer Kit, as well as, a Shurflo Accumulator and a Shurflo water strainer.  I had read and seen videos on YouTube of other van lifers complaining about how loud their pumps were.  I watched one video where someone had just used wire to attach the pump to the wood because they claimed the metal screws cause it to vibrate more that it should.  So, I decided to go with this tactic, because why try something that has proven to be loud, why not try an alternative. If it didn’t work, I could still revert to the screw method. I used some of my old 14 gauge electrical from my electrical install and used it to almost suspend the pump off a stud in the sink frame.  The video below will give you a better visual idea at how I did this.  I’m not sure if it’s the wire tie up, the Shurflo Accumulator, or the Silencer Kit, but the sink pump isn’t very loud, at least not enough for me to complain to the internet about it.  

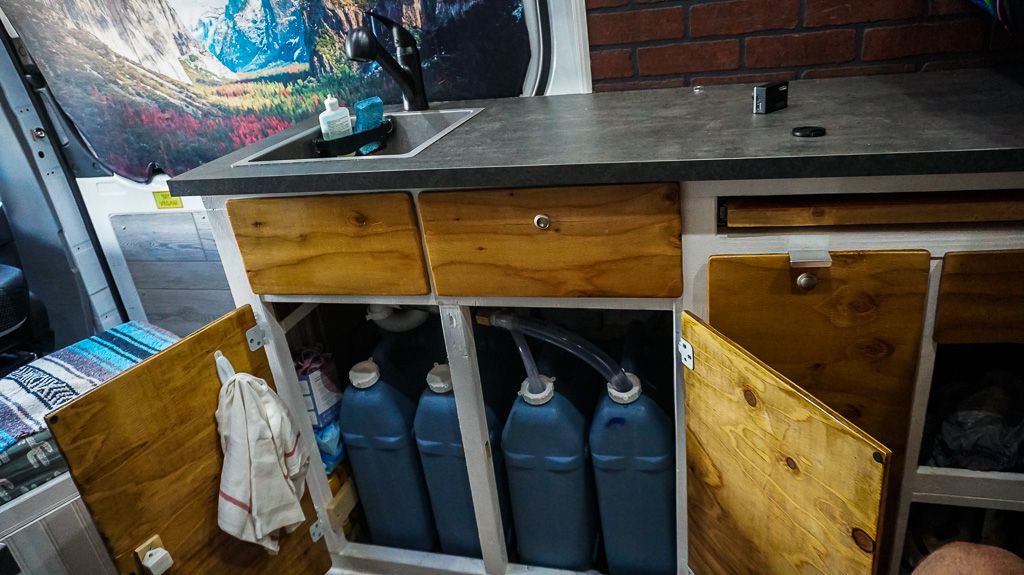
For freshwater and grey water tanks, I just went with the industry standard Reliance six Gallon Jug.  I have three for these for fresh water so 18 Gallons of Fresh and 6 gallons for grey water.  This is a very easy and cost effective system.  I highly recommend installing the quick release to the grey water drain. That way you can release it easier when dumping it.  We used 1.25 inch tubing for the grey water drain and 0.5 inch tubing for the water intake.  

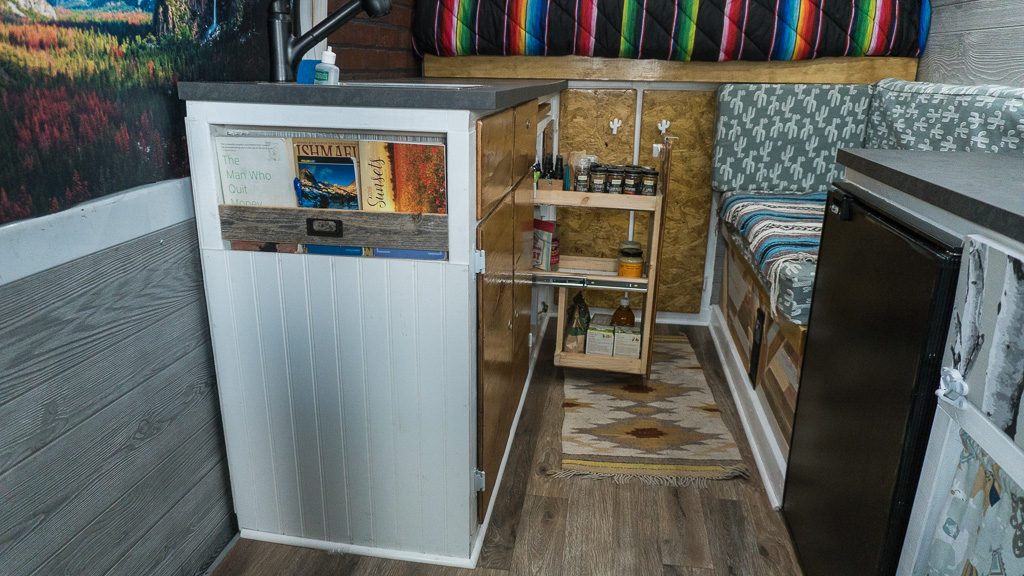
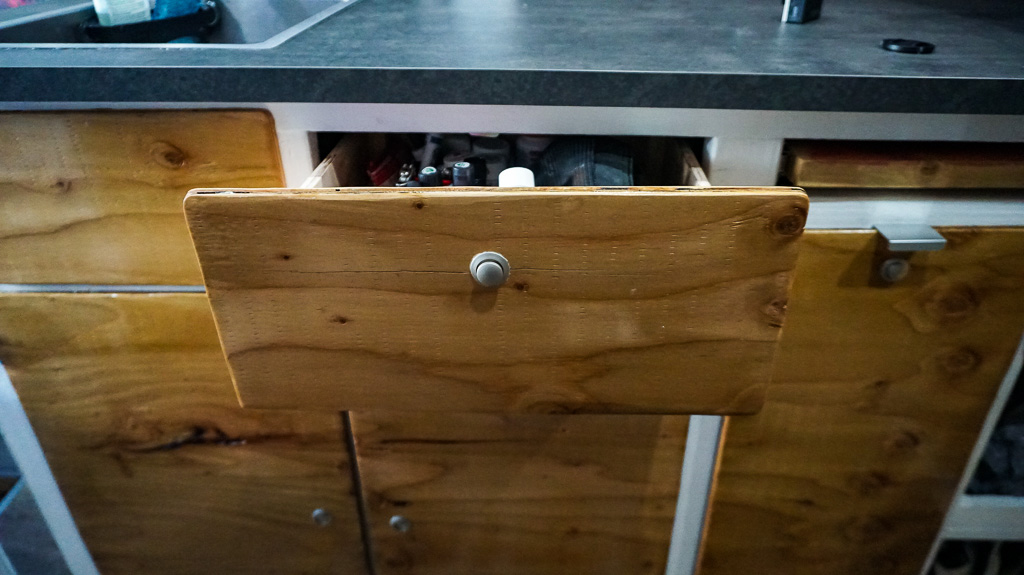
With the easy parts out of the way, it was time for the tedious work of building out the cabinets.  We went with two large doors to access, refill, and dump the water tanks easily.  We have a small drawer to the right of the sink that sits in front of the pump mounted in the back. To the right of that drawer, we have a large three tiered food storage drawer on 18 inch fully extending drawers rails in the middle.  To the right of that, we left two cubbies open, one for our propane tank and one for a catch all, so far anyways.  We also added a small fully extending 18” drawer, above the cubbies, for all our charging accessories.  Above all that is one of the most functional parts of the kitchen counter is the 24” pull out butcher block that acts as extra counter space, while cooking, and as a table for the couch.  Dani painted a nice simple wood stain on the pull out table with a variety of stains and it really turned out nice.  

Other than countertops, one of the other tough choices was what on earth do we use for door fronts?  Well lucky for us we got heaps of scrap wood from Lowe’s.  I know we’ve mentioned this before, but every time we go to Lowe’s, the first thing we do is inquire about the scrap wood and the “damaged” wood to see what we can work with before we make a purchase. One day, we were able to have basically a 4x8 sheet of plywood that was barely damaged for free.  At the time, we didn’t need it, but we took it home.  After it sat in the garage, we figured to hell with buying other wood and spending more money just to make door fronts.  I figured we could just sand it down really nice and finish it with a nice polyurethane and stain.  We went with the Honey Pine and it really looks amazing.  It’s surprising how many people ask us what our doors are and I tell them it was scrap plywood that we finished and they are usually amazed.  I know construction plywood isn’t usually used in finishing furniture but we really liked the outcome and it goes nicely with our look.  Check out how we finished the wood for the door and drawer fronts below.  

Once the doors are installed, the most annoying part of this whole process begins. Installing those pesky little push button latches to keep everything closed…I don’t know why, but it took me quite a bit of time to do this process.  I broke down a basic way to do it below.  

After everything was framed up, door and drawer fronts were added, and the buttons were installed, we used beaded white board to cover up the guts of the plumbing area.  Dani added a nice little book shelf on the edge of the kitchen counter, as well for extra storage. So, no space is left unused.  

We are pretty impressed with out outcome. 

Phase 6.3: DIY Building and Installing Custom Cabinets and Drawers

Where do we even start with building cabinets…  

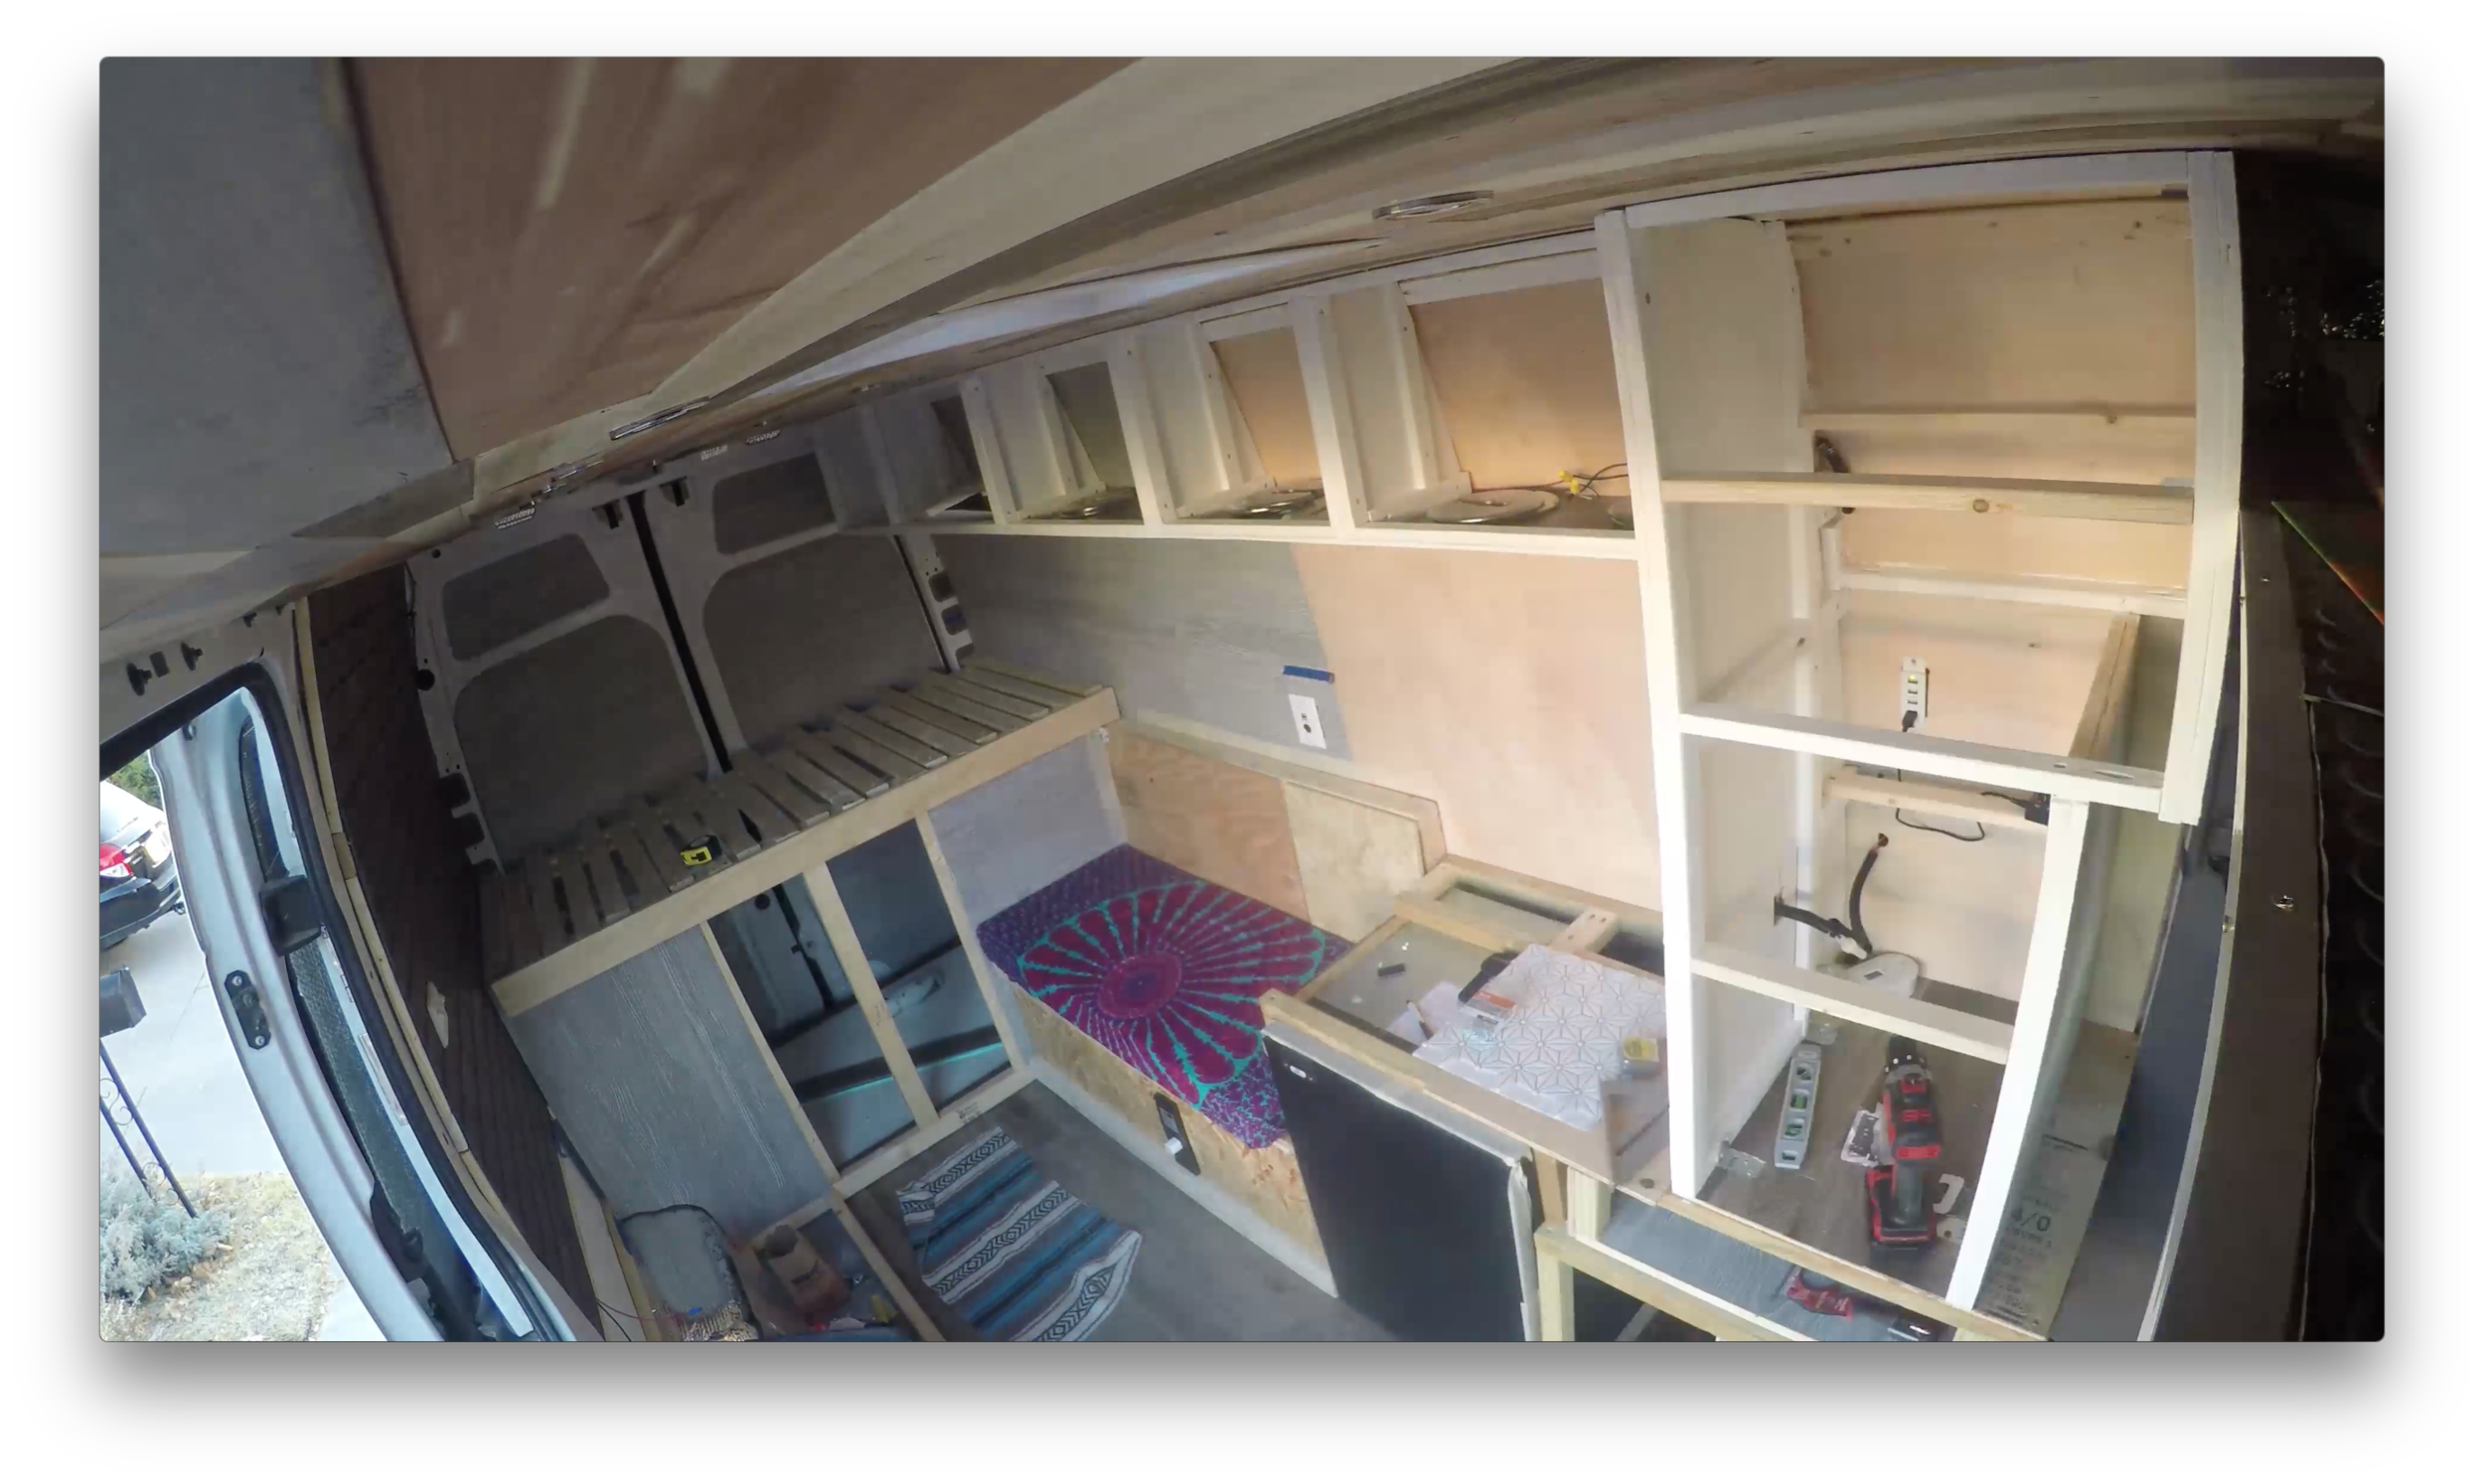
We honestly had no idea what we we're doing here so we just did the best we could and we are pretty stoked with the outcome. And we realized it is like every other task in the van, so intimidating at first, but once you see your finished product   One of the most difficult parts of the cabinets was getting the cabinets to sit along the curvature of the van walls.  We started on the tallest cabinet first we made a stencil out of cardboard and then traced and cut the plywood.  The cut wasn't right the first time so it took lots of sanding before the fit was perfect. 

From here, we then decided how big we wanted everything and framed it out with cabinet specific framing wood.  Another difficult decision was how and where all the doors drawers and open cabinets would be located. 

Here, we also had to start thinking about everything that would be in the van.  All in all, the cabinets need to be planned specific to your needs and what you are planning on lugging around for the adventure.  We wanted one tall cabinet that could hold a majority of our things and wall cabinets for clothes and some food storage as well.  

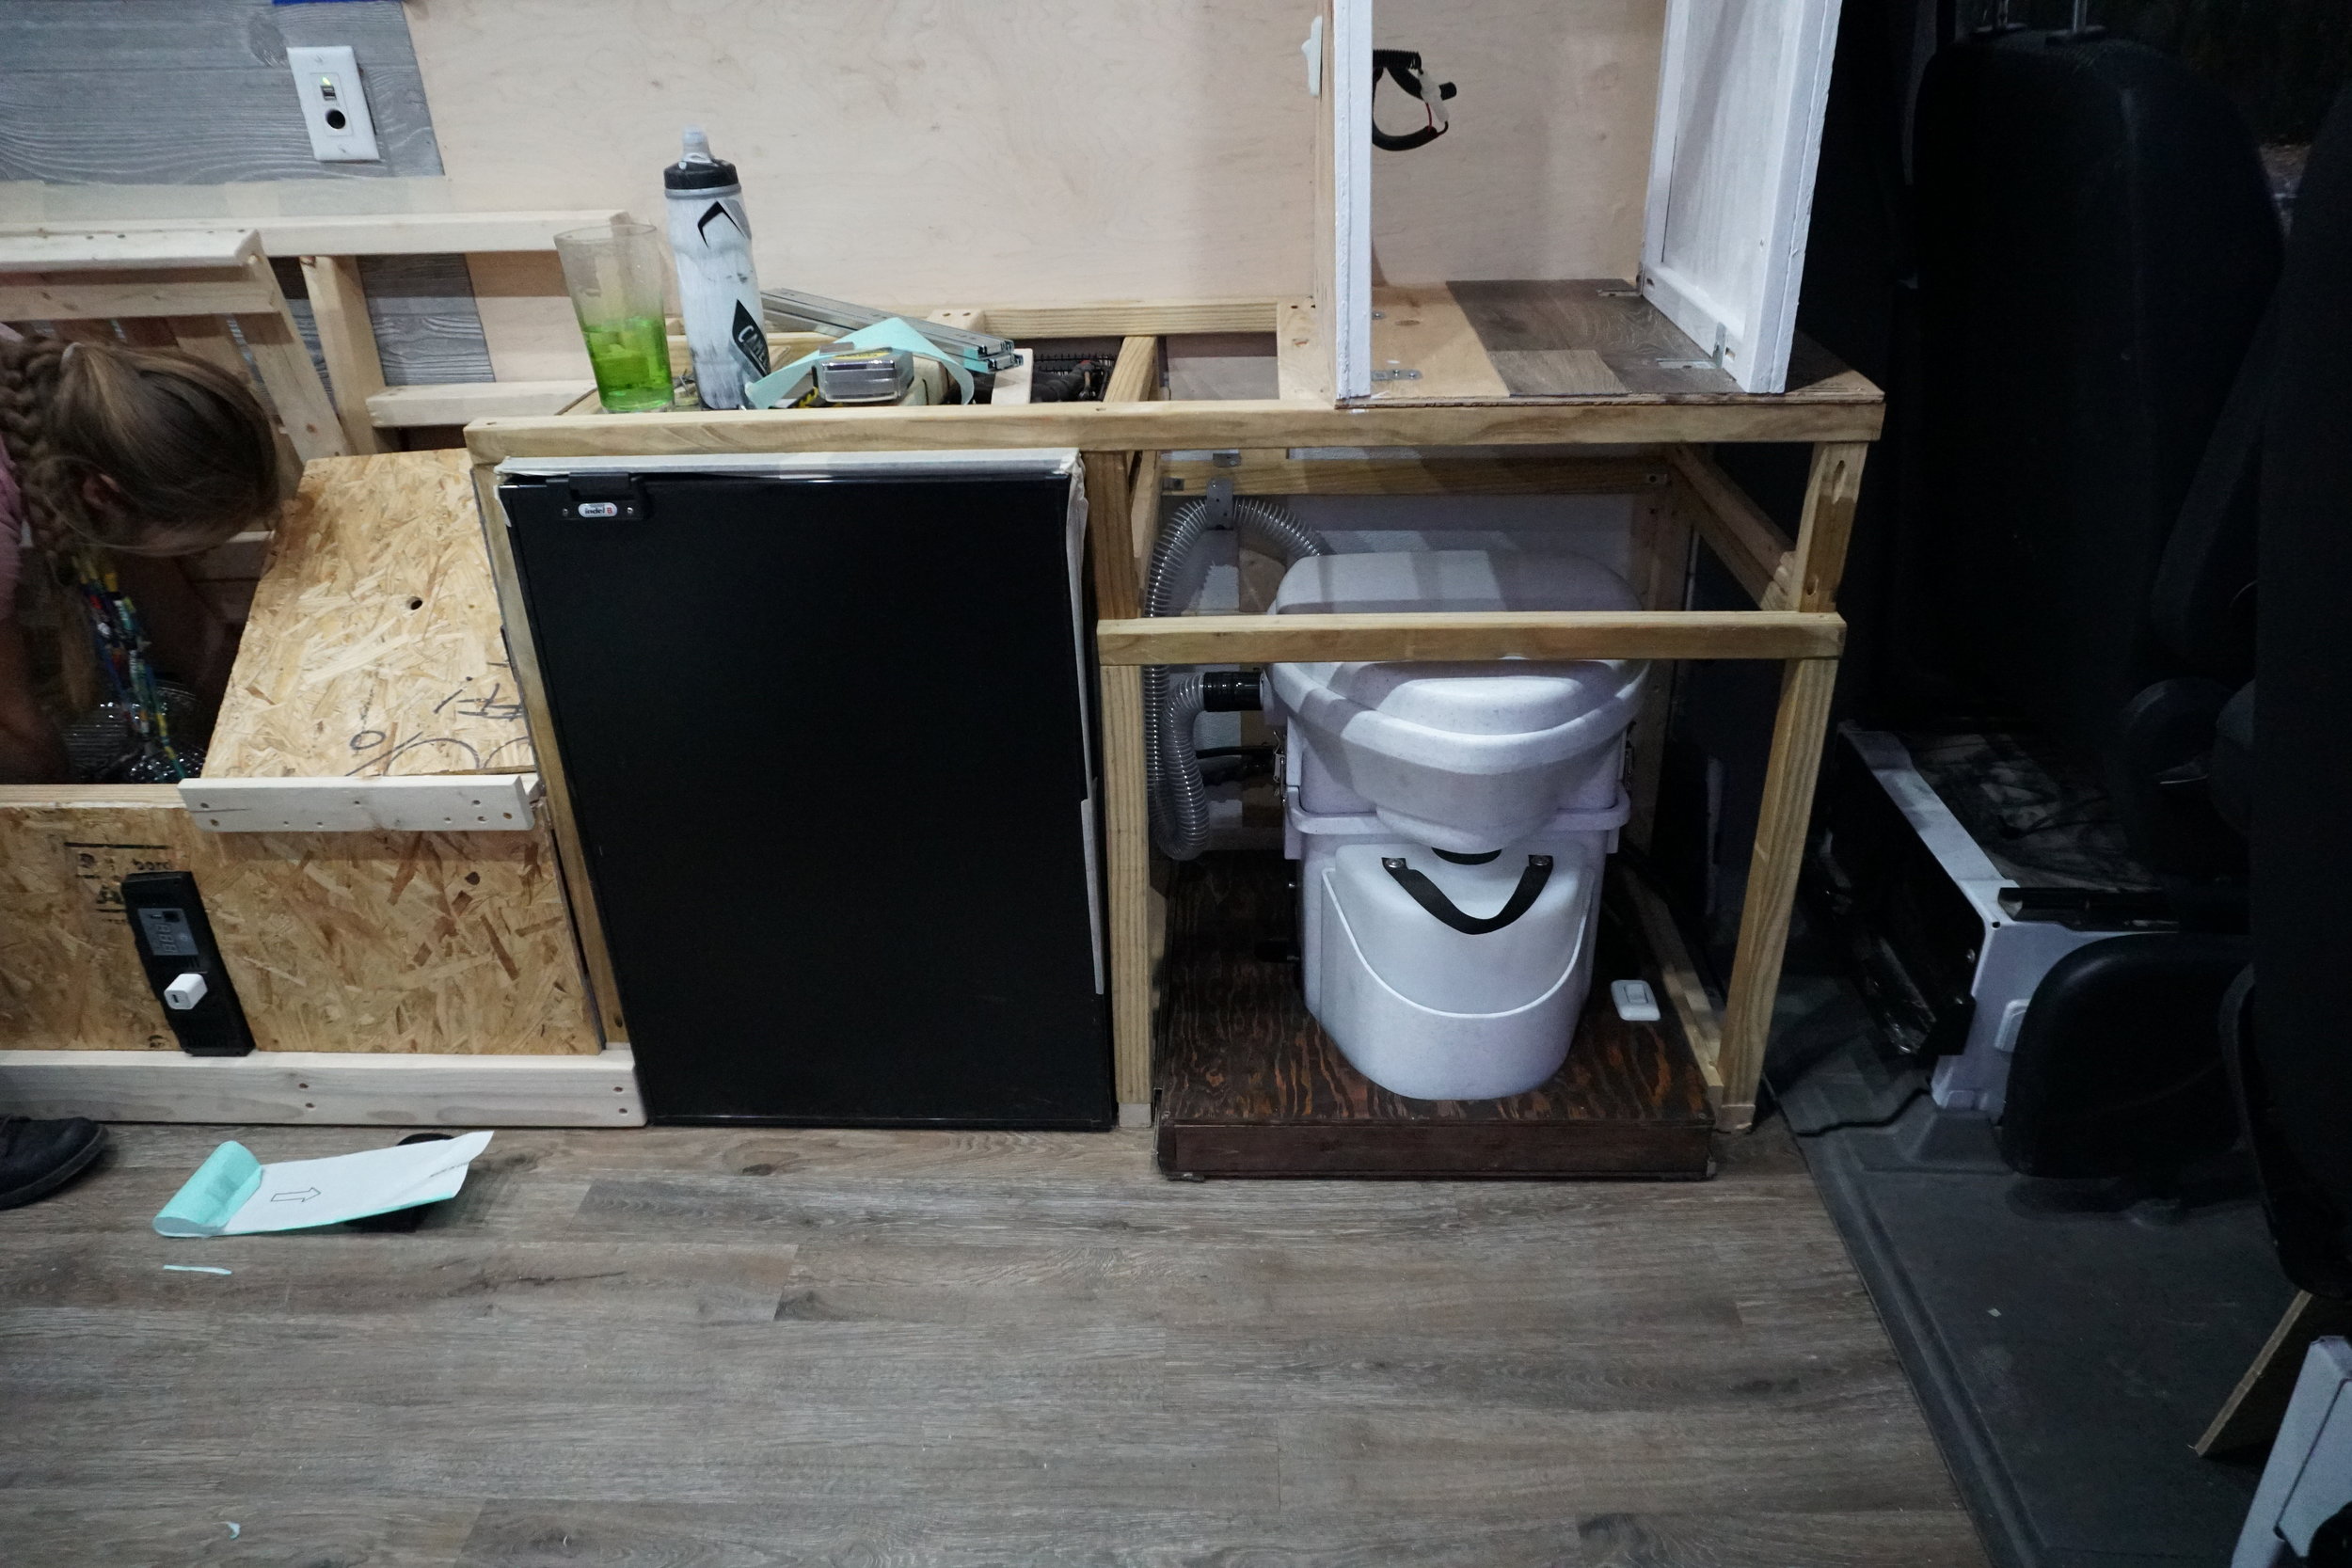
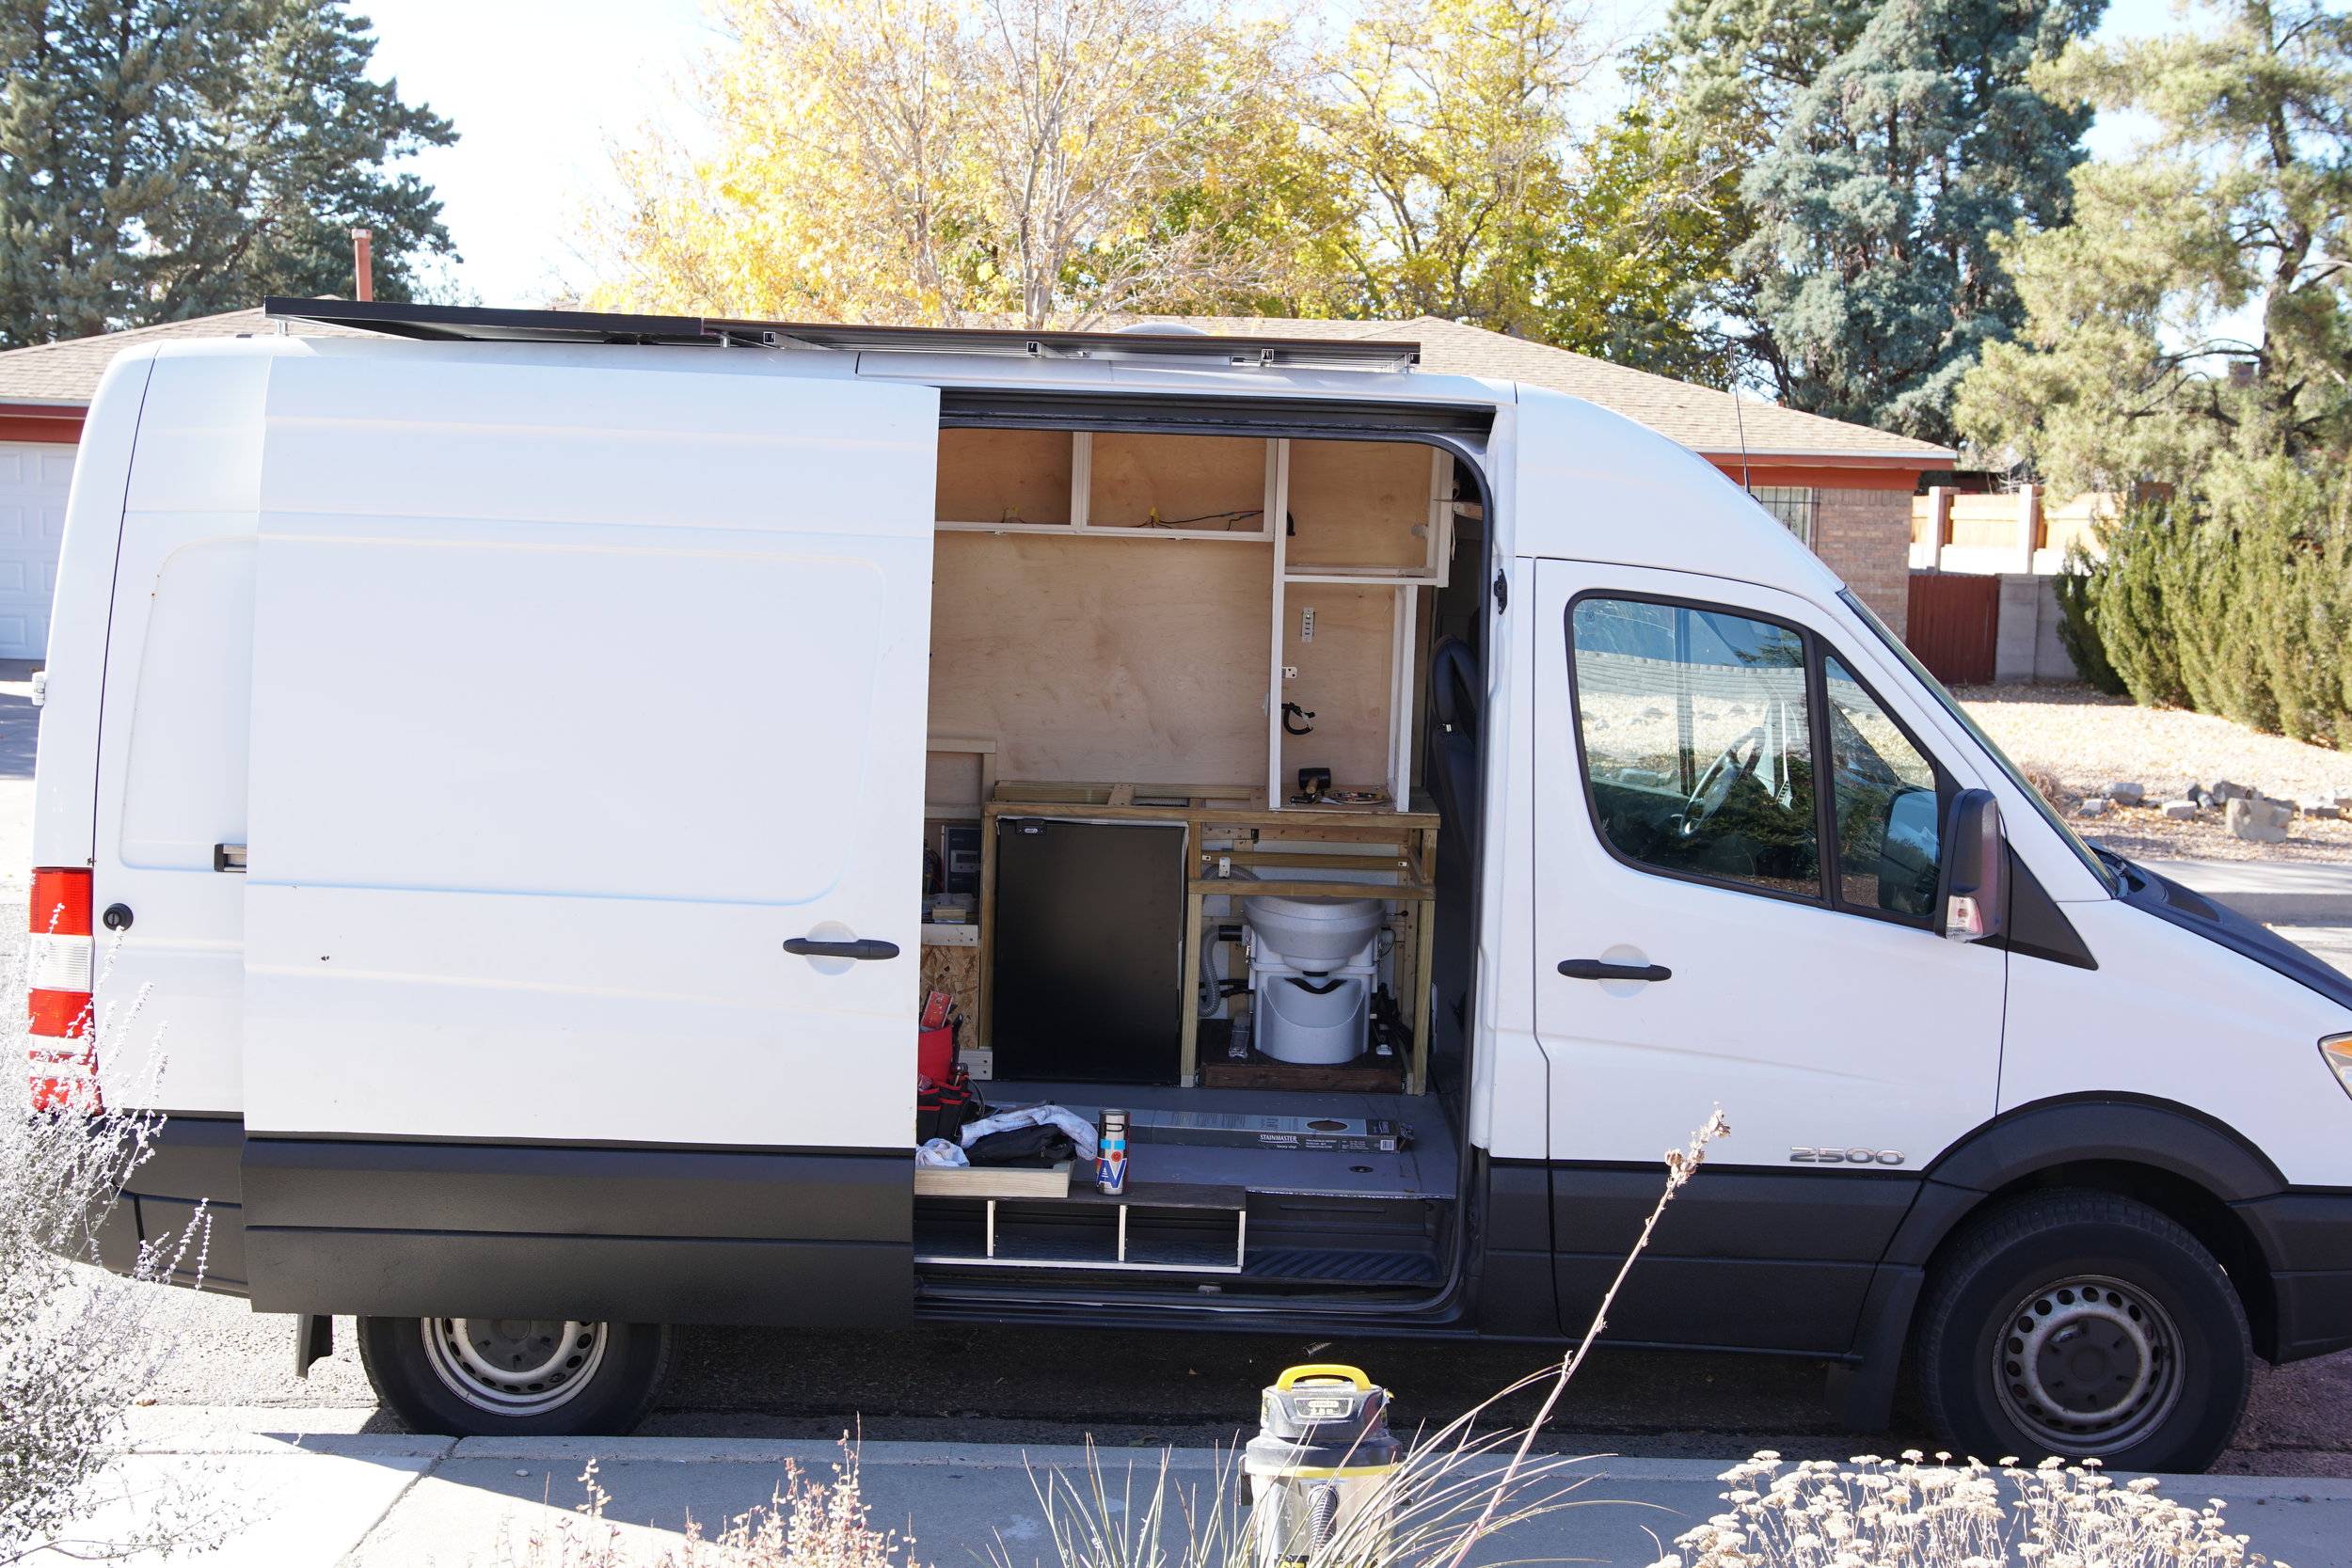
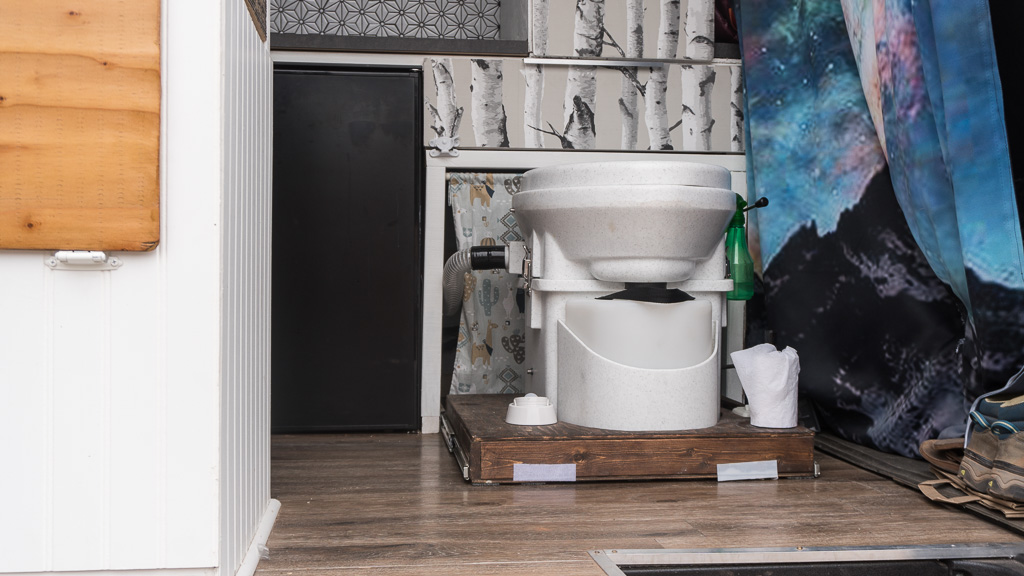
We also had to build around our pull out, Nature’s Head composting toilet, and our Truck Fridge that would sit under the counter. 

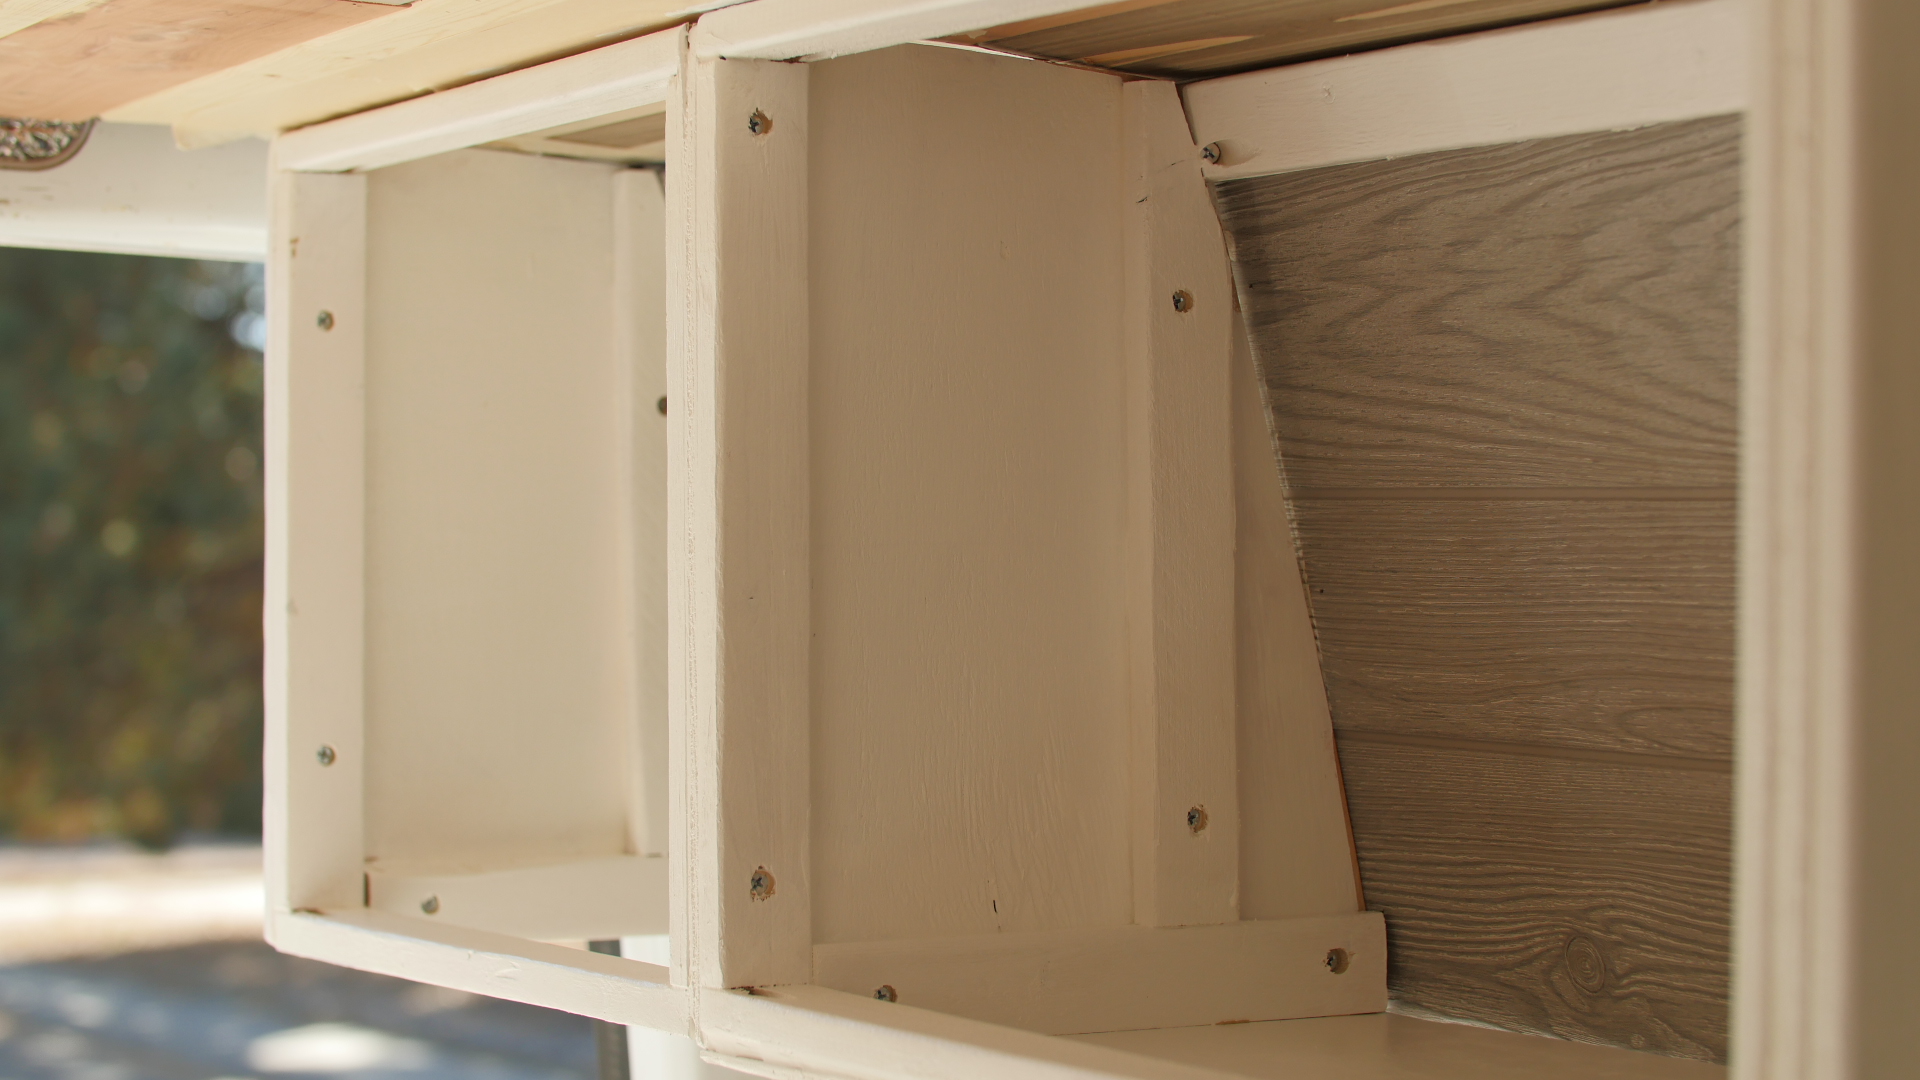
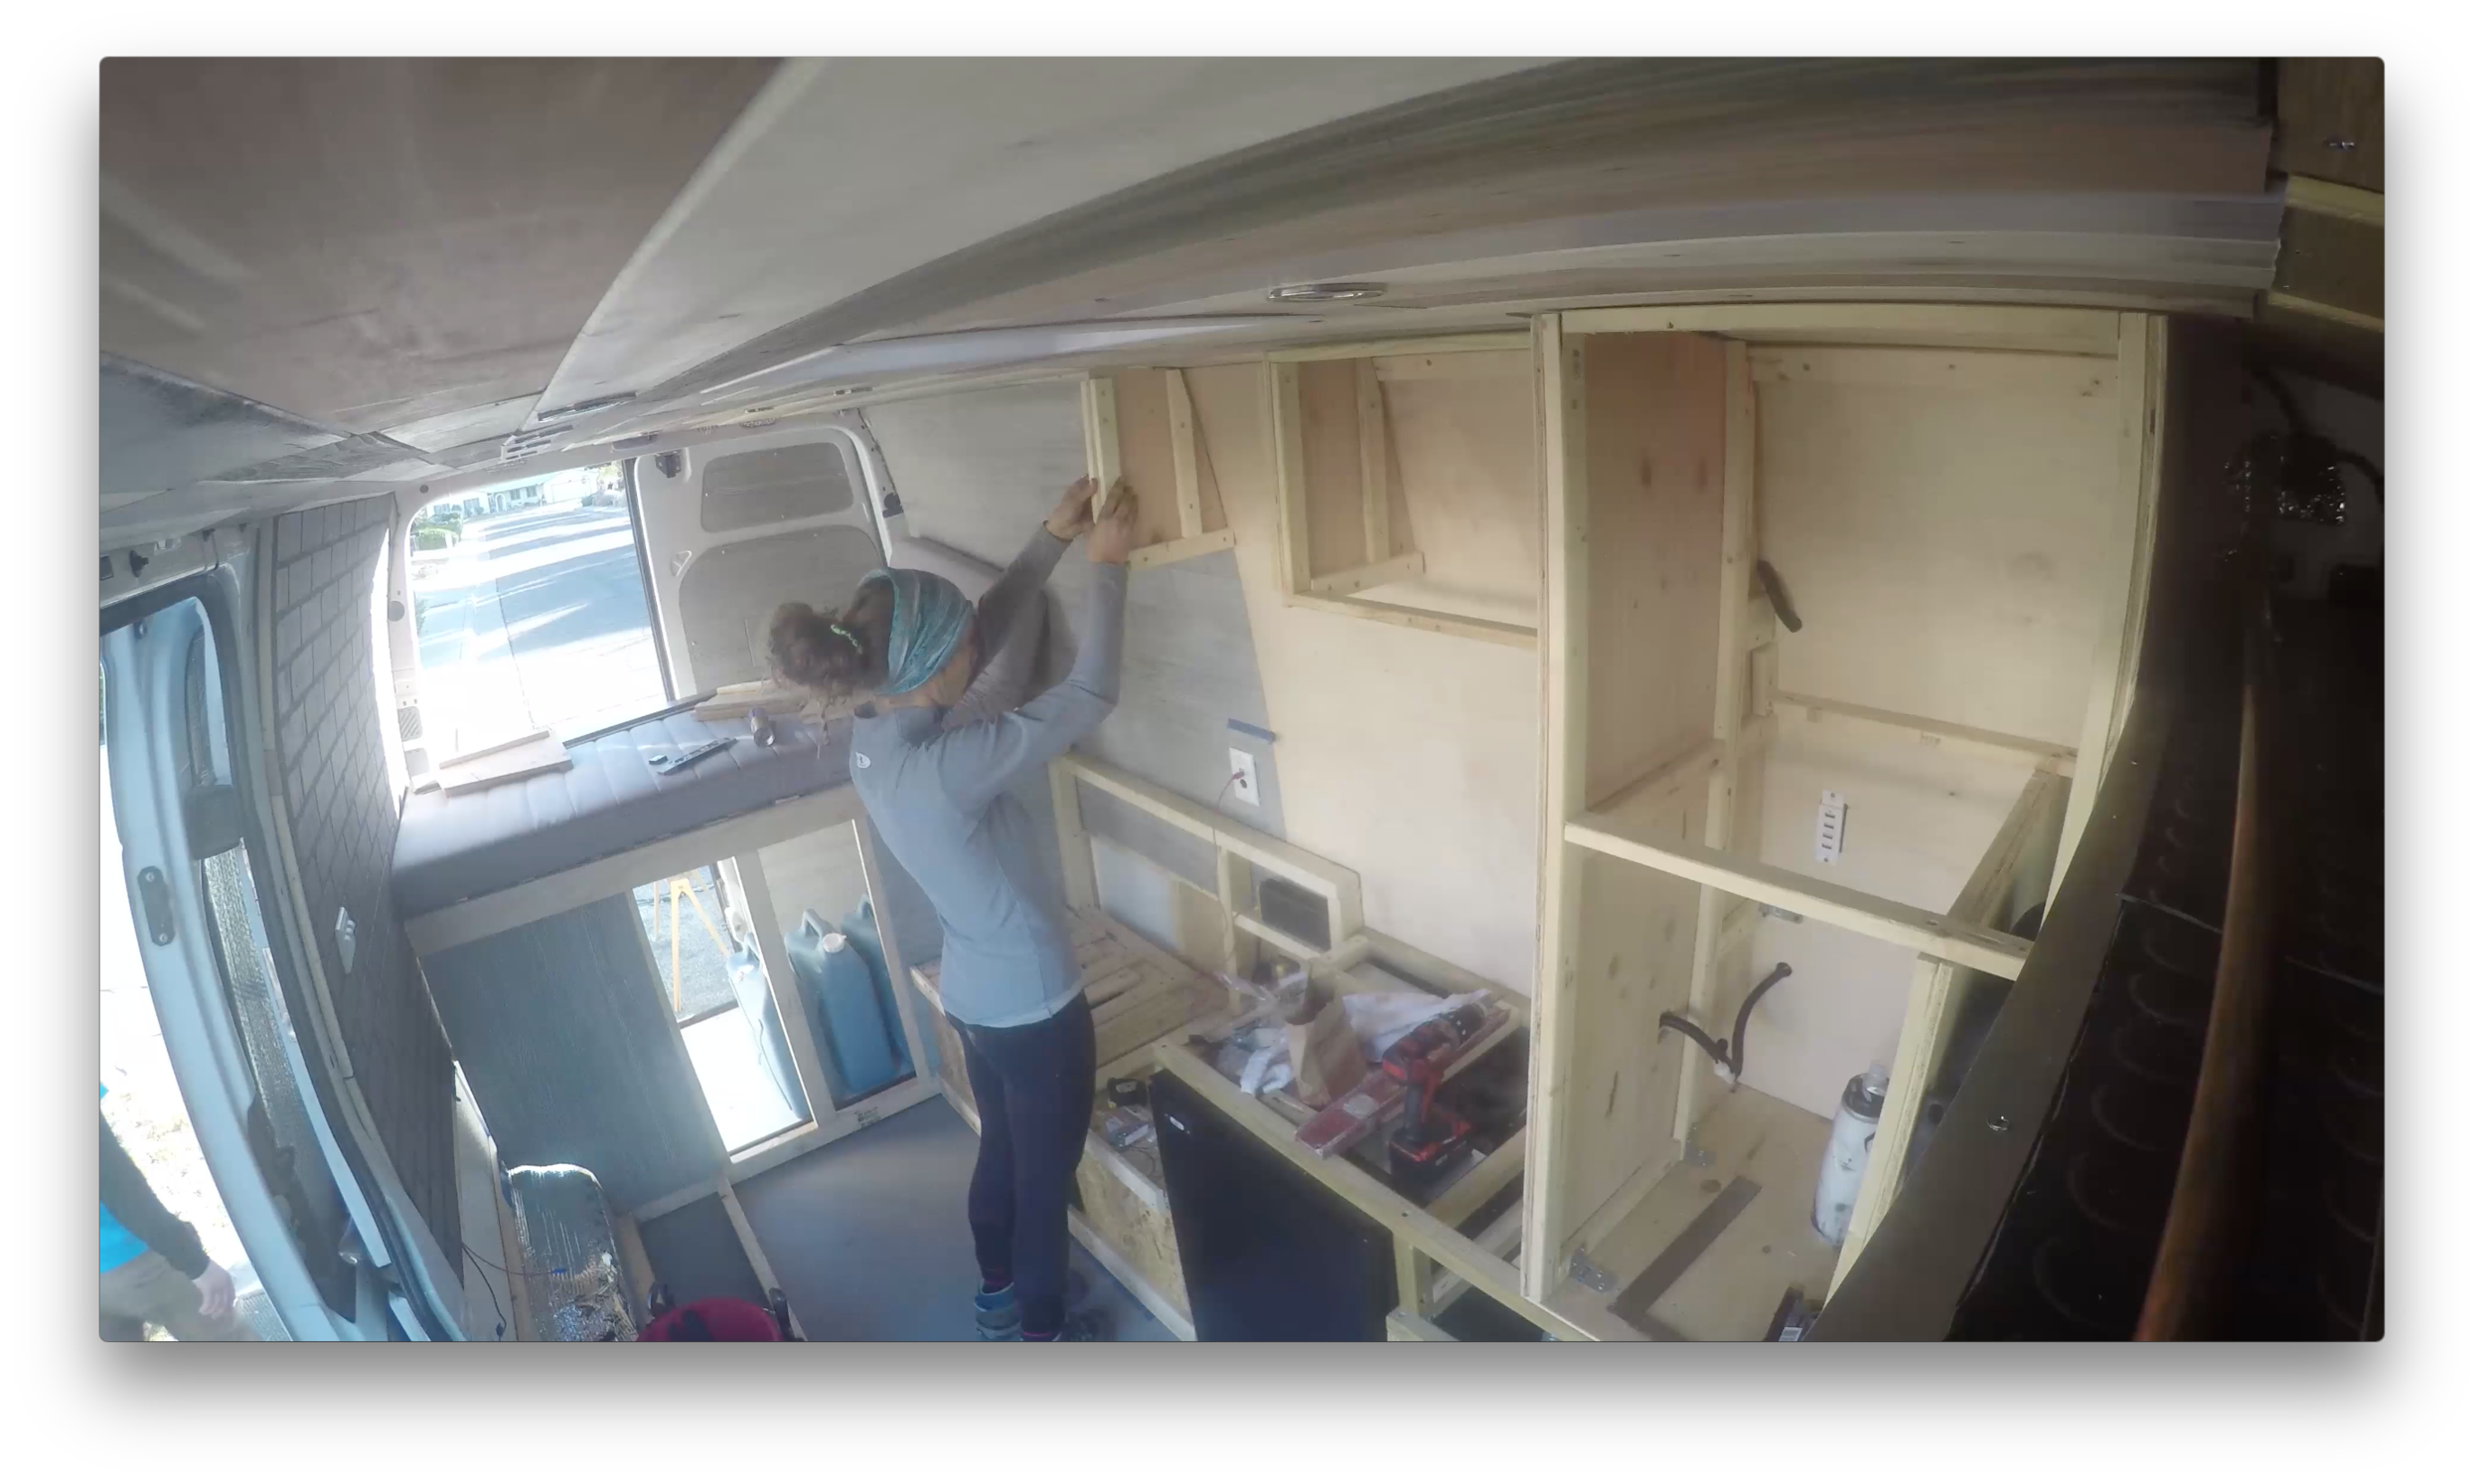
We framed the top cabinets according to out structural ribs under the walls, we framed them out originally, to attach and hold cabinets.  So basically, whatever the distance is between each rib, that would be the size of each of our cabinets.  Since we are using the ribs to anchor everything, we just made it easy on ourselves and figured we would measure the doors and cut our own, instead of purchasing some pre-fab door fronts, like we planned. Each wall cabinet is a different size, but you can’t really notice, as it goes well with our all over the place style.  

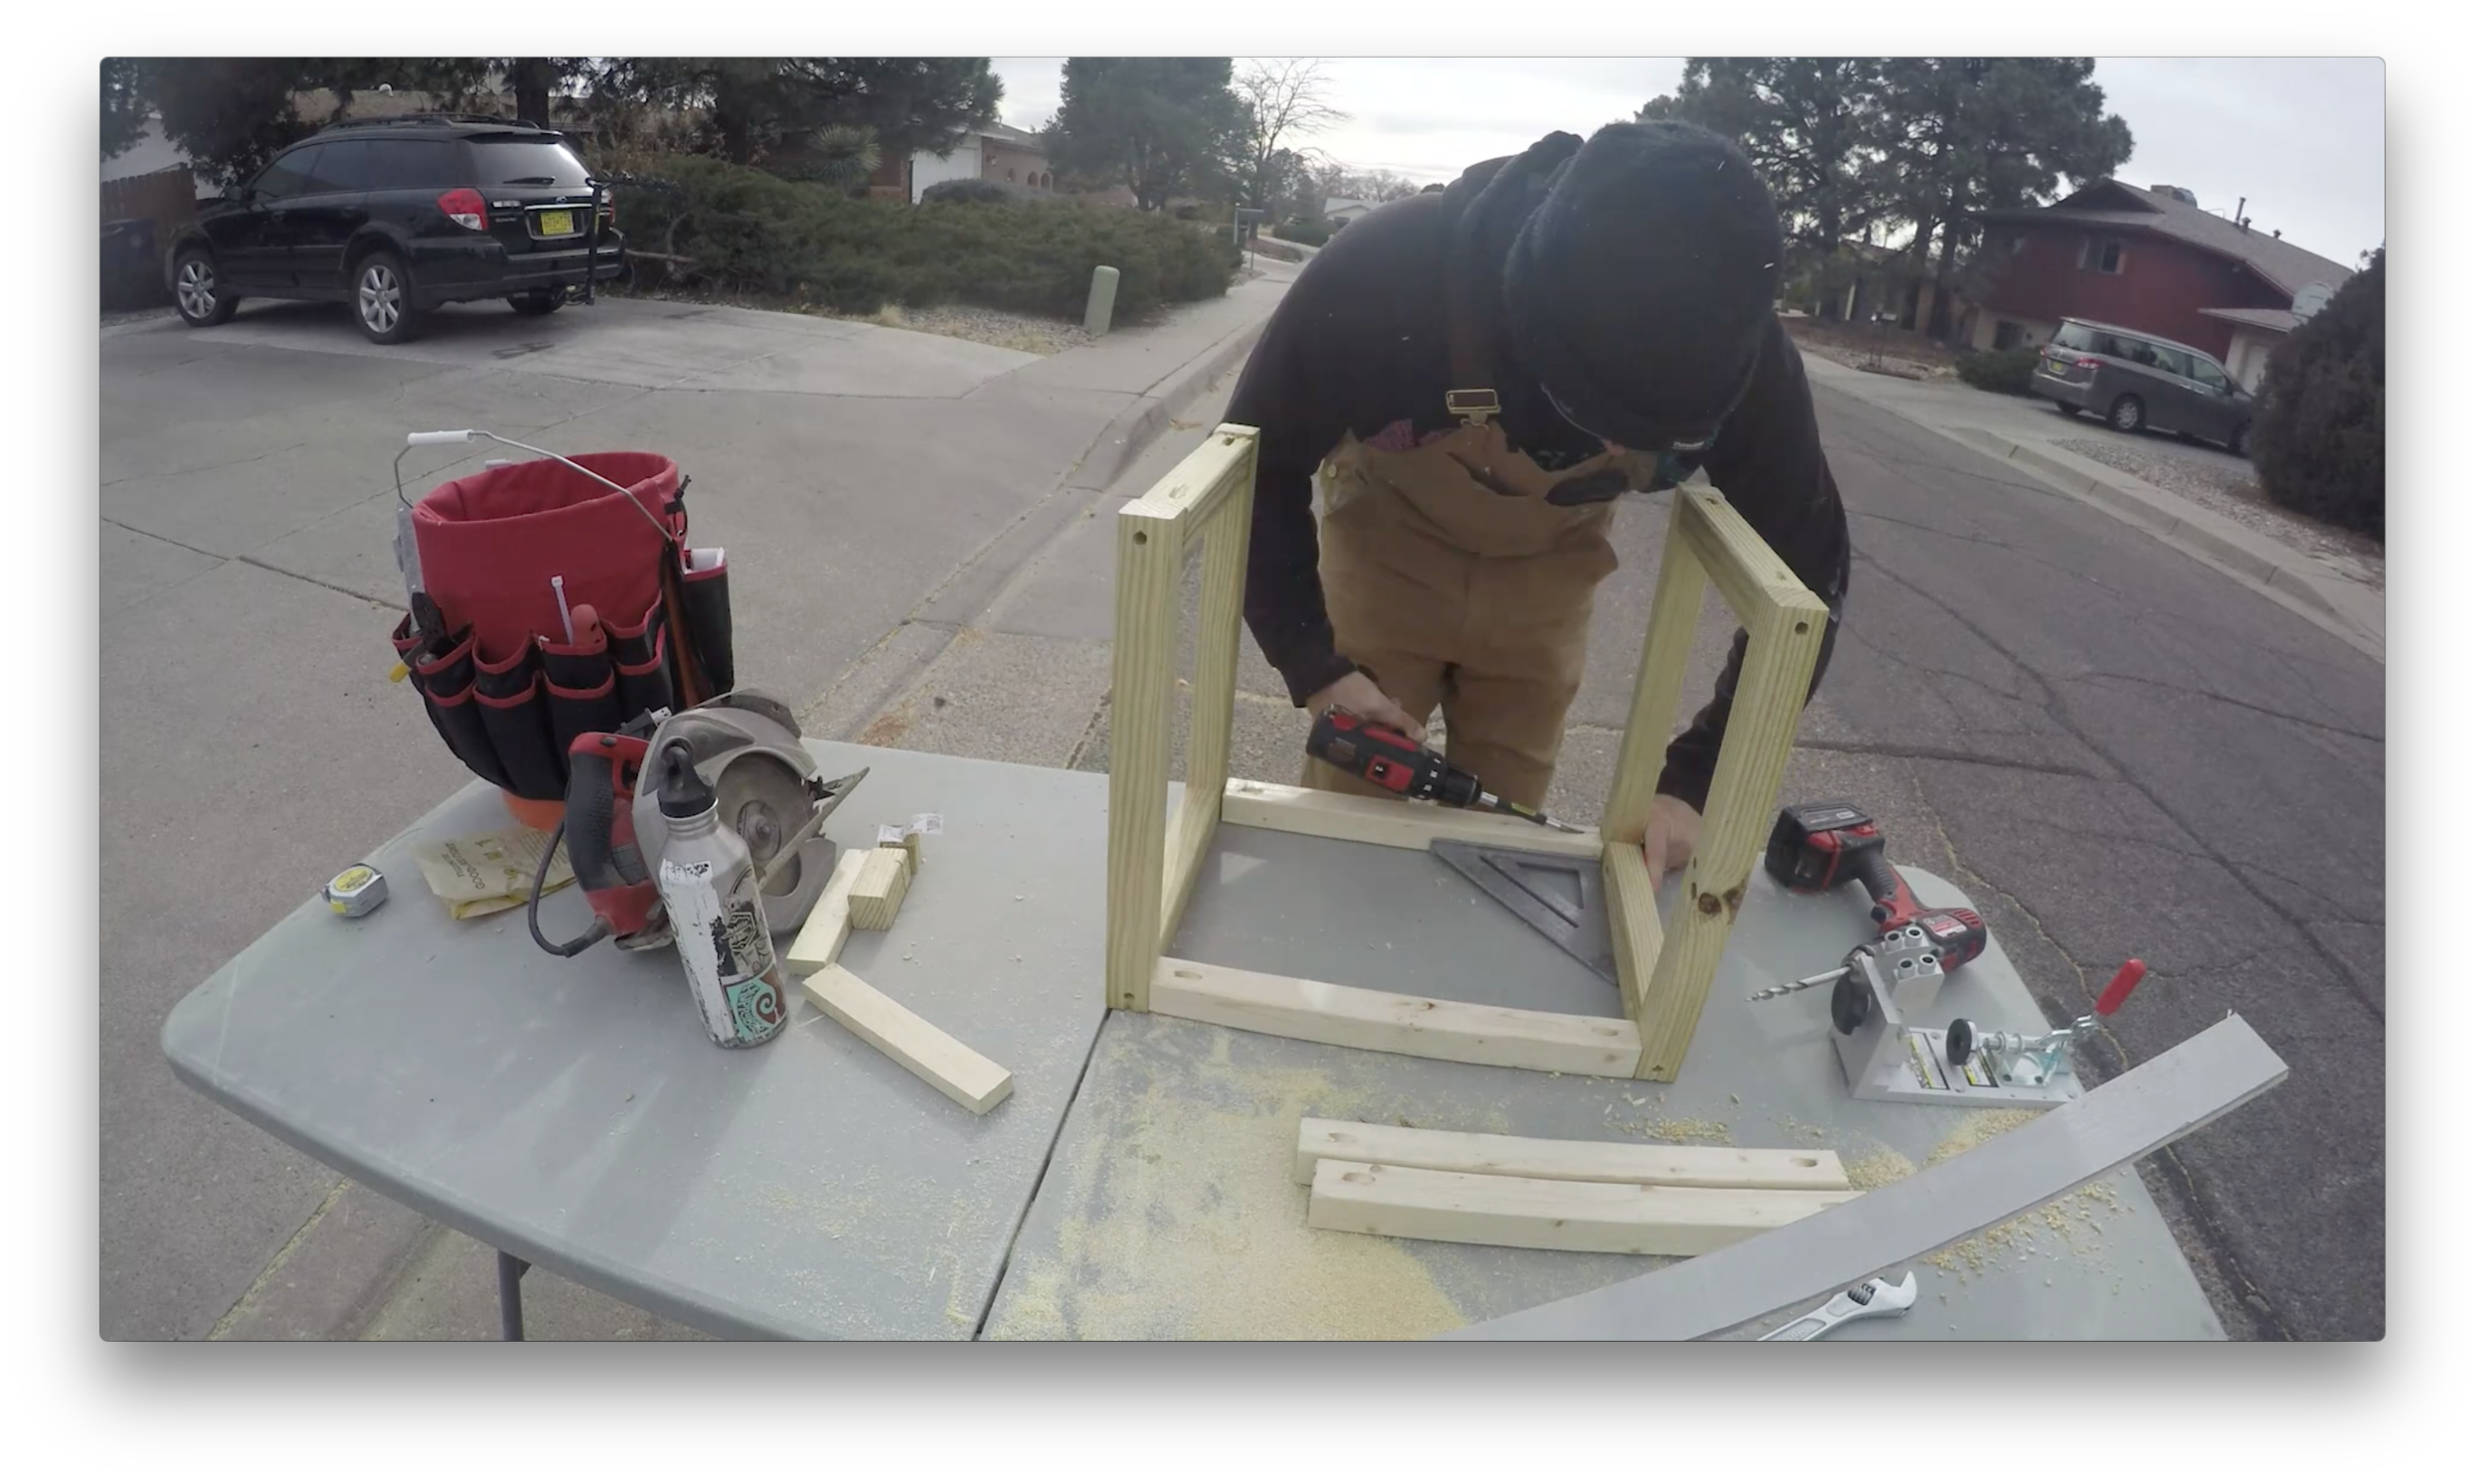
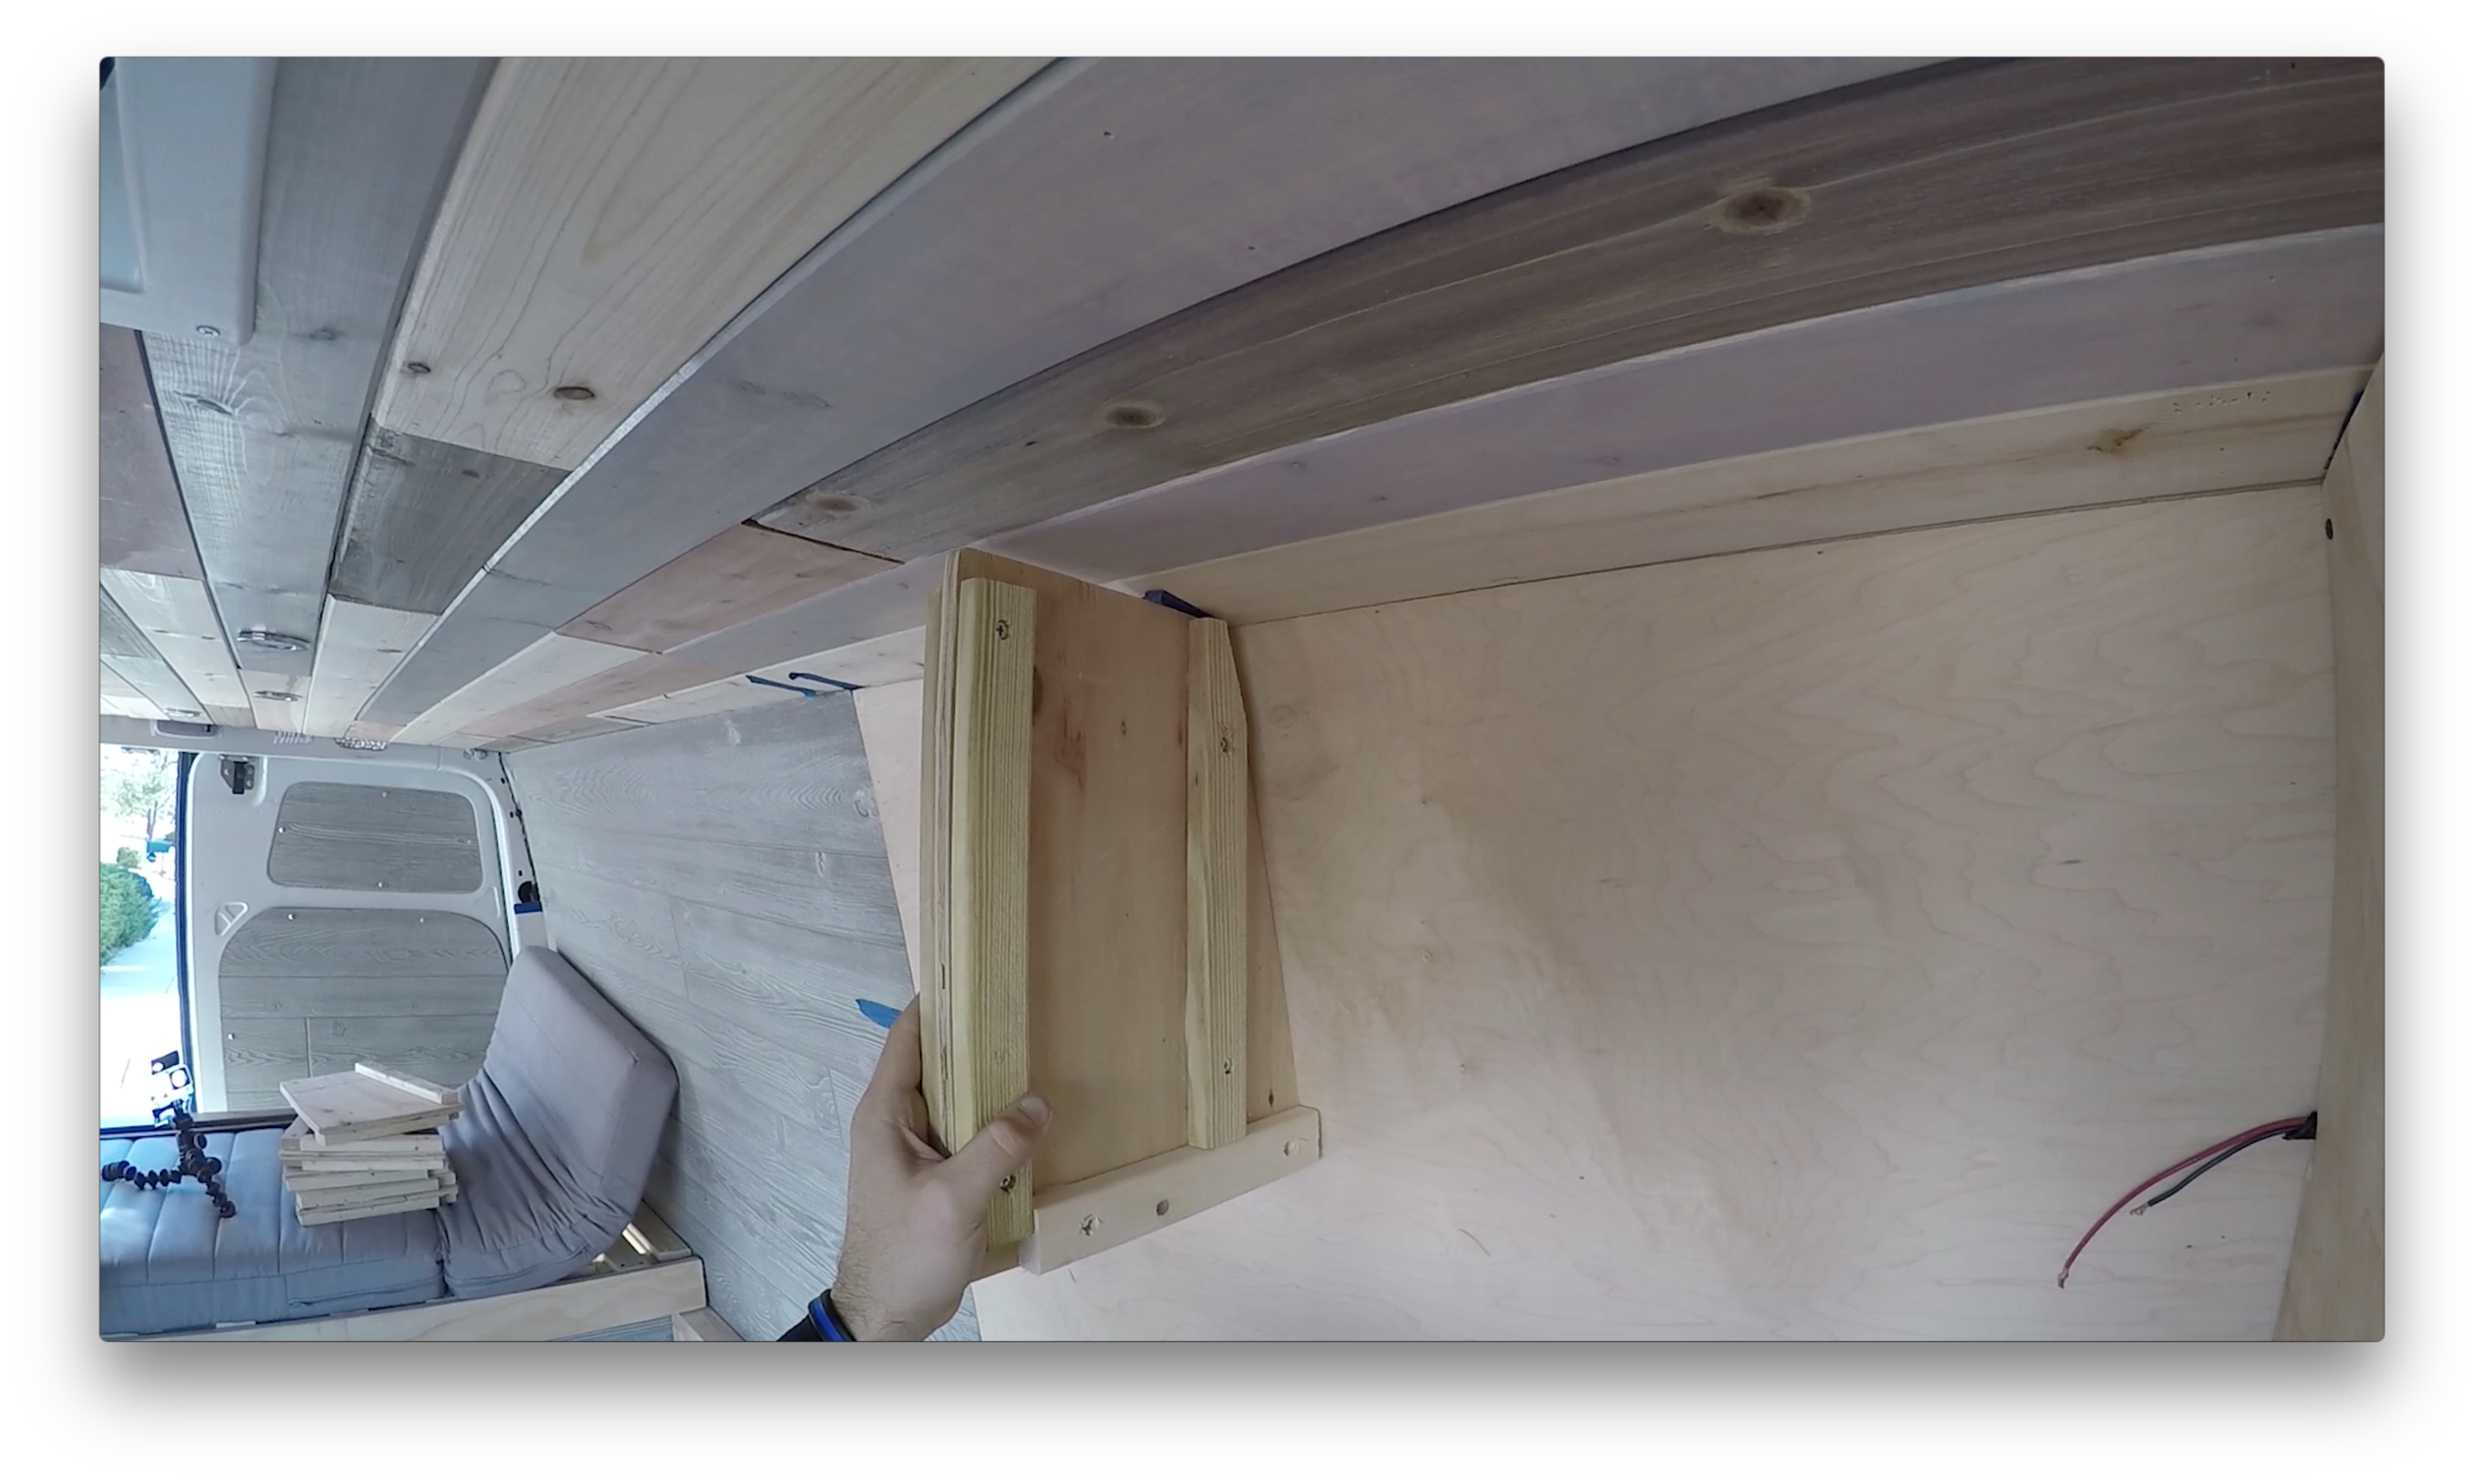
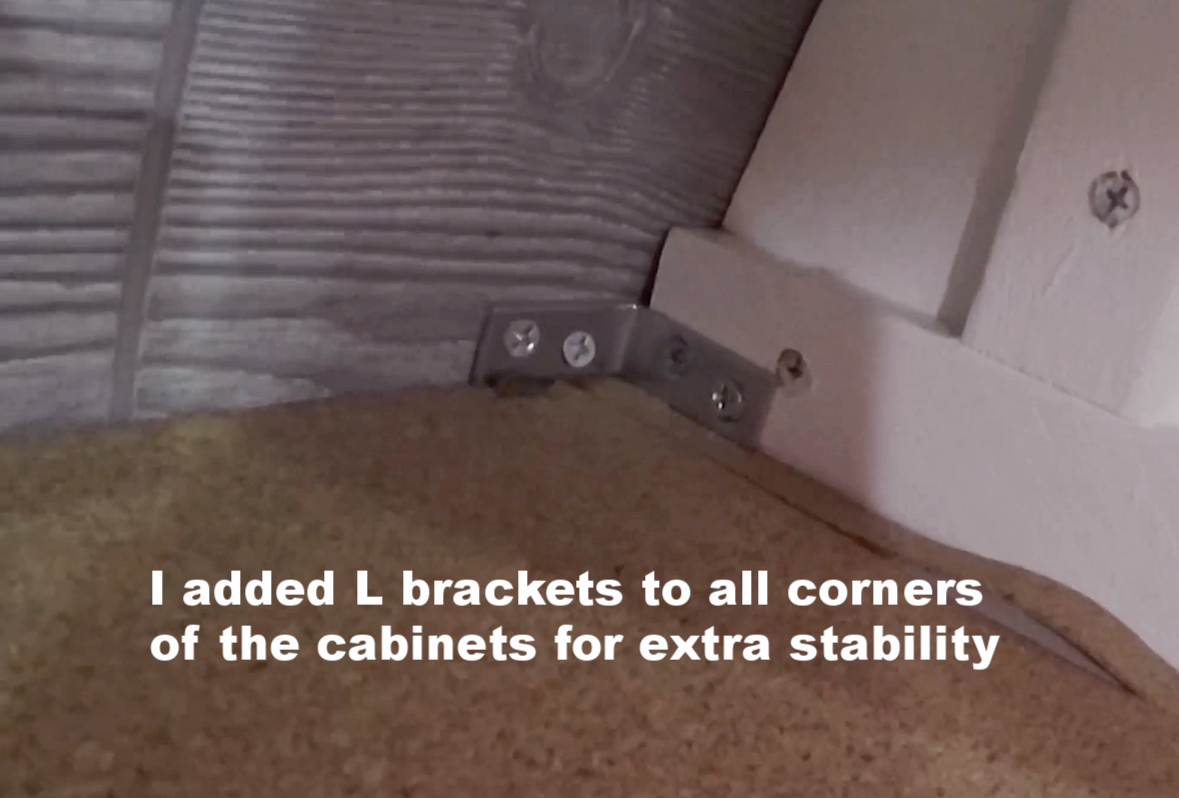
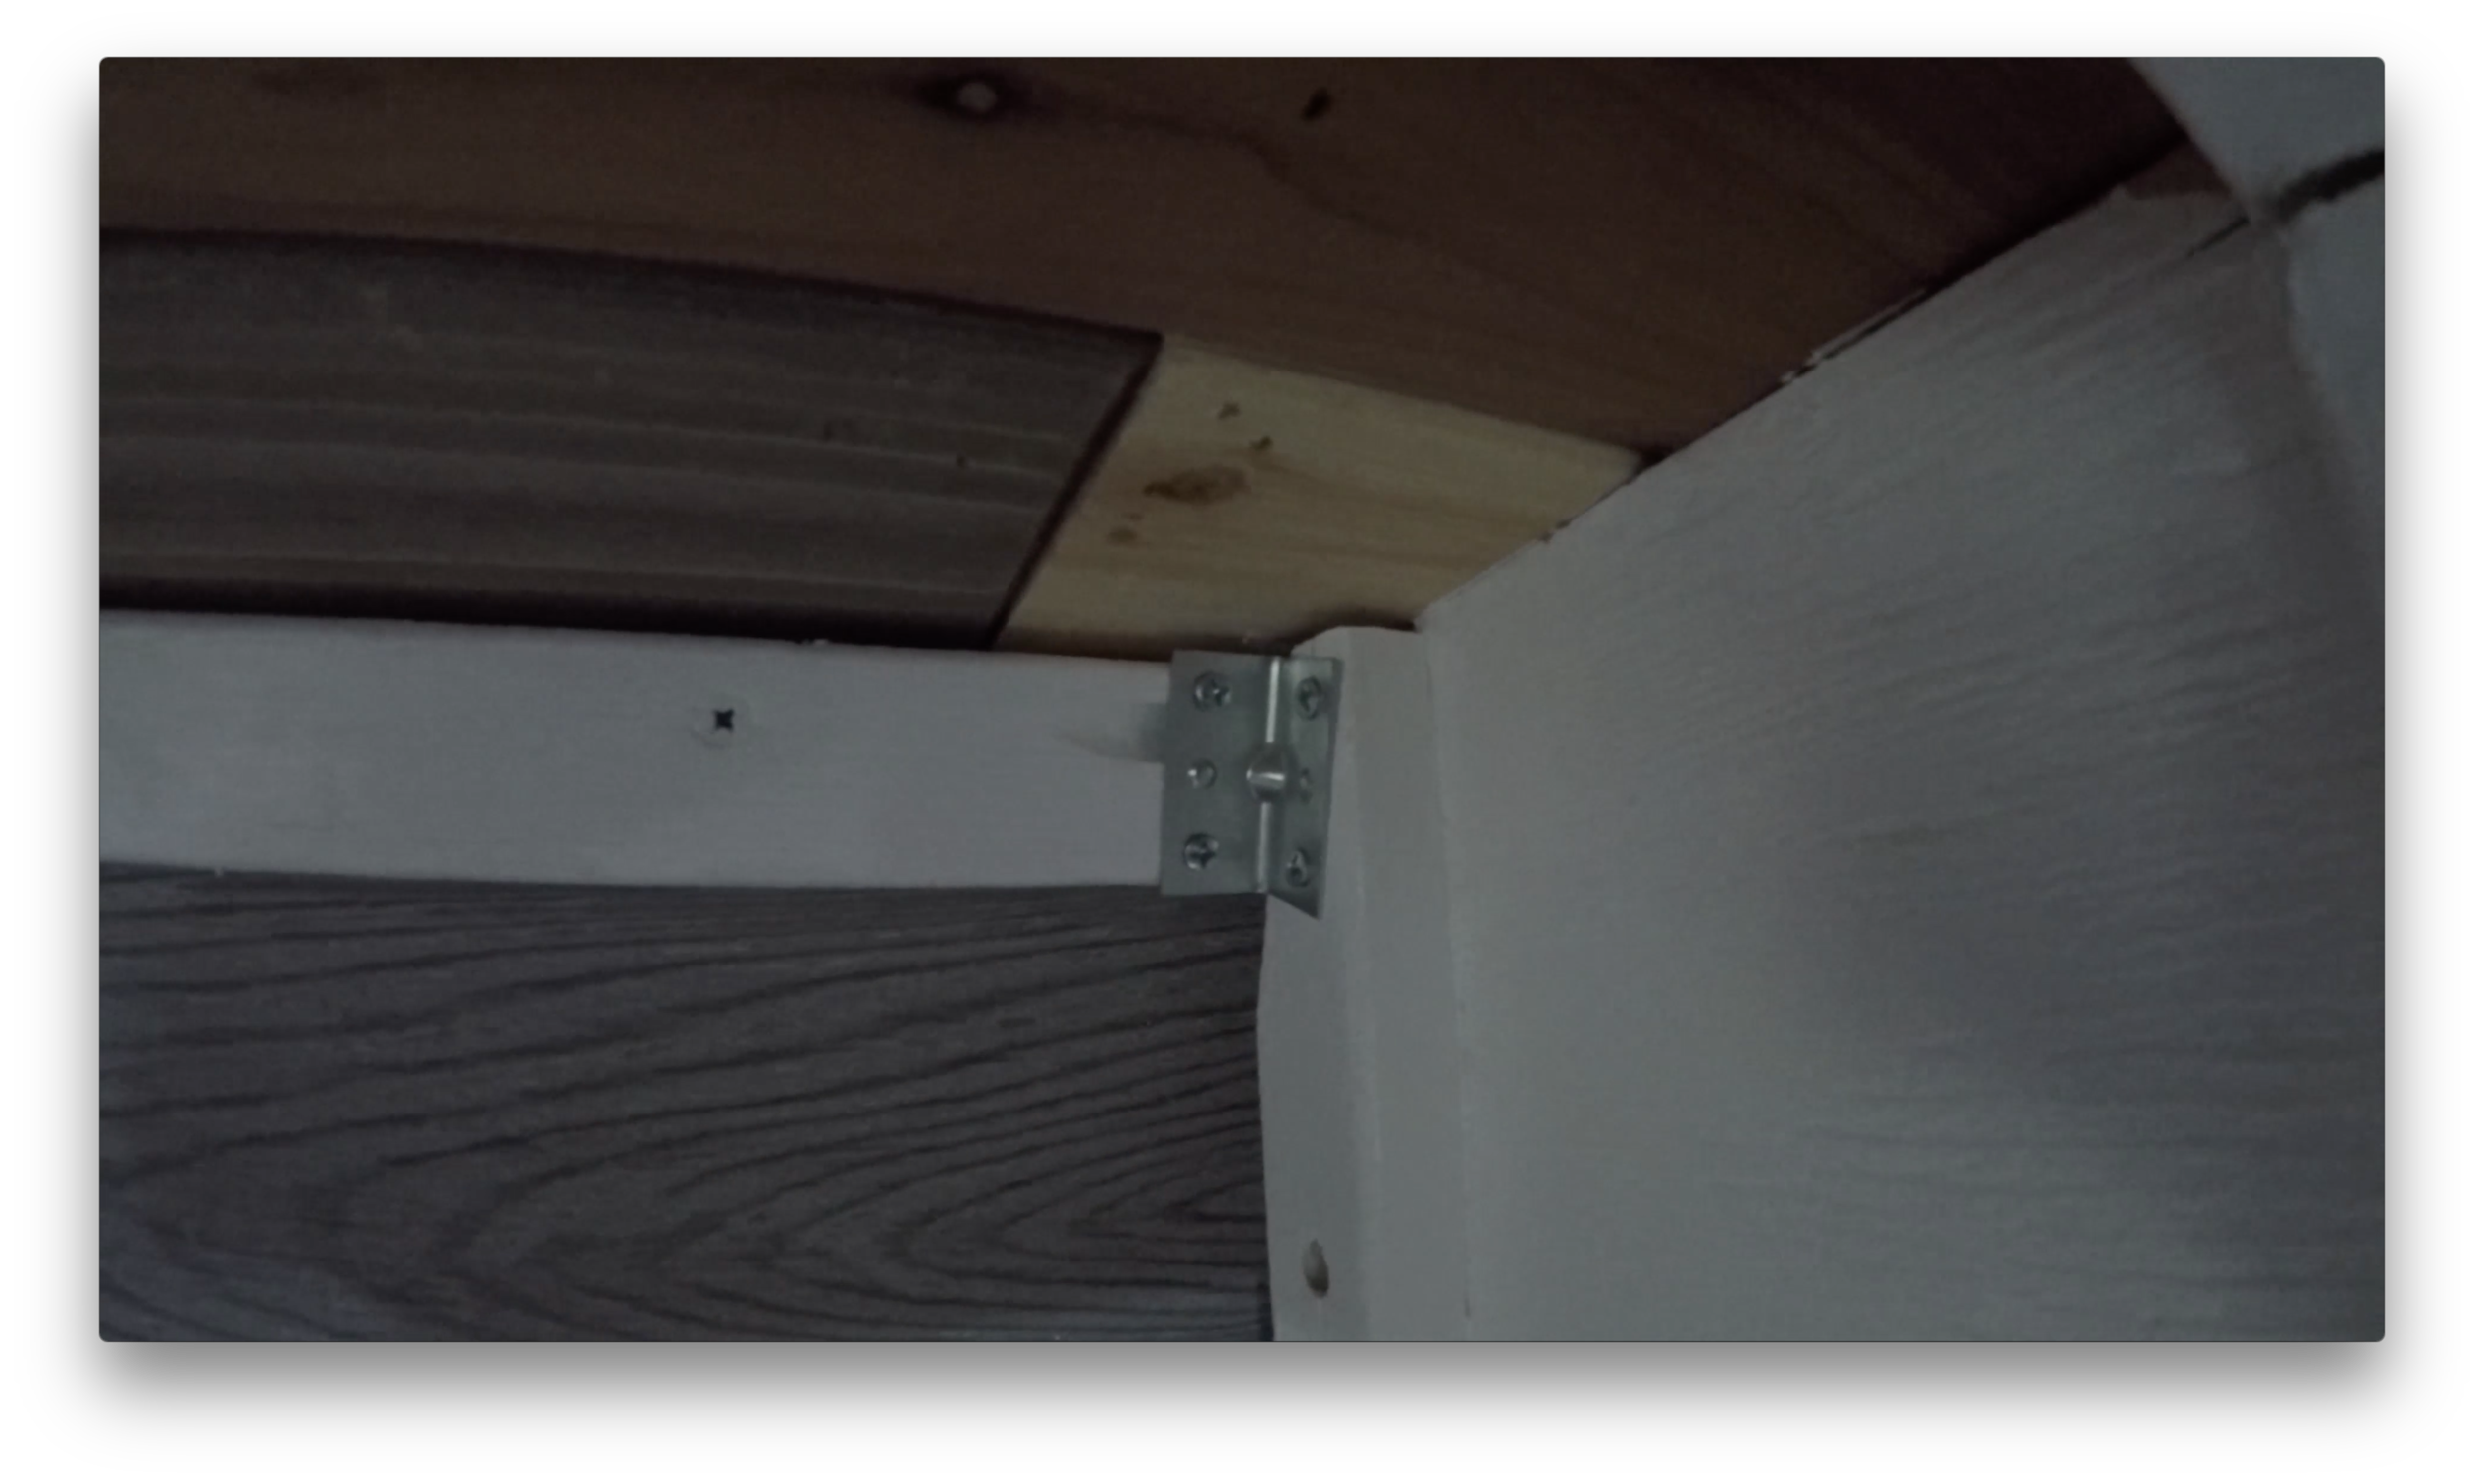
We prefabricated each of the cabinet dividers first and then attached them one at a time cutting the attaching, supporting slats as we went.  Here, I would highly recommend adding l brackets to anchor everything to the van and fasten everything together, as well as pocket drilling all support slats.

I added a thin sheet of plywood to the bottom of the cabinets and cut holes in them first few for our under cabinet lighting.  We also added left over floor in all the cabinets for liners.  I really want to stress here to make sure you liquid nail and l bracket anything you think maybe suspect. It will save you some time after some bumpy dirt roads that like to wiggle screws out and shift things out of place. Ours shifted a bit to where it wasn’t noticeable. It was actually took a second to pinpoint what was going on…Our push button latches weren’t catching on the installed catches anymore because of small amounts of shifting from all the dirt roads we’ve been sending it down. Luckily, I’m equipped with tools. So, I fixed it on the road.  Also, always keep a few extra L-brackets, of all sizes, on board incase you do hit a rude bump in the road.  They can really save the day. 

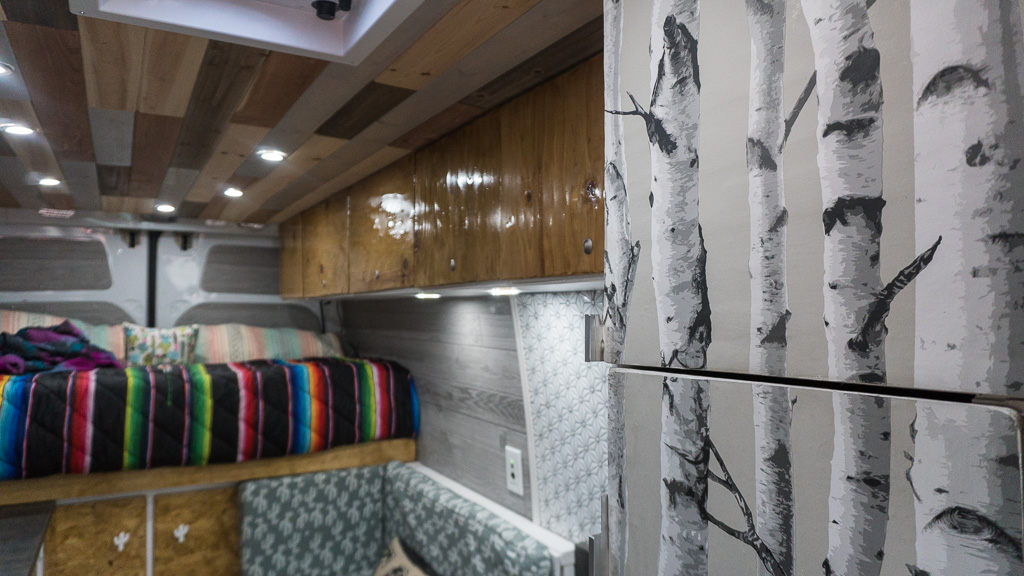
For the tall cabinet above the toilet, we wanted to be able to still put the driver seat back and also have an area for hanging jackets.  So we notched the cabinet out a bit, to give the coat rack and seat room.  One flaw with our door is on the top of the tall cabinet, we didn't take into account how we would attach the door.  So, at the moment, it’s a kind of annoying swing-up door, until we figure something out.  Above the toilet, we installed a large drawer for all our cooking, cutlery and other food related utensils.  We used a 24 inch fully extending drawer slider here.  It’s the same one we used for the toilet.  Somehow, this drawer works.  With no cabinetry skills, we got lucky on a few of our drawers.  For this cabinet, we used plywood for the door and drawer fronts. We painted them white and then applied a wall paper from Etsy, on top of the heavily sanded and painted plywood, to get a nice finish that we were hoping for.   

We really struggled on an idea for all our cabinet doors since it’s nearly impossible to find the right sizes for our design that is changing and morphing everyday.  We hit the Lowe’s Scrap wood and came up big time.  If you don't know, at Lowe’s in the lumber section, they have tons of scrap behind the saw. Most of it is up for the taking or substantially discounted.  We got a few damaged pieces of plywood that we cut to size and sanded about as much as you could sand to get them smooth and looking less beat up.  After this, we painted them with a Honey Polyurethane Stain.  For best results on this, so called, “1-step poly stain” is to give it a nice thin first coat.  Let the stain dry for at least 8 hours.  Get some fine steel wool (000 or 00) and sand it down to an even finish. (**Use gloves and a mask! If that steel wool gets into your fingers, it will ruin your week, trust us!)  

Then, apply another coat and give it more time to dry. We gave ours a few days, because they smell like a basketball court.  It took a few days for the smell to go away.  Also, remember when dealing with this stuff to wear a mask and have really good air flow where ever you are painting it, preferably do it outdoors. Breathing this stuff in while it is in it’s most volatile state, when it is wet, is ridiculously toxic.

After the doors were dry, they were ready to install.  This is one of the most tedious parts of the cabinet install.  First off it takes many micro adjustments to get the doors to all align and shut perfectly.  Then, after driving for a while they will shift a bit and you will have to adjust.  We used these 90 degree hinges and added these hydraulic arms to keep the doors open.  

Another pain in the ass was installing the push-button latches to all the doors.  Not only is it tedious, it’s kinda risky because when your a beginner like me, you make mistakes.  There’s no room for mistakes here, unless you want to cut and paint cabinet doors that takes at least 2 days to dry.  But seriously, these push-latches take some serious time and measurements to get perfect. Plus, we were using plywood for our doors. We were not using typical width cabinet doors, which is what the push latches usually are installed with. So we had to cut a spacer and to make the cabinet door seem thicker. 

All in all, after doing it. We realized that the hardest part was planning out what we needed on board, in the van, and where it would live. We basically had to build with all of our items in mind. Building it just comes down to framing. Then, you cover it with come pretty doors. Make sure you use correct screws and always use your T Square for every cut and overtime you fasten something, make sure it’s square. It will make life easier in the long run. Check out the video for a better visual idea of how we tackled this project.  

Helpful tools: Kreg Pocket Jig, T Square, Chop Saw, Table Saw, Jig Saw, Drill Gun, Circular Sander.

Phase 6.2: Composting Toiletd

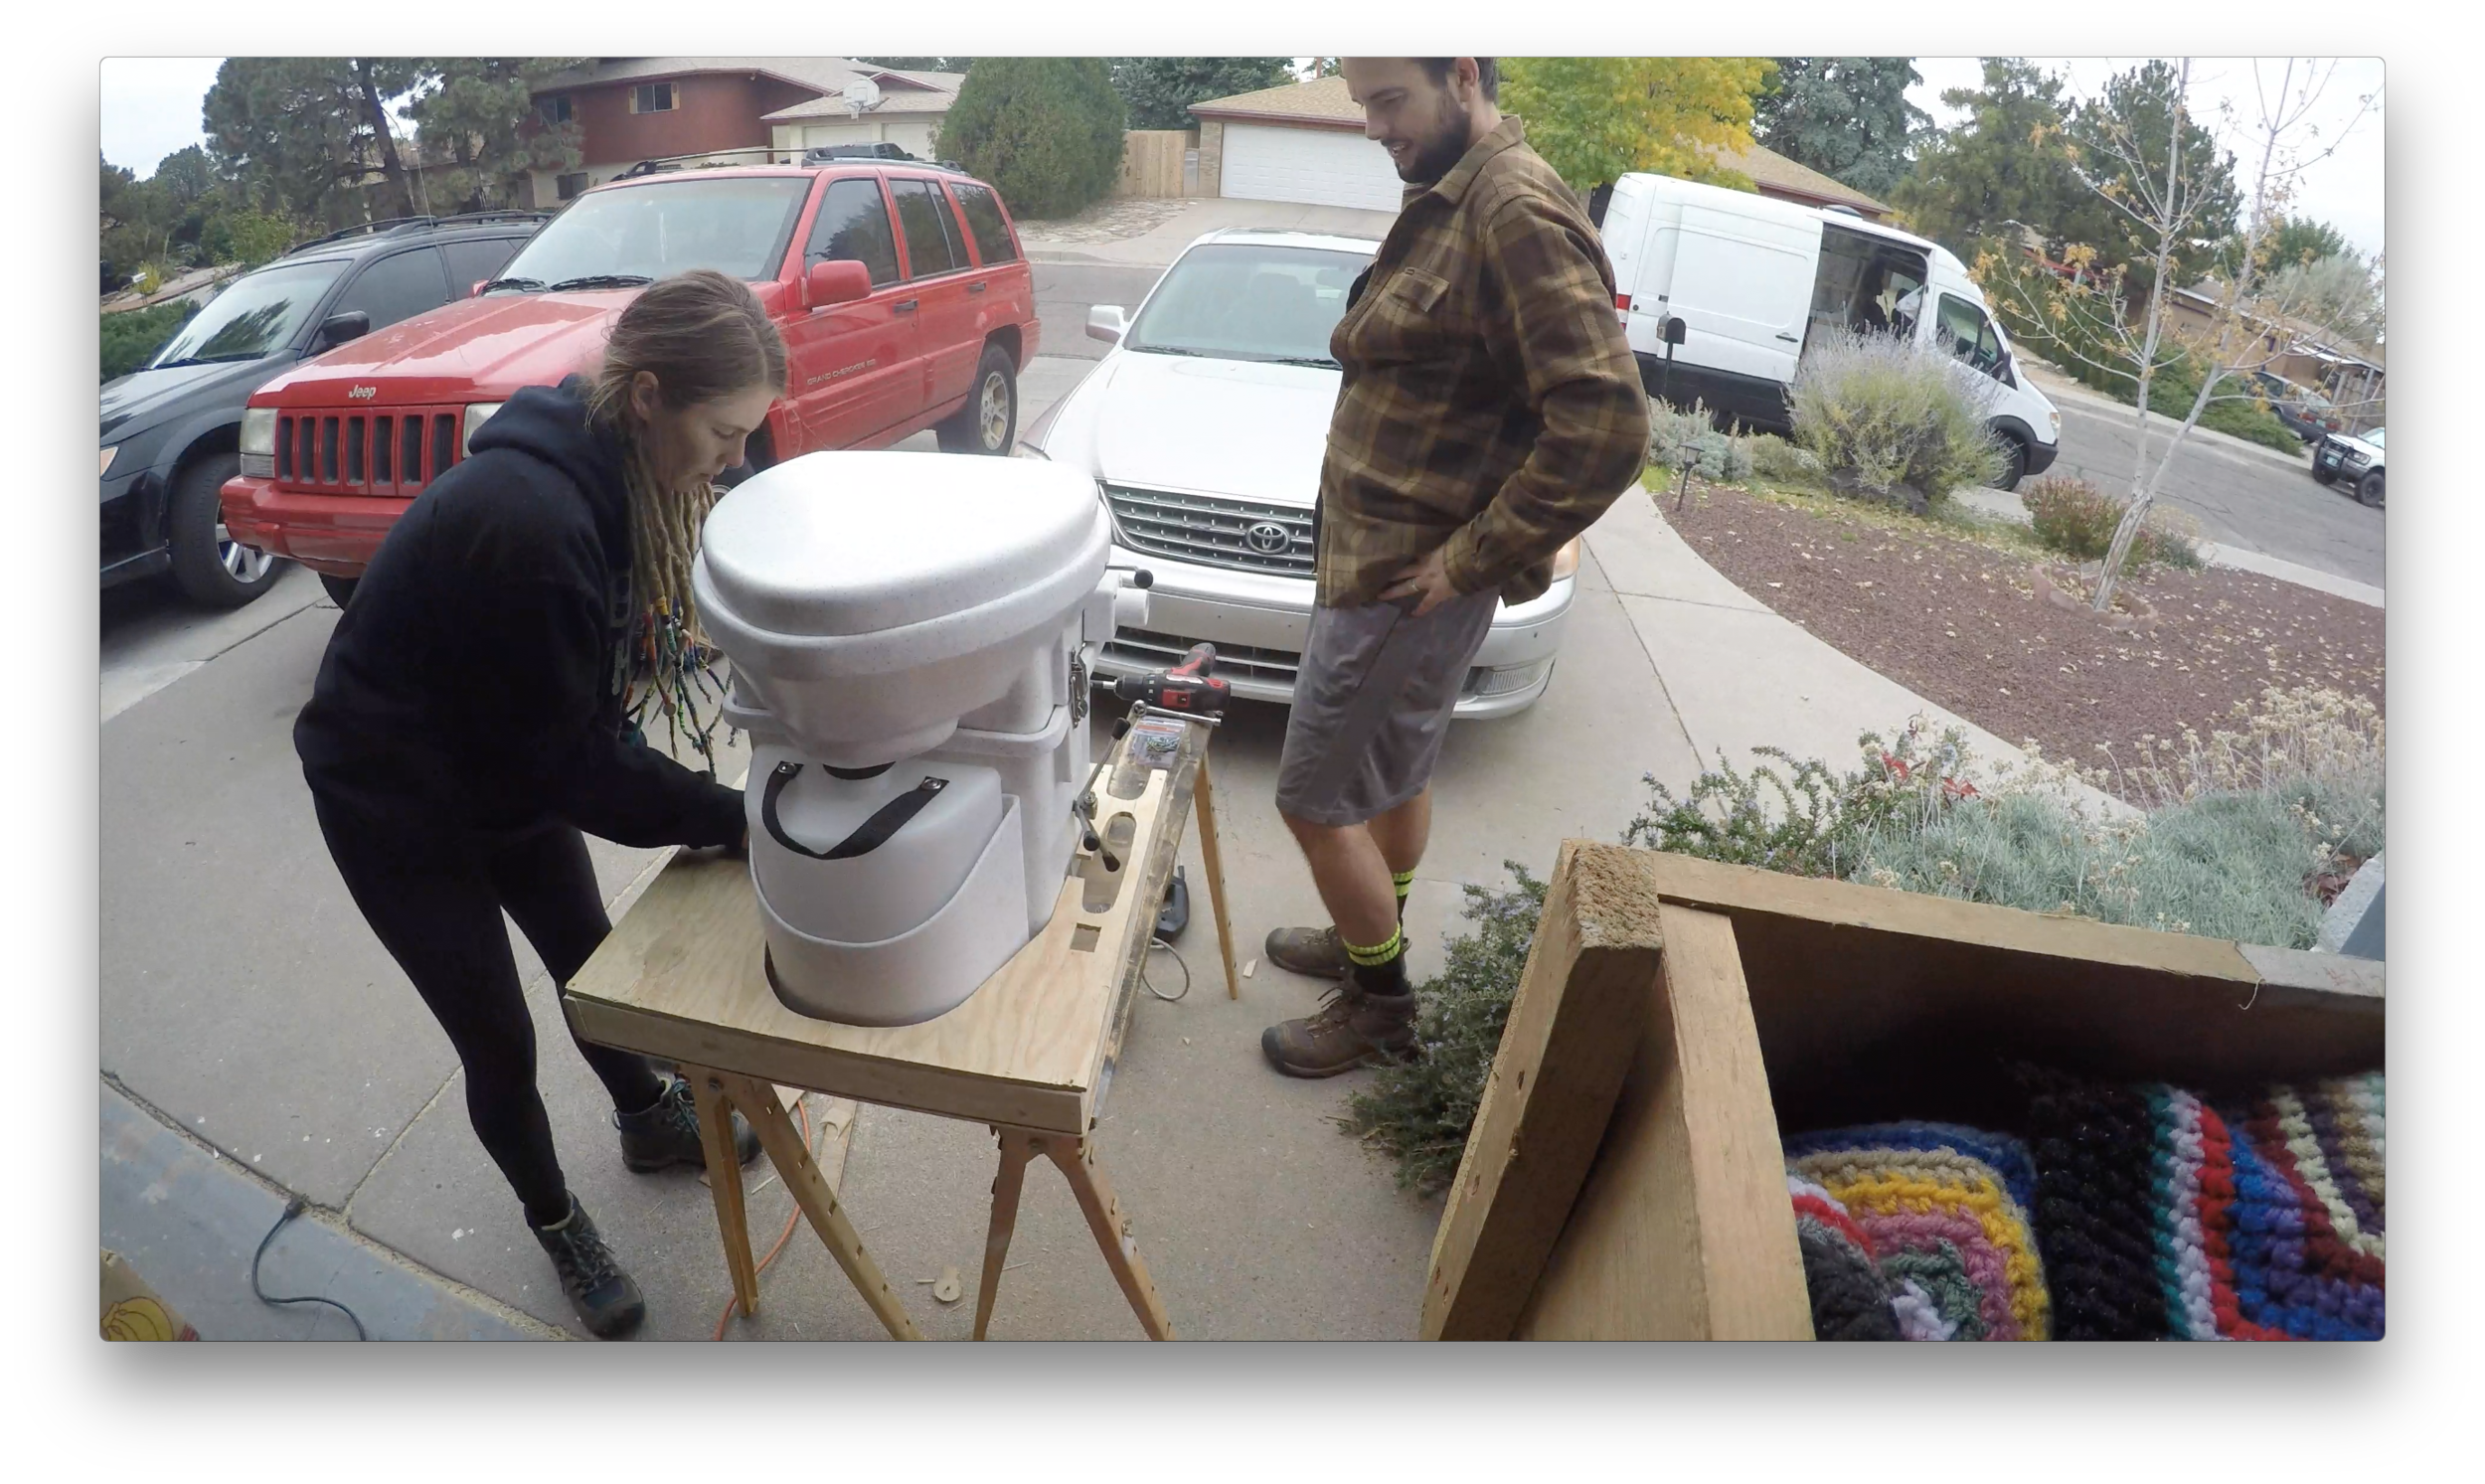
Going into this build, we were 100% committed to a composting toilet.  After a few years of peeing in bottles and what have you, we knew it was time for a legitimate throne.  We went with the Nature’s Head composting toilet.  While it is on the more expensive price end of the spectrum, we knew that we would own this toilet for a long time.  So if you think about spending $900 on a toilet you will have for potentially 20 years or more in your future off gird homes, that’s not a terrible deal.  

Composting Toilet

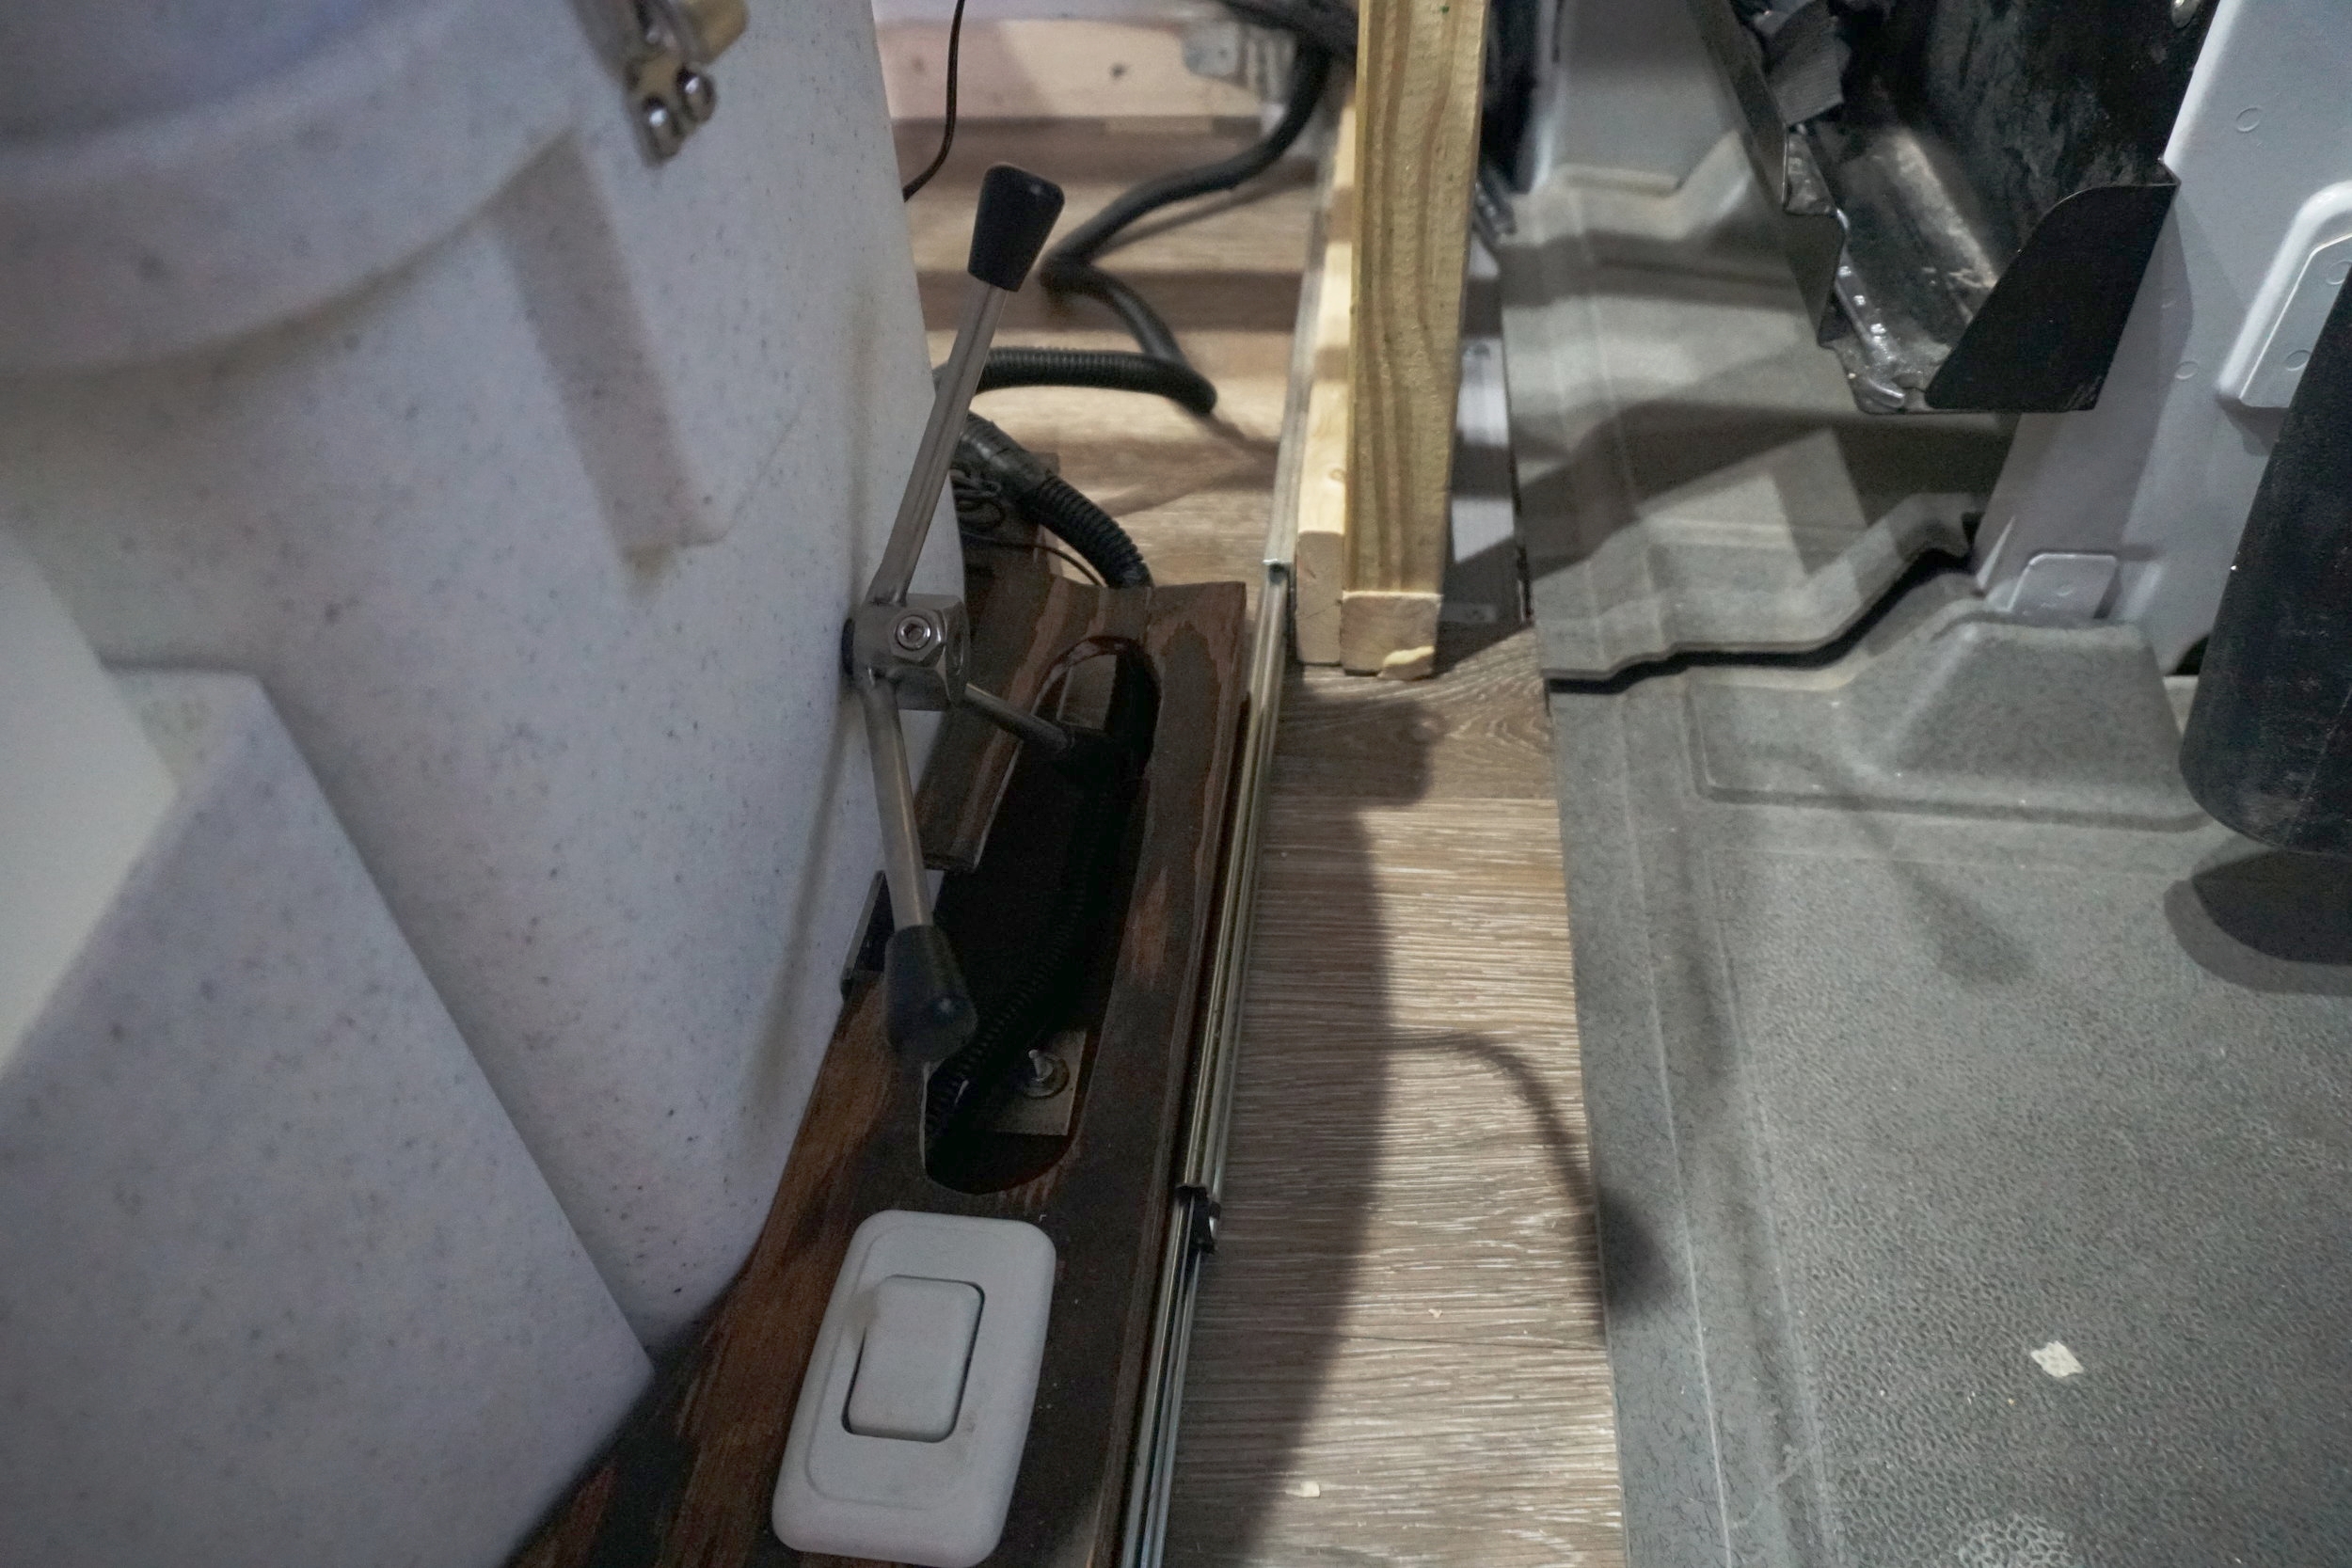
We also knew that we wanted the toilet to slide out from under a cabinet. That way it takes up as little space as possible.  We built out a frame for the toilet that fit the toilet very snug with a little bit of breathing room.  Next, we build out a base for the toilet to sit on so that it can pull out like a drawer.  The nice little custom base for the toilet was finished with a built in switch for the toilet fan.  

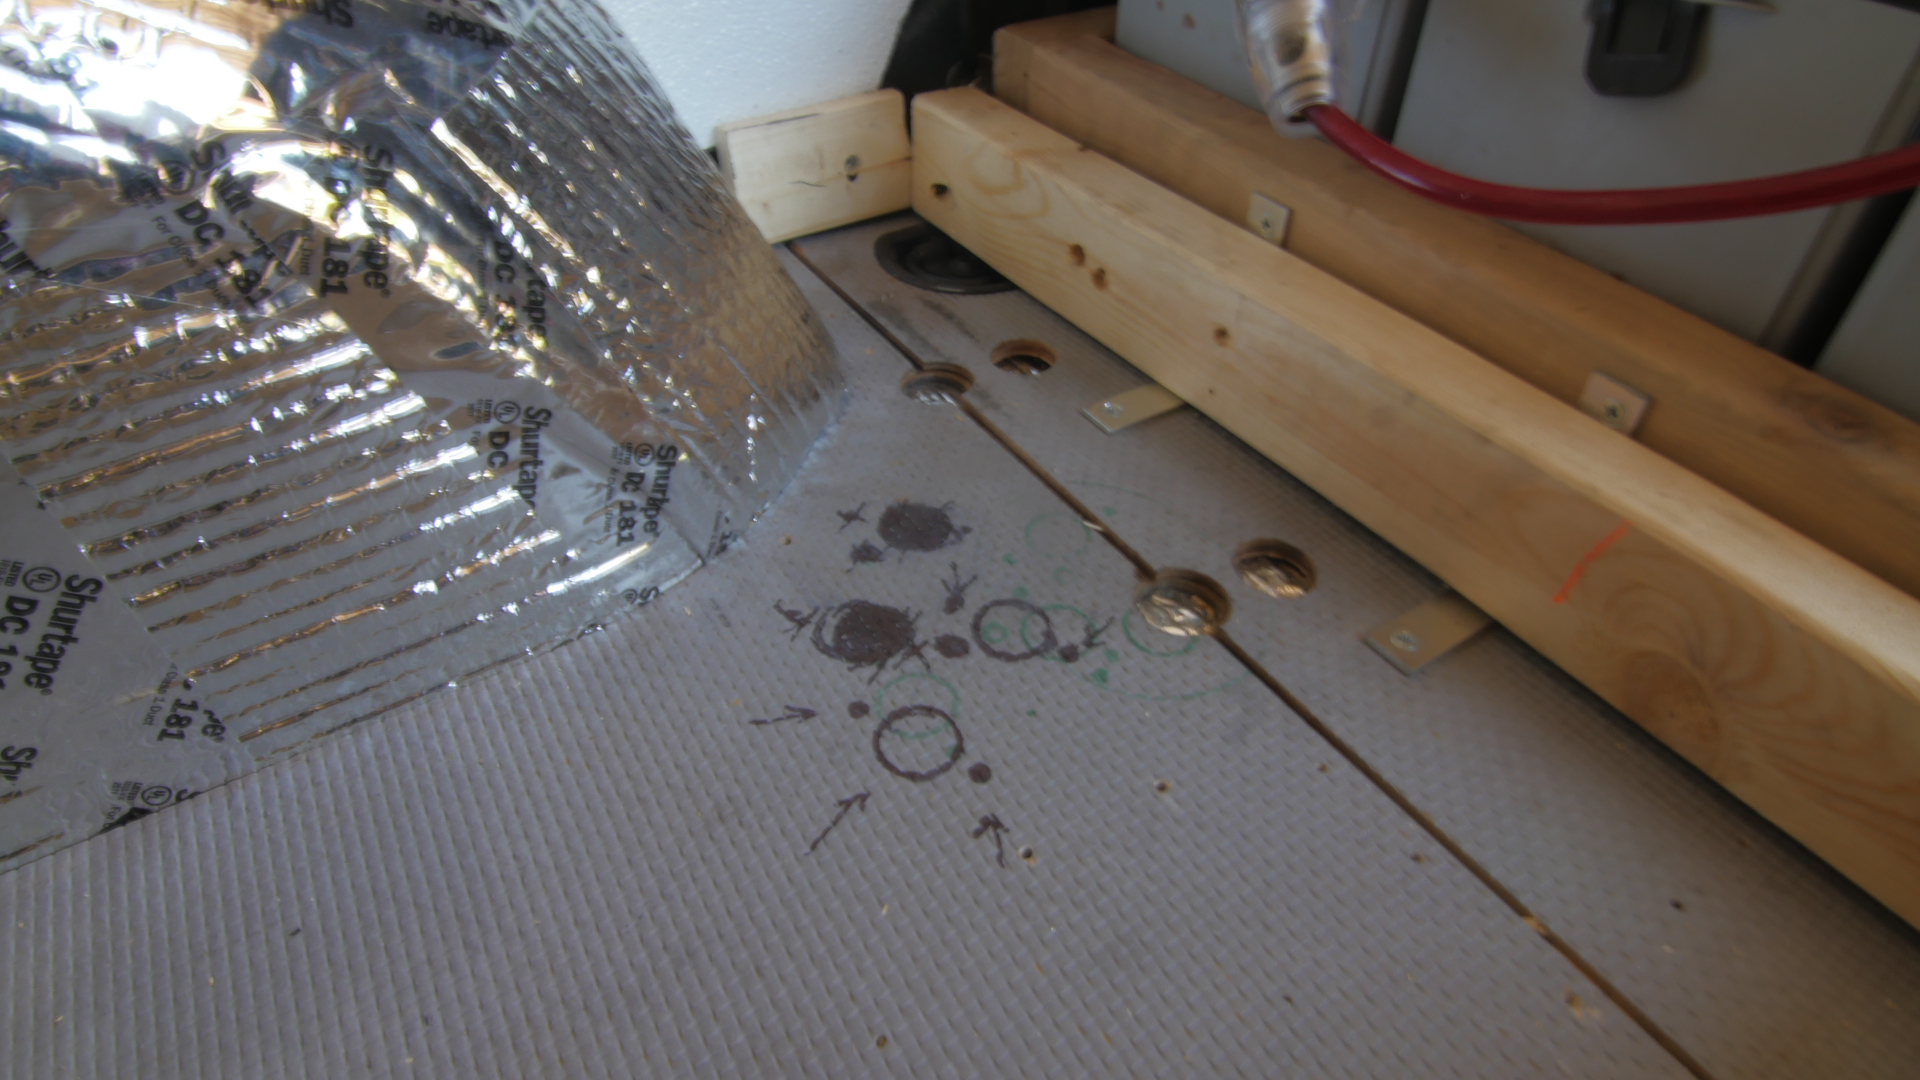
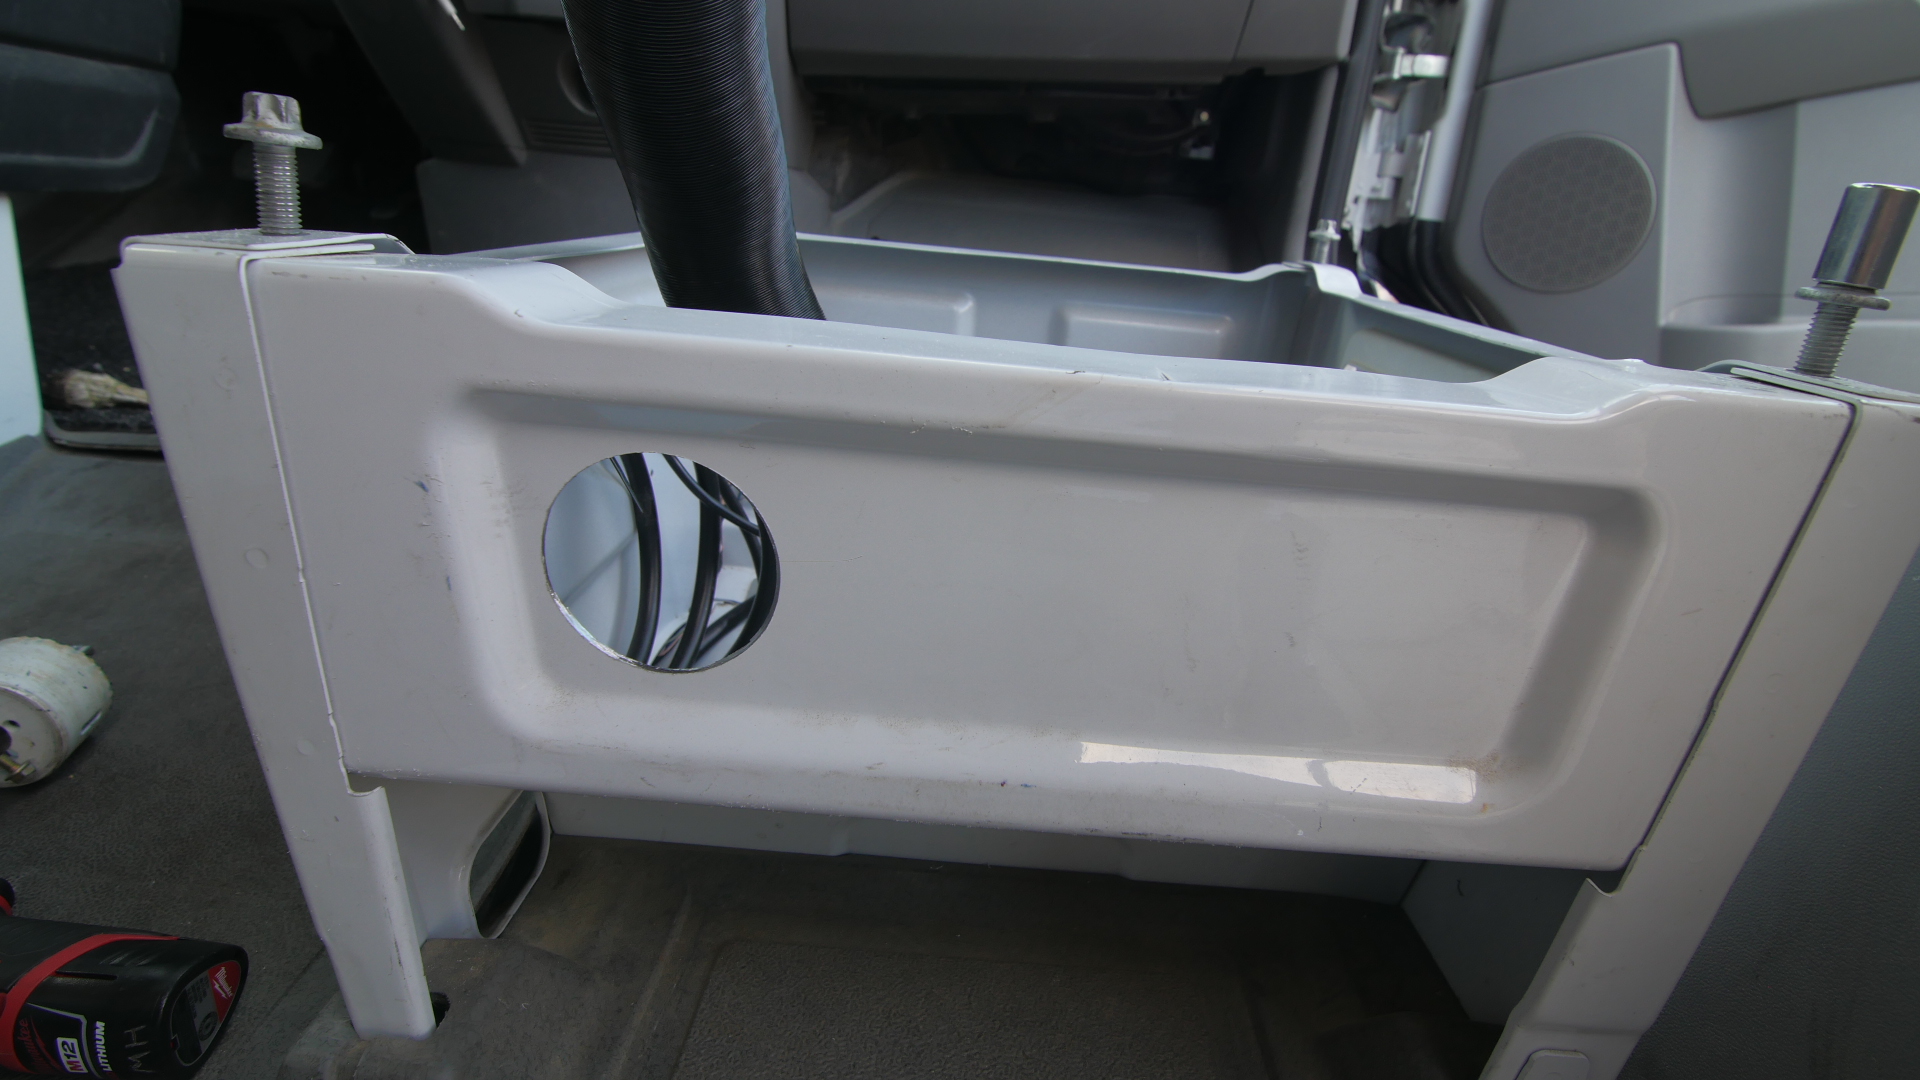
After this, I decided to finally cut the hole in the floor for the air to vent out.  The Nature’s Head comes with a built in fan and hose that blows air through the toilet, out through a hose, and out your van.  You need a hole saw capable of cutting metal.  I would not advise cutting the hole where I did.  I completely *#%^@d that up.  I didn’t take into account a few things and messed up.  But the fan works and we haven't noticed and terrible scents form the toilet. So, it seems to be working.  I used Lap Sealant around the hose and bought a few plumbing adaptors for the hose and fastened it to the wall.

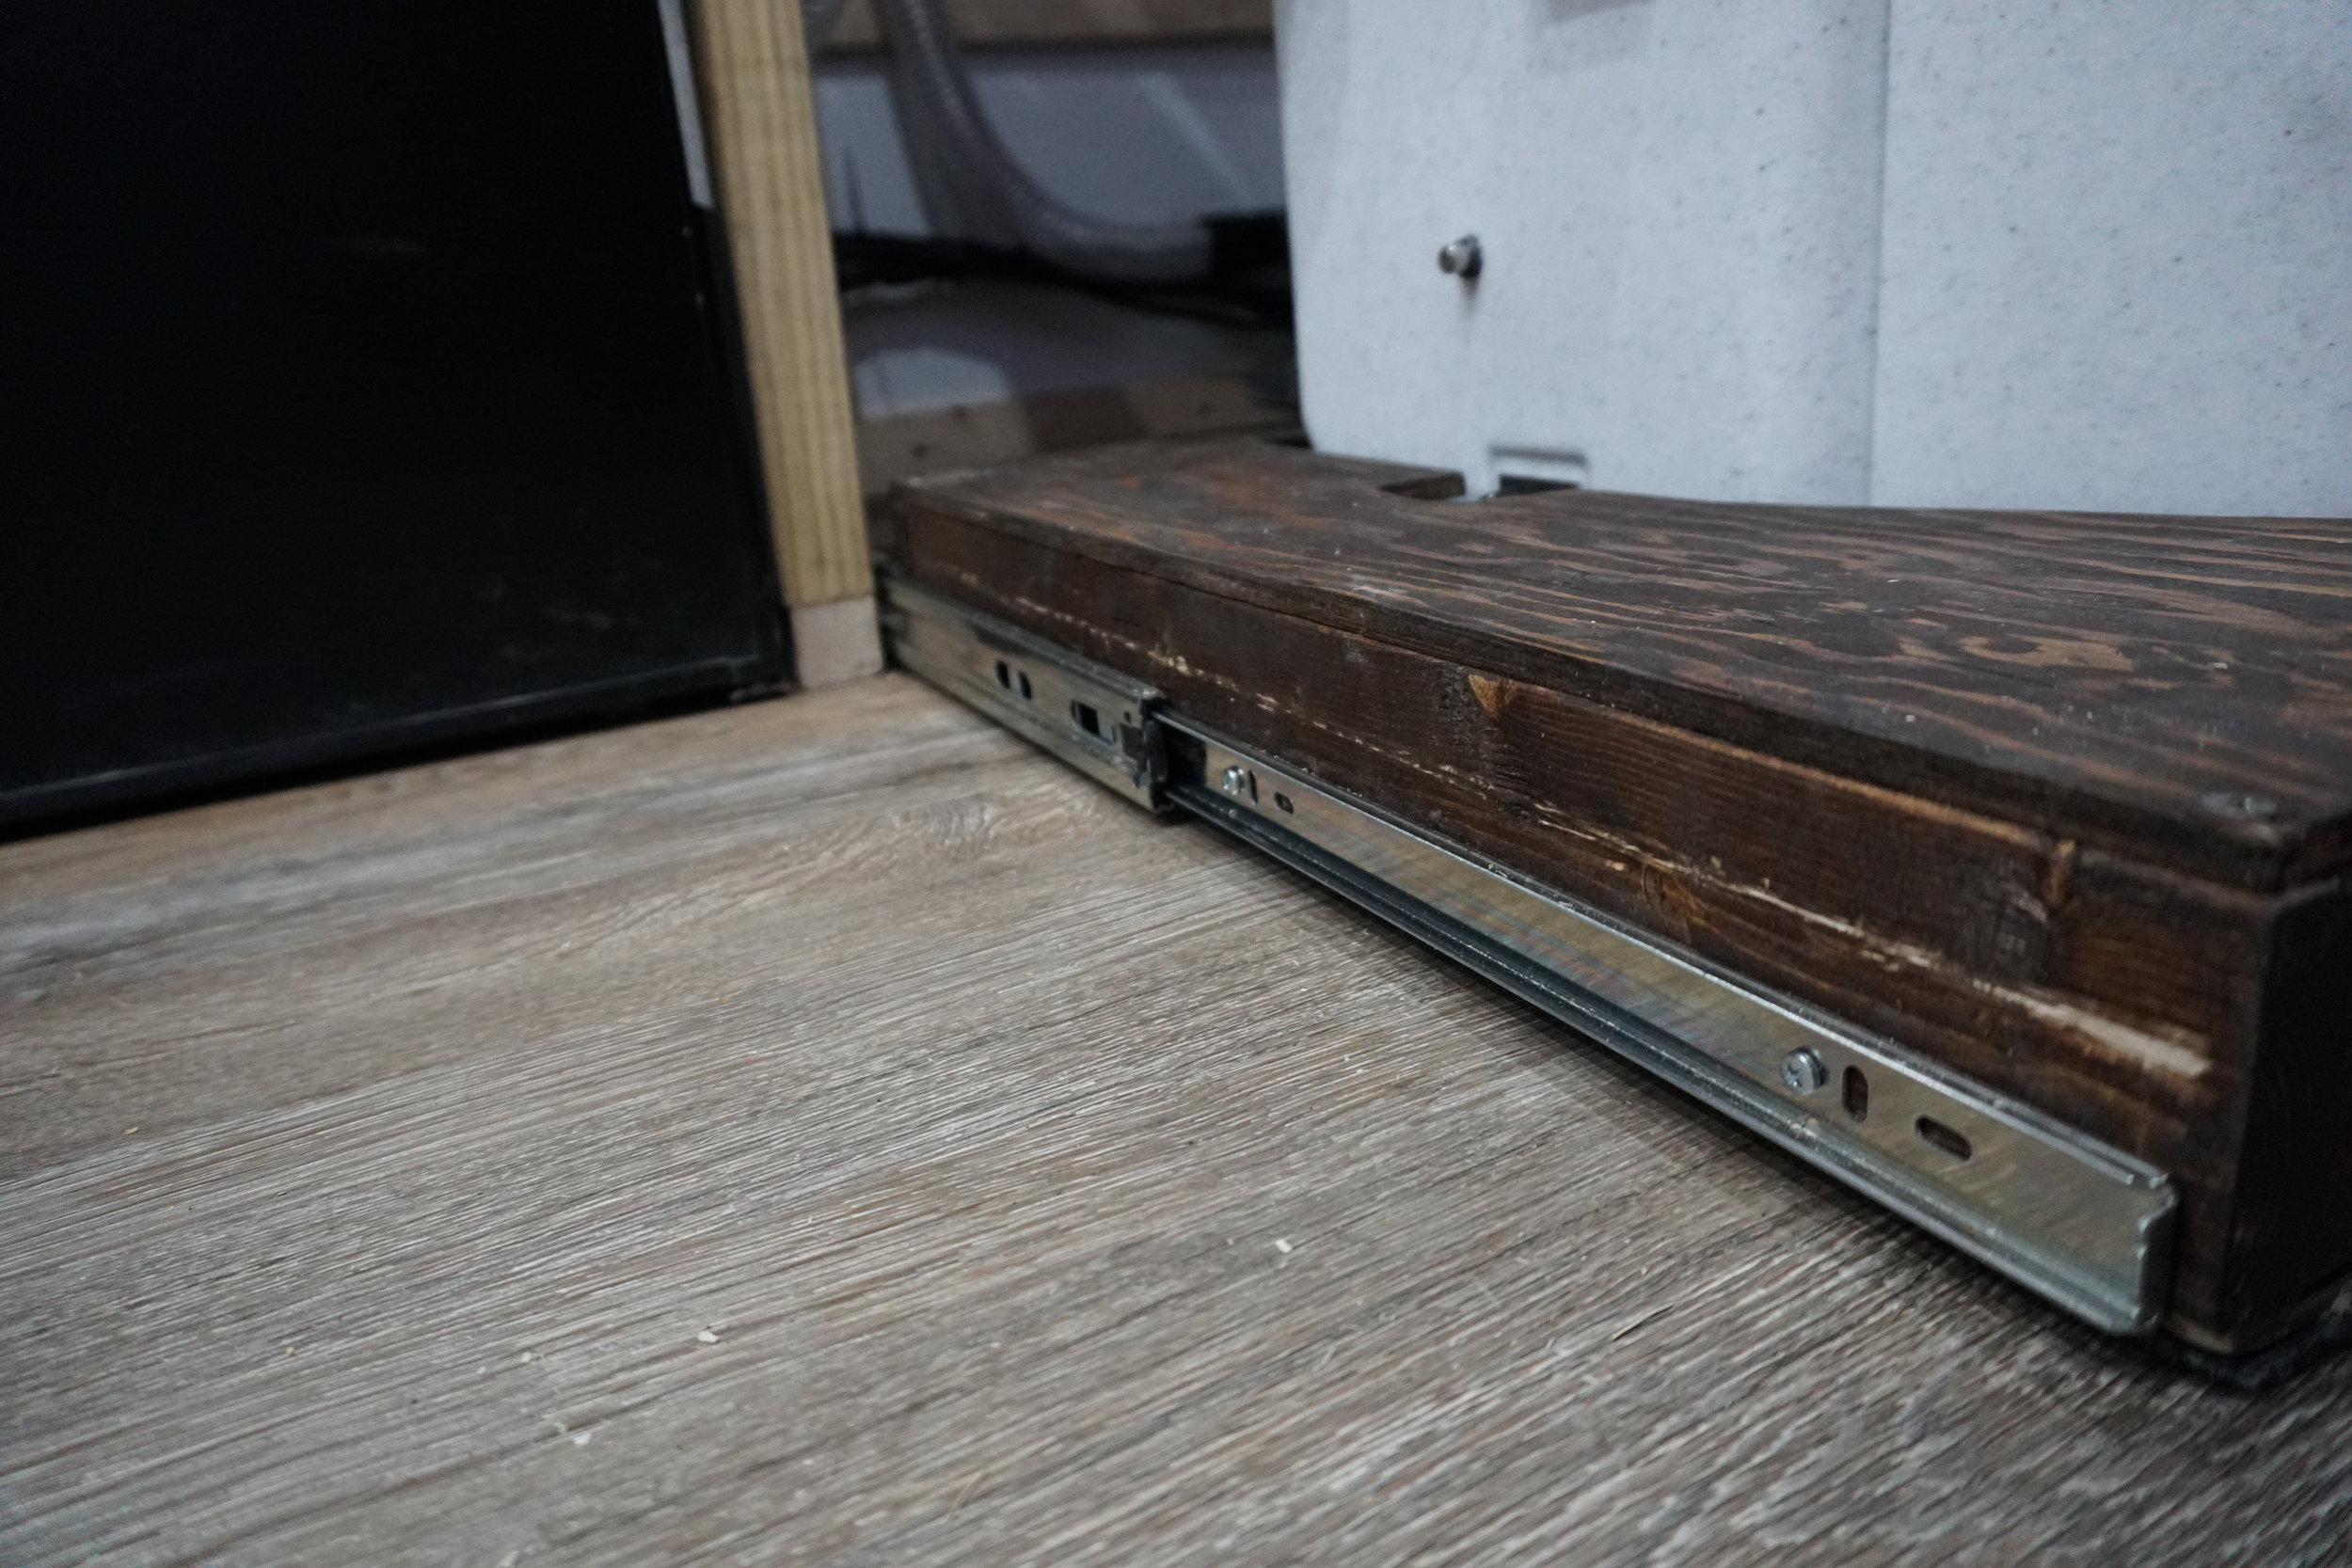
For the toilet drawer, we installed 24 inch fully extending heavy duty drawer sliders on the base.  I also attached some office type carpet to the bottom of the base.  I did this because the base was going to slide on the ground and not be suspended, even though the rails are heavy duty they cant support the weight of us sitting on them.  So, we have the toilet basically slide out on the floor, with assistance from the rails to keep it in place.  

We are still in the process of the cover for the toilet at the moment we have a fabric.  We think we will keep the fabric but switch up the style to something a bit more “adult.”

After about 3 weeks of using the toilet, we are so satisfied.  It is worth every penny to get up in the night and pee in a toilet and not outside our in a bottle.  It’s also great every morning when nature calls.  I would recommend a composting toilet 100%.  There’s a few out there and I’ve even seen some crafty youtube creations like this one here. kdsfjal. When we leave the van in the heat for a long period of time we’ve noticed a scent of what smells like the garden center at Home Depot from time to time but once you kick on the Fantastic Fan it becomes unnoticeable.  So, in the end, I’m a happy composting toilet owner and it makes vanlife very easy when you can wake up and relive yourself in normal fashion.    

Nature's Head Composting Toilet on Amazon - http://amzn.to/2FkTQq

Phase 6.1: Seating and Storage

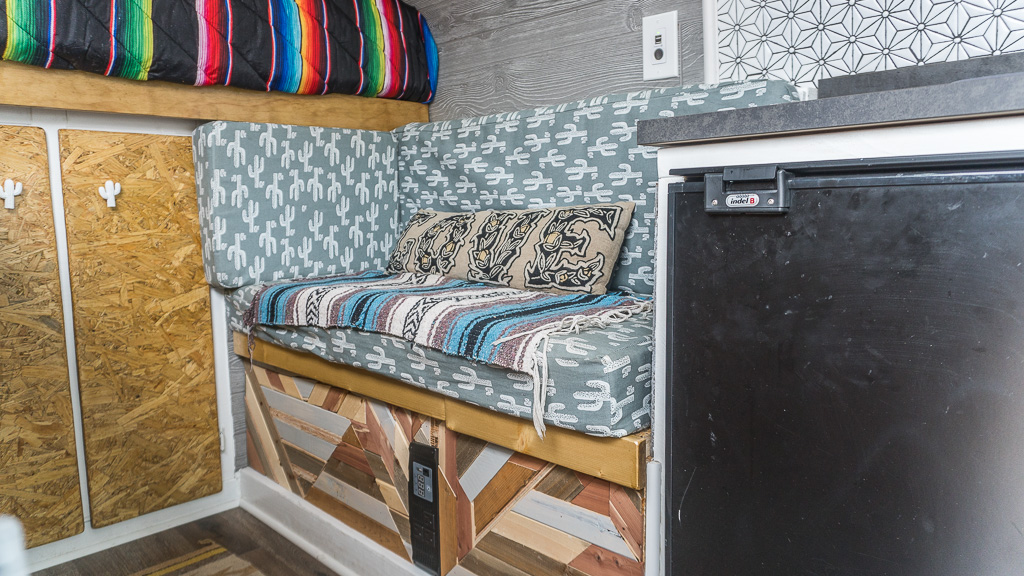
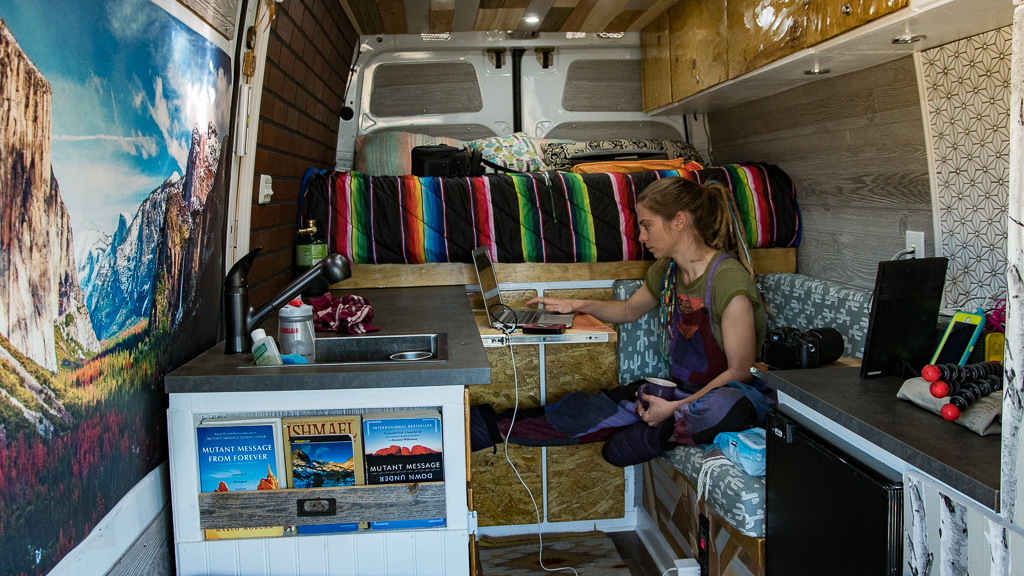
With our past vans, we have learned that it’s basically mandatory to have a nice conformable are to sit down and relax.  We had a bed that folded into a couch in our Australian van, Damon.  We had comfortable  swivel back seats in our New Zealand rig, Cruz.  Now, in our largest rig, Kiki Fubu, we needed a legit couch for chillin. Some people can’t start their day without coffee well, Dani can’t start her day unless the bed is made. So having to “break down” or “set up” the bed isn’t seen as a chore to us. We would rather the living space to cook, edit, eat, or stretch, than have a stationary all the time bed.  

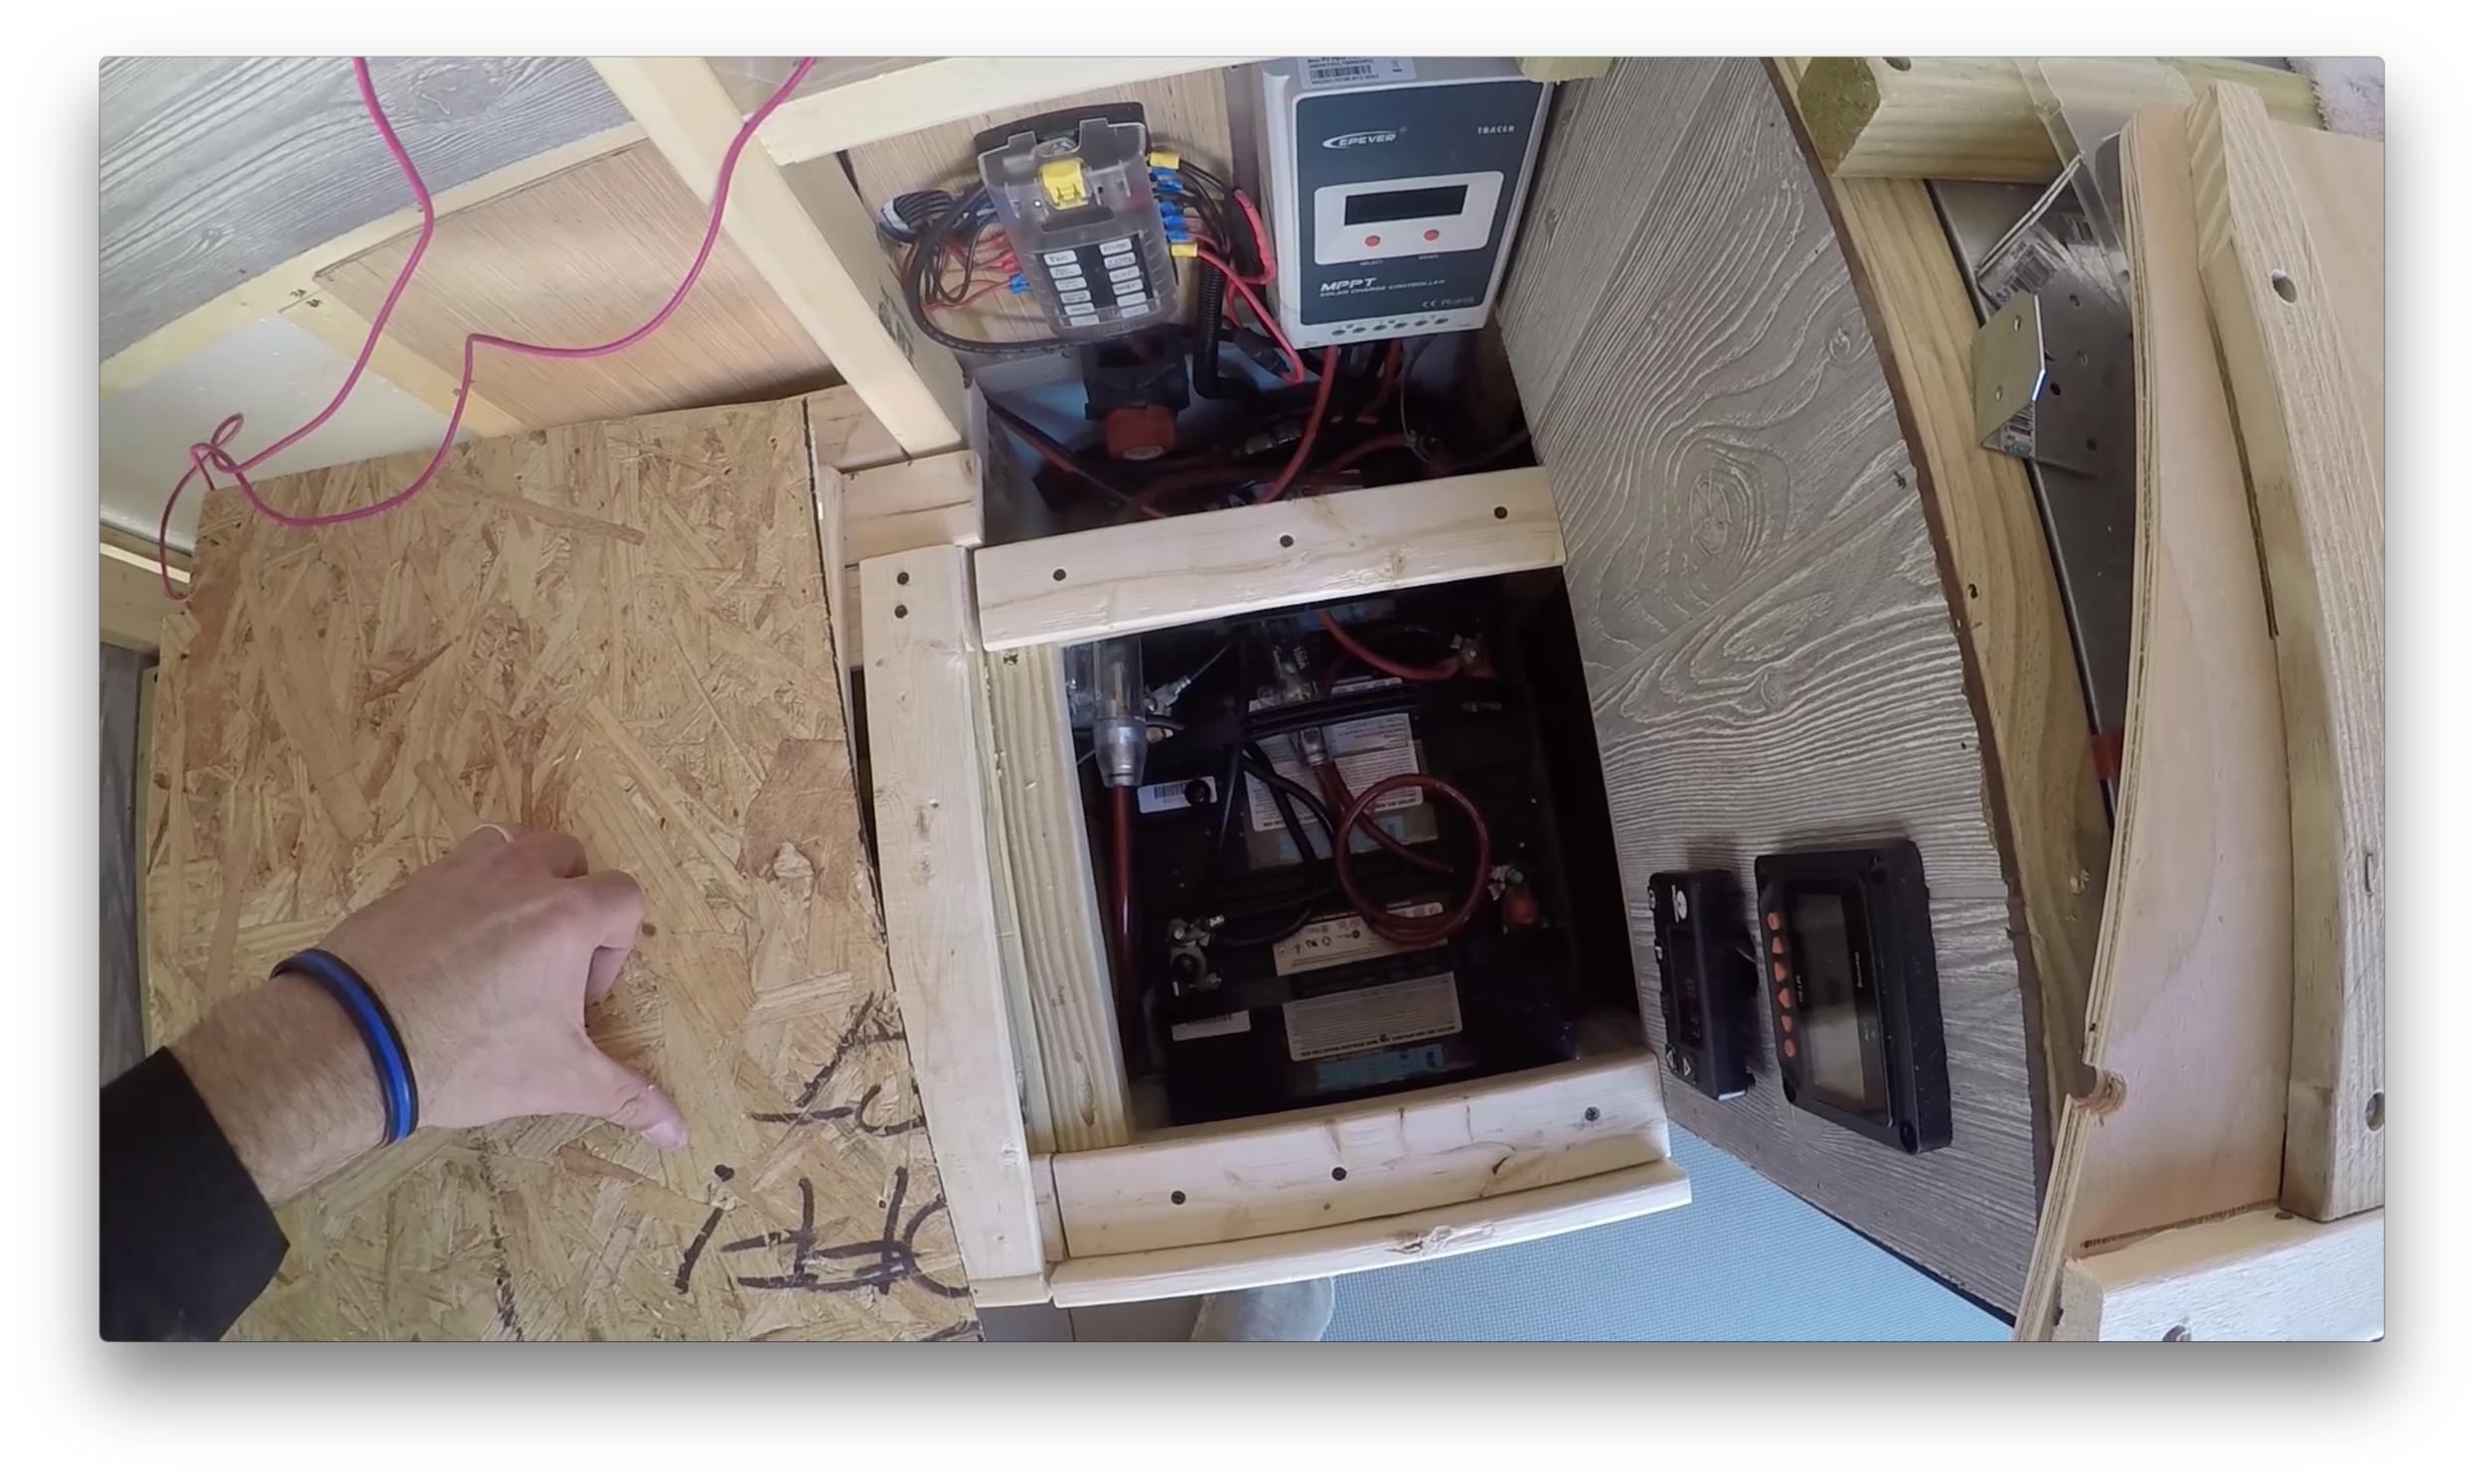
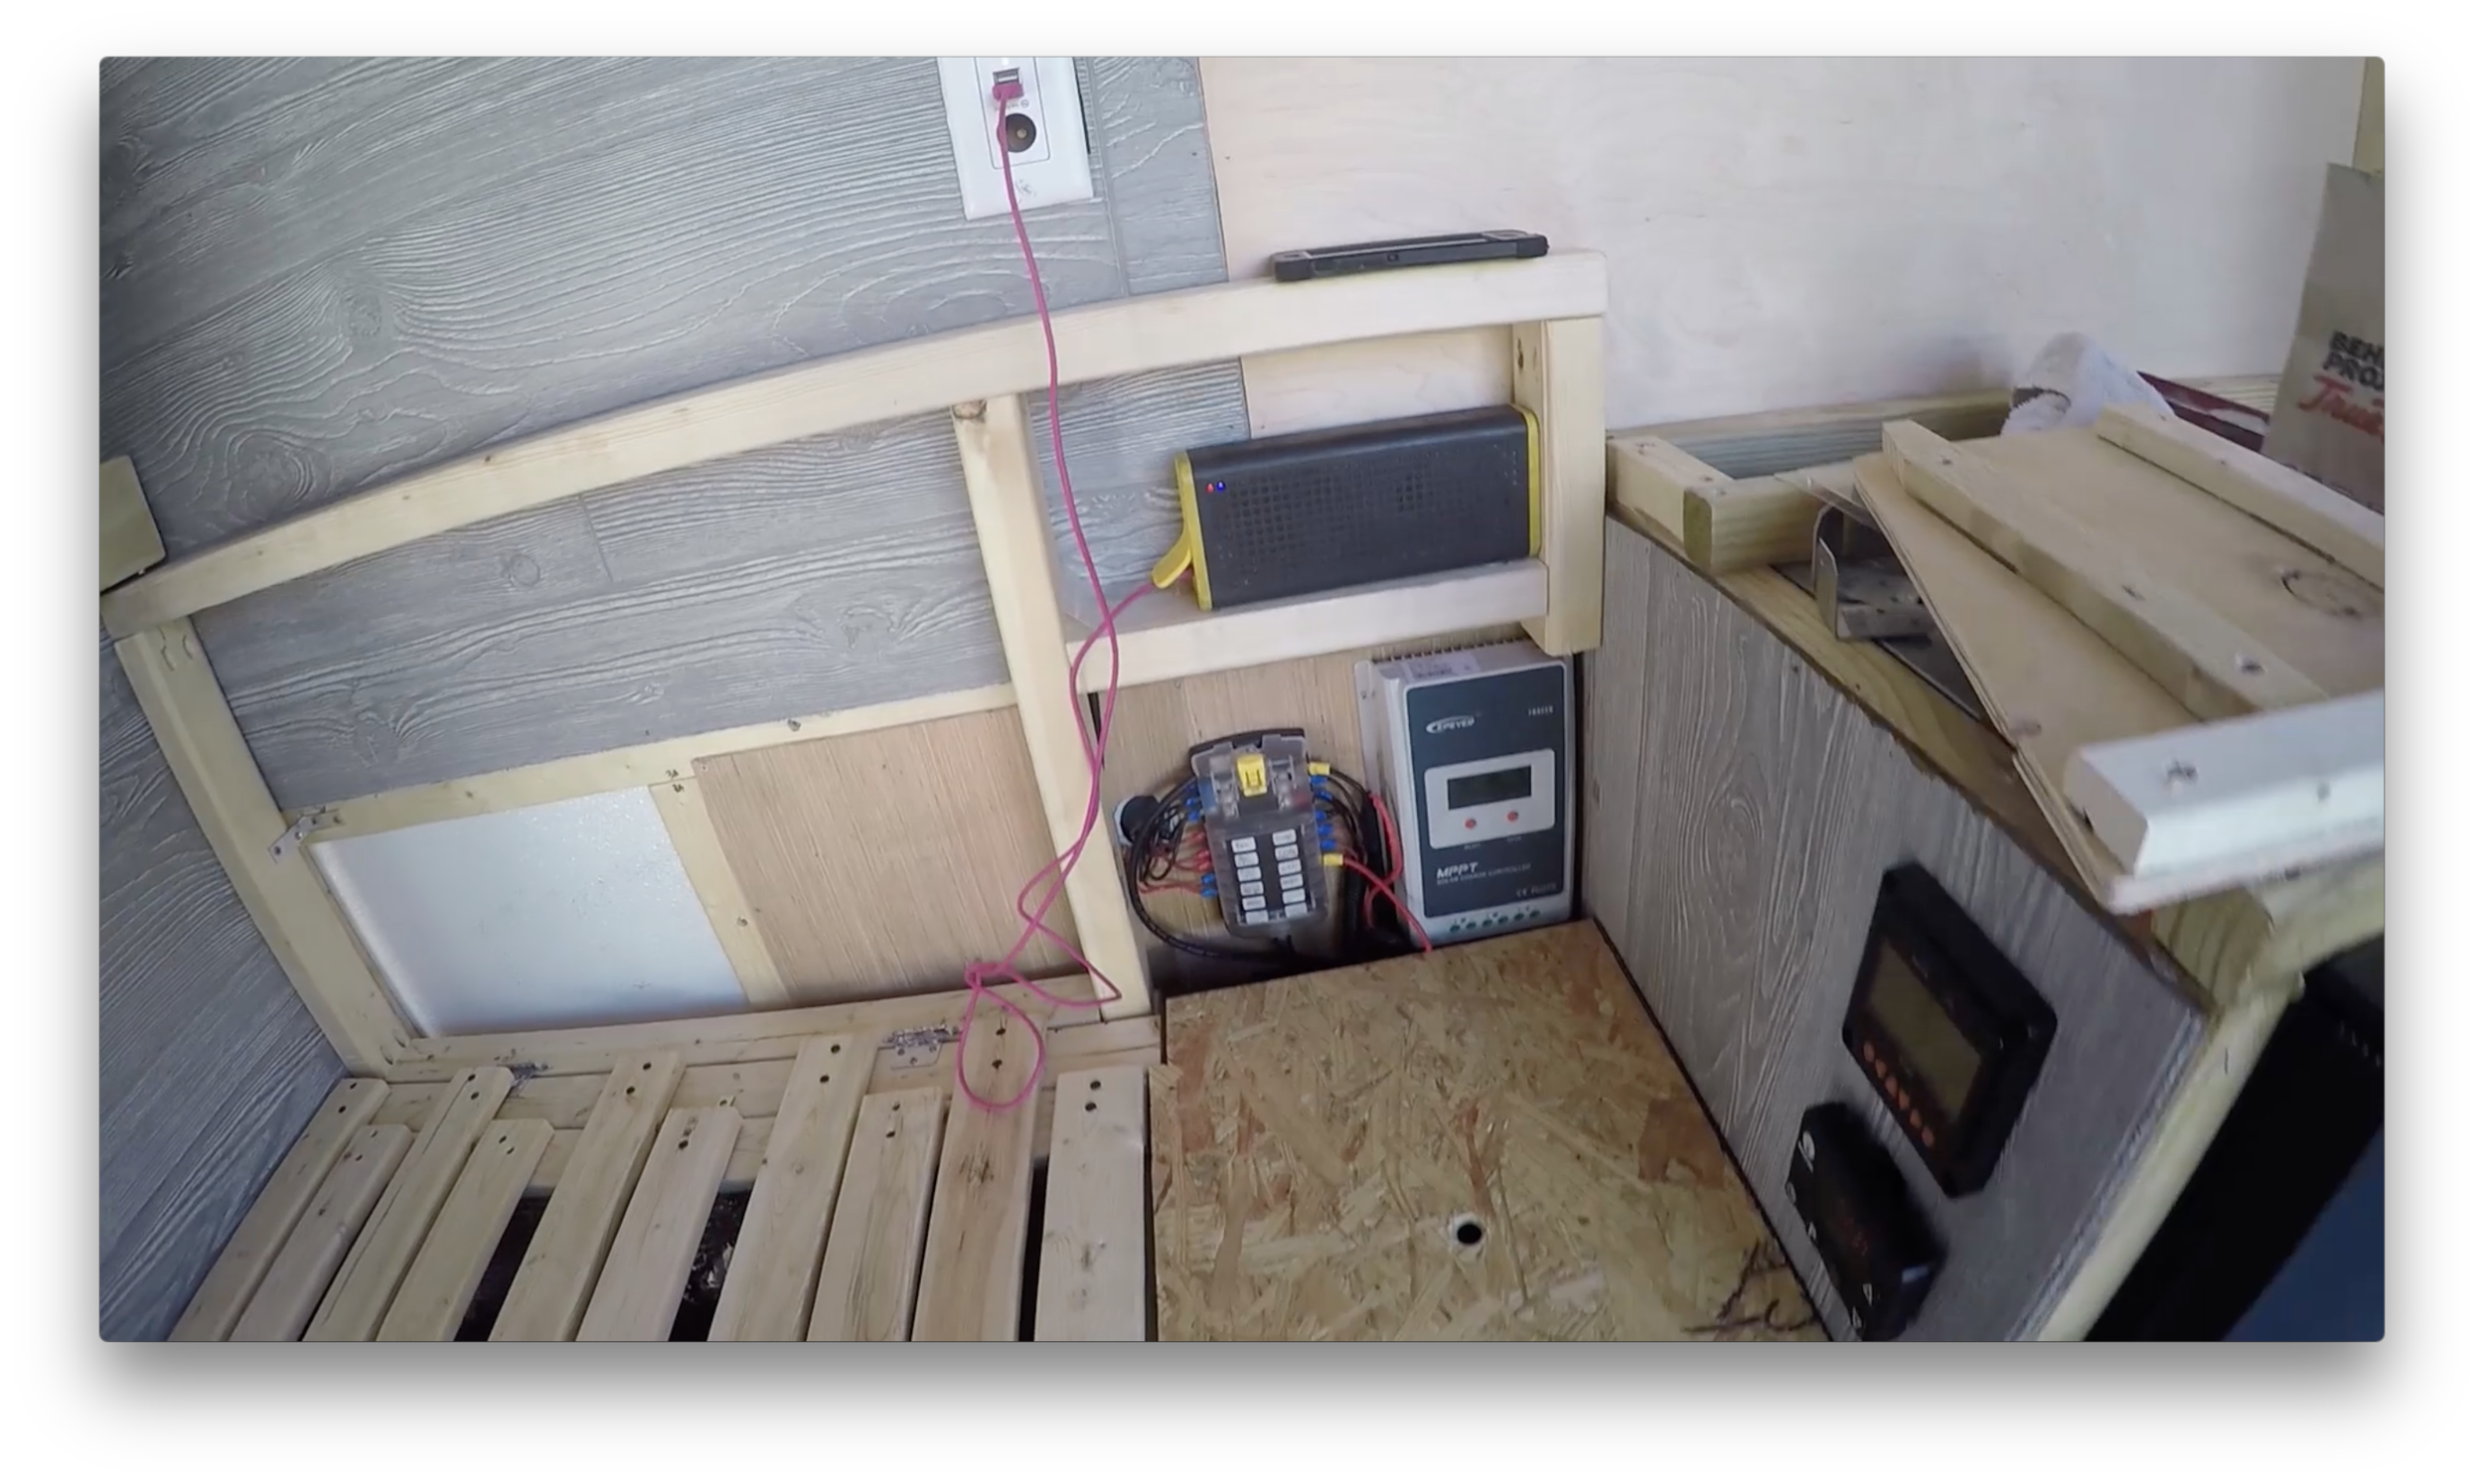
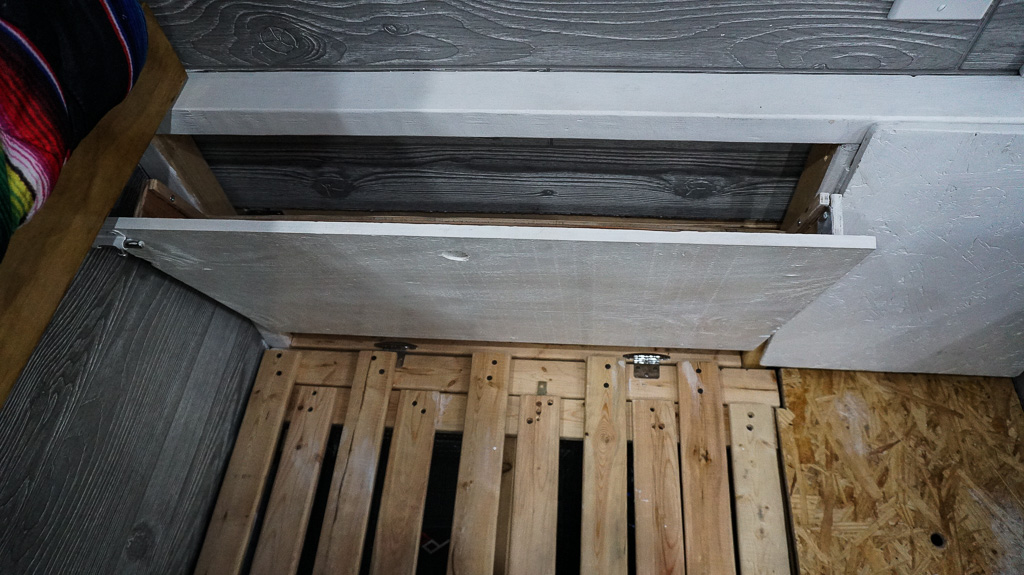
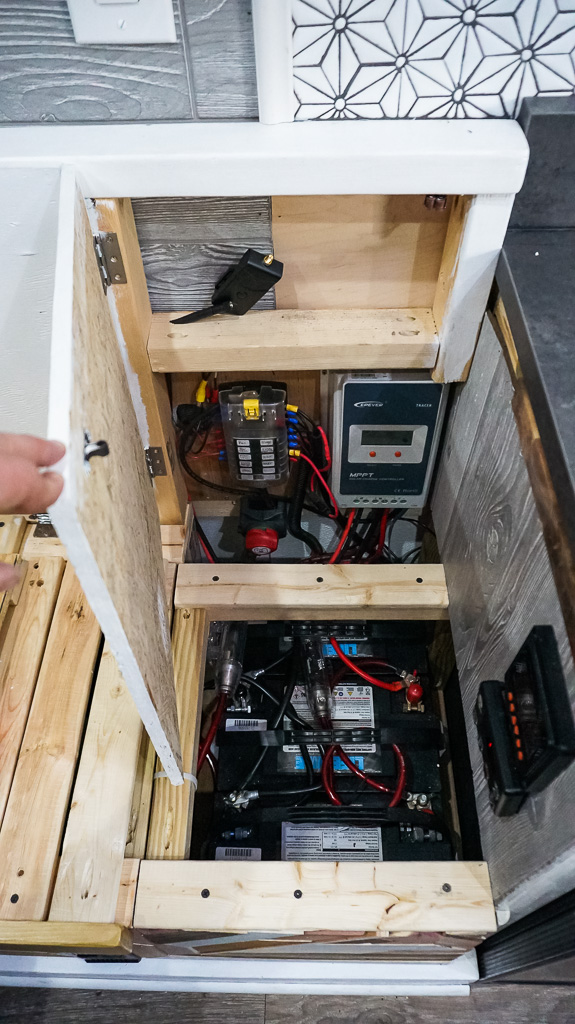
We knew going into the couch build that it was going to have some sort of underneath storage, house our battery bank and all our electrical components, as well as,  housing the inverter that sticks out with 110v outlets at the bottom of the couch.  As you saw in the beginning of the video, we had to move the solar controller and battery bank around quite a bit to accommodate the storage for them to get them out of sight, without taking up too much space, and keeping them readily accessible. 

One half the couch seat will open like a chest and have tons of storage.  The other half would have a removable top to easily access the batteries and add or fix anything we need no sweat.  The back of the couch will have a flip down storage on one side, and a door that swings open offering easy access to the electrical panel and solar controller.  Now, with it all planned out it was time to frame the couch out.  

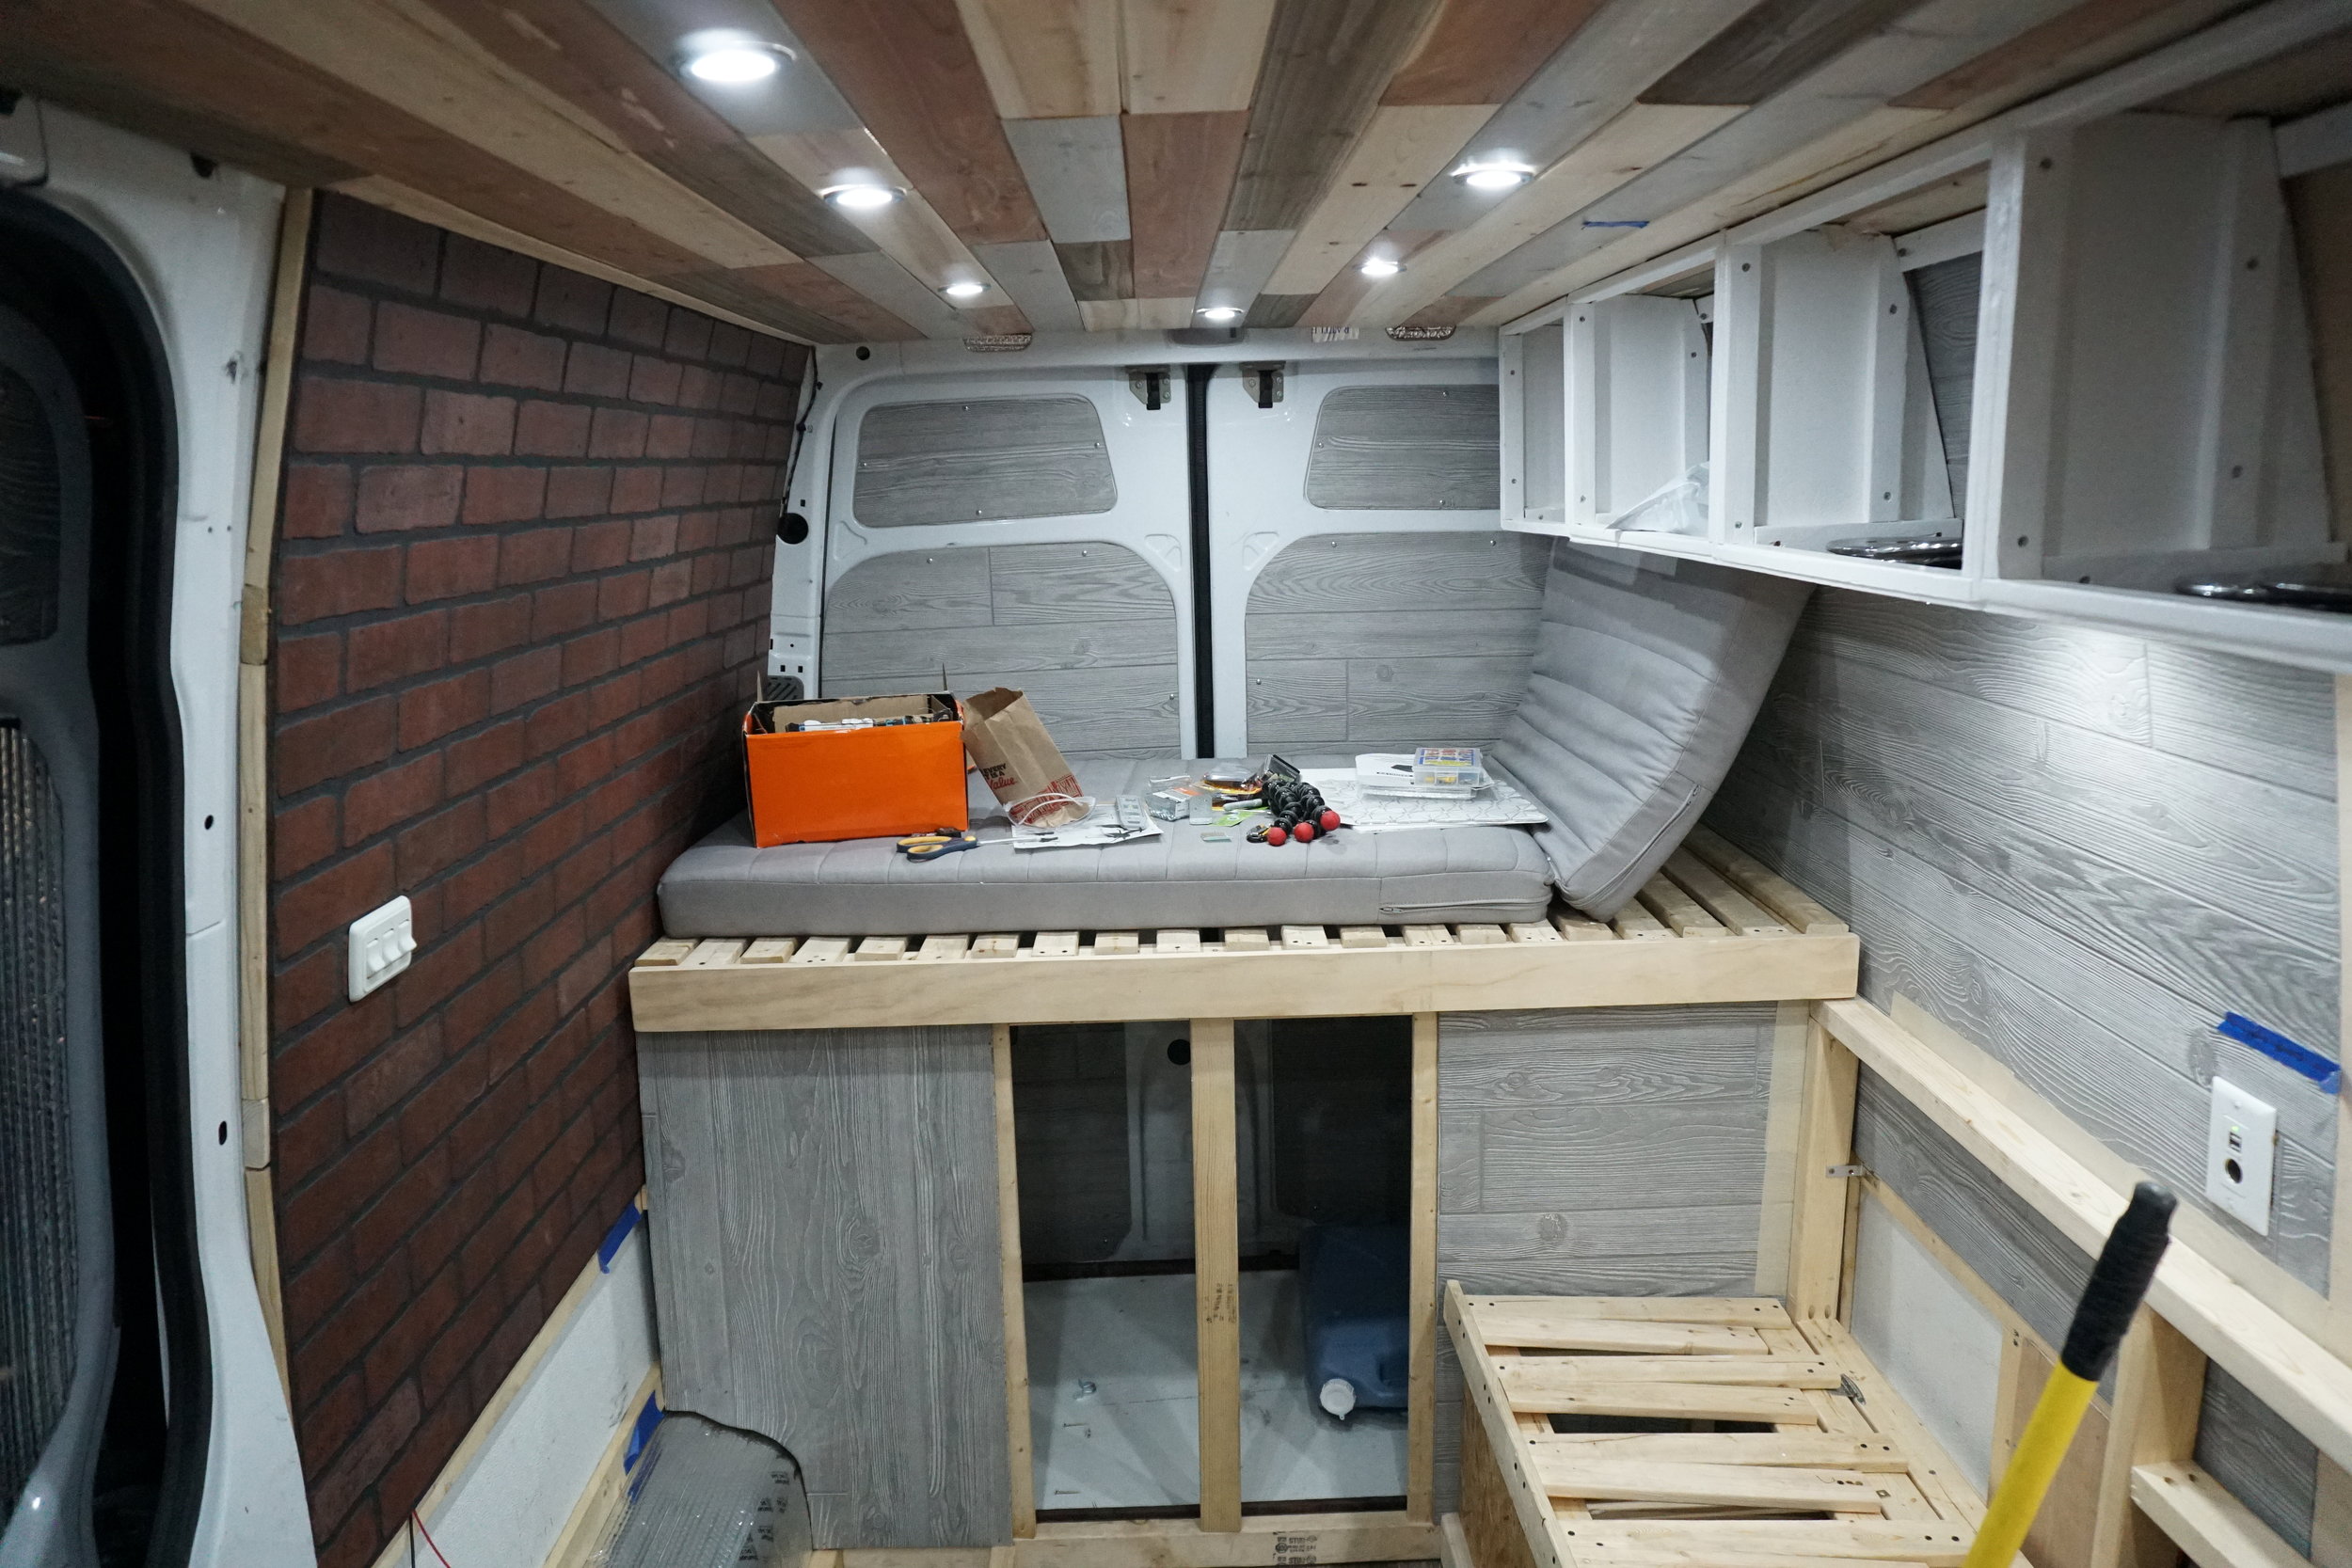
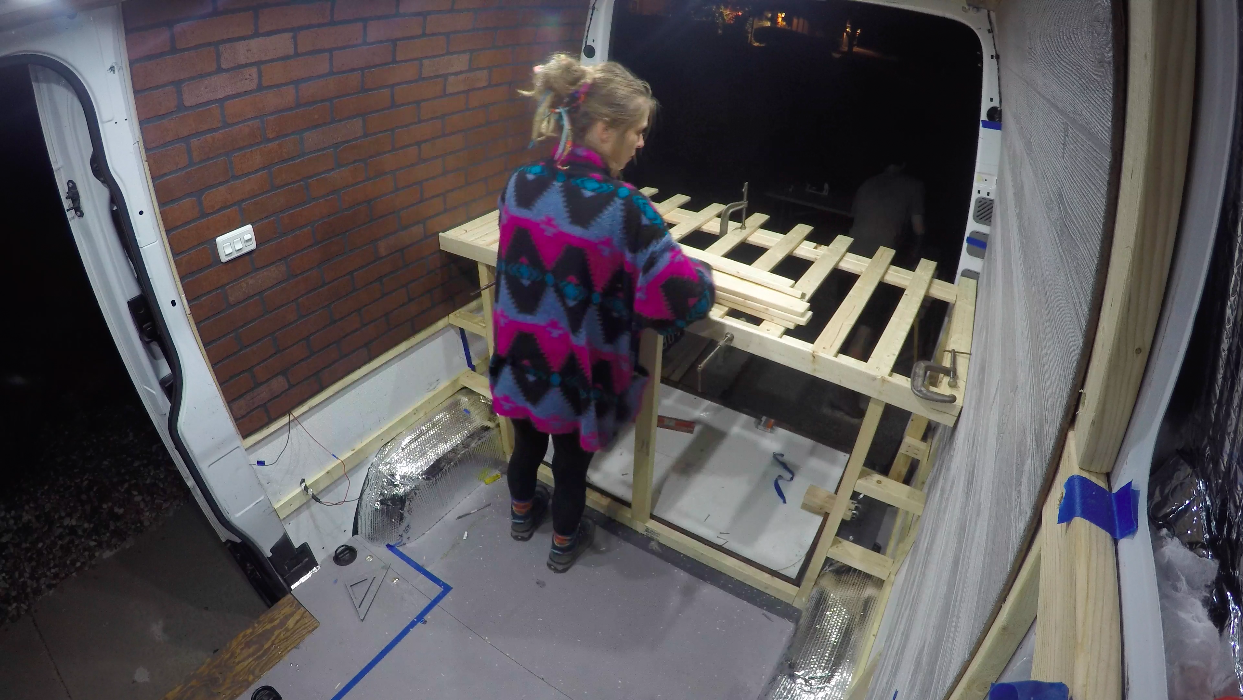
We used 2x3’s to frame out the couch and anchored them all to the van with heavy duty L brackets. The couch frame is also anchored into the bedframe, as well as, the countertop. So it is tied in very nicely.  We used bed slats for the top and tried to add a pull out chaise lounge type effect, but still have yet to figure out how to make this work.  The idea was to combine the ottoman we will built, with the pull out chase lounge to have a small bed if we had a guest. This is still in BETA but will be figured out as we go.  

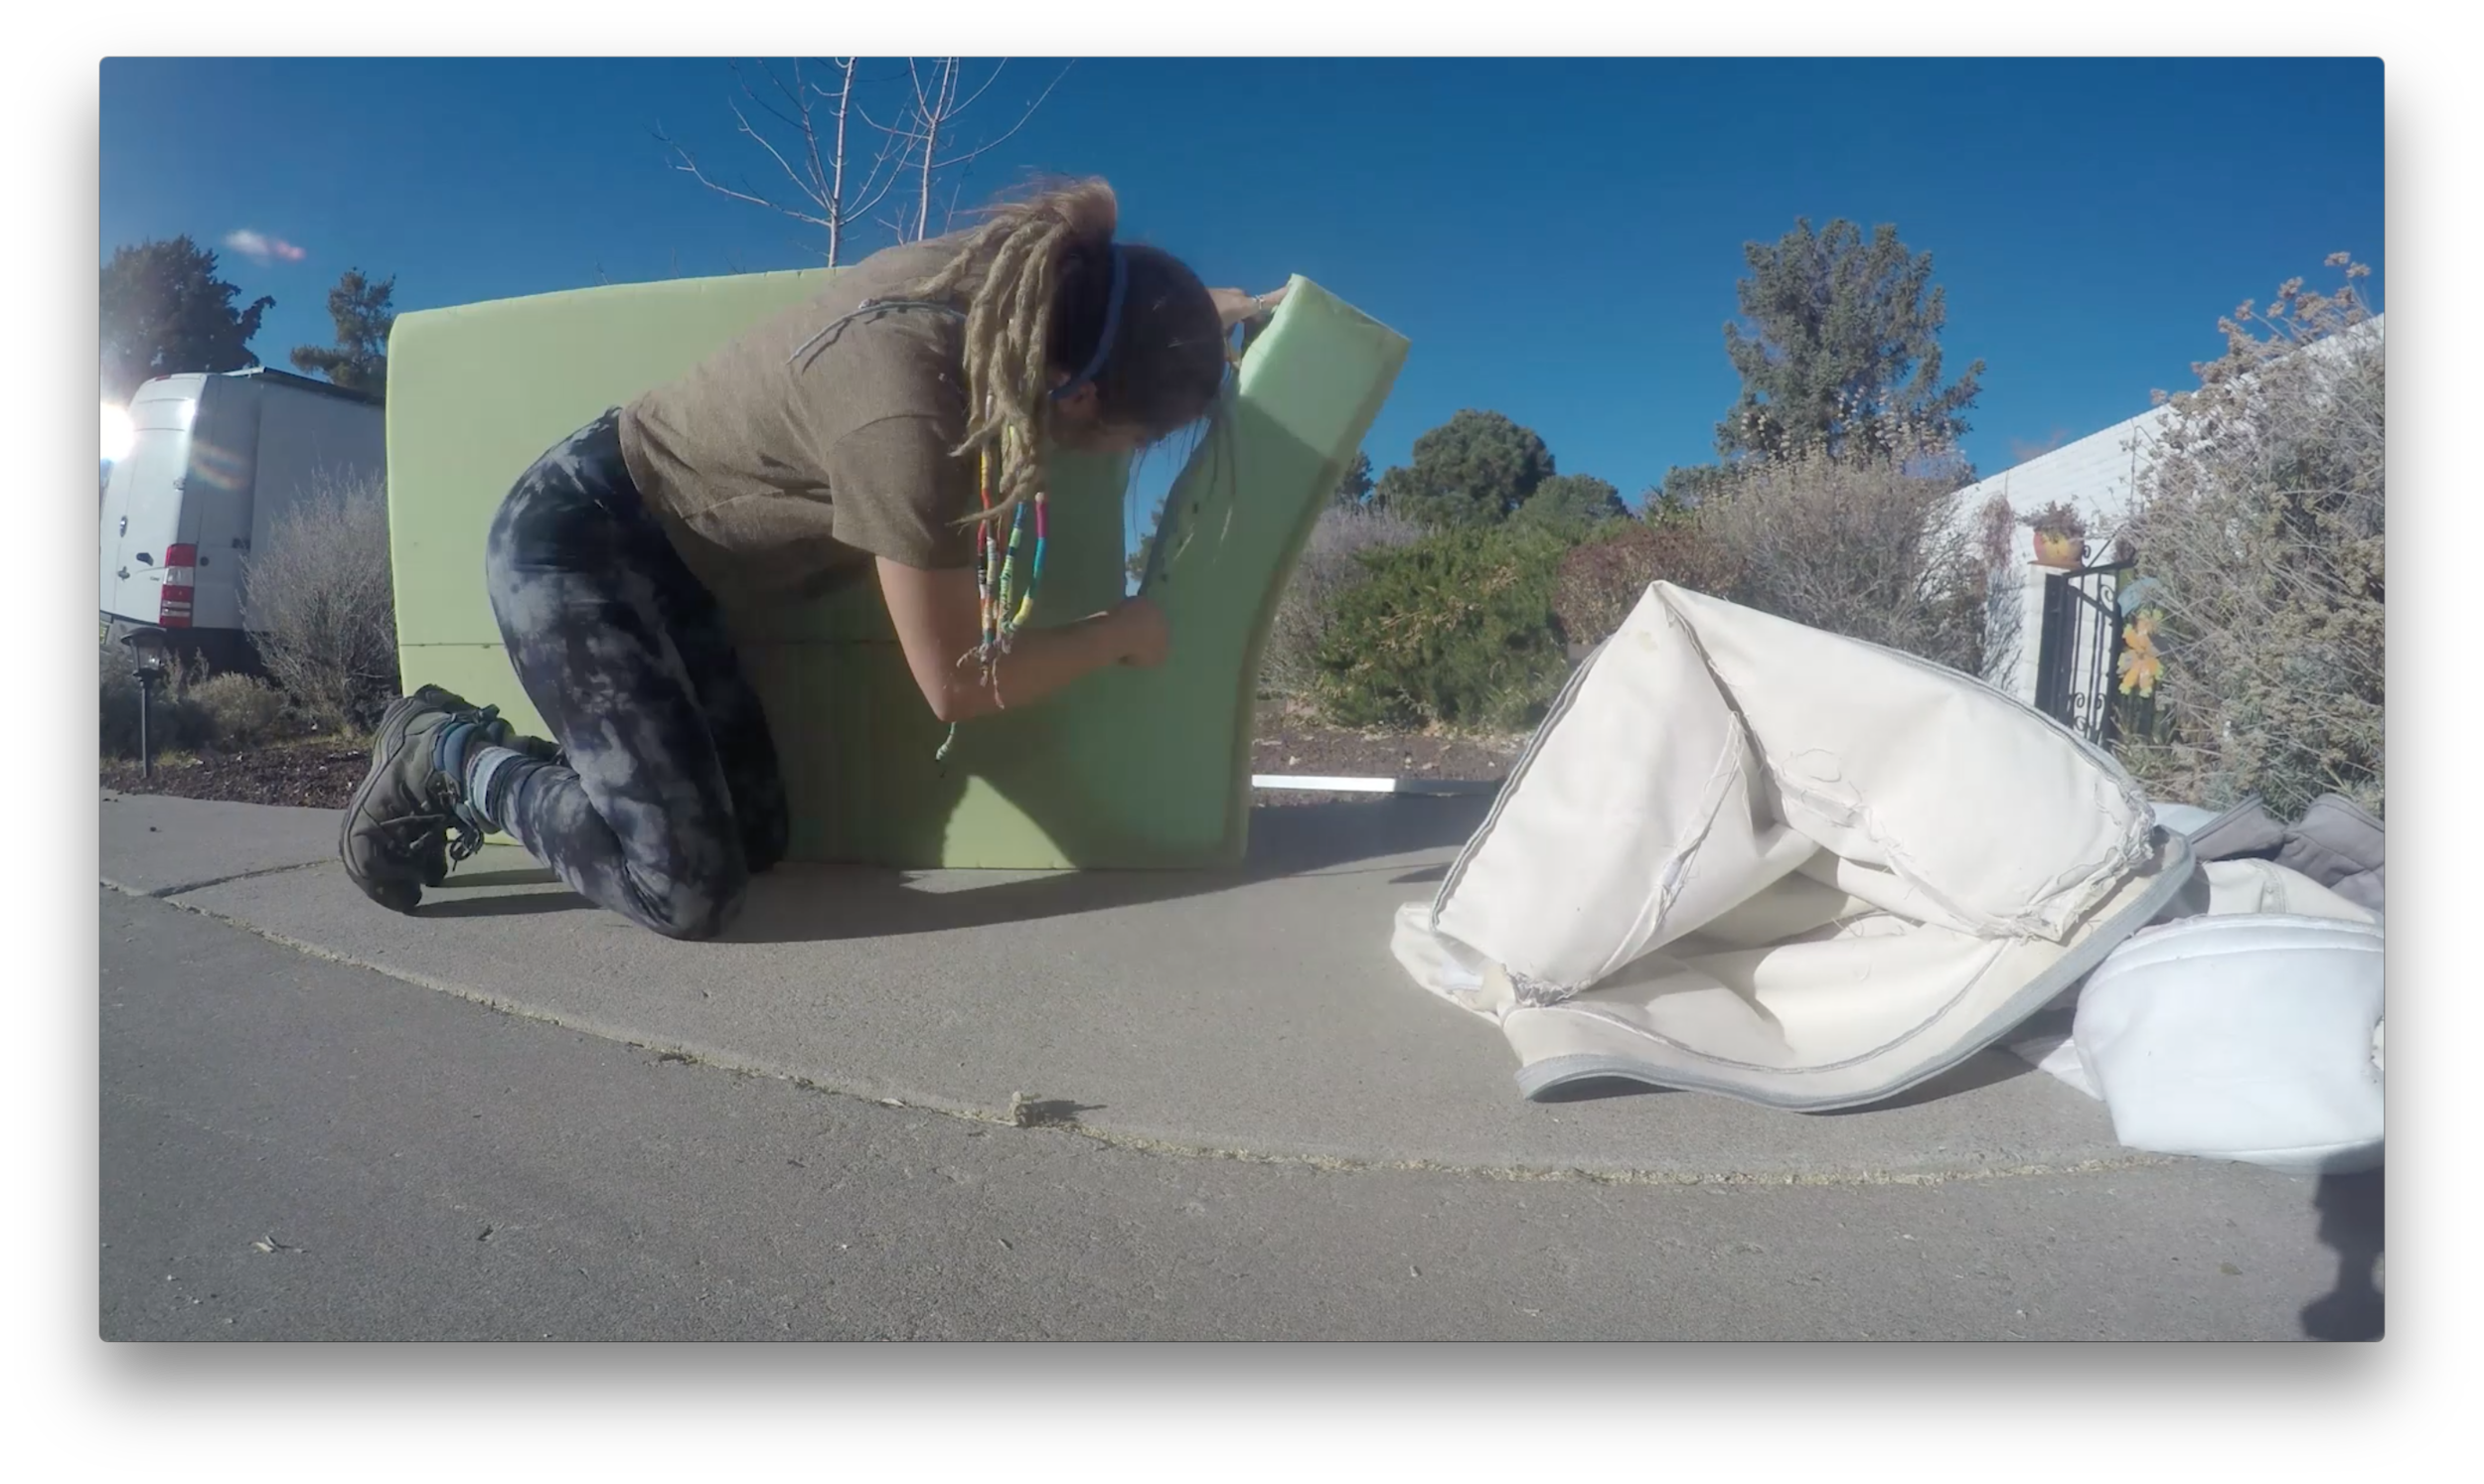
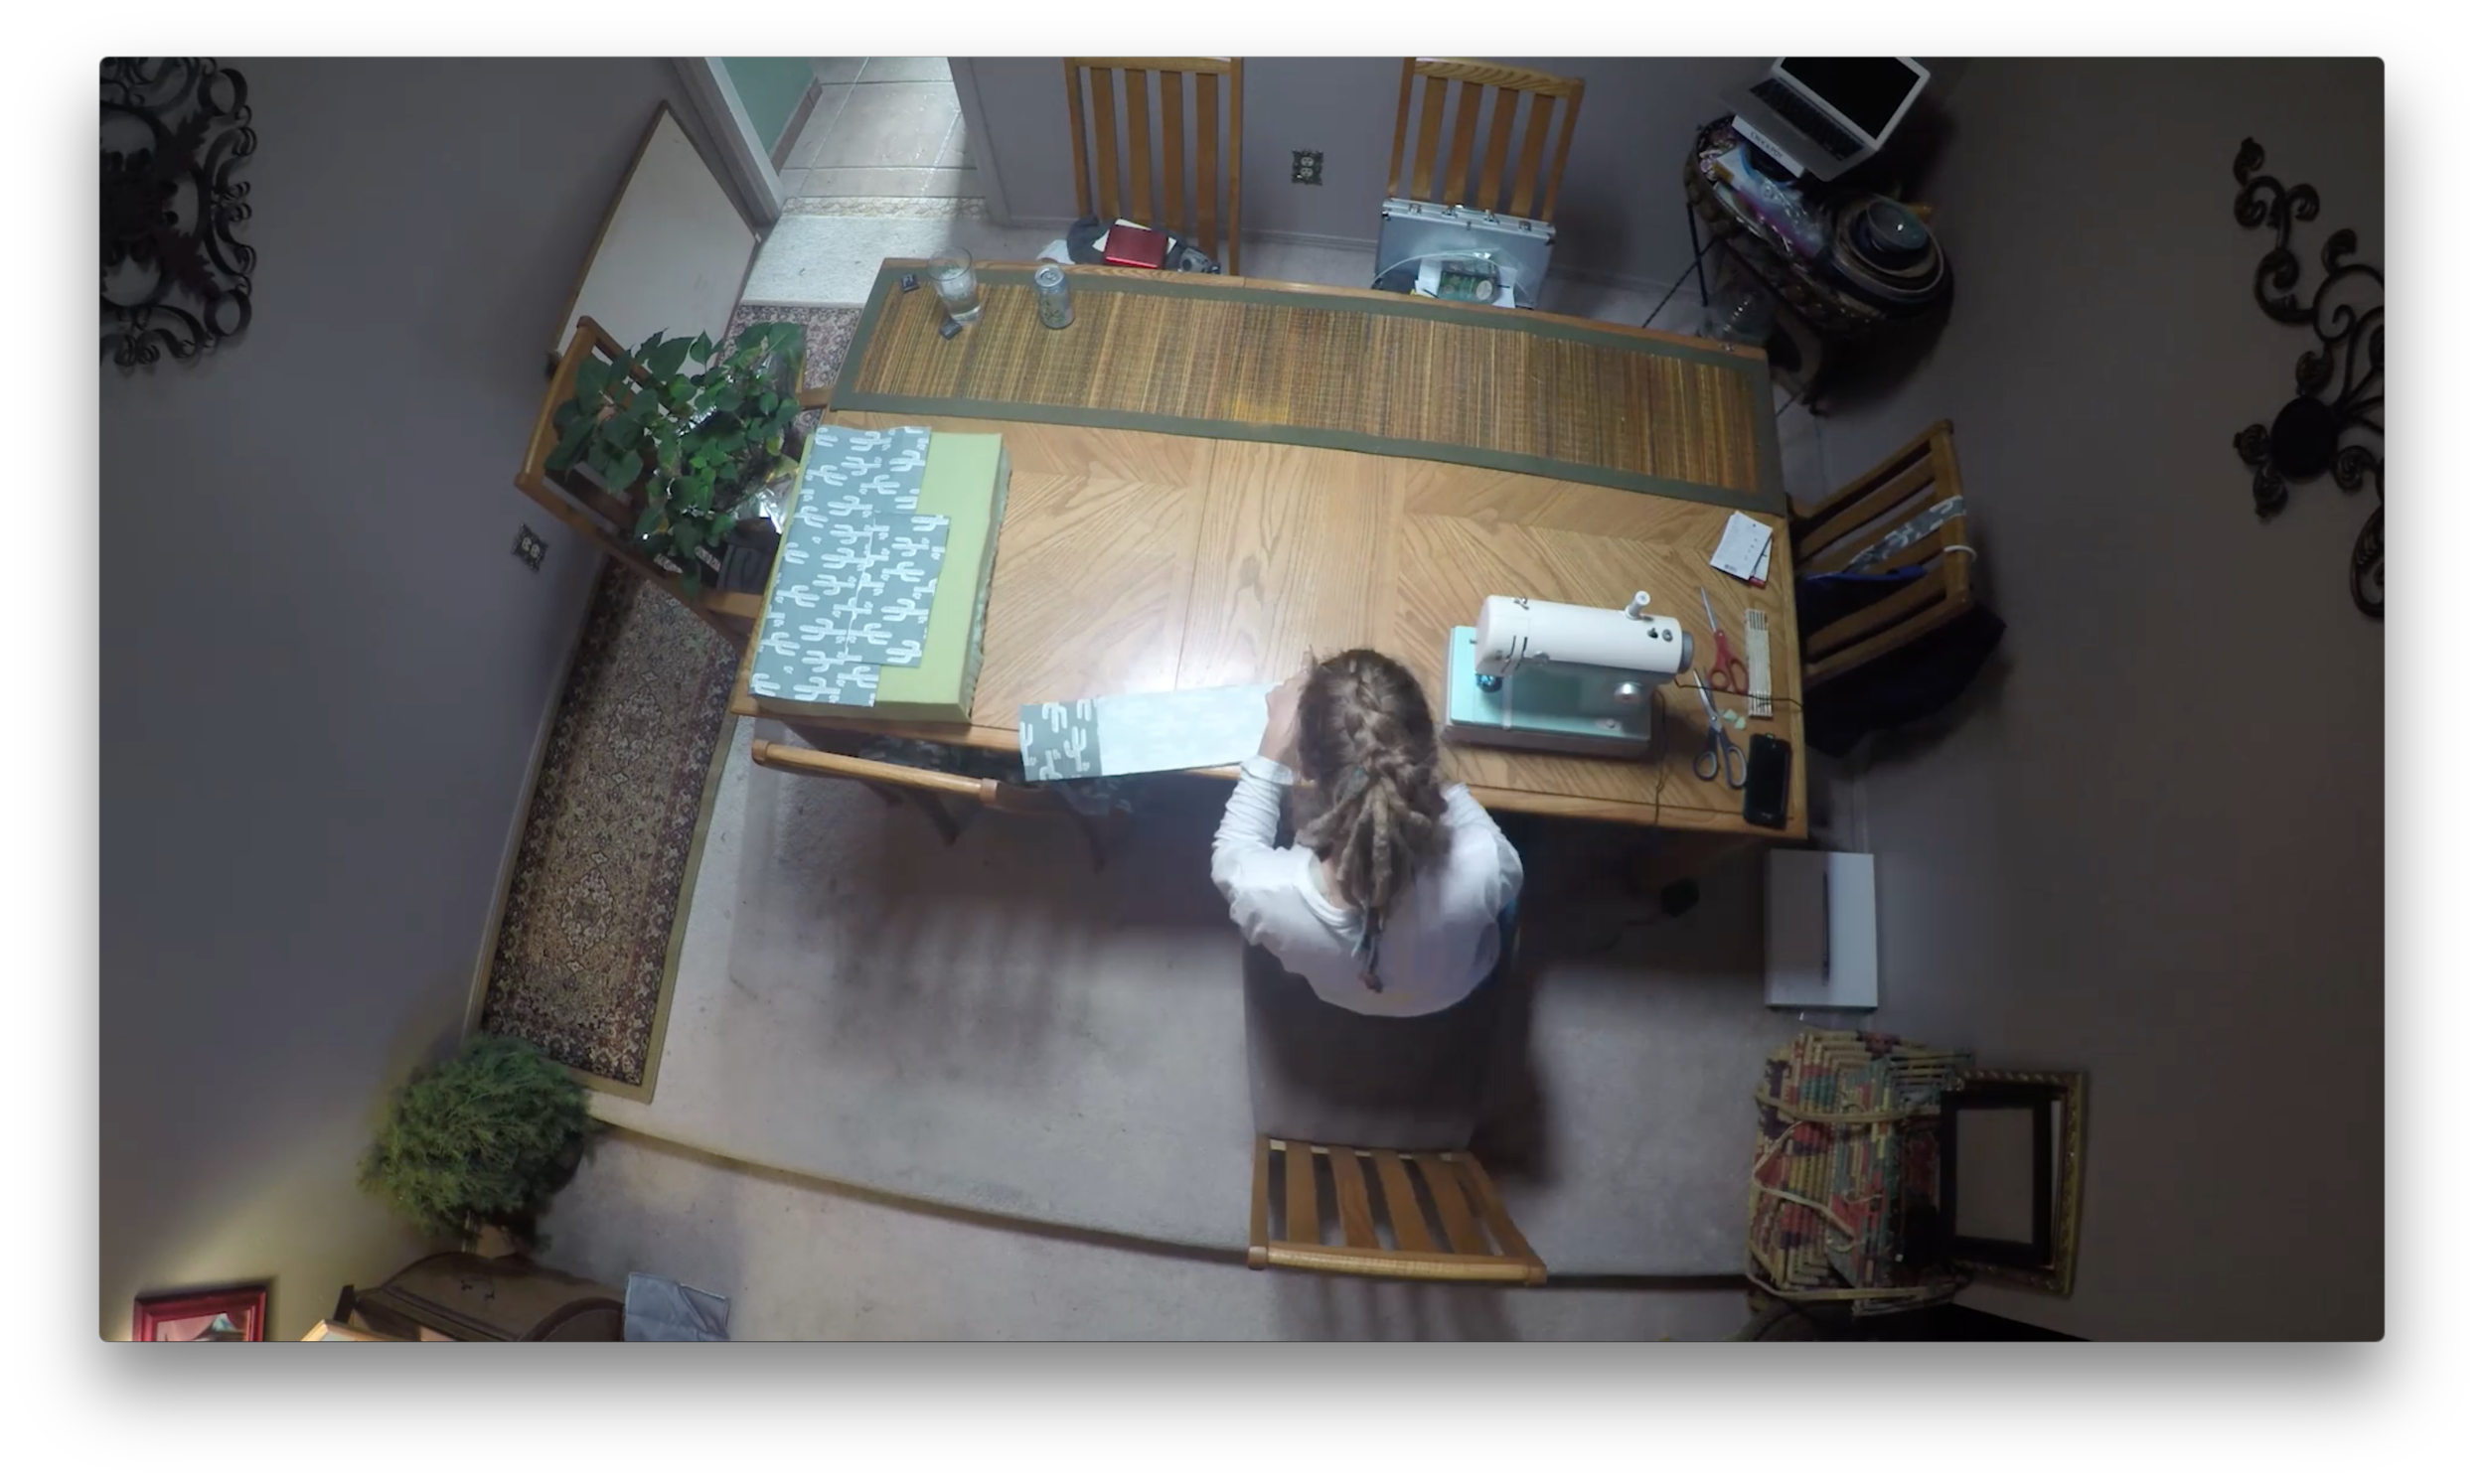
We had an old foam IKEA mattress that I used to use for ski bumming around Canada.  Dani cut it to size, sewed the fabric together, and added zippers to everything. So that way, we can remove it and wash it down the road.  She also sewed a few throw cushions to go with it.  Being from the desert, we chose a fitting cactus pattern for the couch and it looks amazing.    

Dani also was able to make a nice little wood mosaic with the scrap wood from the roof.  I’m really lucky to have such a crafty sidekick to make the van look amazing.  With the addition of the pull out table that comes out from the kitchen countertop (See Video), the couch is easily the most functional sitting arrangement we’ve ever had. Whether it be in a house or a van, it serves so many purposes. All those possible functions and purposes are what you need to consider for every single part of building your home on wheels. 

Phase 5.3: Bed and Bike Garage

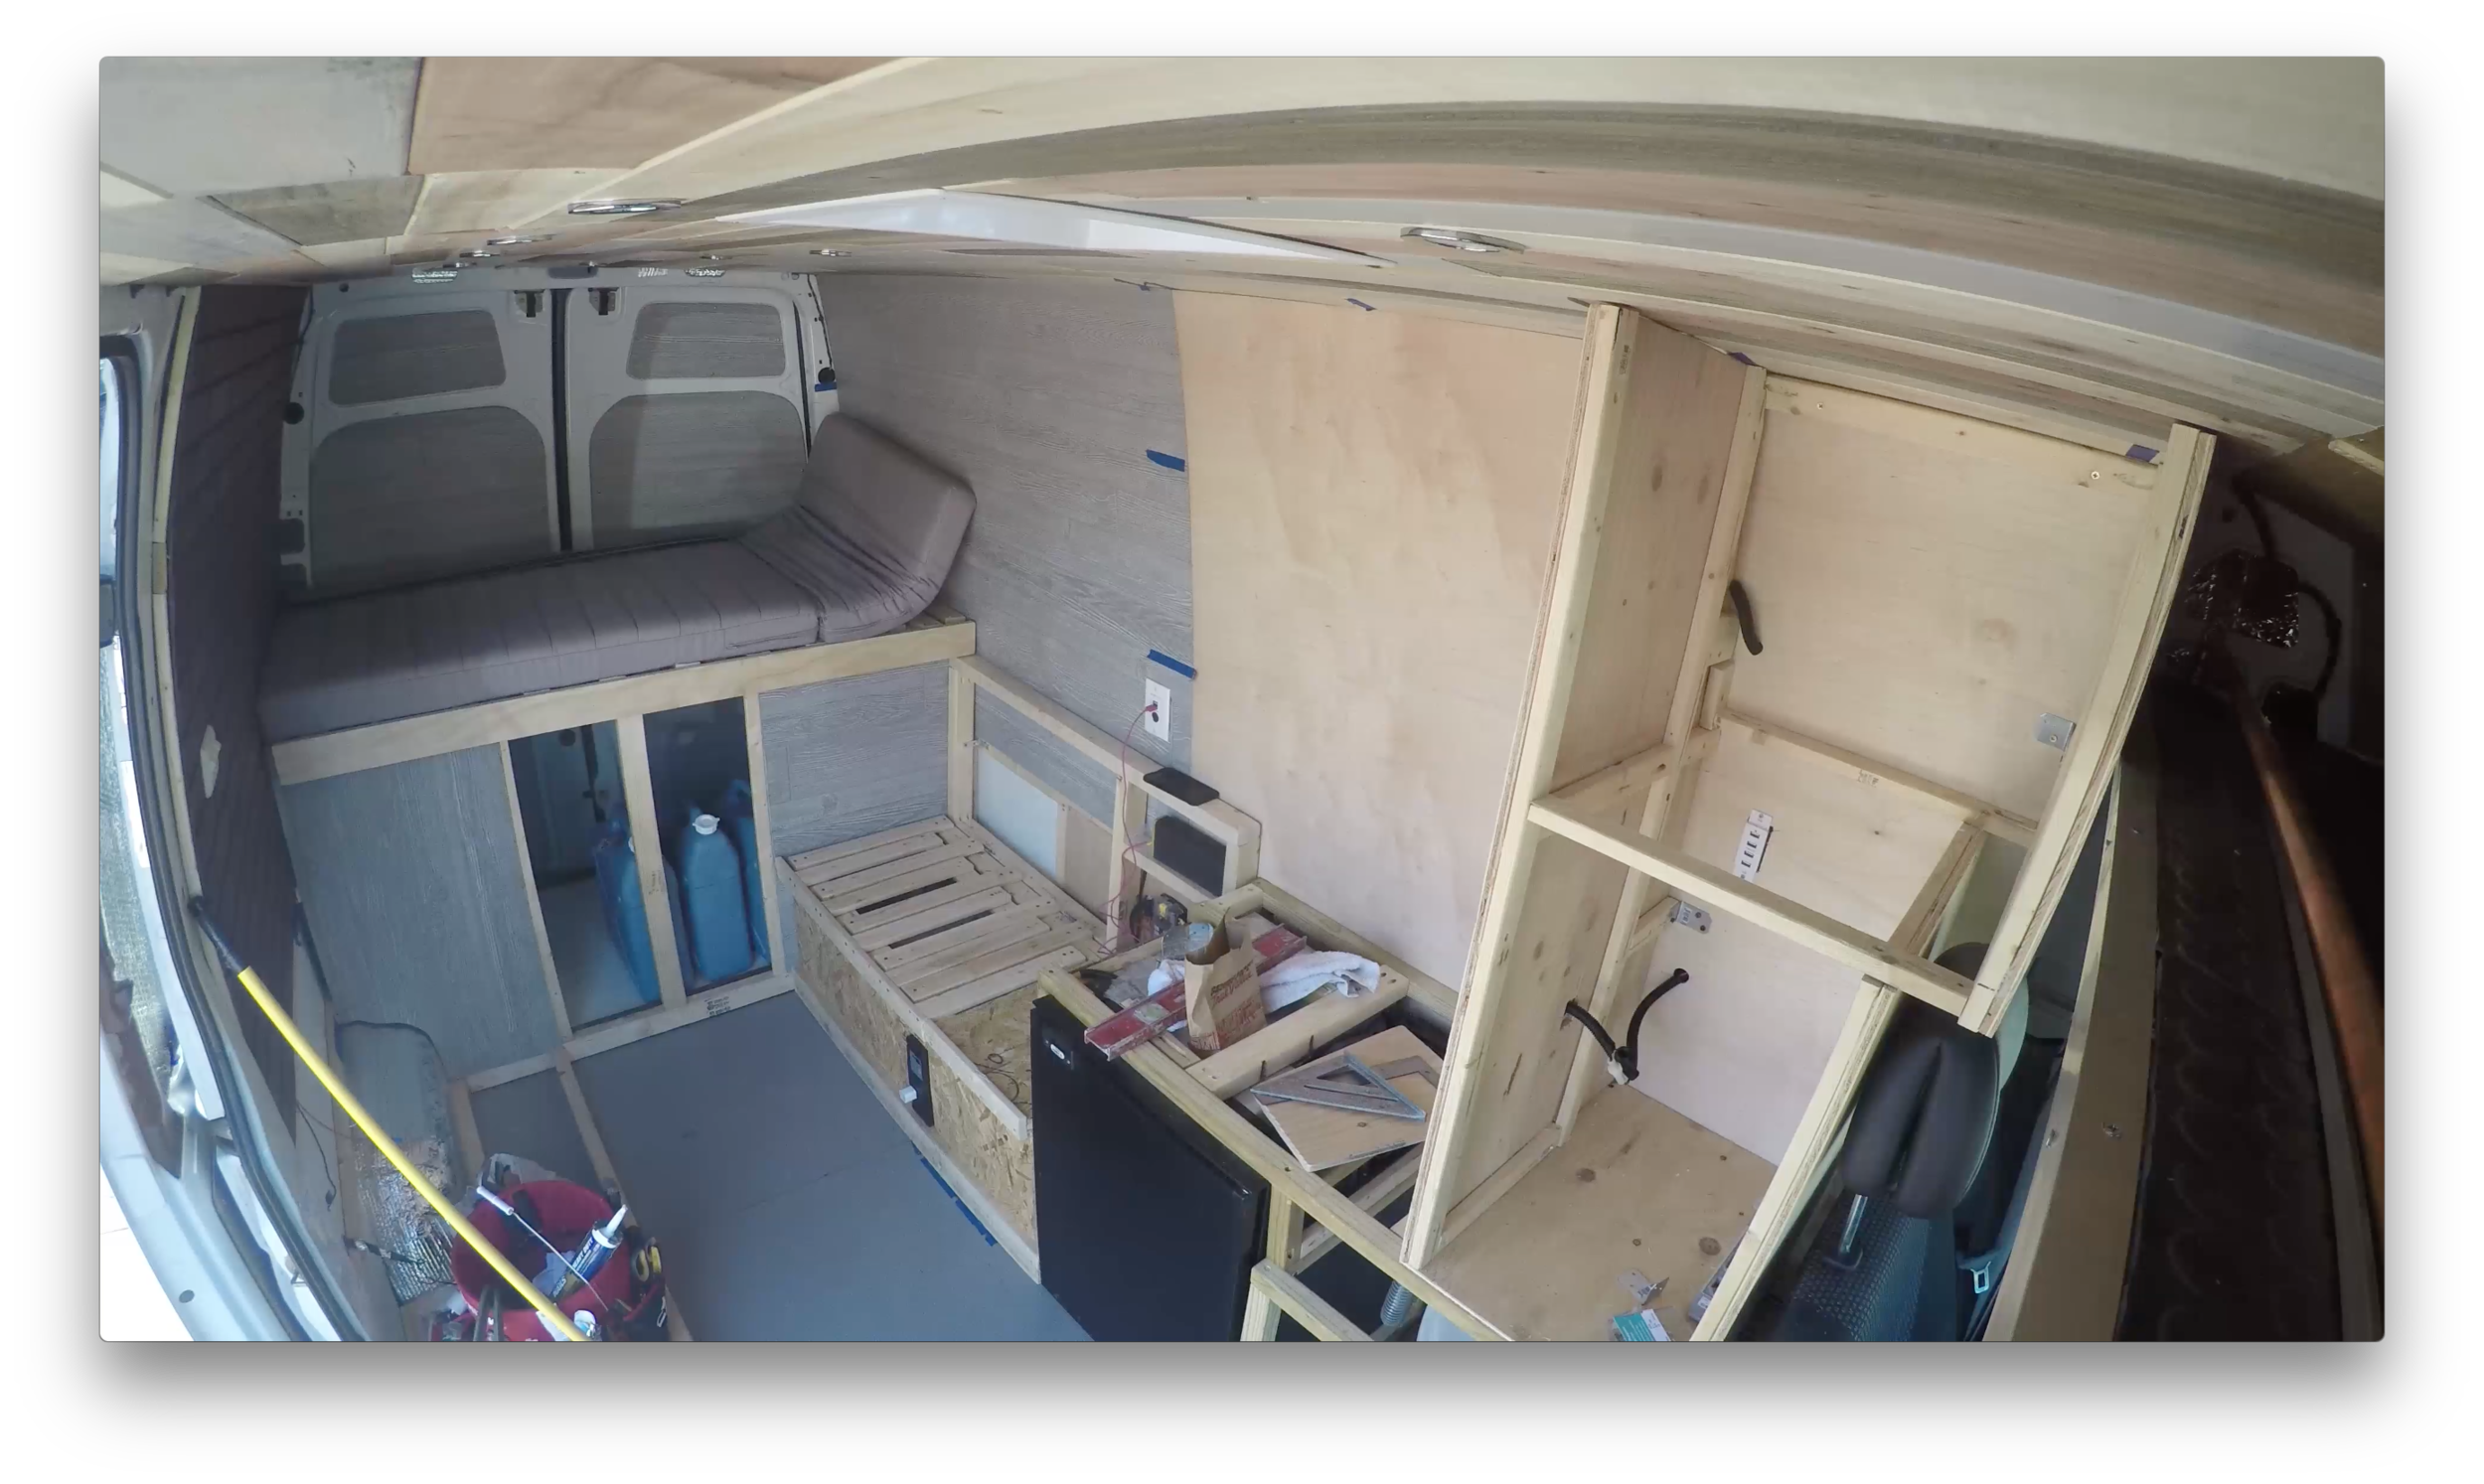
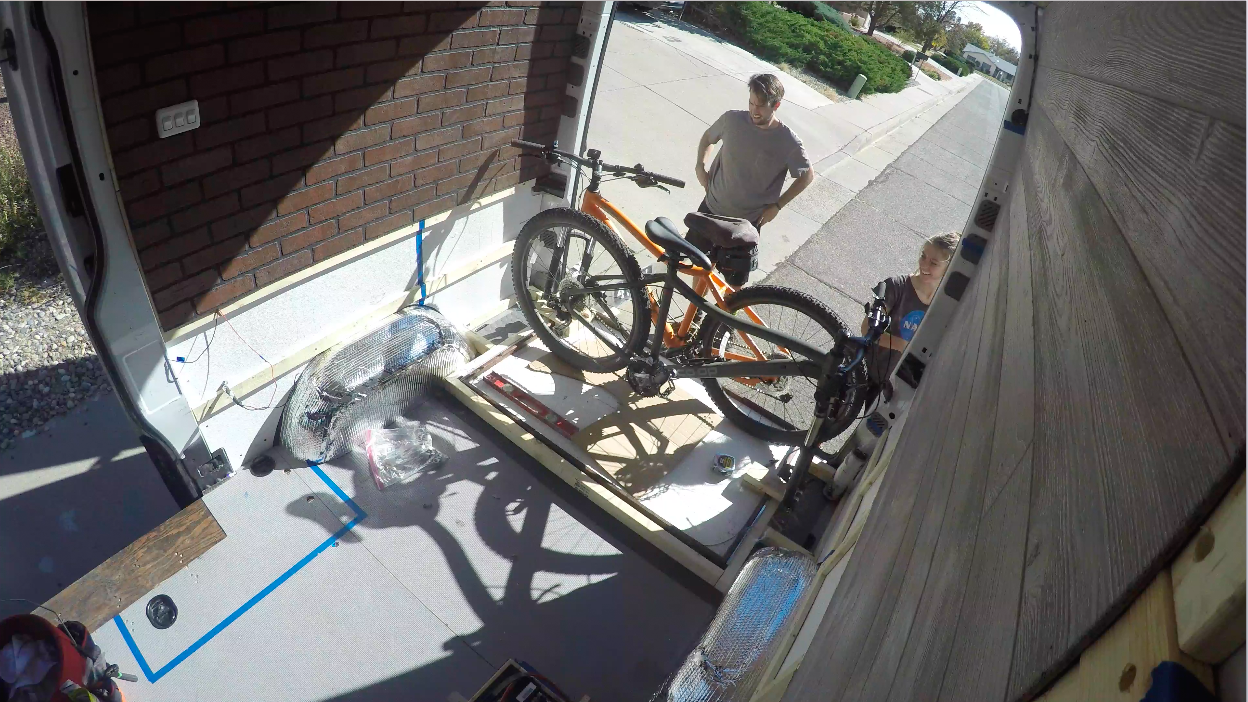
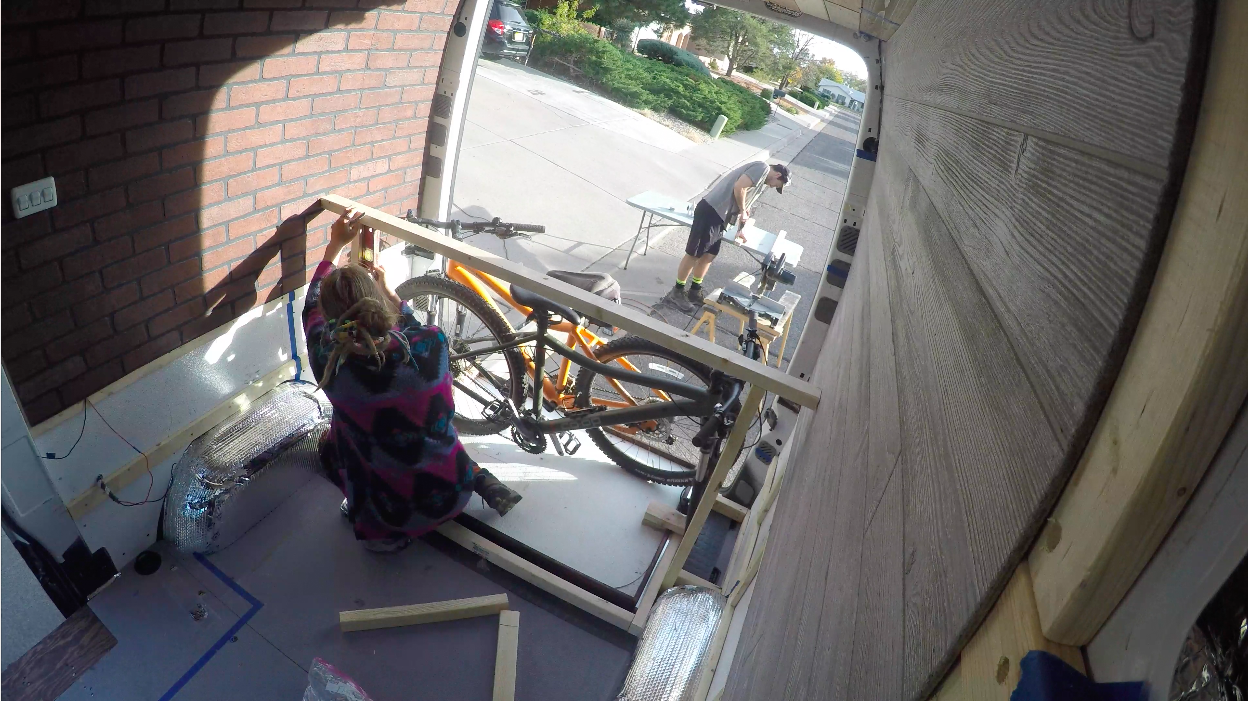
Since we just recently upgraded our mountain bikes, we weren’t leaving them behind and we really didn’t want them to be outside of the van 24/7, susceptible to rain, theft, and more back up hazard than a van with no windows already is. So, we kind of build the van around the bikes being inside, but taking up as little room as possible. Our layout changed many times before we started building (It changed as we were building sometimes). 

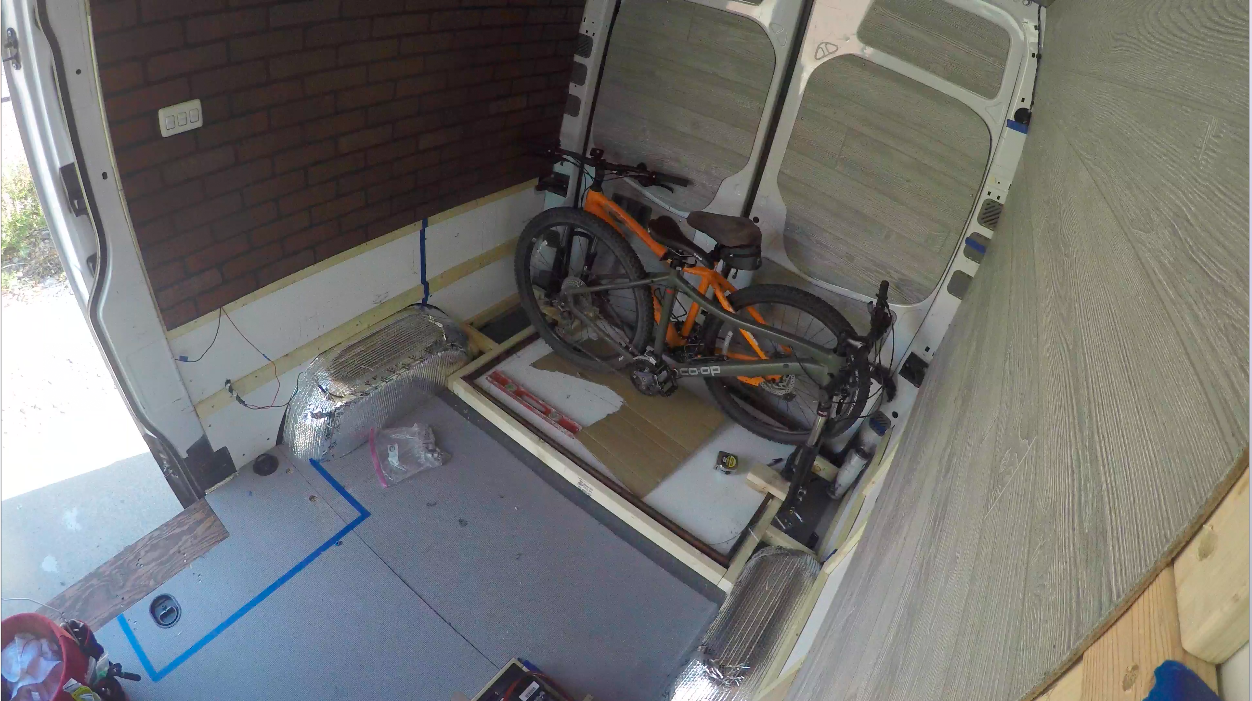
We finally were able to start building, with excitement, when we finally tried the bikes going in sideways, where the fork is on the passenger side and the back tire is on the driver side. They fit and they took up so little space too, compared to putting them in length wise! We had to have an area to sit, work, edit, nap and eat. Those are some functional requirements we had for the non-garage area. The bike storage usually competed space-wise with the living/hangout area. 

But, with this new configuration that we figured out, with the bikes sideways, it allowed both to happen—bike storage and room for the seating area we needed. 

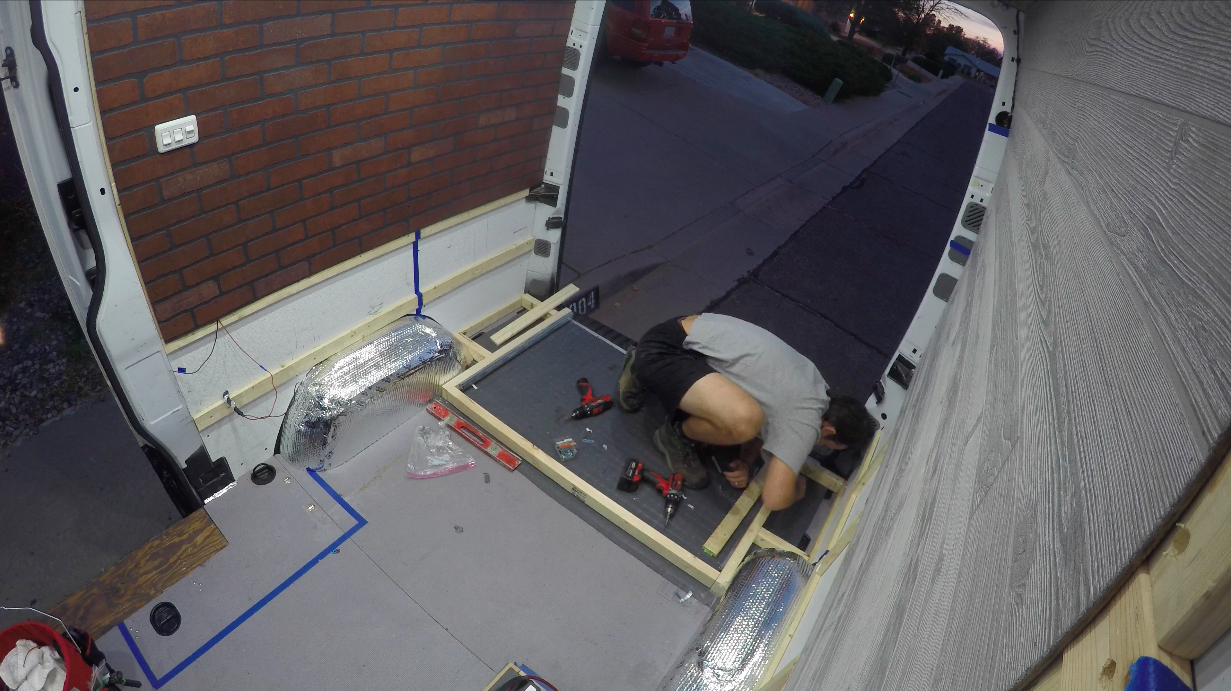
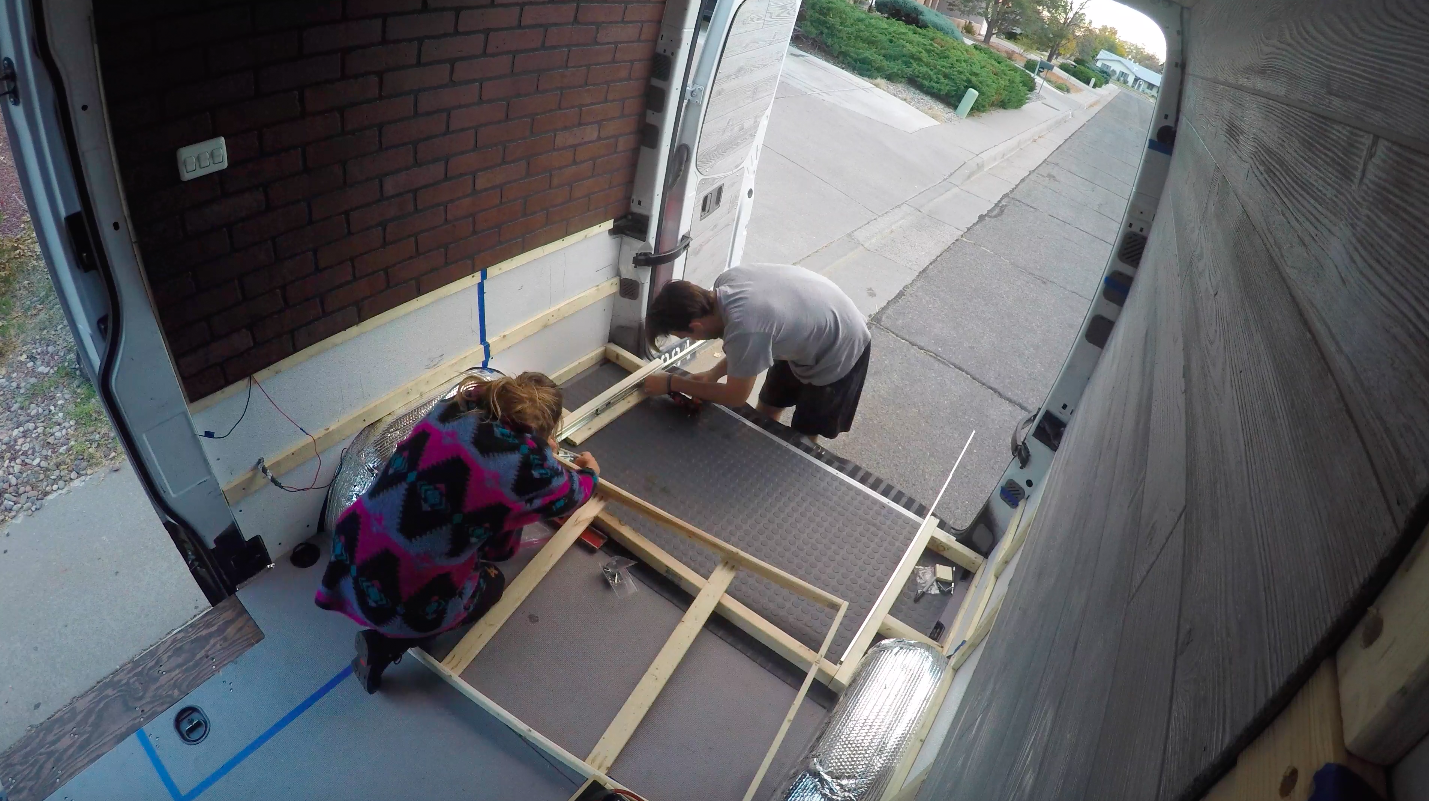
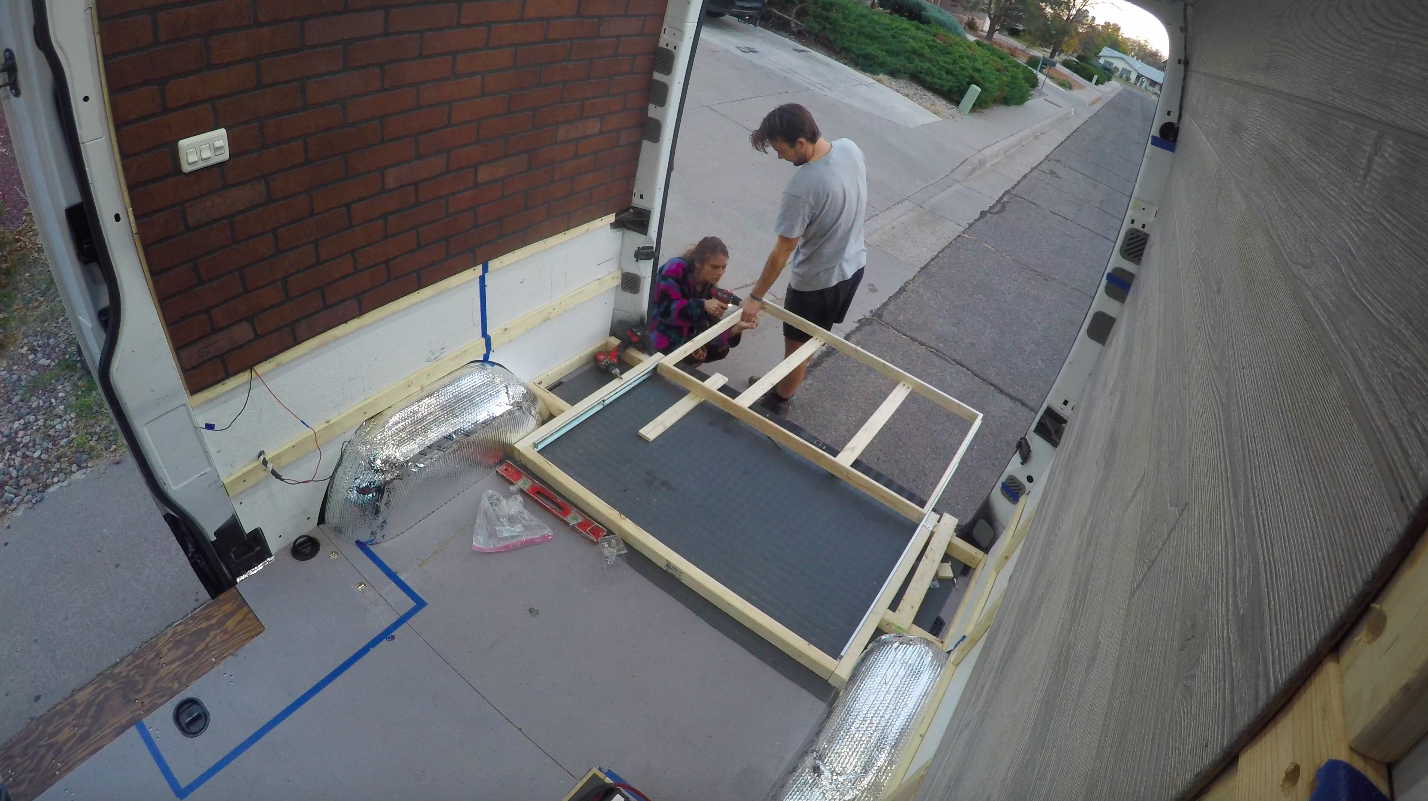
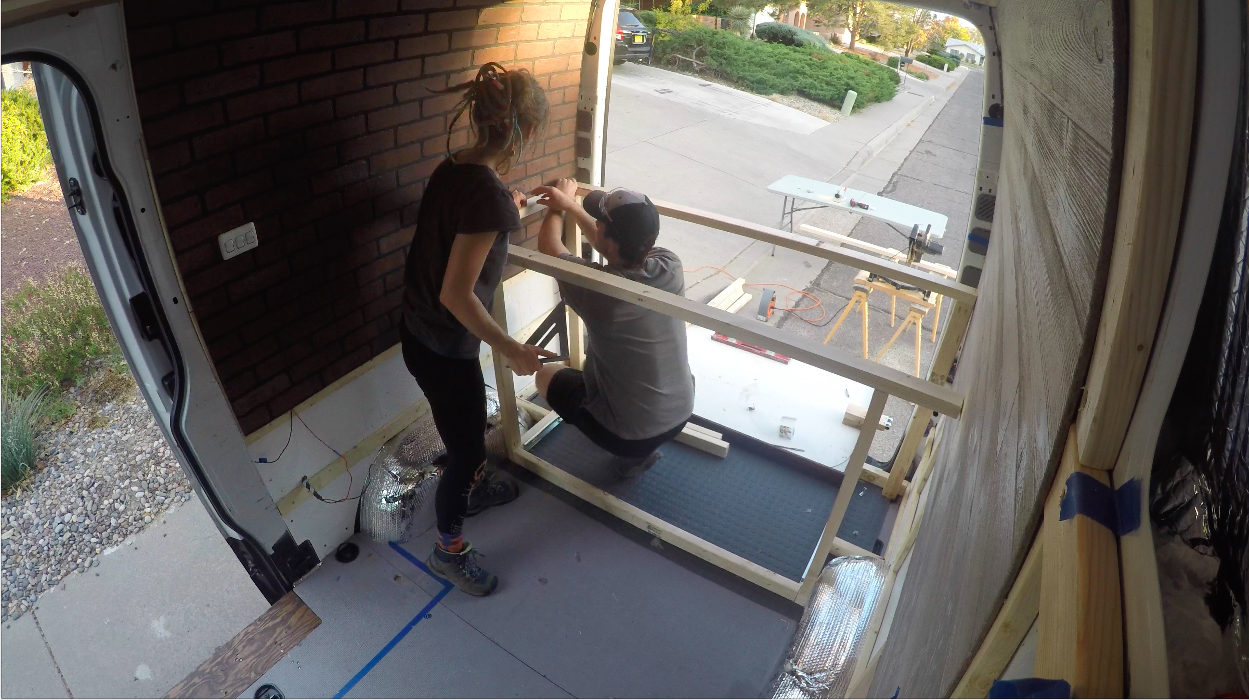
So, we got to working on the bike tray for the bikes. We wanted them to pull out for easy access and stow-away. We used some heavy duty 30” drawer slides that we found on Amazon.  We reused the grey rubber floor mat that came with the van in the garage. We cut it out, rolled it out, framed right over it. We started our framing for the garage area where the drawer would slide in and out and built around that. Once we got the frame for the drawer all laid out, we were able to mount the drawer sliders, on each side, to that newly installed frame and get a true measurement of how big the drawer needed to be.

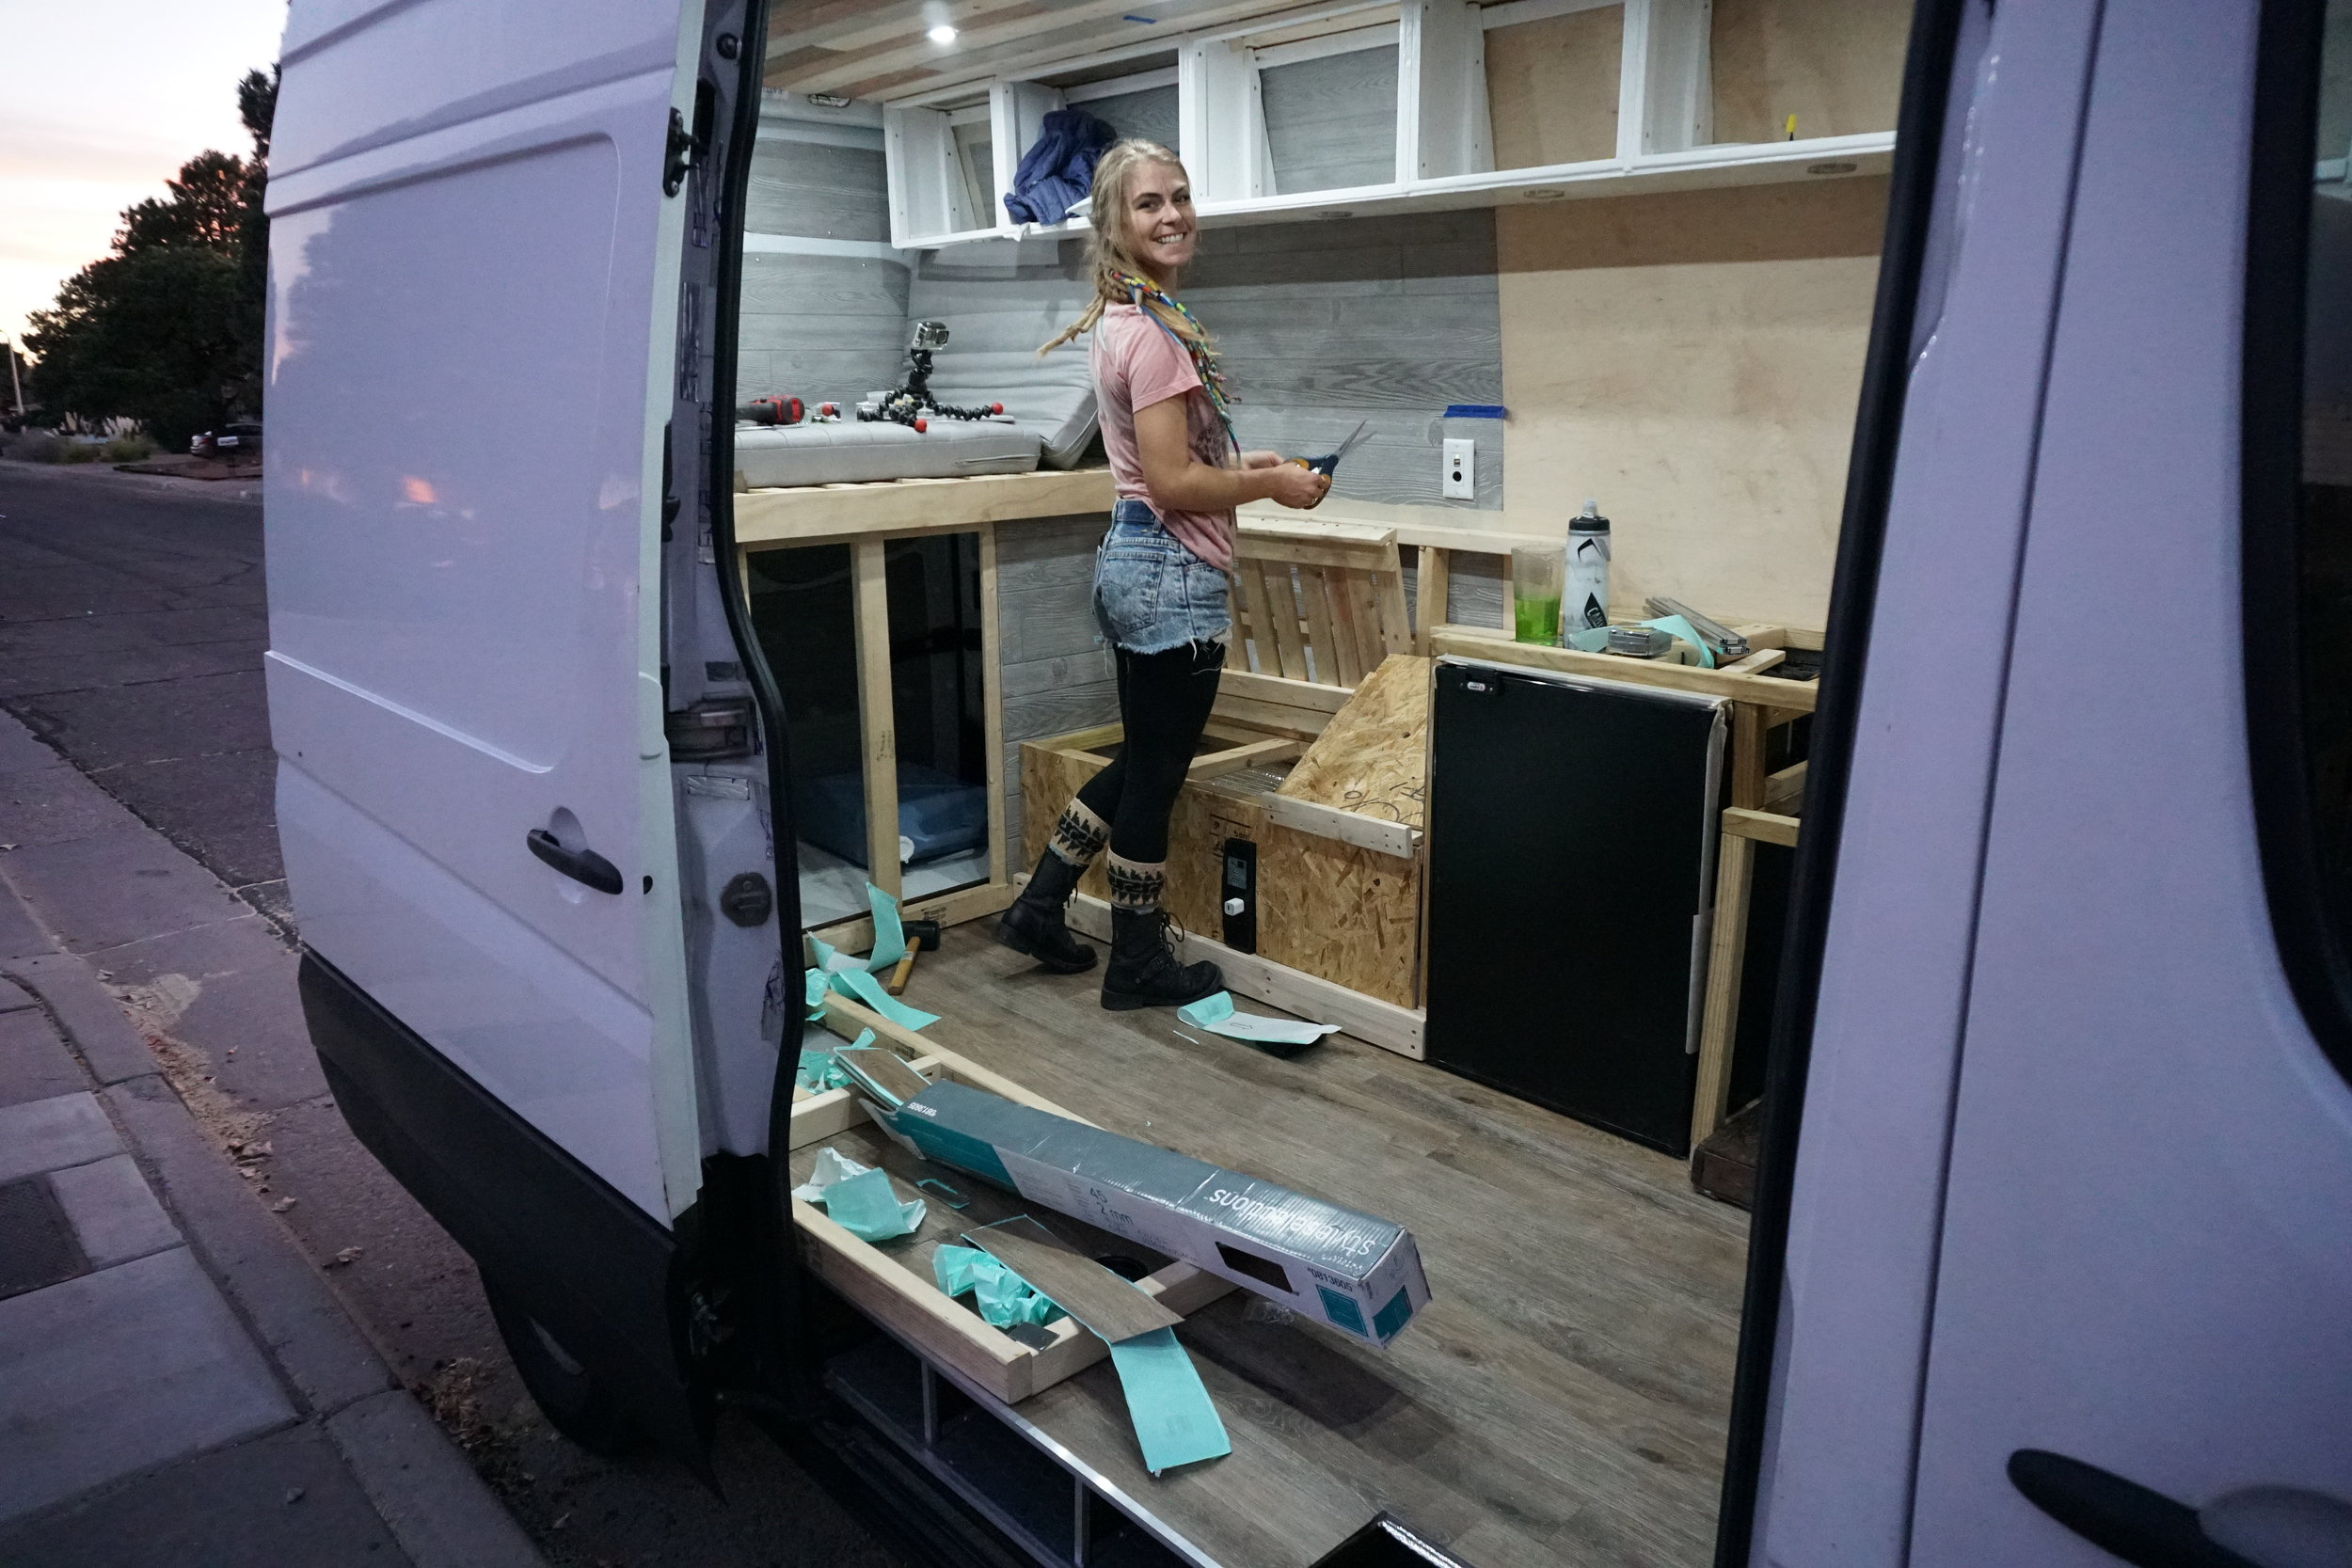
Then, we started building the drawer. We framed it out from our measurements of the drawer frame. We used some thick ply OSB for the base of the bike tray. (We used OSB because we got at Lowe’s for 50% off. It had one crushed corner. 50% off meant it was $8 for a 4x8 board! So we found many ways to make it useful.) 

Once we had the drawer built and stained, we reused some more of that white waterproof textured fiberglass panelling (the previous owner used this instead of the stock cardboard paneling) as our base. That way we could have a little bit of a waterproof base in there for our bikes. We sealed it around the edges with some leak proof sealant my dad had in the garage. He uses it for quick pool piping patches.   

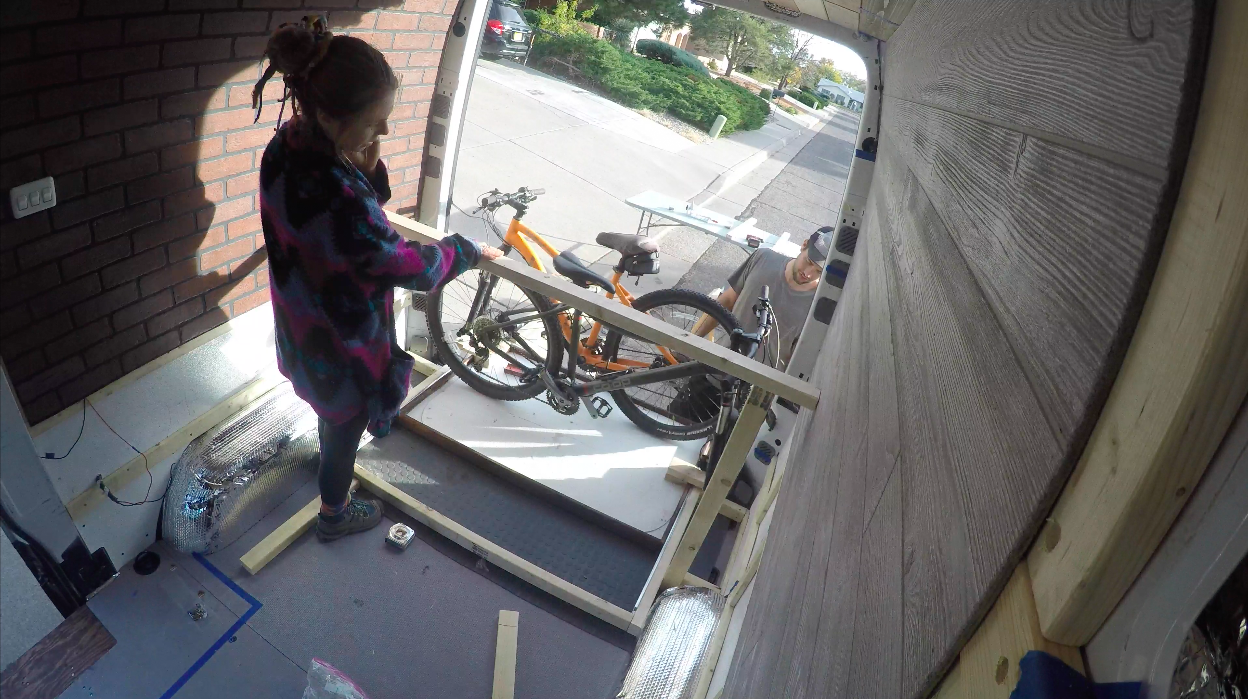
Once the bike tray was in and working, we needed to find a way to mount our bikes to the tray to make sure it would still function, as planned. We couldn’t move forward with the rest of the build, until we made sure it slid in and out smoothly with the bikes mounted. Once that happened, we could get the measurements of the bikes in the tray to know the height of the bedframe being build around it. 

The tray we built was a little short. The fork hung over the drawer bit so we built little platforms to mount our bike mounts on. 

We have one thru-axel bike fork and one regular.  For the thru-axel bike we ended up buying  this one. For the other bike, we got a 6” 5/8 carriage bolt, some eye hooks (2 different sizes), washers, lock washers handmade our own mount. Kevin called it the “bride of Frankenstein” (because we had made his Thru-Axel mount first, out of plumbing nipple and some other mounting pieces for pluming, and he thought that was Frankenstein-esque.) We ended up just buying the real deal for Kevins bike (even tho our worked fine we just thought it would eliminate the side to side swaying while driving—it doesn’t do any better).

Phase 5.2: Walls

This one was hard to get started. Although wood paneling seemed pretty easy, we didn’t want our van looking like the inside of a boat with tons and tons of wood paneling every where. We wanted it to look like a little micro-loft or something that might make you forget you were in a van the more time you spend in it. It’s a lot to expect in such a small space and that desired look and functionality is giving us all the headaches everyday :) But, we will see if we can pull it off.

Meaning to go to Home Depot to broaden our selection, we drove across town to what we both pictured as a Home Depot, but it was another Lowe’s. Whoops. We went in anyways to grab the things on our list and just see if they had any more variety in the 4 x 8 MDF textured panels than the Lowe’s near our house. A friend told us he had done all his bedroom accent walls in them and they might work perfect. I had seen the brick ones, but I was still coming around to them. I thought if I paint it white it would be awesome. Kevin wasn’t keen on the idea right then. 

But, he was in luck! We found the stuff, in person, that we saw online and not at the other Lowe’s—the Barn looking textured hardwood panels our friend was telling us about, aka Gray Homesteader Panels! So we bought 3, 4x8 Panels thinking that would be enough. 

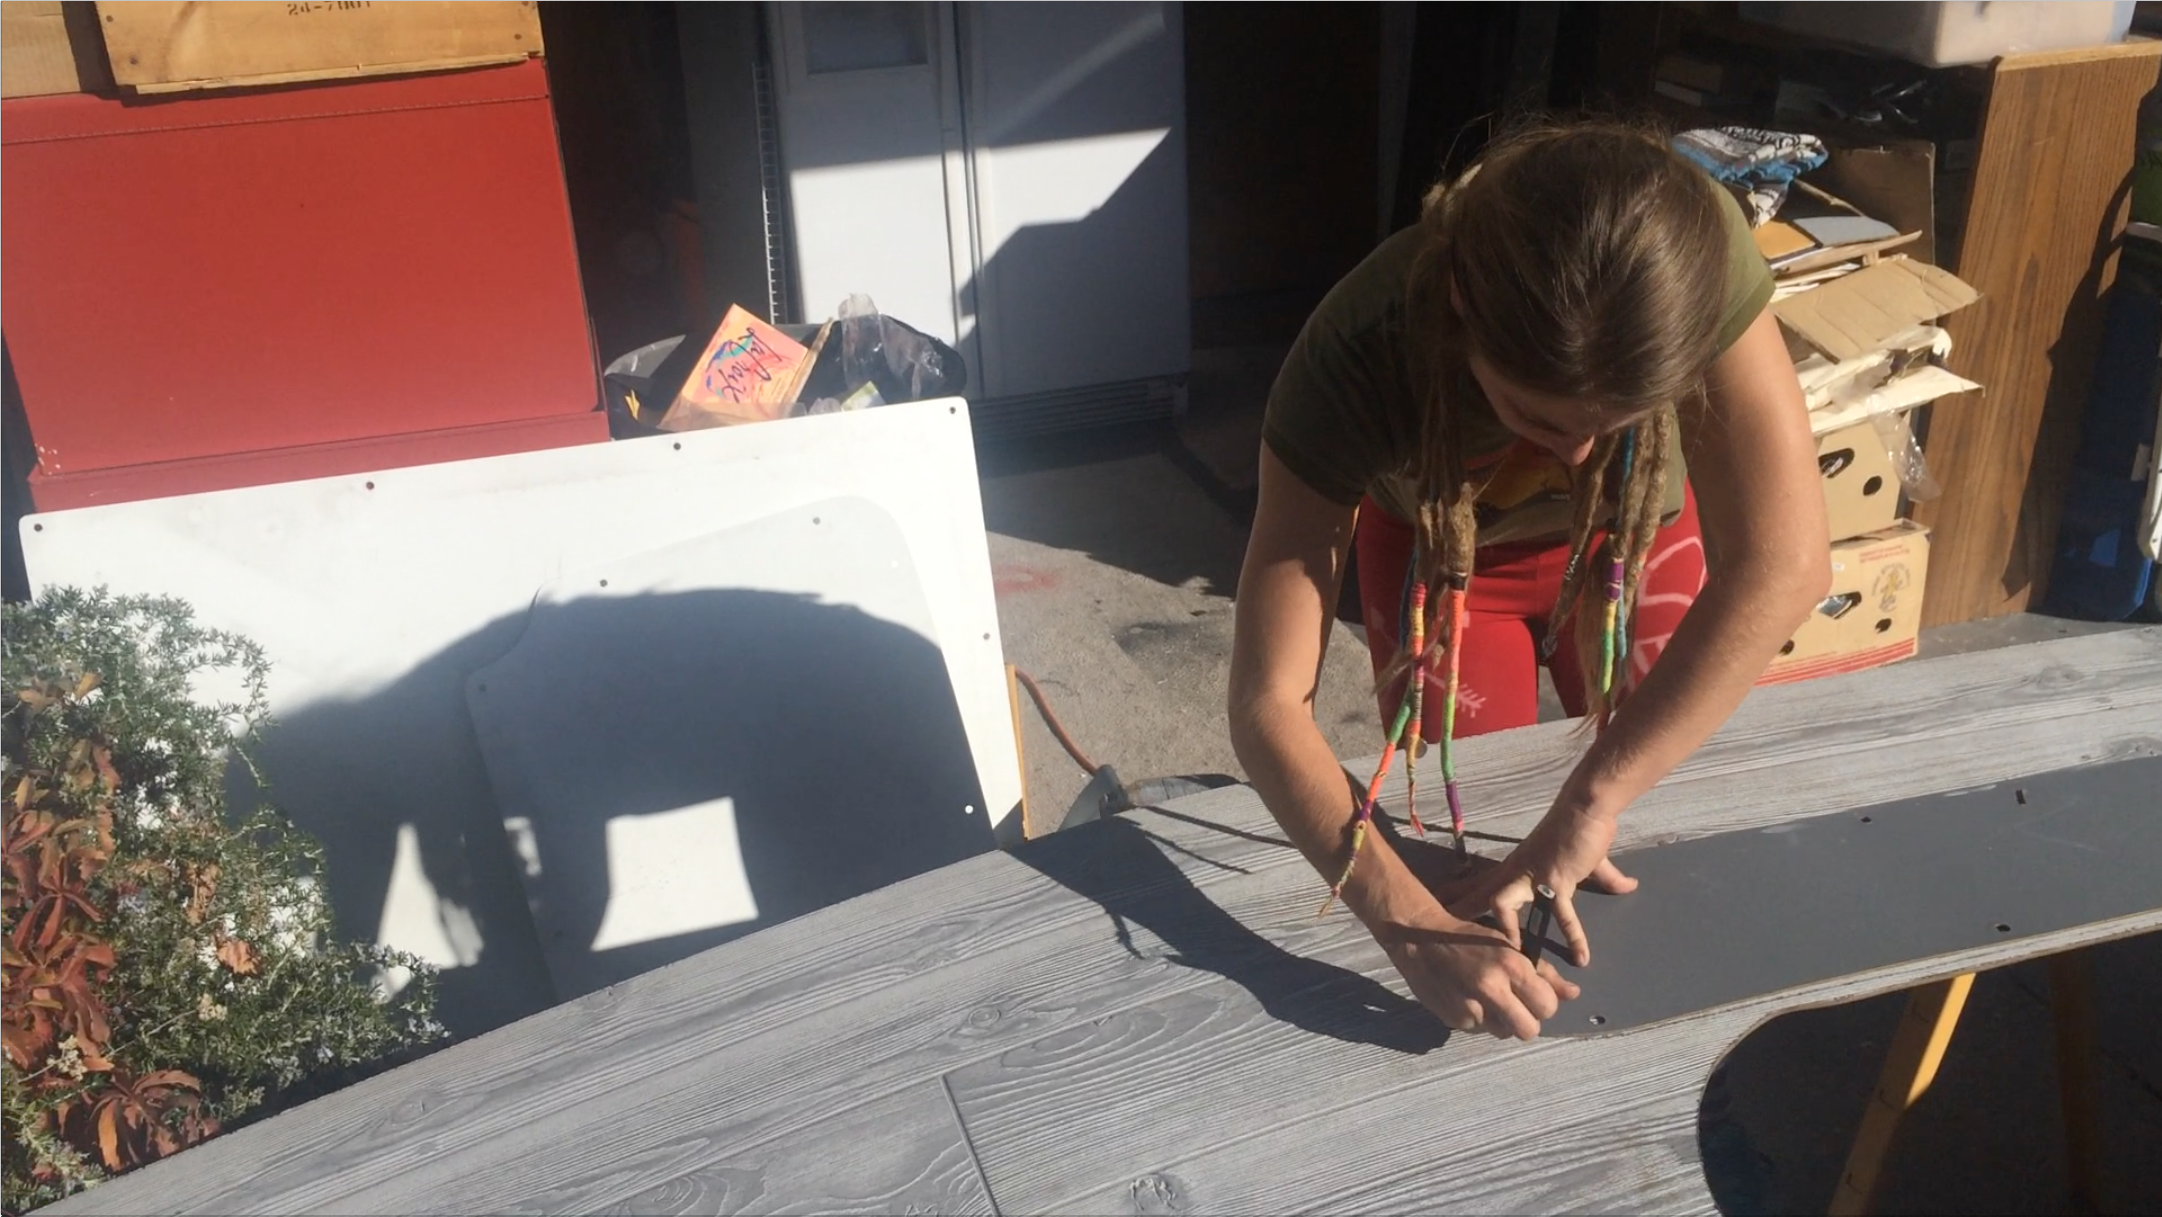
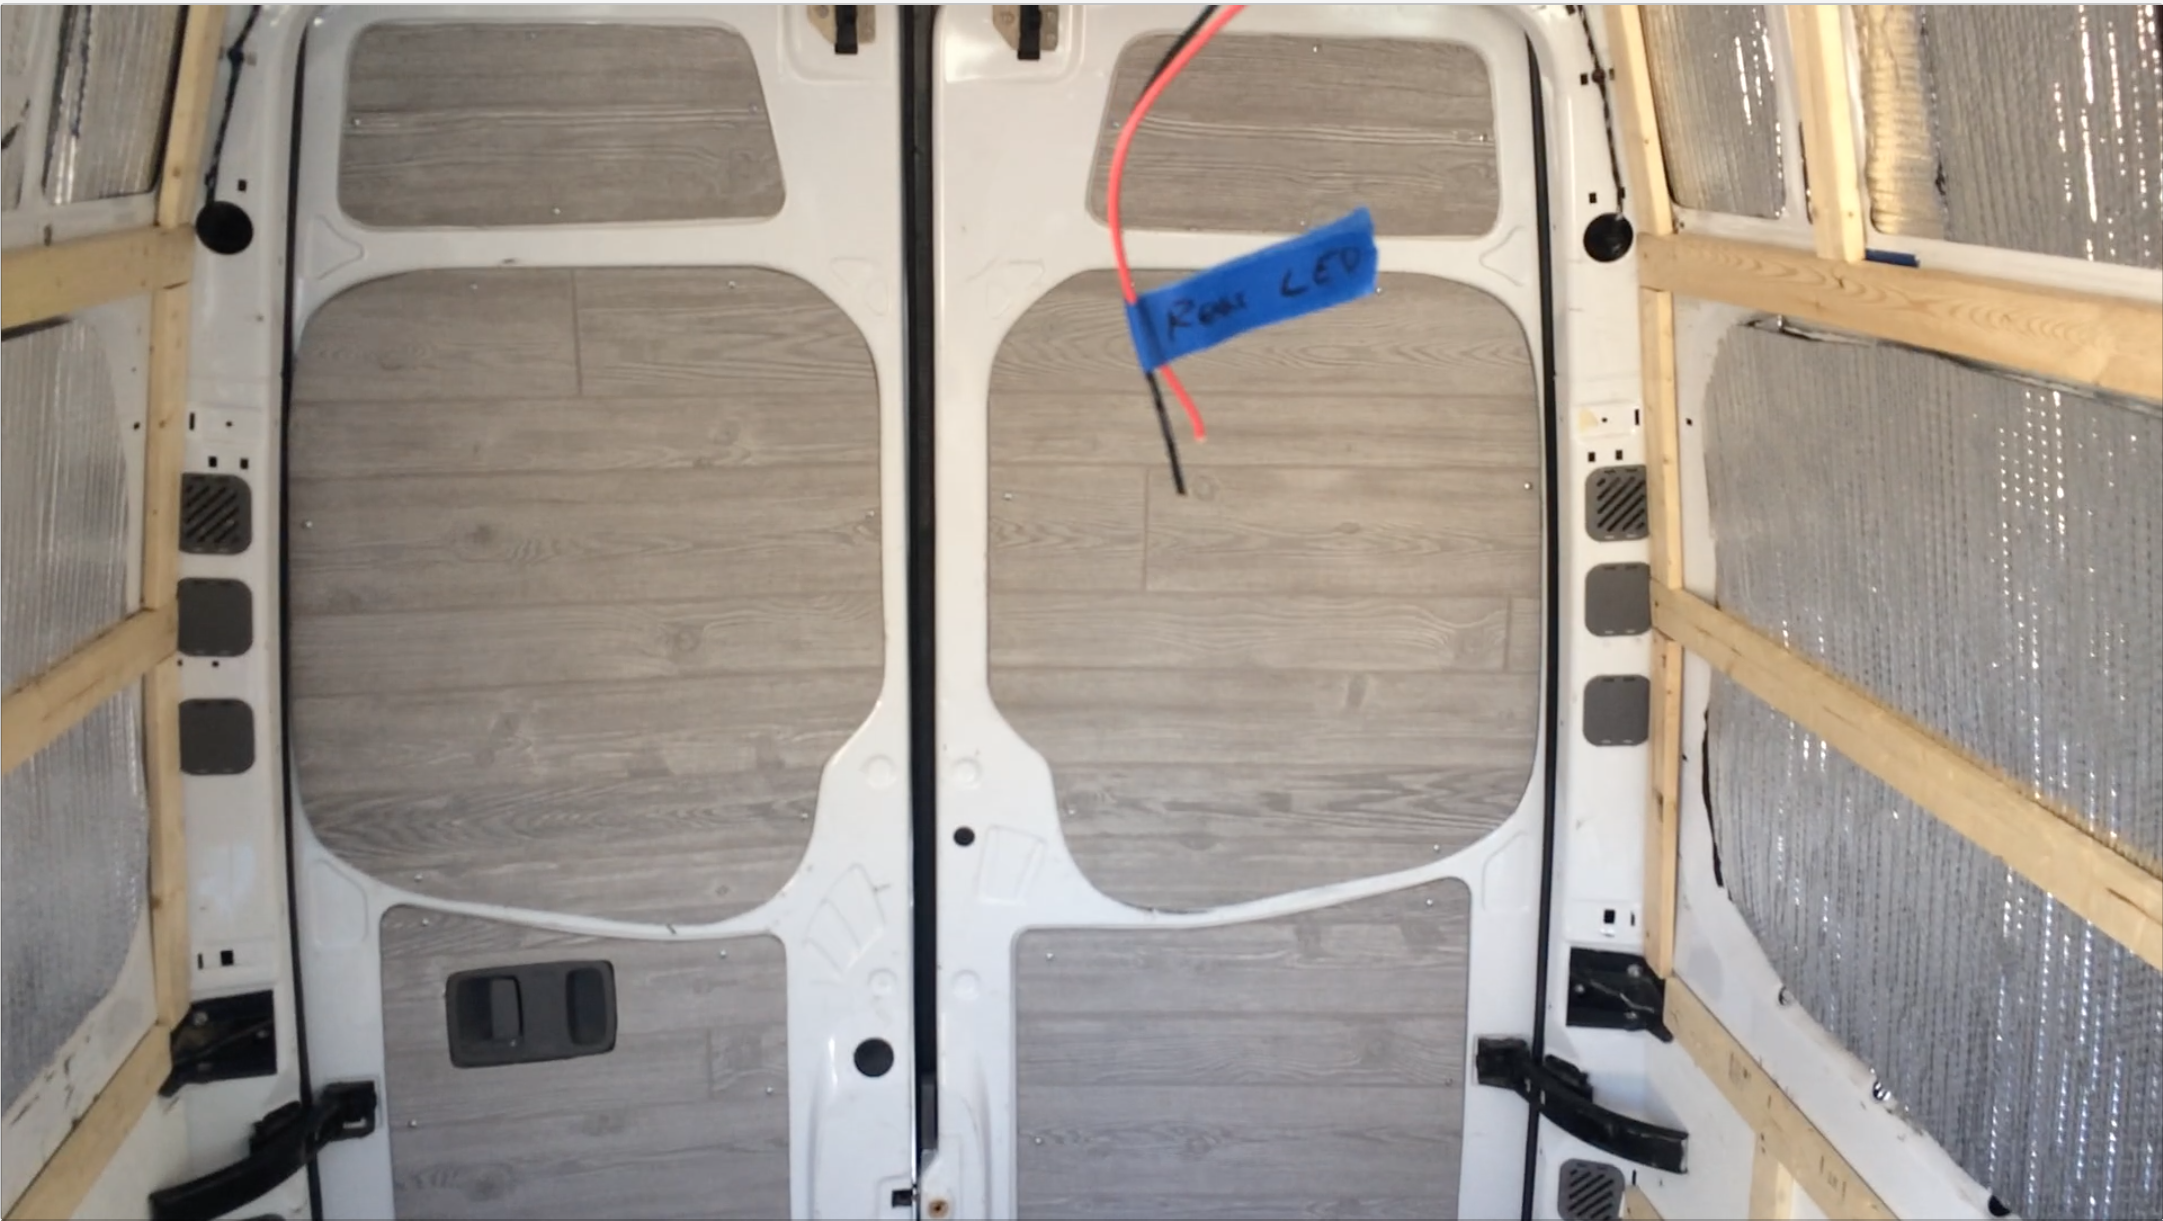
We used the previous stock door panelling as stencils for our Gray Homesteader panels. Those were easy. We traced, cut, and installed them with some self tapping screws. A stencil needed to be made for the back door window area. 

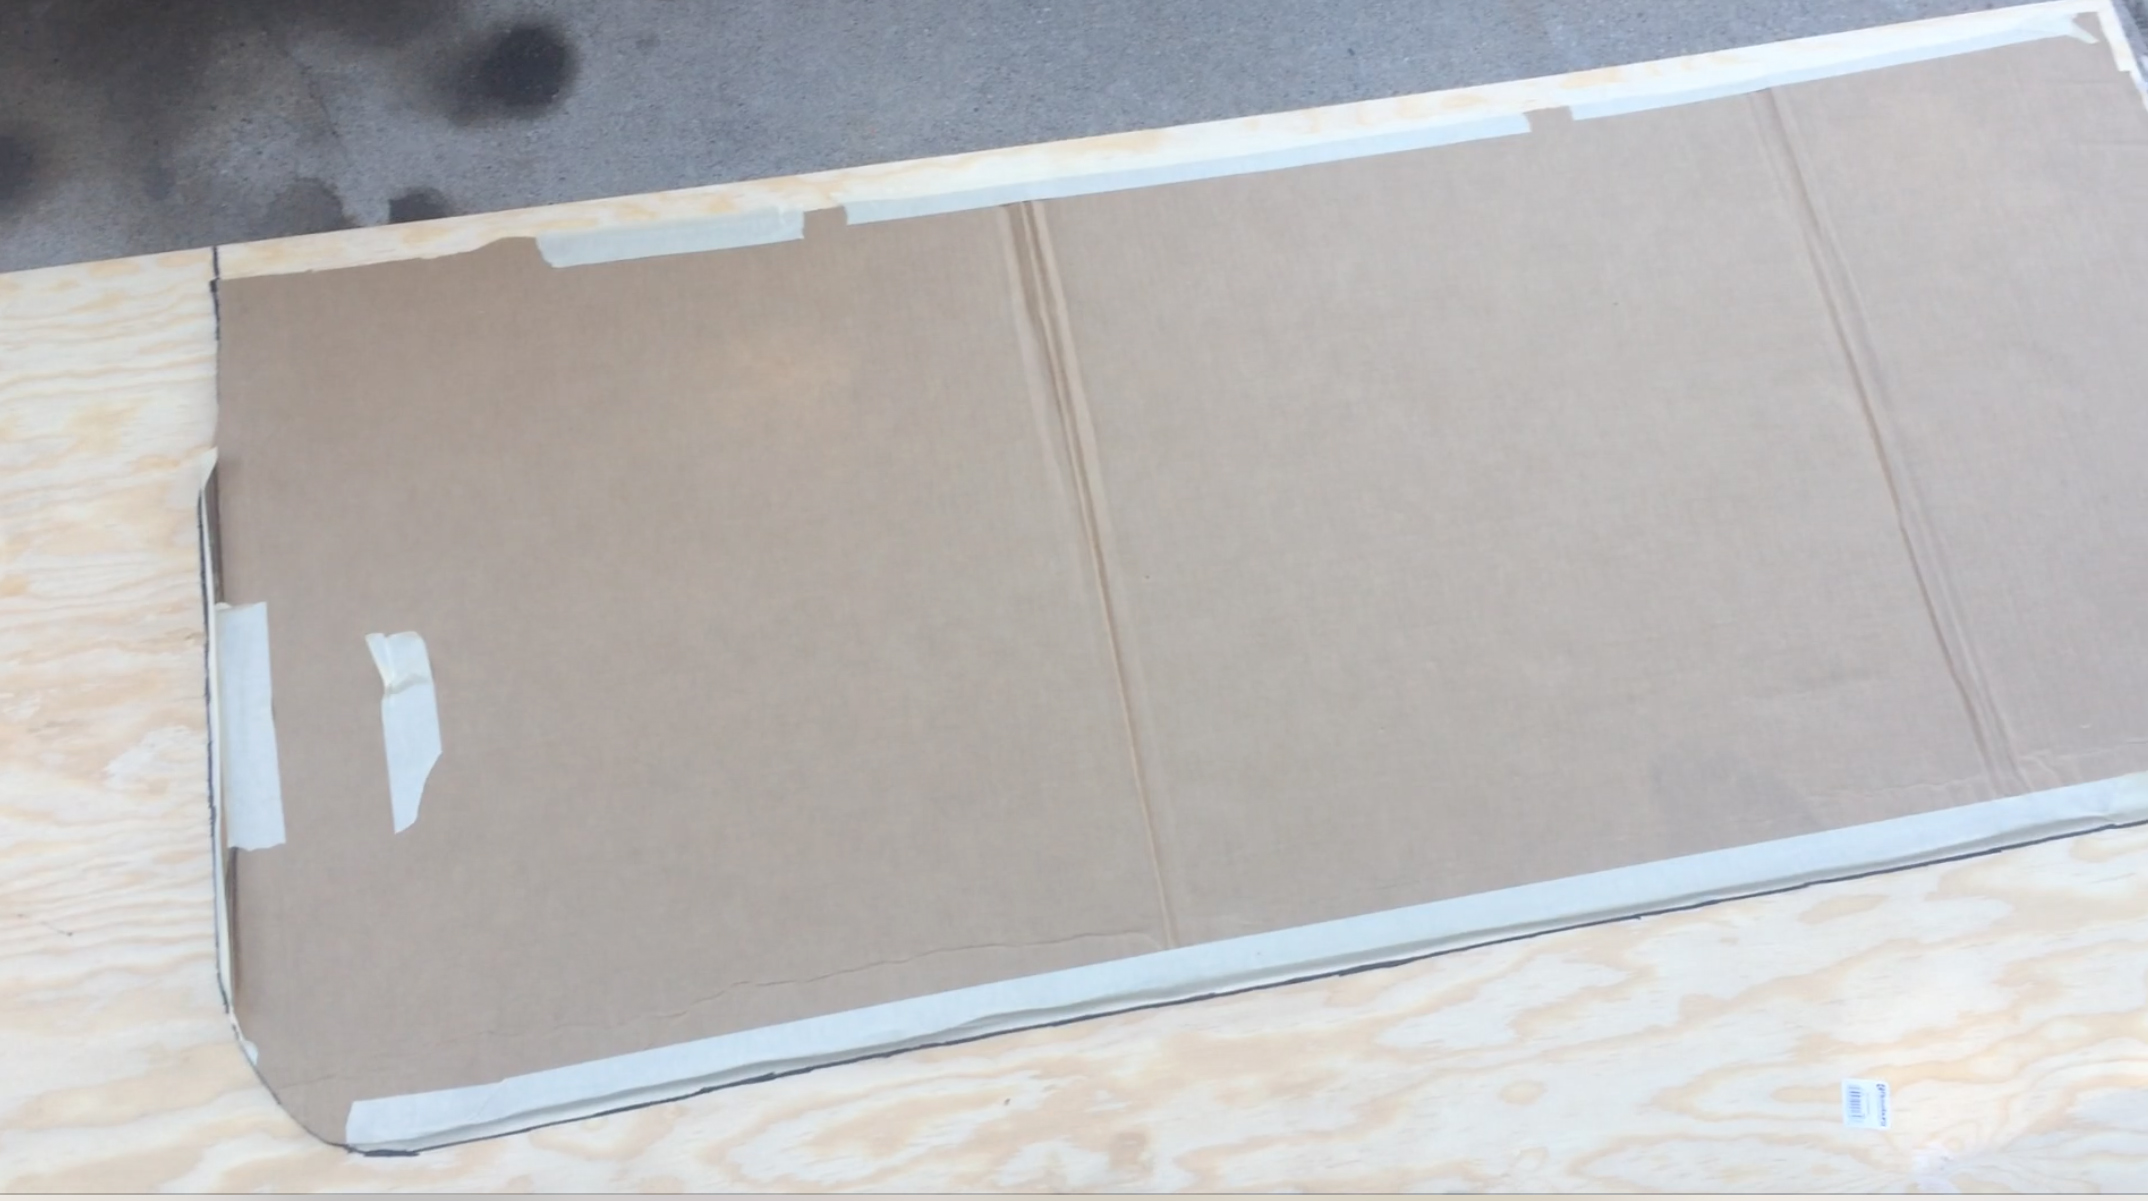
I taped some newspaper together over the entire area and poked a hole with my scissors so that I could cut along the cut-out for where the window would go, if there were any on our back doors. Once I got a pretty good newspaper stencil, I traced that on to cardboard. Then, I cut it out and made sure it fit. When it fit, I cut it out of the Gray Homesteader panels. 

To attach our back door panel, we put some 1x3’s in with self tappers on the inside edge of the window indent to use as anchor points for the wall panels. We saw a lot of people covering up the whole door, but we just made individual panels. We didn’t see much out there on how to cover up Sprinter back doors in a camper van conversion; so, this is how we did it and it worked out great!

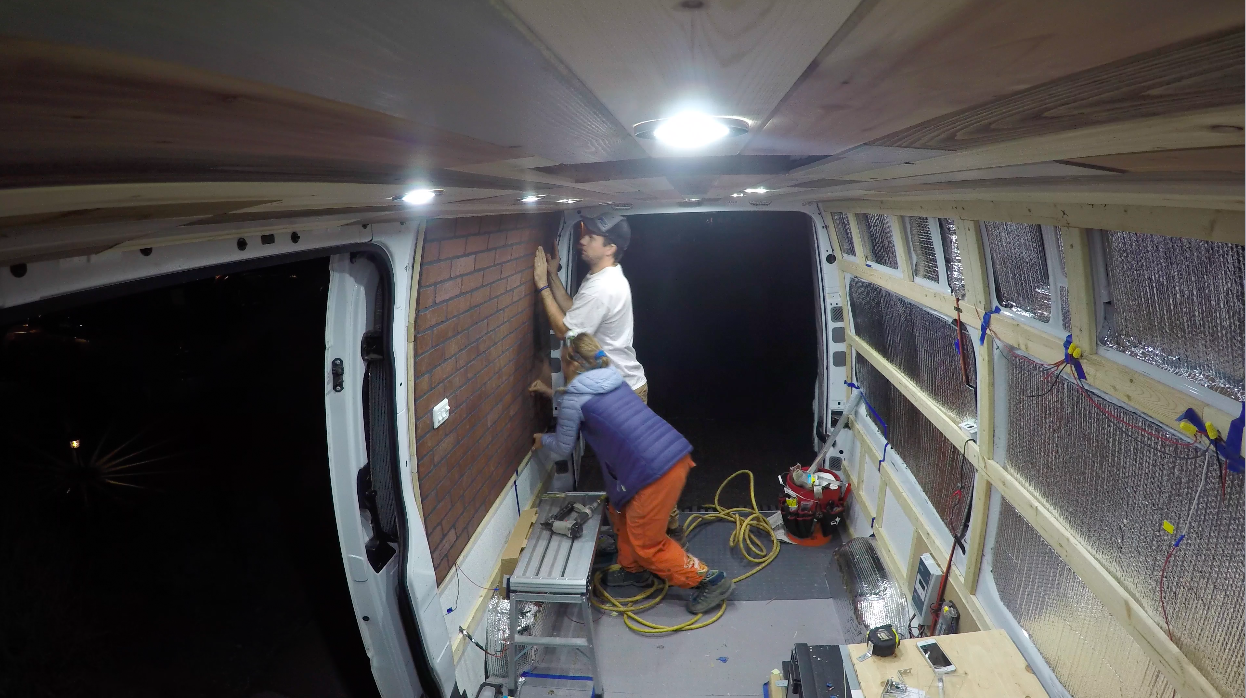
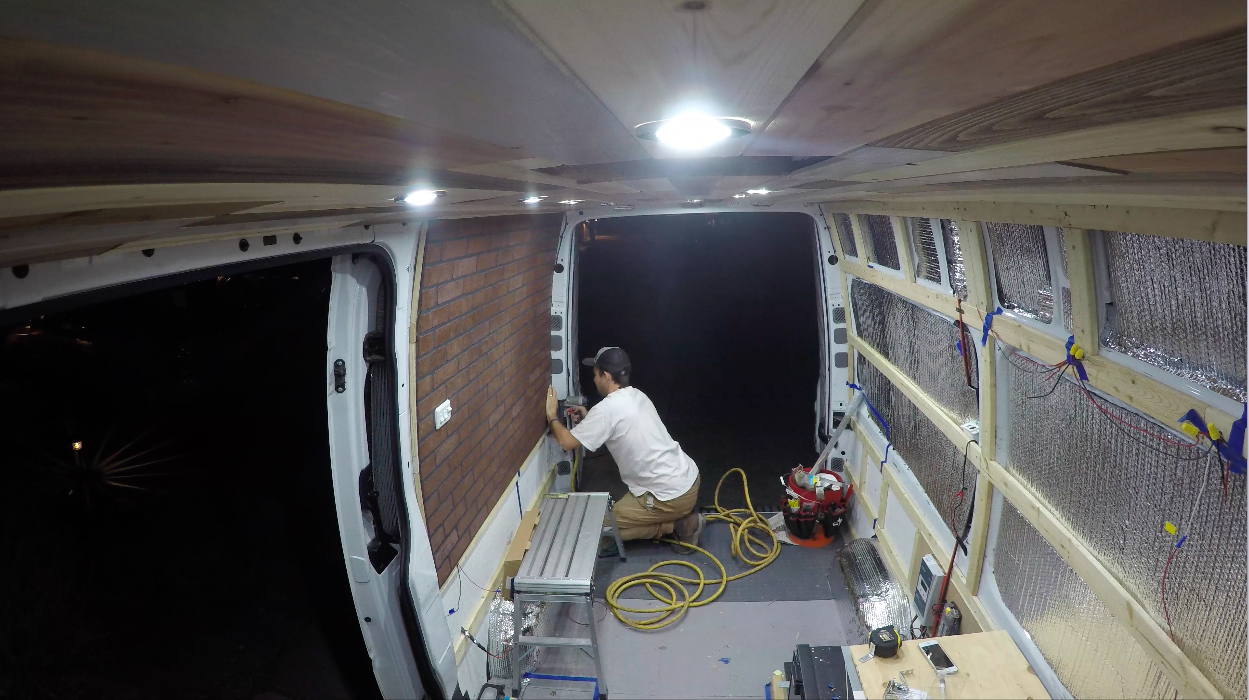
We ended up needing one more panel for the walls with all the cuts we had already made for the back door and slider door. After spending quite a bit of time talking Kevin into the faux brick, we went to pick it up and finish the wall project. 

We measured the wall at several points. I think it was at every foot going down, we took down a measurement. We measured from the center of the van, (where our center stud runs down to attach the wall and cabinets), to the furthest stud near the back door. Again, we got that measurement across, at every 1’ mark going up. The van curves so it is a different measurement at a couple of them. We had our measurements at each foot then just drew a line connecting the dots and cut. Then, we traced and cut out where our switches would go and jigsaw’d them out. 

Once we had all the wall panels measured and cut, we used a combination of liquid nail and pin nailer to attach the walls to our studs. 

We used thiner grade plywood on the front area because most of it was going to be covered by upper cabinets and the other exposed part was going to be covered in tile. 

Phase 5.1: Ceiling (Mix and Match Panelling) & Van Lighting

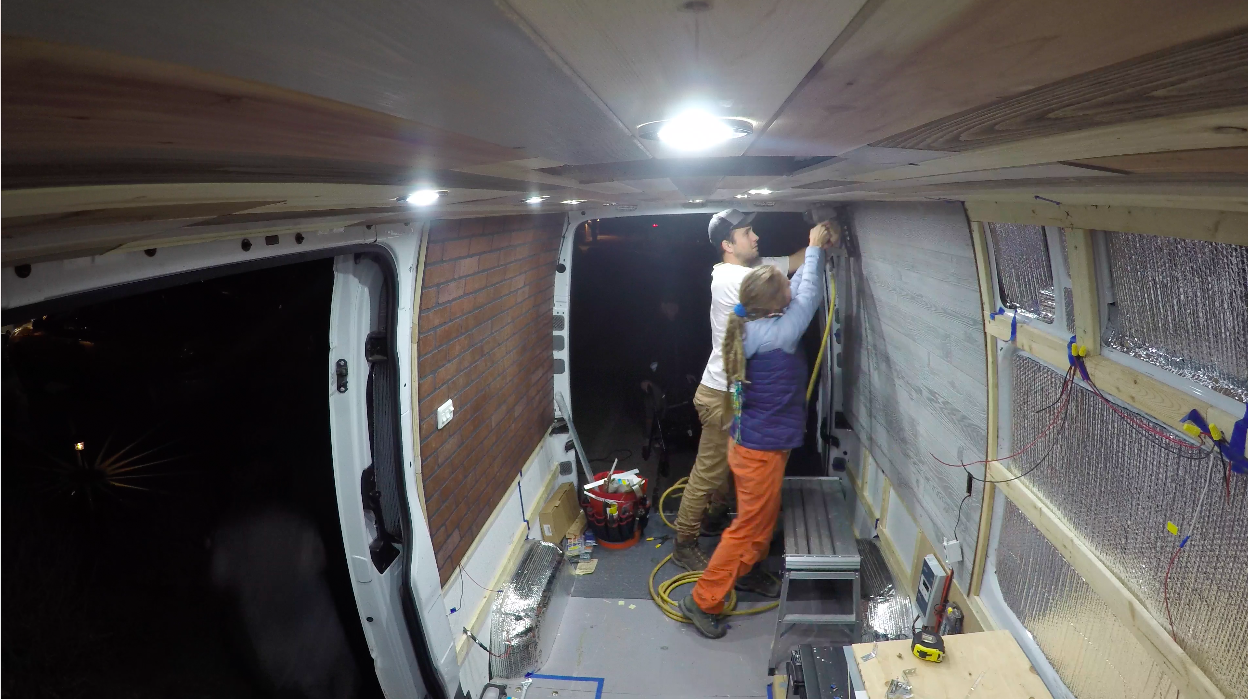
At this point, we were ready to start building. All the prep we were doing prior to this felt like work, tedious work and it still looked like an empty van at the end of the day. We knew we had to start with the ceiling to at least get the lights working. That way we could work into the afternoon since it was getting dark so early. 

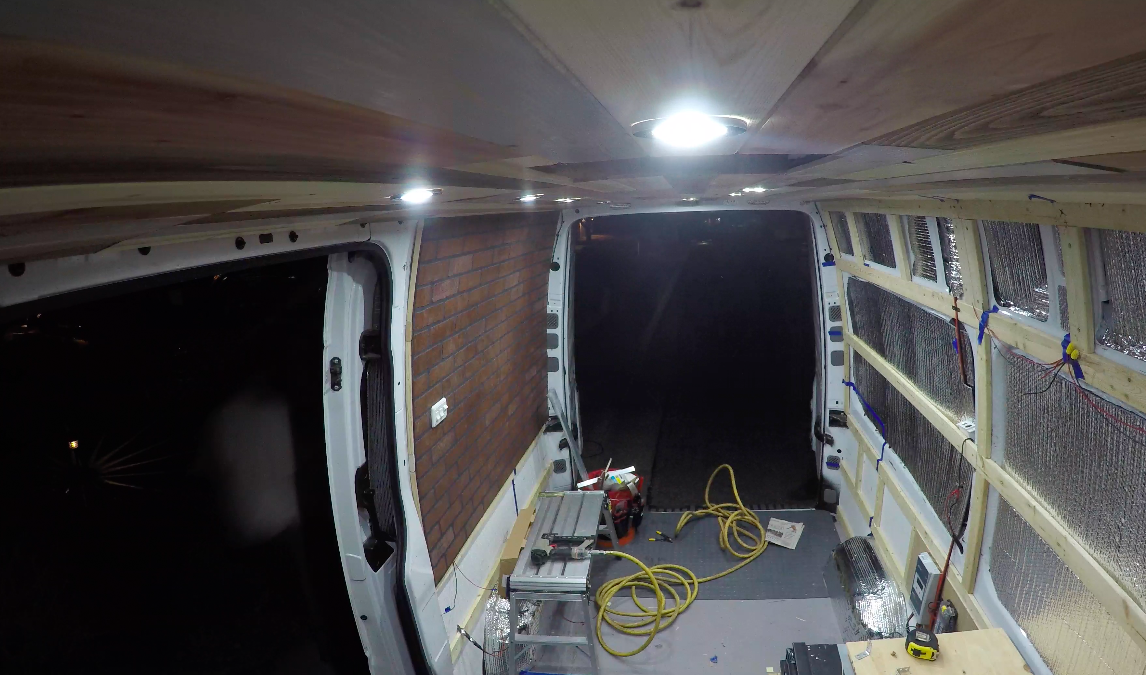
So we went with a shopping list to Lowe’s. We intended on getting the White Wall Paneling with the lines. But they were out of all but one and it was pretty beat up. We were on a mission to finish this ceiling. So we stood around in the Lumber section of Lowe’s  trying to figure out a quick Plan B that we could both agree on again. 

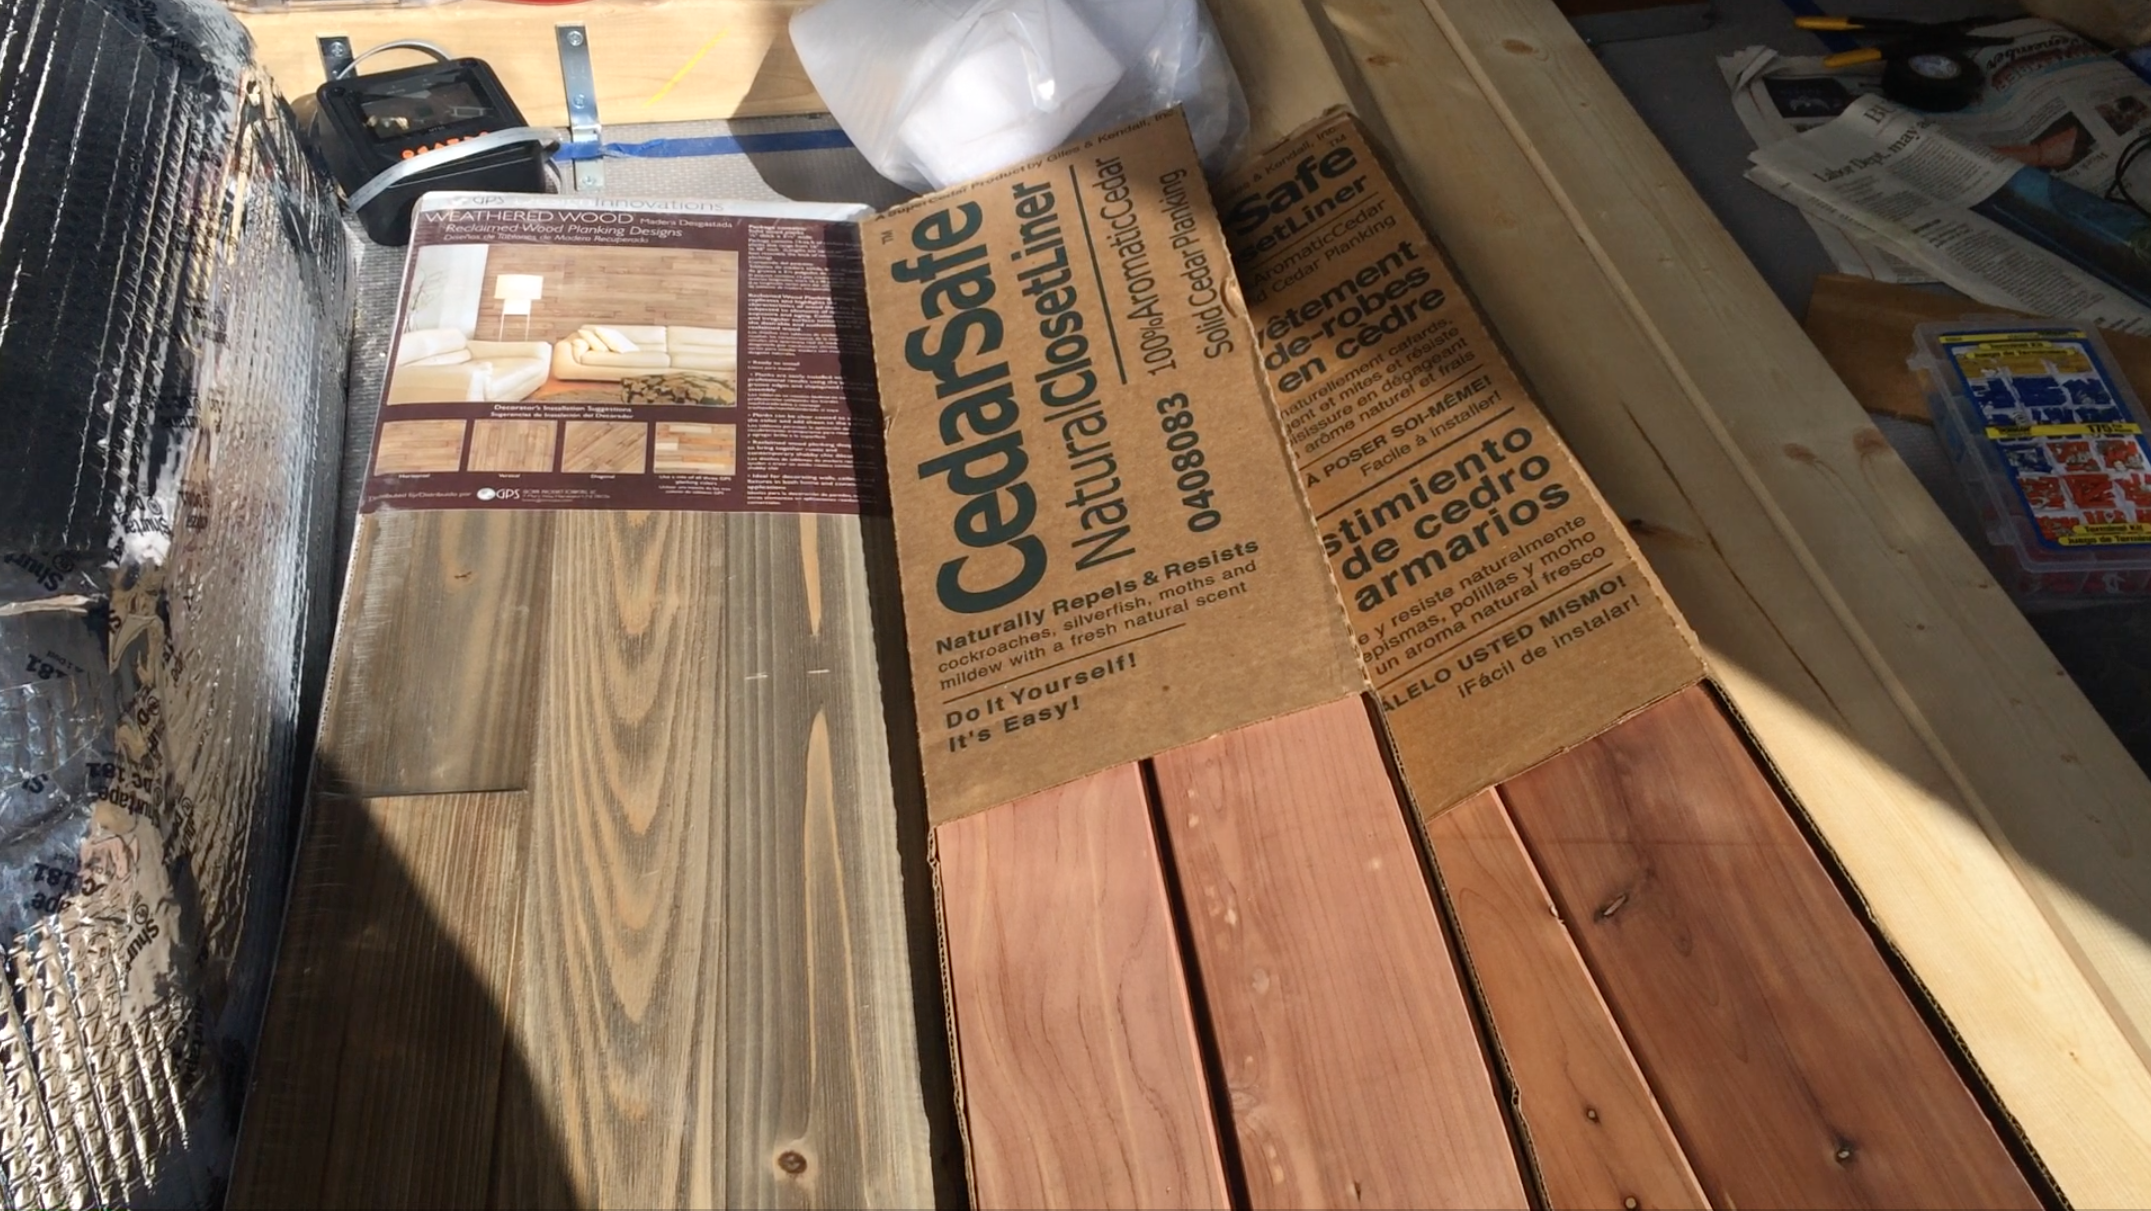
We were in the wall panel section and I smelt the Cedar walking by and didn’t care about the price. I wanted that smell in my van always. Kevin, although he liked the smell too, he was adding up the price and didn’t like the price tag on the Cedar Walk Planking Kit but he knew I wasn’t giving up on that awesome smell. So while I went out to measure to assure him it really wouldn’t be that much, he had come up with an idea to use one pack of all the planks. Get two of the $10 Planks and one pack, we would stain them. We also grabbed one of these to add to the mix. 

I loved the idea because it replaced my original idea for reclaimed pallets for the roof, but I wouldn’t have to go searching for them and pull them apart once I found them.

In retrospect, I am glad they were out of that paneling because I love the end result so much better and my van smells like cedar every time I open the door! 

Because I had never used a nail gun before, I thought I better start on the side with cabinets so that I could learn where it would be hidden by cabinets anyways. 

It was pretty straight forward. I started by measuring the distance between the ceiling beams we framed out to prep for the ceiling. That way, the panels would always end on a ceiling beam to have a nail anchor point. Once I had that measurement, I cut the planks, and shot the nails into those ceiling beam to hold them up. I didn’t think about it at the time but, a tiny bit of liquid nails might have helped, but I didn’t use it.

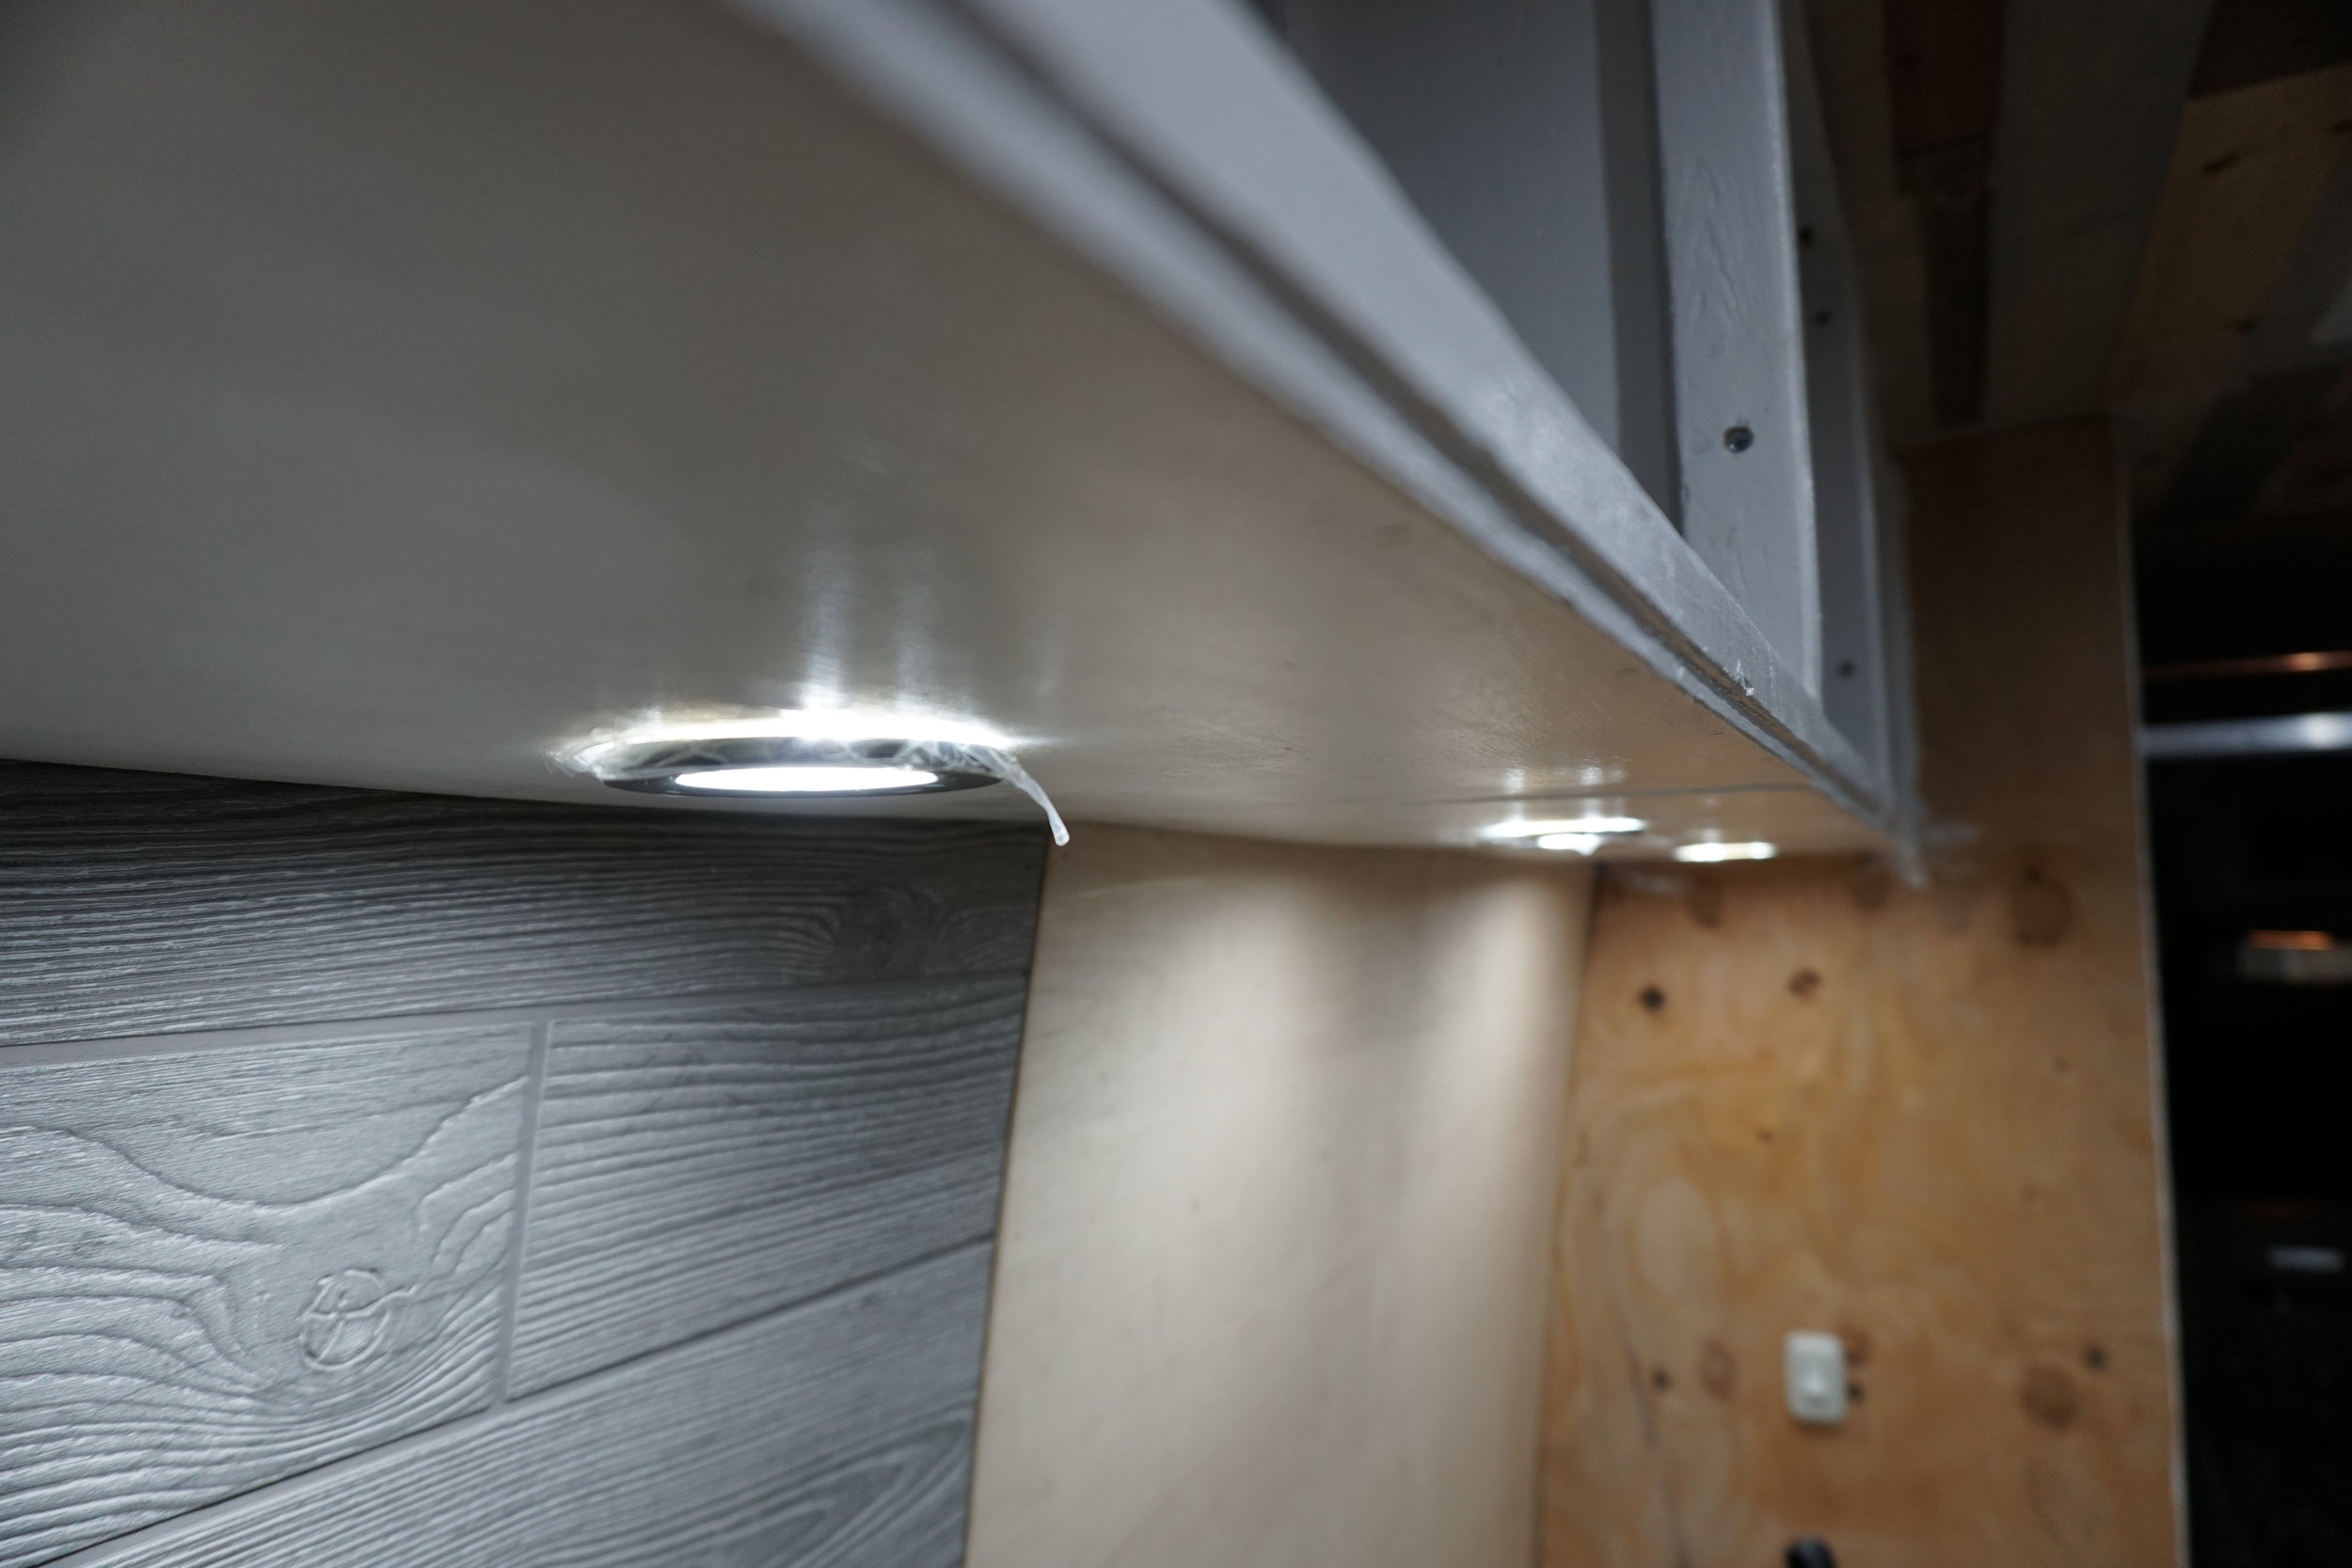
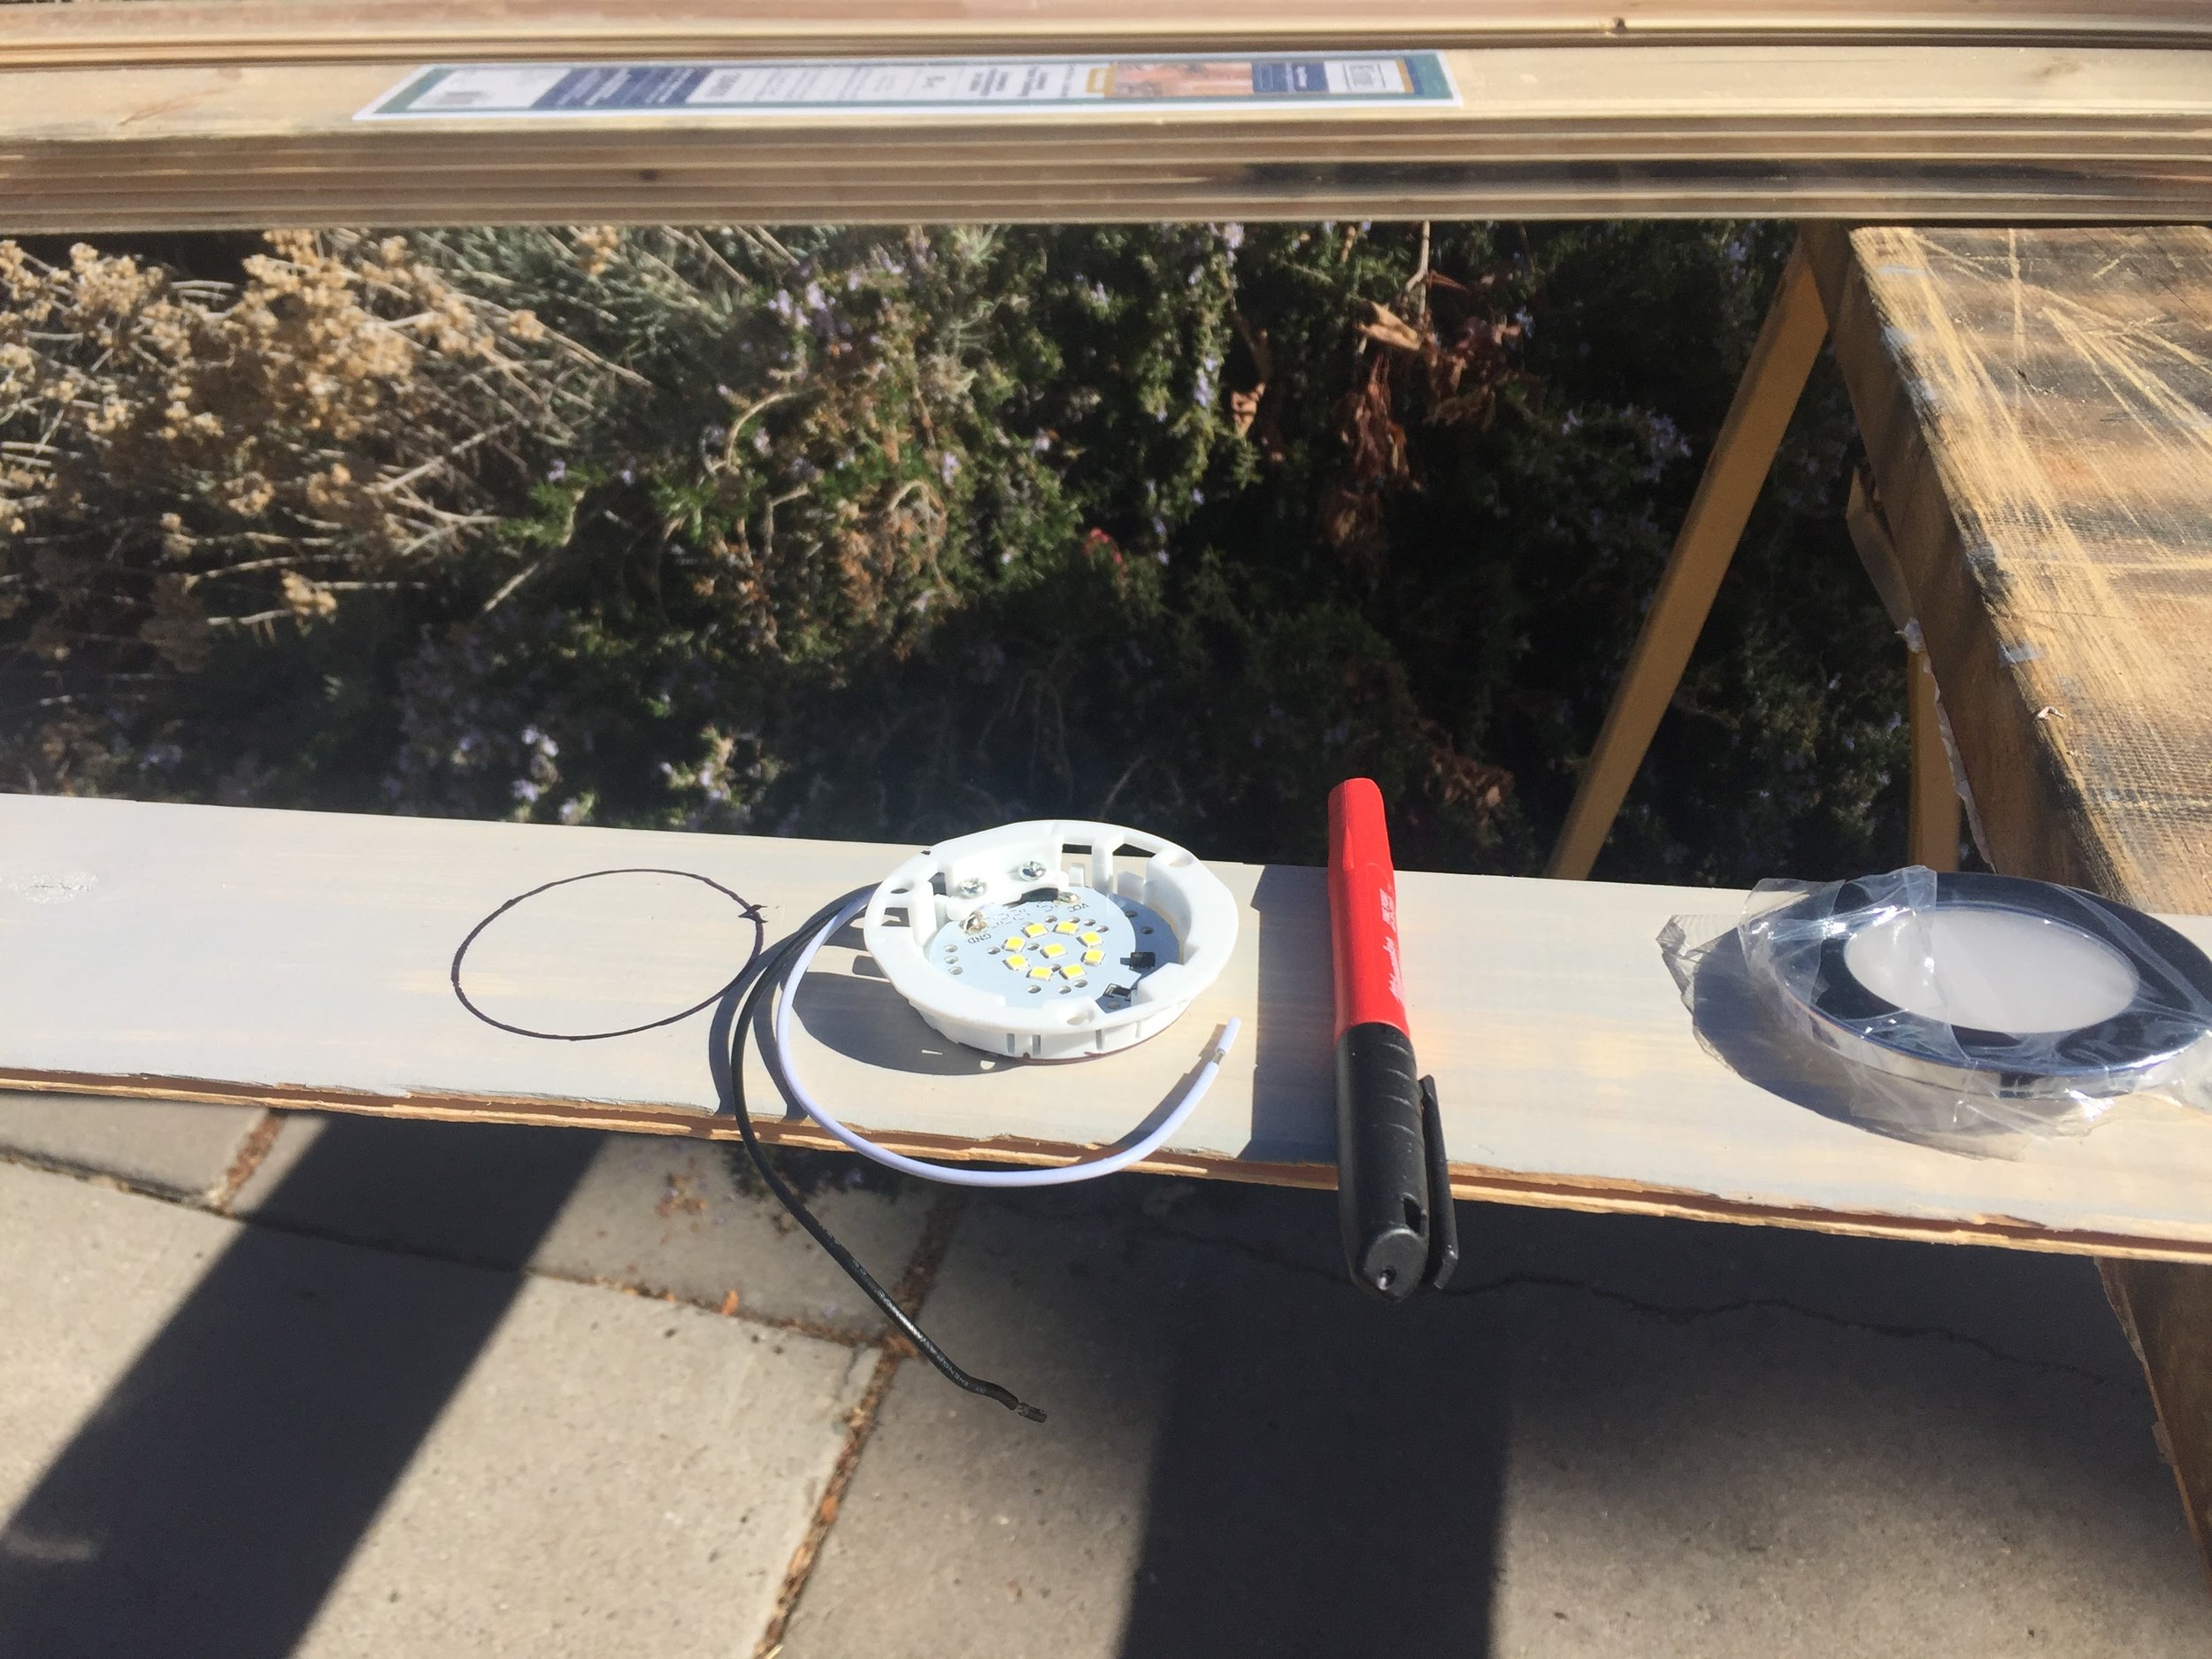
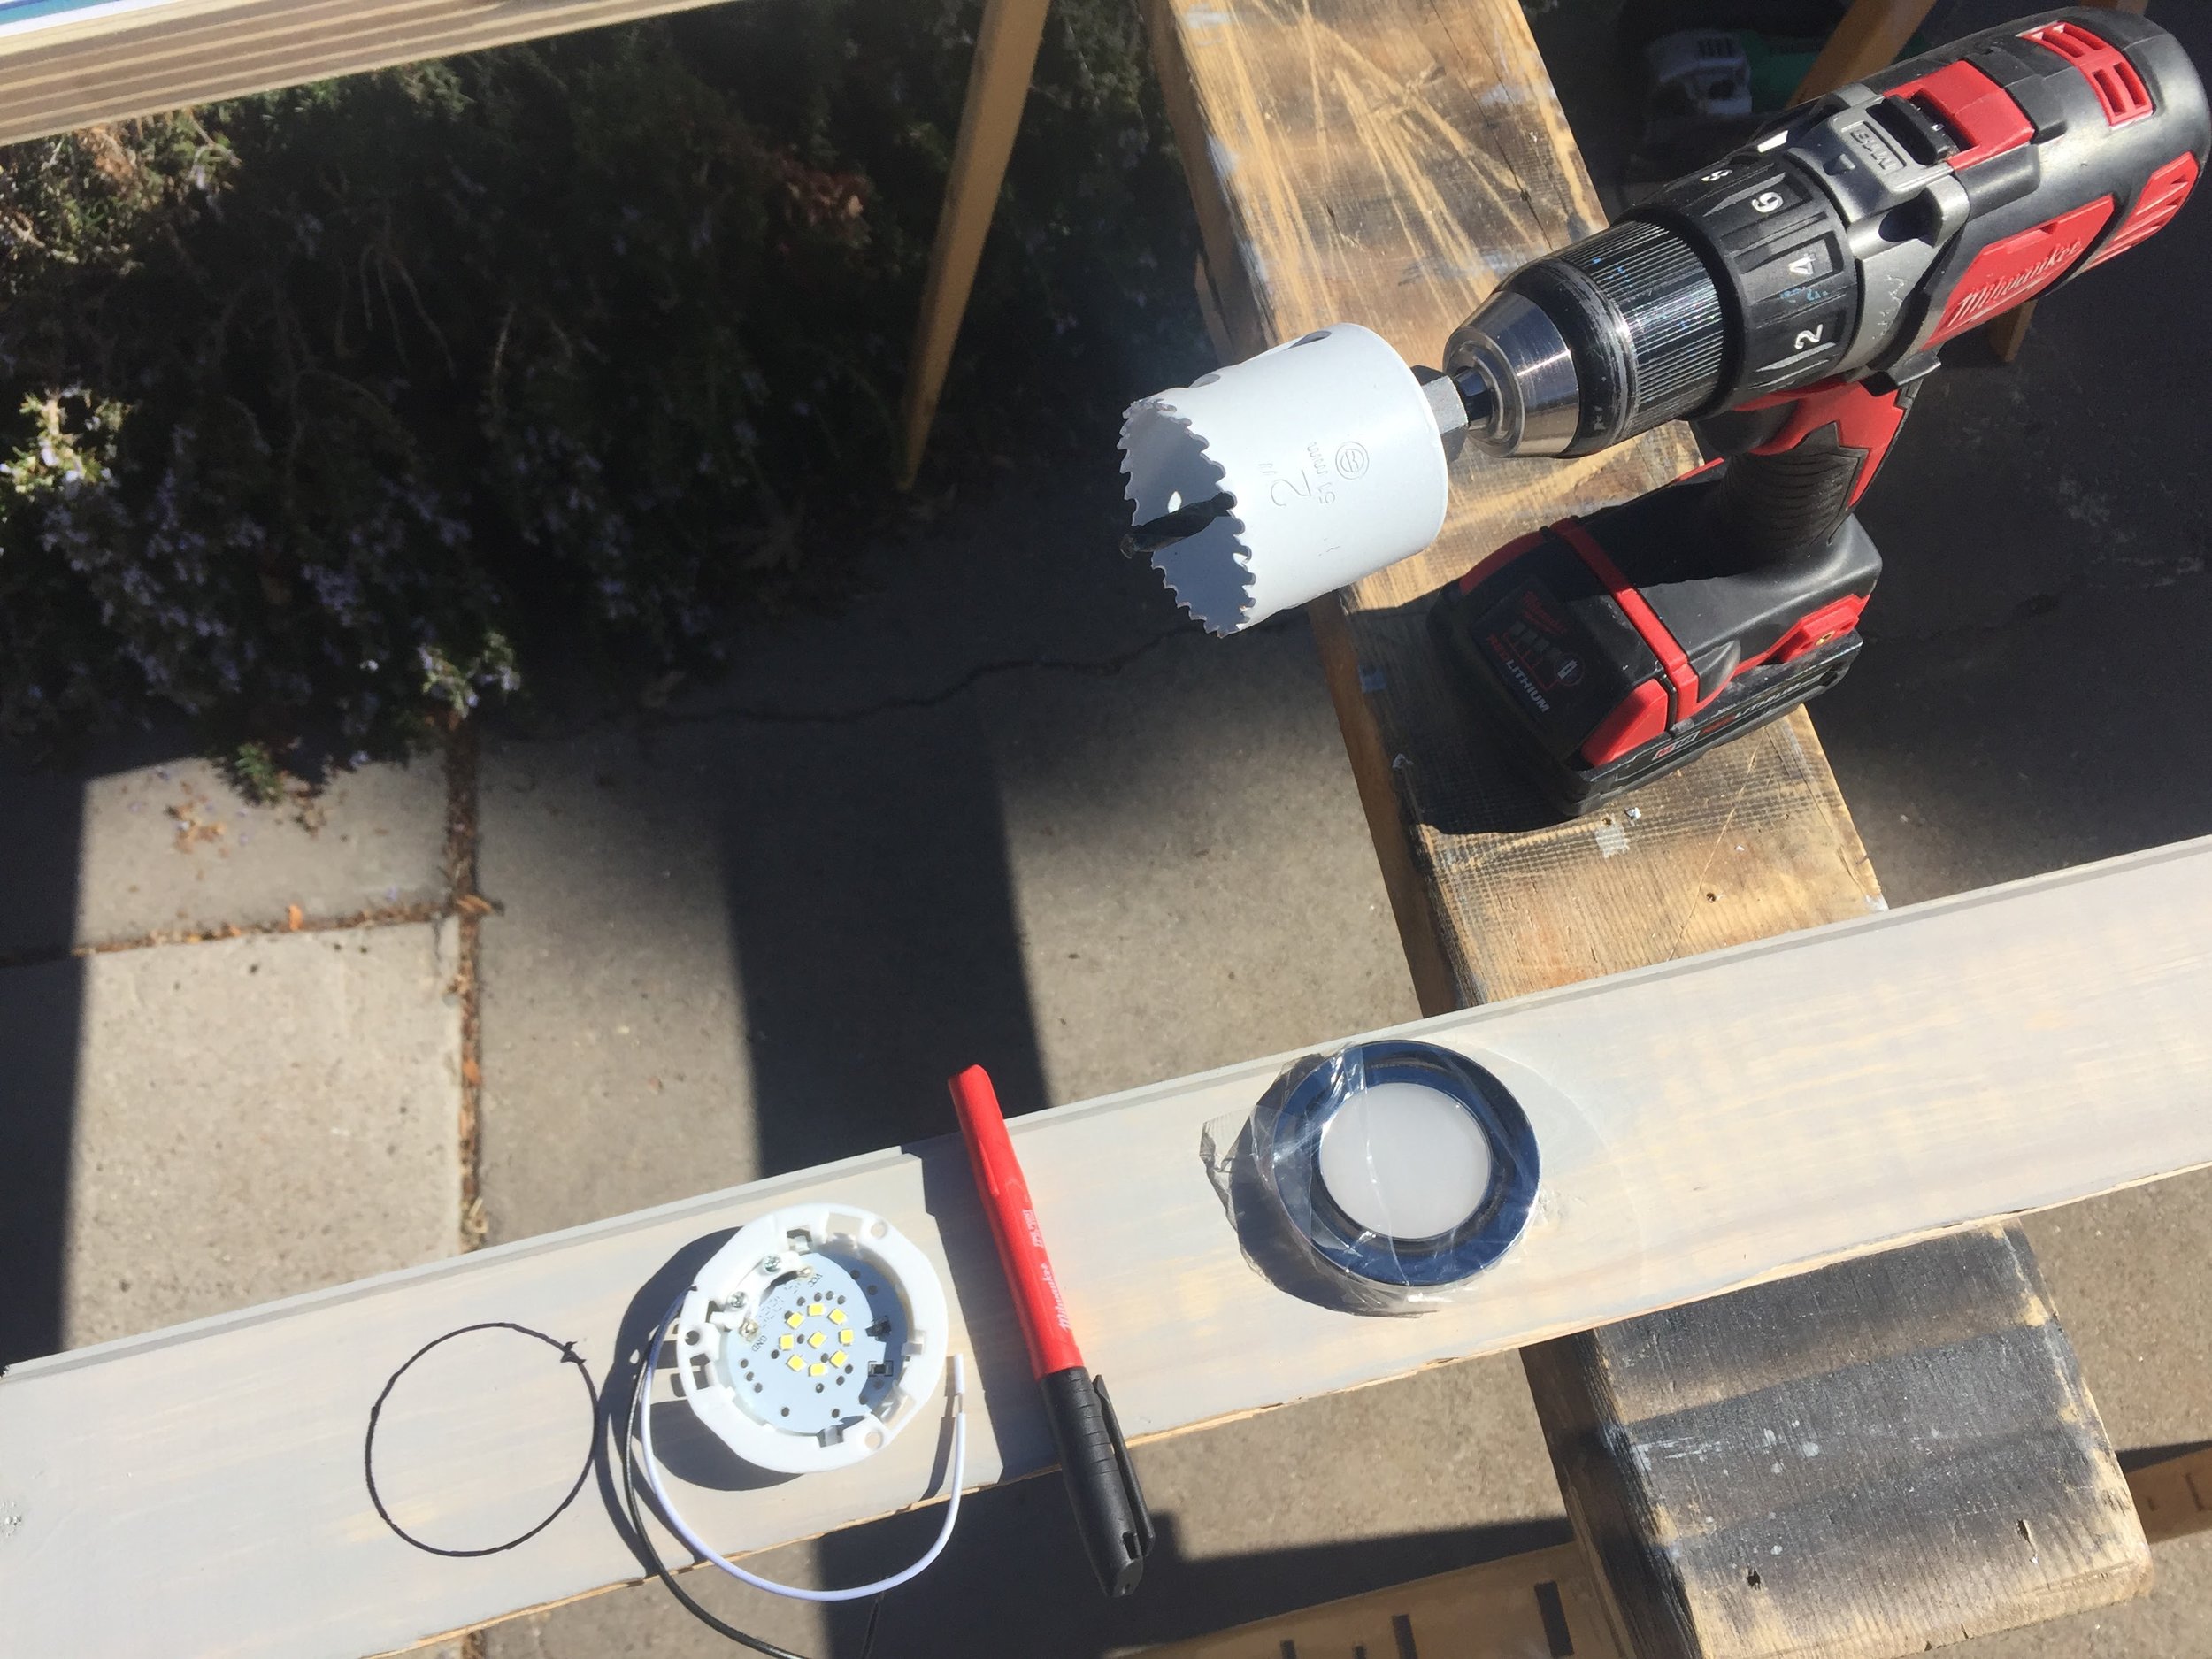
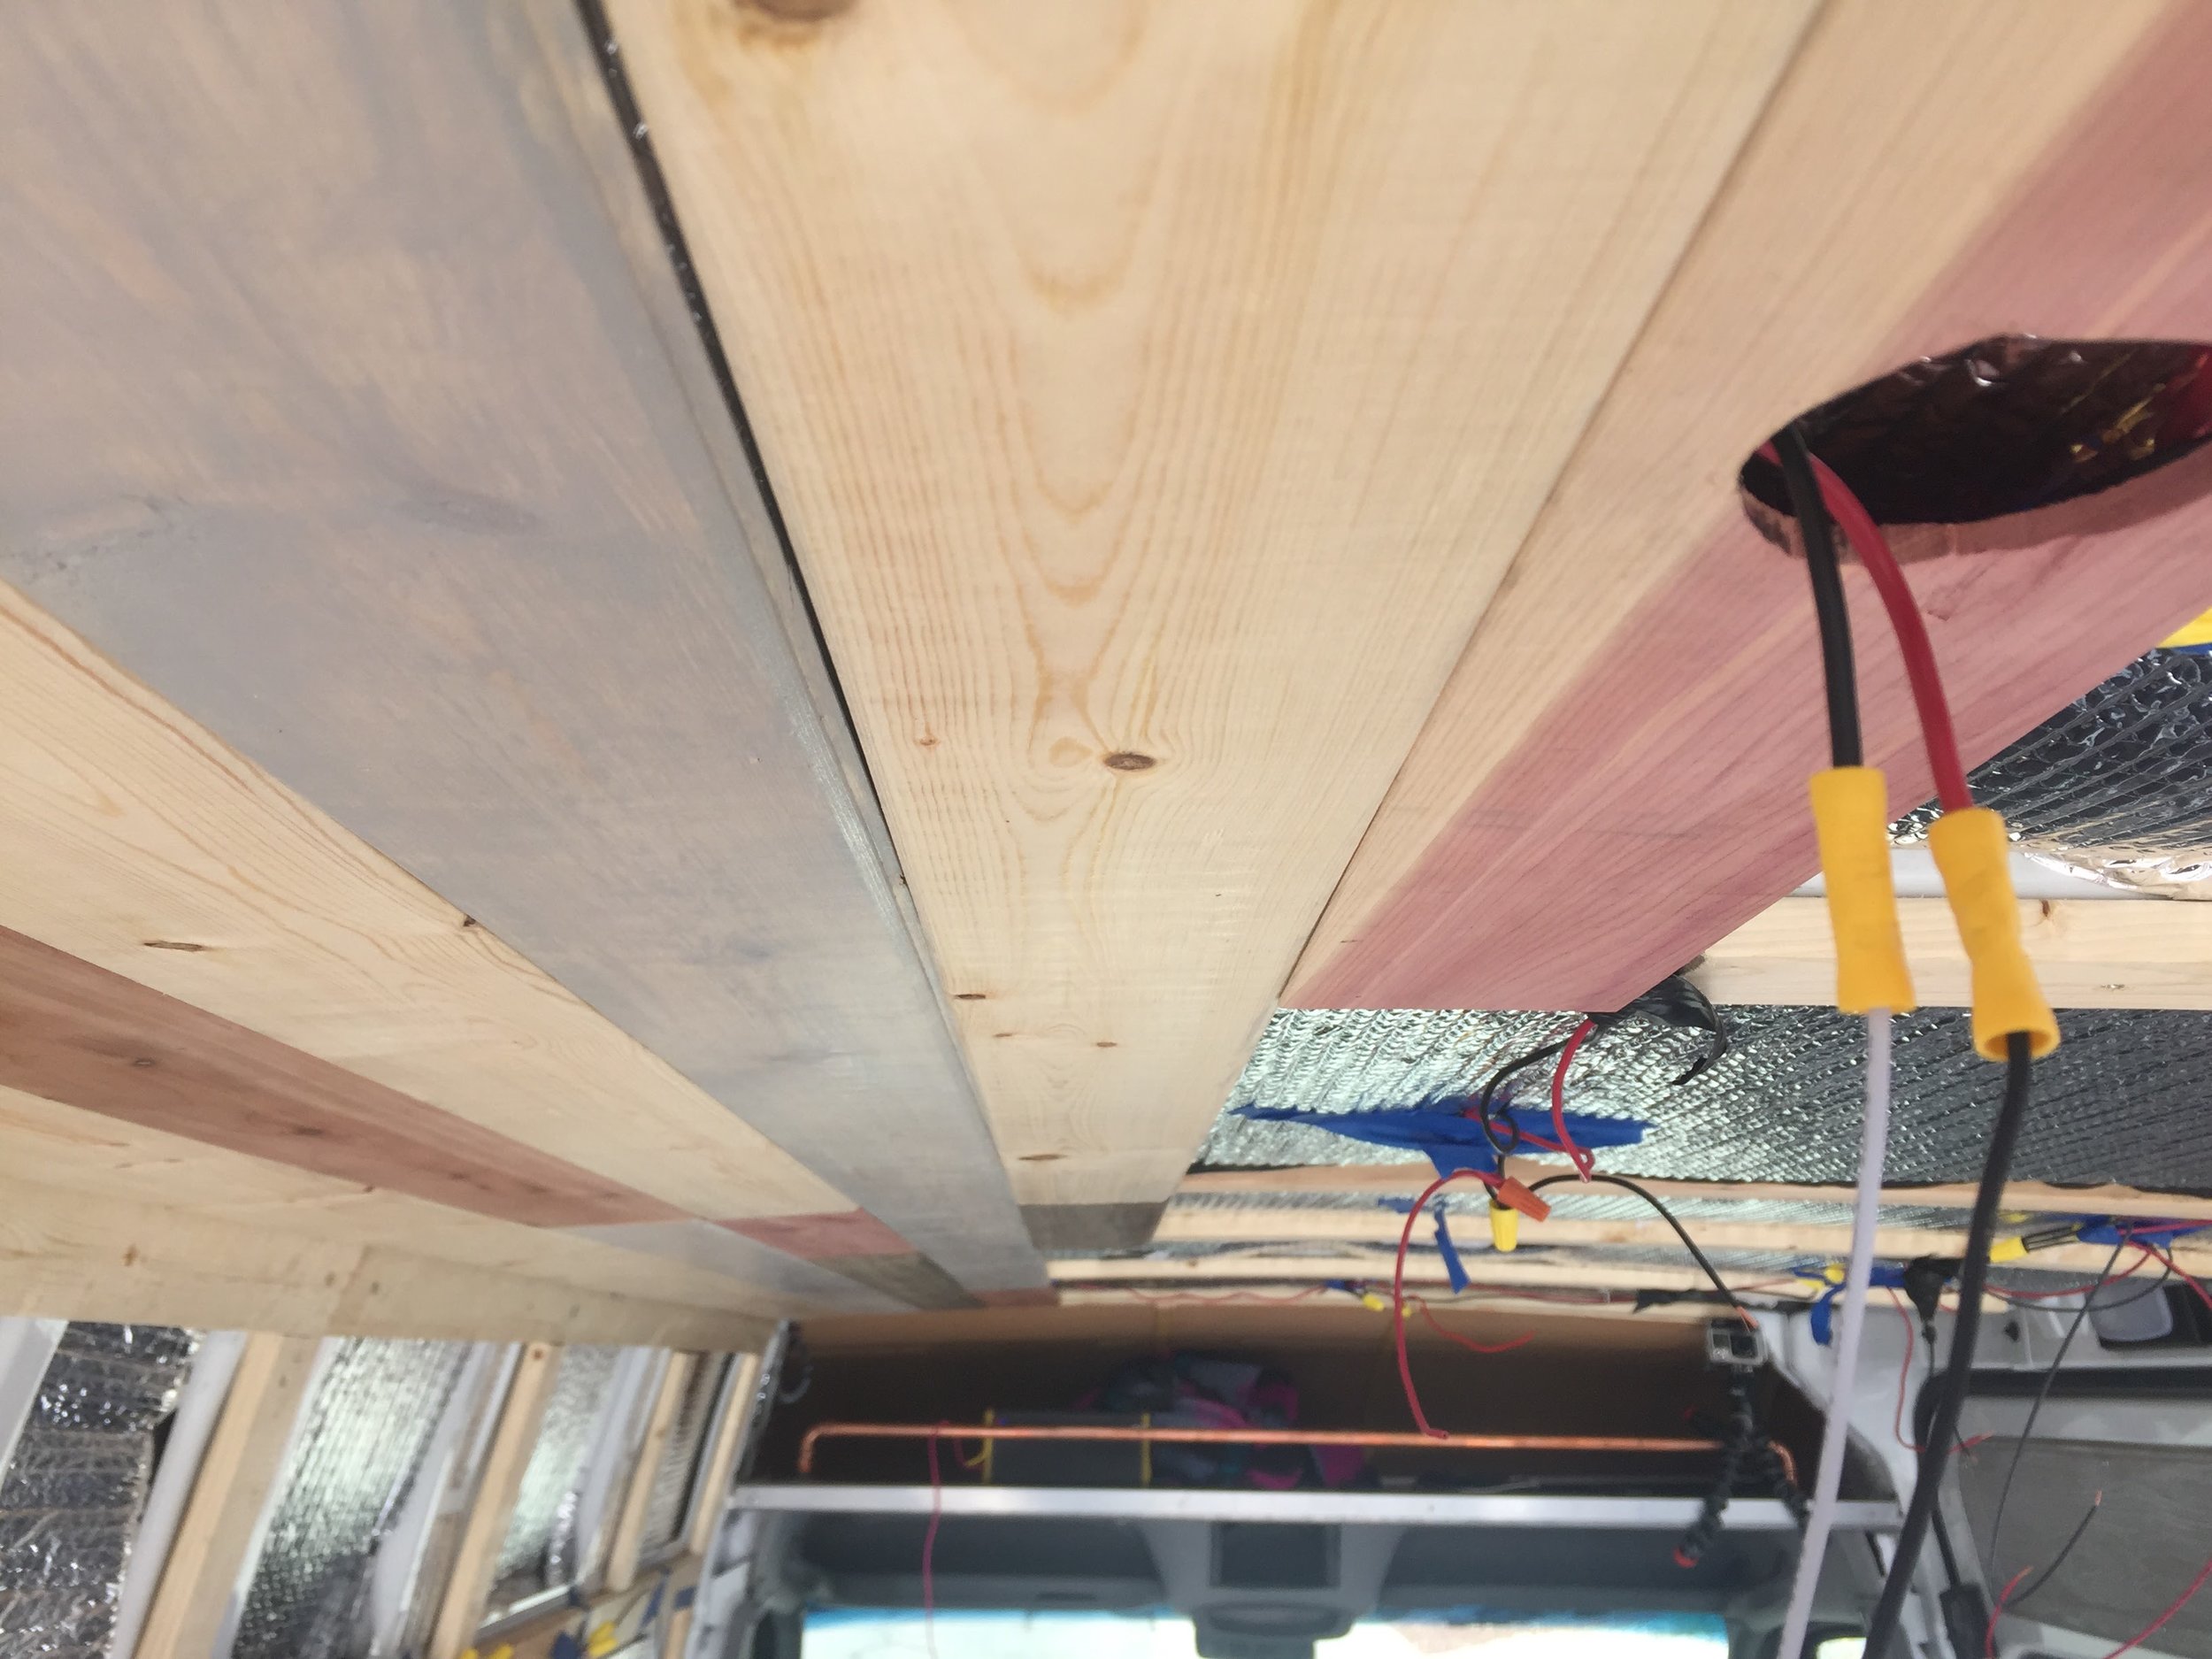
We used the Dream Under Cabinet 12V 2W Recessed LED Lighting. When it came time to cut out a place in the panel to recess those lights, I traced around them, drilled a pilot hole, and jig-saw’d them. You can use a hole-saw here, but I really didn’t feel like running to the store again because the one I already had was a wee-bit too small.  Even when I used it, I had to jig-saw anyways. 
**On these lights, they will have black and white cables. The Black is Positive and the White is Negative** 

Jig-saw worked great. The lights are super bright and draw very little power when on. We ordered 12 total lights for the whole van. We have a switch for the back lights to turn on, in the bed area, and a switch for the front lights to turn on, in the kitchen area. (We will also have a set of 3 of these lights under the upper cabinets). 

The planks, since they were all different “actual” sizes from each other, it made the tongue and groove not so groovy in places. It made every fit a challenge, but we got creative in places that gave us headaches and we would still do it all over again even tho it took almost two whole days. (I was working by myself for most of it, while Kevin was working-working on a photo/video gig…So, it could go faster with two people).

The only other part that was difficult was the part by the door. There were some major stenciling on panels that were going down in that area. 

Phase 4.2: 12 Volt Electrical Install

Free wiring guide for a van conversion

Installing the electrical system in the van is a much easier task than you would expect.  If you’ve come across this, I’m imagining you are doing as much internet research about electrical systems as we did.  We have ZERO experience with electrical-anything prior to this install.  So don't let it scare you, you can do this! 

I’ve attached a few Amazon links for reference.  We bought a majority of the wiring hardware at our local auto stores like, AutoZone and Napa.  We also found that our neighborhood True Value had almost all the electrical parts we needed.  When you are wiring a 12v system, your best bet for fuses, wires, terminals, basically anything will be at the local auto store.  Everything else, except the solar panel and batteries, were bought on Amazon. (You can buy the batteries on Amazon, but they are $100 more. I put the link to BatteryGuys below to get them at the price we got them at. It was really fast shipping too.)

Step 1. The first thing you will need to decide is what appliances and power do you want in your van.  We are running the following 12v devices: 

  1. Fantastic Fan

  2. Truck Fridge

  3. 12 LED Dream Lights

  4. ShurFlo Sink Pump

  5. Snugger Heater

  6. Toilet Fan

  7. 6 USB ports

  8. 1 - 12V Socket
  9. We Also have a 2000W Inverter running off the batteries as well.

Step 2. At first we decided we were going to have 2, 100AmpH Deep Cell AGM LifeLine Batteries, but we decided that we would need 3, so we added one more, which was a good call.  All three batteries will provide us with 150 Amps at 12v. We will charge all the batteries with a 300 Watt mono crystalline CertianTeed Solar Panel from SolarWholeSale.com and a Keyline Battery Isolator while we drive. (Install Video Here).  The large solar panel should have no problem charging the batteries every day and we figure if we were stuck with out solar power and were conscientious with our energy use, we could go for a few days before we needed a charge up.  Our goal is to be 100% off the grid and if we absolutely need it, we will be able to charge up with a battery charger.  

Step 3.  Now that we’ve assessed our needs, what we need to power, and how we will charge and power everything, we can start the fun part.  The first step is to set up your battery bank.  The first thing you will want to do is find a good spot to ground your batteries. 

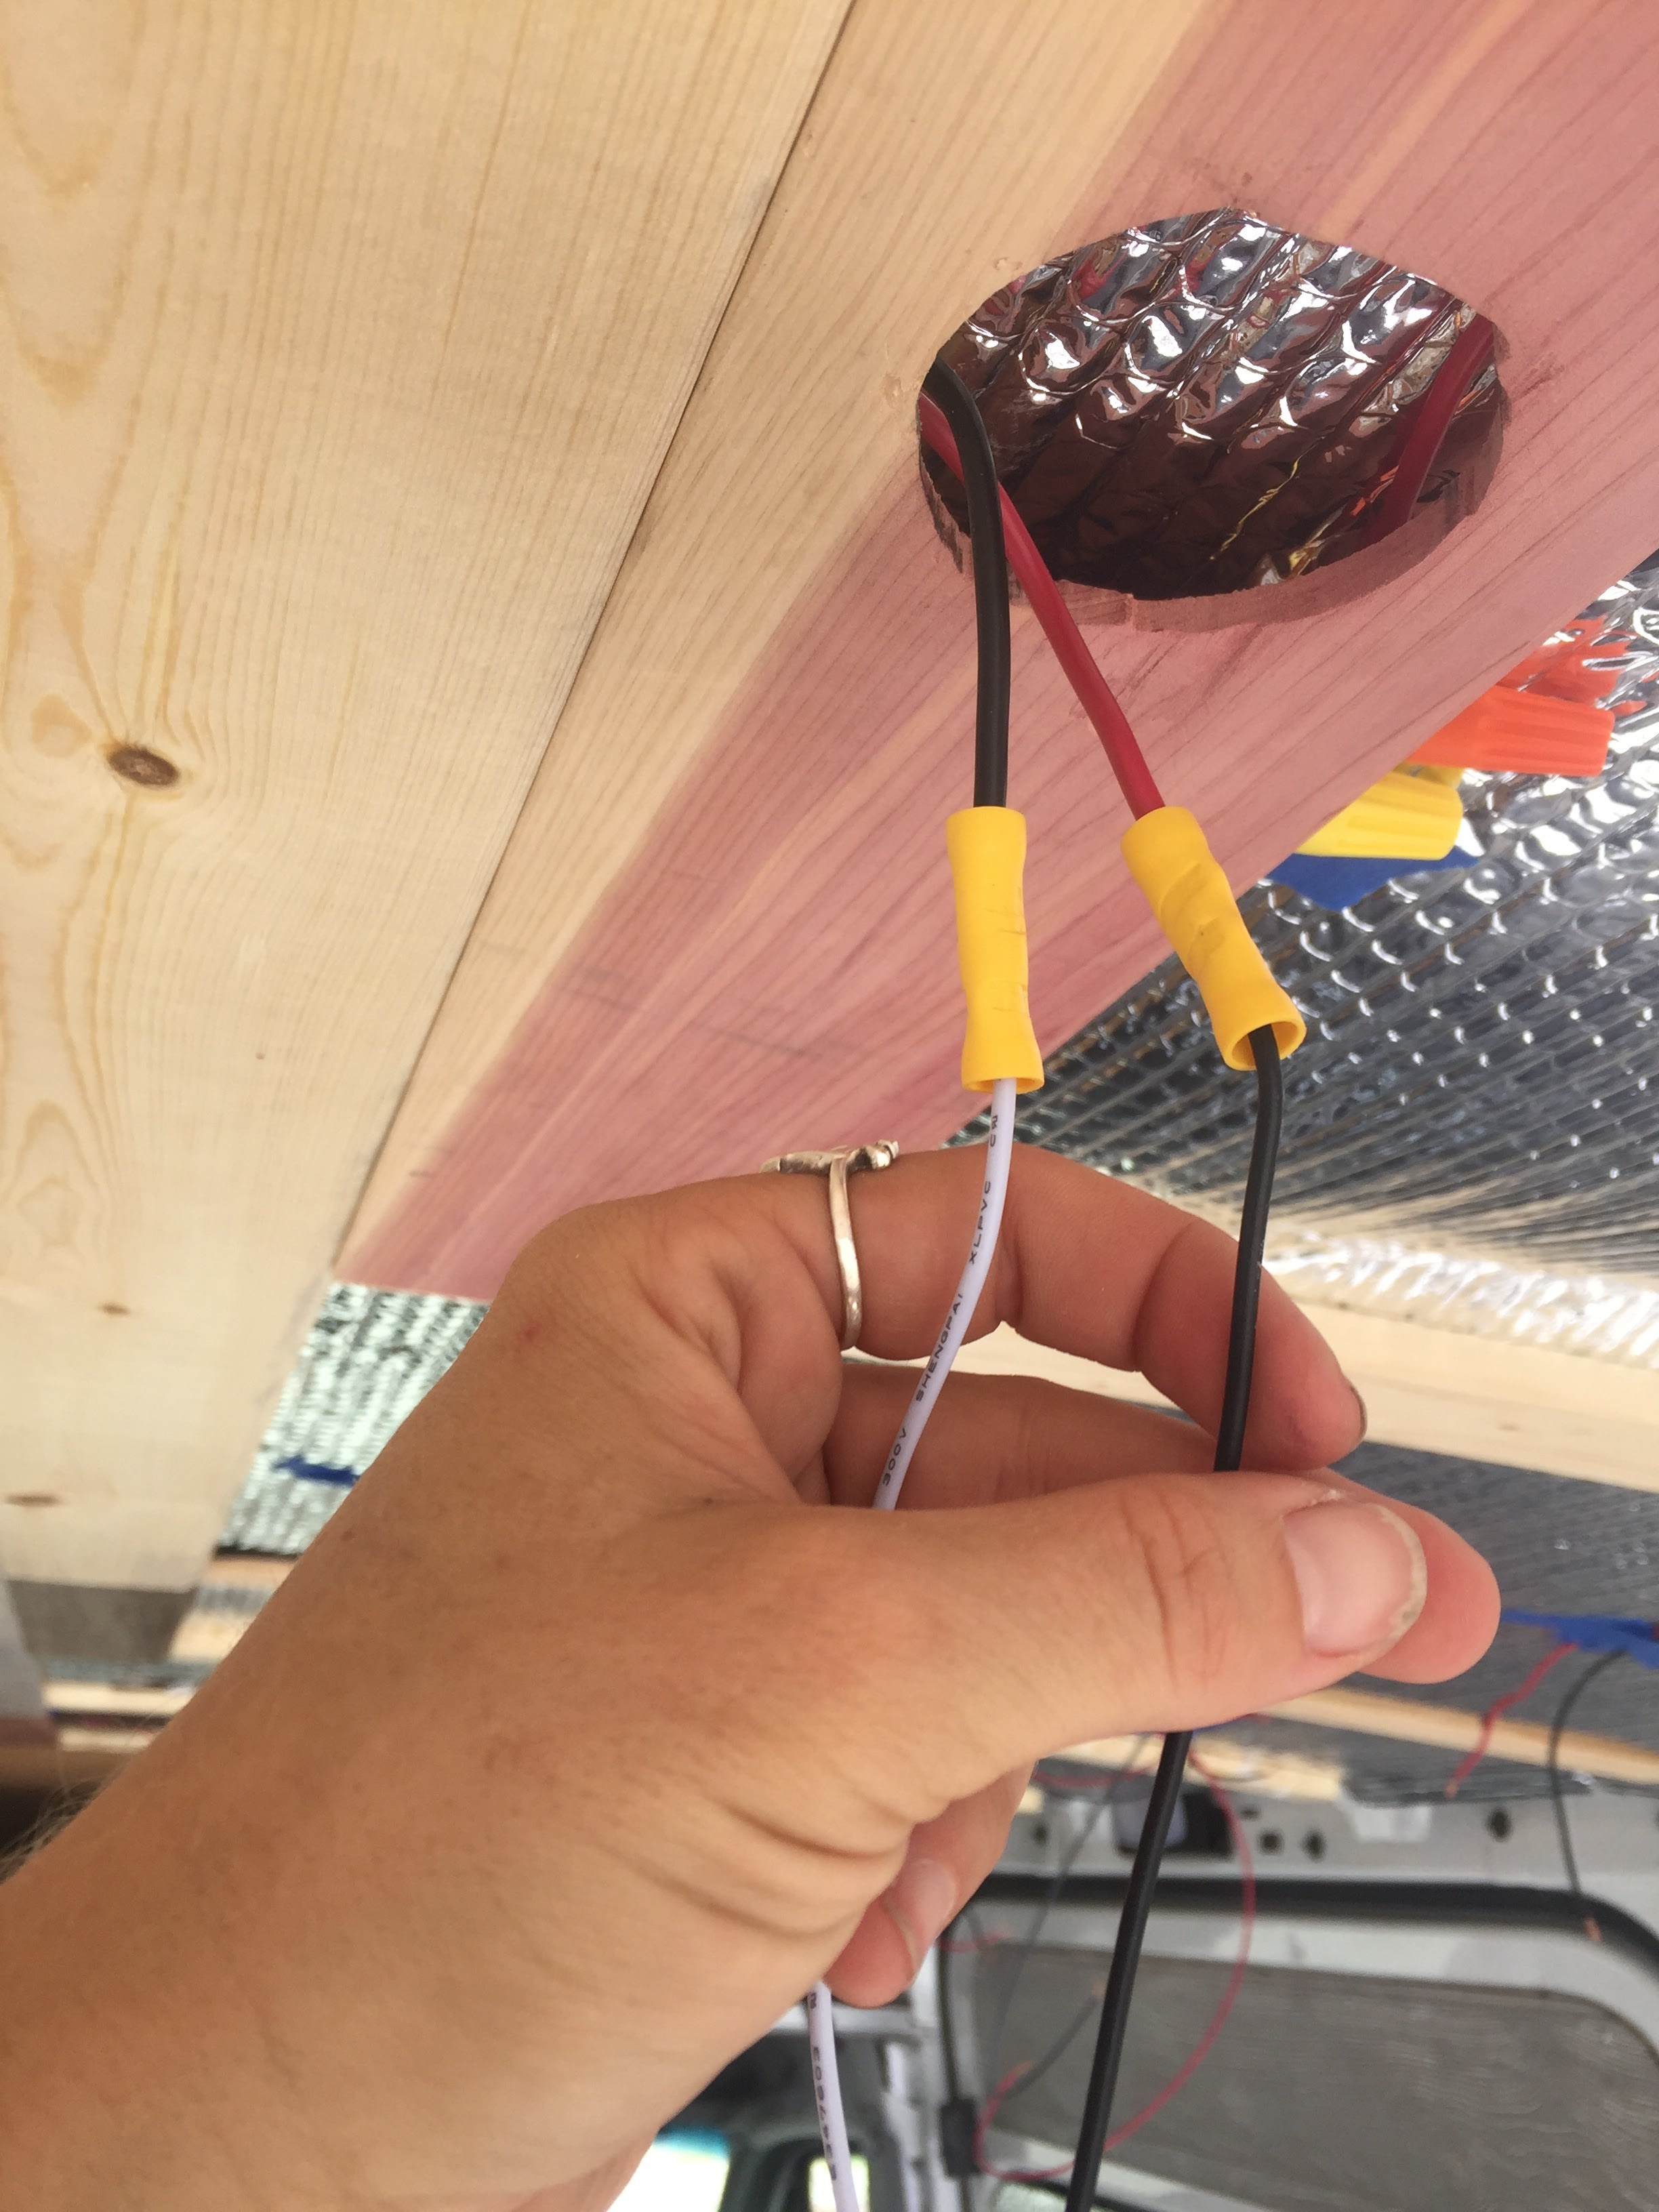
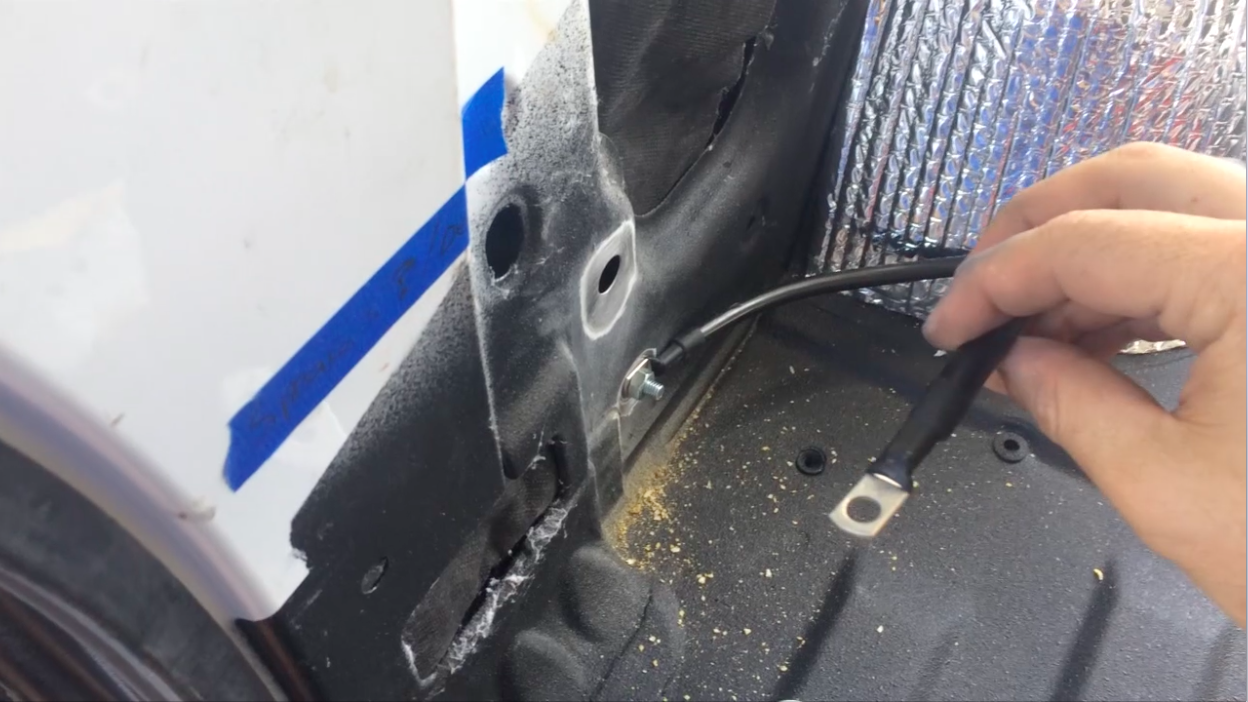
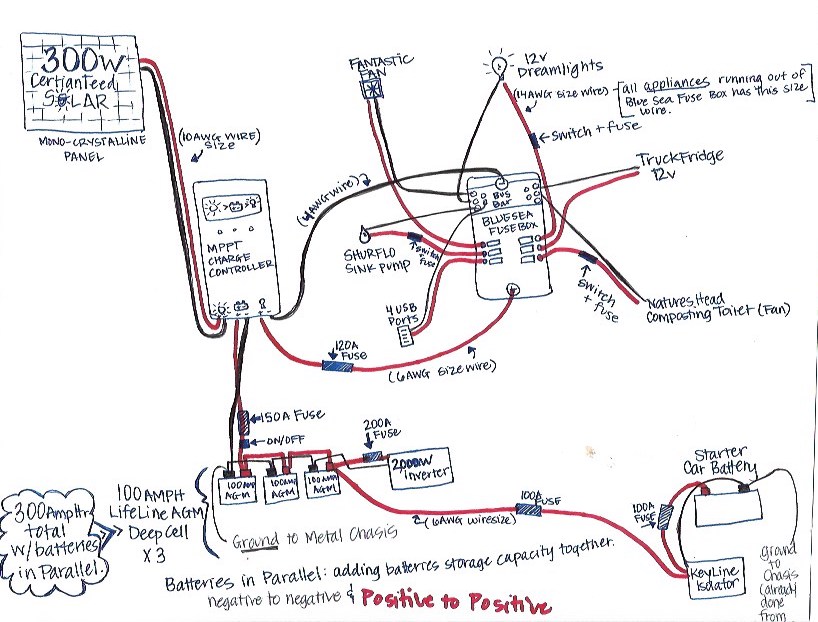
I used the frame of the interior walls as a ground and put a solid bolt through a hole.  You should always test your ground to get a good connection.  You will need a voltmeter.  To test the ground, attach your cable and get the reading off the volt meter.  Try another area and see if you get the same reading.  If it is different, you will need to establish a better ground connection.  From here, you will want to wire your battery bank in parallel.  Check out my basic diagram below.  Also, when it comes to crimping battery terminals, we just used a vice and it worked very well to crimp the terminals and get proper connection on the battery cables.  Always pull on your crimps to make sure that the connection is strong. 

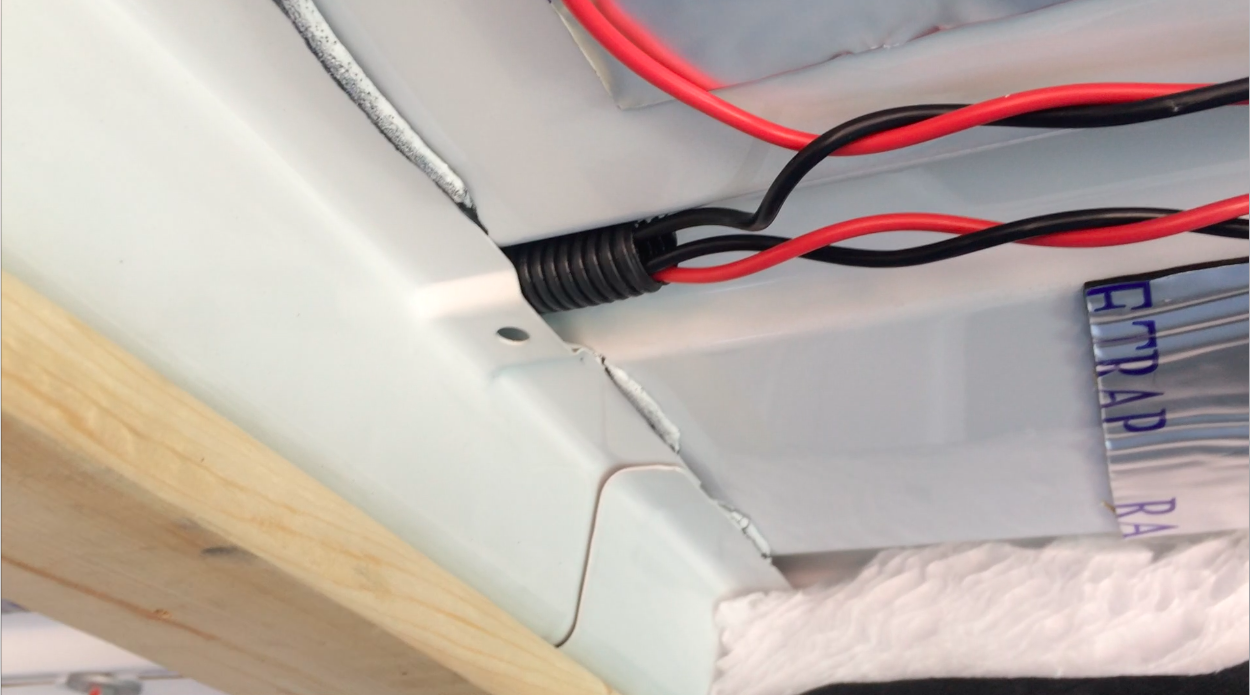
Step 4.  Once you've got the battery bank wired up, you are ready to start wiring the van.  We used about 180 feet of 14 Gauge Black and Red Wire.  What we did while we worked on the first stages, was tape-off everywhere in the van that we wanted our outlets/appliances/lights.  We seem to be changing plans everyday. So this was a tough part for us and took quite a bit of planning.  Once we decided where everything was going, we measured and cut the wire from the fuse box to be to where the switches and accessories will be.  We were extra careful and we insulated our wires anywhere they had a chance of rubbing up against metal and possibly becoming damaged.  We used about 20 feet or more of the plastic conduit  to protect the wire and about 20 feet of the foam pipe insulation as well.  We also used left over reflectix and electrical tape to create our own insulation in other areas.  (See Video) After you measure and run all the wiring to its location, make sure you label every cord.  I used masking tape and a sharpie and wrote what every cord went to on both ends.  

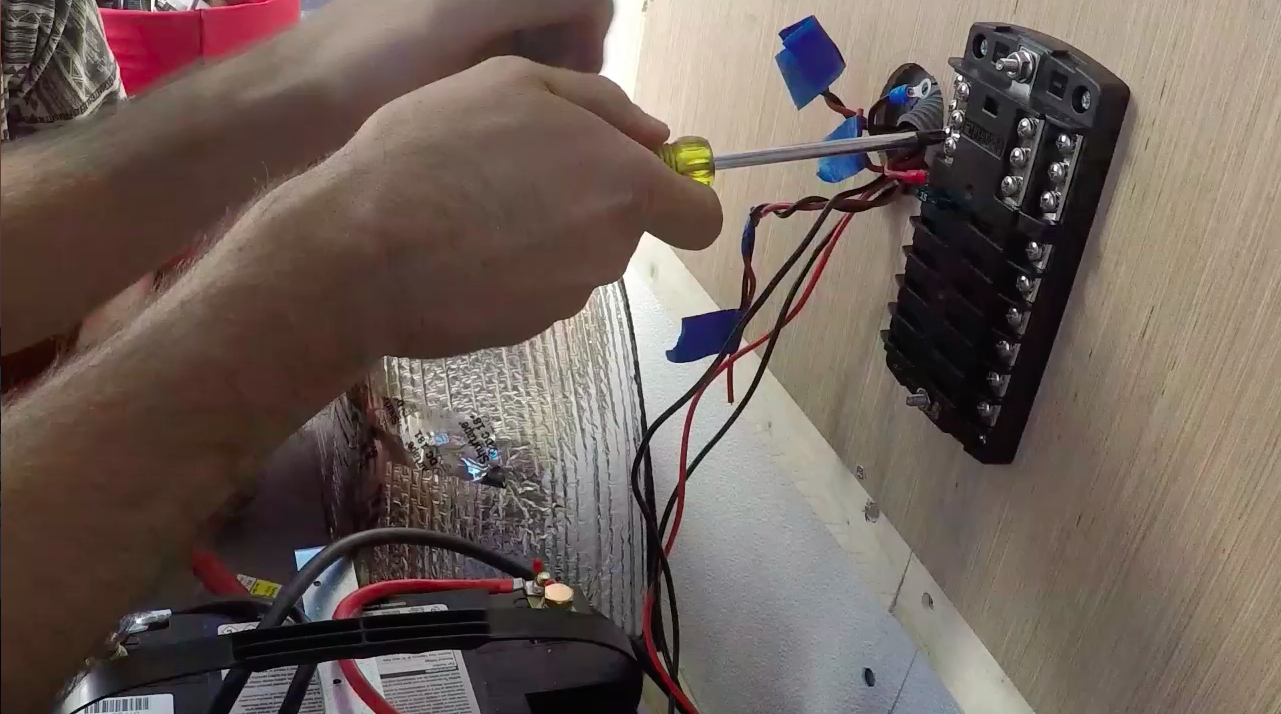
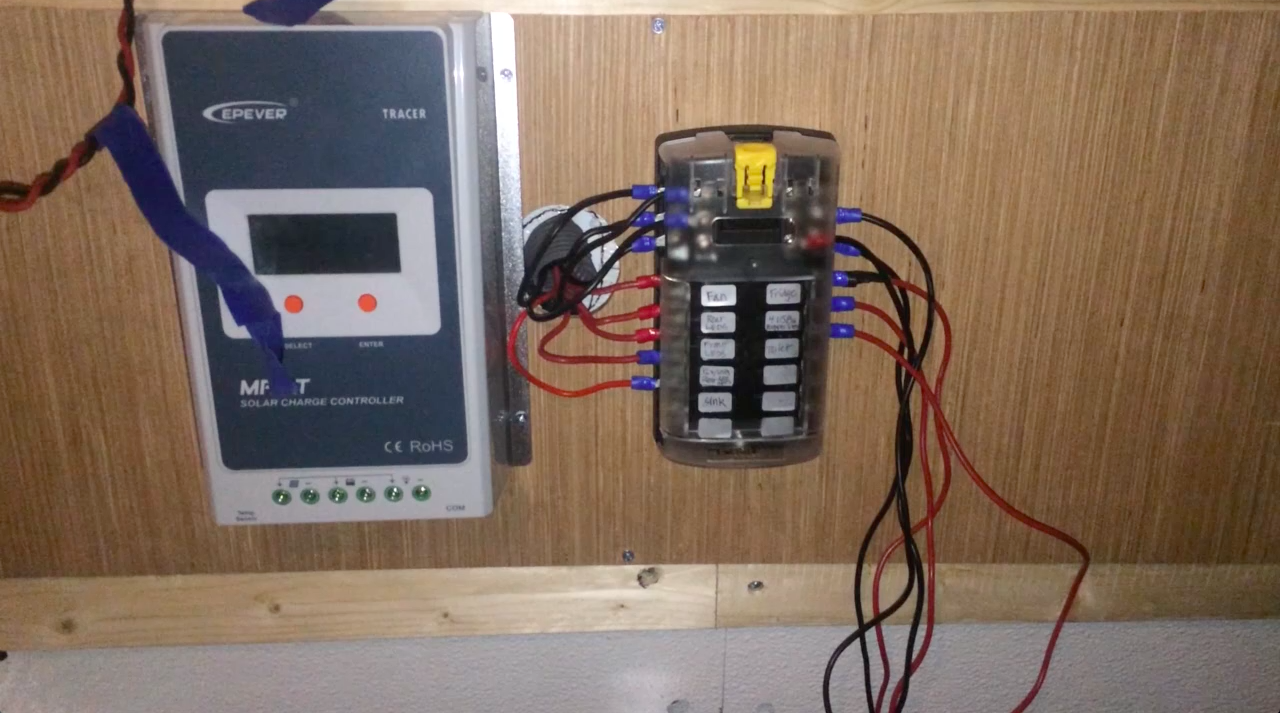
Step 5.  You can now install wire terminals on all the positive and negative wires and connect them to your fuse box we used the Blue Sea Fuse Box  and it works out great.  The Blue Sea is nice because it has 12 ports which is about all you need.  After you have all your wire terminals installed and determine where you will put each positive wire.  You can connect your ground anywhere to the Blue Sea Fuse box it doesn't have to correspond to any specific area you just need to ground the negative on the bus bar.  ***NOTE!  While doing this, do not have the fuse box connected to the battery and never have any fuses in fuse box with live wires.  The fuse is basically a switch and once you plug it in, it will be live. 

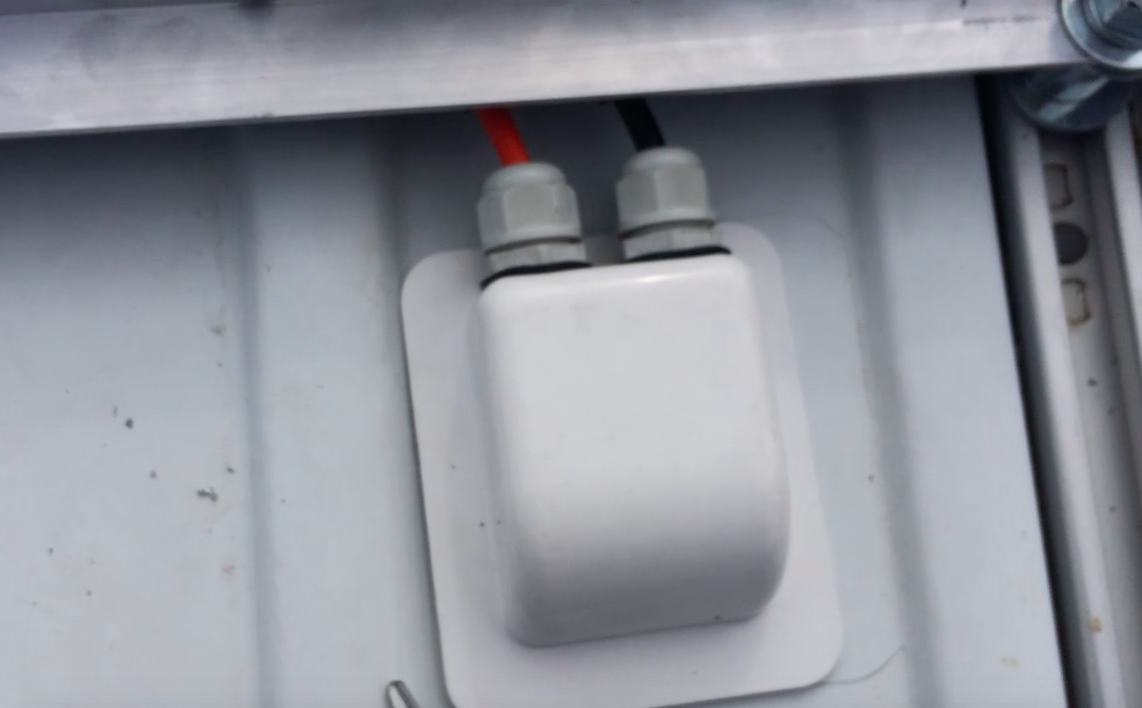
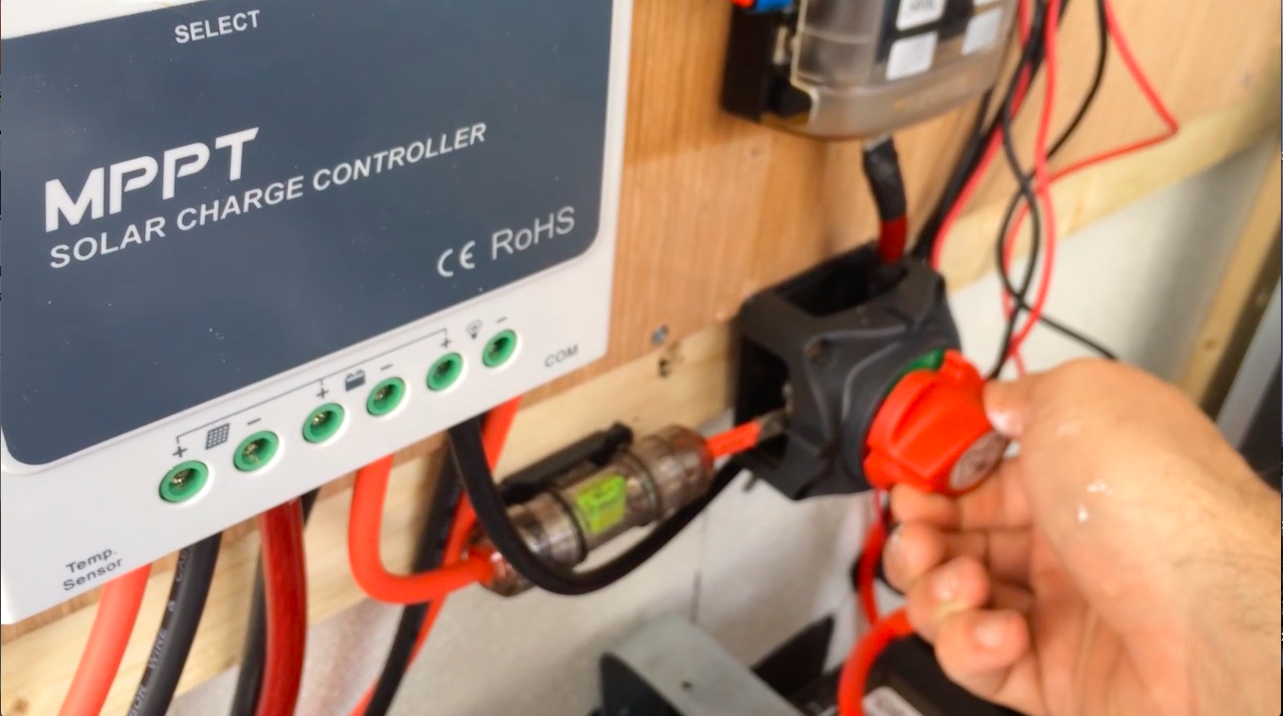
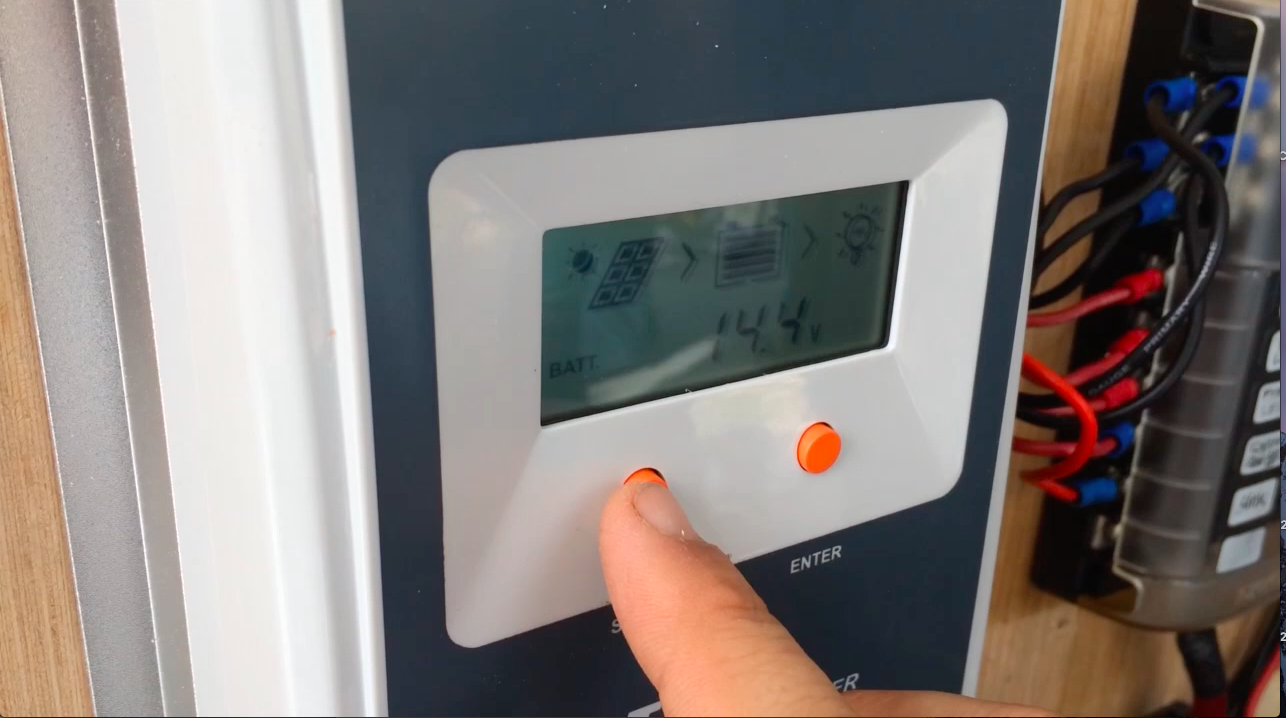
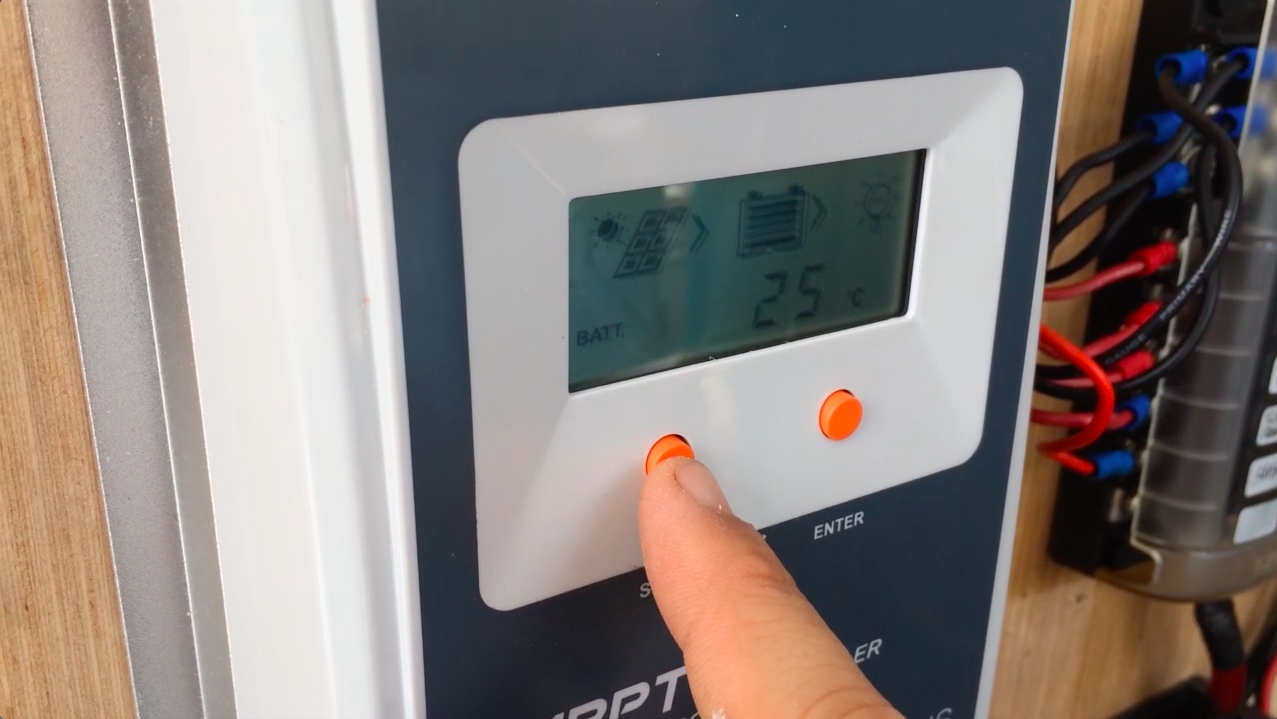
Step 6.  If you haven't installed your solar panel, you may want to consider doing this now.  I have a page for a DIY solar rack for under $100 here.  After the solar panel is all hooked up, I recommend getting a set of cables with build in MC4 connectors here.  As well as this port for your cables to go through your van roof.  Drill the holes for the cables.  Install your charge controller next to your fuse box. Do not hook anything up.  We went with this charge controller it comes with a monitor that tells you what your current load is pulling, it has super fast shipping, from this seller, because it isn't shipping from China, like a lot of other sellers, and it has been working amazing for about a month. I will check back in to update later.  

Step 7.  Now, you will begin tying it all together.  First, disconnect the ground cable from your battery bank.  Now, you will want to start setting up the ground work for your fuse box to connect to your batteries.  What I did, was I installed a switch to power down my load so I can completely shut down the system.  I did this by using 6AWG Wire, 120 Amp Fuse, and a few battery terminal connectors.  Check out the Diagram Below(+++++).  

Step 8. There is still more cutting, striping, and crimping in your future so don’t even think about putting those wire strippers away.  Measure and cut the wire from your positive and negative terminals of your choice on the battery to your charge controller.  Although it’s not mandatory, you will probably want to buy a 150 Amp Fuse. I found some at my local car audio store. 

Step 9. Connect the wires into the charge controller and then connect the MC4 connectors on the roof.  Positive first; then, Negative.  After that, you should see a reading on your charge controller about whats happing with your system.  This was a happy moment in the van build.  

Step 10.  Connect your inverter to your Battery Bank.  This may be the last of the cutting and crimping.  I used a 200 amp fuse here and a 2000W inverter. 

Phase 2.4: Climate Control - Installing a Snugger Diesel Heater 

Unboxing the Snugger Diesel Heater 

The instruction manual that comes with the Snugger seems to be quite ambiguous (or maybe it's just how overwhelming and intimidating it all seems). There are a lot of diagrams but there really aren’t many instructions, which scared me. Usually, I go to YouTube for help, but we found no install video’s of the Snugger Bunk Heater. So, we were on our own.  

The design is pretty much the same as the Webasto diesel heater and the Espar diesel heater so I could still use most of the how-to videos out there on the more popular diesel heaters. The Snugger is the more affordable one of the three and least popular on YouTube installs.  It has different color wiring. So, some of the videos online couldn’t walk me thru that part. 

We unboxed everything and thought holy moly what have we got ourselves into with all this stuff?! 

But, as it turns out, Snugger's kit includes things for all scenarios into their kit. So, if there are things in the Snugger Box that you aren’t using, don't worry. 

We laid all the wiring out to see what we were dealing with. It seemed to be one huge cable. On one side, it had one cable with a bunch of wire colors with silver connector pieces coming out of it. The other side of that wire split off into three wires. One for the fuel pump, one for the controller, and one that goes to our battery system via our Blue Sea 5026 Fuse Block. On each end of those three wires, there are differing color wires with silver connector pieces on them. 

These, you have to connect thru the backside of a quick-disconnect piece, creating one side of a quick connect piece. You will create both sides of the quick-disconnect connectors doing so by matching the corresponding colors with the corresponding holes, as laid out in the diagram that accompanies the installation guide (This was floating around loose in the box and we almost missed it. It was a xerox’d black and white copy of pictures of the connectors with red, yellow, orange, etc labels were shown for each wire going into their respective connector pieces). It is really easy (once we found that piece of paper). ***Do not connect the purple and black wire to a quick connect until you send it thru a hole in the van because it will not fit out the hole with the connector piece on.***

Now, to hopefully the last holes we will have to drill into the van!

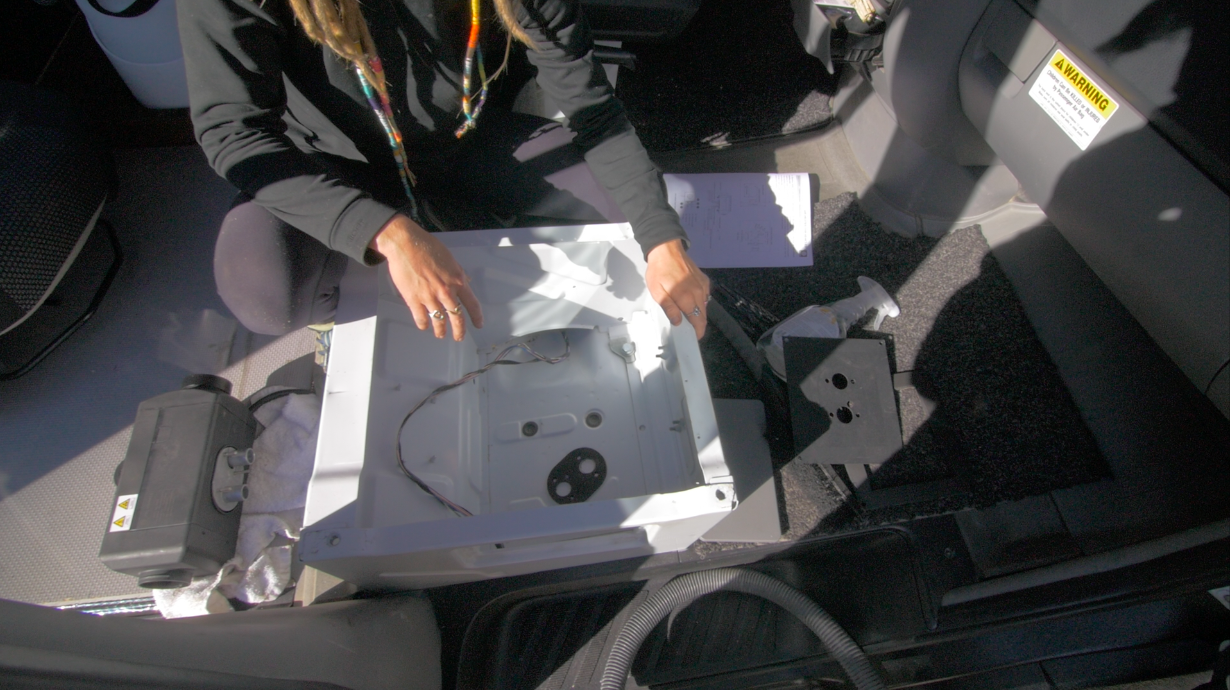
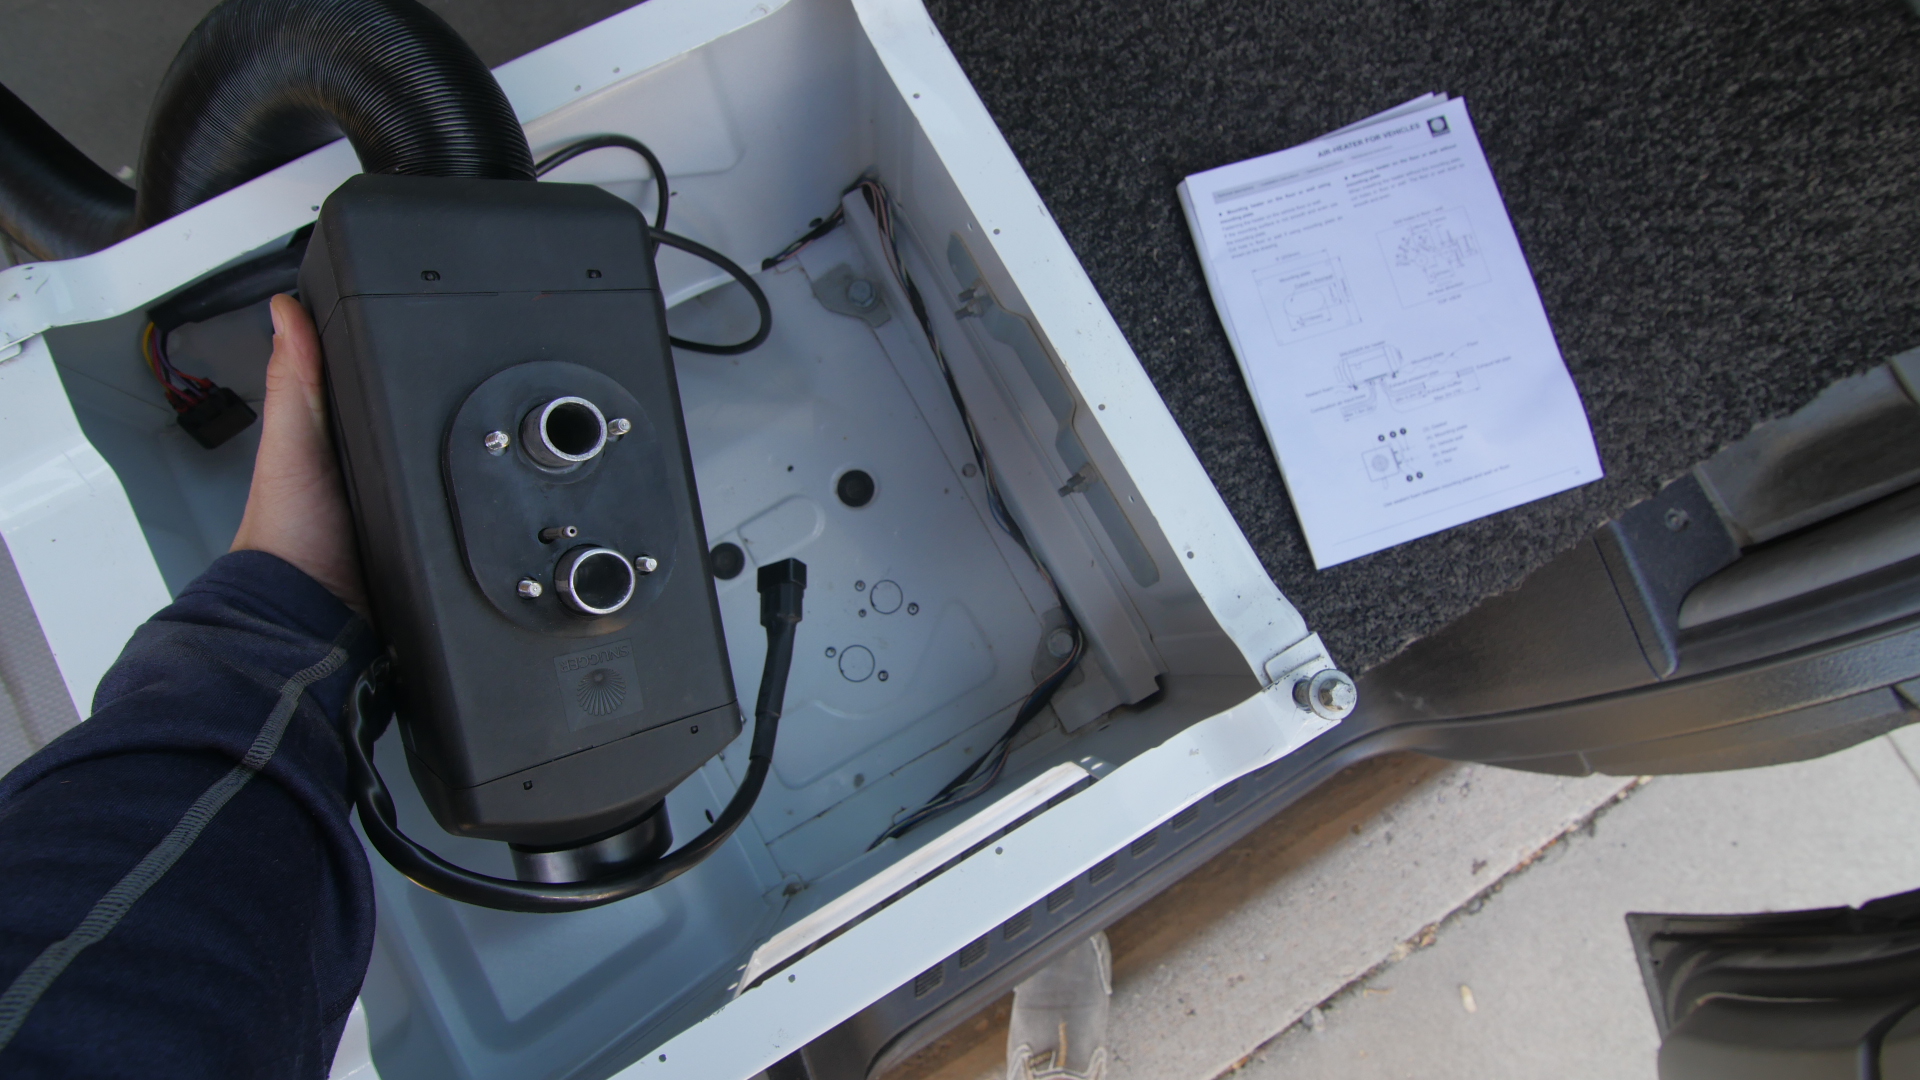
We debated about where to put this. But, in the end, we went with the tried and true under the passenger seat. It is enclosed in its very own space, which is a huge plus. Also, there is so much cord that there was really no excuse not to utilize it and putting it next to the wheel well would be locating it right next to our batteries thus, needing about a  6” of wiring, not six feet! Also, it saves space. After a couple of cold mornings, we realized that insulating our van, without a heat source kinda turns our van into a cooler. Since we already kind of had a layout, there were only two places it could go.

On first thought, under the lounge area of our layout, we could place it next to the rear driver side wheel well to keep the fuel line simple and on one side, but once we got under there and measured, we realized it might be kind of difficult to fit it in such a tight space, with a shaft near the area we were planning to install, and near the tires I wasn’t sure about rocks or road debris hitting the installed area. This scenario was also going to take up a lot of precious storage room because it needed to be enclosed, if it were around other loose items so they don’t go up in flames.

On second thought and last minute change (We do this a lot. Some how following this little last minute gut instinct hasn't steered us down a path we don't like), we decided under the passenger seat seems to be build for it, as it seems to be in its own enclosure, that isn’t flammable.  There is a groove that seems to hold the shape of the Snugger. Plus, we had watched video after video of installs about the under the passenger seat because that is really all we could find. So, we knew dropping the piping down in that area was good to go. It was just the maneuvering the fuel line from the passenger side to the driver side that I was trying to avoid. It seemed complex going from the passenger side to the driver side over mufflers and drivetrain. It sounded too complex. But, as we have told our selves before with this build that if we put in the hard work now, it makes everyday living easier. So, we decided on the heater going under the passenger seat. So we got to removing the passenger seat.

After the seat is removed (refer to our post about our Swivel Seat install here. Follow the instructions until the seat is removed), you can put your car on blocks or send your tiny wife under there. Let’s be real, this heater is for not very cold resistant Dani who impulse bought the heater and promised she would head up the headache. So, she’s stoked to get under there and figure it out to make sure she has heat. We just threw down the box that the solar panel came for Dani to move around on under the van. It worked out great!

We cleaned out the area where the heater would go and then stenciled out where the heater was to be mounted and drilled some pilot holes. We decided not to use the mounting plate and just drill the holes needed. 

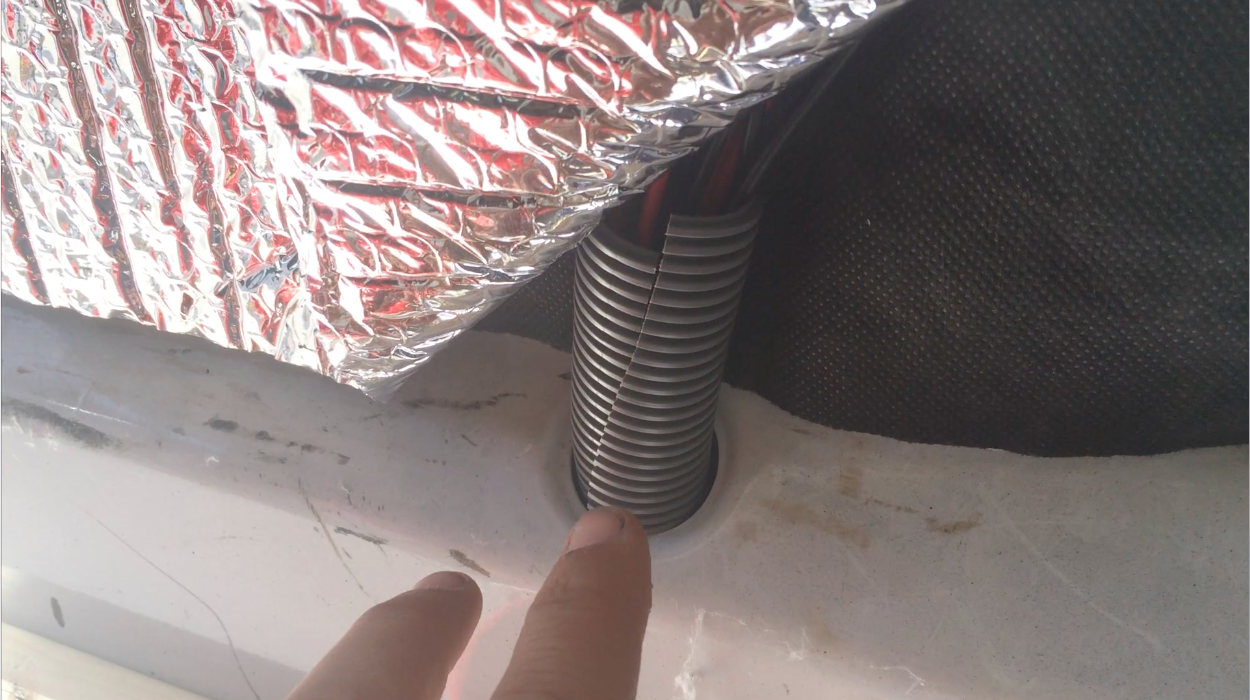
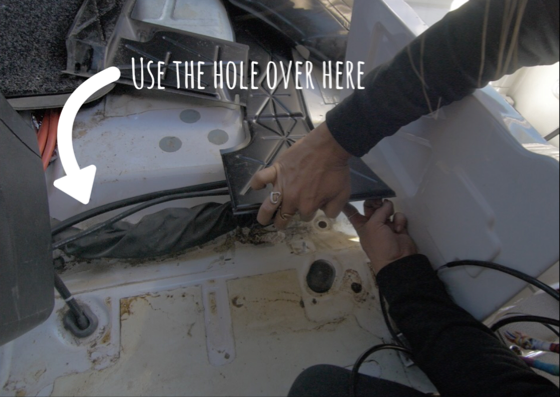
While Kevin was looking for the correct hole saws, I ran the wiring underneath the floor piece to the battery (the controller wiring went this way as well, because we were mounting our controller near there) and the fuel pump wiring dropped down beneath the car in a stock hole. This involves lifting up the cabin floor and unscrewing the wiring protection plate. Under that black plate and underneath the stock wiring, there are two holes that go to the underneath of the van. The one closest to the driver seat is the one that you want to drop your fuel pump wiring down. You’ll want to get a little rubber grommet for the hole to protect your wire. Because we didn’t know the size, we got a couple different sizes at True Value for about $0.27 each. 

**Hopefully, you followed the tip in the beginning about sending the wire down that hole first before connecting the quick connect to the ends of the wires. We blew it and jumped the gun on that one.**

In the video, I point to this hole. When I got under there, I realized there was a way better hole that dropped that fuel pump line right inside the fuel tank's heat shield area making it easy to run to the fuel pump wiring to the fuel pump.

In the video, I point to this hole. When I got under there, I realized there was a way better hole that dropped that fuel pump line right inside the fuel tank's heat shield area making it easy to run to the fuel pump wiring to the fuel pump.

Once that was fed thru, I got under the van and fed the fuel wiring where I thought it would be best. I made sure to protect it with some heat resistant sleeves (I bought mine locally after I didn't pre-order this because I didn't plan for the last second change of plans. I should know better by know :) ) I tried to give some detail on video. It’s hard to give a good perspective in such a tight space, but I hope it makes since because it wasn’t as hard as I was anticipating it to be. All of it was way more intimidating that it actually was. If you had all of these things ready you could get it done pretty quickly without stopping to look for these things:

  • 5/16 drill bit

  • Small flathead (to get into tight spaces for tightening the clamps)

  • 1 1/16 Hole Saw

  • Small Zipties

  • 1/4" Black Wire Conduit 10 ft

  • 3' of Heat Sleeve (for Fuel Line coverage over Hot items)

  • #10 Socket

  • Bracket for muffler (we made this)

Once the wiring was in and Kevin was back with the hole saws, we started drilling out our sharpie template. 

We filed sharp edges of the hole smooth, vacuumed any metal debris to avoid rust, and then we painted the fresh cuts with primer. Then, we put the Snugger in it’s new home. I got under the van and attached the clamps, nuts, and pipes to their fittings. 

The black intake tube goes next to the fuel line. I clamped it and then I ran it forward, over the box in the doorstep, behind and protected by the mudflap. 

The silver hose is the exhaust. It should run towards the rear and exits to the side, not just remain under the van, but exit out. There has to be at least 8" from the beginning of the exhaust to the muffler. Essentially, you want more exhaust tube after the muffler to quiet the tiny jet engine exhaust sound. (Apparently, there is also a certain amount of back pressure that the unit needs so the exhaust tubing shouldn't be extended too much past what is supplied.)

With all the fittings attached to the bottom side of the Snugger, Kevin added the hot air duct to the Snugger, cut off the excess (once he had his hot air vent measured out) then he cut the hole, and attached the vent! 

We then, moved over to the fuel pump and mounted that on the beam above the fuel tank and at a 30 degree angle, with the wire connection pointing up and towards the front of the van. 

Then, we grabbed the fuel line that we ran thru the frame. We strung two clamps over it, shoved a rubber fuel connection on the fuel line, and put the other end of that connection to the fuel pump. (If the fuel line seems like it is having a hard time going into that rubber piece, get a hair dryer or a heat gun and warm up the rubber piece and get it pliable--they should go right in after). Then, we slid the clamps up and into place, over the connections.  We clamped them down and connected the quick connect power wire to the pump.

On the other side of the fuel pump, we did the same rubber and clamping connection. We also added the same black plastic split wire looming. On the other end of the fuel line coming out of the fuel pump, we put the Dorman Fuel Line Connector 800-188 piece that we ordered from Amazon on the end of the fuel line and connected it to the Aux Fuel adapter. **This particular Dorman part took forever. I have no idea why, it was supposed to be Amazon Prime, but mine was held up for some unknown reason. Long story short, I tried every place in town trying to get it so I could finish, as this was the one thing holding up our install, but everyone claimed they had to be special ordered coming from the East Coast?! So we just waited patiently till it arrived. So, I highly recommend ordering this ahead of time, if your Sprinter has the aux fuel line adapter. This part allows your fuel line to easily plug into that Aux fuel line. Apparently, this aux adapter starts in models 2008 and up, but I have a 2007 and there was one there! (Another reason we ordered—no drilling into the fuel tank, yay celebrate!) So, I would check to see if you have an Aux fuel line before you write it off. 

Once, all the underbody stuff was finally finished, we moved into the van. We connected the power to our Blue Sea Fuse Block, connected the remote to its quick connect partner. Then, connected the quick connect at the unit. Then, we power'd it up for a test run before we put our seat back on. It takes a couple minutes to get the fuel thru the line. Ours was blowing out cold for like 5 minutes till it finally got some juice thru that long line. Then, we could hear it fire up. It got cozy real quick! It was pulling 12 amps at warm up and then chilled at around 2.7-3 amps (our lights were running too).  

You can find the snugger heater here - http://amzn.to/2hHxeHf

Phase 4.1: Electrical - Battery Bank and Battery Isolator

Vankookz free wiring diagram

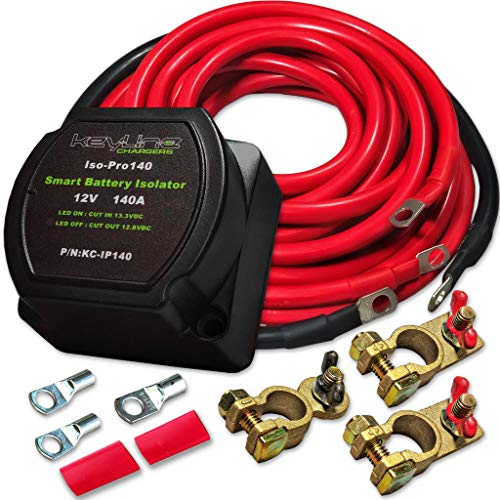
A great way to charge dual batteries while on the road is through a battery isolator.  An isolator basically sends a charge to the auxiliary battery, from the alternator, after the starter battery is charged.  I bought the Keyline Dual Battery Isolator on Amazon.  This kit is great. It comes with tons of battery cable. I recommend it for the amount of wire they give you alone.  

So, this is a very easy set up. I will walk you through step by step.  This seems like a daunting task but it’s actually quite easy and I enjoyed learning along the way.  For once, a convenient placement for battery right at arms reach under the driver seat.  This makes the job so much easier.  

  1. Disconnect the car starter ground cable.

  2. Make sure you have a solid ground connection on your auxiliary battery. Check by putting it in two different grounds and checking a volt meter to see if the volts remain the same.

  3. Get 2 x 100 Amp inline fuses either here from Amazon or at your local car stereo store.

  4. Measure all the wire distances. You will need to cut them. You need one positive wire running from your Isolator to your starter battery. The other positive will run from the isolator to the auxiliary battery. Be sure to give yourself ample room.

  5. Strip, crimp, and heat shrink your wires, with the provided terminals. I didn't have a crimper for the large terminals. So, I used a vice and it worked great.

  6. Connect all your inline fuses to your wires.

  7. Connect the isolator ground, then starter battery terminals, and last, connect the auxiliary battery terminals.

  8. Connect the ground terminal back on the starter battery.

  9. Start the car and check to see that the light is on and the isolator is sending power. Use a volt meter to check that the battery voltage is above what it was when you first checked your ground connection. Mine was charging around 13.9

  10. After this, make sure that the isolator cuts off by turning the car off and turning the head lights on for a sec (to speed up the process otherwise you have to wait till the volts drop below 12.8 and the isolator will stop charging. **Don’t forget to turn your lights off. ;) You will hear a light humming noise once it stops your isolator should cut off. You should see the isolator light turn off. Check the batteries voltage. It should be down to 12.8 or below and should remain constant.

Phase 3.3: Slider Door Shoe Storage

This was a shot in the dark. I had seen this mostly on aftermarket van conversion company builds. And I had seen a couple on some DIY builds around on the internet and I loved the idea of making that a muddy shoe storage area to utilize that space, especially because our Sink was going to be sitting over some of it anyway. But, I had found no how to’s, no Youtube videos anywhere! 

So, I hope this helps you out in brainstorming a way to make the Slider step your shoe storage!

First, my go to—stenciling the step out on cardboard. I used a stencil here because seeing it 3D always helps for me. I cut my stencil out on some left over plywood we used on The Attic.  I wanted the plywood to sit flush with the floor. That way we could lay our flooring over our addition and hopefully it would look build-in.

Luckily, at both ends of the step, where it comes to a corner, the corner piece sticks out a bit so it can act as a perfect support for the plywood. I didn’t want to make the step go all the way across towards the front cab because it becomes a huge step for anybody to clear. So, I left enough room to still have a comfortable step up area into the van. 

Once the top piece was cut out of stencil, I measured and cut out the bottom piece. It is slightly shorter because the contouring of the step. I measured the shoe box dividers that would also act as support. Then, cut those out. 

Now that I had my anchor and support point on that fortuitous lip on the corner, I had to figure out where and how I was going to give the storage top support for the rest of the box, but also keep the flooring flush with it. 

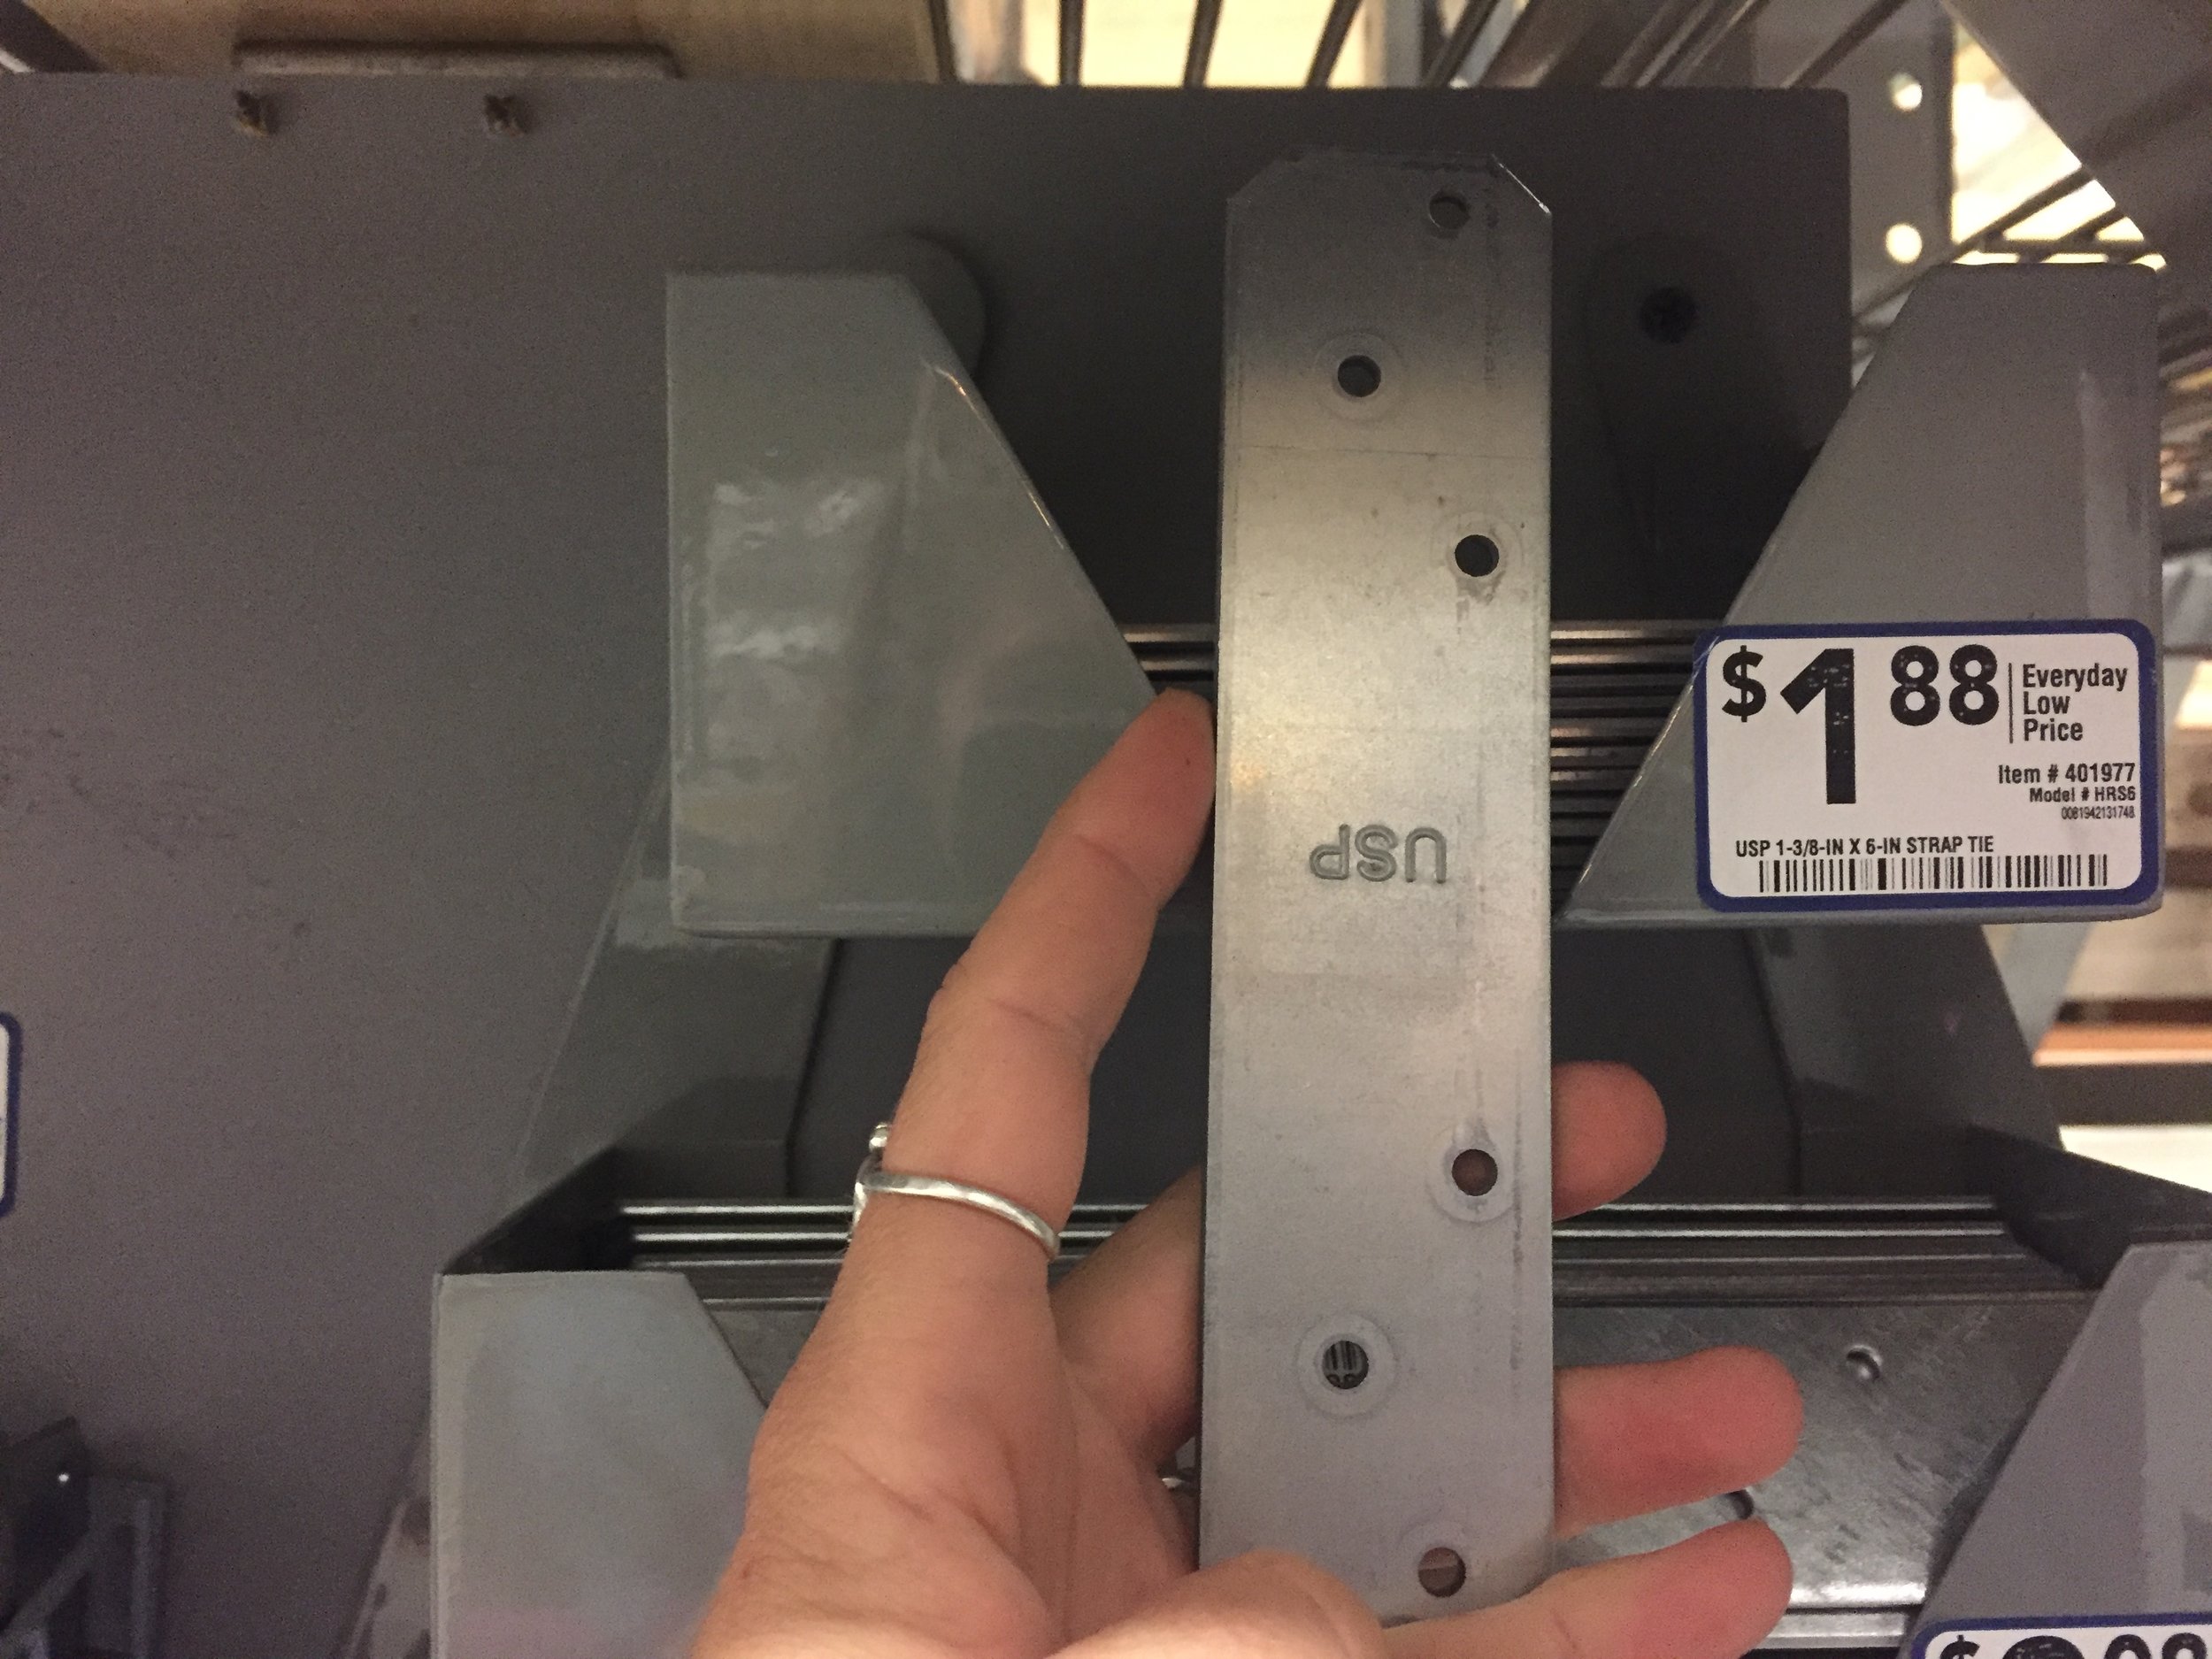
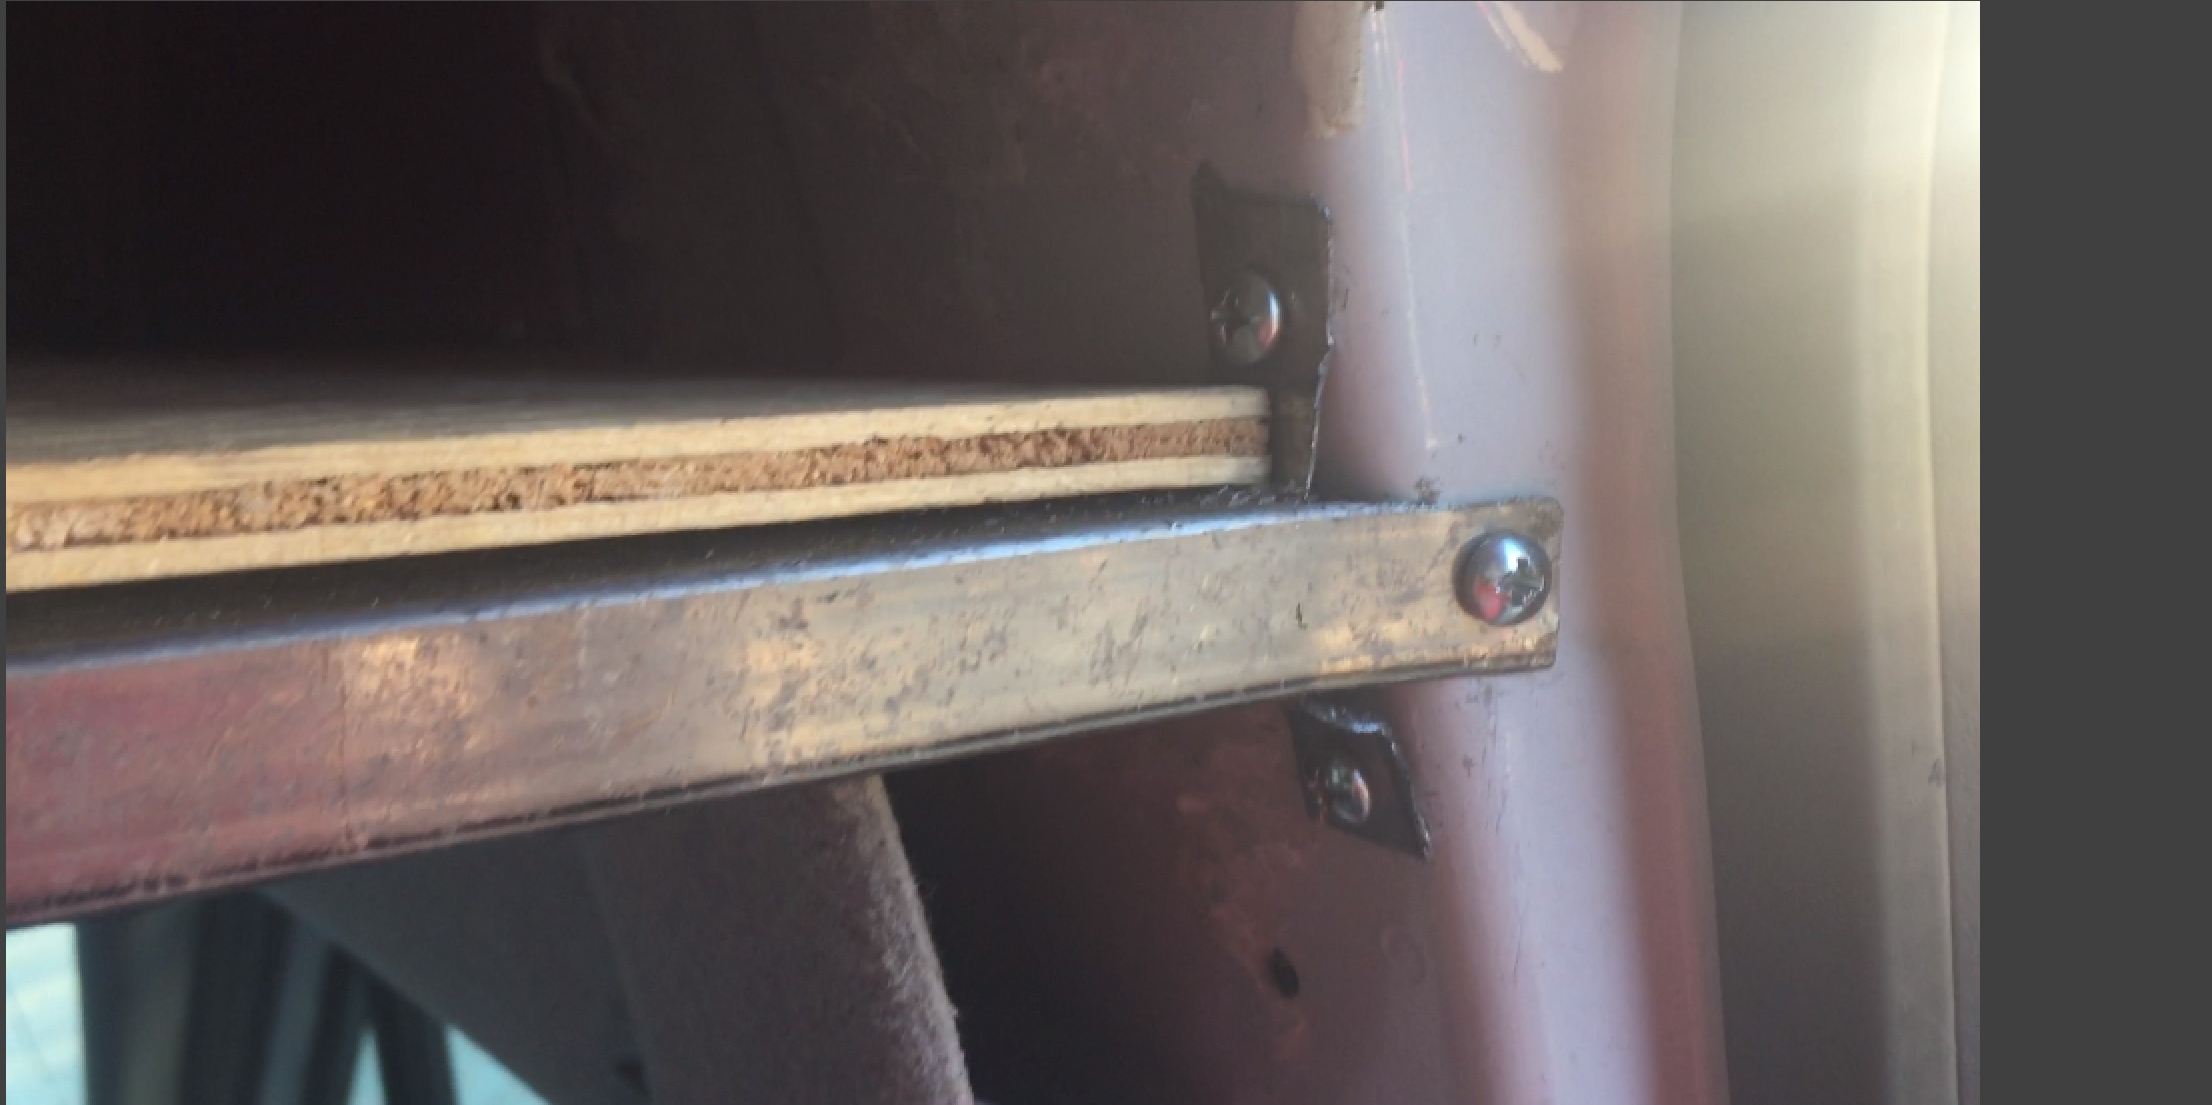
I used some 4-5” flat metal braces with 6 holes. These live in the Structural Hardware area of Lowe’s, where the joists are. I don’t know what they are called, but I had walked passed them many times in Lowe’s noting their existence and useful possibilities. Their time had come. 

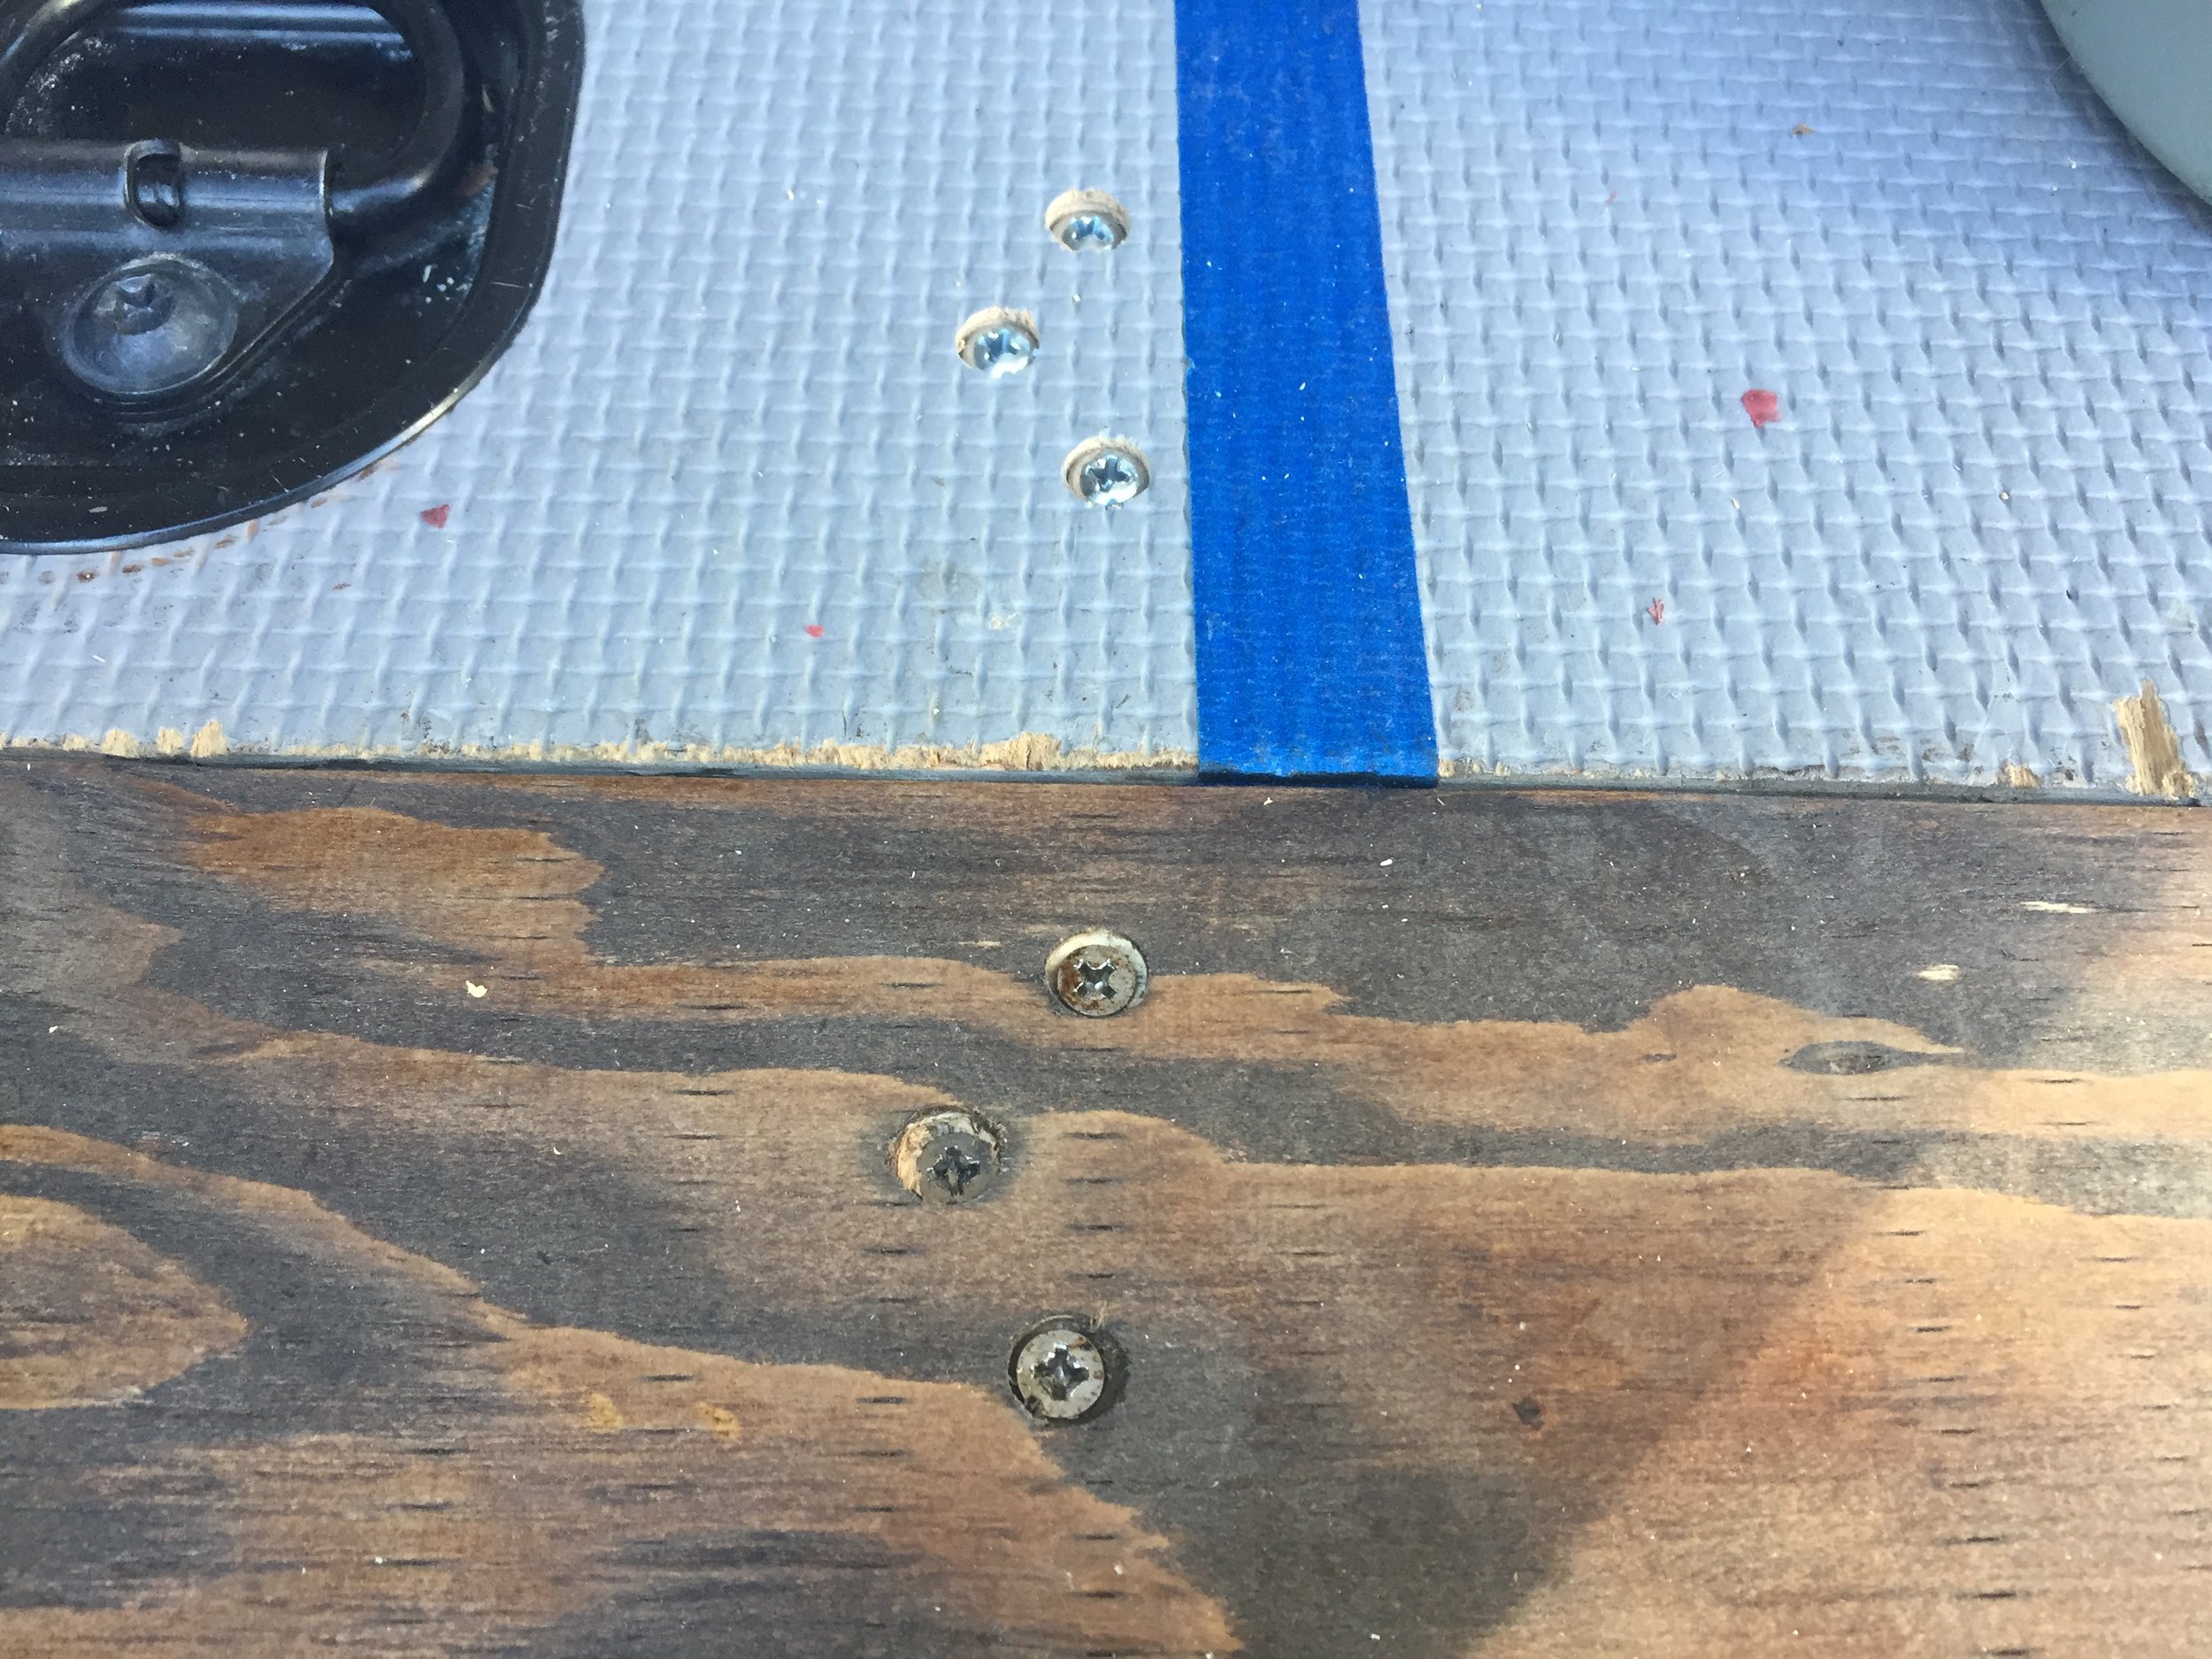
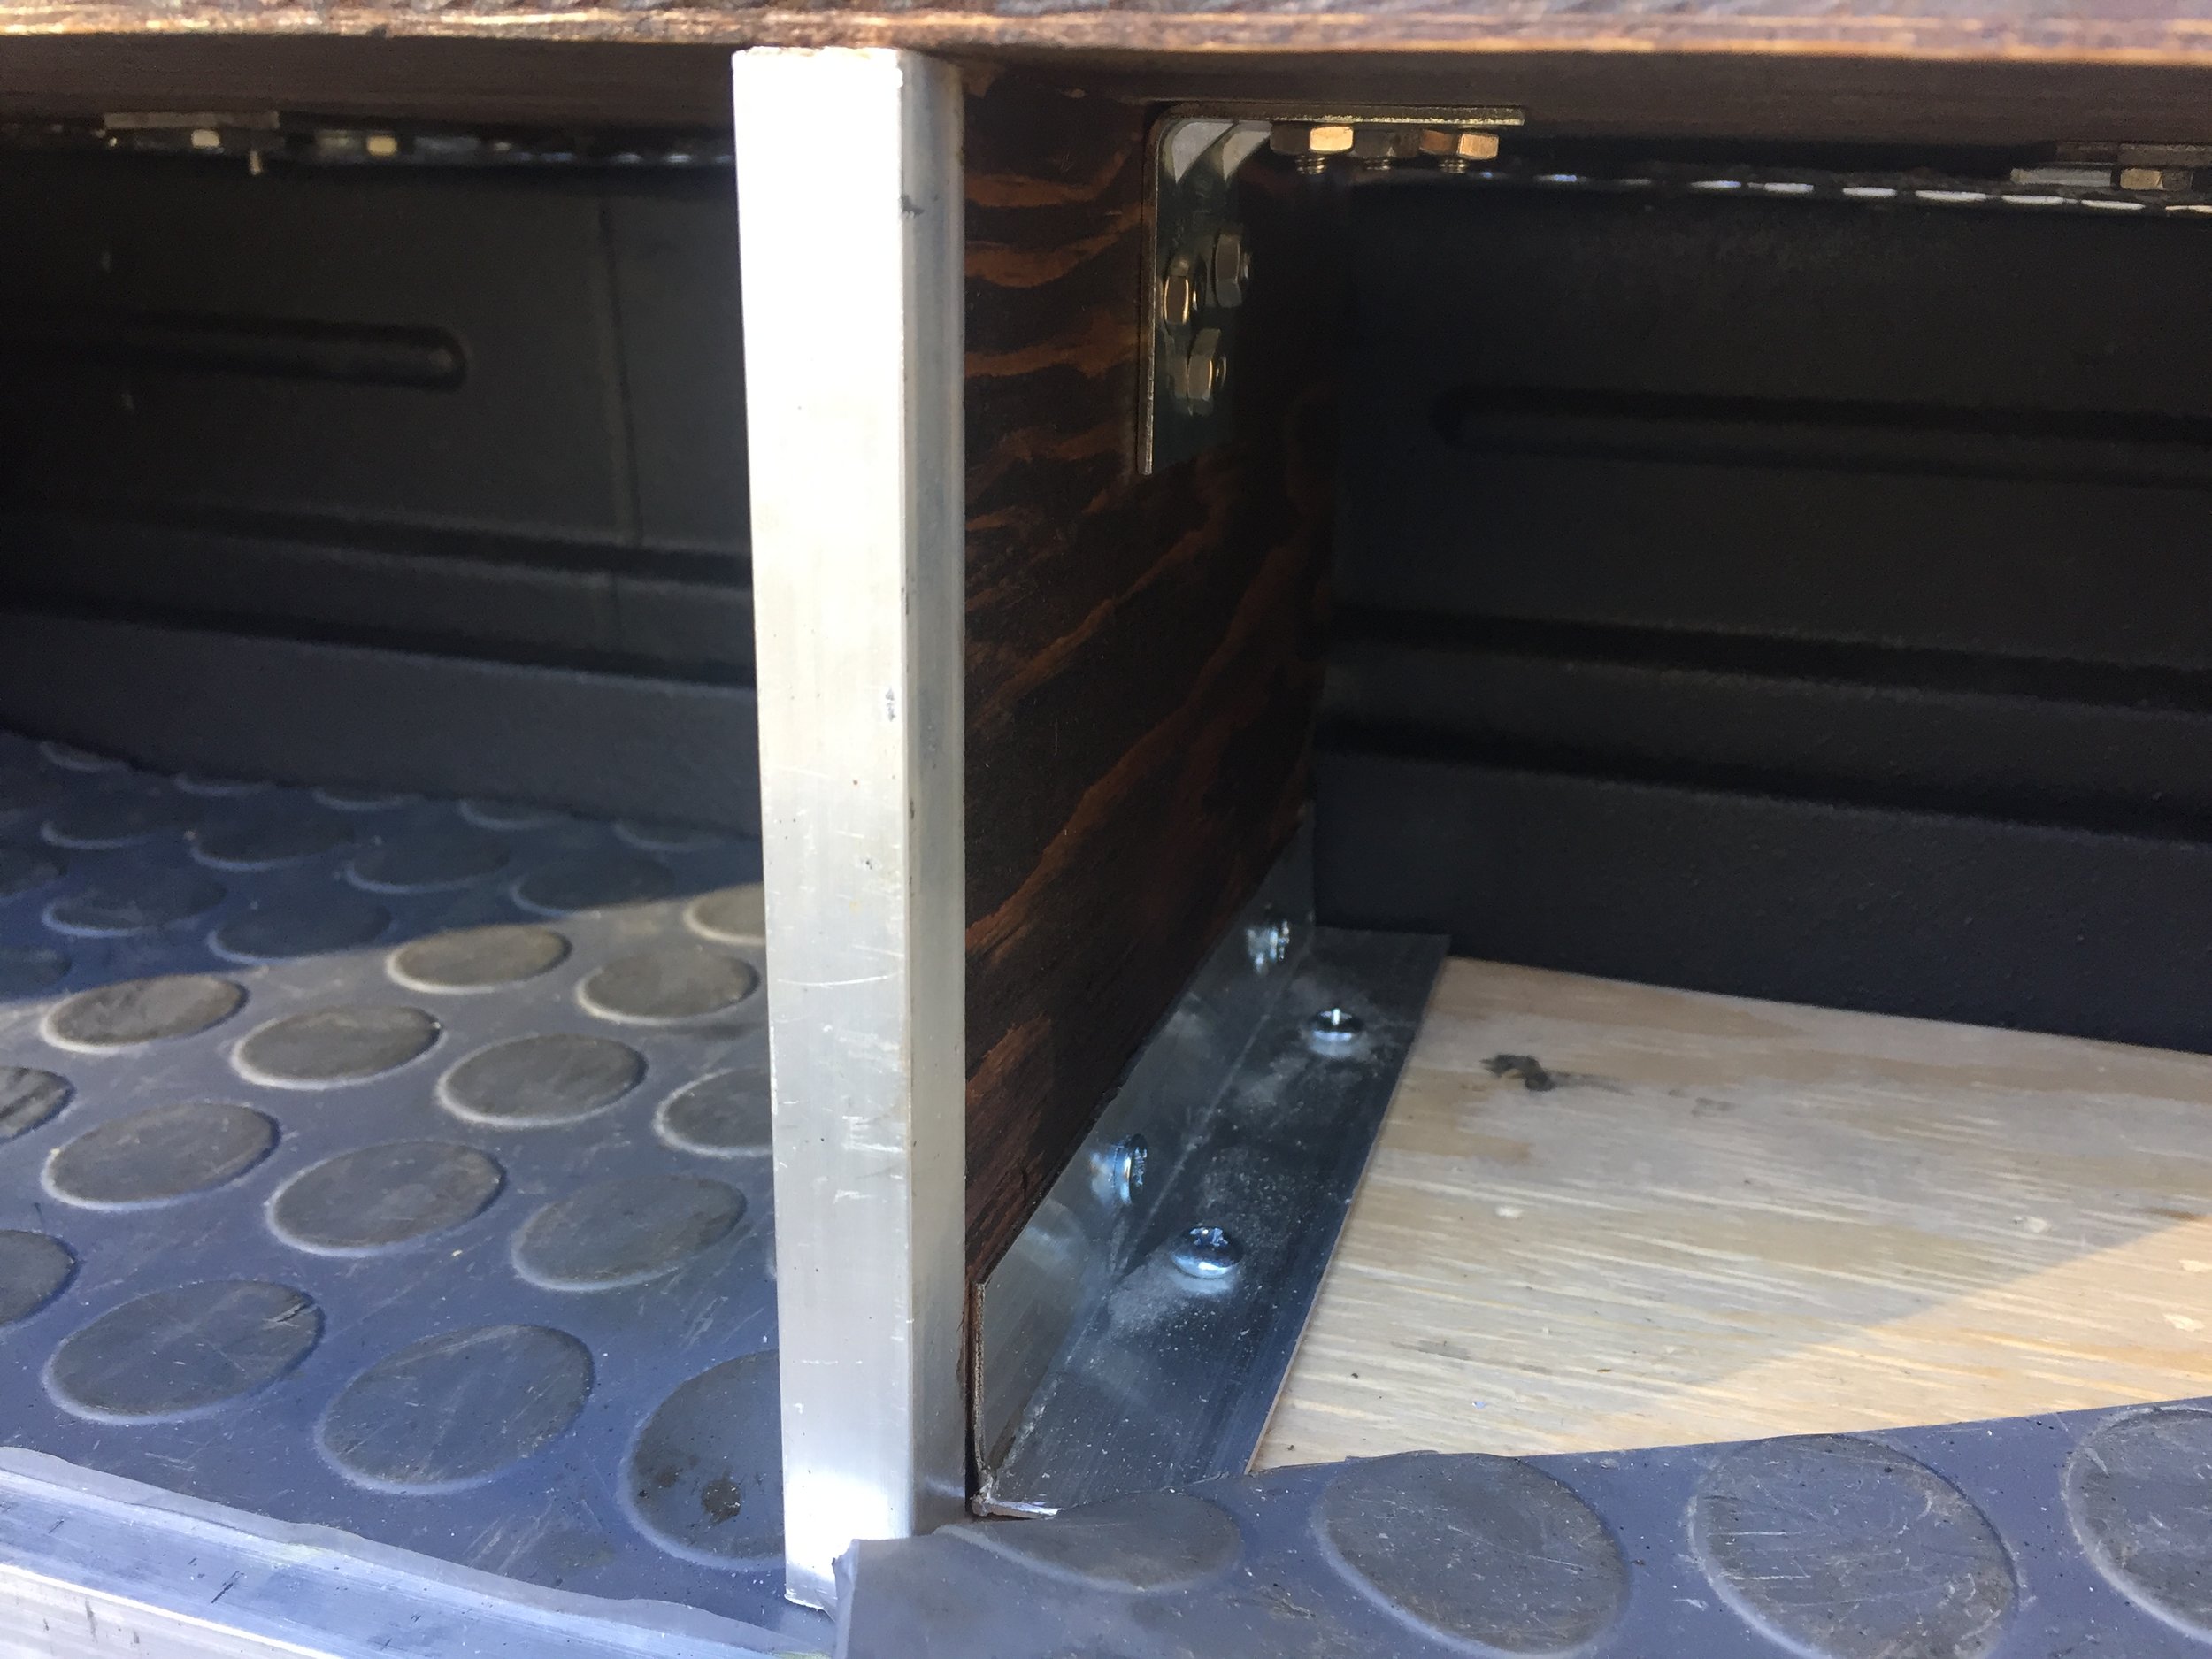
I slid them in-between the subfloor so they would hang out enough to hold my shoe box top up, from underneath to sit flush with the floor and support weight if someone used it as a step up. It looked like it was going to work perfectly if I countersunk and used small nuts and bolts. So I pulled them out and placed them on top, marking the holes to pre-drill.  When the holes were pre-drilled into the sub-floor, I slid the braces underneath my pre-drilled holes and moved them around until they lined up. Then, I marked and pre-drilled them onto the box top. I installed just the top. It was pretty sturdy already!


Once the box top was floating in place, I placed the bottom piece down. Then, I slid my dividers in where they were going to go and I marked the holes for these corner braces on each side of the divider. 

Once I had all my holes marked, I removed the floating shelf so that I could drill the holes for the nuts to hold those corner braces up against the top and still sit down into the wood, again to sit flush with the flooring. Once I had the box top and dividers connected, I went back and pseudo-installed so it was floating again, without a base, but with dividers this time. I slid the bottom piece in place and marked where the dividers would land on the bottom piece. 

I had a piece of angle aluminum left over from The Attic Build lying around so I tried to see if that would work, instead of more corner braces. The upper corner braces were fine because you couldn’t see them, but I wanted it to look nice and finished inside on the places you could see. I liked the way that it looked and it was functional. So, I went to Lowe’s and grabbed another Aluminum angle. I also grabbed some Aluminum channel to fit over the divider fronts to finish it an make it look nice. I measured giving it enough space in the front to allow that new channel I picked up to fit on divider and not bump into the brace. The design is to brace them on each side with the angle aluminum. So I marked off where they would sit.  I pre-drilled holes in the aluminum angles being careful to keep them consistent so that a machine screw can slide thru one side, the wood divider and out the other side to be fastened with a nut on the other side. 

I took the whole thing off again. So that I could get the freshly cut aluminum angles in place to mark off a pre-drill on my dividers. I marked off the corner first. I made sure it was a right angle and actually put one machine screw and nut thru it just so to make sure to get the others lining up correctly. I marked off all their corresponding holes from their aluminum angles and took the screw and nut out. I installed the angles to the bottom, with out the top on. I used the same gauge plywood as a little spacer as I did this. 

Once the angles were all installed to the base, I was able to just slide the dividers into place and then secure them with machine screws and bolts. I slid the finished box into the braces in the van and secured it down with machine screws and bolts.

Probably no the best time to stain, but I really was making this box as a prototype while Kevin was out of town (that's also why there is a lack of building pictures, sorry), but it ended up working perfectly and taking forever so I didn’t want to make another one. So, I stained it a really dark color, while it was installed, to kinda blend with the dark step. It really muted that loud just-built plywood-look. 

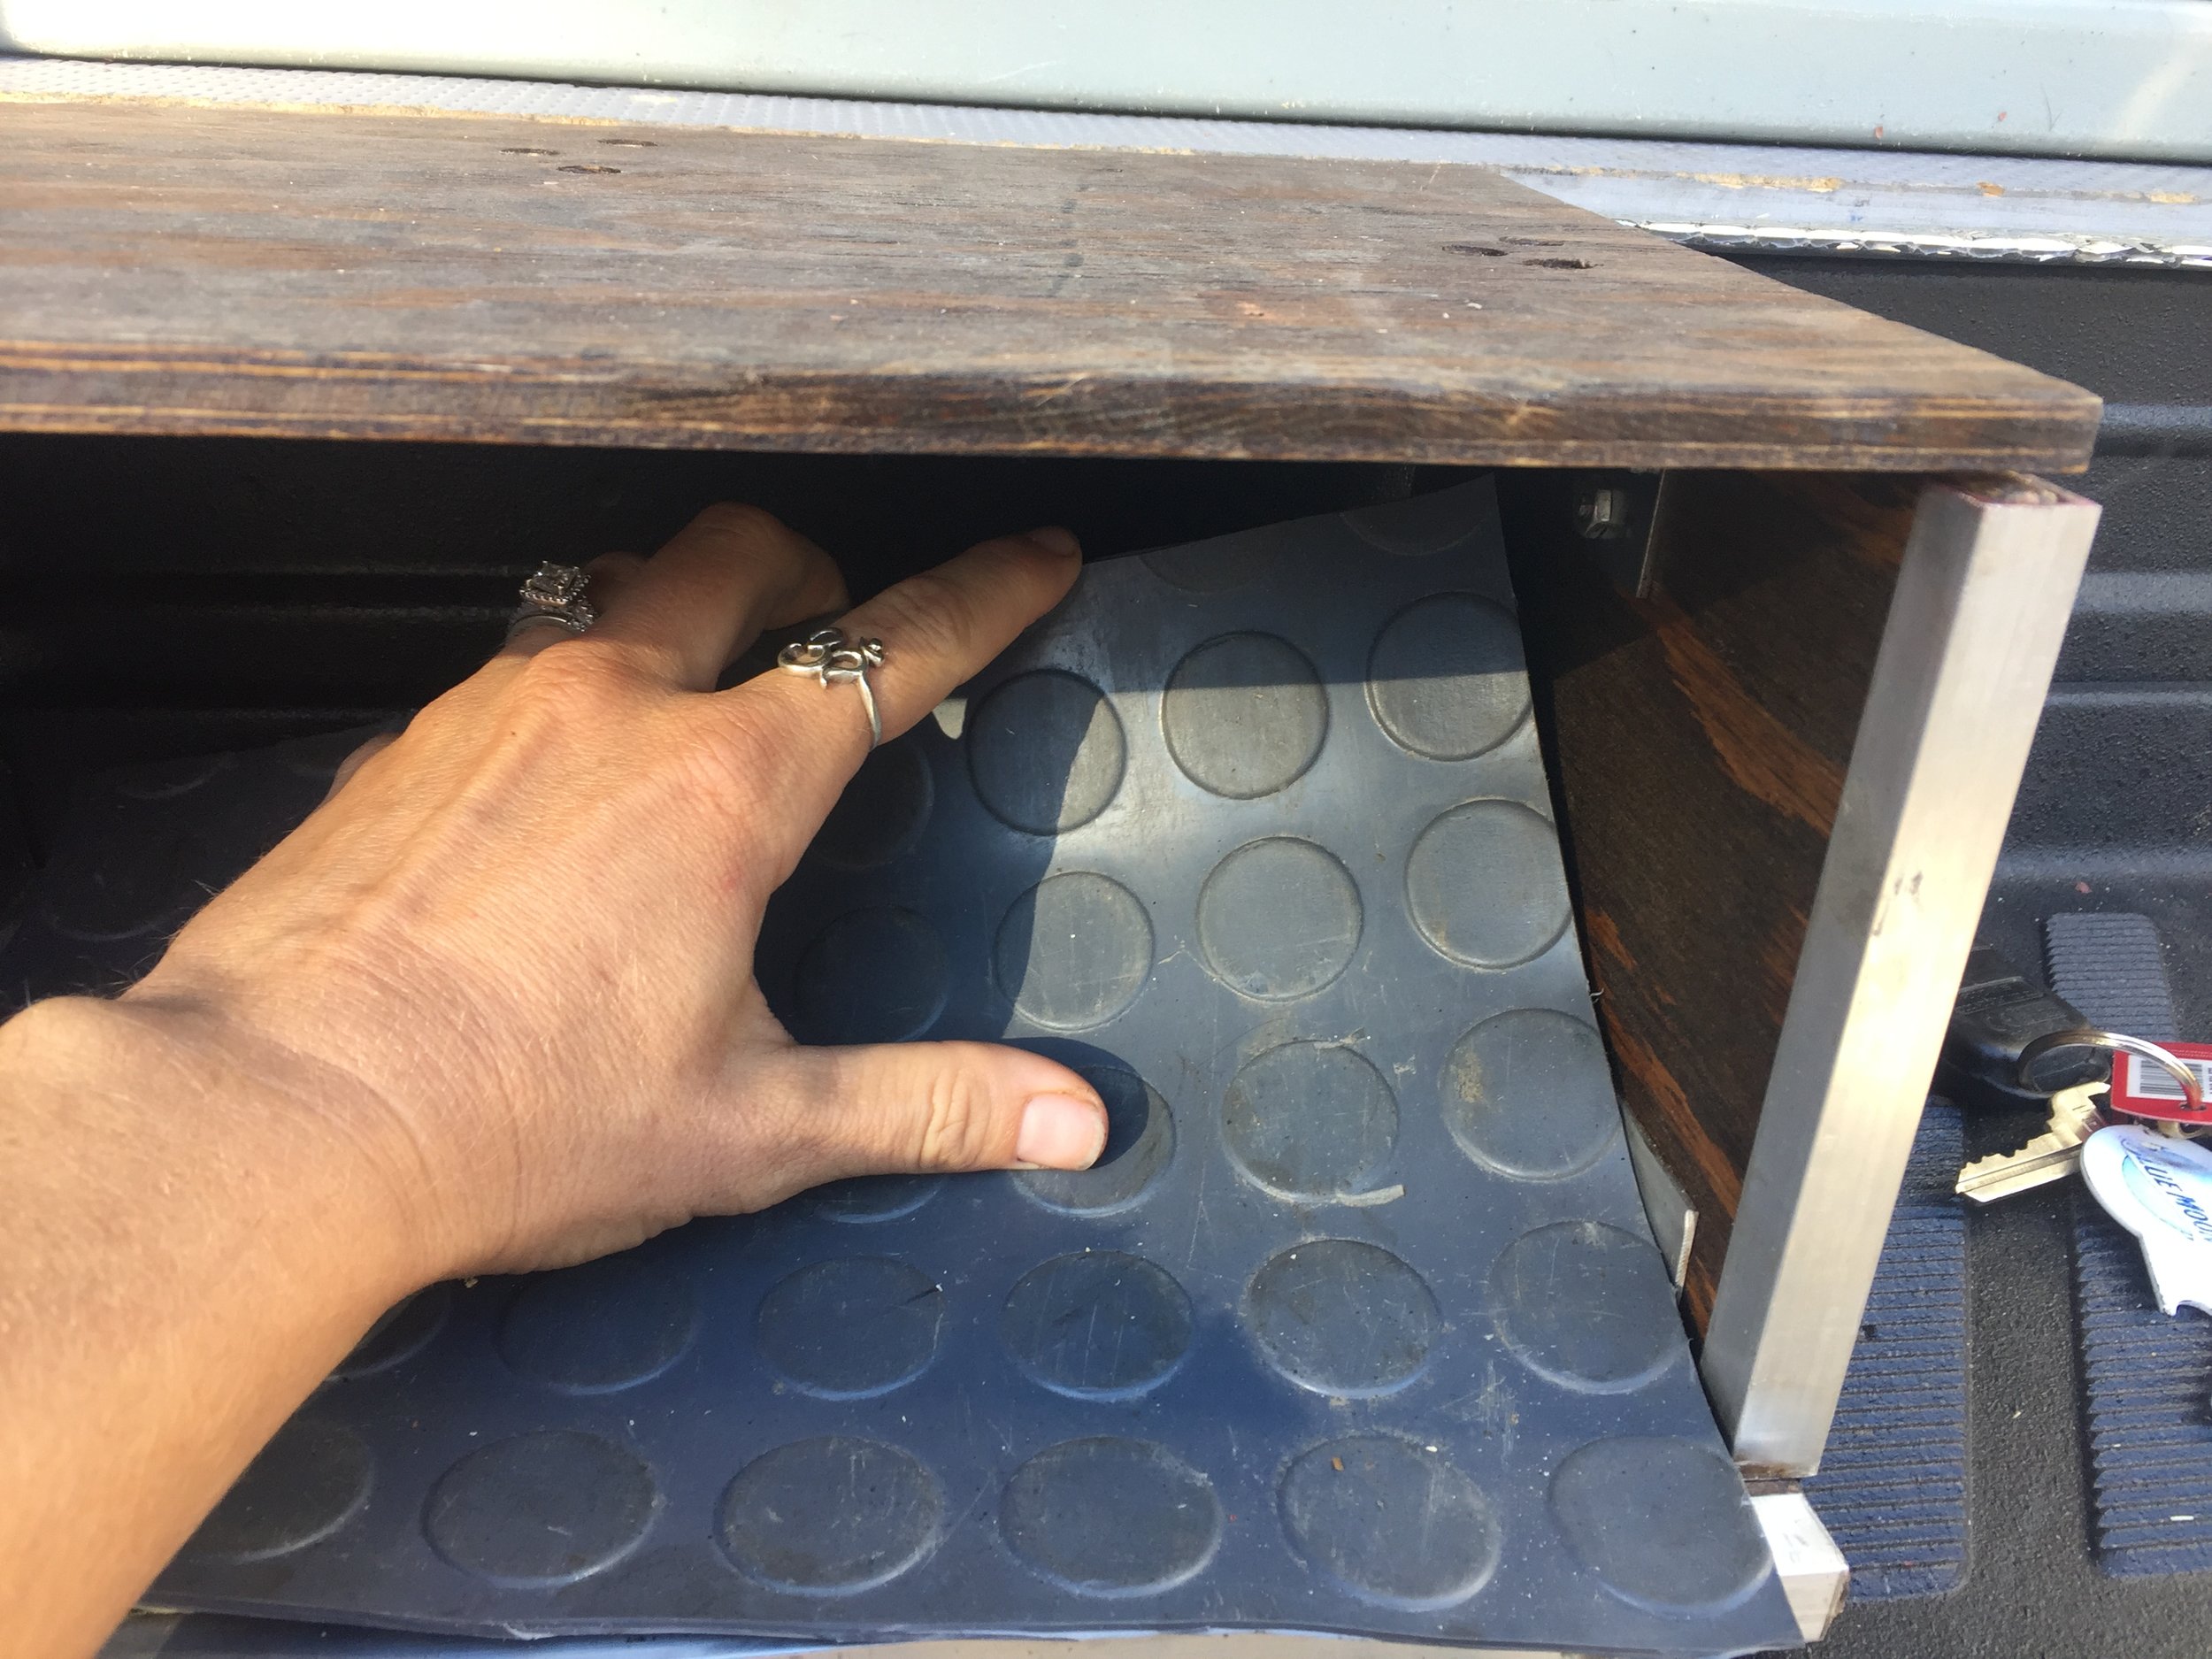
I re-used some more of the rubber floor matting that came with the van to put on the bottom of the box to protect them and make it easy to clean. 

Then, I measured and cut the channeling and glued it on with Gorilla Glue (kinda of a messy cure… I would use something else. I just did it to avoid screwing into the aluminum finish).

Phase 3.2: Framing

Phase 3.2: Framing


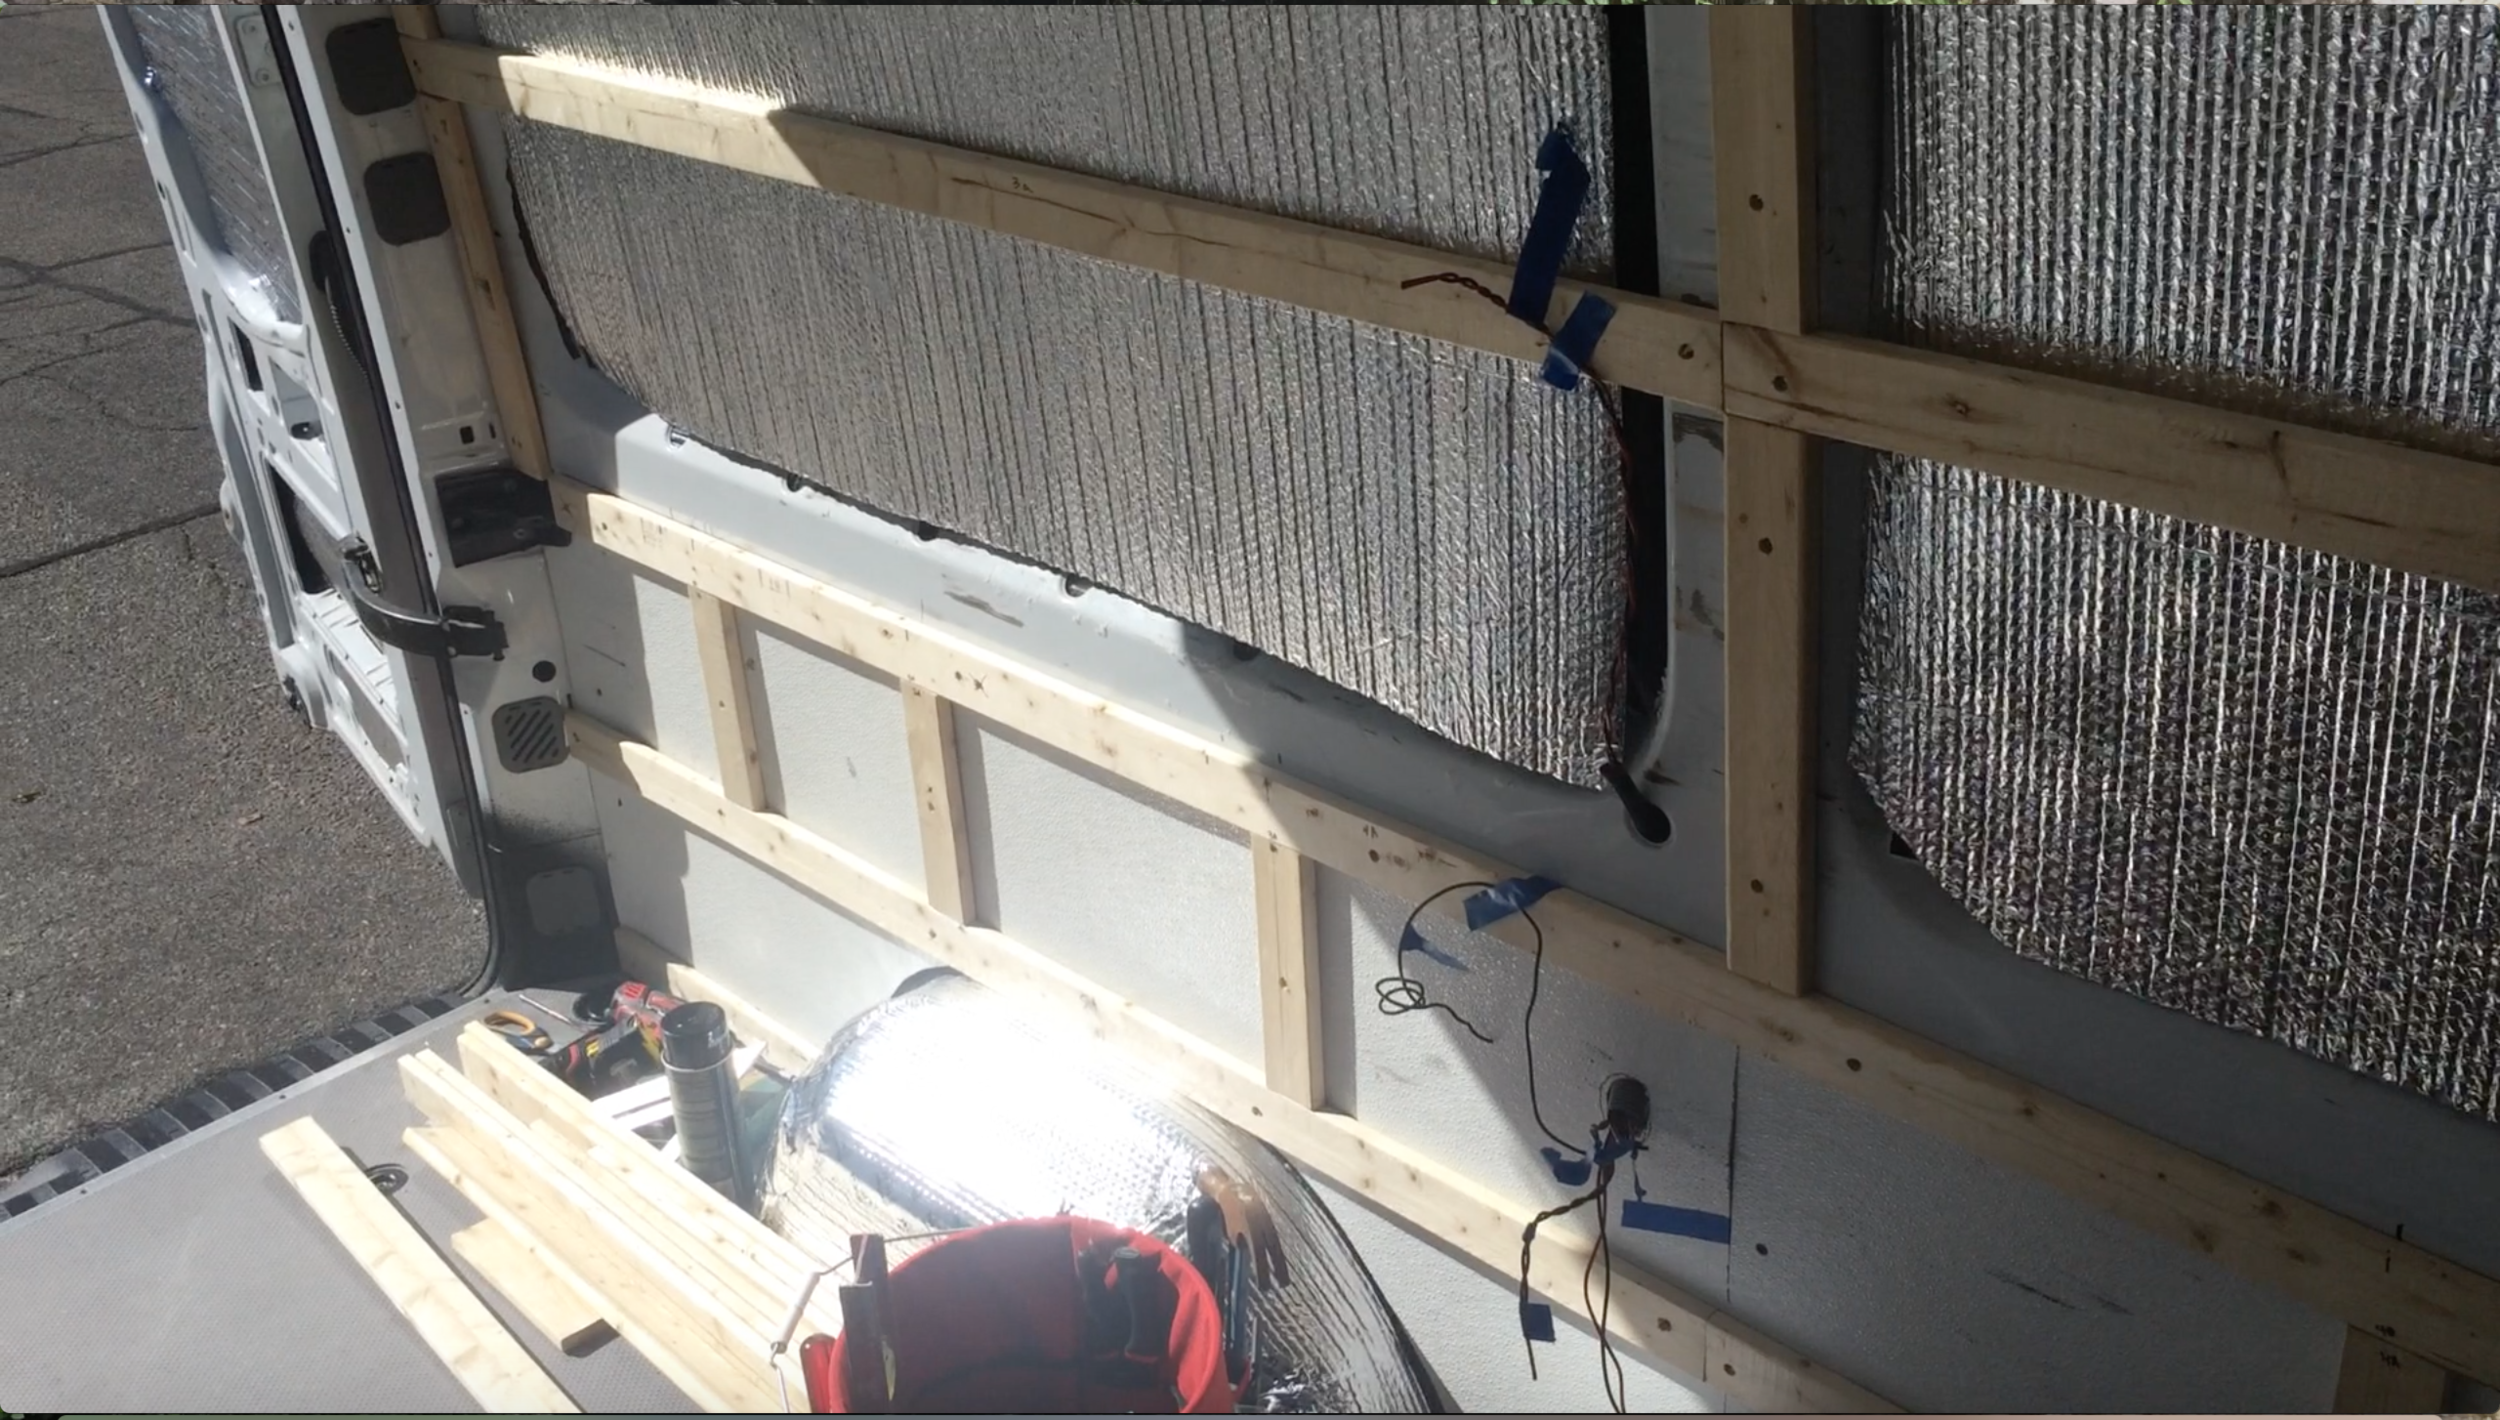
We took 1x3’s and cut them to size to fit across the top of the van, on each one to the ribs that hang down. That way, we would have some wood to anchor our ceiling into. 

Once we were done with the easy part, we moved on to the bottom half of the van. We re-used the Embossed FRP White panels that the previous owner had installed. They were cut to size, easy to clean, easy to re-install, and it was going behind the cabinets and under the bed any way. 

Before we put the FRP back where it went. We marked up where the metal lies behind it. That way, we could put the framing exposed and it was easier to work with building the cabinets. 

Once the bottom framing was finished, we moved on to the upper panels framing them out on each metal rib, like we did on the ceiling. Upper cabinets are going above on the drivers side only. So that should be some good support. Then we ran one 1x3 across the center. All we need to do is anchor our wall paneling to it.

Phase 3.1 : Sprinter Overcab Storage Addition - The Attic

We call this: The Attic

YouTube Inspiration:

We had narrowed down the overcab remodel to two ideas that we liked from our YouTube brainstorming adventure.

  • The first Youtube idea was simple, cheap and we could move on from this project and have extra storage. We almost went for it. It involved a wire shelf like this one cut to size, with L-Brackets secured where the stock coat hanger screws went, some L-brackets where the visor/“oh shit handle” bolt in, on both sides. The wire shelf is easily removable, secured to the L-brackets with velcro, but it didn’t maximize that space. It utilized it, but didn’t maximize it.

  • Then, Kevin showed me another video on the other end of the spectrum, work and design wise. It would really maximize that space above any idea I have thought of or seen on the interwebs. We knew that it was a serious remodel and if we didn’t maximize this space (in this way), now, early… this stupid last minute idea we just found would haunt us forever. So, we took on this three day project.

Here’s our version of the Attic re-model:

First, we taped a line across from the left side around to the right side, trying to stay as straight as possible above the visor upper storage (we liked that and wanted to keep it). When we were happy with that line, we sharpie’d a line on there. 

Then, we took off grey plastic sheathing that was holding the overhead piece up. First, you pull off the coat hangers to expose the screw underneath. Unscrew those. Then, unscrew the plastic visor piece and keep unscrewing till you get the whole piece off. Once you have that off, the over head piece should just lift out of place. Then, jigsaw that Sharpie line top off the cab. We also cut out a little box area, above the light, to utilize that dead space there, as well. The cabover wasn’t too difficult to get thru with the jigsaw. It was scary and a commitment once we sharpie’d it. 

Stencils for the paneling

We probably should have used our Reflextix as a stencil for this, but we #90 sprayed it to the Thinsulate and it wasn’t coming off. So, we got to making more stencils of the front area. I cut a paper grocery bag flat and pressed it up against the corner to crease the bag so we could get an idea of the corner cut for the stencil. We transferred that to cardboard and shoved that into place, cut out where it wasn’t lining up, trim here, trim there. Sometimes, we would tape little pieces to the stencil to replace or create weird curvatures and then transfer that to another piece of cardboard. 


Because we didn’t want to have a rivet look and had no idea where we were going to anchor in some screws, without taping into some metal and going thru to the outside—yikes. So, Kevin used a little skate ramp knowledge to the build. He suggested that we cut and experiment with the free plywood that we found in the scrap bin at Lowe's (Yes, this is a real thing! And it is awesome!) 

Our plan was to bend them to contour to the van. We puddled some water on the boards and spread it out over the area we were wanting to bend. Then, we straddled them across our work horses. We placed our AGM batteries and weights on the center to make them bow over night. We left them for about 30 hours. 

Stoked on the new curves, we chucked them in the van, even tho they weren’t cut to size. Just to make sure the curve fit the van. It was perfect so, we immediately threw our stencil on them and jigsaw’d it out. When we were checking the curve, we noticed there is place where you can wedge the plywood in between the frame above the windshield. It held the board in place almost without screws. So, we accounted for that when we marked our cut line. There were three panels we cut to fit. On the seams, we ran a rope molding. Once the panelling was finished, we started on the shelf.

Building the Shelf 

We got a 6’ x 3/4” Square Steel and cut it to fit and act as a the support for the shelf. We cut it to size with a hacksaw. Then, we banana peeled each side to create eight places to mount the steel on the frame. That was cut with a hacksaw as well. Not the cleanest, but it feels sturdy with 8 self tappers holding that guy in.

We made heaps of stencils to cut the plywood that would become the shelf above the cabin. Because it is such a weird space, where the front area, right above the windshield, of the shelf is bigger than the back area. So one piece of wood wouldn’t work. We watched the guy say it in the video and we tried it anyway. So we had to cut the shelf into two pieces so it would fit snuggly. 

To support the cut down the center of the shelf, we got a 3’x3/4” Flat Aluminum steel and bent it to be able to add support down the middle but also to cover up that seam in the plywood. 

We were going to cover the plywood in some of this like our Camparu (Subaru Build out) but, last minute, I thought I’d rather re-use some cool old rug or free fabric, if I could find something that fit. I used a blanket we keep in the car for picnics. And luckily our aluminum flat iron happened to line up with the grey line in the fabric. Yay! We screwed the plywood into the Aluminum and cut out some of the old rubber flooring to cover the plywood for shelf protection and easy cleaning.  

Next, we hung out in the plumbing area of Lowe’s for a good 45 minutes messing with all the fittings until we had some sort of railing made out of copper to finish the project off. 

If we had to do this project again, we totally would. It was struggle street for a bit. But, there is so much more room for hiking back packs, tents, whatever up there!


Phase 2.3: Climate Control- FanTastic Fan Install

2.3 Fan Installation: FanTastic Fan

This was by far the most nail bitting experience. I know van-life builders everywhere know what I am talking about. Cutting a hole in your van isn’t something anyone looks forward to. But, I was looking forward to cooling off with a fan, and getting natural light in the van thru the fan, and ventilating my smoke signals from letting my coconut oil get too hot. So, we pulled out the Jig Saw and got to cutting. 

We chose the Fan-Tastic 801200 Vent after hearing nothing but amazing reviews across all channels on this little dude. It has the manual opening vent, quiet operation, low draw (>.02A), 3 speeds and reversible airflow. It is one of the base models. We didn’t need the rain sensor or remote control models, as we’d rather spend our extra money elsewhere. 

Put these two items in your shopping cart if you purchase from Amazon:

  1. Camco 25003 Universal Vent Installation Kit with Putty Tape - $6.99

  2. Dicor 501LSW-1 Lap Sealant - 10.3 oz. -$13.57

In researching, you’ll wanna use this stuff specifically rather than a typical silicone sealant. It is made for RV installation; so, you’ll have less chance of leaks.

After our Amazon Prime orders arrived, we unboxed and started making a stencil. 

Once we were happy with our stencil, we traced it to the roof where we wanted it. We measured it with measuring tape to make sure it was correct and then placed the fan on the traced line to double, triple check. 

Then, we sunk some pilot holes on the inside corners of the box. Next, jigsaw it out with a “metal fast cut blade” (make sure this bade fits your type of jigsaw before grabbing it!) Get 5 or multiple. They will come in handy. I promise.  File down the fresh sharp cut-out in your van. Once the hole is filed, clean the area with alcohol. When the area is clean and dry, place the putty tape flush with the hole, all the way around. 

Then, sink that Fan-Tastic Fan in its’ new home on top of the putty. Then, make sure it is square and make sure the vent opens aerodynamically to protect yourself when you forget to put the fan down before driving.

You can pre drill if you want. We didn’t. Screw it into place and lap seal the edges, top, and bottom (interior side) of screws to further protect against leaks. 

We left the wires hanging for future electric install. 

Phase 2.2: Climate Control: Insulation

2.2 Insulation: Thinsulate and Reflectix

This is probably the most controversial van topic out there. We spent hours researching this, reading blogs, watching video after video on Youtube, then scouring the comments section of people’s Youtube builds for hours. It was exhausting. There are various ways to achieve a climate-controlled insulation in the van, but apparently, no one online could agree on one way to do it, in a van. 

While yes, the desired r-value depends on what your needs are, but the method was the scary part. 

Apparently, a lot of traditional insulation for houses such as fiberglass and spray foam, according to many comments in response to YouTube builds, promotes rust. No thanks; reading that once was enough for us to pass on the idea of dealing with more rust. Although moisture-wicking, wool can apparently create wood rot in your frames. Again, hard no-thanks after dealing with wood rot in one of our first remodel/conversion adventures in the Toyota Dolphin back in 2012. That project went south after we had to tear the entire structure down because of wood rot. We are still planning to turn it into an Art Car for Burningman. (Stay tuned for that build)

Anyways, all scary scenarios that we read about aside. We had to make a decision and with all the conflicting information out there, we still felt we had informed ourselves enough to make an educated decision. 

What did we decide?

We went with Thinsulate 600ML. Thinsulate works not only as a thermal barrier, but also a sound barrier to muffle outside noises. It’s light and packs a pretty good R-Value of 5.2…it could be better, but we still like it. 

Some of the pros we came up with after long hours of research:

Thinsulate is safe and easy, like cutting quilting material. Thus, not needing a hazmat suit like fiberglass installations. It doesn’t hold moisture like denim as the “hydrophobic” fibers in Thinsulate resist moisture, mold, and mildew, if it did ever get wet. Thinsulate is removable and less messy than spray foam. We liked that the pros out weighted the cons on this choice. So, we went ahead and ordered 50 linear ft from eBay, found here as our Amazon friend didn’t carry it. 

All the videos and tutorials that we had watched before starting the project, people with the 144” wheel base that used 50 linear ft roll of Thinsulate had windows on their van. Our van does not have any windows. Supposedly, it was enough but we crossed our fingers anyways. We planned on doing the ceiling last and possibly using one sheet of Insulated Polyurethane R-Maxx Sheets on the ceiling, if we ran out, at that point. Luckily, we didn't have to do that. The amount we had cleverly cut was perfect. We even had some extra and shoved it where ever we could. 

First, we started with the bigger surface areas to make sure we had enough for those areas. We easily cut pieces to size, with some good scissors, labeled them, and set them aside. 

We then started at the bottom panels and worked our way around kind of just matching the weirdly cut pieces to a possible puzzle space on the van somewhere. Thinsulate is pretty rigid and really easy to work with. We kept saying it was like putting a custom fit sweater on the van. It expands from the packing to a pretty good size. 

To apply the Thinsulate to the walls we used 3M 90 Contact Adhesive Spray. This stuff is amazing! But, you do need to wear a really good filter mask and have the van very well ventilated. My dad had one of these lying around, 3M Dual Cartridge Respirator

We bought, opened, and used 5 bottles of the 3M 90 Adhesive spray. The 5th still has some juice, but has come in handy for other projects with it’s adhesive strength. 

Next, we added a little bit more to our insulation value (on a budget) to the Thinsulate by adhering, with the 3M 90 Spray, Reflectix to the Thinsulate. This should act as a good mositure barrier and add a couple R’s to our value. It was an inexpensive R-value addition. 


We purchased:

One 48”X 50’ Reflectix  Foil Insulation - $96

One 24"x10' Reflectix Foil Insulation -$28

Reflectix adds a bit more light weight and easy R-Value, at the small cost of $124 to do your entire van. Not bad, at that price we pulled the trigger. 

Phase 2.1: Climate Control - Sound Deadener: FatMat Rattle Trap

2.1 Sound Deadener: FatMat Rattle Trap

We ordered the FatMat Rattle Trap  because this is our third van build. And this time, it is our home in the US, not a temporary adventure rig to get us around a foreign country cheaply. So, are taking our time and we’re gonna do everything we wish we could have had in our past vans. Sound Deadener is one of them. It reduces road noise by absorbing vibrations giving you a nice smooth ride. Our slider door has a lot to say when we are driving. We are hoping this FatMat Rattle Trap will silence the slider road rattle.  

First, we wiped down the area with some alcohol to give the Rattle trap the cleanest surface to bond. 

The kit, from Amazon, comes with a roller and a box cutter. You can literally get started when it arrives at your doorstep. 

With this stuff, you don’t need to fill the whole surface. And word on the street is, there is no waste with this stuff…even a 1”x1” piece will trap a good amount of rattle. For some of the identical panel sizes, I pre-cut a couple of them to make the process go faster. The most awesome part about this stuff is the adhesive is amazing. It smells a bit like tar, but the smell doesn’t linger. There is no heat gun involved, just cut, peal, and stick. Give it a couple roll overs with the roller making sure to get out any bubbles. Careful with this stuff. Once it goes on, it stays on or it leaves a pretty sticky residue behind if you do get it off.

We made sure to hit all the insides of the slider door where it sounded like the rattle was coming from. We also concentrated heavily on the wheel wells. But the 50ft roll, from Amazon was more than enough for the entire van. 

What we used  - http://amzn.to/2hOFulO