Pre Build

Phase 9.1: Tires

off road sprinter tires

One of the first things we noticed about the van was the state of the tires when we bought them. We knew we had to get new tires ASAP. Since that time was in the middle of winter, and because we knew that we did want to go boon docking, off sealed roads on BLM and National Forest land, we knew that we wanted some tires that handled well in weather and off road capabilities. We went to Firestone to check some out because we’ve had some pretty patient and knowledgable people sometimes, but we must have been there on a busy day because they just gave us a price sheet and let us walk out the door. 

From there, I went to Discount Tire, I told him what we planned on using the vehicle for and how much driving we would do. He went over a few tires with me. One of them was the current tire that was on the van. The previous owner was pretty stoked on them, Mitchellen Defenders. They were great for highway driving. Better on the gas mileage and supposedly quieter and smoother ride. But, their tread wasn’t as aggressive and we knew we were gonna be on bumpy unmaintained dirt roads. 

He recommended the BF Goodrich KO2 All Terrain tire 245/75R16  It is a great all weather and all terrain tire and seemed to fit what I was going for. He said they might be a louder ride, but I don’t hear it. 

Over all, we are pretty stoked on the ride so far and we have probably driven more dirt roads than paved roads. They’ve really preformed. 

Phase 6.2: Composting Toiletd

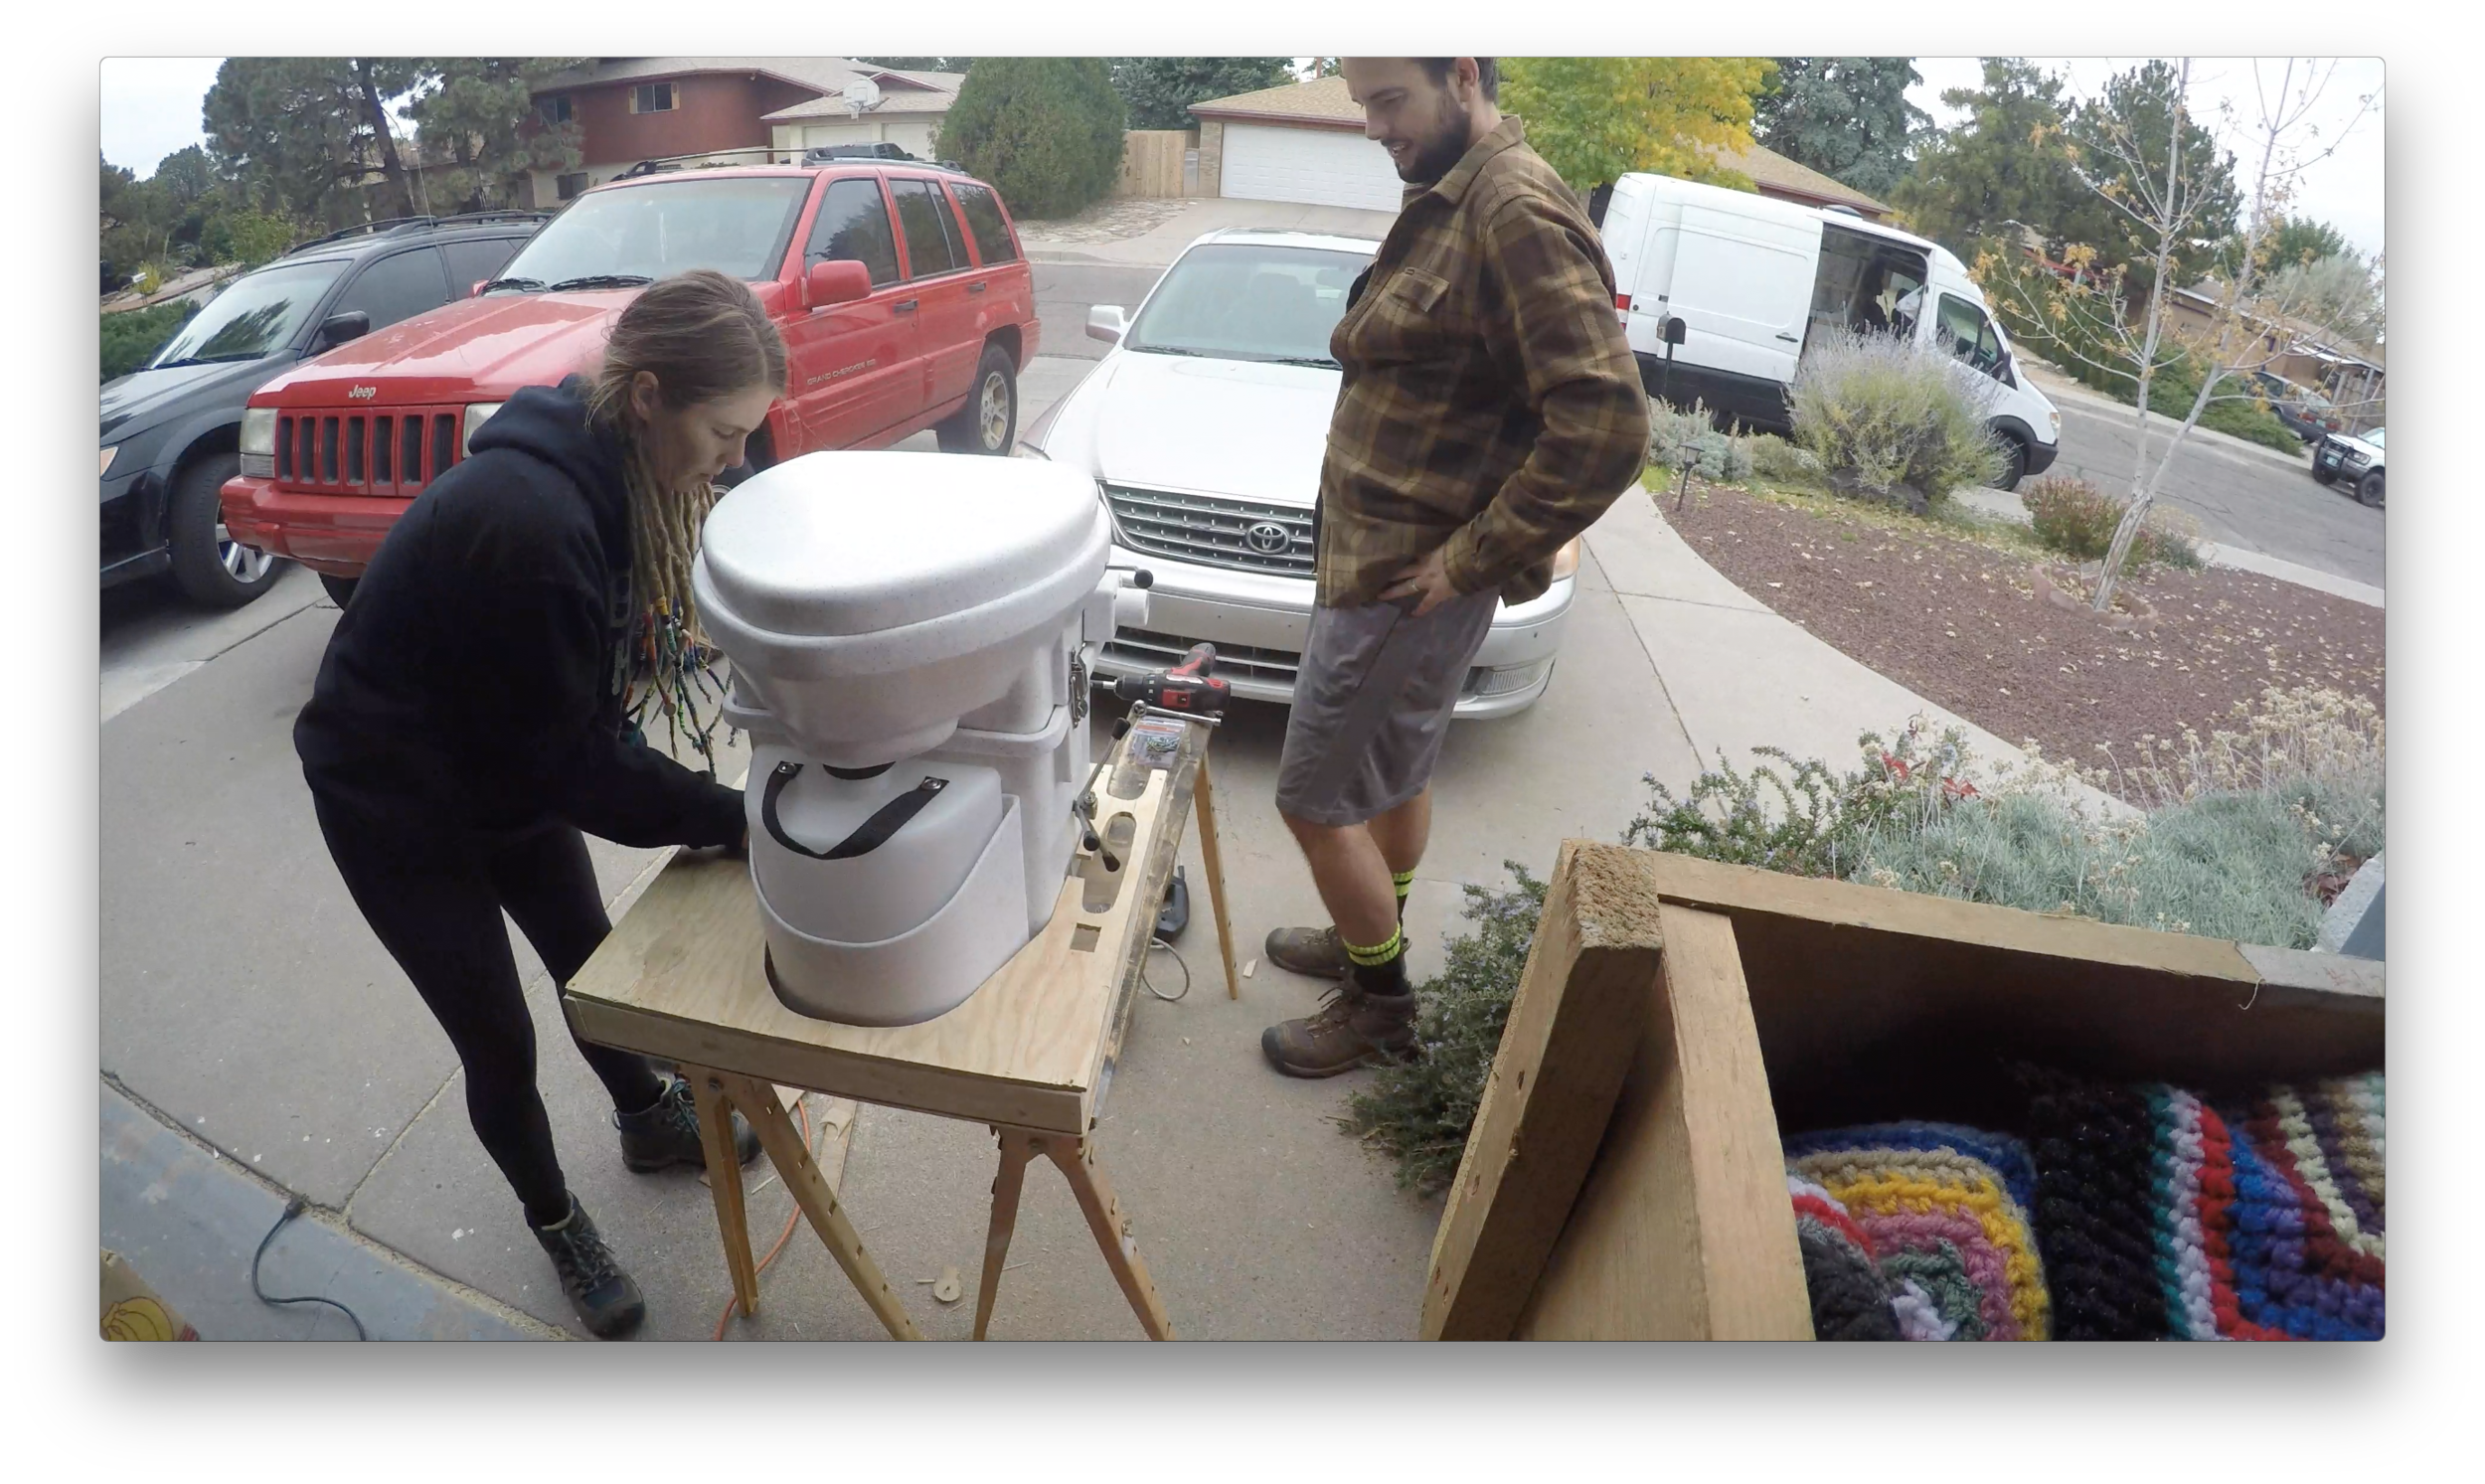
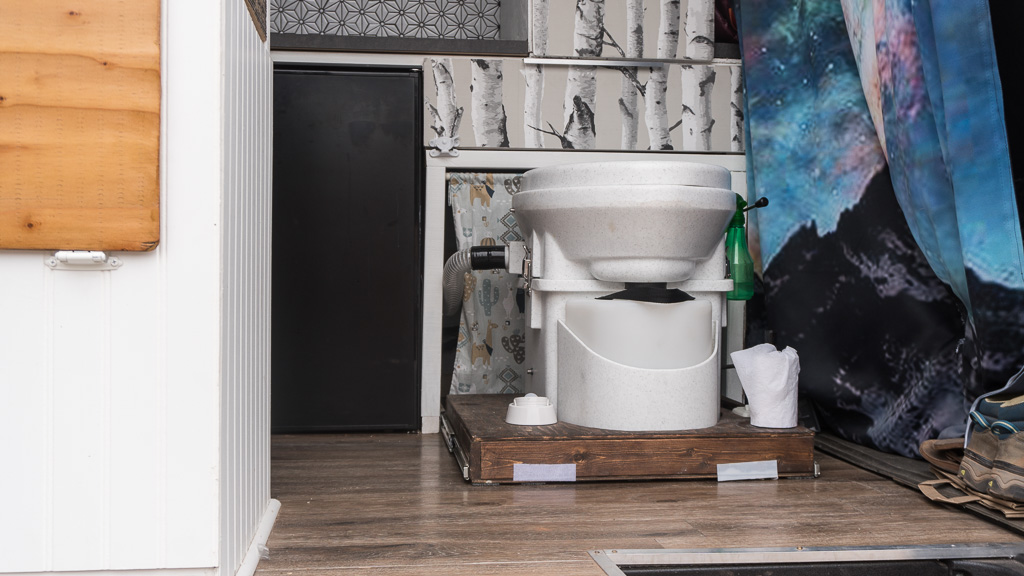
Going into this build, we were 100% committed to a composting toilet.  After a few years of peeing in bottles and what have you, we knew it was time for a legitimate throne.  We went with the Nature’s Head composting toilet.  While it is on the more expensive price end of the spectrum, we knew that we would own this toilet for a long time.  So if you think about spending $900 on a toilet you will have for potentially 20 years or more in your future off gird homes, that’s not a terrible deal.  

Composting Toilet

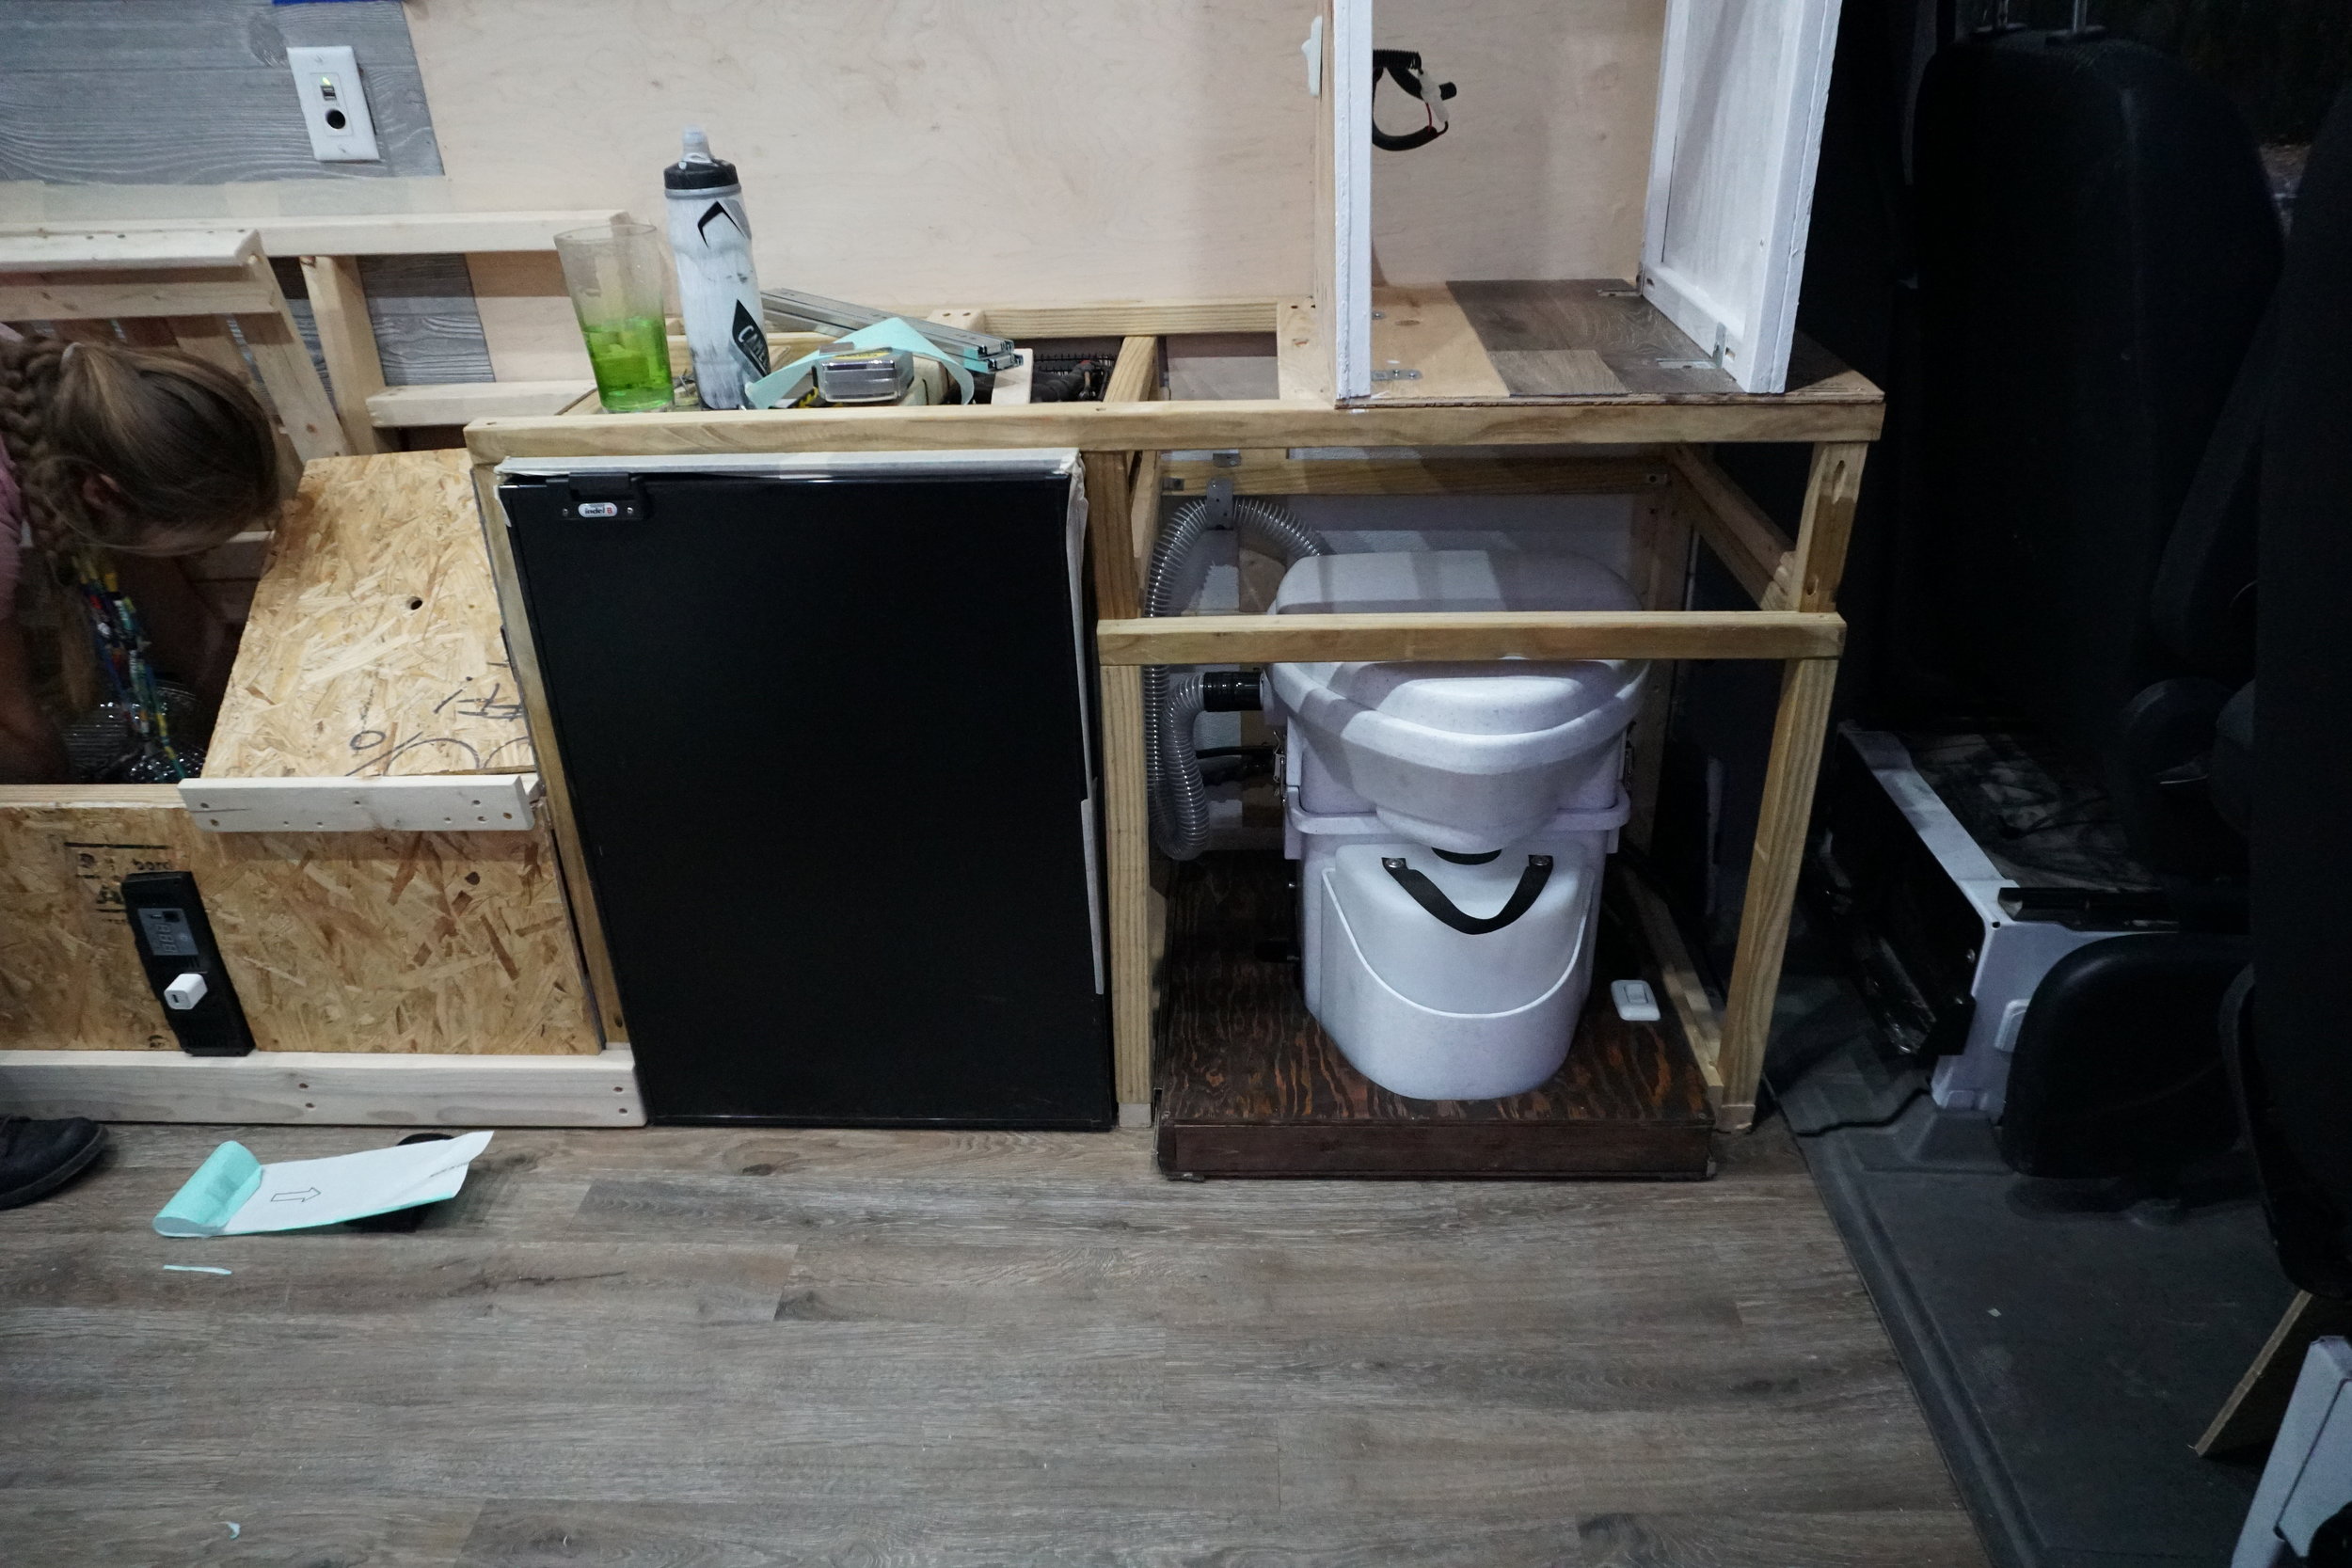
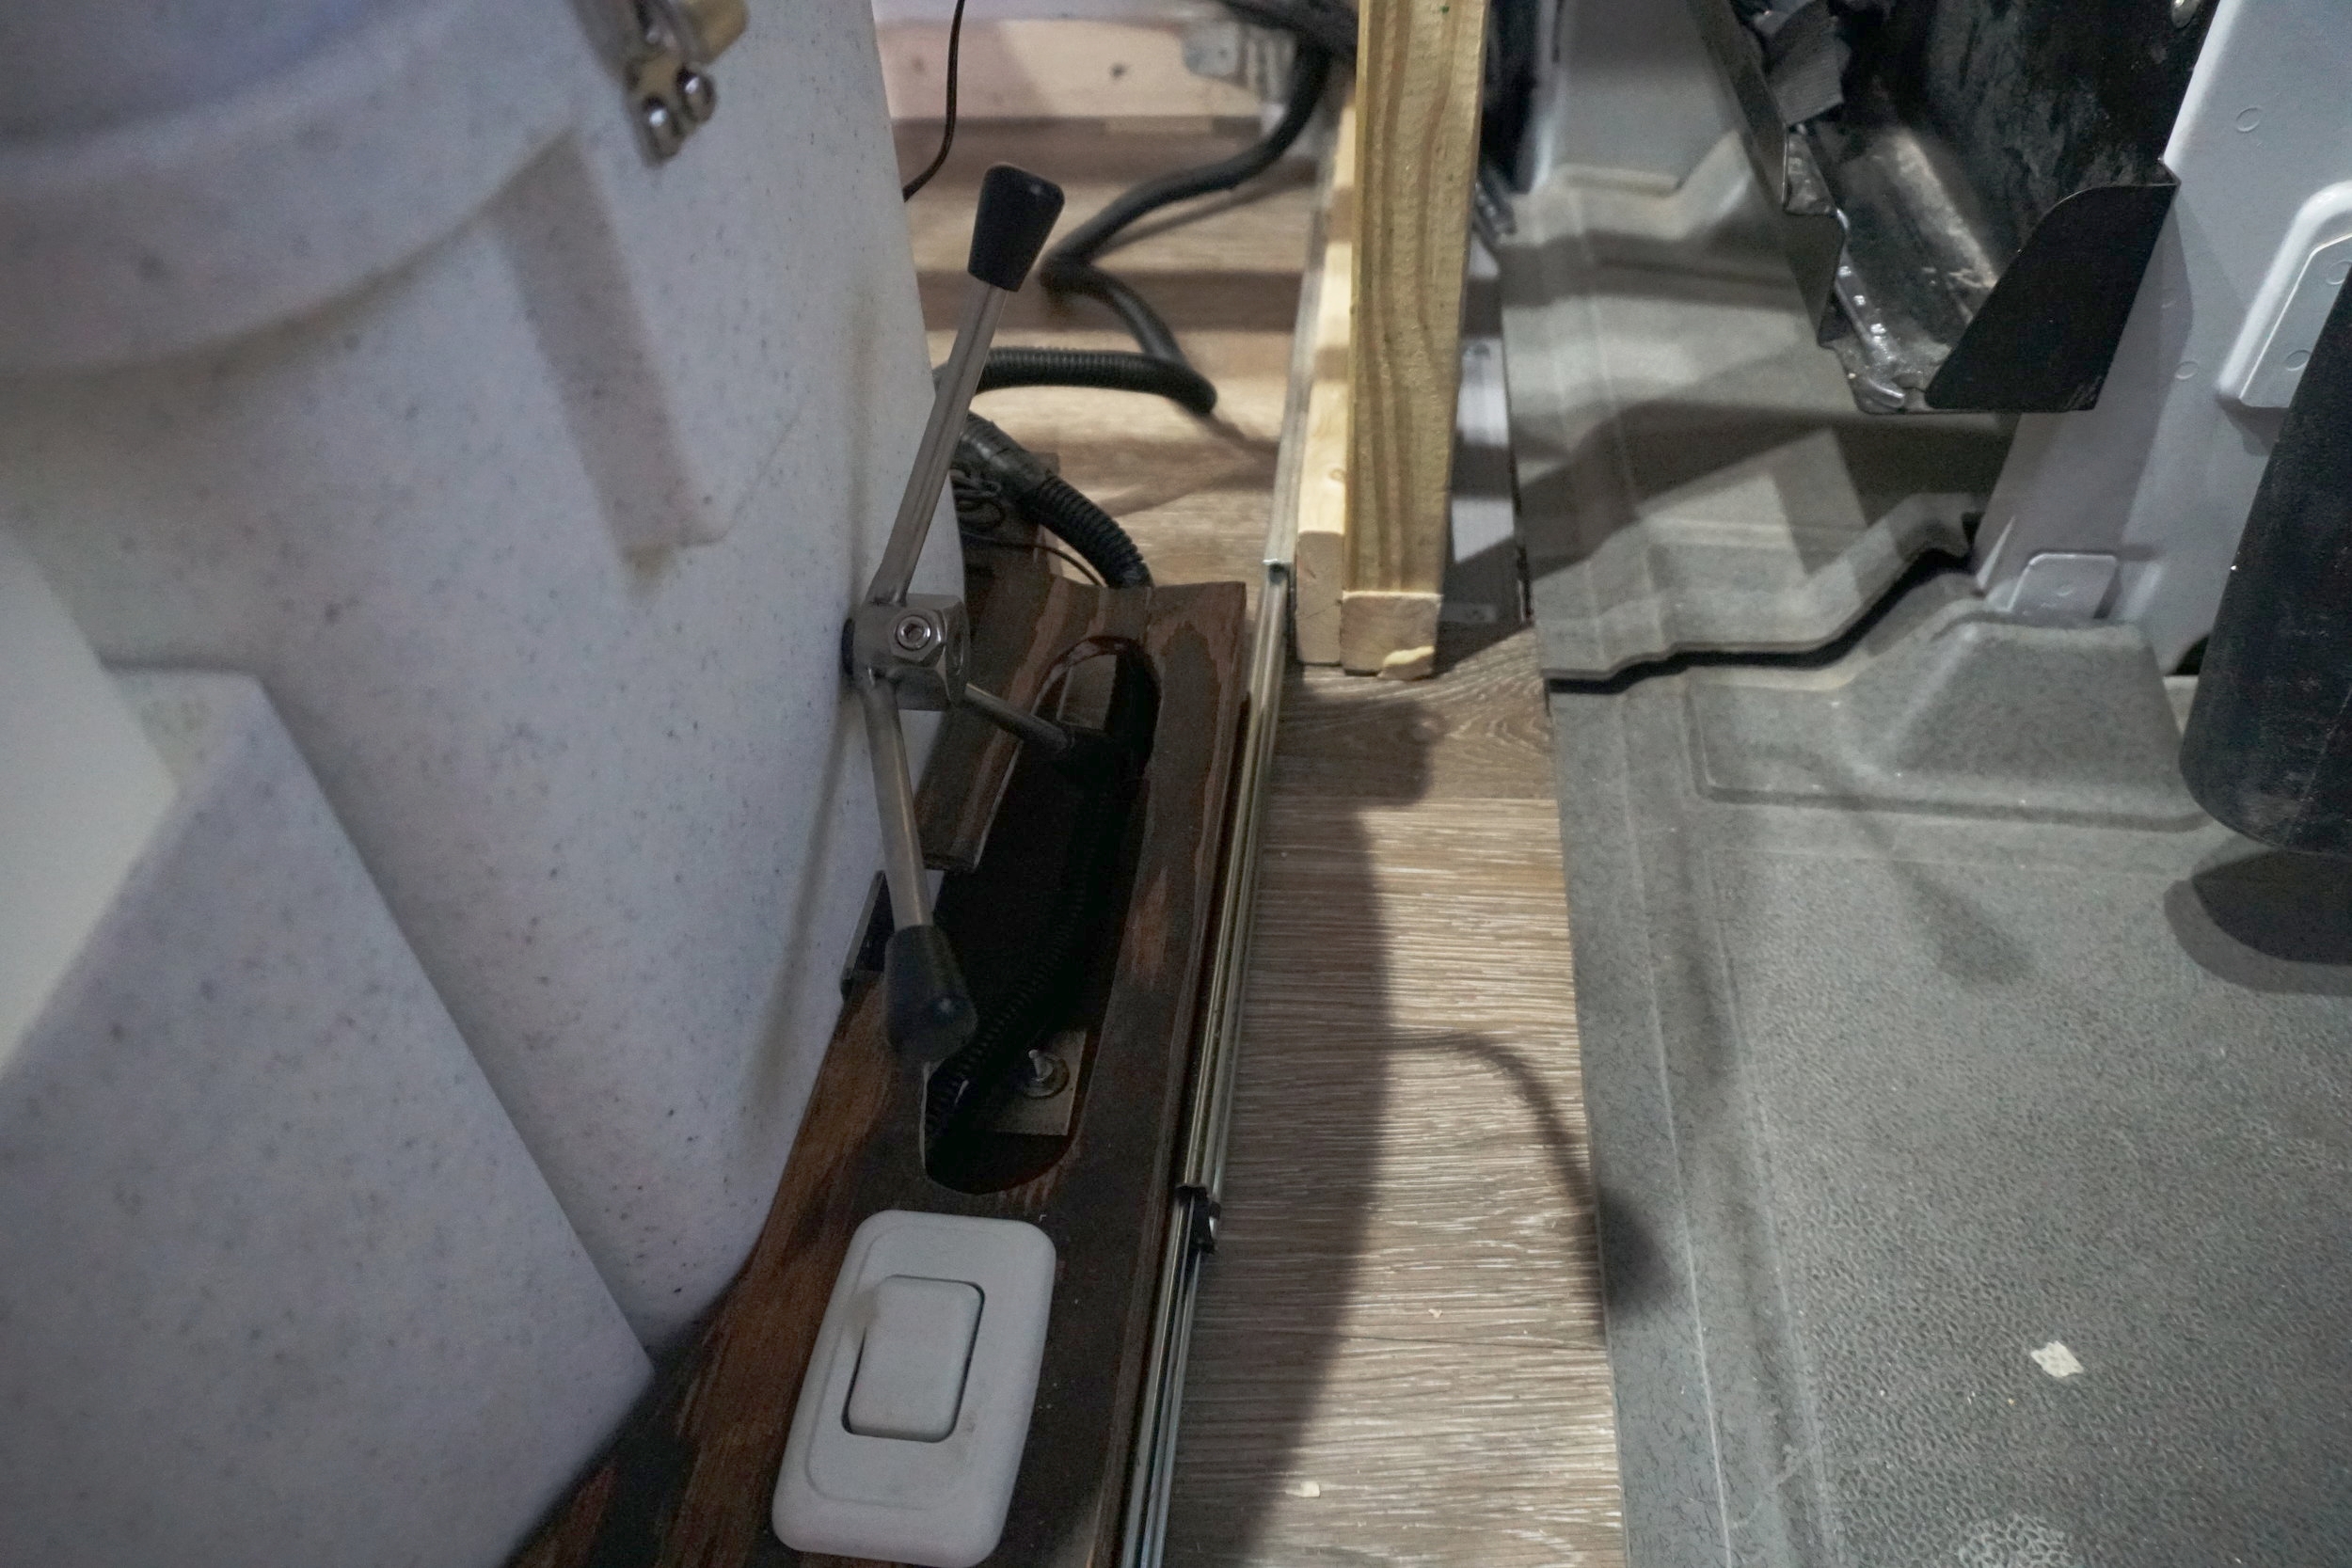
We also knew that we wanted the toilet to slide out from under a cabinet. That way it takes up as little space as possible.  We built out a frame for the toilet that fit the toilet very snug with a little bit of breathing room.  Next, we build out a base for the toilet to sit on so that it can pull out like a drawer.  The nice little custom base for the toilet was finished with a built in switch for the toilet fan.  

After this, I decided to finally cut the hole in the floor for the air to vent out.  The Nature’s Head comes with a built in fan and hose that blows air through the toilet, out through a hose, and out your van.  You need a hole saw capable of cutting metal.  I would not advise cutting the hole where I did.  I completely *#%^@d that up.  I didn’t take into account a few things and messed up.  But the fan works and we haven't noticed and terrible scents form the toilet. So, it seems to be working.  I used Lap Sealant around the hose and bought a few plumbing adaptors for the hose and fastened it to the wall.

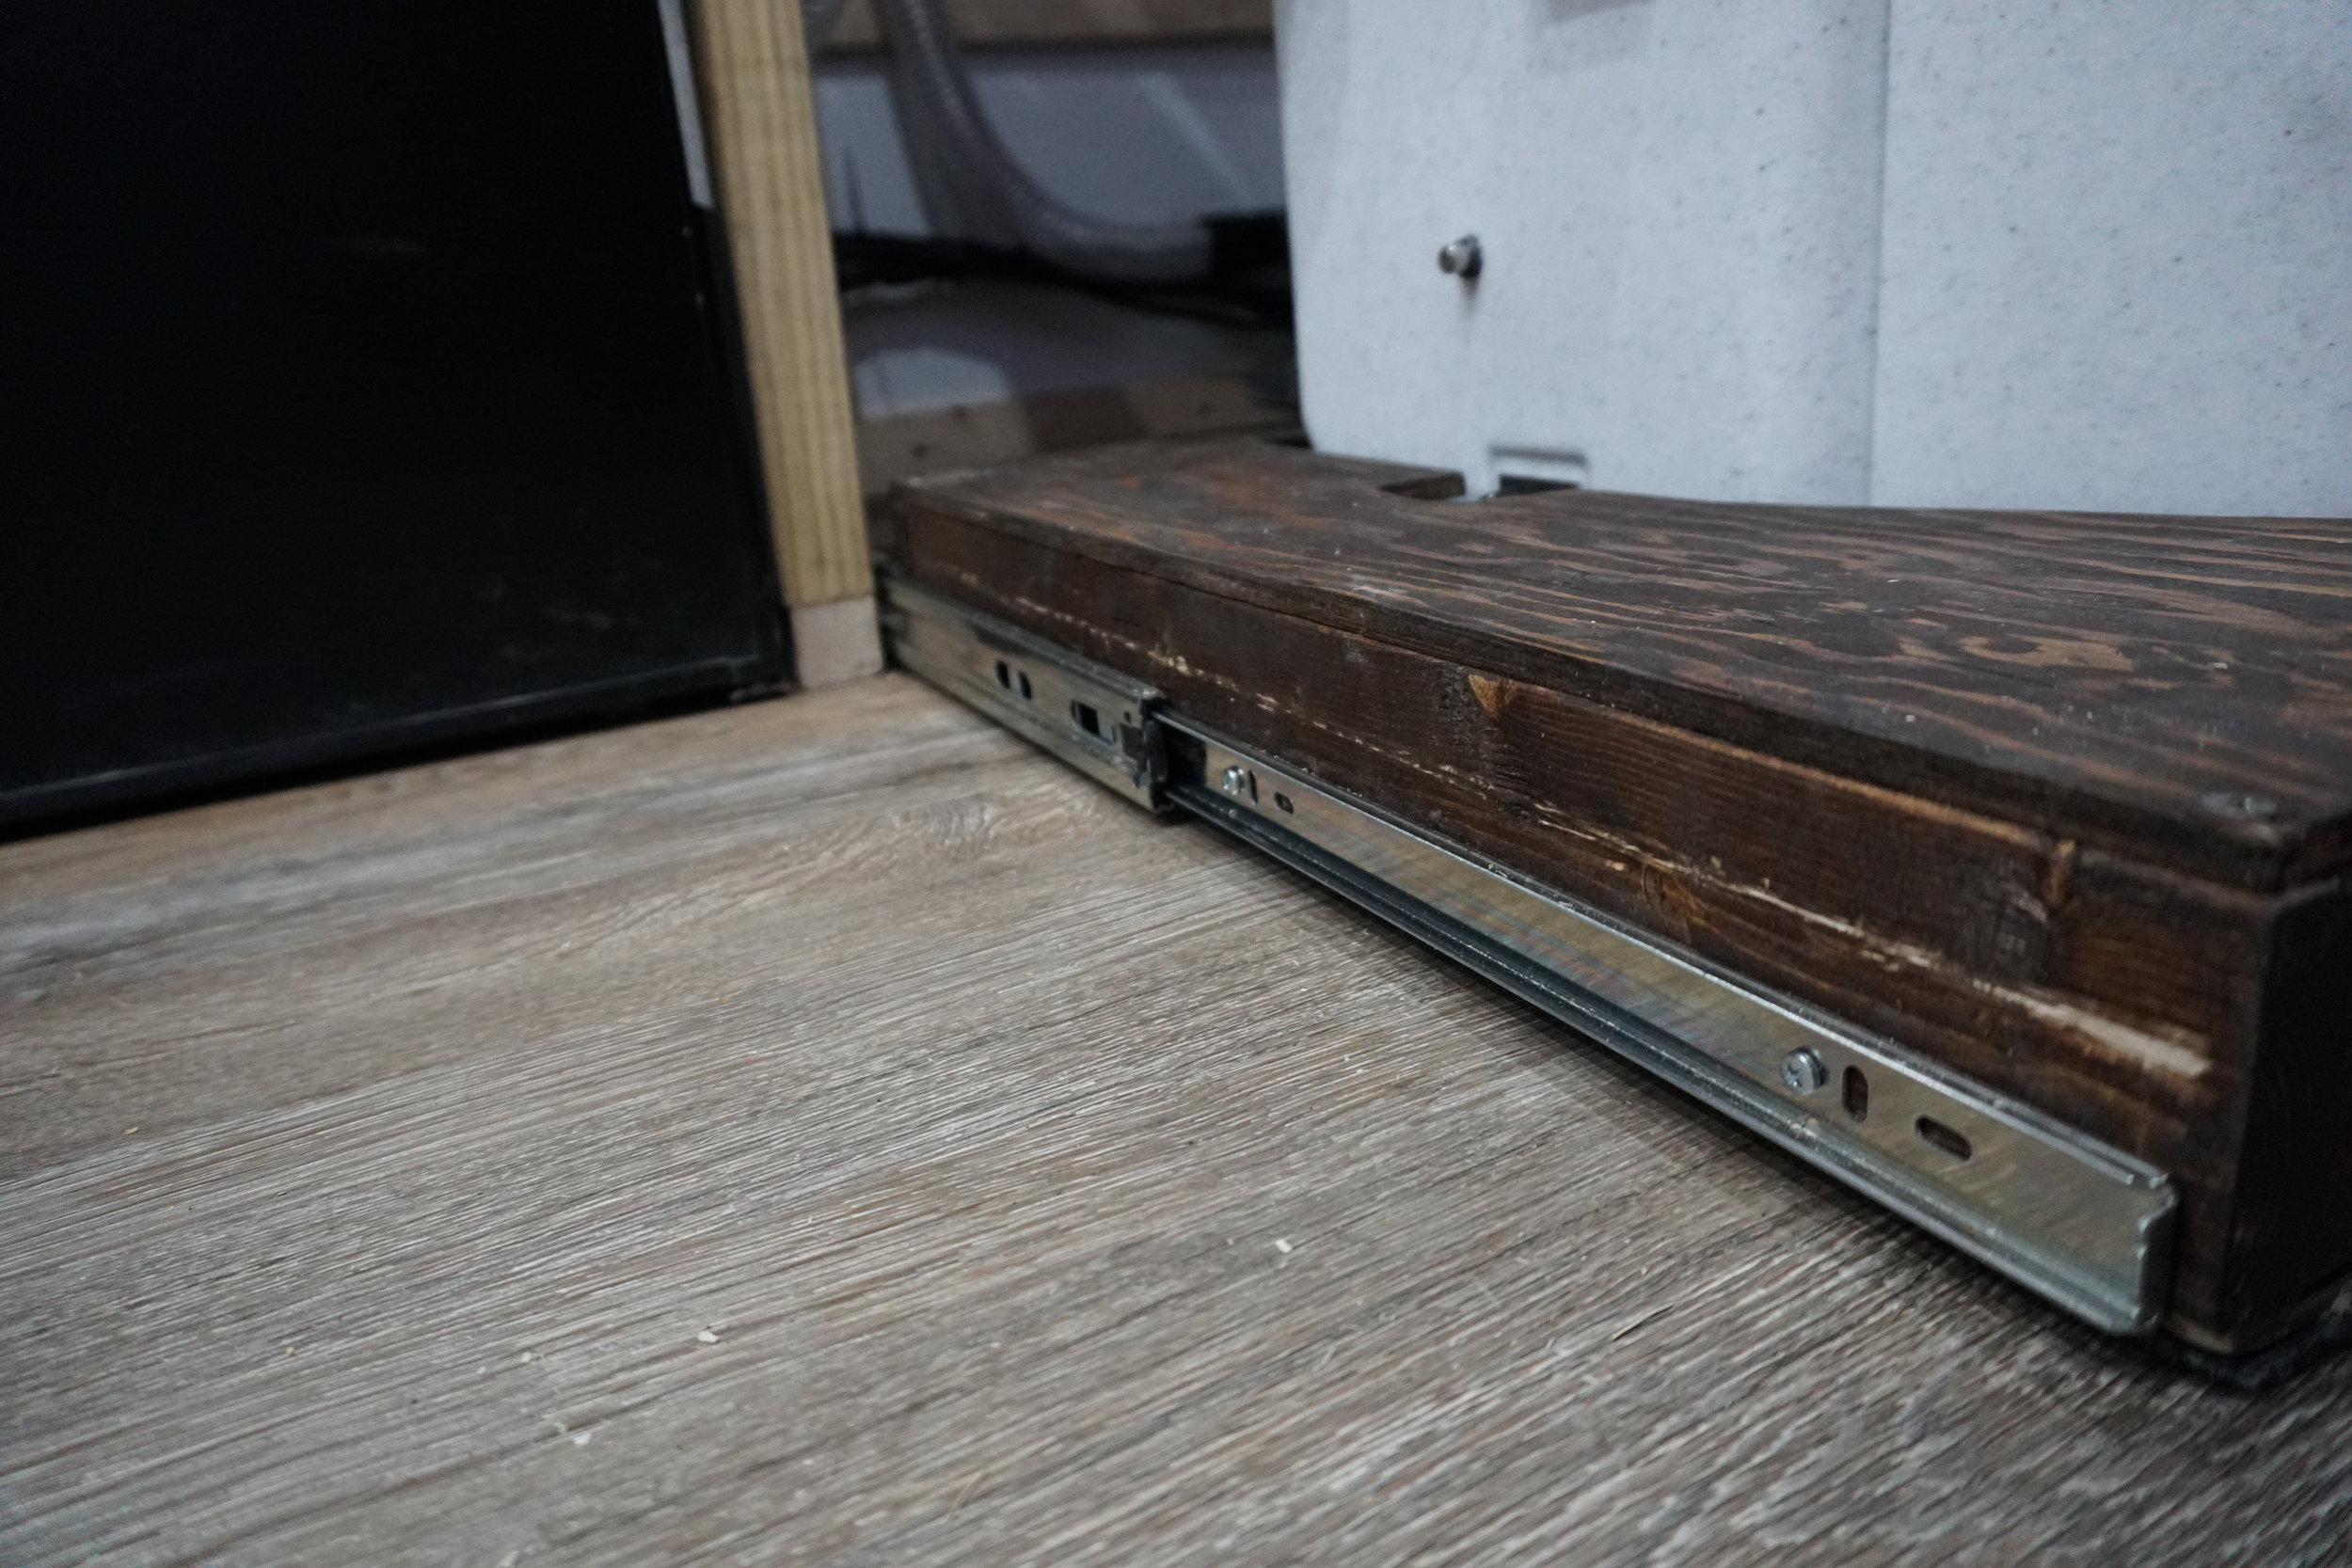
For the toilet drawer, we installed 24 inch fully extending heavy duty drawer sliders on the base.  I also attached some office type carpet to the bottom of the base.  I did this because the base was going to slide on the ground and not be suspended, even though the rails are heavy duty they cant support the weight of us sitting on them.  So, we have the toilet basically slide out on the floor, with assistance from the rails to keep it in place.  

We are still in the process of the cover for the toilet at the moment we have a fabric.  We think we will keep the fabric but switch up the style to something a bit more “adult.”

After about 3 weeks of using the toilet, we are so satisfied.  It is worth every penny to get up in the night and pee in a toilet and not outside our in a bottle.  It’s also great every morning when nature calls.  I would recommend a composting toilet 100%.  There’s a few out there and I’ve even seen some crafty youtube creations like this one here. kdsfjal. When we leave the van in the heat for a long period of time we’ve noticed a scent of what smells like the garden center at Home Depot from time to time but once you kick on the Fantastic Fan it becomes unnoticeable.  So, in the end, I’m a happy composting toilet owner and it makes vanlife very easy when you can wake up and relive yourself in normal fashion.    

Nature's Head Composting Toilet on Amazon - http://amzn.to/2FkTQq

Phase 3.2: Framing

Phase 3.2: Framing


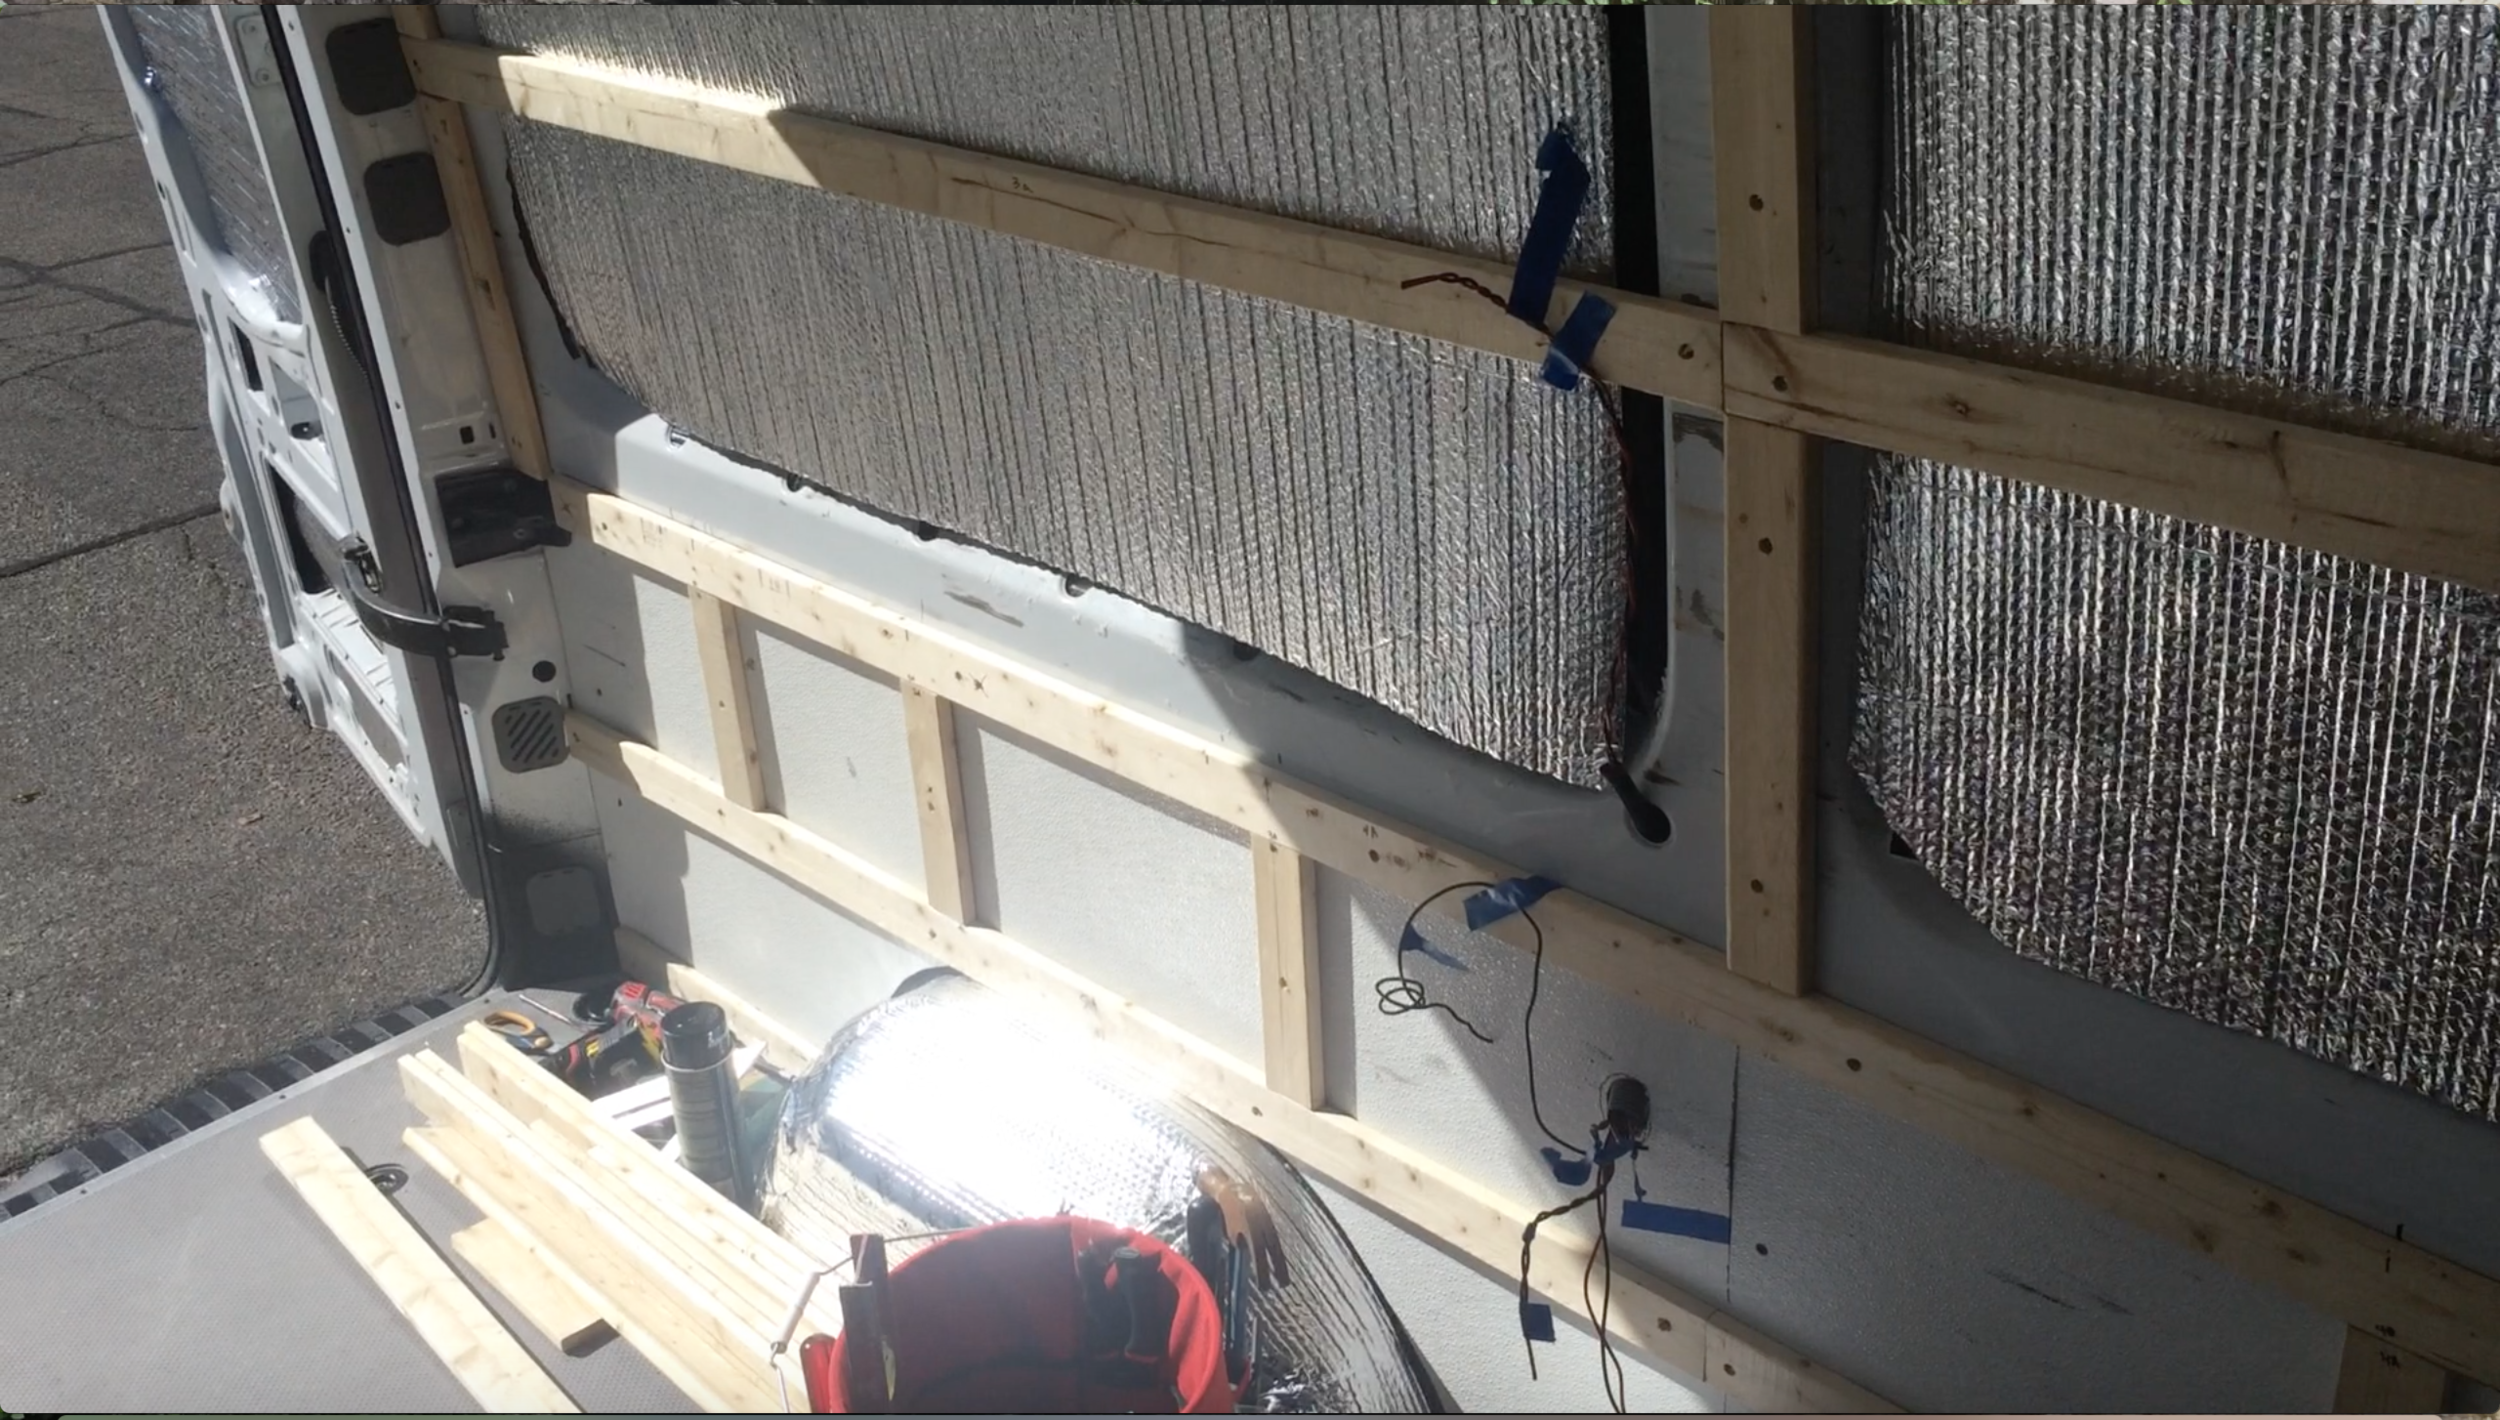
We took 1x3’s and cut them to size to fit across the top of the van, on each one to the ribs that hang down. That way, we would have some wood to anchor our ceiling into. 

Once we were done with the easy part, we moved on to the bottom half of the van. We re-used the Embossed FRP White panels that the previous owner had installed. They were cut to size, easy to clean, easy to re-install, and it was going behind the cabinets and under the bed any way. 

Before we put the FRP back where it went. We marked up where the metal lies behind it. That way, we could put the framing exposed and it was easier to work with building the cabinets. 

Once the bottom framing was finished, we moved on to the upper panels framing them out on each metal rib, like we did on the ceiling. Upper cabinets are going above on the drivers side only. So that should be some good support. Then we ran one 1x3 across the center. All we need to do is anchor our wall paneling to it.

Phase 1.2: Addressing the Rust and Raptor Liner Hood and Trim

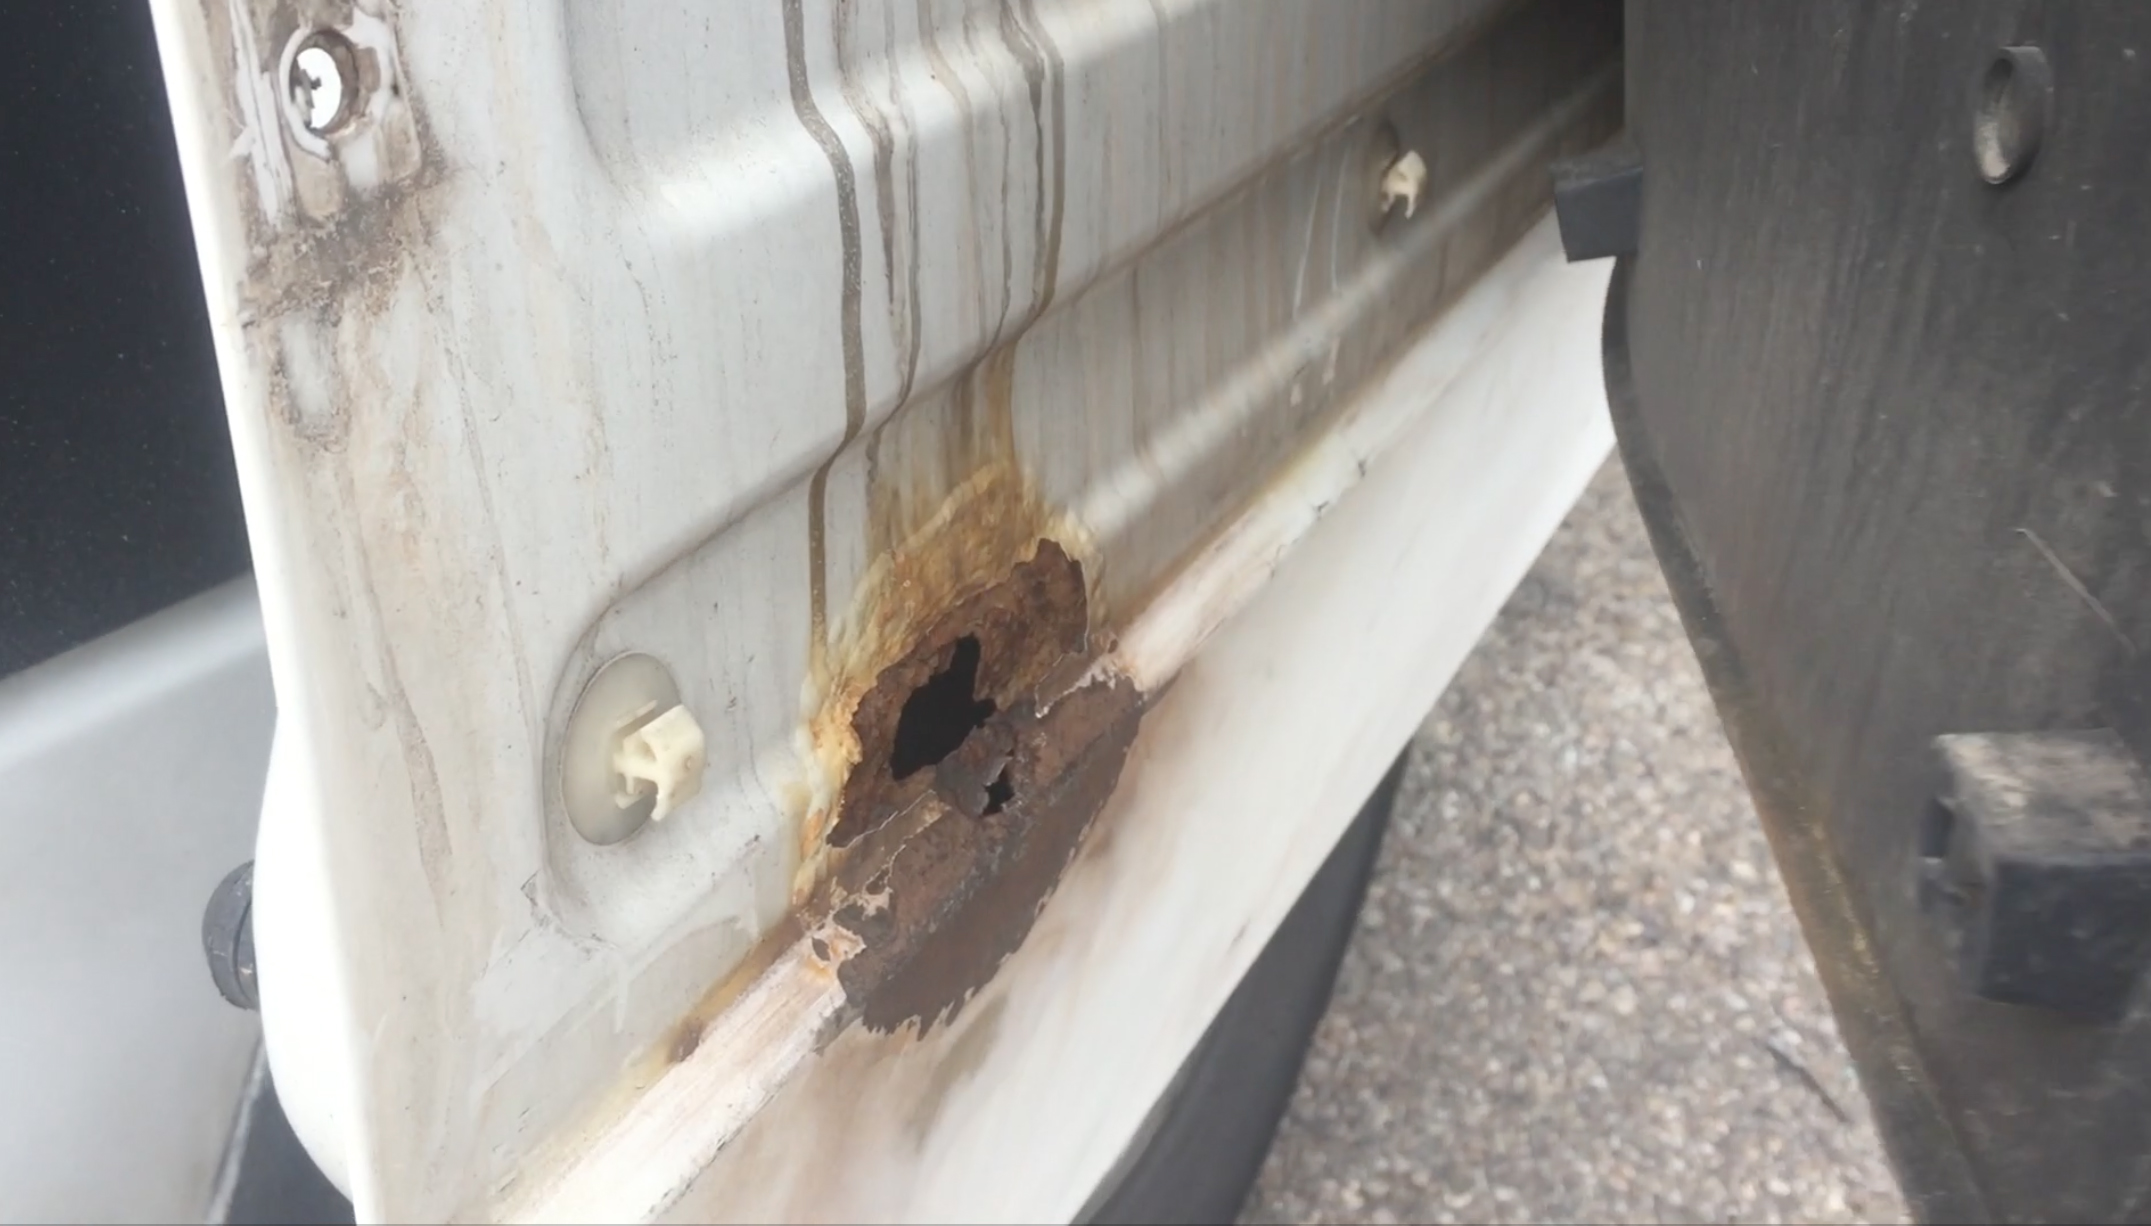
After gutting everything out of the van so we could have a clean canvas, we addressed some big rust issues on the door panel. For about three days, we sanded all the small problem areas pretty good and we cut out and patched the huge rust section from the door panel trim that was letting in water overtime. 

Once we got the trim off, we were able to look at the problem area. It seemed that the trim was letting water in between the trim and the door and it would just pool there because of the contours of the van and get stuck thus, causing a massive ugly rust spot.

Randomly after fixing the rust, I came across a comment on a YouTube video.  Someone from Australia commented that [in Australia], this was a recall issue where Dodge or Mercedes would fix issue prior to it causing rust and body damage. Since I have a used ’07 Sprinter, I figured we had missed that window of opportunity to get it fixed, if it were even offered in the US. 

So, we came up with our own solution and preventative measures. We created a Raptor Liner Trim all the way around. We painted and tapped over three days:

Day 1: 

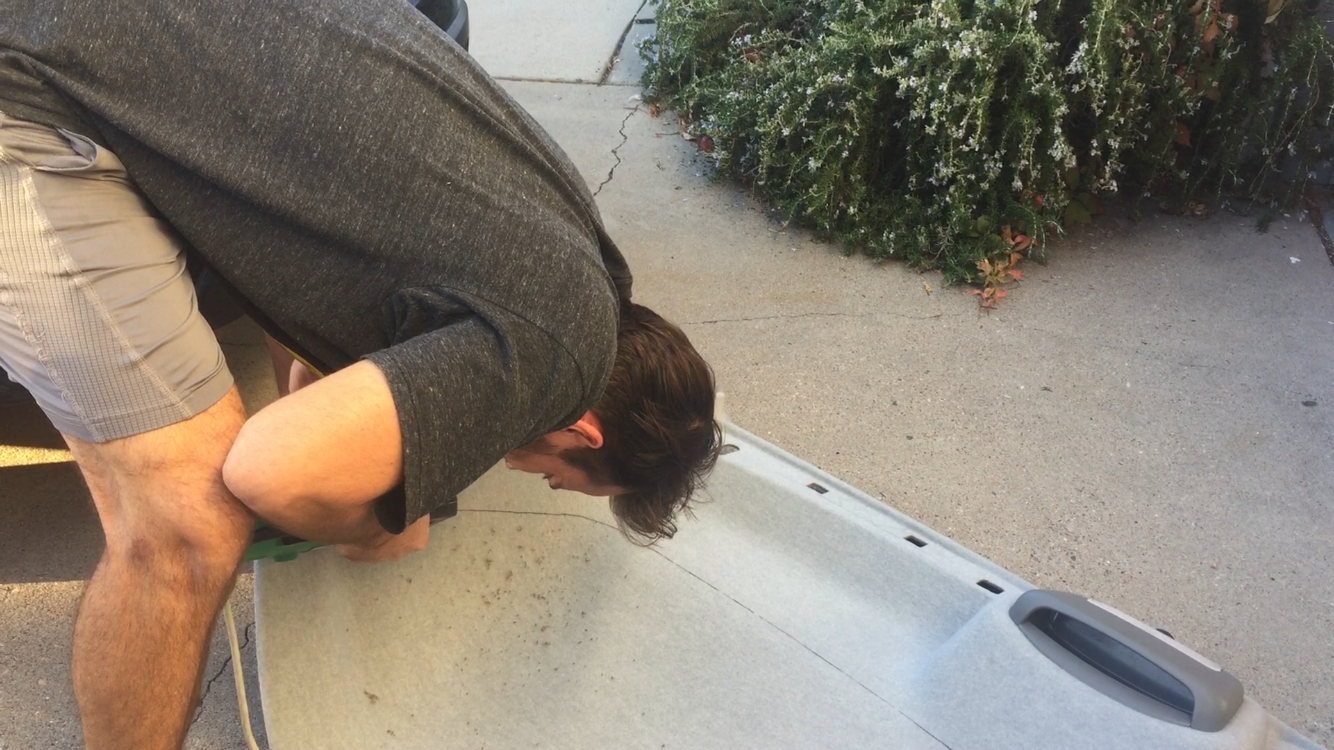
We tapped off the exterior. Then, we sprayed degreaser on all exposed to-be-painted areas and let it dry.  After that was dry, we sprayed an adhesive promoter over that. After about 15-20 minutes of letting that dry, we sprayed the Raptor Liner over the existing stock grey trim and continued the paint line around the back and on to the hood of the van. We tried to seal the grey trim to the van by taping off a clean line about an inch above the trim. So that way the Raptor Liner would create a nice paint seal on the trim seam. 

Day 2: 

We tapped and painted the interior of the doors for the trim to make it look consistent when the doors were open. Here, we included the interior door steps into this line as well. We did the same method: Tape off, Degreaser till dry, Adhesive Promoter till dry then, Raptor Liner.

Day 3:

There was some extra paint after the trim was double coated. So, we used the last of the kits to do the interior floor. This will give us some extra insulation and moisture barrier. 

We had some “help” actually spraying the Raptor Liner because we had never done it before and were too scared to mess the paint job up! In the end, we were over charged for all the elbow grease that we put in sanding jobs and prepping jobs for the easy stuff to be done, like the paint job. It’s a long mechanic ripping you off story that we will spare you. You always save money doing it yourself! But, we ignorantly paid $480 for two sets to paint, but I have found them here, on Amazon for $108.96 for one set, with a free gun. 

First (kinda expensive) lesson learned with the van: There’s gonna be a lot of stuff we are intimidated by with this build, but nothing YouTube and other experienced Bloggers can’t help us with prior to paying someone else to do it. We are here to share those lessons with you so that your build can hopefully go smoother than ours did. 

So, that is $217.92 for two sets, with two guns. (The paint is thick and gunks up the gun sometimes. So, an extra gun would be nice! We just soaked our one in acetone every night.) If you have an air compressor, you are good to go with this set. On our third day of painting, we actually ended up having to paint the floor ourselves. Since a sub-floor was going over it, and after watching for the past two days, we weren’t intimidated. At that point, we realized painting was the easy part! You just gotta make sure you paint it under the shade (and protected from dust) or inside a well ventilated garage. Make sure it is not in direct sunlight when spraying your vehicle. We were (still are) beating ourselves up for not doing it ourselves the entire time. So don't be scared. We plan on addressing the rest of the body later, by ourselves. 

How Long did the project take?

All in all, the project took us 3 days prep + 3 days taping and painting. 

But, this depends on your sanding situation. We only worked afternoons and we had a lot of tiny rust spots and a really big ugly rust spot that ended up needing to be cut out and a new piece re-welded. If you don’t do the interior bottom, then you will only have 2 days painting and tapping. 

The cost of our project vs. the cost of your DIY project: (granted you have a air compressor and more confidence to paint right off the batt ) 

Raptor Liner Kit: $240 x 2 = $480  

2 spray guns = $30

4 rolls of Automotive tape = $31.95  

Degreaser & Adhesion Promoter= $100

Getting the Mechanic to paint our Van, after our prep = $330

Our Cost: $971.95

Raptor Liner Kit: $108.96 x 2 = $217.92

4 rolls of Automotive tape = $31.95  

Degreaser & Adhesion Promoter= $100

Painting it Yourself: $0

Your Cost: $349.87

Phase 1.1: Gutting out the Van

We removed the partition and the shelving units and sold them on Craigslist. 

Then, we removed the side paneling from the van. So that we could sound deaden and insulate. 

To remove the side panelling from the inside of your Sprinter Van, there are panel trim clips that you will need a flat head screw driver and some pliers to remove. Wedge the flat heat under the center round piece and use the leverage of the screw driver to lift that center piece up. Then, take your pliers and pull it out. Sometimes, the outside piece comes too. That is perfect, because we are taking it all out.