funiture

Phase 6.1: Seating and Storage

With our past vans, we have learned that it’s basically mandatory to have a nice conformable are to sit down and relax.  We had a bed that folded into a couch in our Australian van, Damon.  We had comfortable  swivel back seats in our New Zealand rig, Cruz.  Now, in our largest rig, Kiki Fubu, we needed a legit couch for chillin. Some people can’t start their day without coffee well, Dani can’t start her day unless the bed is made. So having to “break down” or “set up” the bed isn’t seen as a chore to us. We would rather the living space to cook, edit, eat, or stretch, than have a stationary all the time bed.  

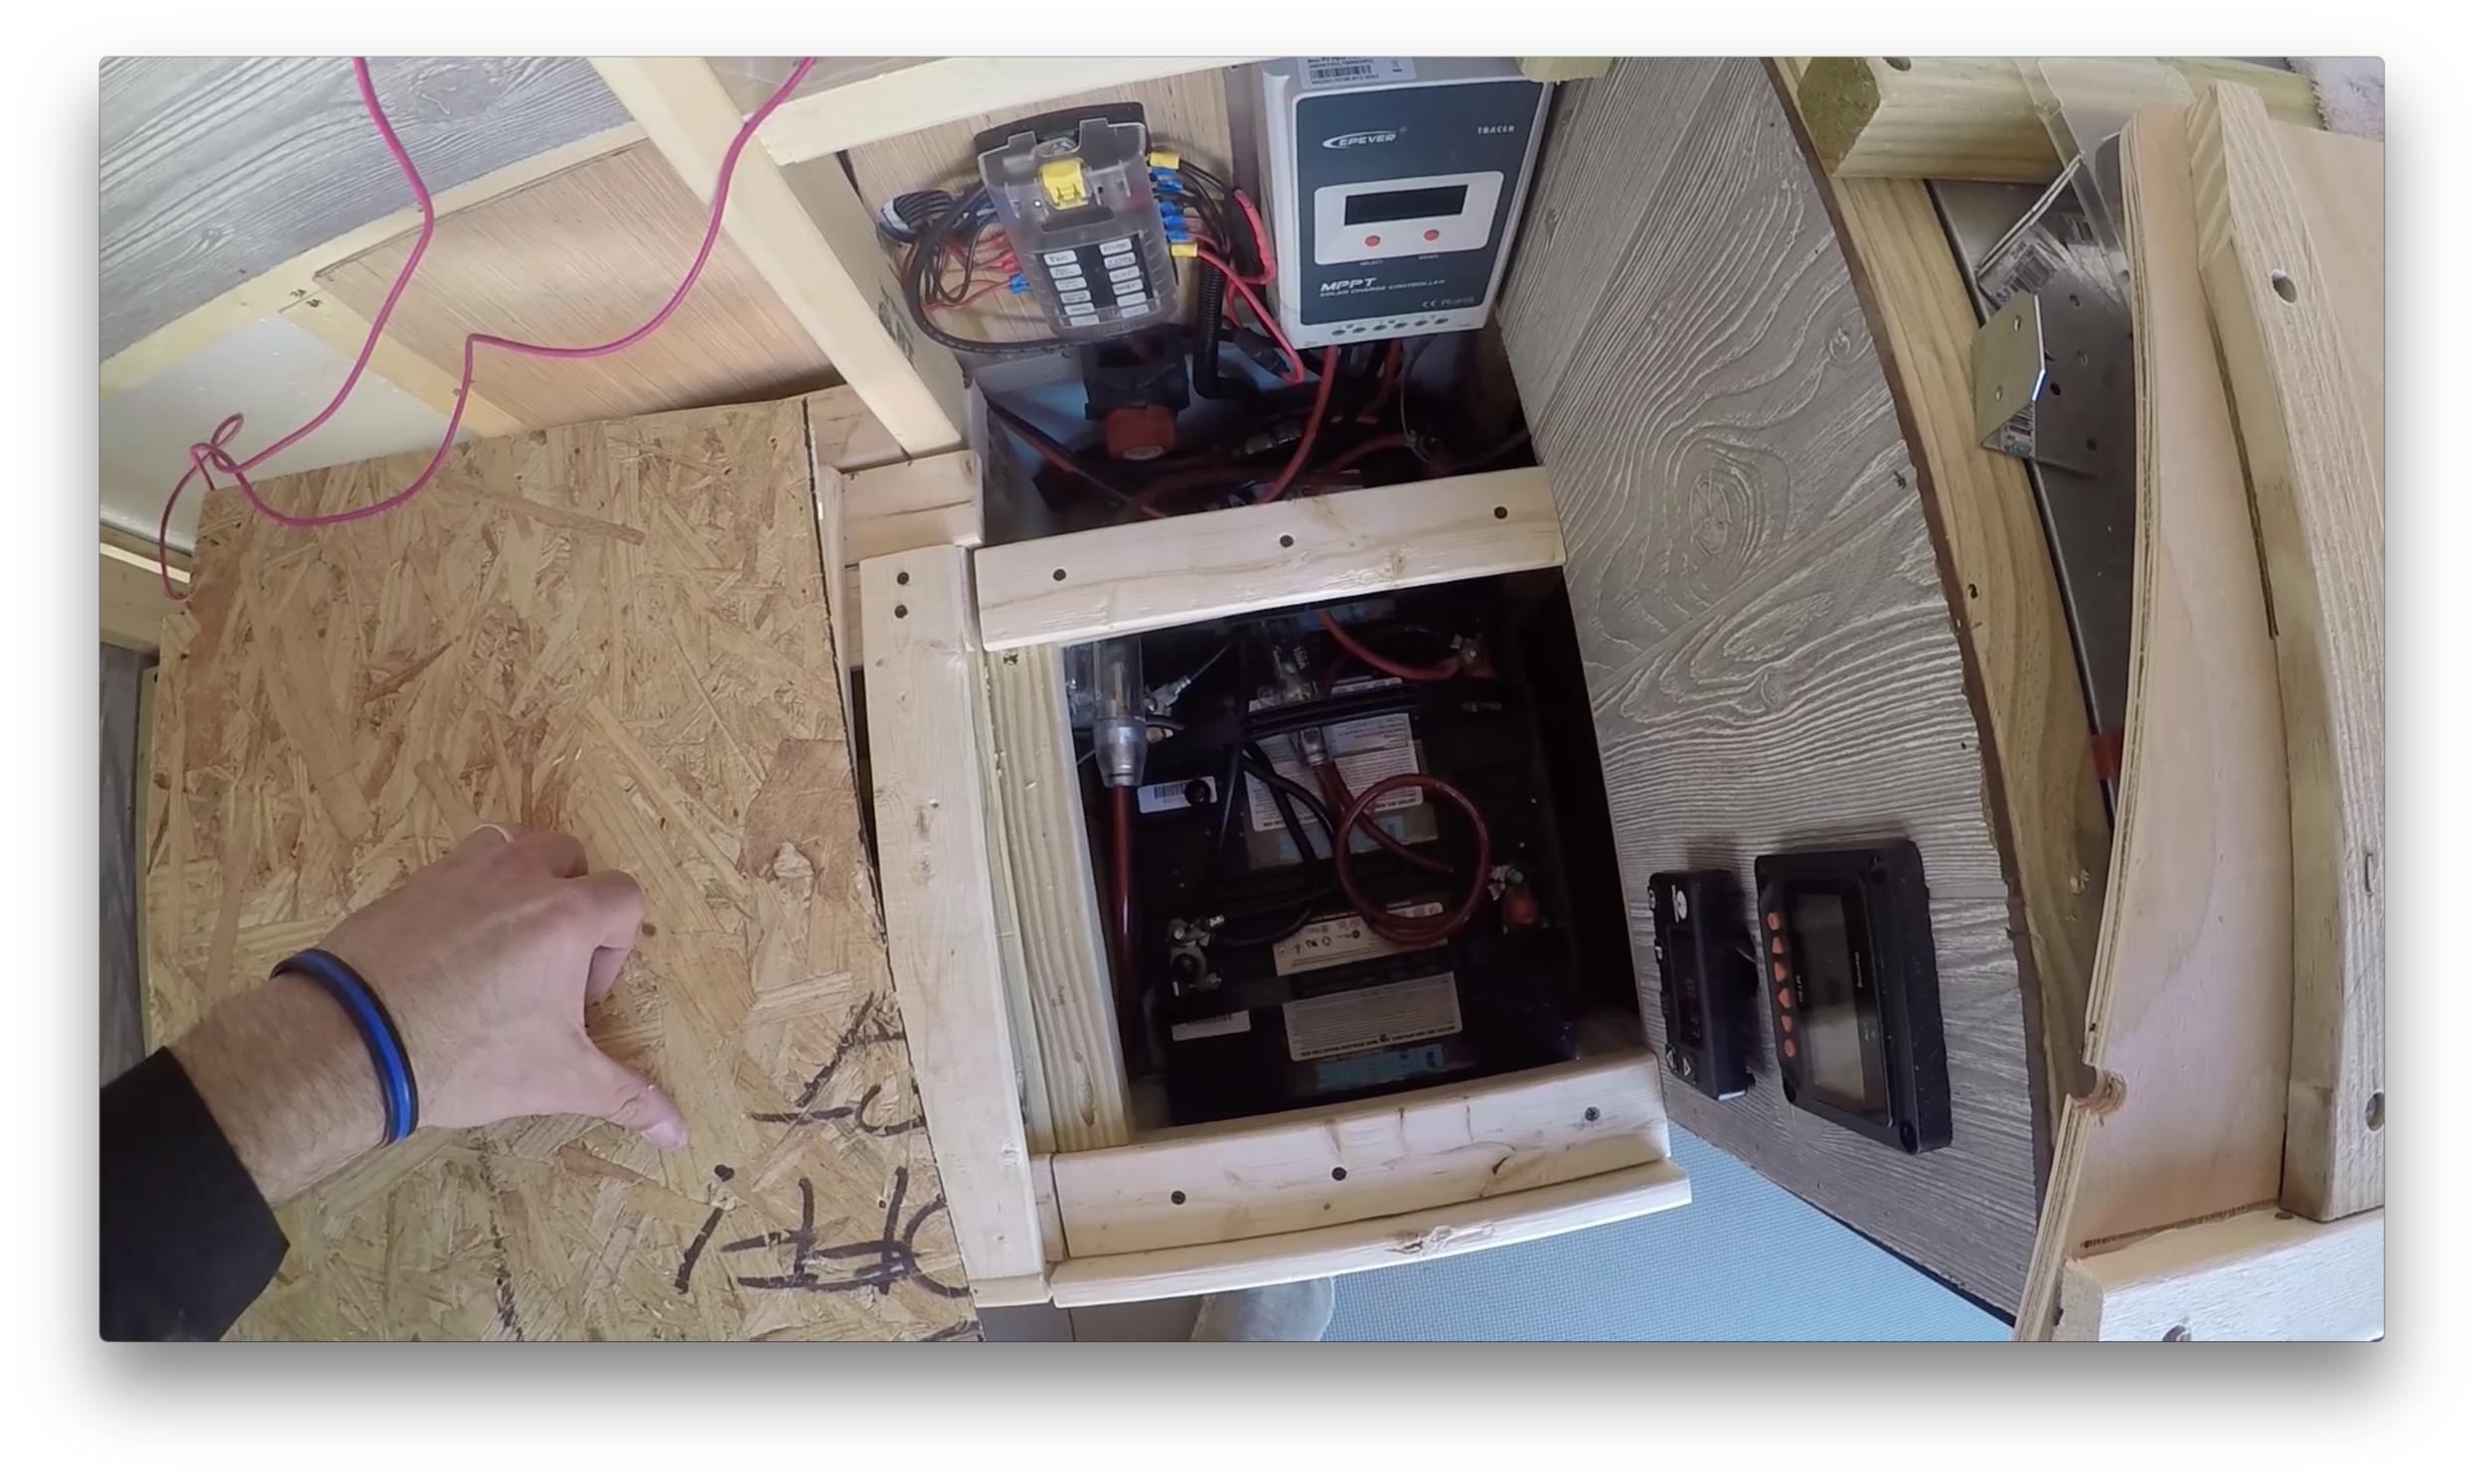
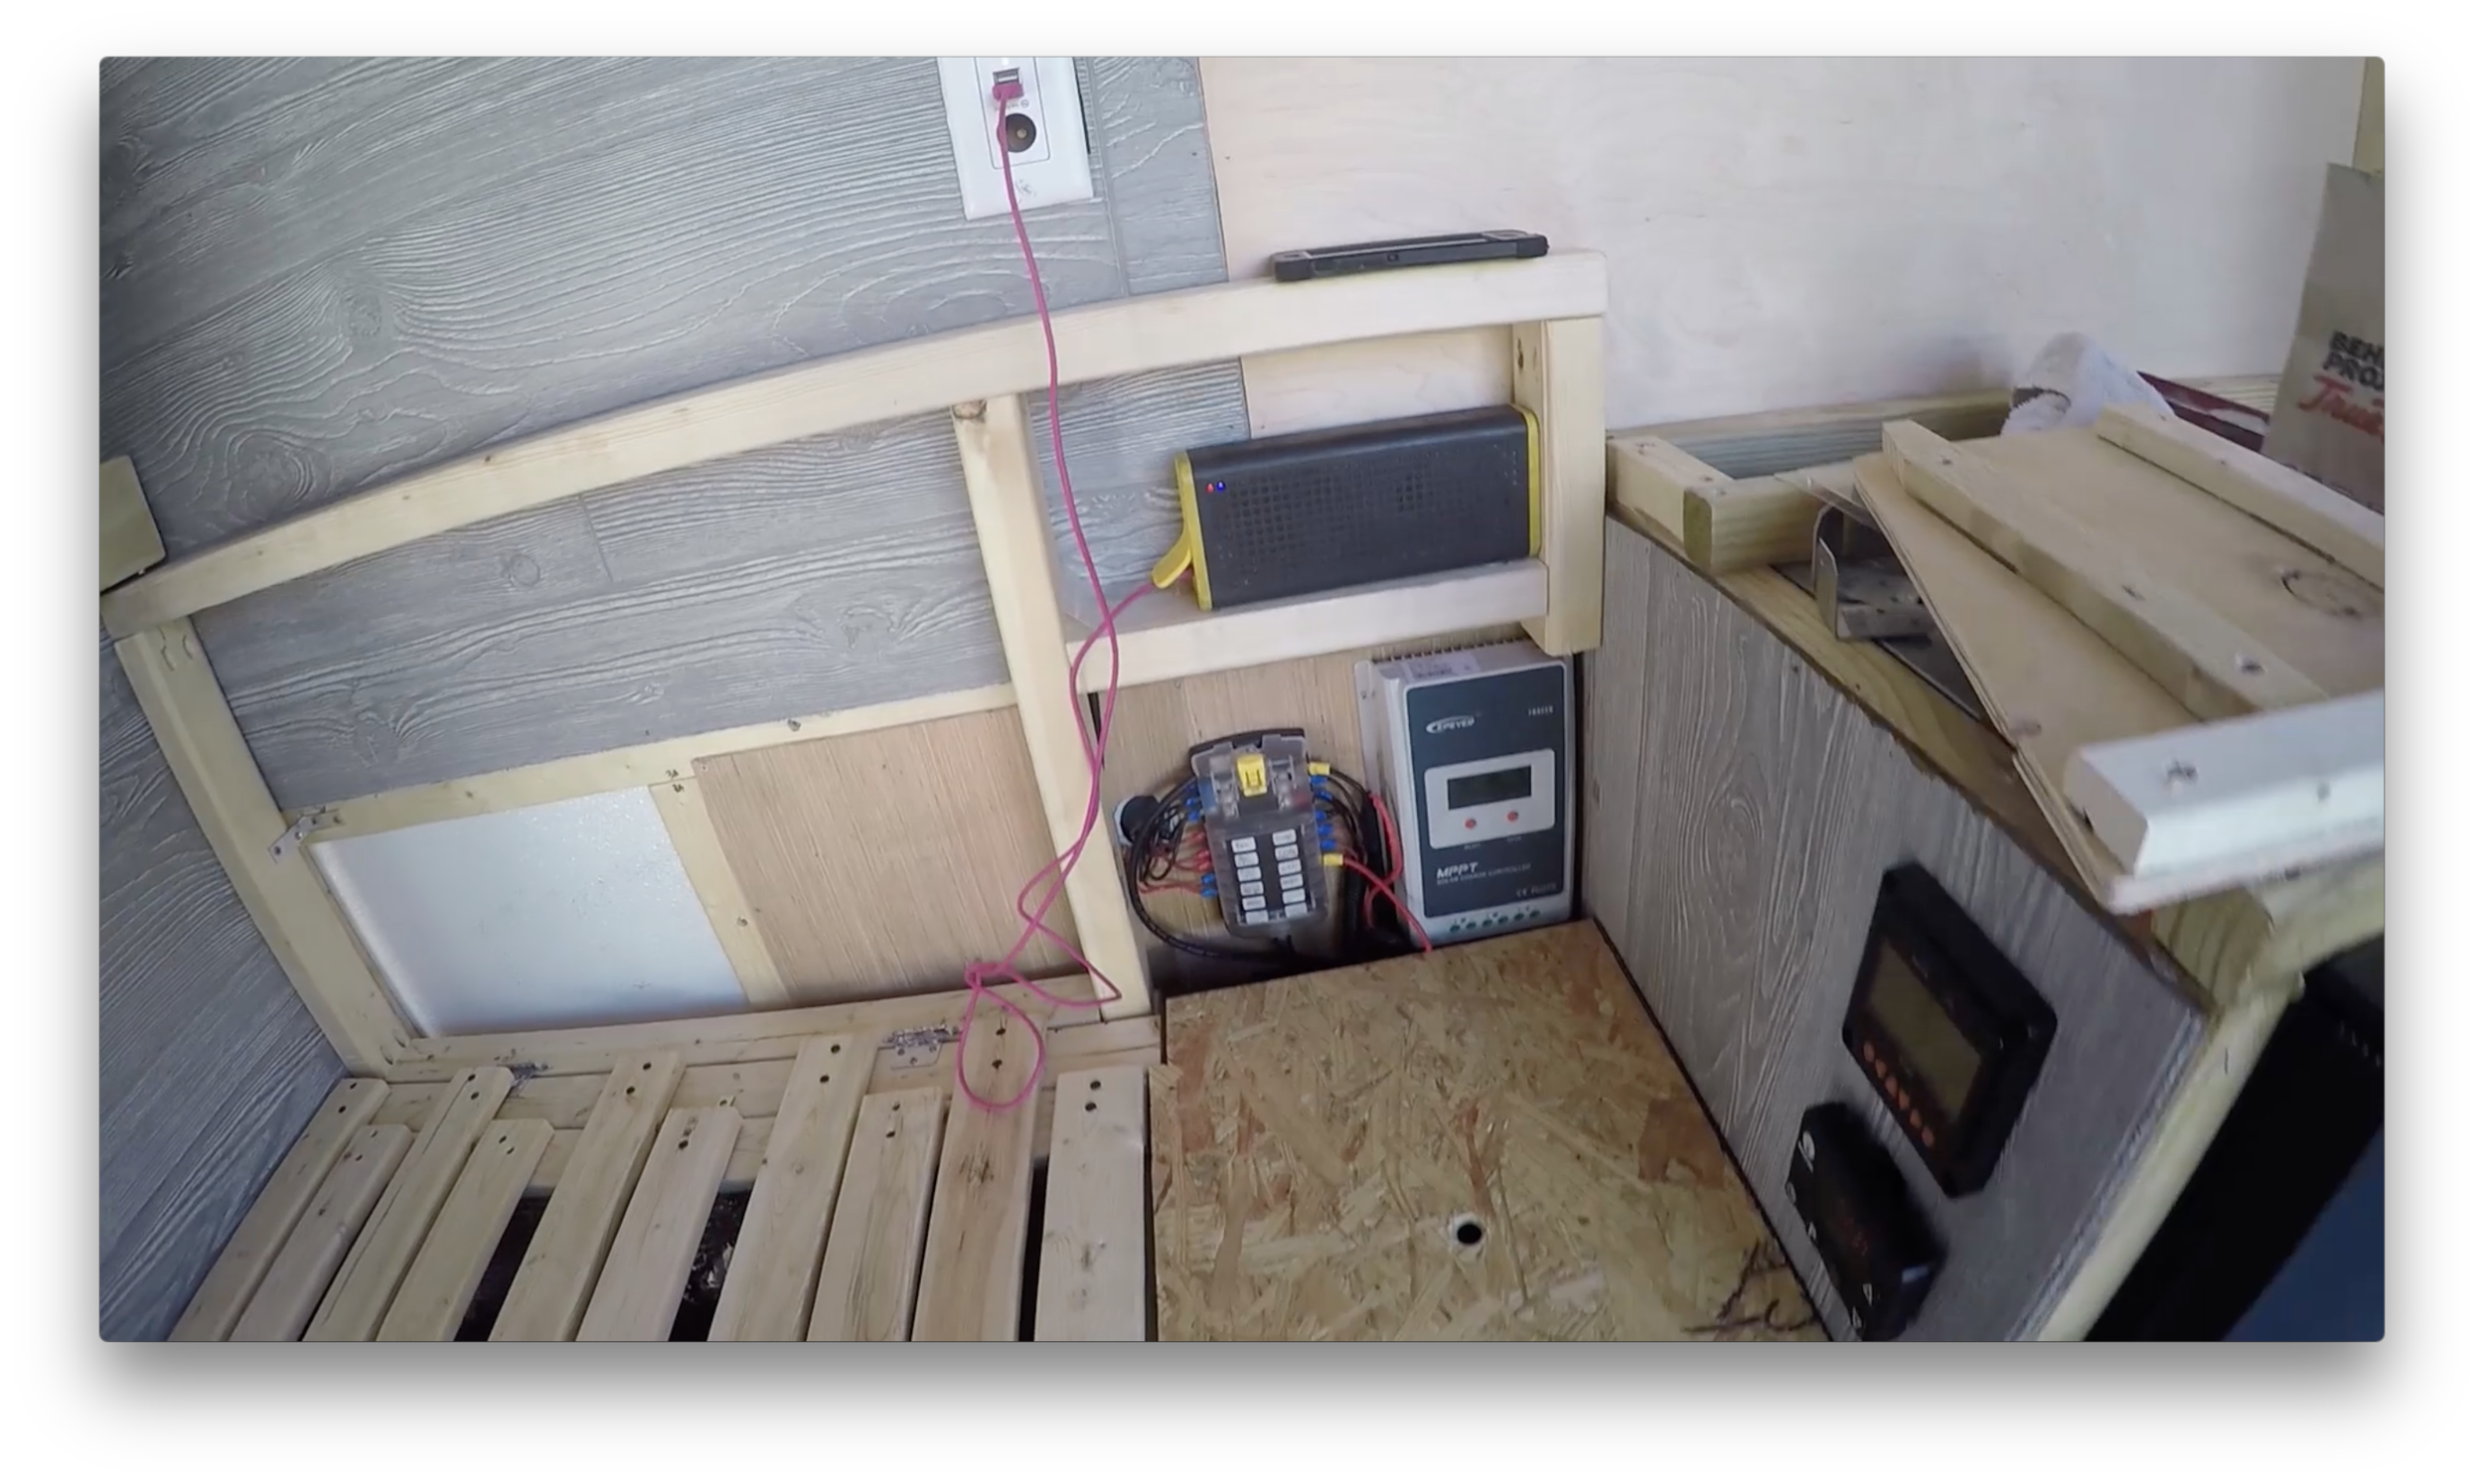
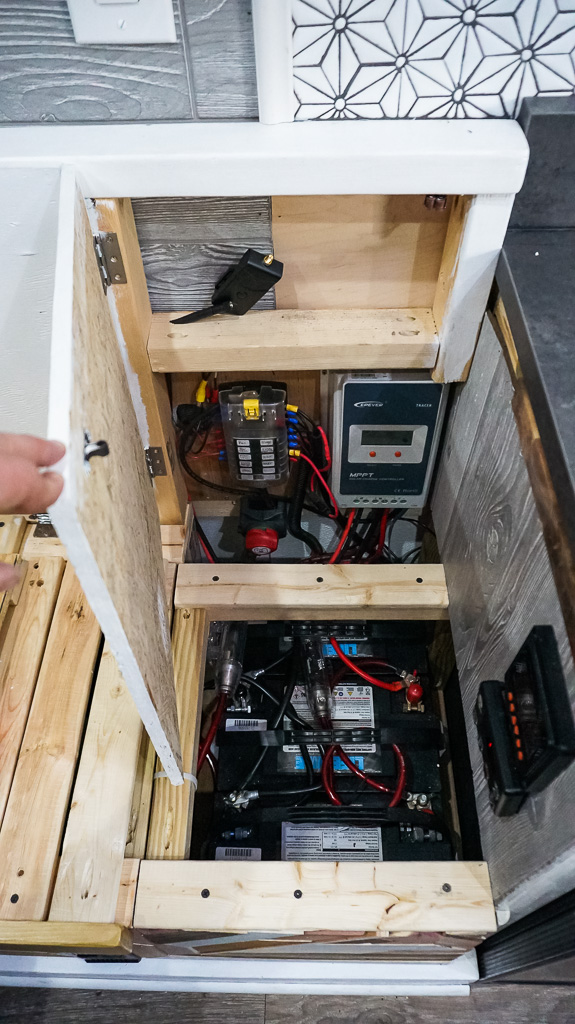
We knew going into the couch build that it was going to have some sort of underneath storage, house our battery bank and all our electrical components, as well as,  housing the inverter that sticks out with 110v outlets at the bottom of the couch.  As you saw in the beginning of the video, we had to move the solar controller and battery bank around quite a bit to accommodate the storage for them to get them out of sight, without taking up too much space, and keeping them readily accessible. 

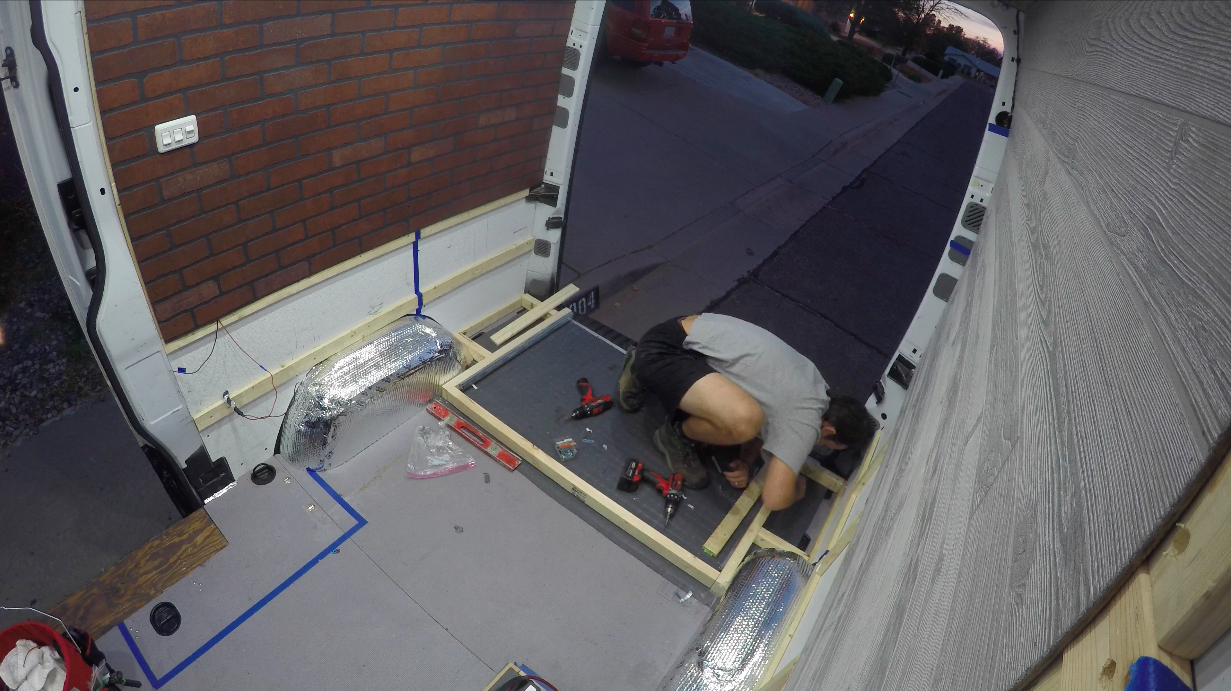
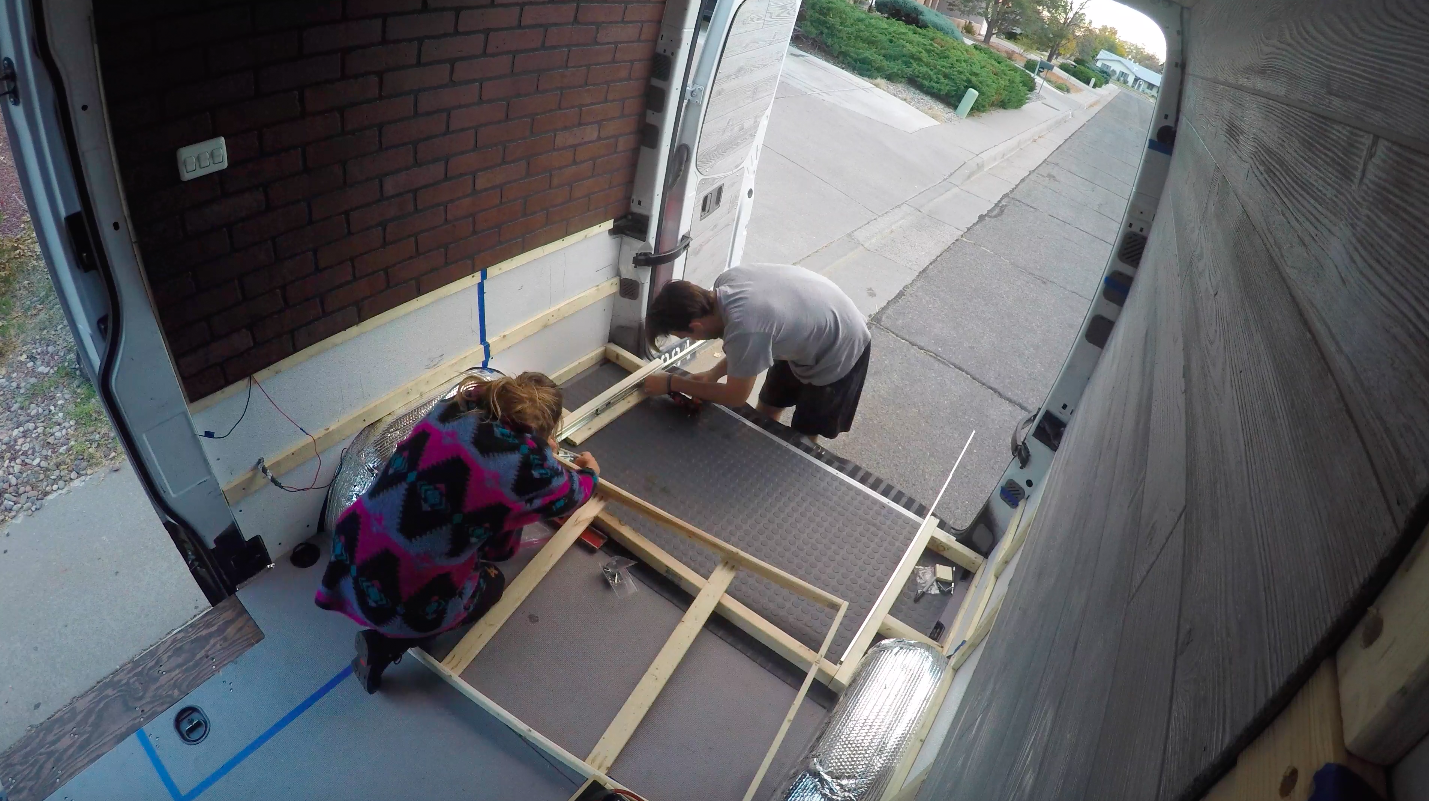
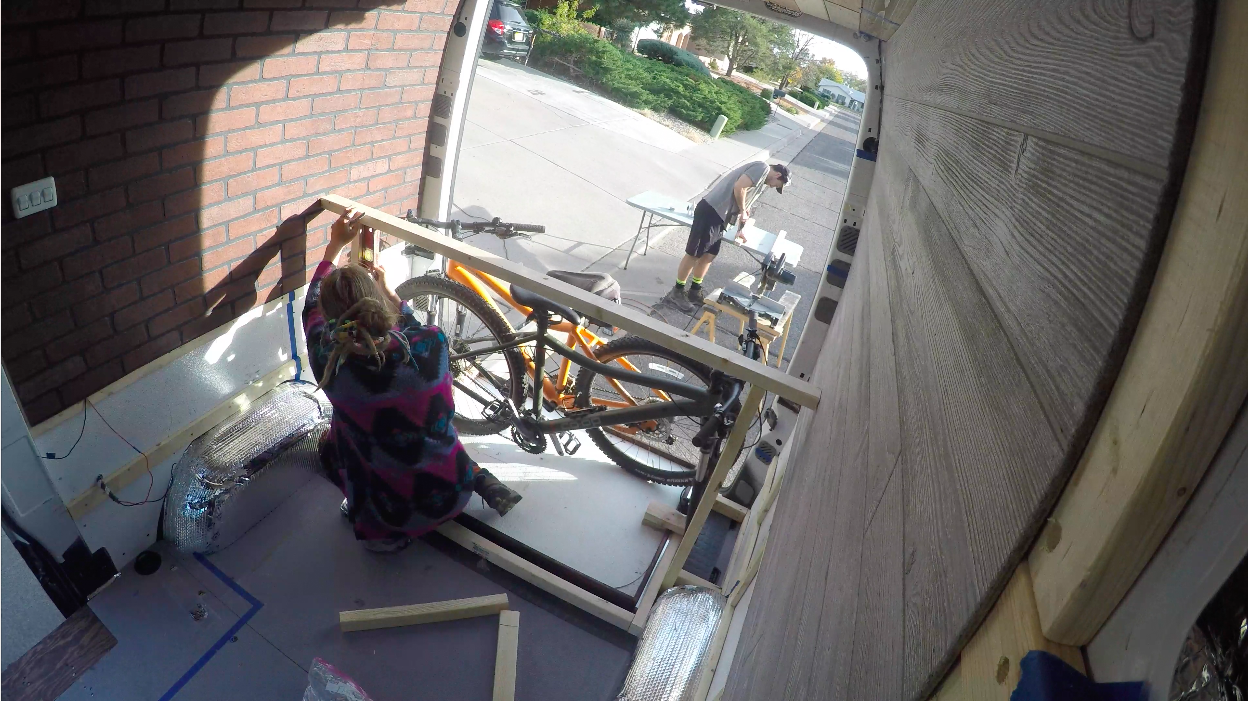
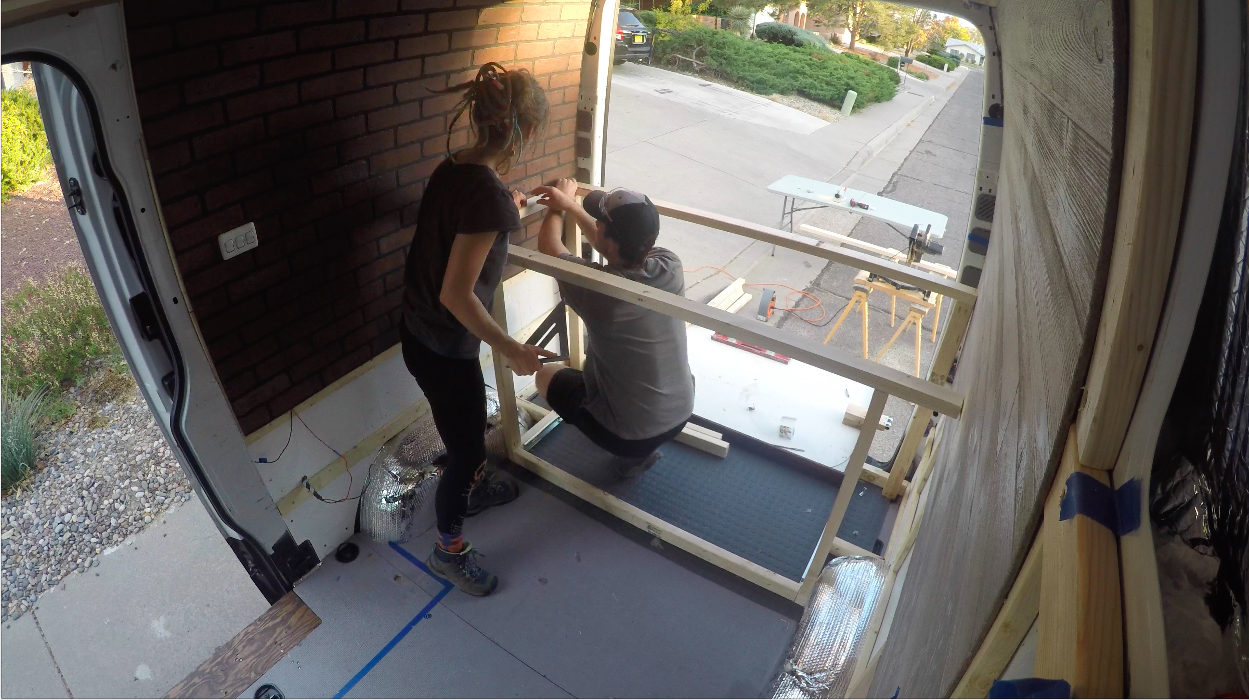
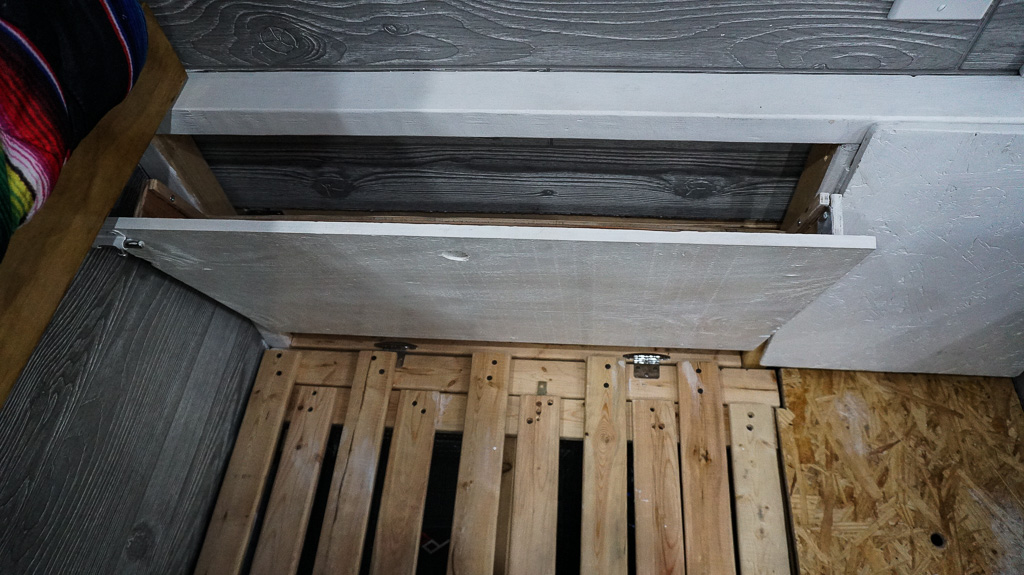
One half the couch seat will open like a chest and have tons of storage.  The other half would have a removable top to easily access the batteries and add or fix anything we need no sweat.  The back of the couch will have a flip down storage on one side, and a door that swings open offering easy access to the electrical panel and solar controller.  Now, with it all planned out it was time to frame the couch out.  

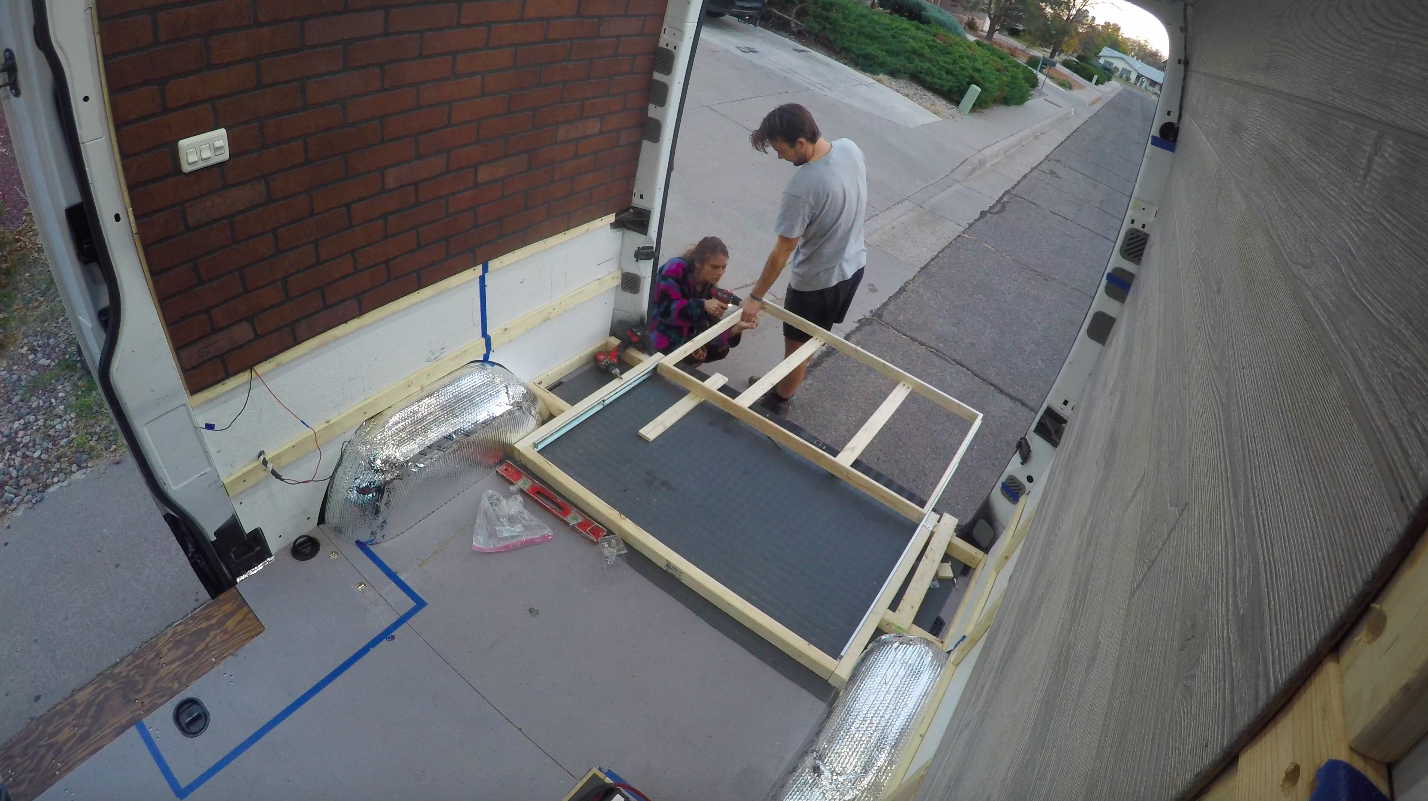
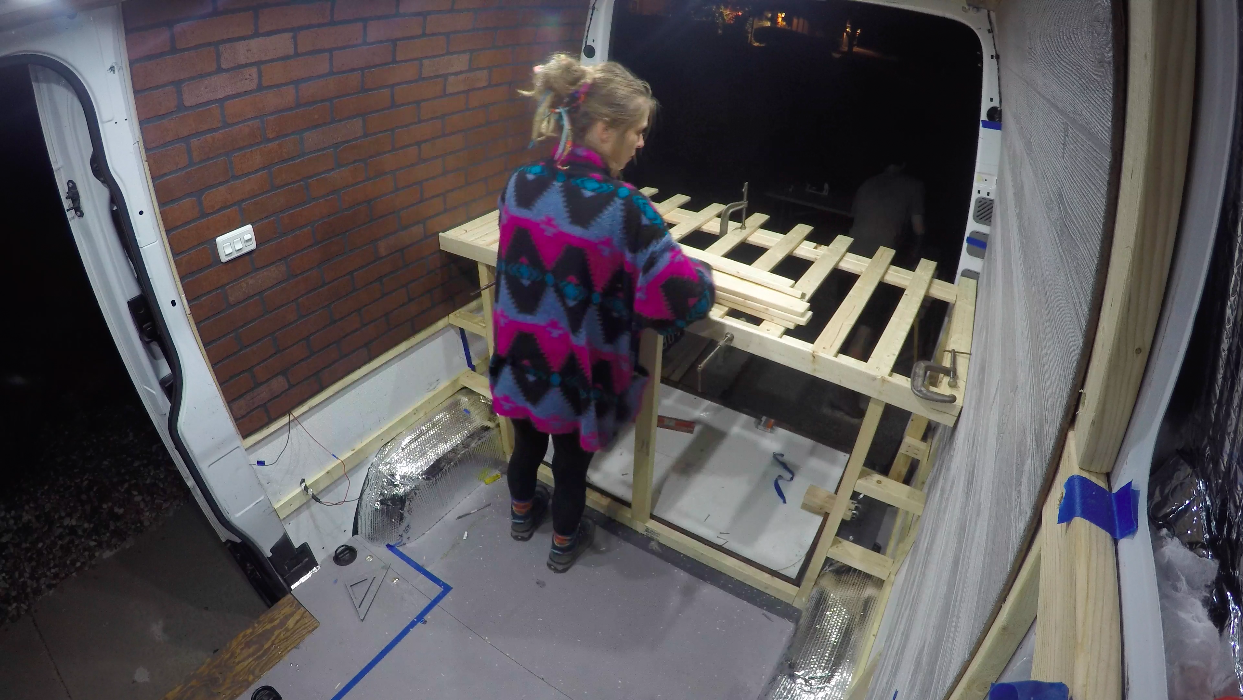
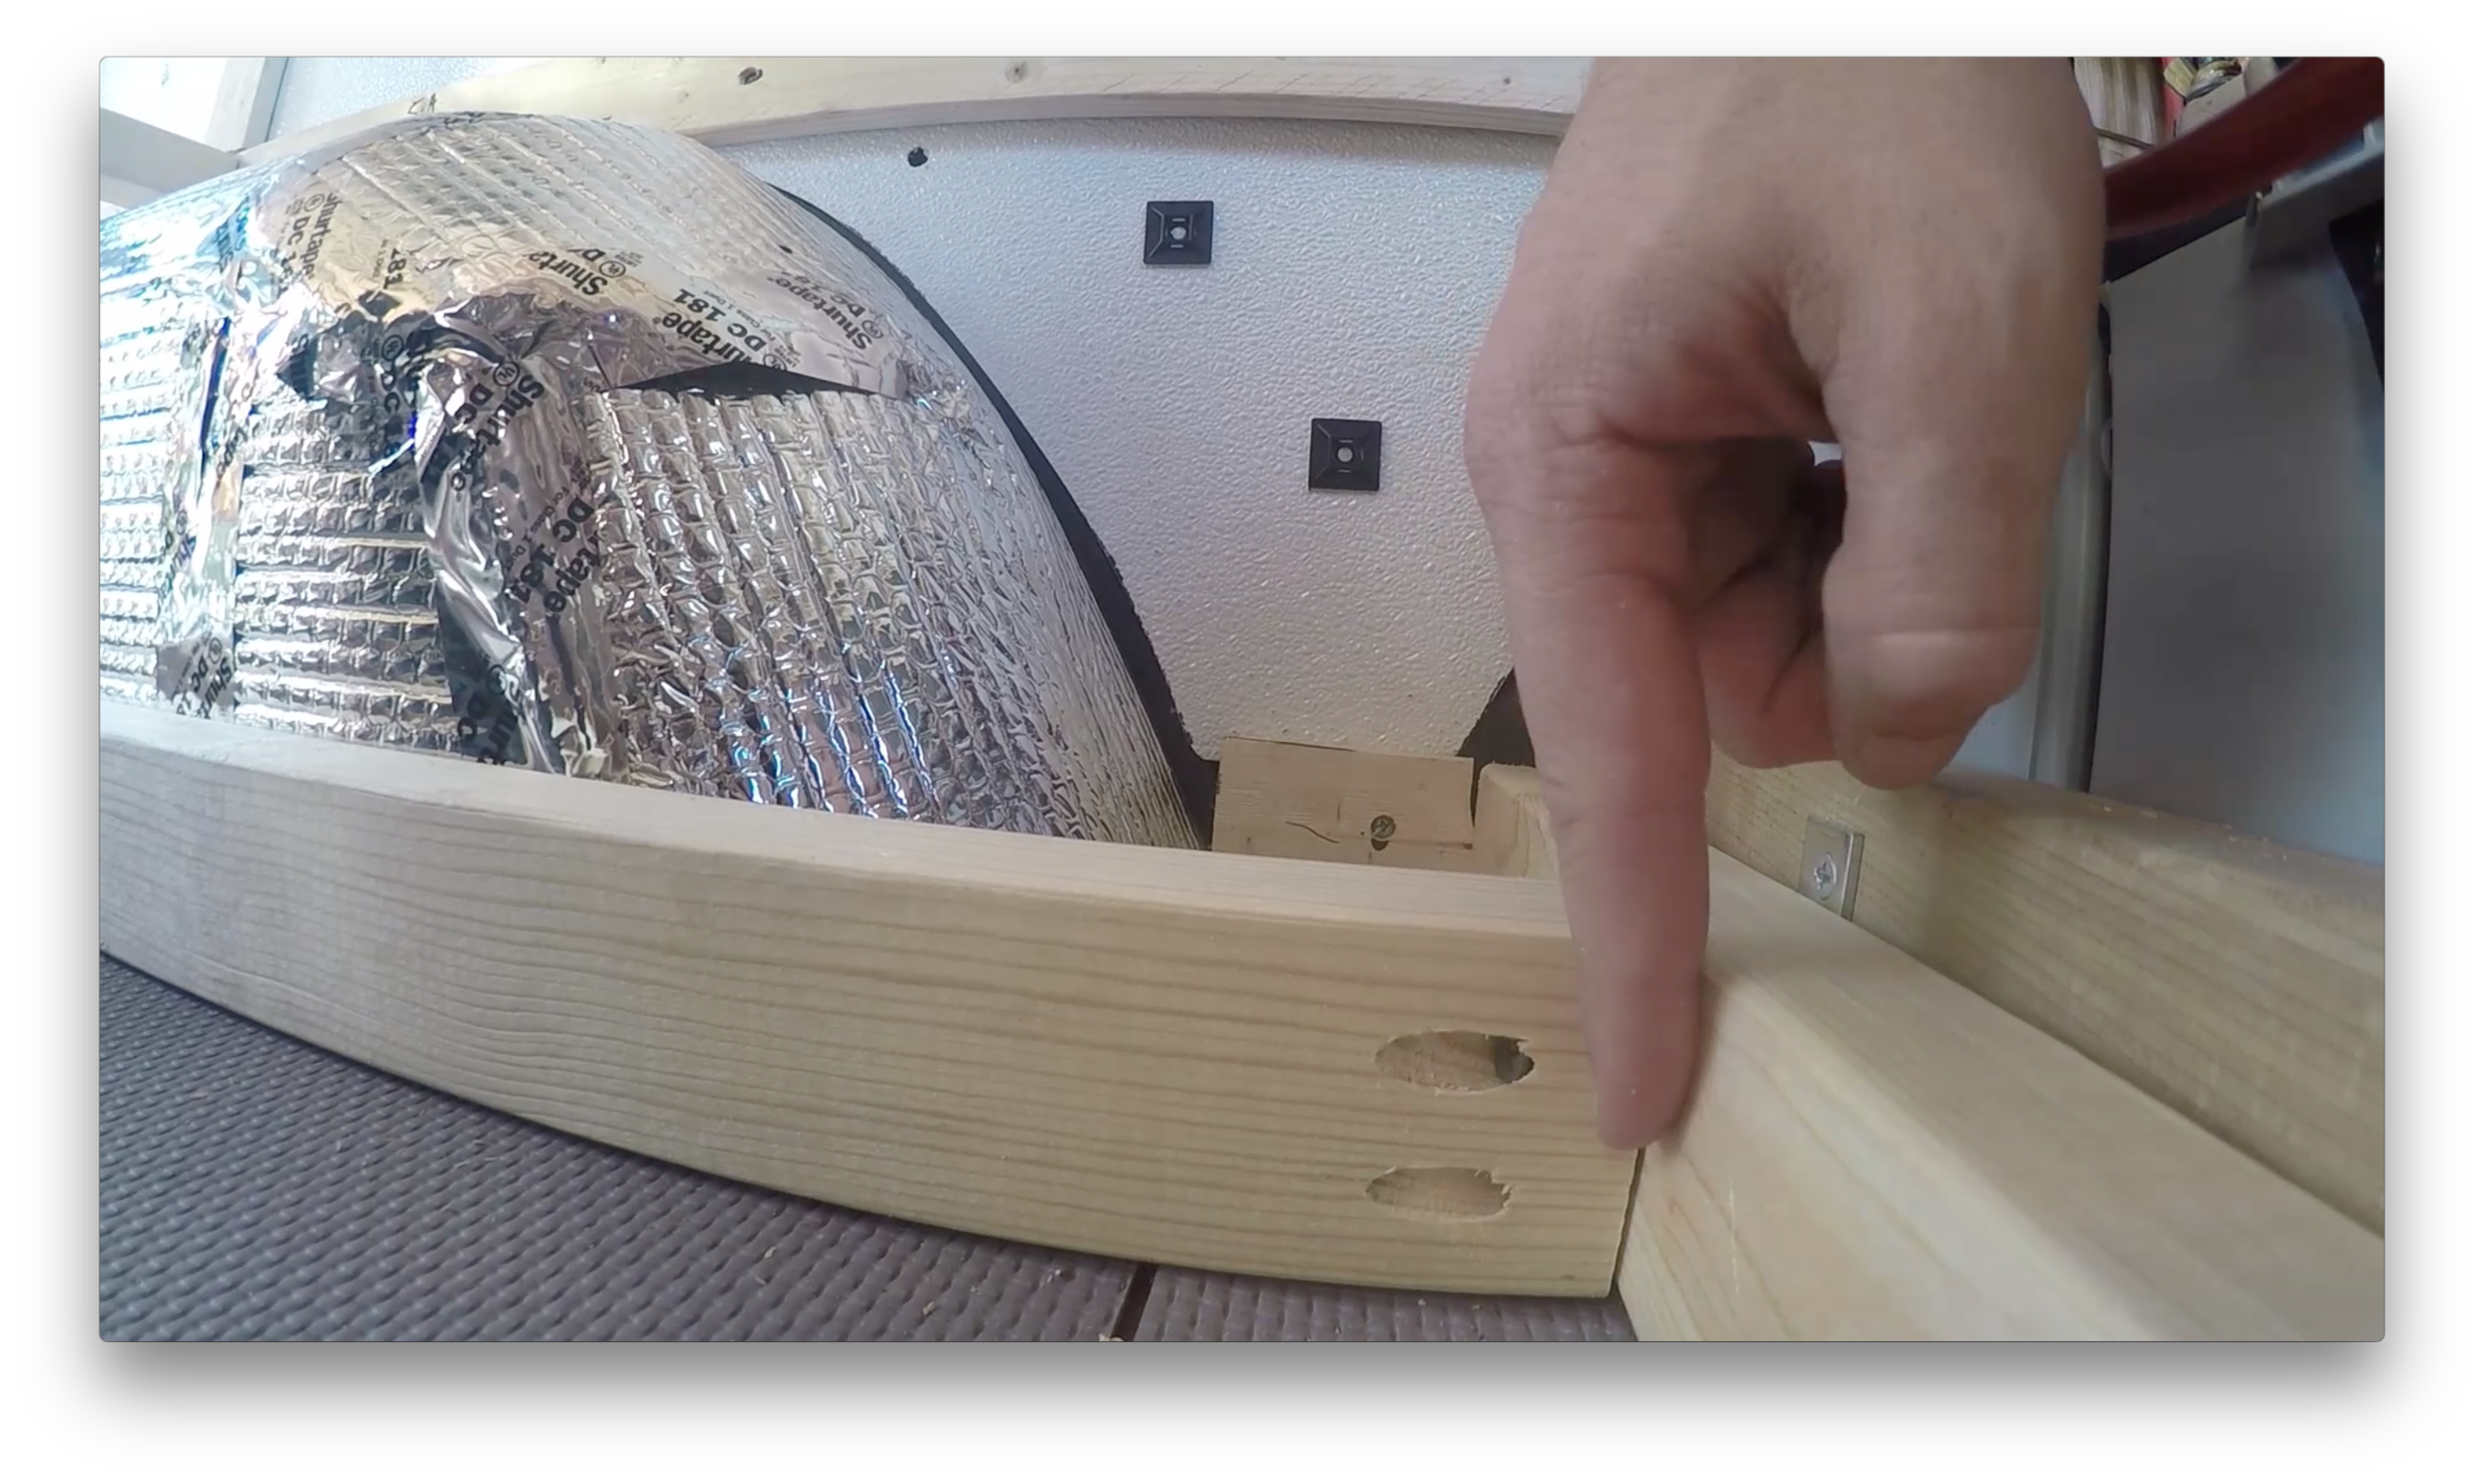
We used 2x3’s to frame out the couch and anchored them all to the van with heavy duty L brackets. The couch frame is also anchored into the bedframe, as well as, the countertop. So it is tied in very nicely.  We used bed slats for the top and tried to add a pull out chaise lounge type effect, but still have yet to figure out how to make this work.  The idea was to combine the ottoman we will built, with the pull out chase lounge to have a small bed if we had a guest. This is still in BETA but will be figured out as we go.  

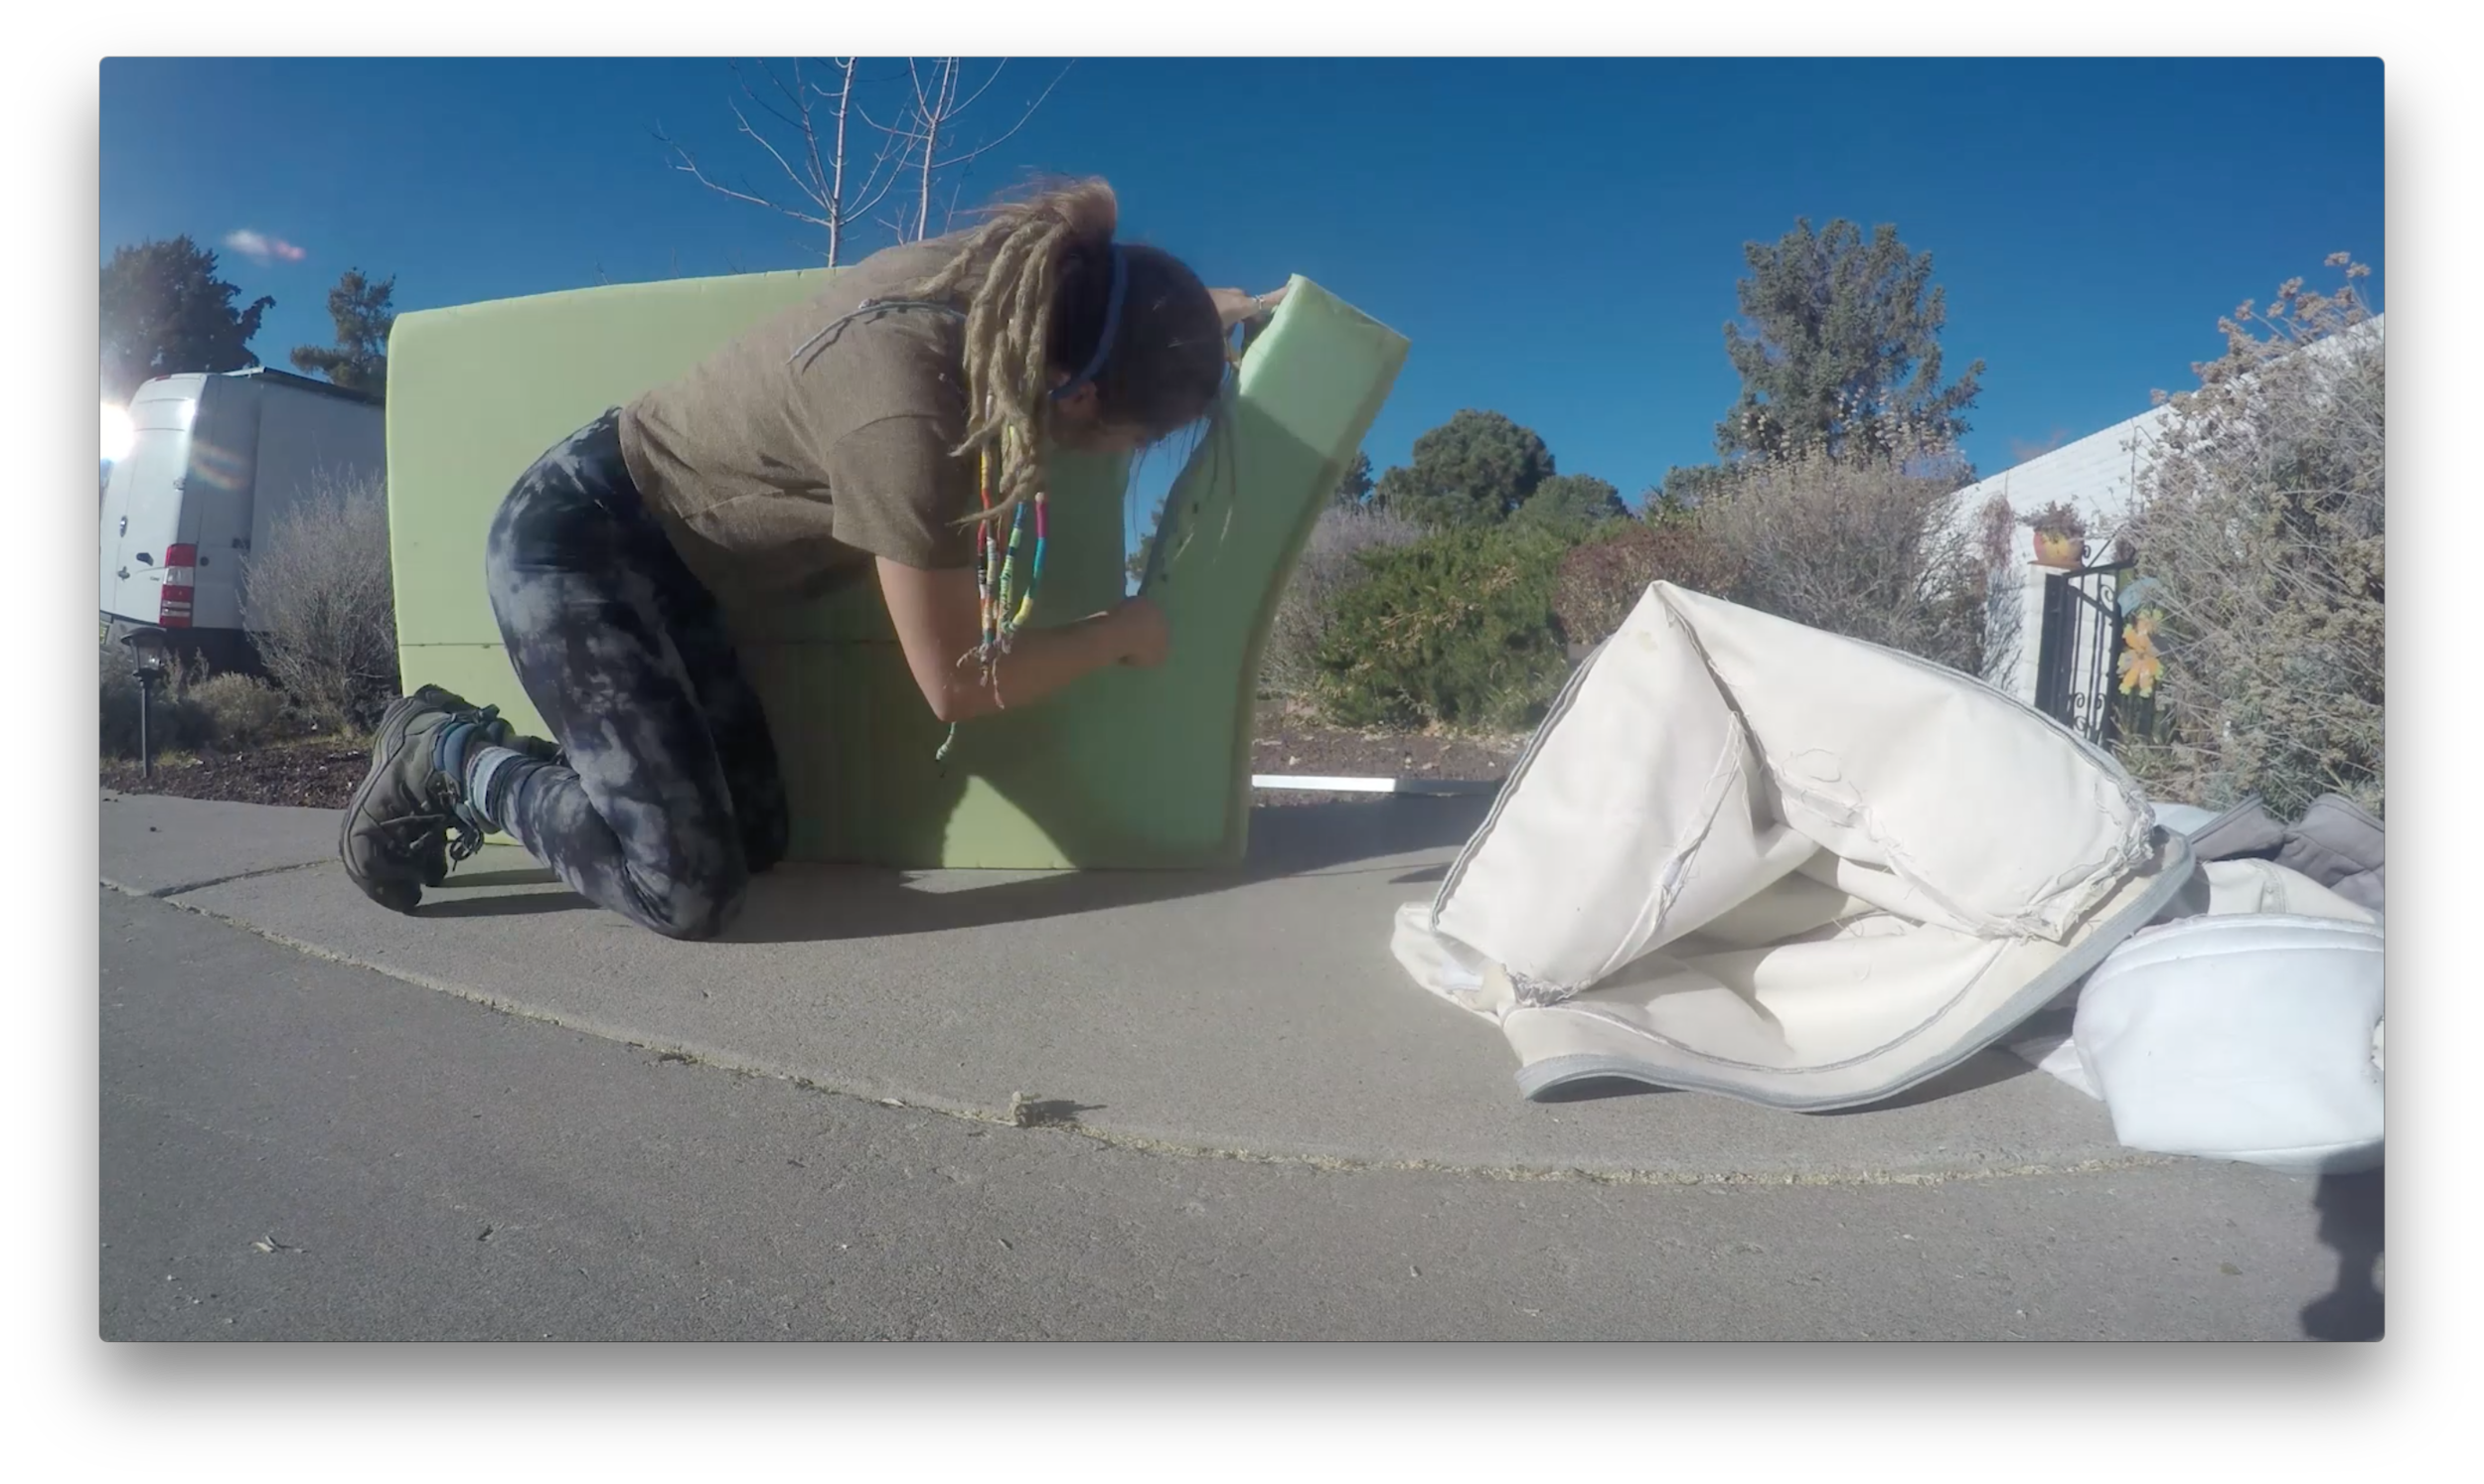
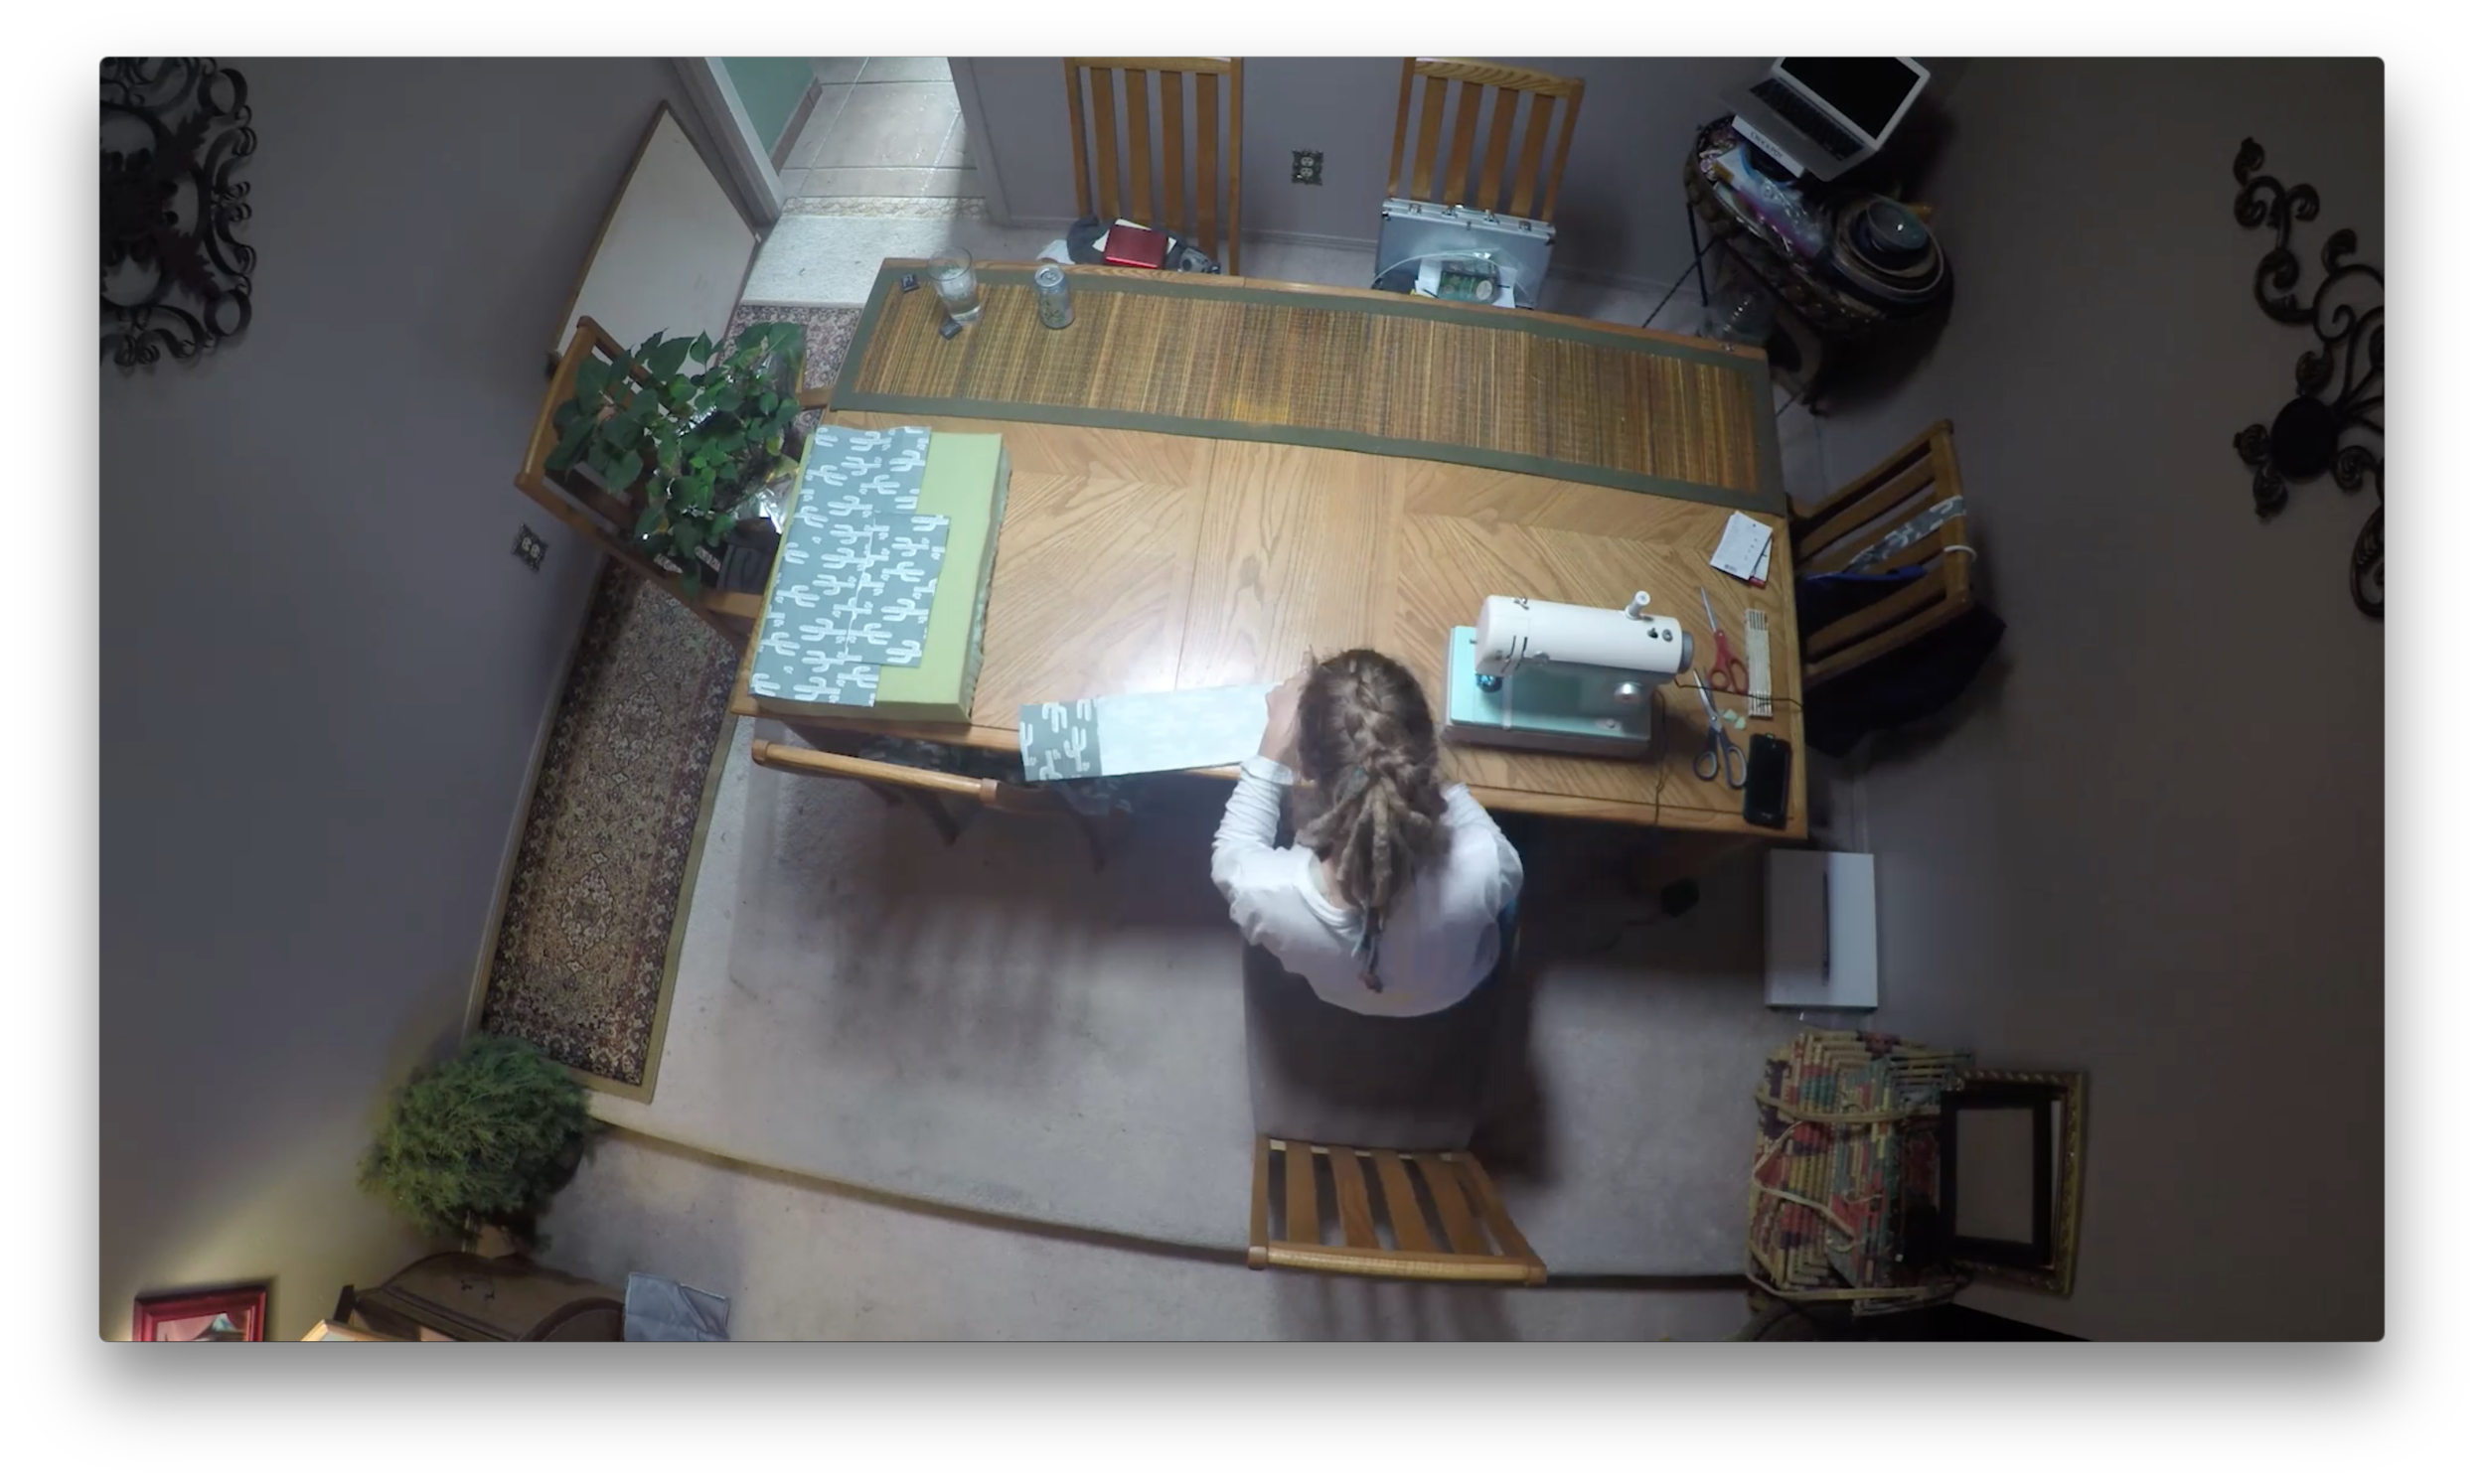
We had an old foam IKEA mattress that I used to use for ski bumming around Canada.  Dani cut it to size, sewed the fabric together, and added zippers to everything. So that way, we can remove it and wash it down the road.  She also sewed a few throw cushions to go with it.  Being from the desert, we chose a fitting cactus pattern for the couch and it looks amazing.    

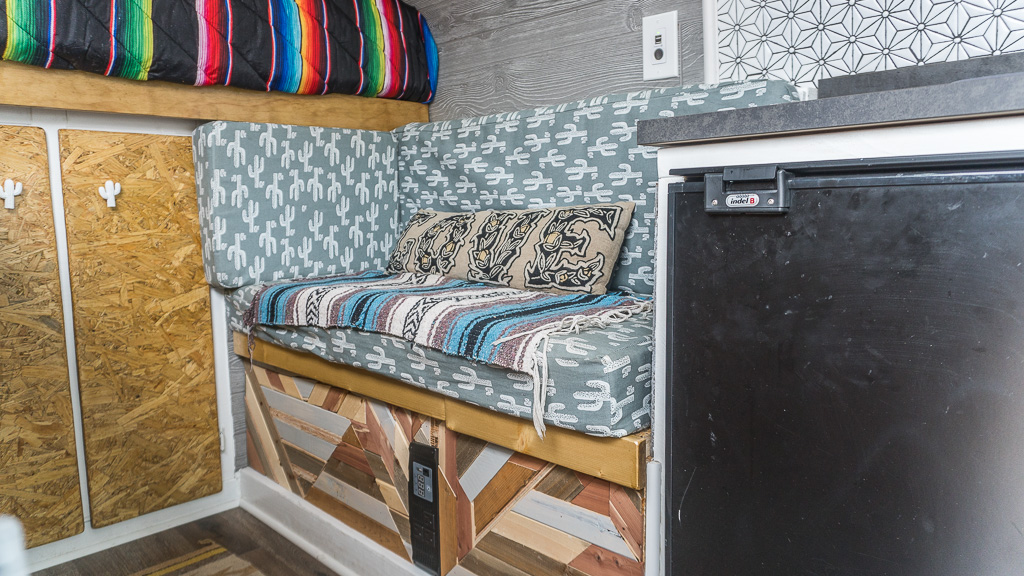
Dani also was able to make a nice little wood mosaic with the scrap wood from the roof.  I’m really lucky to have such a crafty sidekick to make the van look amazing.  With the addition of the pull out table that comes out from the kitchen countertop (See Video), the couch is easily the most functional sitting arrangement we’ve ever had. Whether it be in a house or a van, it serves so many purposes. All those possible functions and purposes are what you need to consider for every single part of building your home on wheels. 

Phase 5.3: Bed and Bike Garage

Since we just recently upgraded our mountain bikes, we weren’t leaving them behind and we really didn’t want them to be outside of the van 24/7, susceptible to rain, theft, and more back up hazard than a van with no windows already is. So, we kind of build the van around the bikes being inside, but taking up as little room as possible. Our layout changed many times before we started building (It changed as we were building sometimes). 

We finally were able to start building, with excitement, when we finally tried the bikes going in sideways, where the fork is on the passenger side and the back tire is on the driver side. They fit and they took up so little space too, compared to putting them in length wise! We had to have an area to sit, work, edit, nap and eat. Those are some functional requirements we had for the non-garage area. The bike storage usually competed space-wise with the living/hangout area. 

But, with this new configuration that we figured out, with the bikes sideways, it allowed both to happen—bike storage and room for the seating area we needed. 

So, we got to working on the bike tray for the bikes. We wanted them to pull out for easy access and stow-away. We used some heavy duty 30” drawer slides that we found on Amazon.  We reused the grey rubber floor mat that came with the van in the garage. We cut it out, rolled it out, framed right over it. We started our framing for the garage area where the drawer would slide in and out and built around that. Once we got the frame for the drawer all laid out, we were able to mount the drawer sliders, on each side, to that newly installed frame and get a true measurement of how big the drawer needed to be.

Then, we started building the drawer. We framed it out from our measurements of the drawer frame. We used some thick ply OSB for the base of the bike tray. (We used OSB because we got at Lowe’s for 50% off. It had one crushed corner. 50% off meant it was $8 for a 4x8 board! So we found many ways to make it useful.) 

Once we had the drawer built and stained, we reused some more of that white waterproof textured fiberglass panelling (the previous owner used this instead of the stock cardboard paneling) as our base. That way we could have a little bit of a waterproof base in there for our bikes. We sealed it around the edges with some leak proof sealant my dad had in the garage. He uses it for quick pool piping patches.   

Once the bike tray was in and working, we needed to find a way to mount our bikes to the tray to make sure it would still function, as planned. We couldn’t move forward with the rest of the build, until we made sure it slid in and out smoothly with the bikes mounted. Once that happened, we could get the measurements of the bikes in the tray to know the height of the bedframe being build around it. 

The tray we built was a little short. The fork hung over the drawer bit so we built little platforms to mount our bike mounts on. 

We have one thru-axel bike fork and one regular.  For the thru-axel bike we ended up buying  this one. For the other bike, we got a 6” 5/8 carriage bolt, some eye hooks (2 different sizes), washers, lock washers handmade our own mount. Kevin called it the “bride of Frankenstein” (because we had made his Thru-Axel mount first, out of plumbing nipple and some other mounting pieces for pluming, and he thought that was Frankenstein-esque.) We ended up just buying the real deal for Kevins bike (even tho our worked fine we just thought it would eliminate the side to side swaying while driving—it doesn’t do any better).