Today we are showing you how to establish a solid ground connection for your van conversion's battery bank. This is a very important step in installing your battery bank into your van conversion. Establishing a solid ground connection will assure that there is no voltage drop and also help you troubleshoot any issues with your system.
The first order of business is using the proper wire gauge. I would recommend a wire gauge between 2 and 4 stranded copper. I always measure extra wire when working with this thick battery cable because if you cut too little you will waste your expensive cable so always leave a little wiggle room for your wires.
Next, you will want to cut, strip, and crimp your wire. It is very important to have a very tight positive connection on your battery terminal lugs. If this connection is loose it can cause voltage drop and other voltage issues so make sure you crimp the connections as tight as possible. If you don't have a vise I highly recommend buying heavy-duty wire crimpers.
Once you have established a strong and tight crimp you will need to drill a hole in the bottom of your van. We love having a step bit on hand during any van conversion this makes drilling holes in the metal a dream. I didn't show this in the video but after I drilled the hole I went through and filed the hole really well with the file and also put in some lap sealant in the hole to ensure the wire didn't rub up against any rough edges and cause a short.
Now that the hole is cut you will run your wire down through the hole to where you will ground the cable to the chassis. You will want to pre-drill a hole here first otherwise you will be fighting with the metal of the van chassis for quite a while. I used a stainless #6 1.5" self-drilling hex head screw for my ground connection I also used 3 x 1/4" washers to make sure I had a nice solid positive connection to my washers, screw, and chassis.
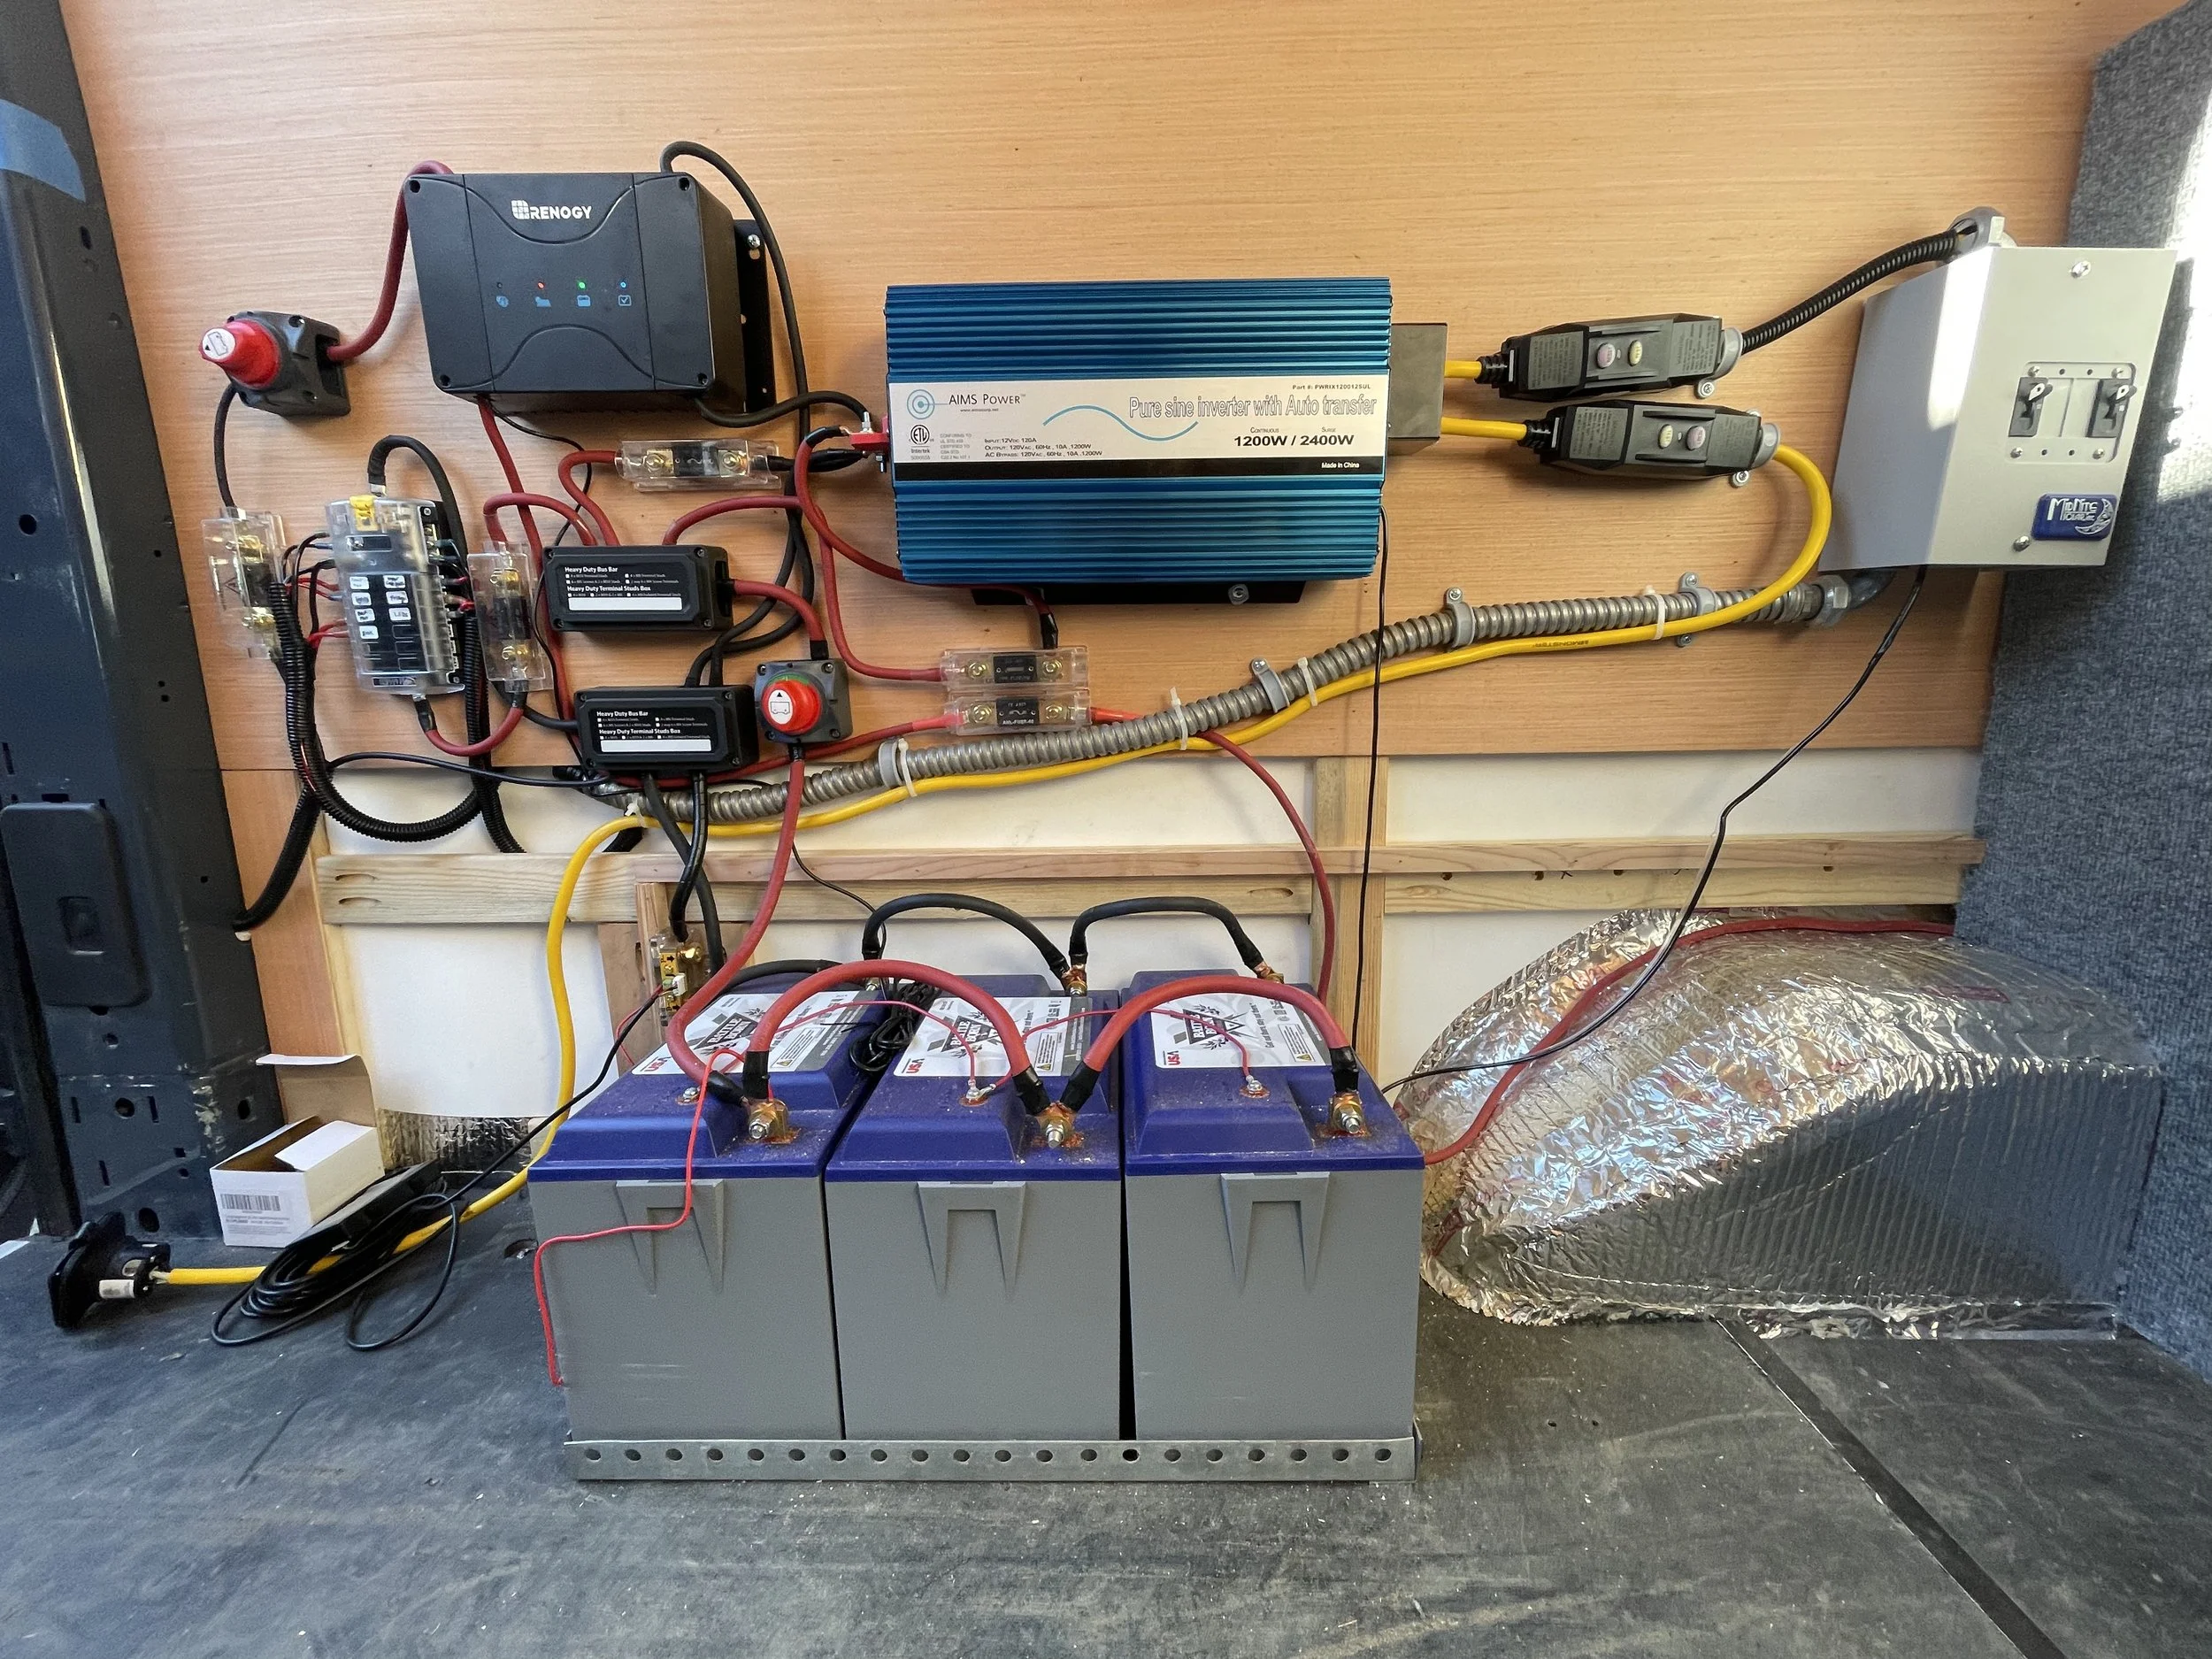
Now you will want to set up a common ground. I like to use a bus bar but you can set up all common grounds to the negative battery terminal if you would rather do that. I just find the bus bars to help really clean everything up in this process.
Once you have set up all your ground connections it's now time to wire the batteries in parallel. When wiring your battery in parallel always start with the ground connections first before moving on to the positive runs. Also, when attaching your cables make sure they are tight but do not over-tighten the battery terminals.
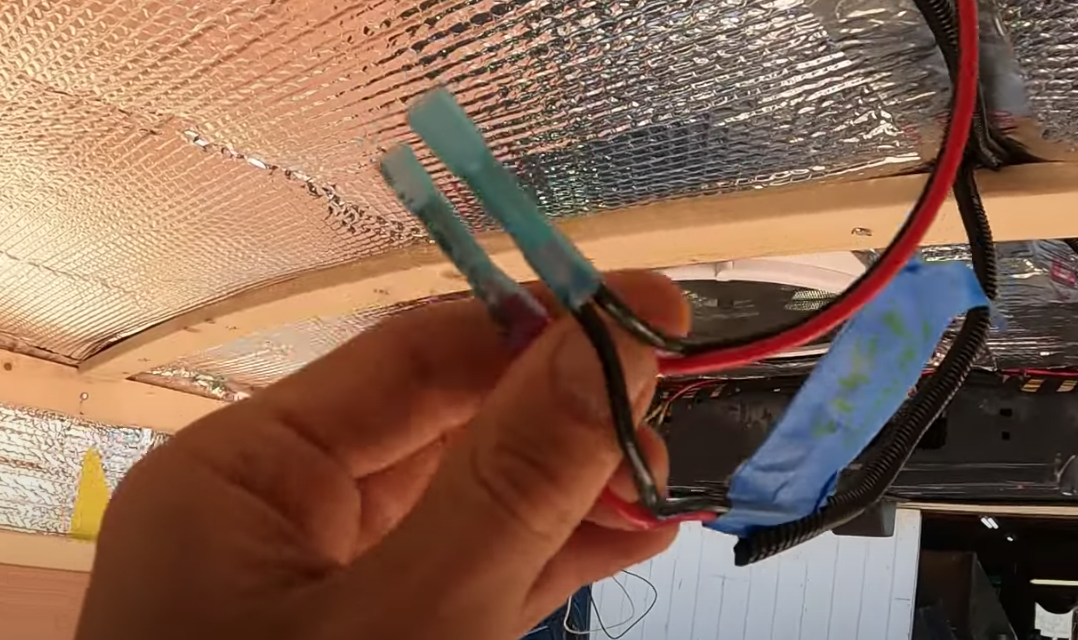
Now that all your batteries are wired in parallel you can now test to make sure each battery voltage is the same. You can do this with a multimeter and set it to DC Volts. Put the red and black prongs on their correct terminals and measure the battery voltage. It should have the same reading across all your batteries. If you are getting different readings check your connections and crimpings to ensure they are tight.
Once your batteries are wired in parallel you are ready to start wiring the rest of your 12 Volt system. Now check the ground connections on our system. We will start here by using a multimeter and setting it to Ohm to check the continuity. Once it's set to Ohms you will want this reading to be closest to zero as possible. If it's anywhere near 1 you have a bad connection and will most likely experience a voltage drop or a short to ground. I have a pretty good video example in the video that shows you how to easily test your ground connection.
Way to go! You have now completed wiring your own 12-volt battery bank. Give yourself a pat on the back and have a mini celebration. Next, we will be moving on to wiring the whole system. Happy Building ya kooks!
..::TOOLS & PARTS::..
2 Gauge Wire - https://amzn.to/3m1W9TE
Copper Lugs + Heat Shrink - https://amzn.to/3xaXKwR
Step Bit - https://amzn.to/3zEDllj
Litheli Impact Driver - https://litheli.com/products/litheli-20v-cordless-1-4-hex-impact-driver-2-0ah-battery-charger?aff=4
Litheli Drill Driver - https://litheli.com/products/litheli-20v-cordless-3-8-drill-driver-2-0ah-battery-charger?aff=4
SOK Lithium Batteries - https://www.us.sokbattery.com/product-page/pre-order-12v-206ah-lifepo4-lithium-iron-phosphate-battery-pack?ref=a7n6vo6o5a
Heat Gun - https://amzn.to/3x3SjhH
Heavy-Duty Crimper - https://amzn.to/3NaDAZr
Wire Cutter - https://amzn.to/3x5sGyr
Bus Bar - https://amzn.to/3xrUP1H