This video is all about quick and easy van insulation we show you the fastest way to insulate your van in 10 easy steps.
In this quick video, we will show you how to insulate your van with 3M Thinsulate and reflectix. This is one of the easier tasks in insulating your van conversion and you will feel pretty good about yourself after completing this job which only requires you to use scissors, a mask, and safety glasses.
Here are a few products we used in this build.
Thinsulate Insulation - https://amzn.to/3ZpRQCP
Reflectix - https://amzn.to/3oV2Tlo
3M Adhesive Spray - https://amzn.to/3acQ0zo
3M N95 Respirator - https://amzn.to/3ad54gm
In this build, we used 70 linear ft. of Thinsulate SM600L. We believe Thinsulate is a great product for use in insulating your van, having tried other insulation products we would use and recommend this product 10 out of 10 times, and here’s why.
No Mess - Very easy installation, when compared to spray foam insulation and even cutting all the R-Max boards to size, can create a mess.
Easy to Install - Installing the 3M SM600L is literally a cut and paste job. All you need to do is measure the cavities, spray the 3M 90 spray adhesive and stick it to the van wall.
Sound Damping - Another benefit to the Thinsulate is that it has sound deadening qualities with non-woven sound-absorbing fibers creating a quieter vehicle environment.
Works Pretty Good - The SM600L has an R-value of 5.2. It can be increased with a Refletix moisture barrier, which is what we will do here. We’ve noticed that it keeps the heat out just as effectively as the cold. Once you are in a cold environment for an extended period, you will want to install a diesel cabin heater to keep the van warm. The insulation works, but it doesn't work miracles. If you know you will be in the cold, consider a heater.
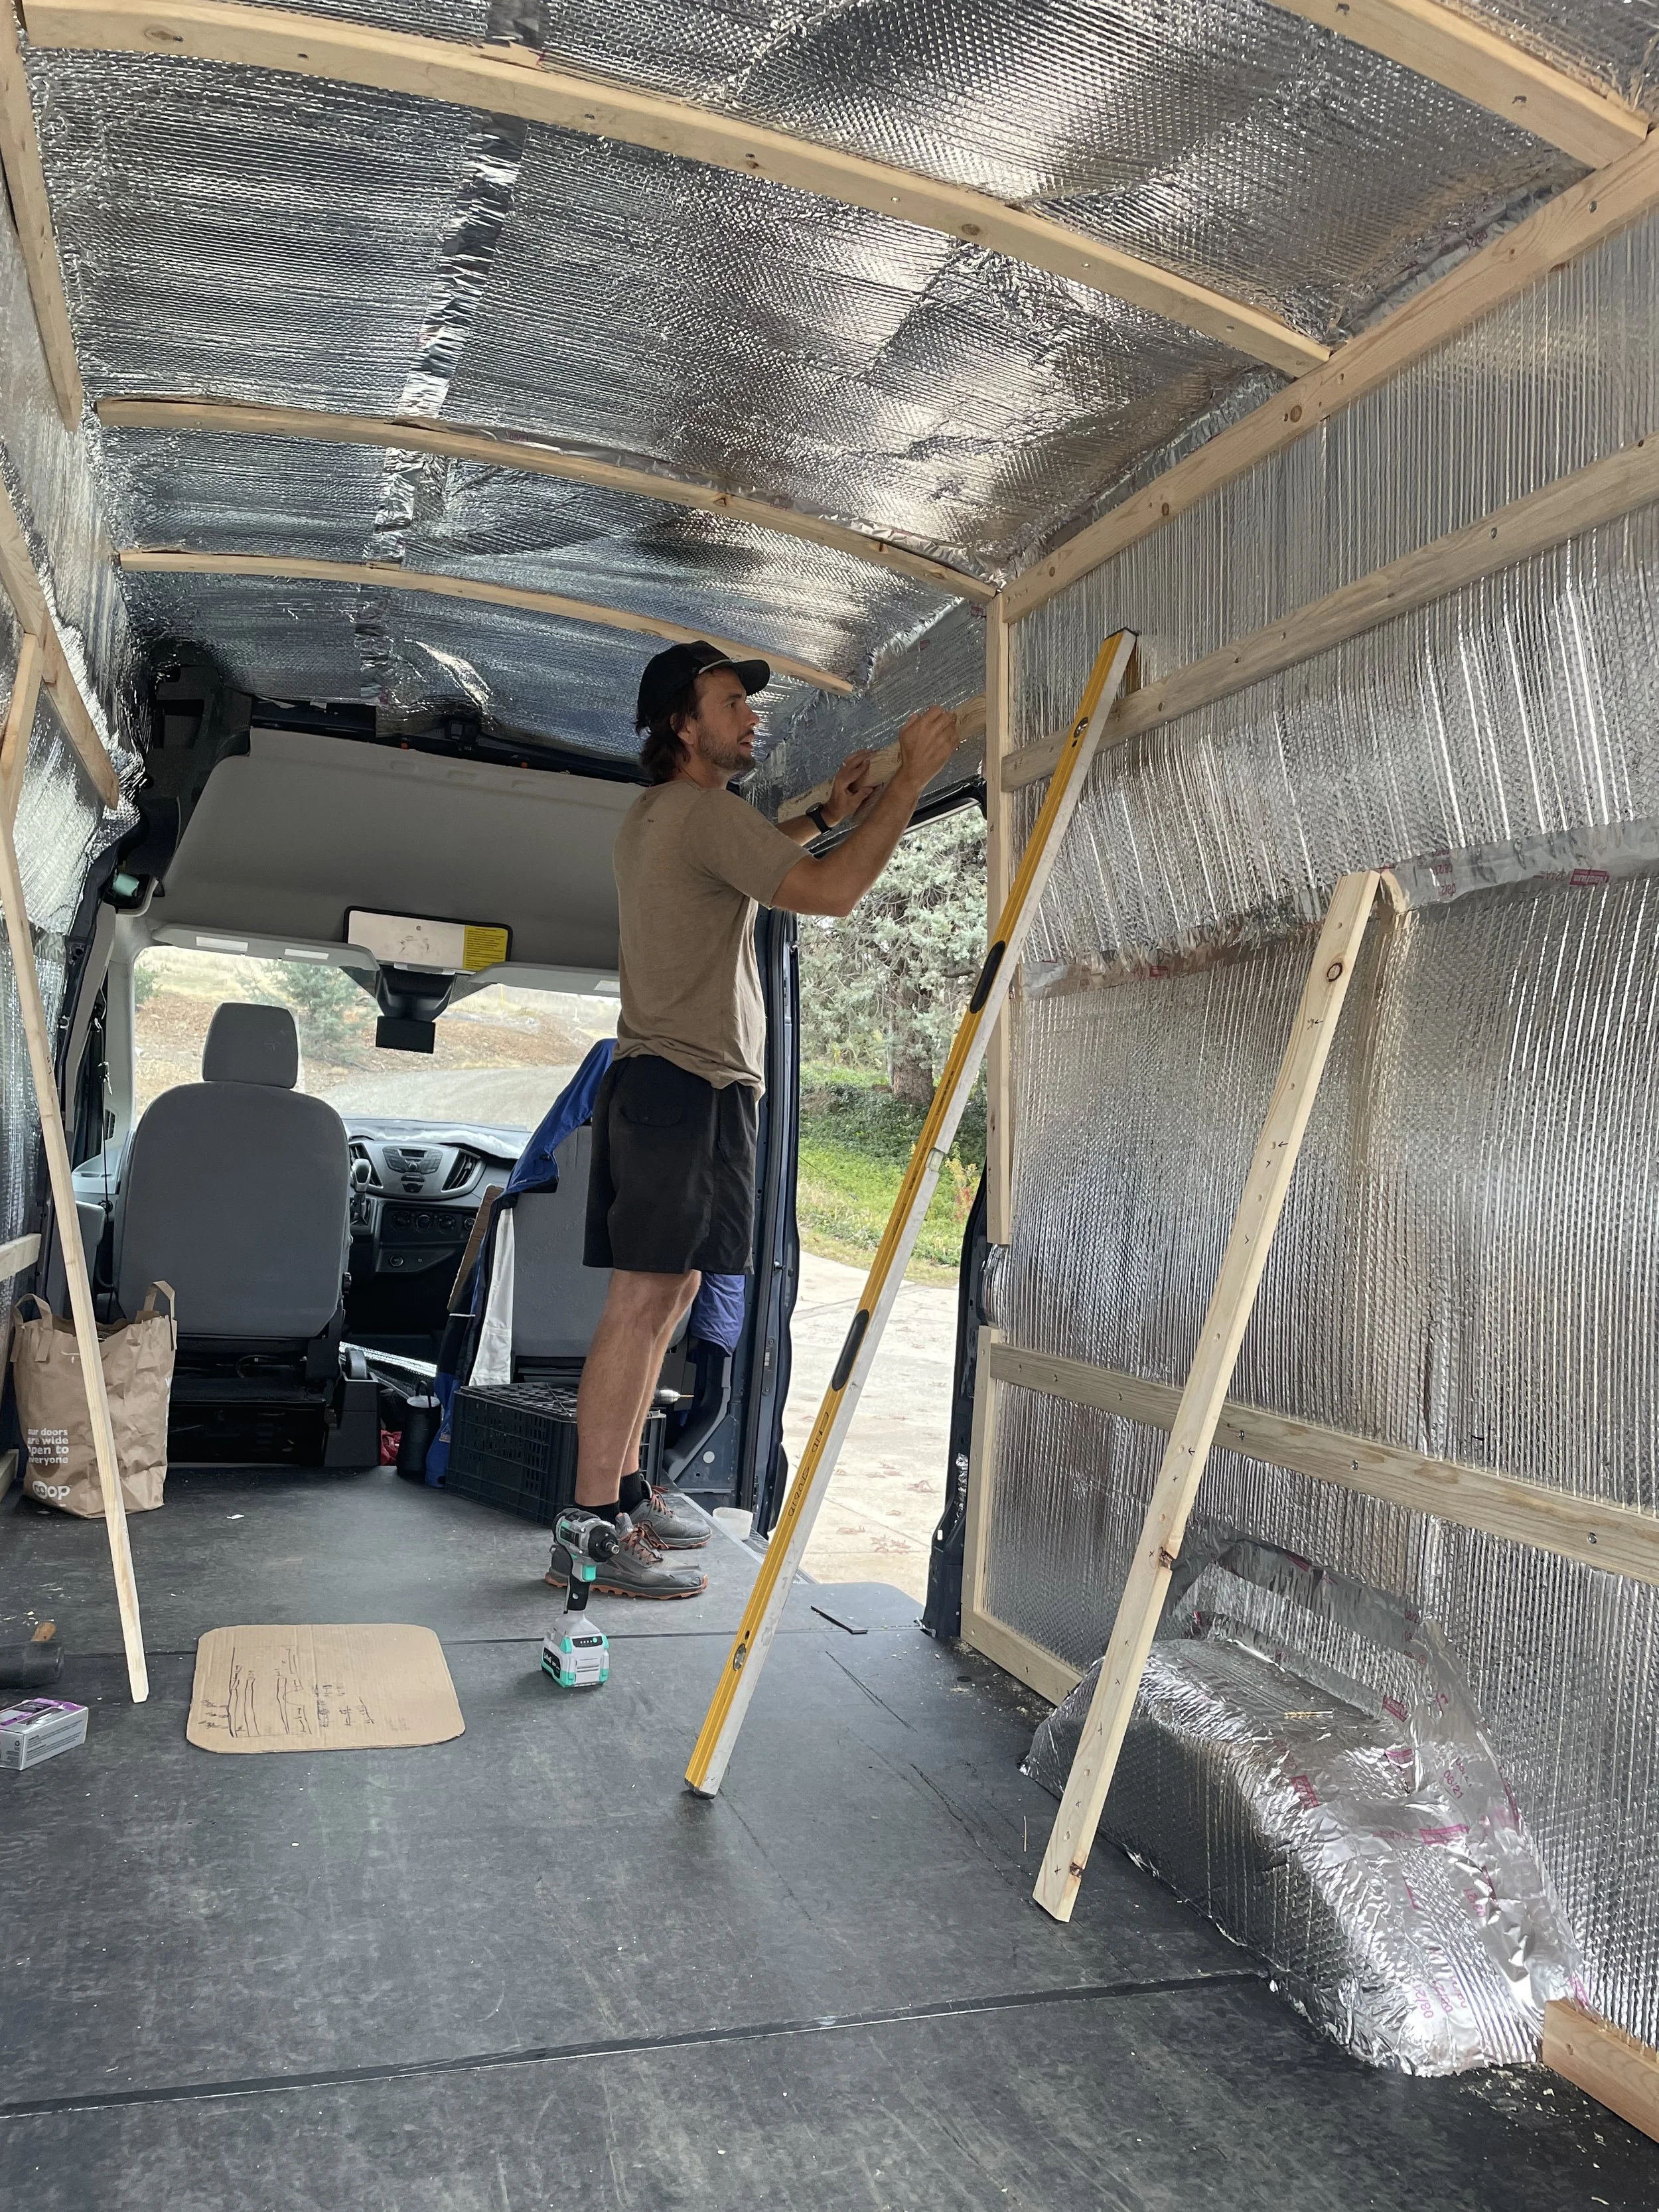
Moisture Repellent - Hydrophobic fibers resist moisture, mold, and mildew. (We’ve seen it work). Thinsulate insulation is also resistant to mildew growth, reducing the risk of offensive odors and mold. Using an additional layer of Reflectix on top of the Thinsulate can gain a little extra R-Value for pretty cheap. In order of this to work, you need to create an air gap when you install your framing. Your walls should have an air gap in-between the Reflectix and the interior walls, which we will show you how to do next.
You will want to create a vapor barrier with the Reflectix in this step. What you do is use 3M Spray 90 adhesive to glue Reflectix to the entire interior of the van and use metal duct tape to tape up all seams to create a vapor barrier to prevent condensation from the metal van to venture into your walls.
Insulating the Van Floor - Depending on how tall you are or how much headroom you want to have an influence on what type of insulation you can use on your floor. The best bet is to lift the floor off the van with some floor slats and insulate it with the poly board in between the slats. In this van, we don’t have even an inch of headroom to give so we are just going to use reflectix. This isn’t the best option and won’t provide much more than a floor pad, but we know it's better than nothing. So, we used one layer of Reflectix to insulate the floor. We took the floor out and cut the Reflectix using the subfloor as a template.
Here are some values for how much insulation you will need depending on your vehicle
Thinsulate Insulation - https://amzn.to/3gMGpAo
Reflectix - https://amzn.to/3oV2Tlo
Sprinter 144 WB = 50 linear feet
Ford Transit 148 WB = 50 linear feet
Promaster 159 WB = 50 linear feet
170 WB Sprinter = 60 linear feet
170 WB Extended Sprinter = 70 linear feet