Hiking

5 Best Hikes in Glacier National Park

Best day hikes Glacier National Park Logan Pass

5 Best Hikes in Glacier National Park 

Glacier National Park is one of our all-time favorite National Parks.  There are so many trails in this park that it’s hard to decide where to begin your Glacier NP adventure.  The trails in this hiking guide are all off the Going to the Sun Road, and most start at the Logan Pass visitor center, which is worth visiting on its own if you aren't going to hit the trails.  We will note that we started all our Glacier hikes very, very early, sometimes at dark.  This is a bustling park, and you will be glad you got up early and still barely snagged a spot at the Logan Pass Visitor Center parking.  

Also, on all hikes in Glacier National Park, you’ll want to carry plenty of water, bear spray, sunscreen, and sun apparel (hats, SPF shirts)

Dragons Tail Glacier National Park Hiking, Best Hikes Glacier National Park

Dragons Tail (5.4 Miles - Dangerous, Difficult)

Dragons Tail is not for the faint of heart, and like many Glacier NP trails, people die on this trail almost every year.  Please consider that this is a very exposed hike where you will climb a ridge with a sheer drop on both sides.  With all that being said, this was by far our favorite hike in Glacier.  It’s shorter than the other hikes, and the scrambling and exposure are actually really amazing.  It’s one of the most scenic hikes we’ve ever been on.  For a safer experience on Dragons Tail, you can always hike up to the gap in the ridge.  You’ll know when you’ve reached it and turn back.  You can also combine this hike with Hidden Lake and knock out two hikes in one, making it about an 8-mile round trip hike.  You’ll start this trail at Logans Pass, and you will take the Hidden Lake trail till you see a climbers trail that takes you to either Dragons Tail or Mt. Reynolds Peak.  

Grinnell Glacier Overlook, Glacier National Park, Best Hikes Glacier National Park, Logan Pass

Highline Trail to Grinnell Overlook (15.5 Miles - Hard)

The Highline trail is one of the busiest and most scenic hikes in the park.  The trail starts from the Logan Pass Visitor Center.  This trail can be made in so many different ways.  On a non-COVID Year, when the shuttles are running, you can hike it through-hike to “The Loop” and take the shuttle back to the car and make this a much shorter hike.  We did it as an out and back, and it really wore us out!  The highland trail is a must-do for everyone visiting Glacier National Park.  Even if you walk a few miles on it and turn around, you will be in awe the whole time.  If you are doing the Highline Trail, we recommend adding the additional climb up to the Grinnell Glacier Overlook. You won’t be disappointed. This is another mind-blowing vista that you come to expect at Glacier National Park.

Siyeh Pass Hiking Glacier NAtional Park (1 of 1).jpg

Siyeh Pass Trail  (9.7 Miles - Hard) 

This trail starts off the side of the Going to the Sun Road, at “Siyeh Bend.”  You’ll find parking easier over there, and this is also a less used trail, but it still has its fair share of people on it.  Another Glacier gem, this trail meanders through a forest and continues to climb up through glacially vandalized valleys and peaks until you come to Siyeh Pass.  Once again, per Glacier NP standards, this hike delivers all that you would want and more.  Once you top out, you'll be high up in the alpine. The views are incredible! You’ll be looking at Going to the Sun Mountain, Siyeh Peak, and St. Mary’s Lake below.  If you get to Logan Pass too late to find parking, you’ll most likely be able to park somewhere near the “Siyeh Bend.”

Lincoln Peak Hike Glacier National Park (1 of 1).jpg

Lincoln Peak (15 Miles - Hard)

The climb up to Lincoln Peak begins at the Lake McDonald Lodge. You’ll use the Sperry Chalet Trail to approach the summit.  This has been said to be a family-friendly peak, but it’s a fairly strenuous climb.  If you don’t want to make the climb up to the peak, the Sperry Chalet is a great place to stop for a snack.  The peak is just over an additional mile of climbing from the Chalet, but it’s more difficult terrain than you have been hiking on to get to Sperry Chalet.  It’s worth the climb. There’s an amazing view of Lake Ellen Wilson overflowing to a 500-foot waterfall that spills into Sperry Lake.  We were really happy we added Lincoln Peak to our Sperry Chalet adventure.  I will note that the hike up to Sperry Chalet is through a burn area, and there is little sun protection, so you will want to start this hike early to prevent sun exposure and overheating if you are here in the summer.  

Best Easy Hike in Glacier National Park (1 of 1).jpg

Hidden Lake (2.9 Miles - Moderate)

If you have skimmed through all these hikes and they seem too difficult, or you are short on time.  A must-do shorter, moderate hike is up to the Hidden Lake Lookout.  This is an amazing short hike along a boardwalk that is littered with wildflowers and glacier valleys in all directions.  This was a very popular hike. When we did it, we started at dark and watched the sunrise and light up the glacier-carved peaks.  When we were here, there was a lot of bear activity. So, be prepared with Bear Spray and be on the lookout for mountain goats; we saw a few on this trail.   

We hope this helps you get a better plan together of how to plan your Glacier NP getaway.  We will note that all the other park areas, Two Medicine Hat and Many Glacier, were closed due to COVID, so we didn't get to explore these areas.  Happy Trails!  

Best Hikes in North Cascades National Park

North Cascades National Park Best Hikes Sahale Arm Cascade Pass

Best Hikes in North Cascades National Park

We had no idea what we were in for when we were driving along the North Cascades Highway. Thankfully, we had some local Washingtonians tell us a few hikes that we shouldn't miss out on.  Hiking in the North Cascades, for the most part, is pretty strenuous, requiring at least 2,000 ft of a vertical climb on most of these trails.  But we’ve been training all summer, so we were ready for a challenge.  We were blown away by this area's beauty. From the turquoise waters to glaciated peaks, this is one of America’s most beautiful mountain ranges.   

Also, on all hikes in North Cascades National Park, you’ll want to carry plenty of water, bear spray, sunscreen, and sun apparel (hats, SPF shirts)

Best Short Hike in the North Cascades (1 of 1).jpg

Maple Pass (7.1 Miles - Hard)

Located on the East end of the North Cascades Highway, Maple Pass is a great starter hike to get you warmed up for what’s ahead on your North Cascades adventure.  You’ll climb 2,188 Feet on this trail to the top of the pass.  Maple Pass is a fairly busy trail. We started at about 5 am so we could get to the summit for sunrise.  The hike begins at Rainy Pass and is a nice loop hike.  We did it in a counterclockwise direction, and we would recommend you do the same it was a more mellow climb.  Once at the top of the pass, you have the opportunity to scramble up some rocky peaks. We highly recommend getting up higher for amazing 360-degree views.  On the way down, we walked along the ridge and connected back up with the trail, which added a really cool dynamic to this already epic hike.  

Sahale Arm Overnight Backcountry Trip, Sahale Arm Backpacking

Cascade Pass to Sahale Arm (11.6 Miles - Hard)

This is a pretty intense climb up Cascade Pass to the base of the Sahale Glacier and climbs 4,038 Feet in 11.6 miles, so be ready for non-stop climbing.  This is a great place to overnight.  But we will warn you that getting permits at the Cascades Wilderness Information Center (WIC) is pretty intense the citizens of Washington are outdoor enthusiast, so you might as well camp out at the center to get the permits you want in the morning.  When writing this article, the North Cascades WIC issued all backcountry permits on a first-come, first-served basis.  We had no luck getting any permits, so we just day hiked it and camped in the Cascade Pass Parking lot.  This was the premier hike in the area. Although it was tons of work, we loved it.  We highly recommend trying to get a backcountry permit to camp up here. This is a must-do hike if you are in shape for it.  We couldn't recommend it more.  We also saw three black bears on the trail, so be bear aware and carry bear mace.  

Ptarmigan Ridge Backpacking, Ptarmigan Ridge Mt. Baker Hike

Ptarmigan Ridge (11.6 miles - Moderate)

This is an absolutely stunning hike!  If you don't want to hike lots of vertical that most of the North Cascades hikes require, you are in luck.  You can drive up to the Artist Point Parking lot, at about 5,000ft, making it much easier on your legs.  You will still climb 2,480 Feet on this trail, but it’s very gradual, and the views of Mt. Baker and Mt. Shuksan and the rest of the glaciated Cascade peaks are so stunning you won’t notice all the climbing that you are doing.  The trail ends once it gets way too technical and sketchy to go on without proper climbing gear and knowledge.  We headed back down and took a few side trails down to some lower lakes for a lunch break.  We hiked about 15 miles on this trail and couldn't recommend it more. 

Easy Hike Mt Baker Artist Point, North Cascades NP (1 of 1).jpg

Artist Point (Short and Easy)

If you aren't that into hiking and going on an all-day excursion, you’re in luck.  The hike to Artist Point from the parking lot is short, and it delivers amazing views of surrounding peaks and Baker Lake with its turquoise hue down below.  You’ll want to make sure that it's clear and sunny before heading up. We had a few days of fog and cold even in summer, so always check the weather before departing anywhere in Washington.  Artist point is a hot spot or wedding and family portraits for all the Bellingham locals.  Also, be aware that you will come across many Instagrammers and other social media addicts with their phones attached to their hands, taking selfies and photos to relive the moment, sometime later, rather than being present in the moment.  We camped in the parking lot for 4 days. We would wake up early and take in sunrise and sunset on the point every day.  This was one of our favorite parking lots to camp, ever!  

Best Hikes in Olympic National Park

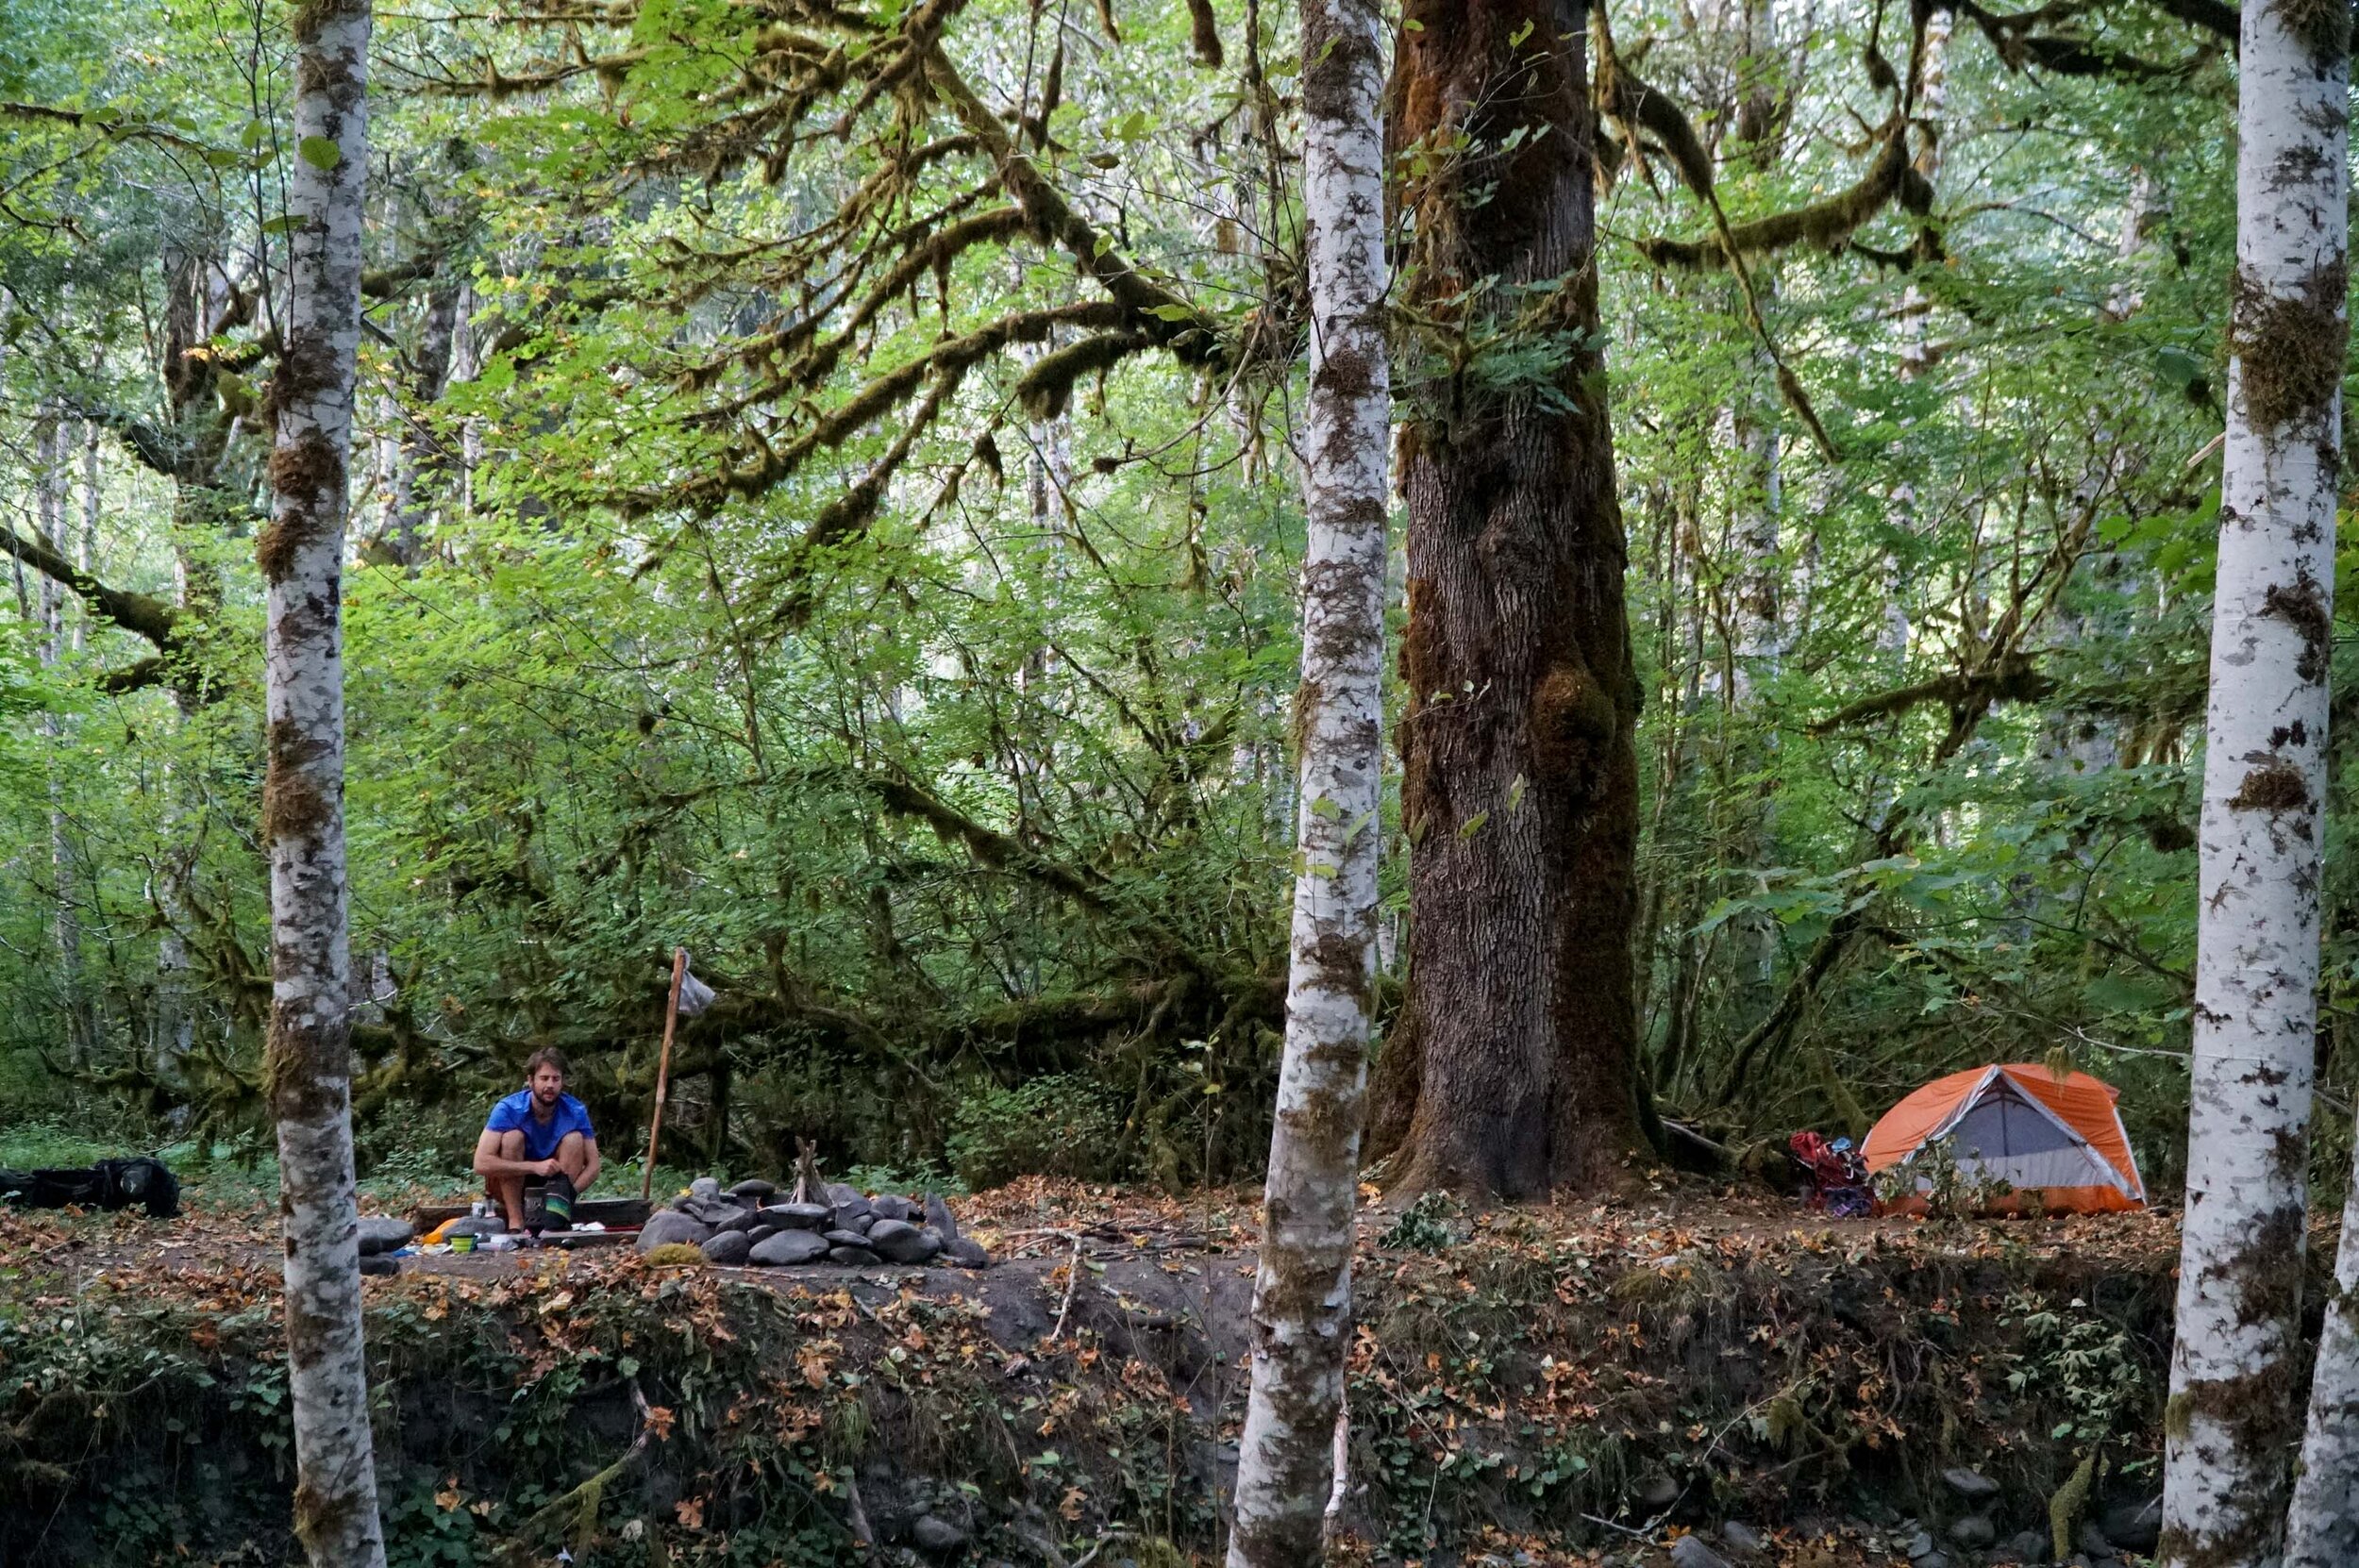
Backpacking the Hoh RIver Trail to the Blue Glacier Olympic National Park Washington  (10 of 30).jpg

Best Hikes in Olympic National Park

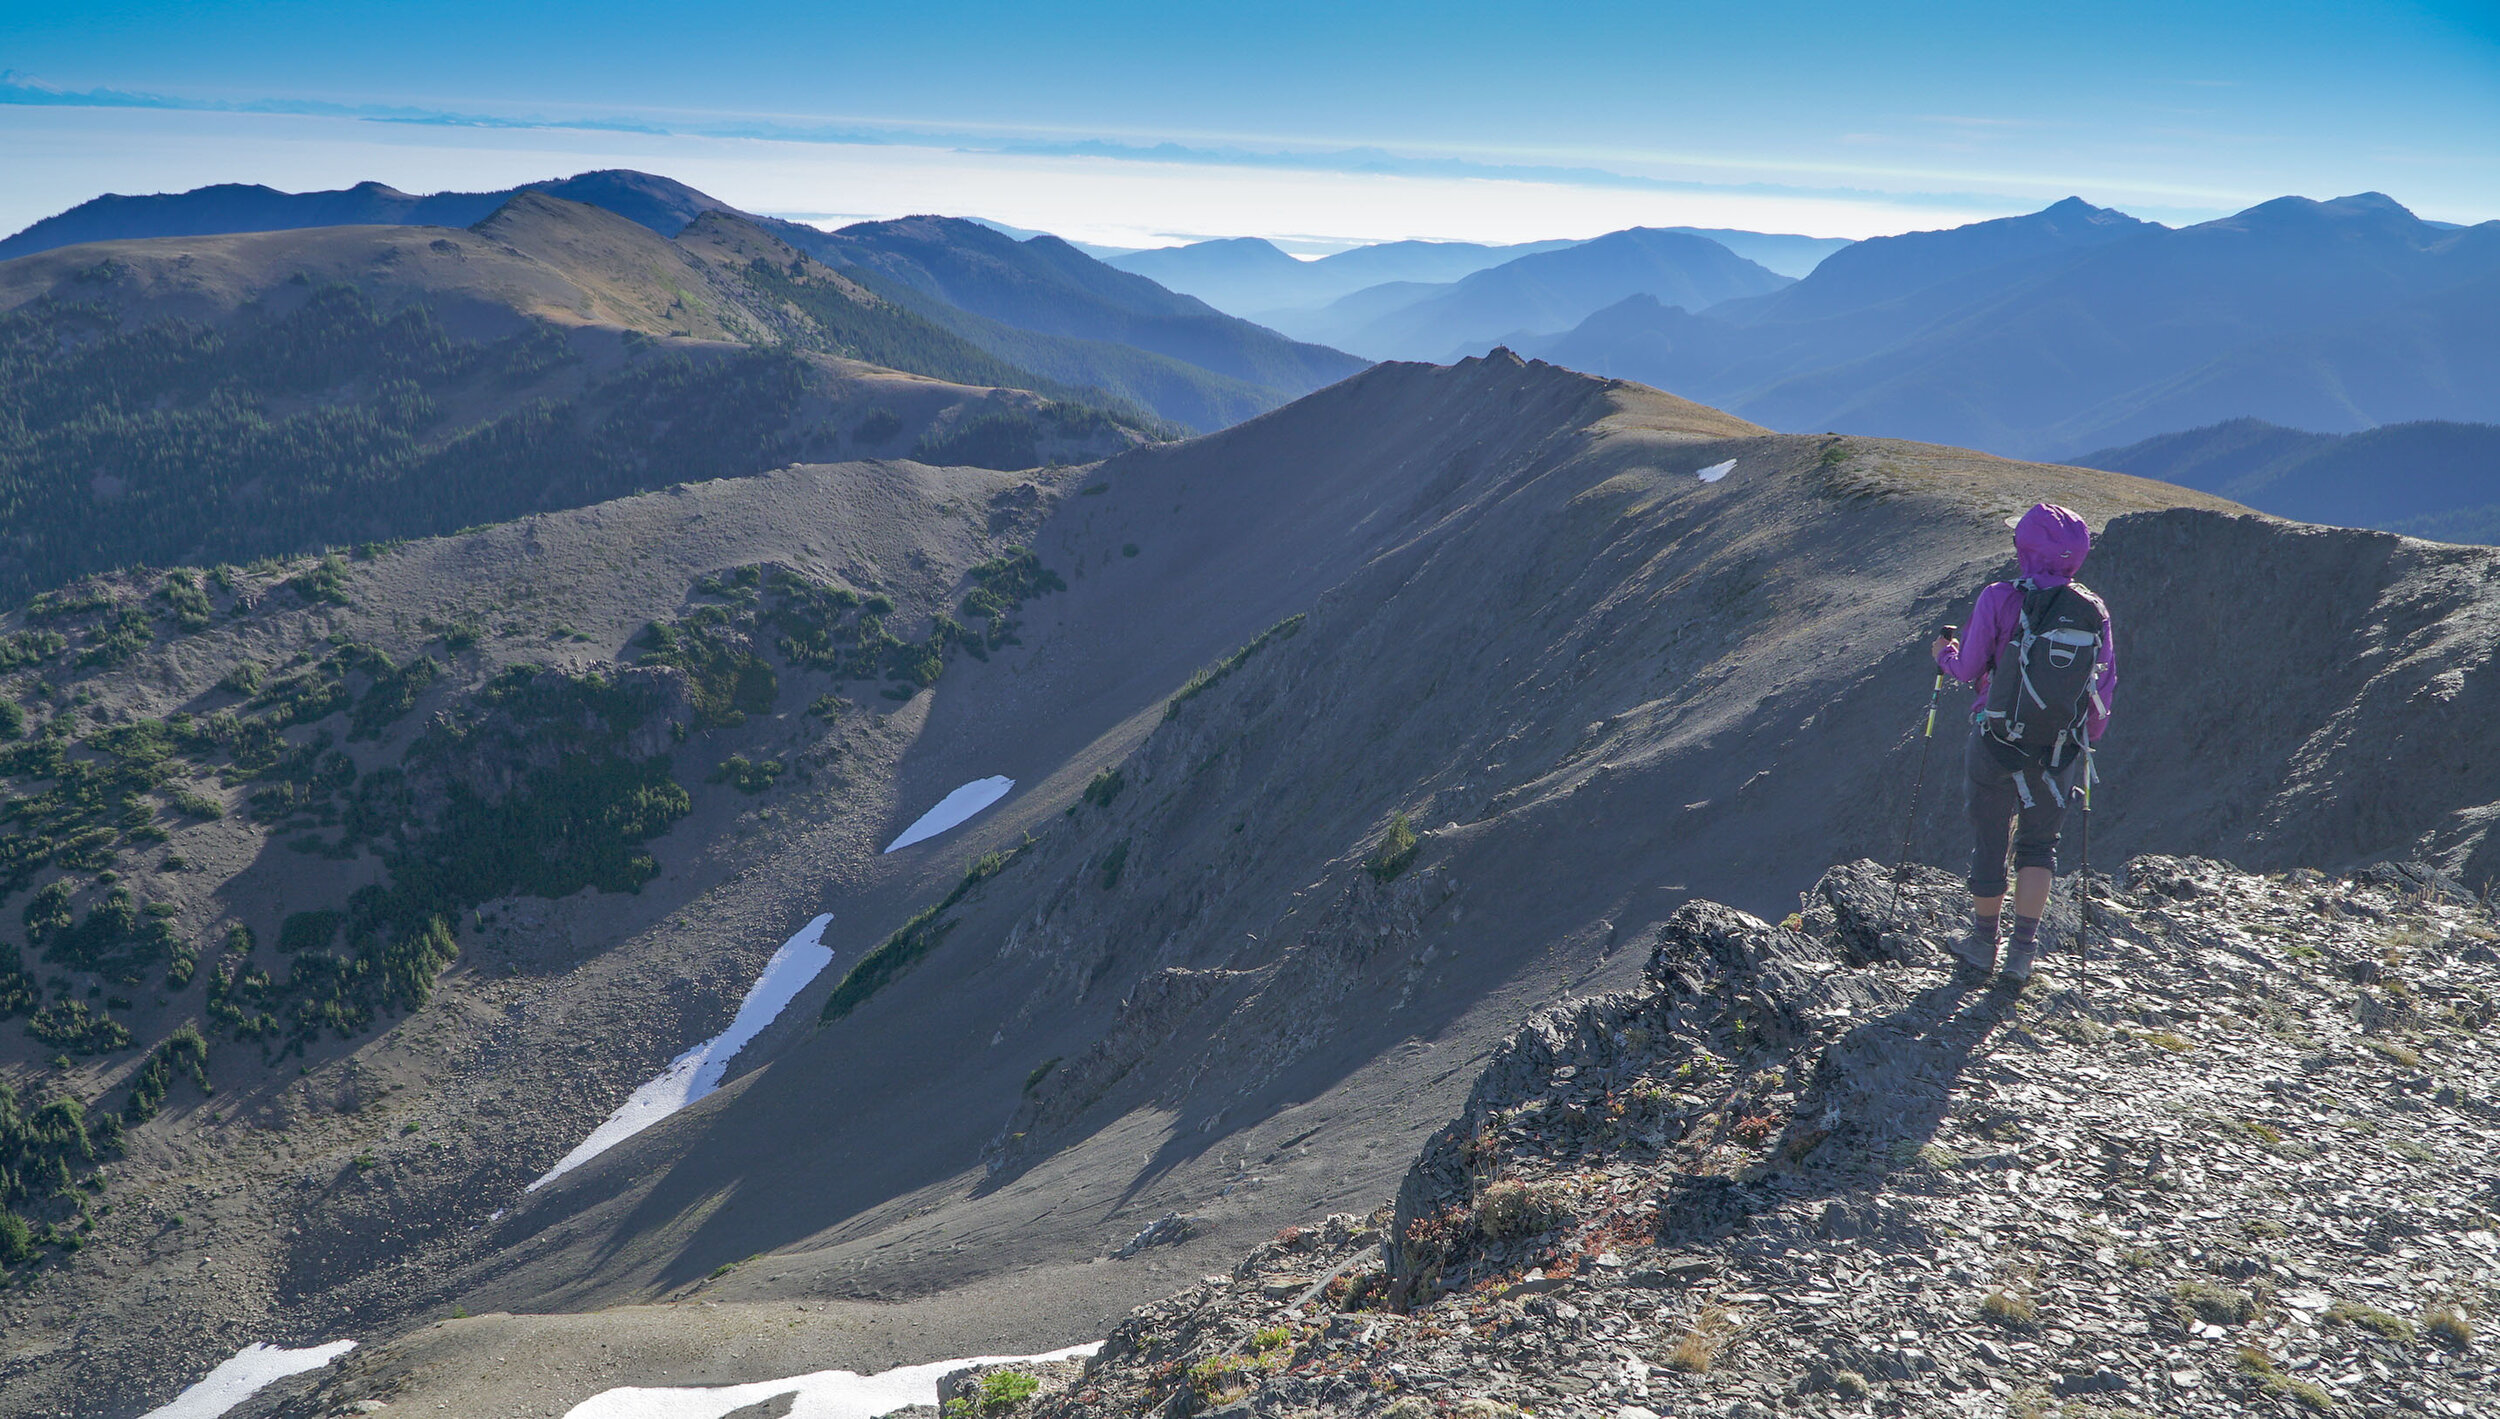
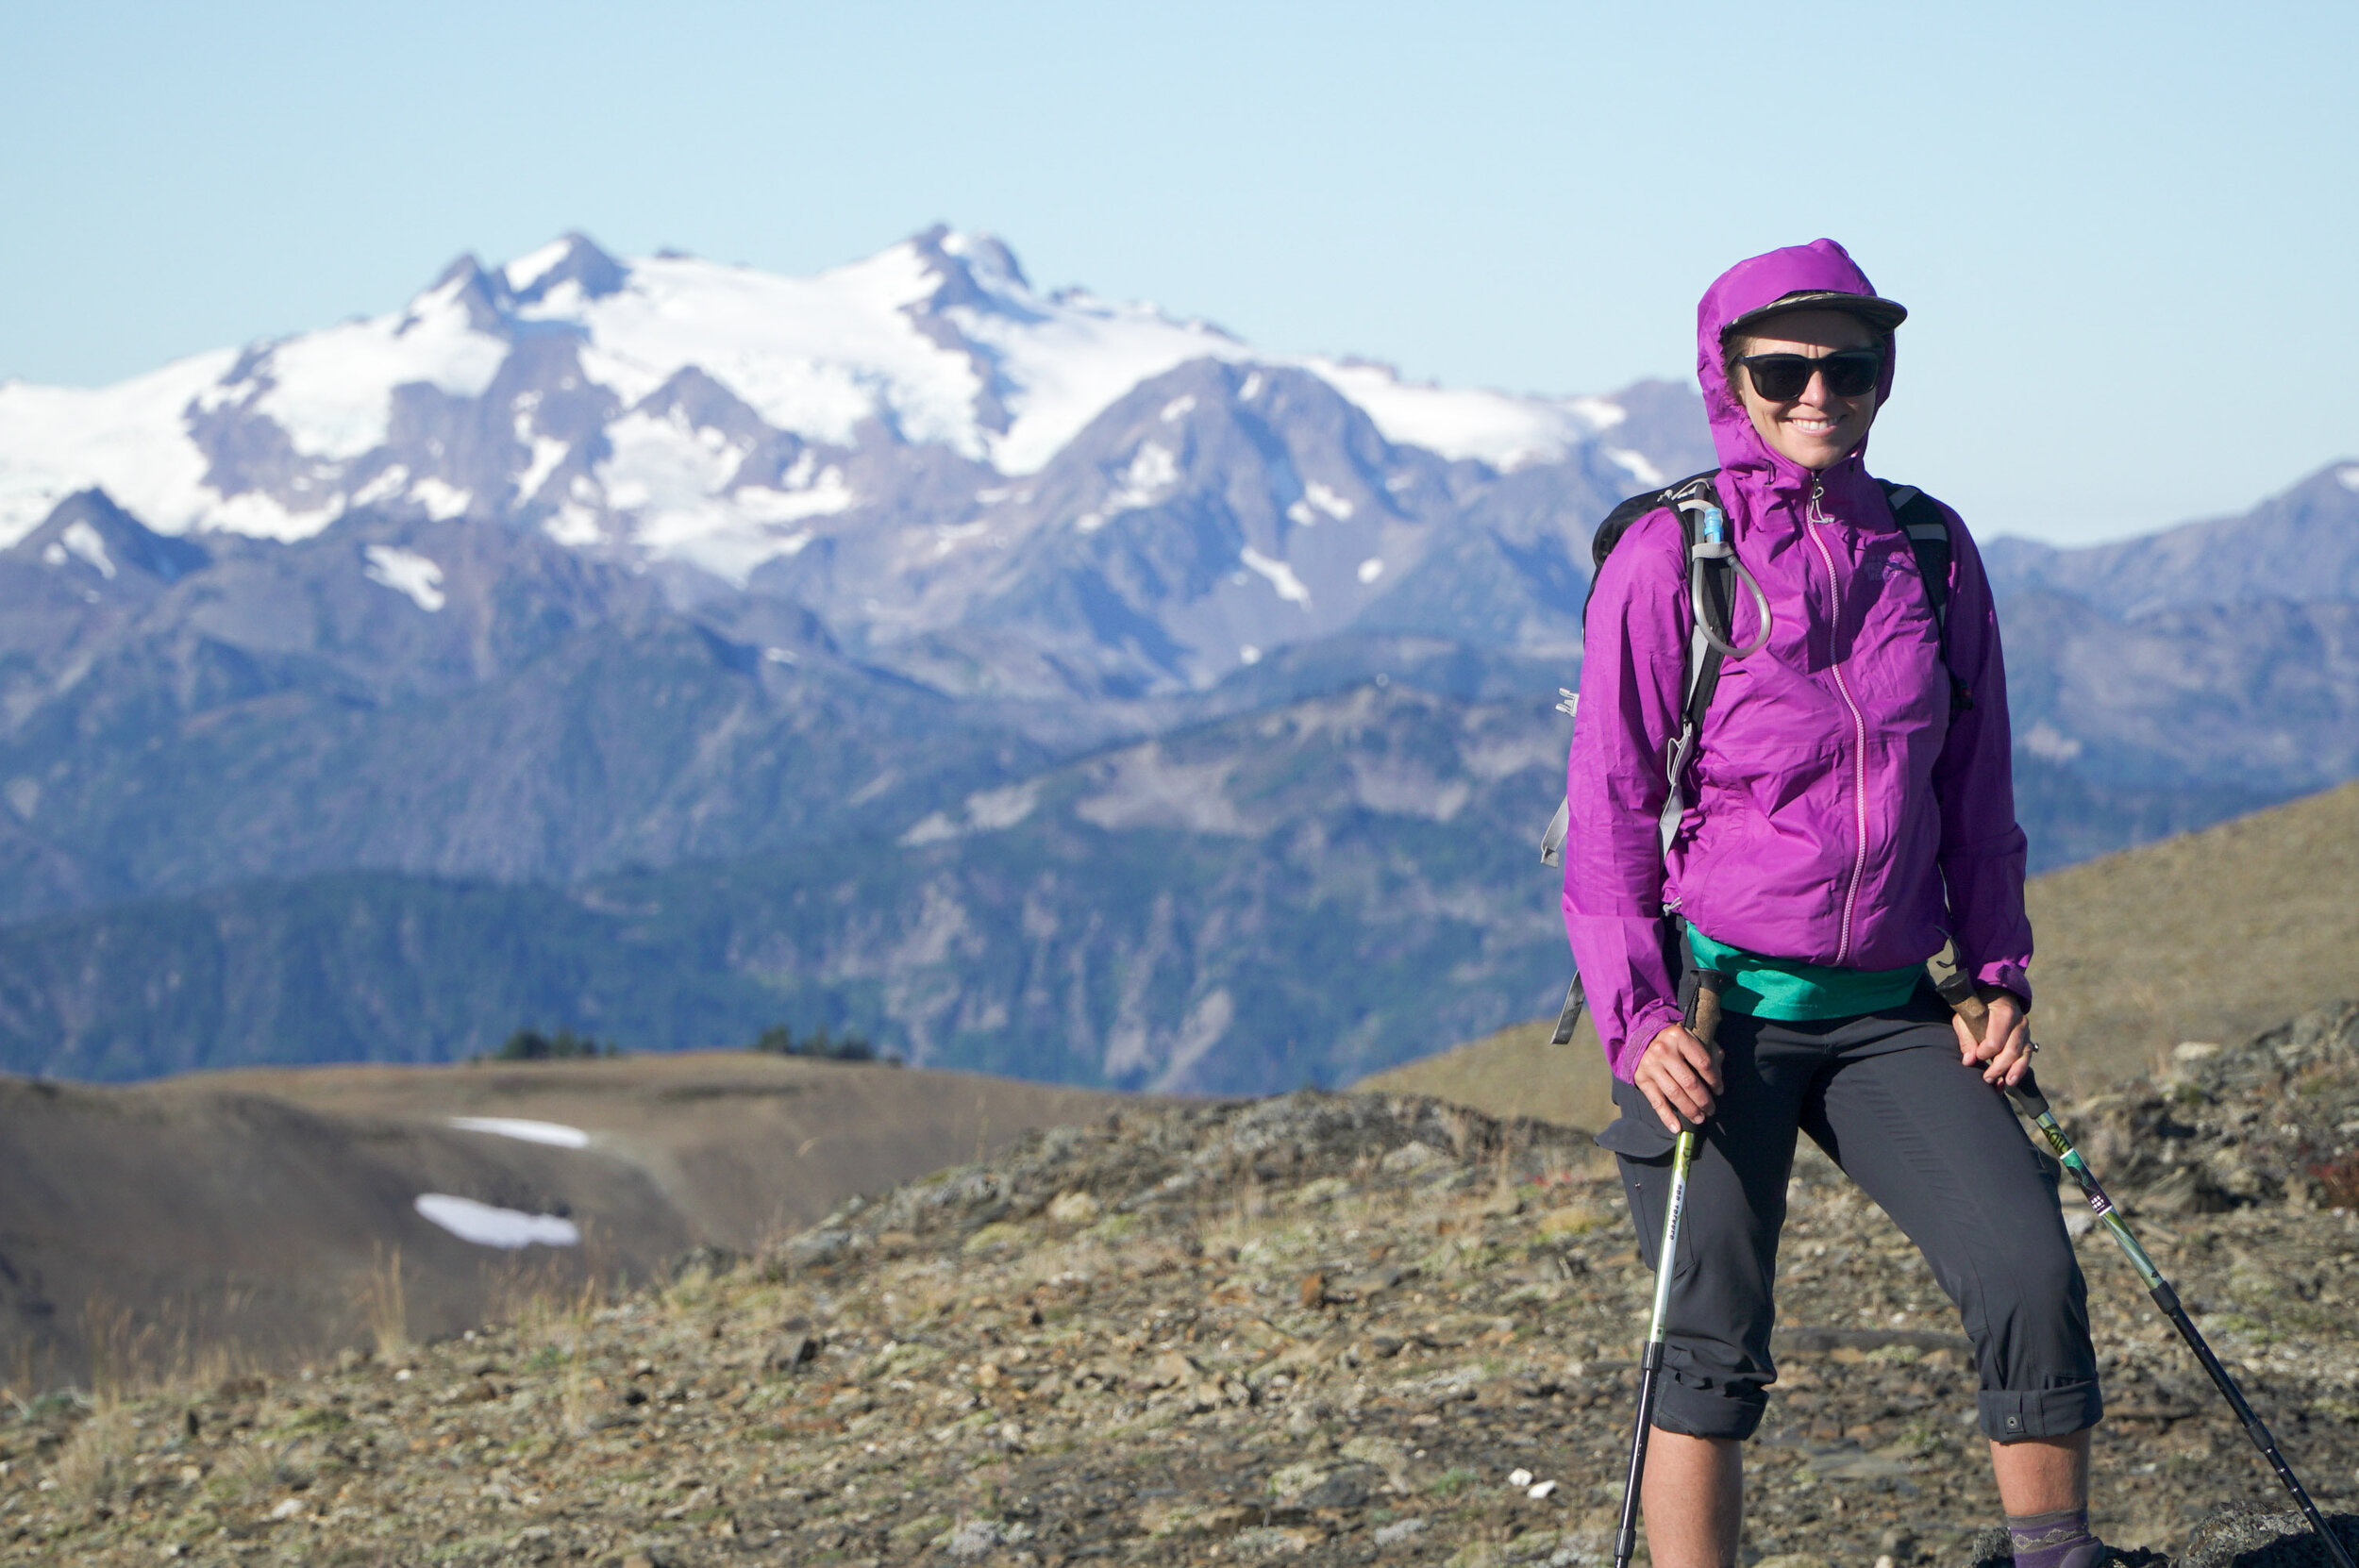
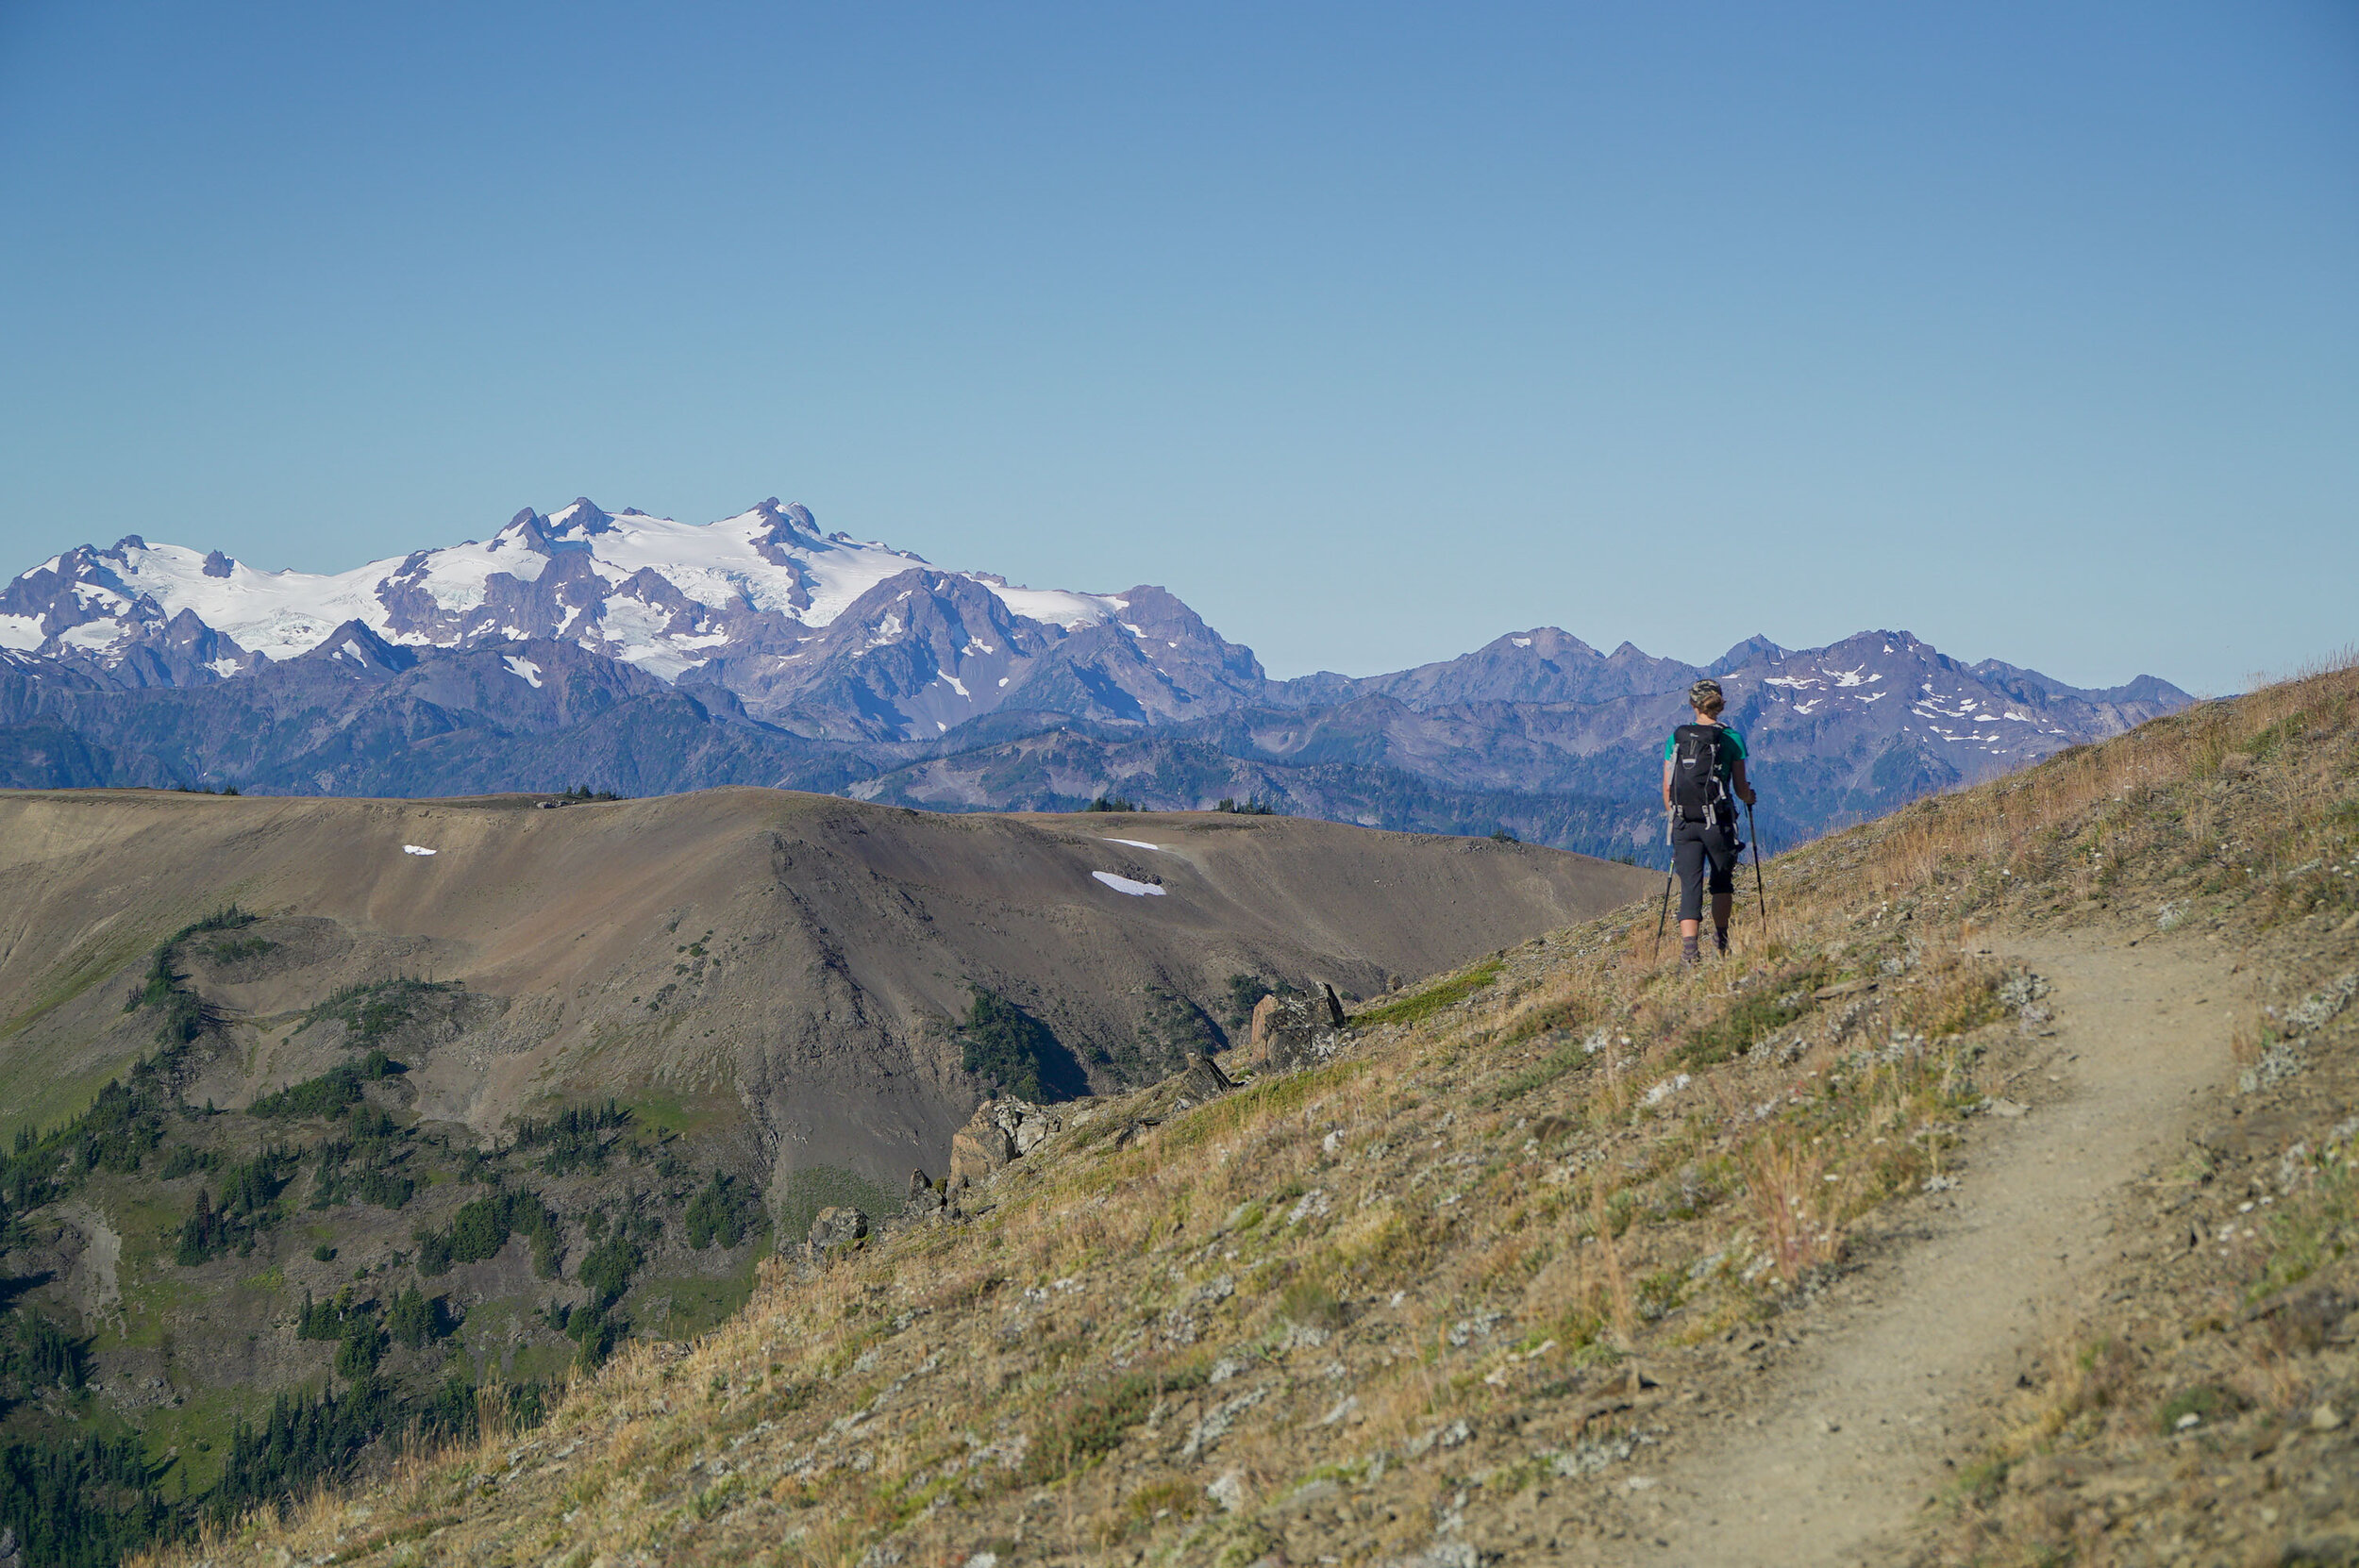
Olympic National Park is where the waves meet the wilderness, glaciated peaks soar high above ancient trees, and snow-fed rivers flow directly to the pacific ocean.  Coast, Forest, and Mountain Ecosystems team up to create an amazing outdoor playground that we now call Olympic National Park.  While there are tons of trails to explore in this park, it is a bustling park since it’s located near Seattle.  The Washingtonians don't mess around with their time off, and they almost have all the overnight backpacking adventures fully booked. So if you want to get out on the trails, we are here to show you the path less traveled.

Upon arrival, You’ll want to get to the (WIC) Wilderness Information Center ASAP! When you get there, grab a Wilderness Trip Planner map. Speak with the Rangers. If everything seems booked-out sometimes, they can book you sites that aren't on the webpage. If you have booked ahead, congratulations, you aren't an honorary kook!  If you plan on hiking popular trails in the area, like the High Divide Trail and The Enchanted Valley, you’ll want to book well in advance.  We really wanted to get out on an overnight trail, so we searched for a while, discussed with rangers, and finally decided on the Blue Glacier 40 Miles expedition.  We also made a few other trails we would like to share with you here.  

Obstruction Point to Deer Park (13.9 Miles Out and Back - Hard)

Obstruction Point is a secret spot. At least it seemed like that when we arrived at 8 pm to an empty parking lot.  Most days, you’ll find the Hurricane Ridge parking lot full to the max, but if you are keen like a kook, you'll know the secret road to Obstruction Point.  It’s a dirt road that climbs quite a bit to the trailhead, but it’s a really amazing spot up on the alpine slopes.  We camped at the trailhead and hiked Obstruction Point first thing in the morning.  We were the only humans on the trail. We saw a few marmots and other creatures out and about.  You don't have to do the full 13 miles. You will reach a high point about halfway. That’s a good place to summit Elk Mountain and turn around.  From the summit, you will be able to see the Straight of Juan De Fuca and the Puget Sound, as well as Mt. Baker and Mt. Olympus!  If you start early, you’ll notice that you’ll encounter more people on your way back, and the parking lot will probably be full.  We saw more cars in line at this park's entrance gate than any other park in the country.   

Backpacking the Hoh RIver Trail to the Blue Glacier Olympic National Park Washington  (23 of 30).jpg

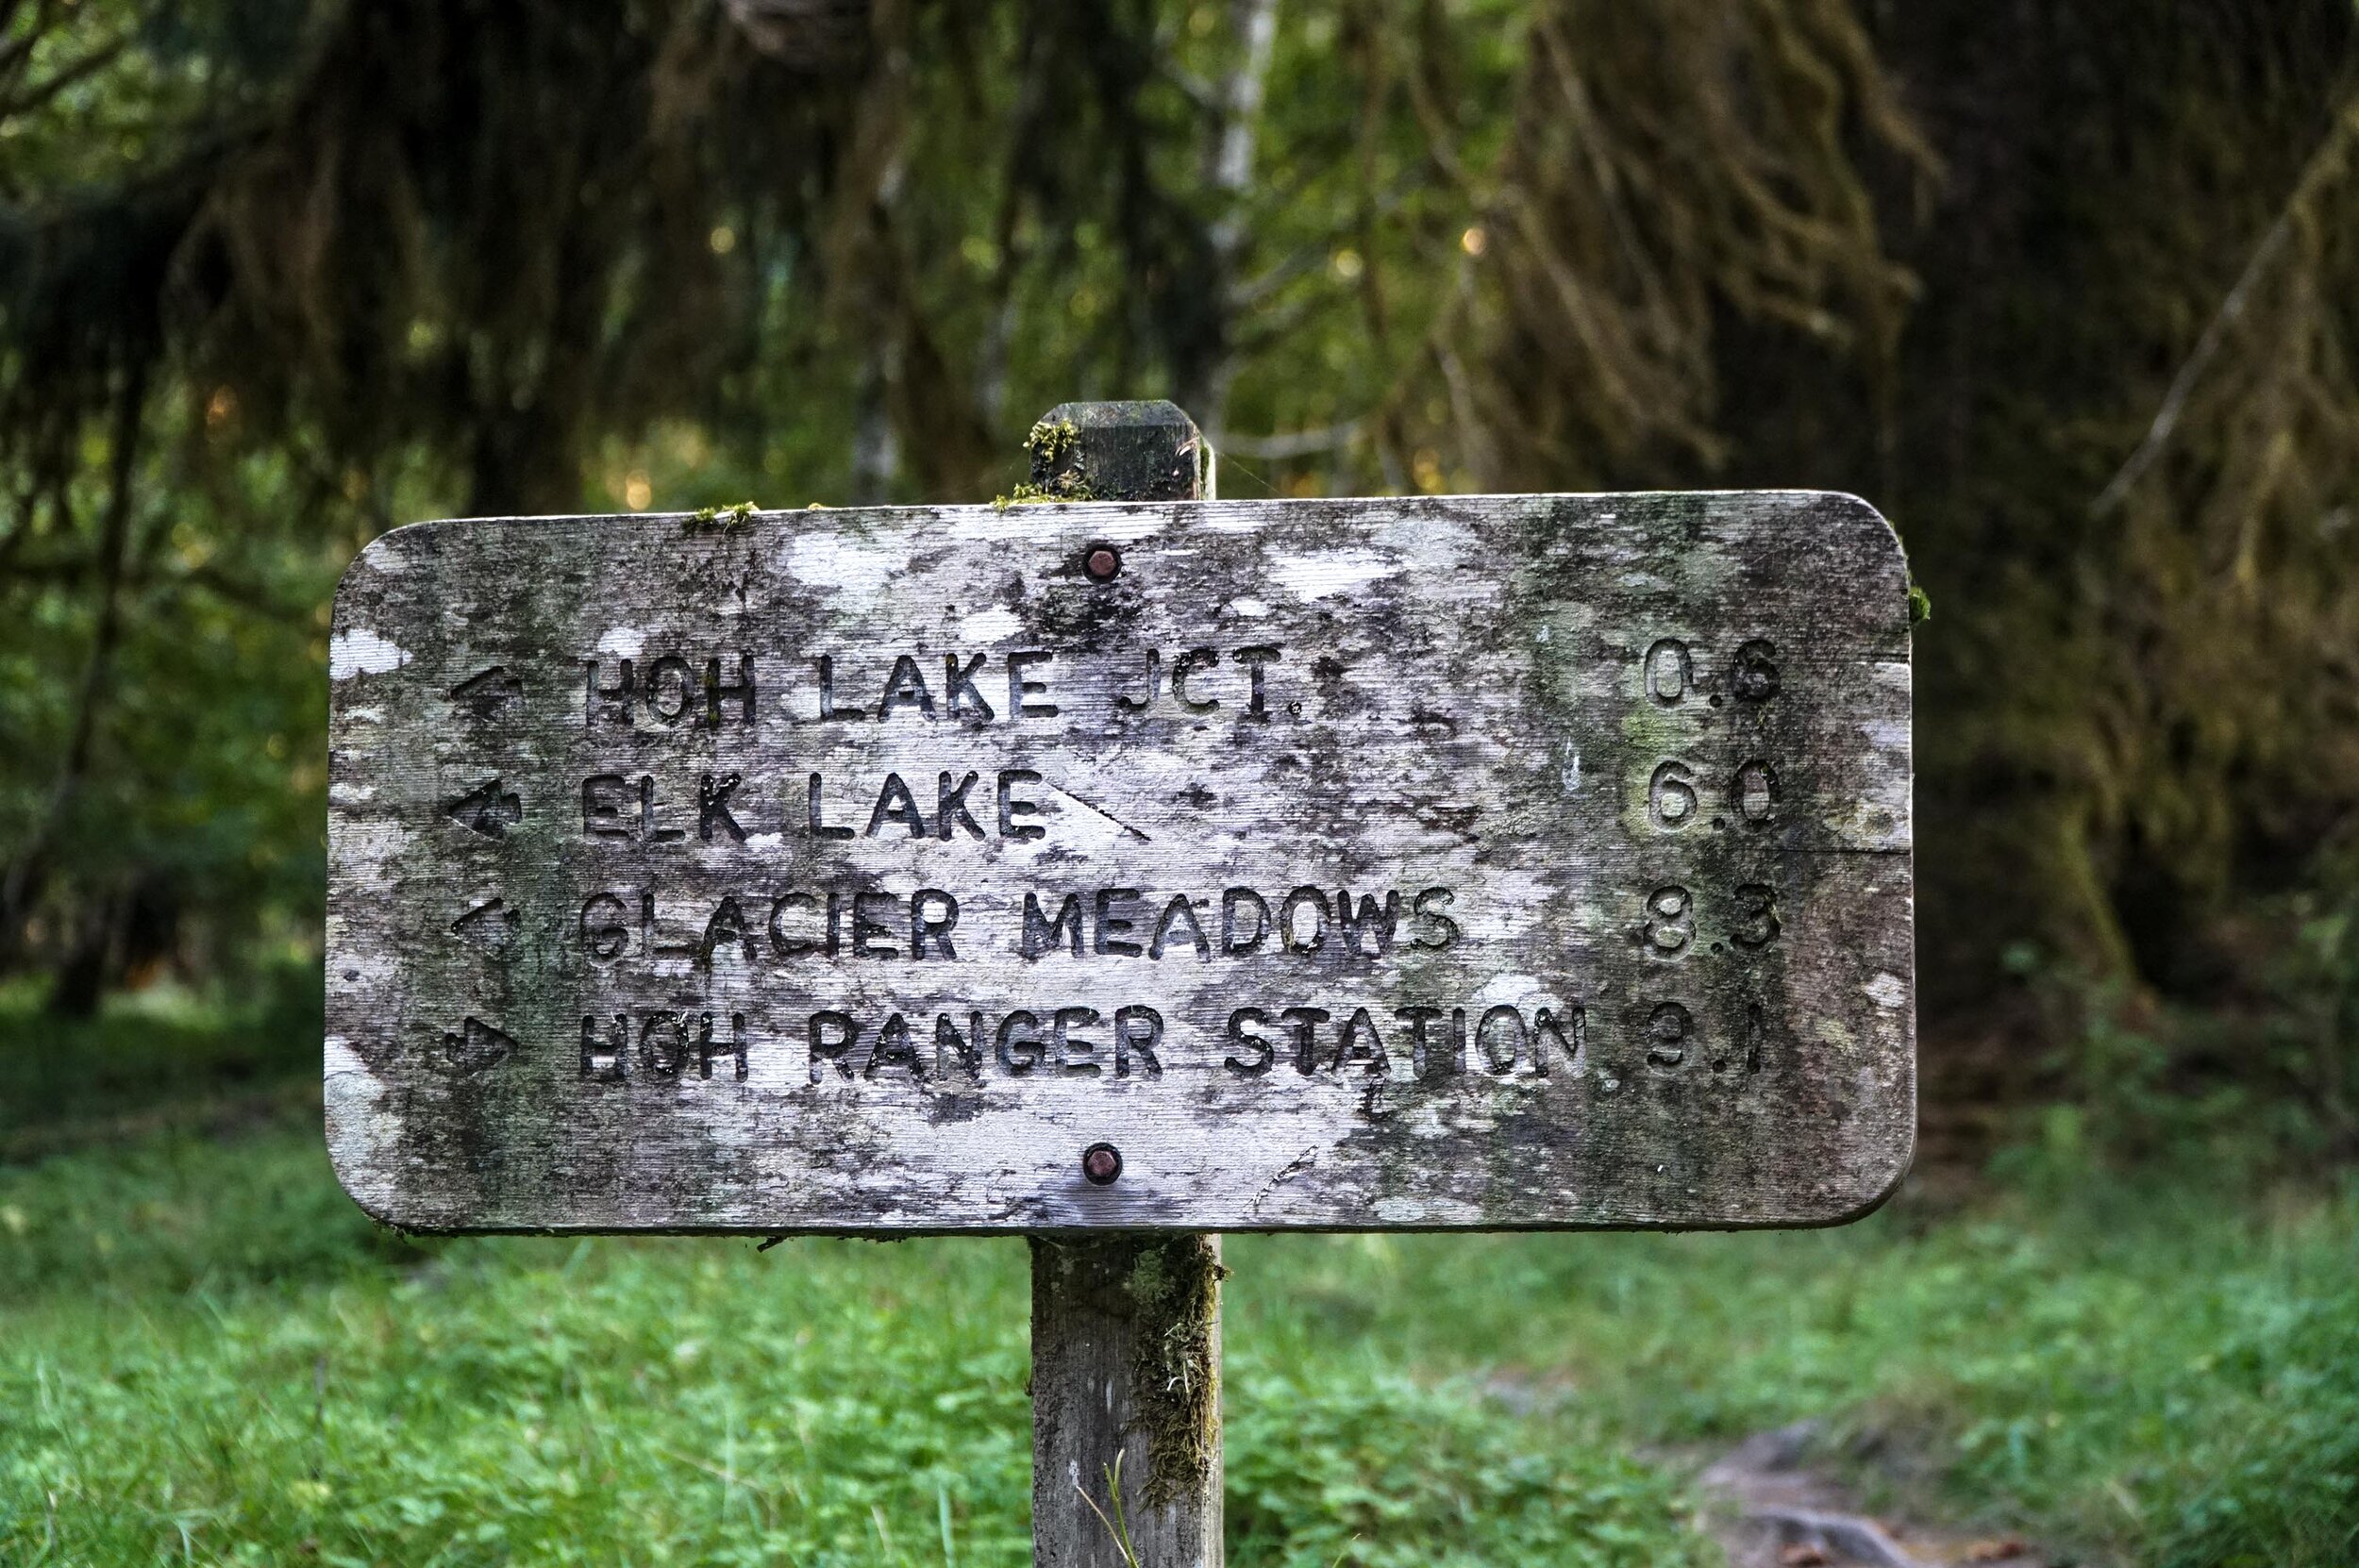
Hoh River Trail to Blue Glacier (40 Miles - Hard) 

We could book out an overnight 3 night 4-day backpacking trip up the Hoh River to the Blue Glacier.  If you are up for over 40 miles of backpacking, this trip is so amazing we couldn't recommend it enough!  We loved this trip. It may have been the highlight of our summer.  

Our camping Itinerary for this expedition was as follows.  

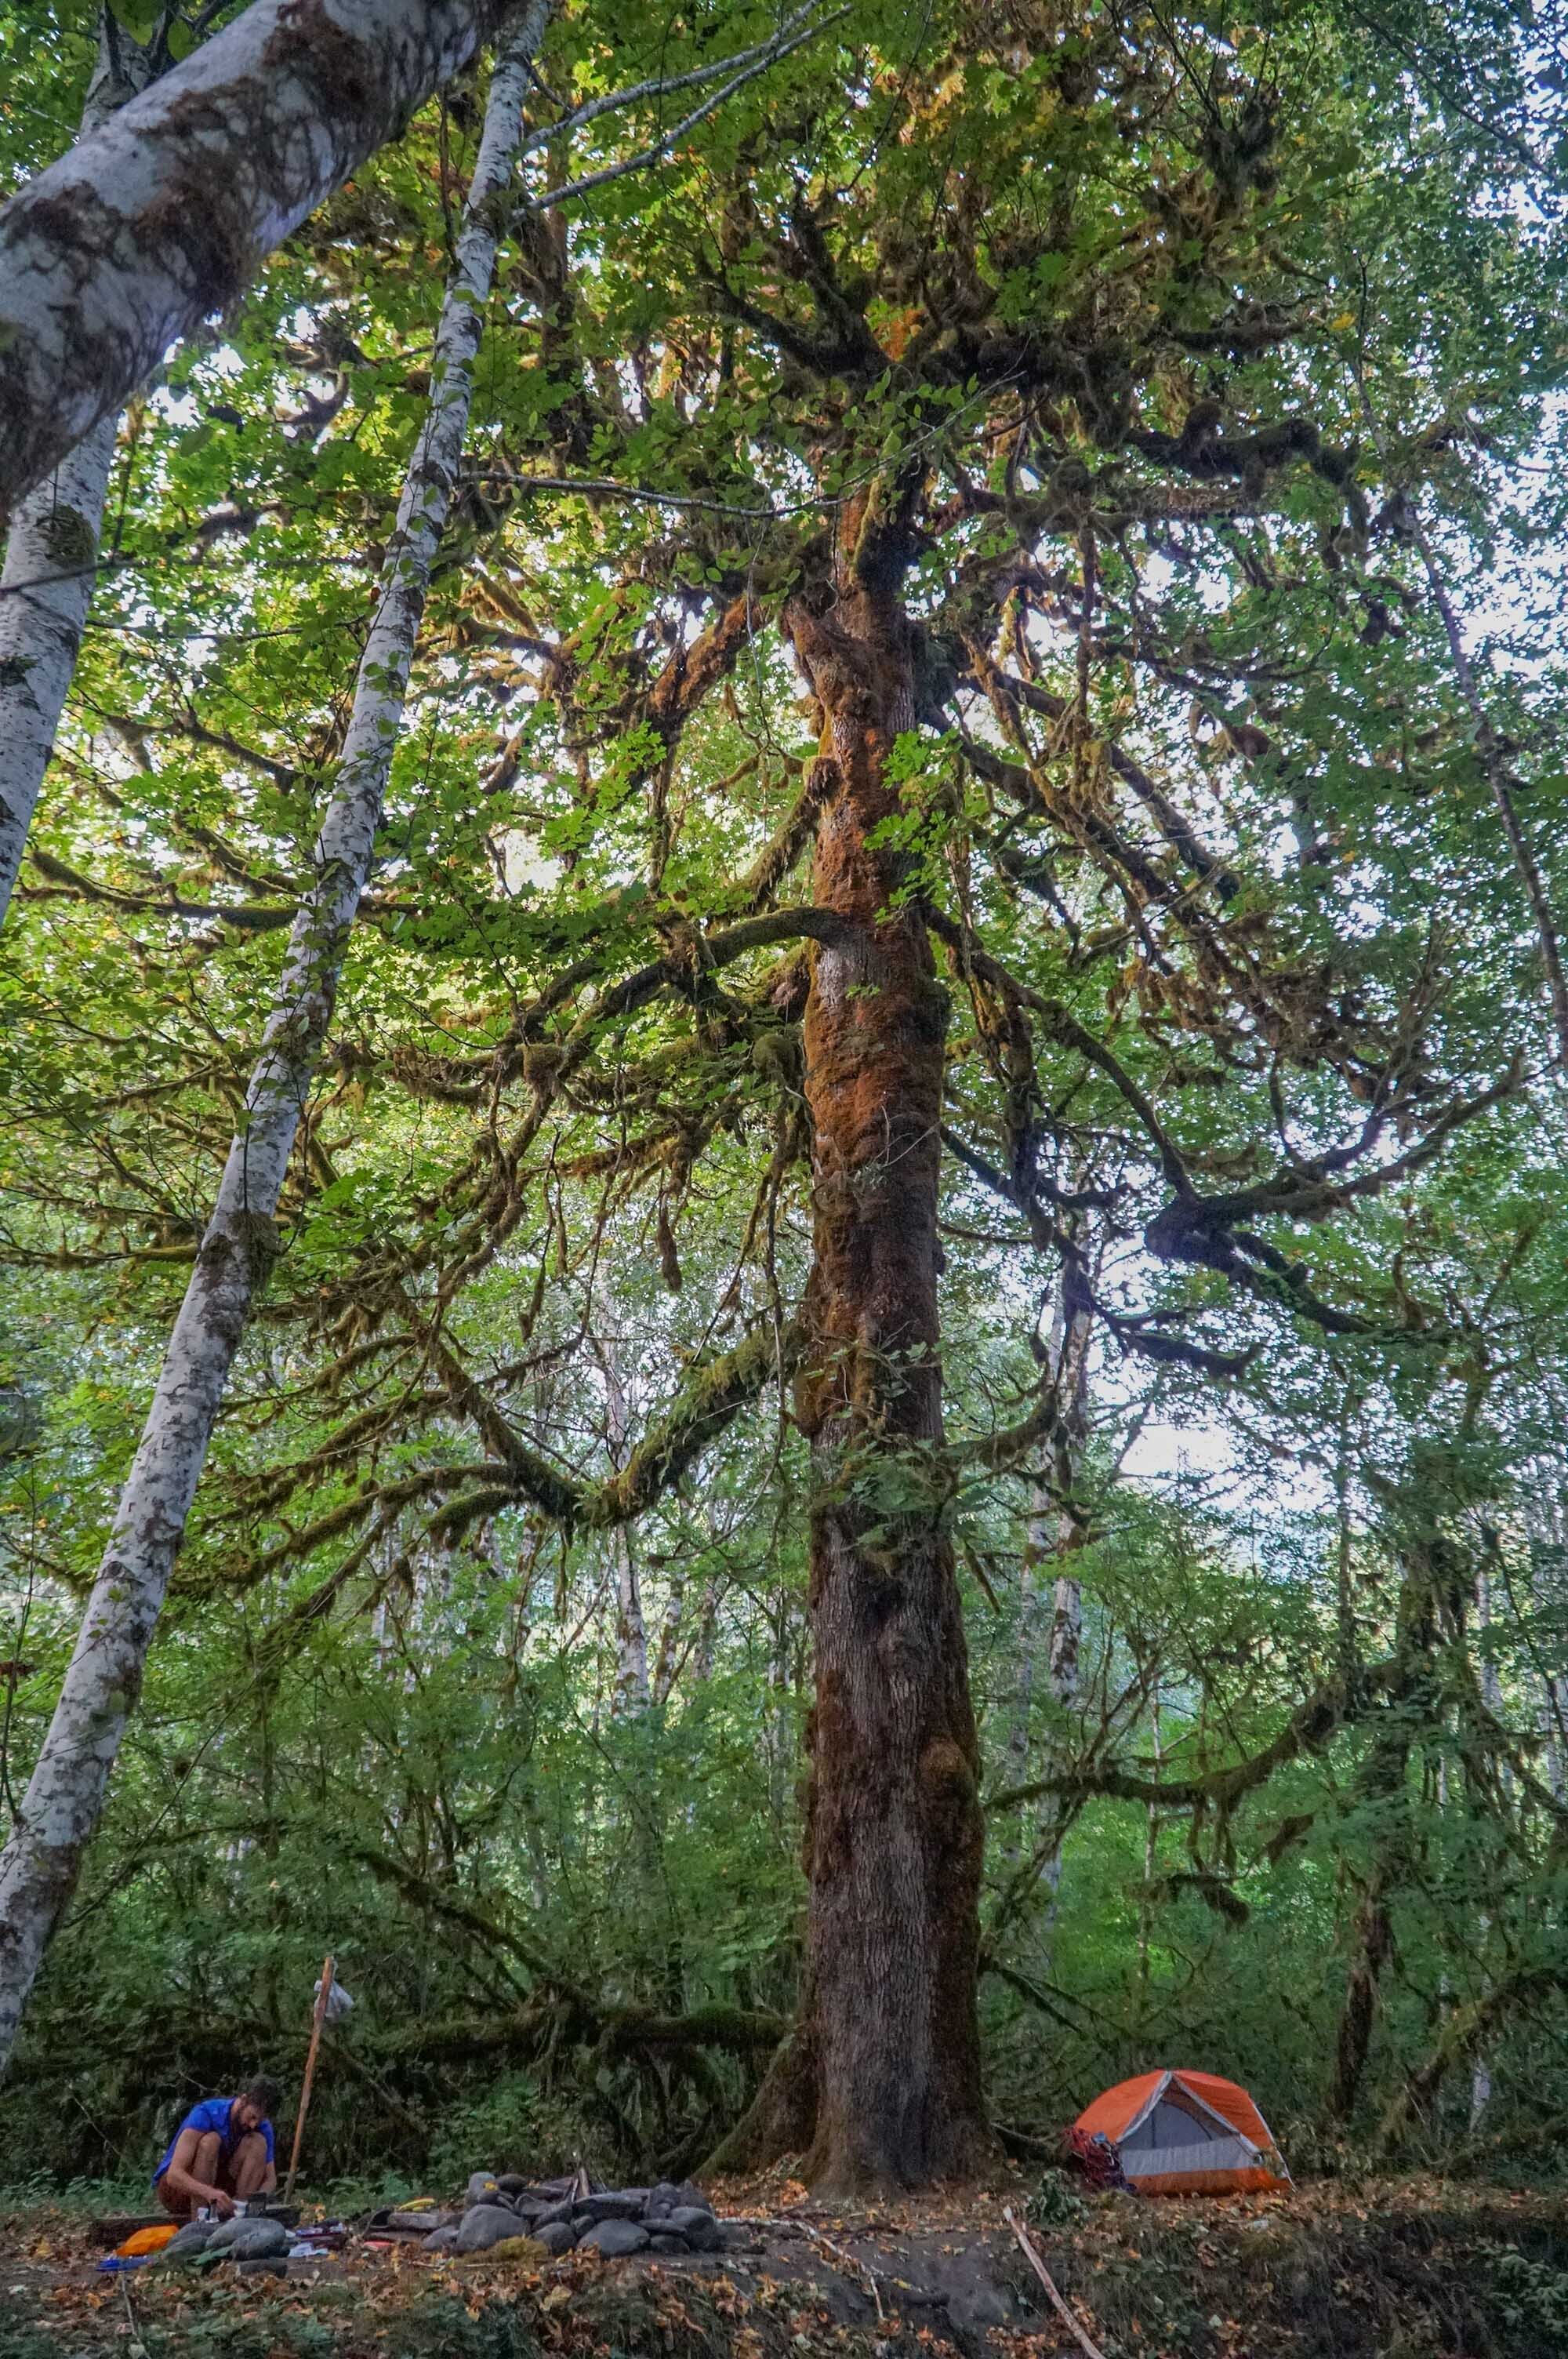
Night #1 - Lewis Meadows

Night #2 - Glacier Meadows

Night #3 - Olympic Gaurd Station

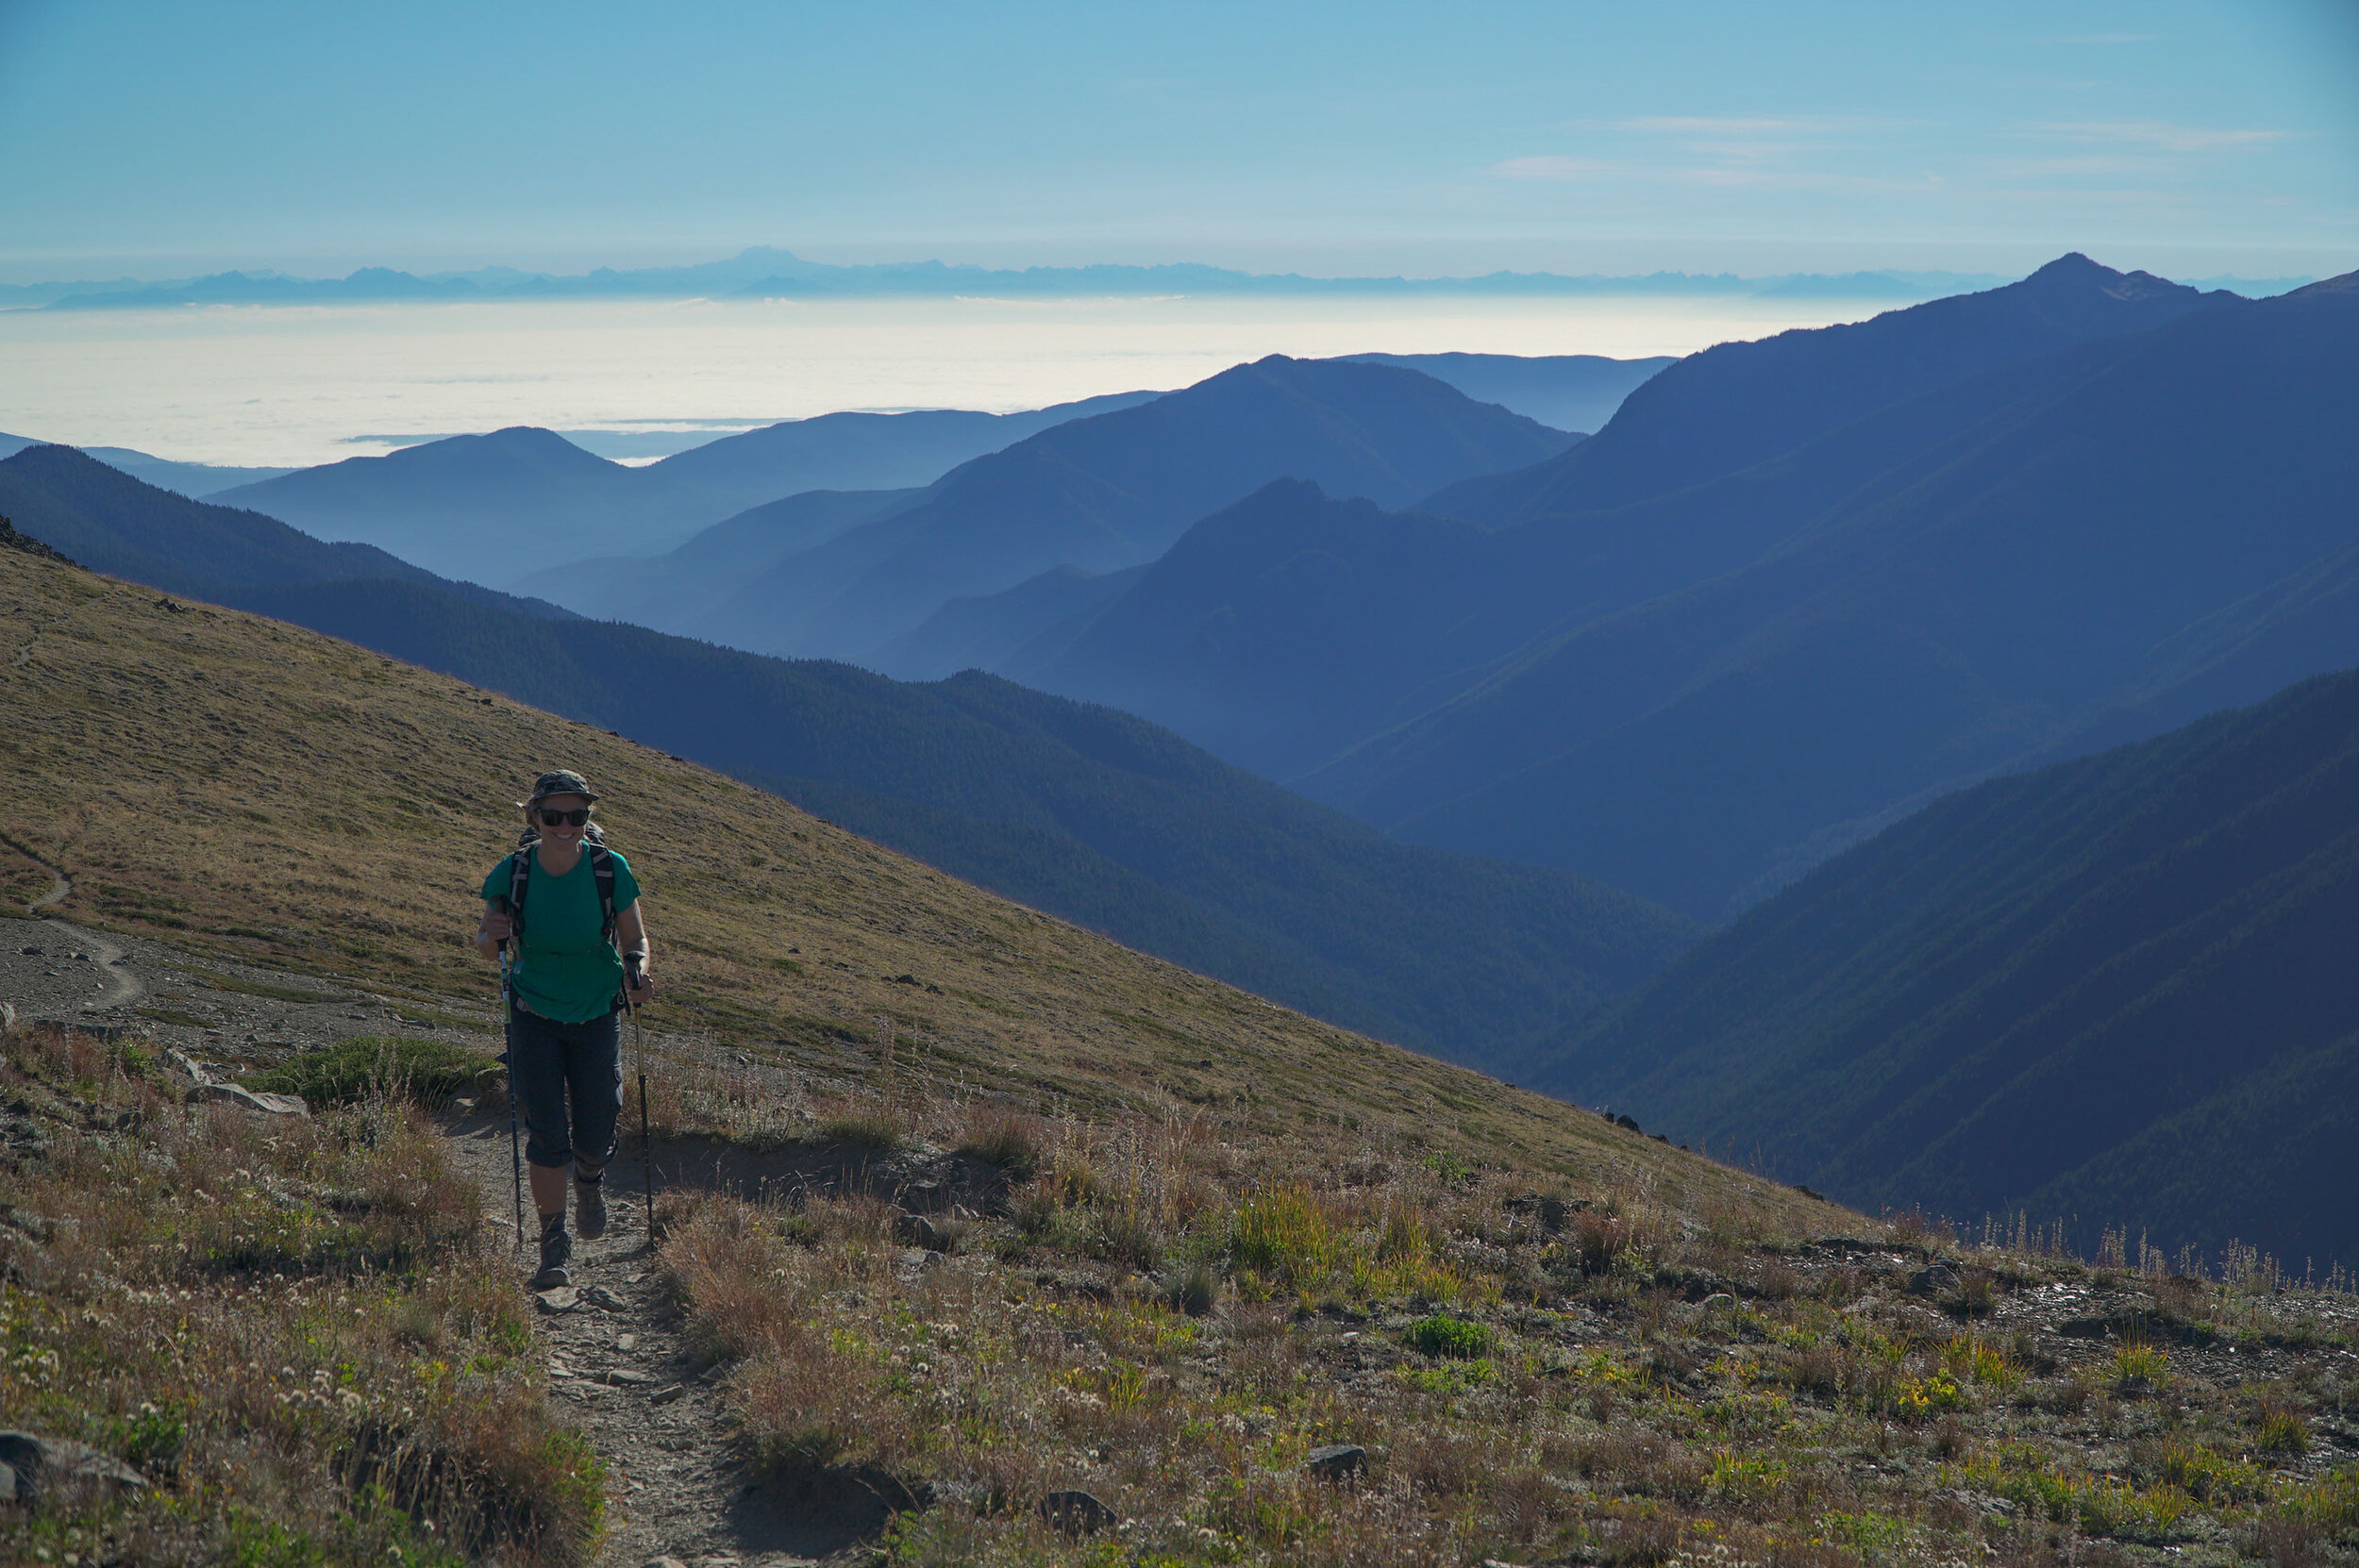
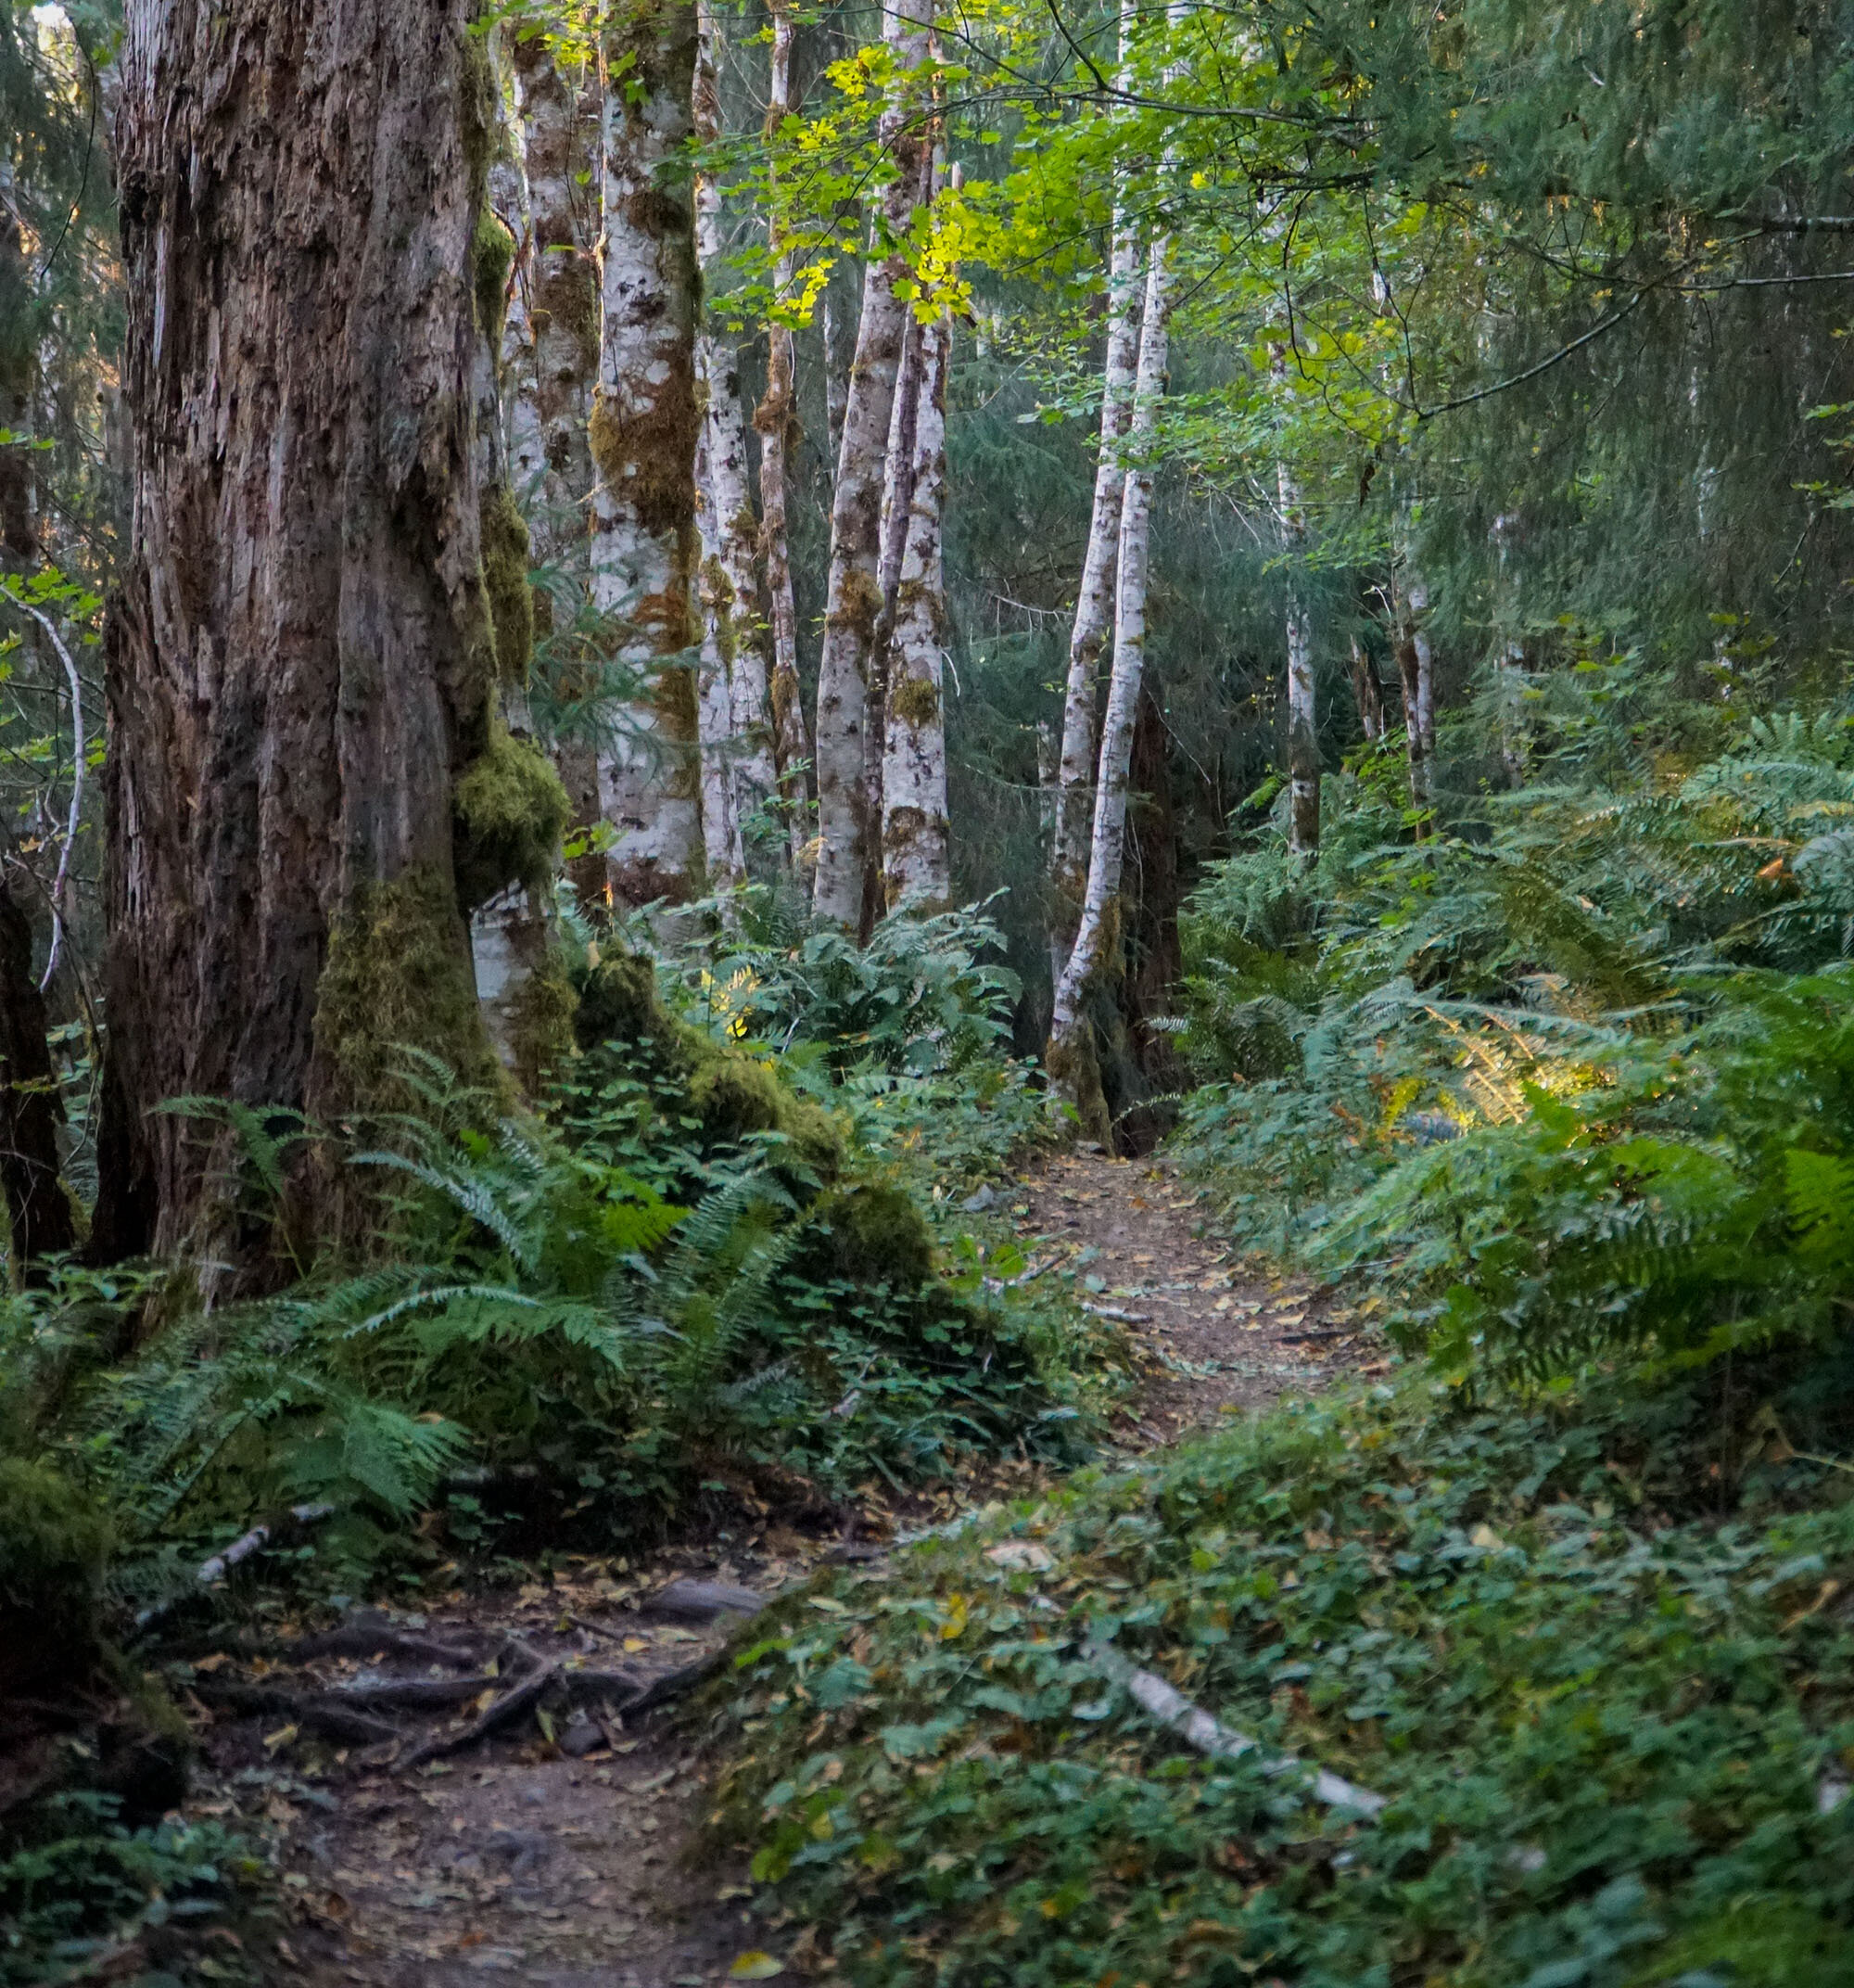
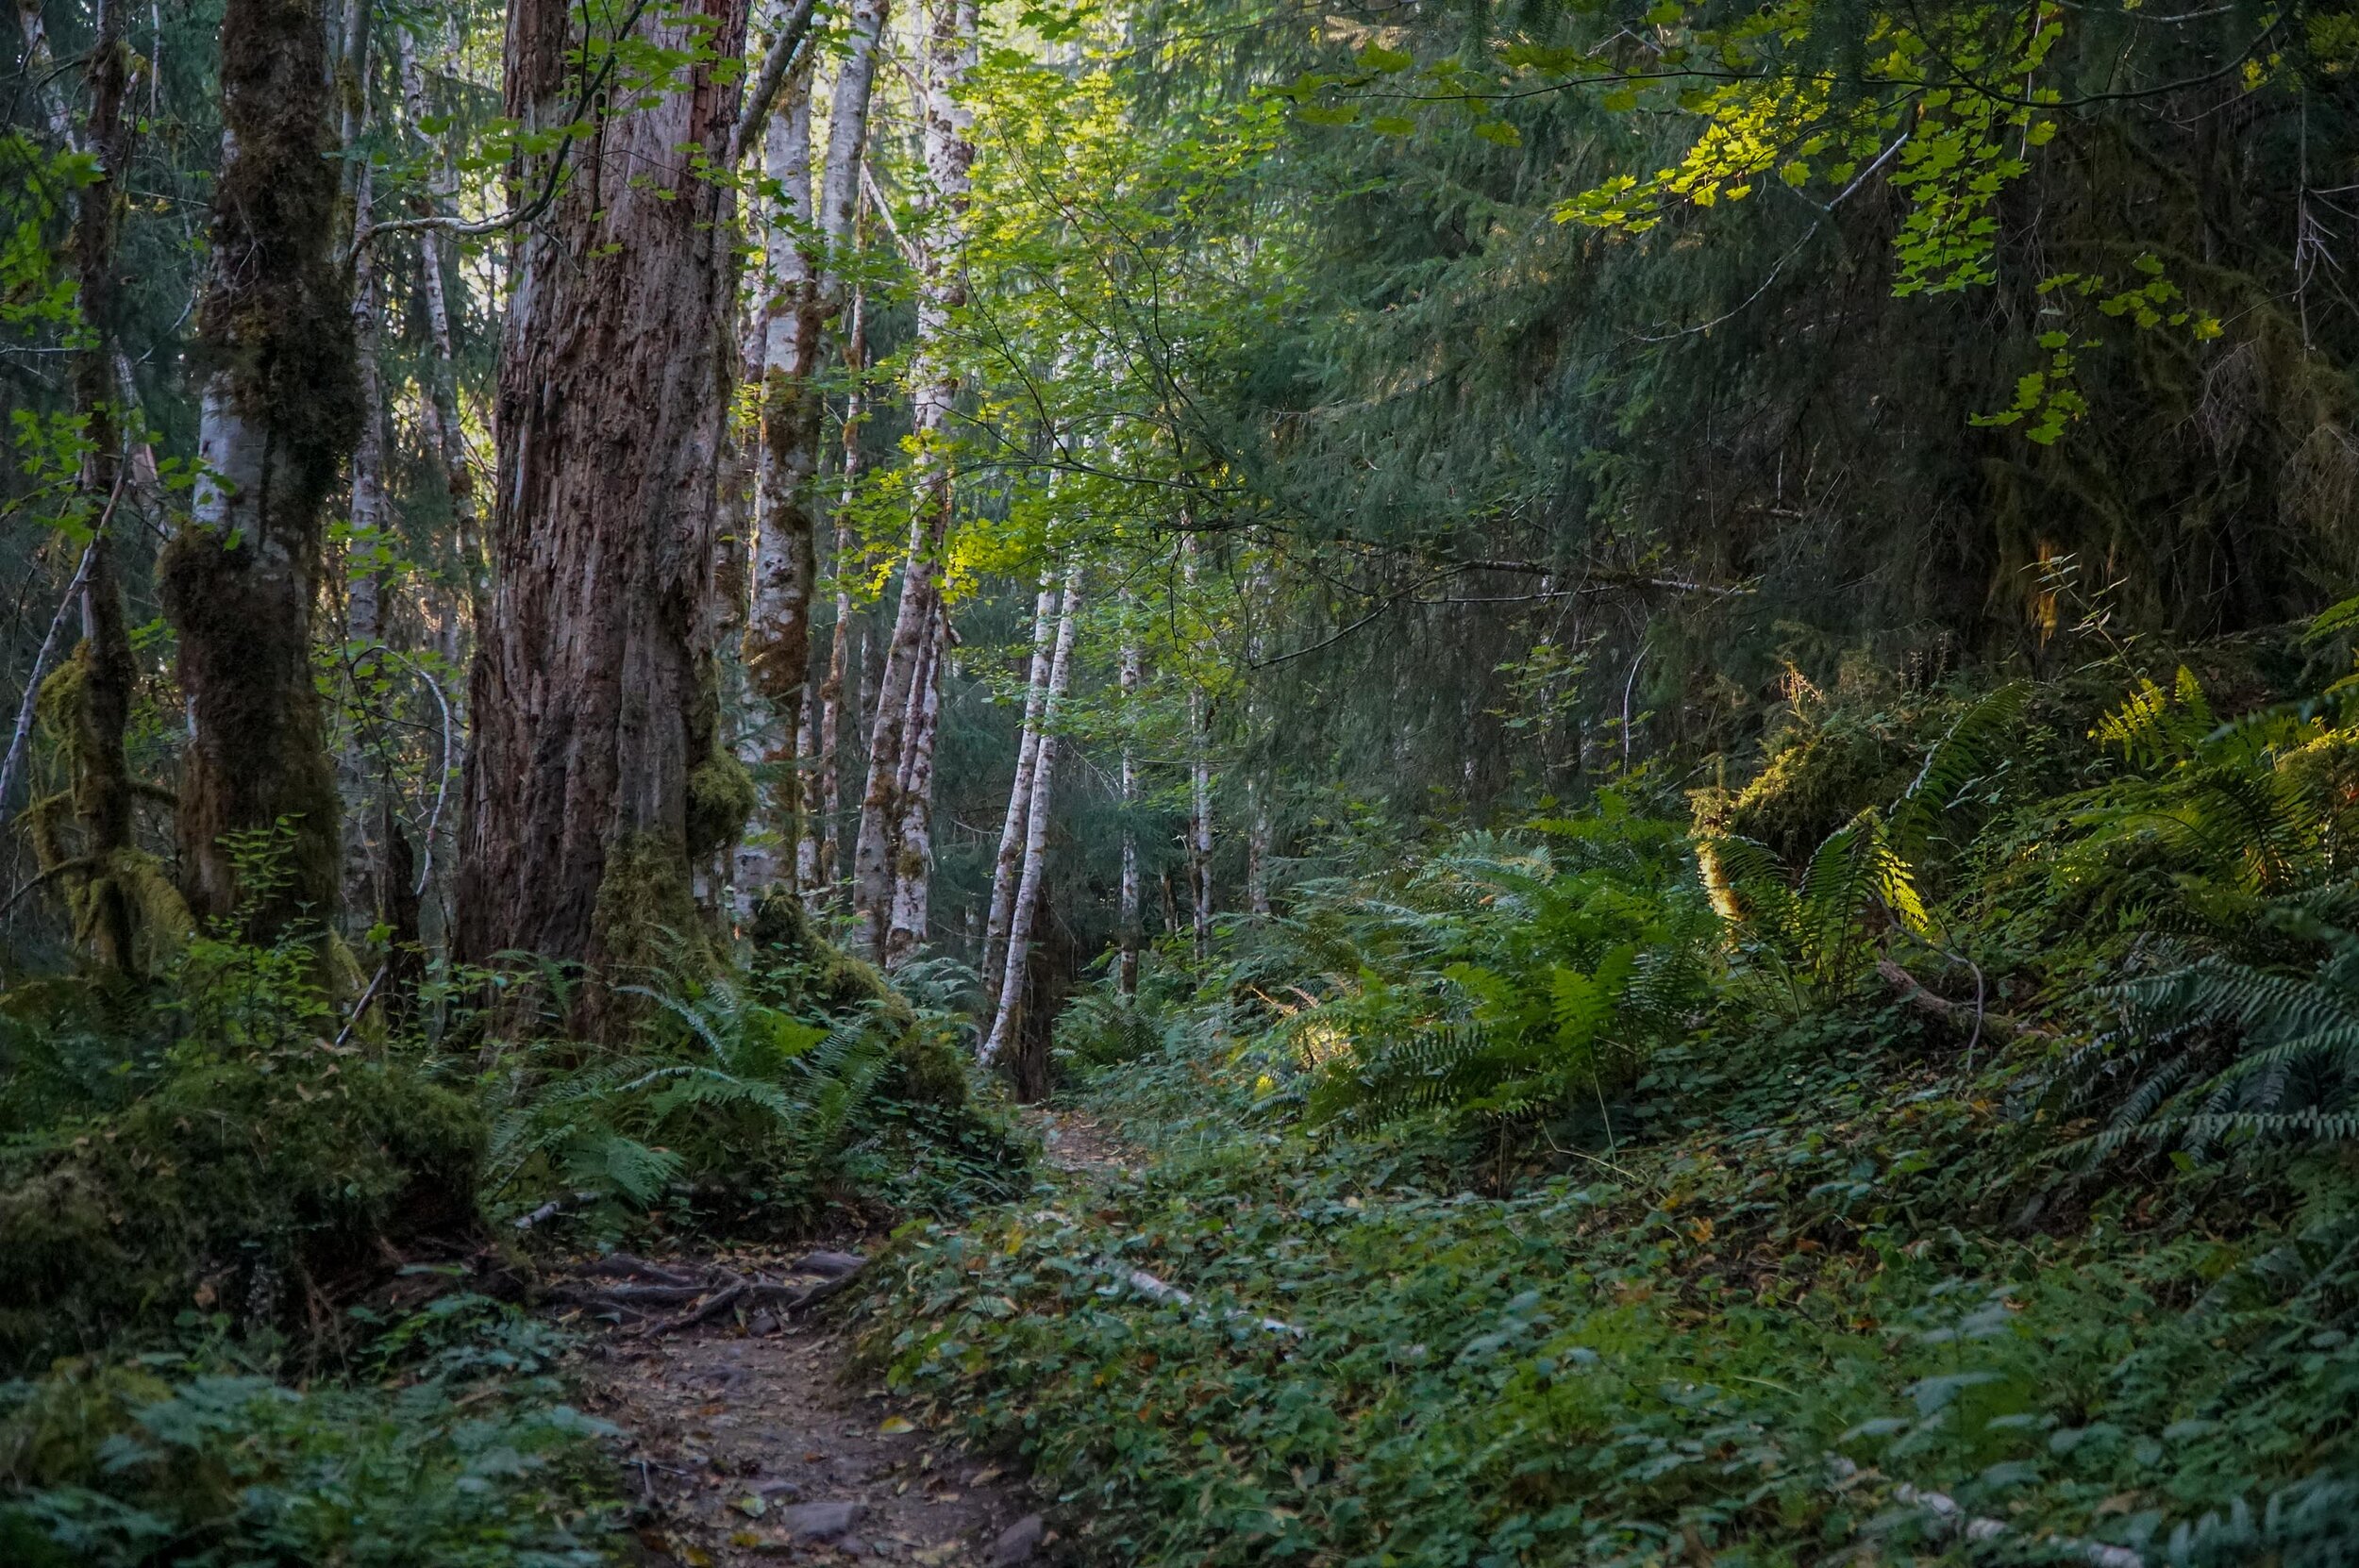
We had plenty of time, and we broke up the expedition into three nights, four days.  We met people who did this in two days, and they could barely walk when we saw them.  I thought one of them had a disability, but he was that sore.  The hike's first 12 miles are through the Hoh Rainforest along the Hoh River and pretty Mellow.  At mile marker 12.4, you’ll begin the climb up to glacier meadows, which is about 4000 feet of elevation, and this is where the training kicked in.  We didn’t have too many problems getting up.  The best part of this climb is that it is through the ancient forest and is nice and shaded, so you stay cool.  When we were there in September, it was pretty hot, and we really sweated it out on the lower section in the sun. 

Blue Glacier Trail Wash out Ladder

Before you make it to Glacier Meadows, you will be warned of a washout section on the trail.  The NPS service will warn you to be ready for this trail washout.  They make it seem like it’s just a small ladder down a washout.  The ladder descends about 100 feet down to the rubble and is family safe, but if you fell, you would be pretty injured, so don't fall!  We will note it’s easier to go up this ladder than down. It’s also very exposed here, and we were burning up in the sun in the late afternoon for this section of the hike.  There are also a few more trailside creeks and streams to filter water on your way to Glacier Meadows.  

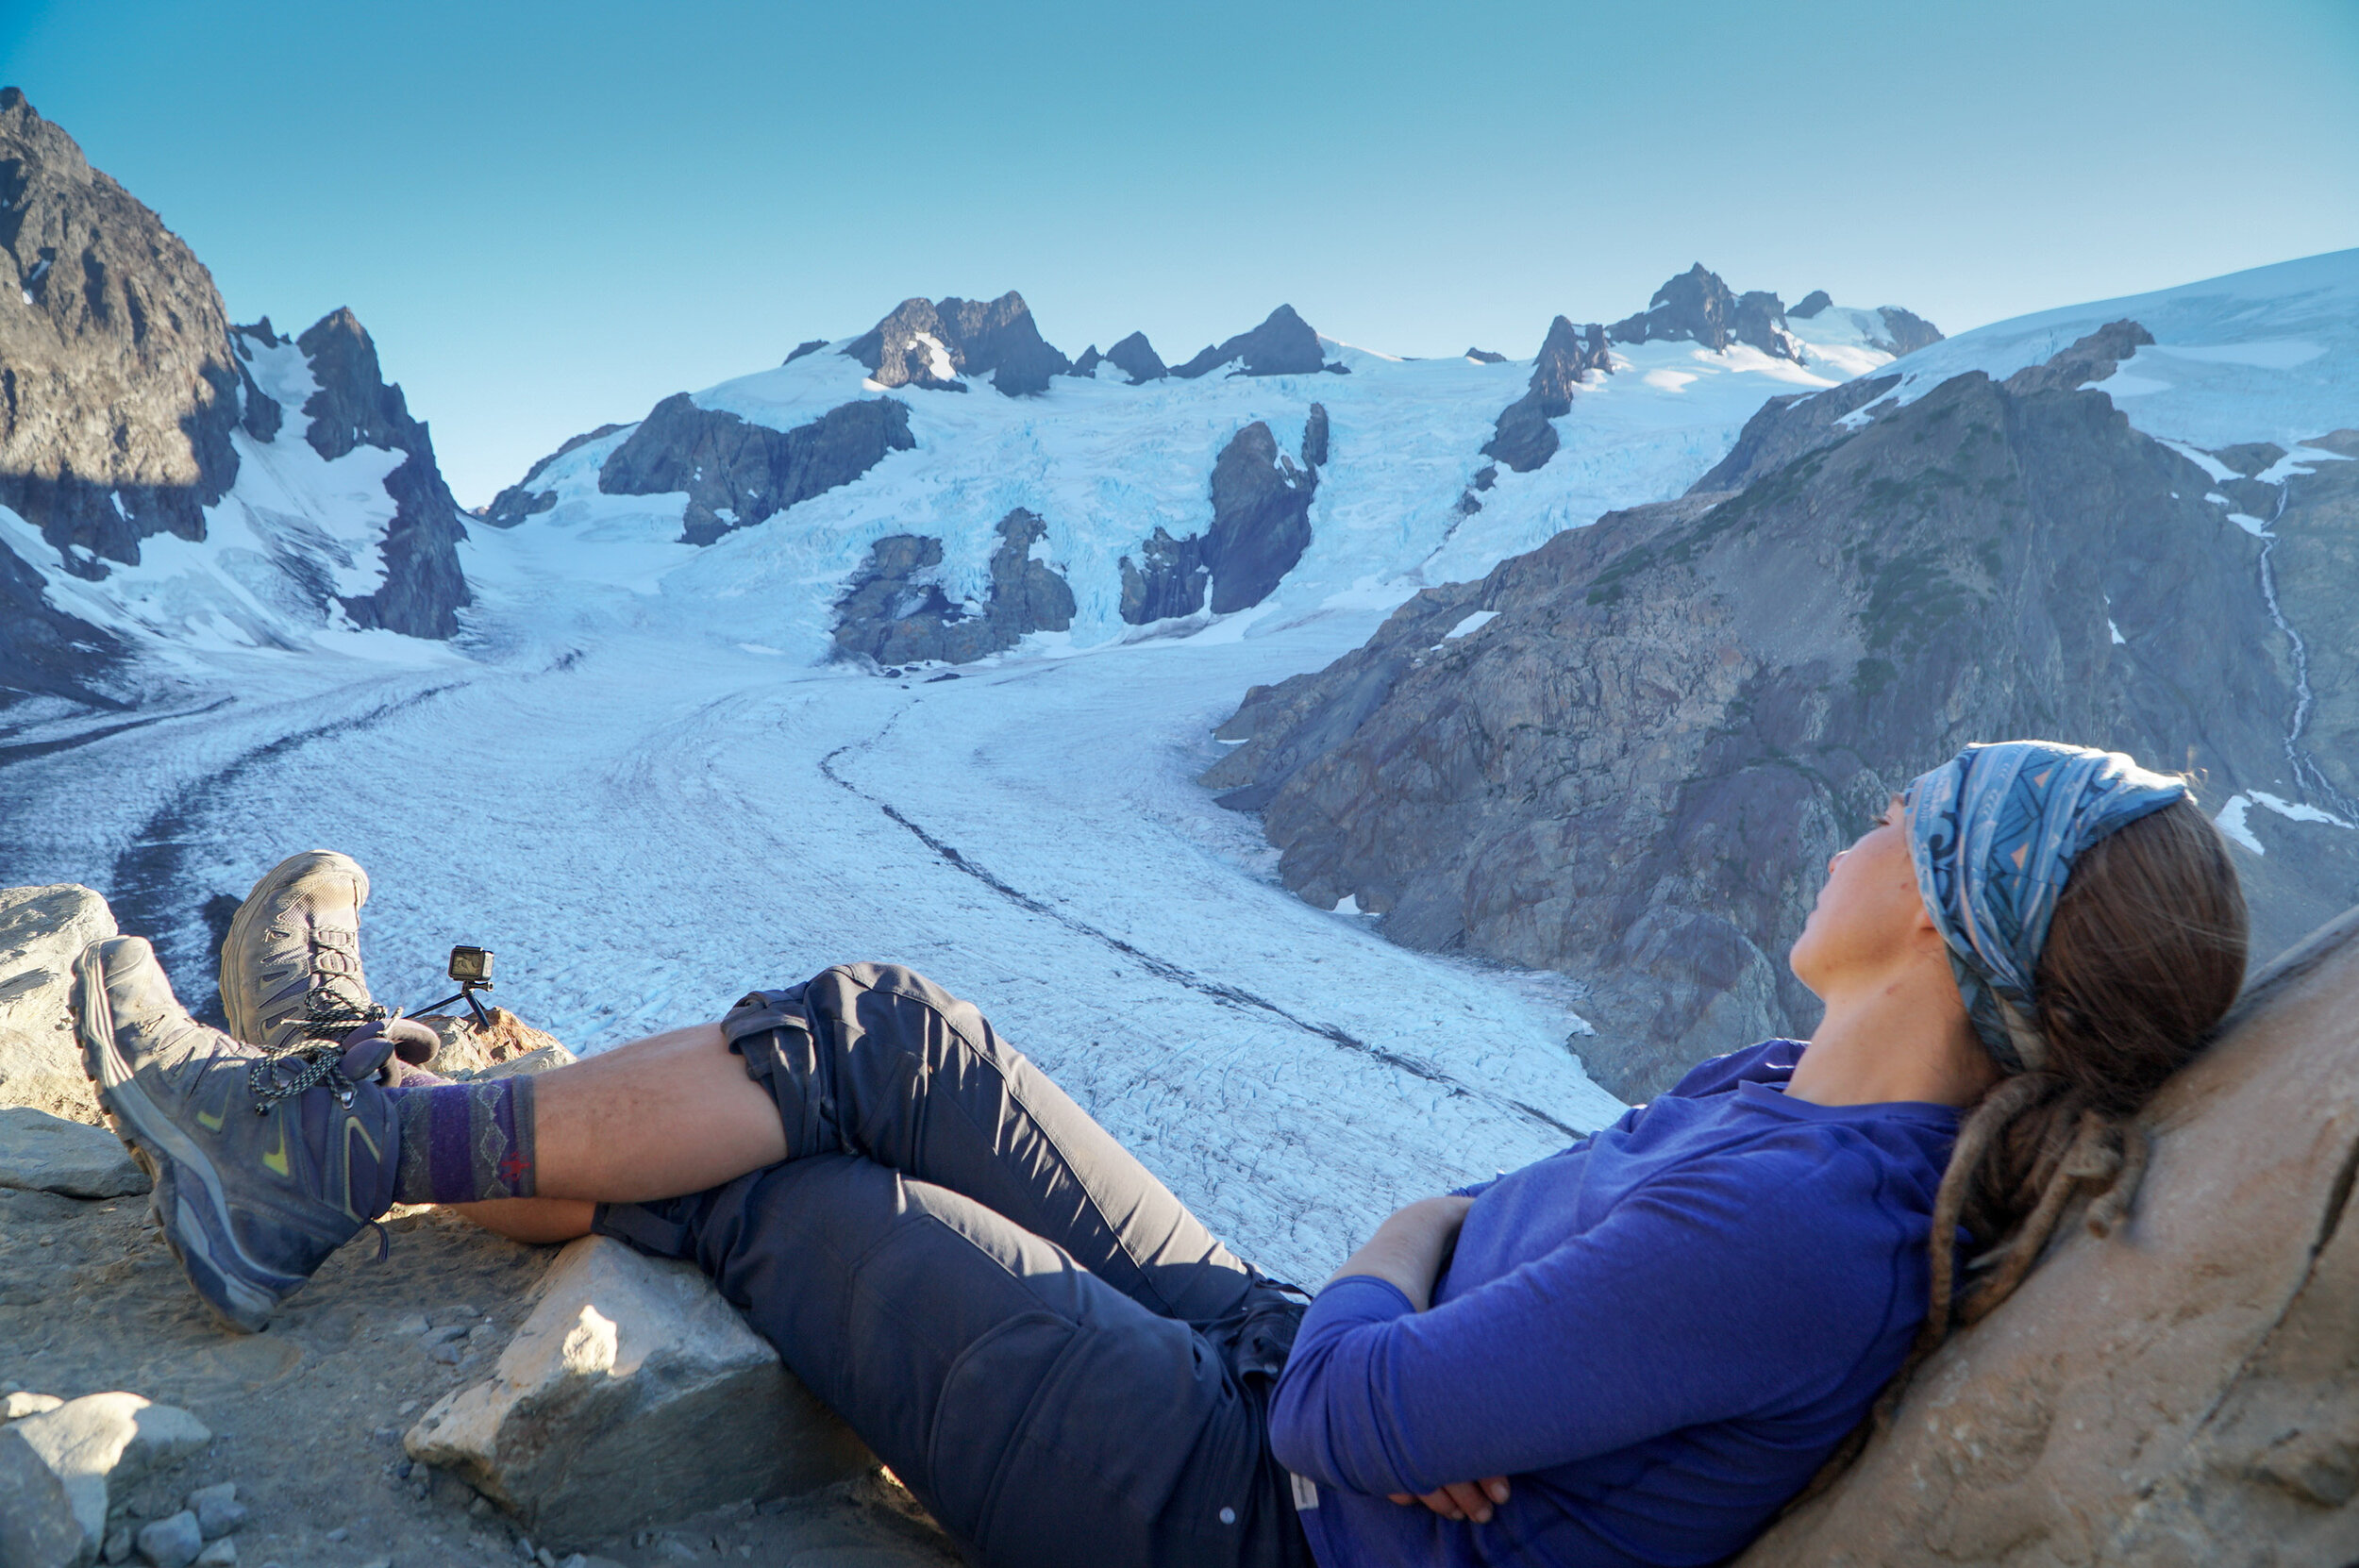
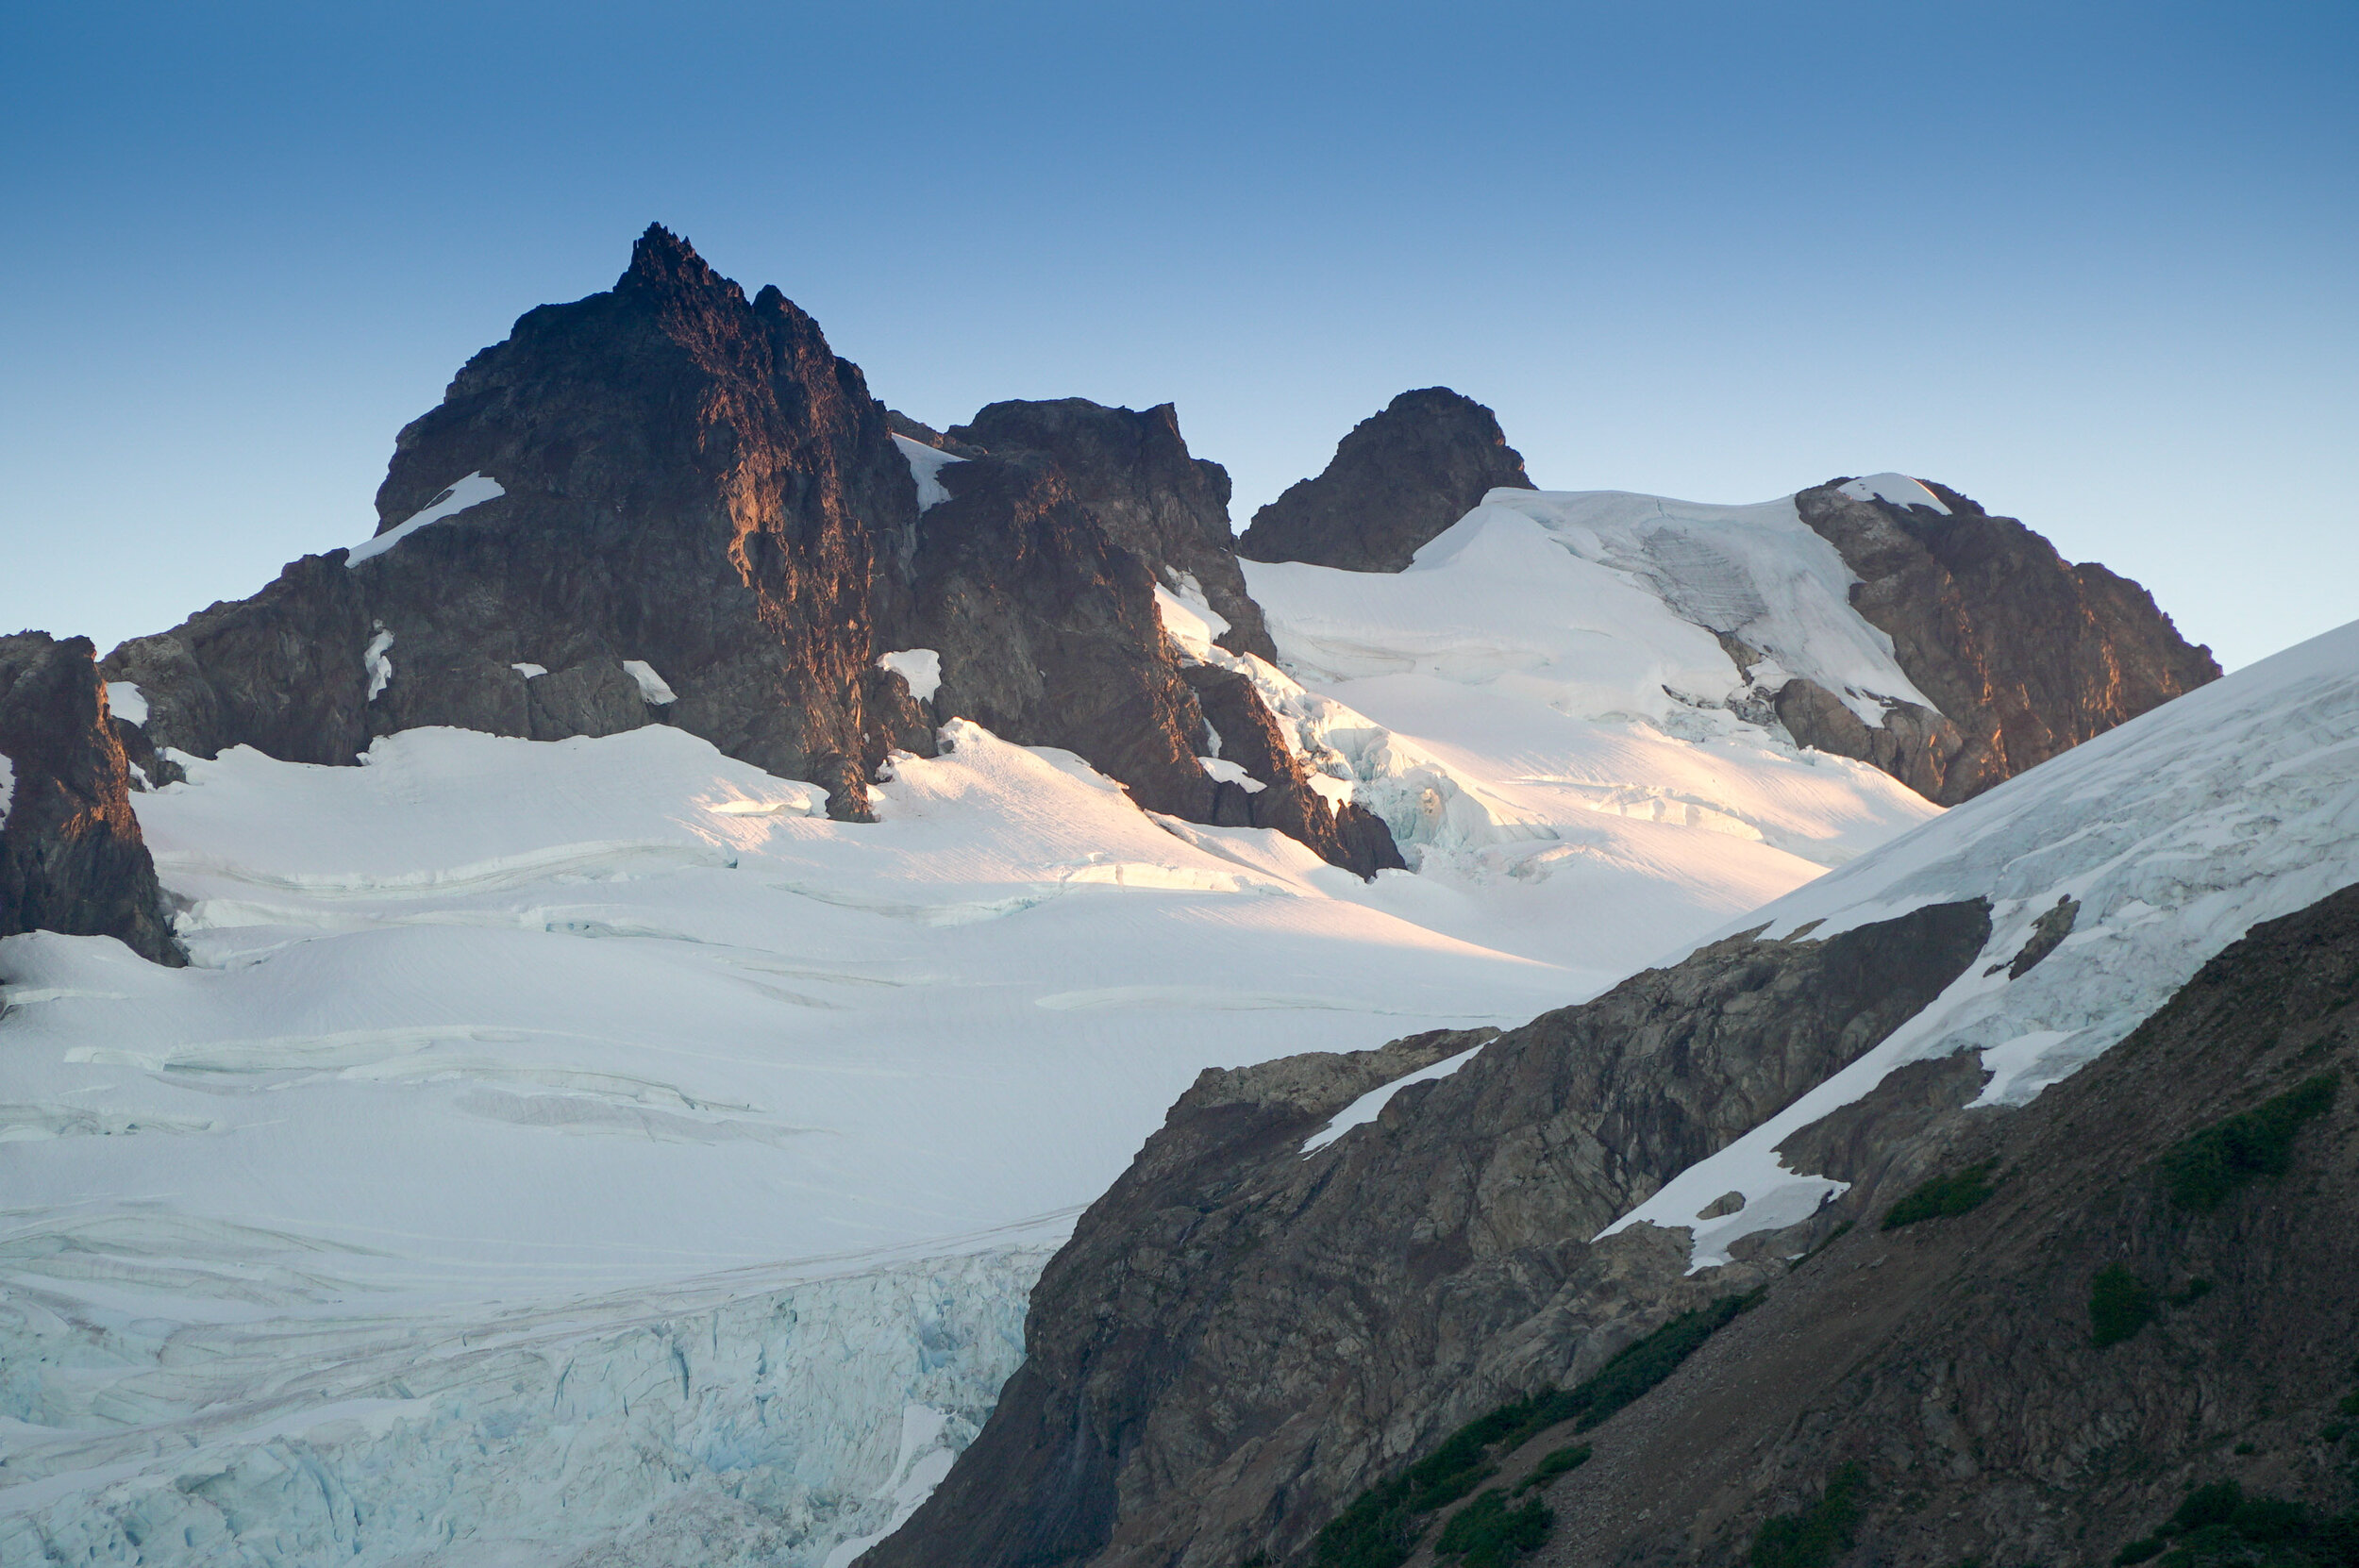
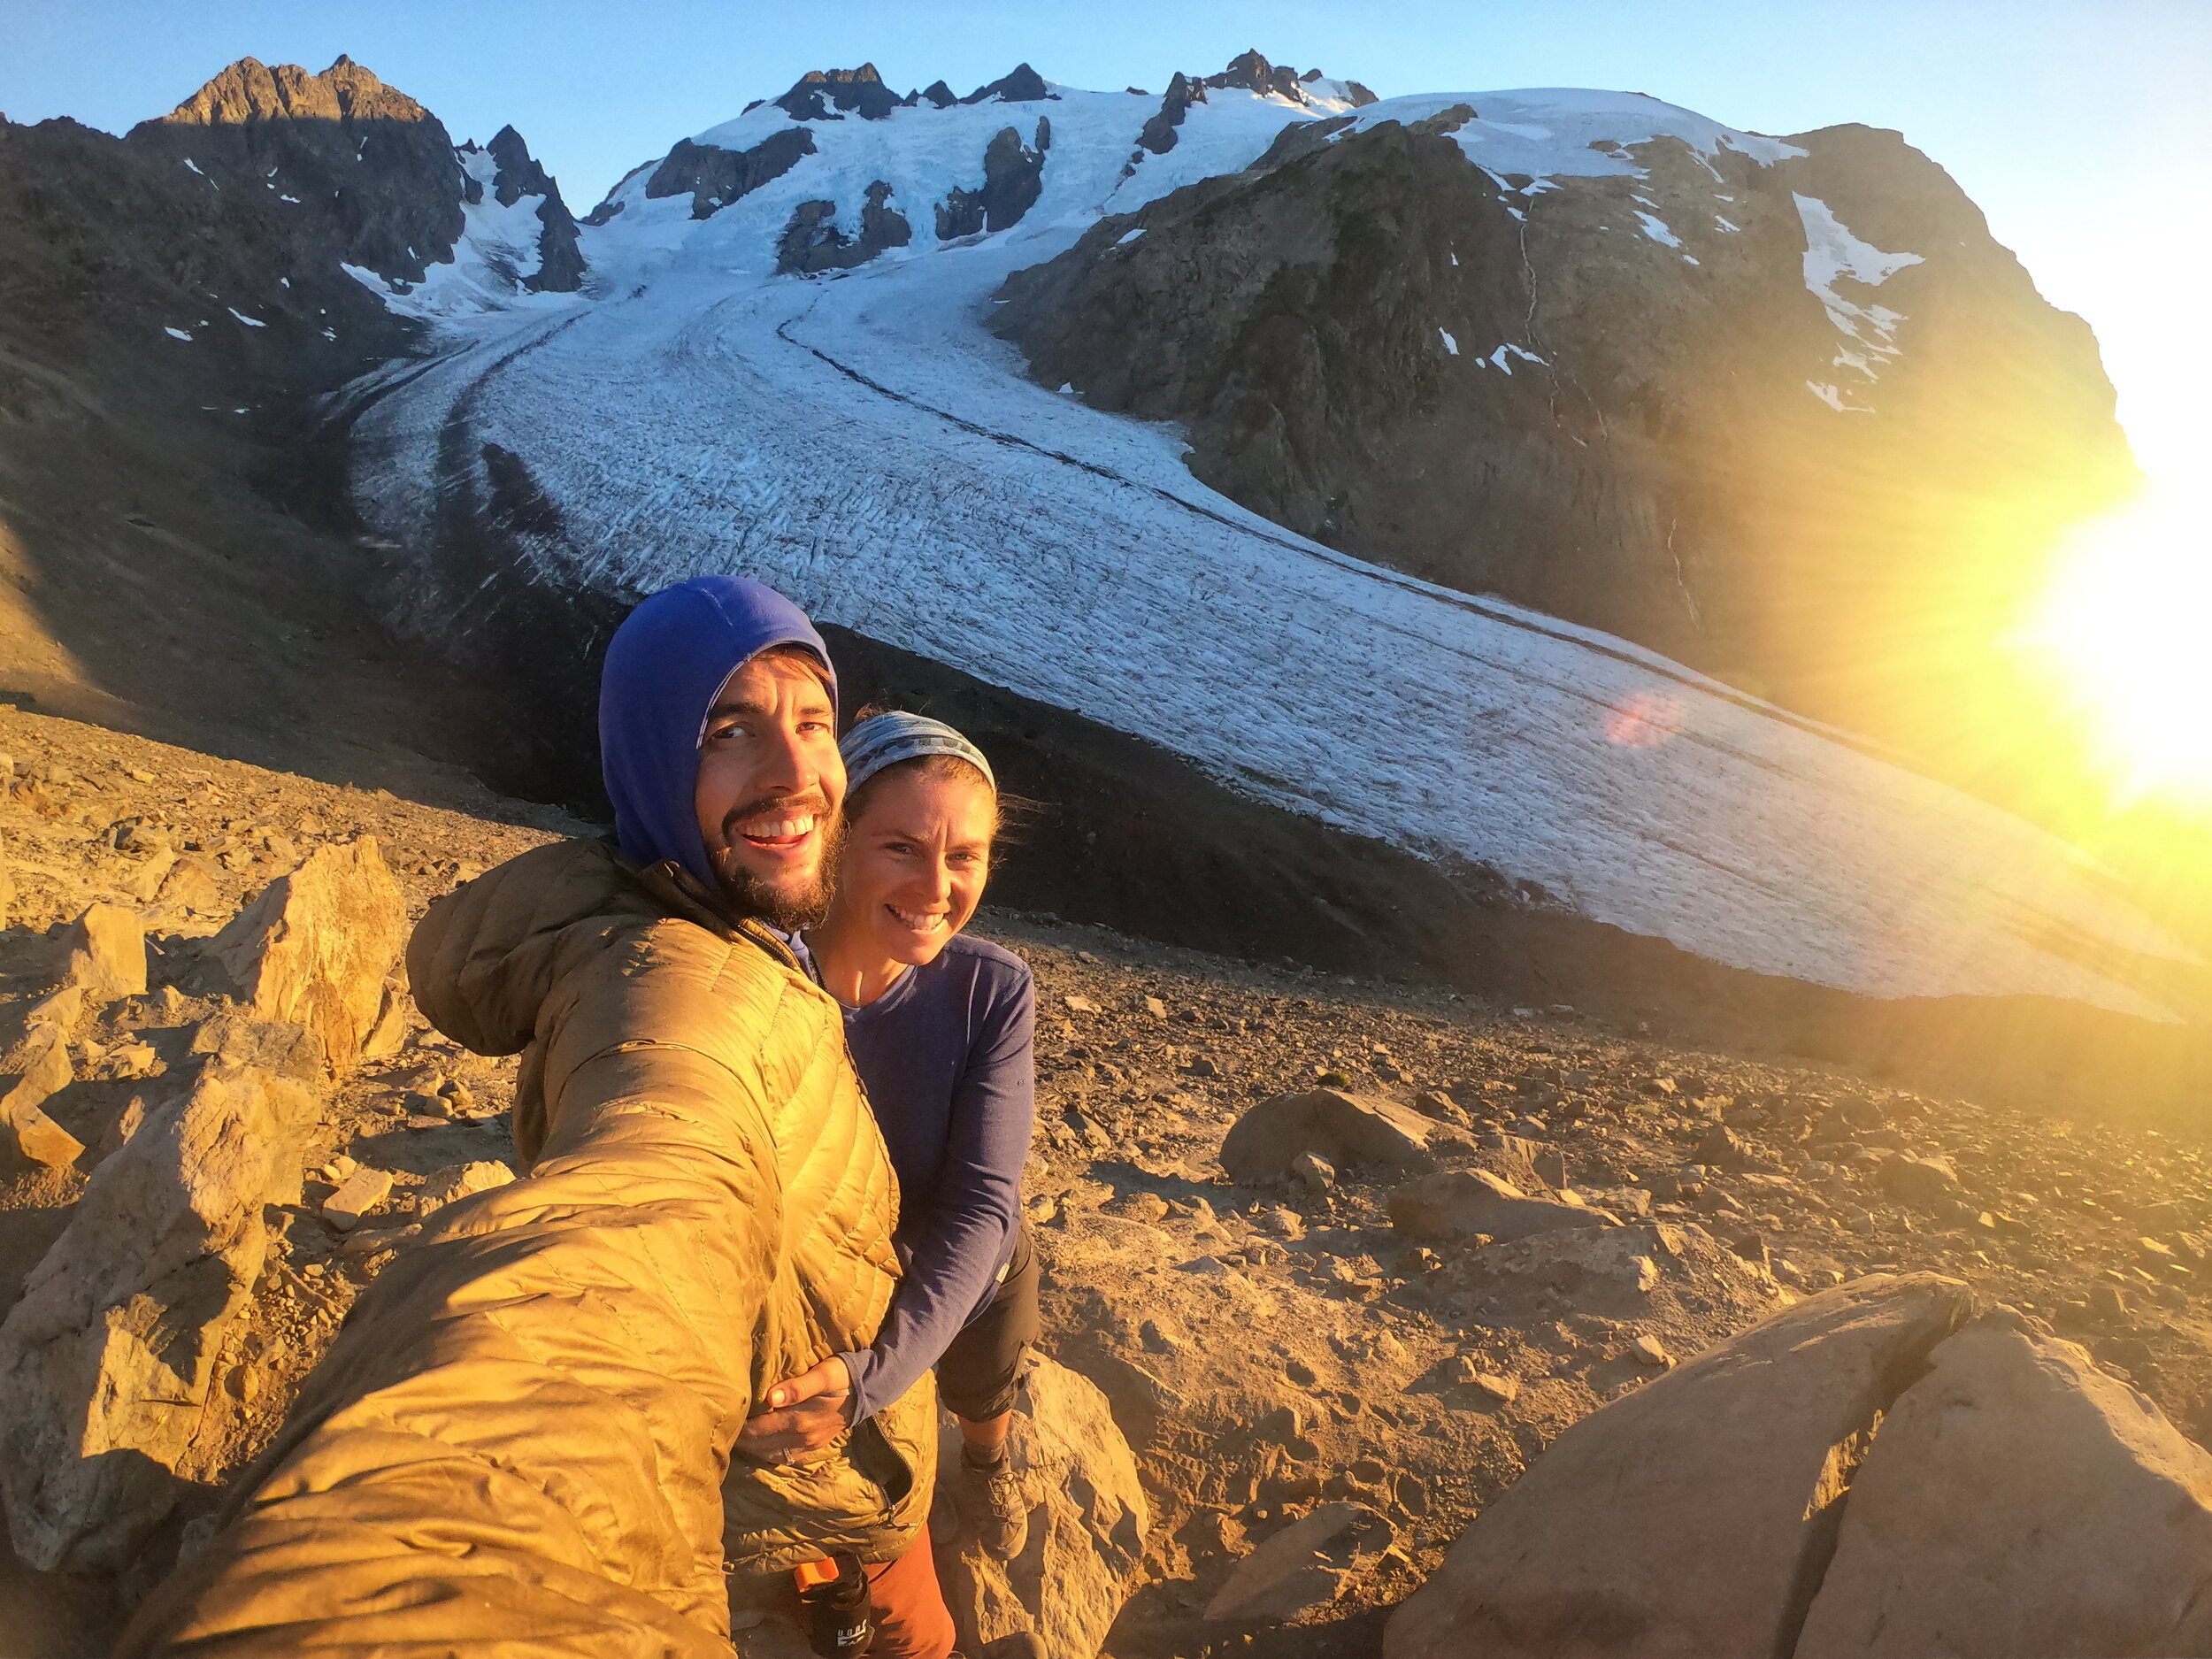
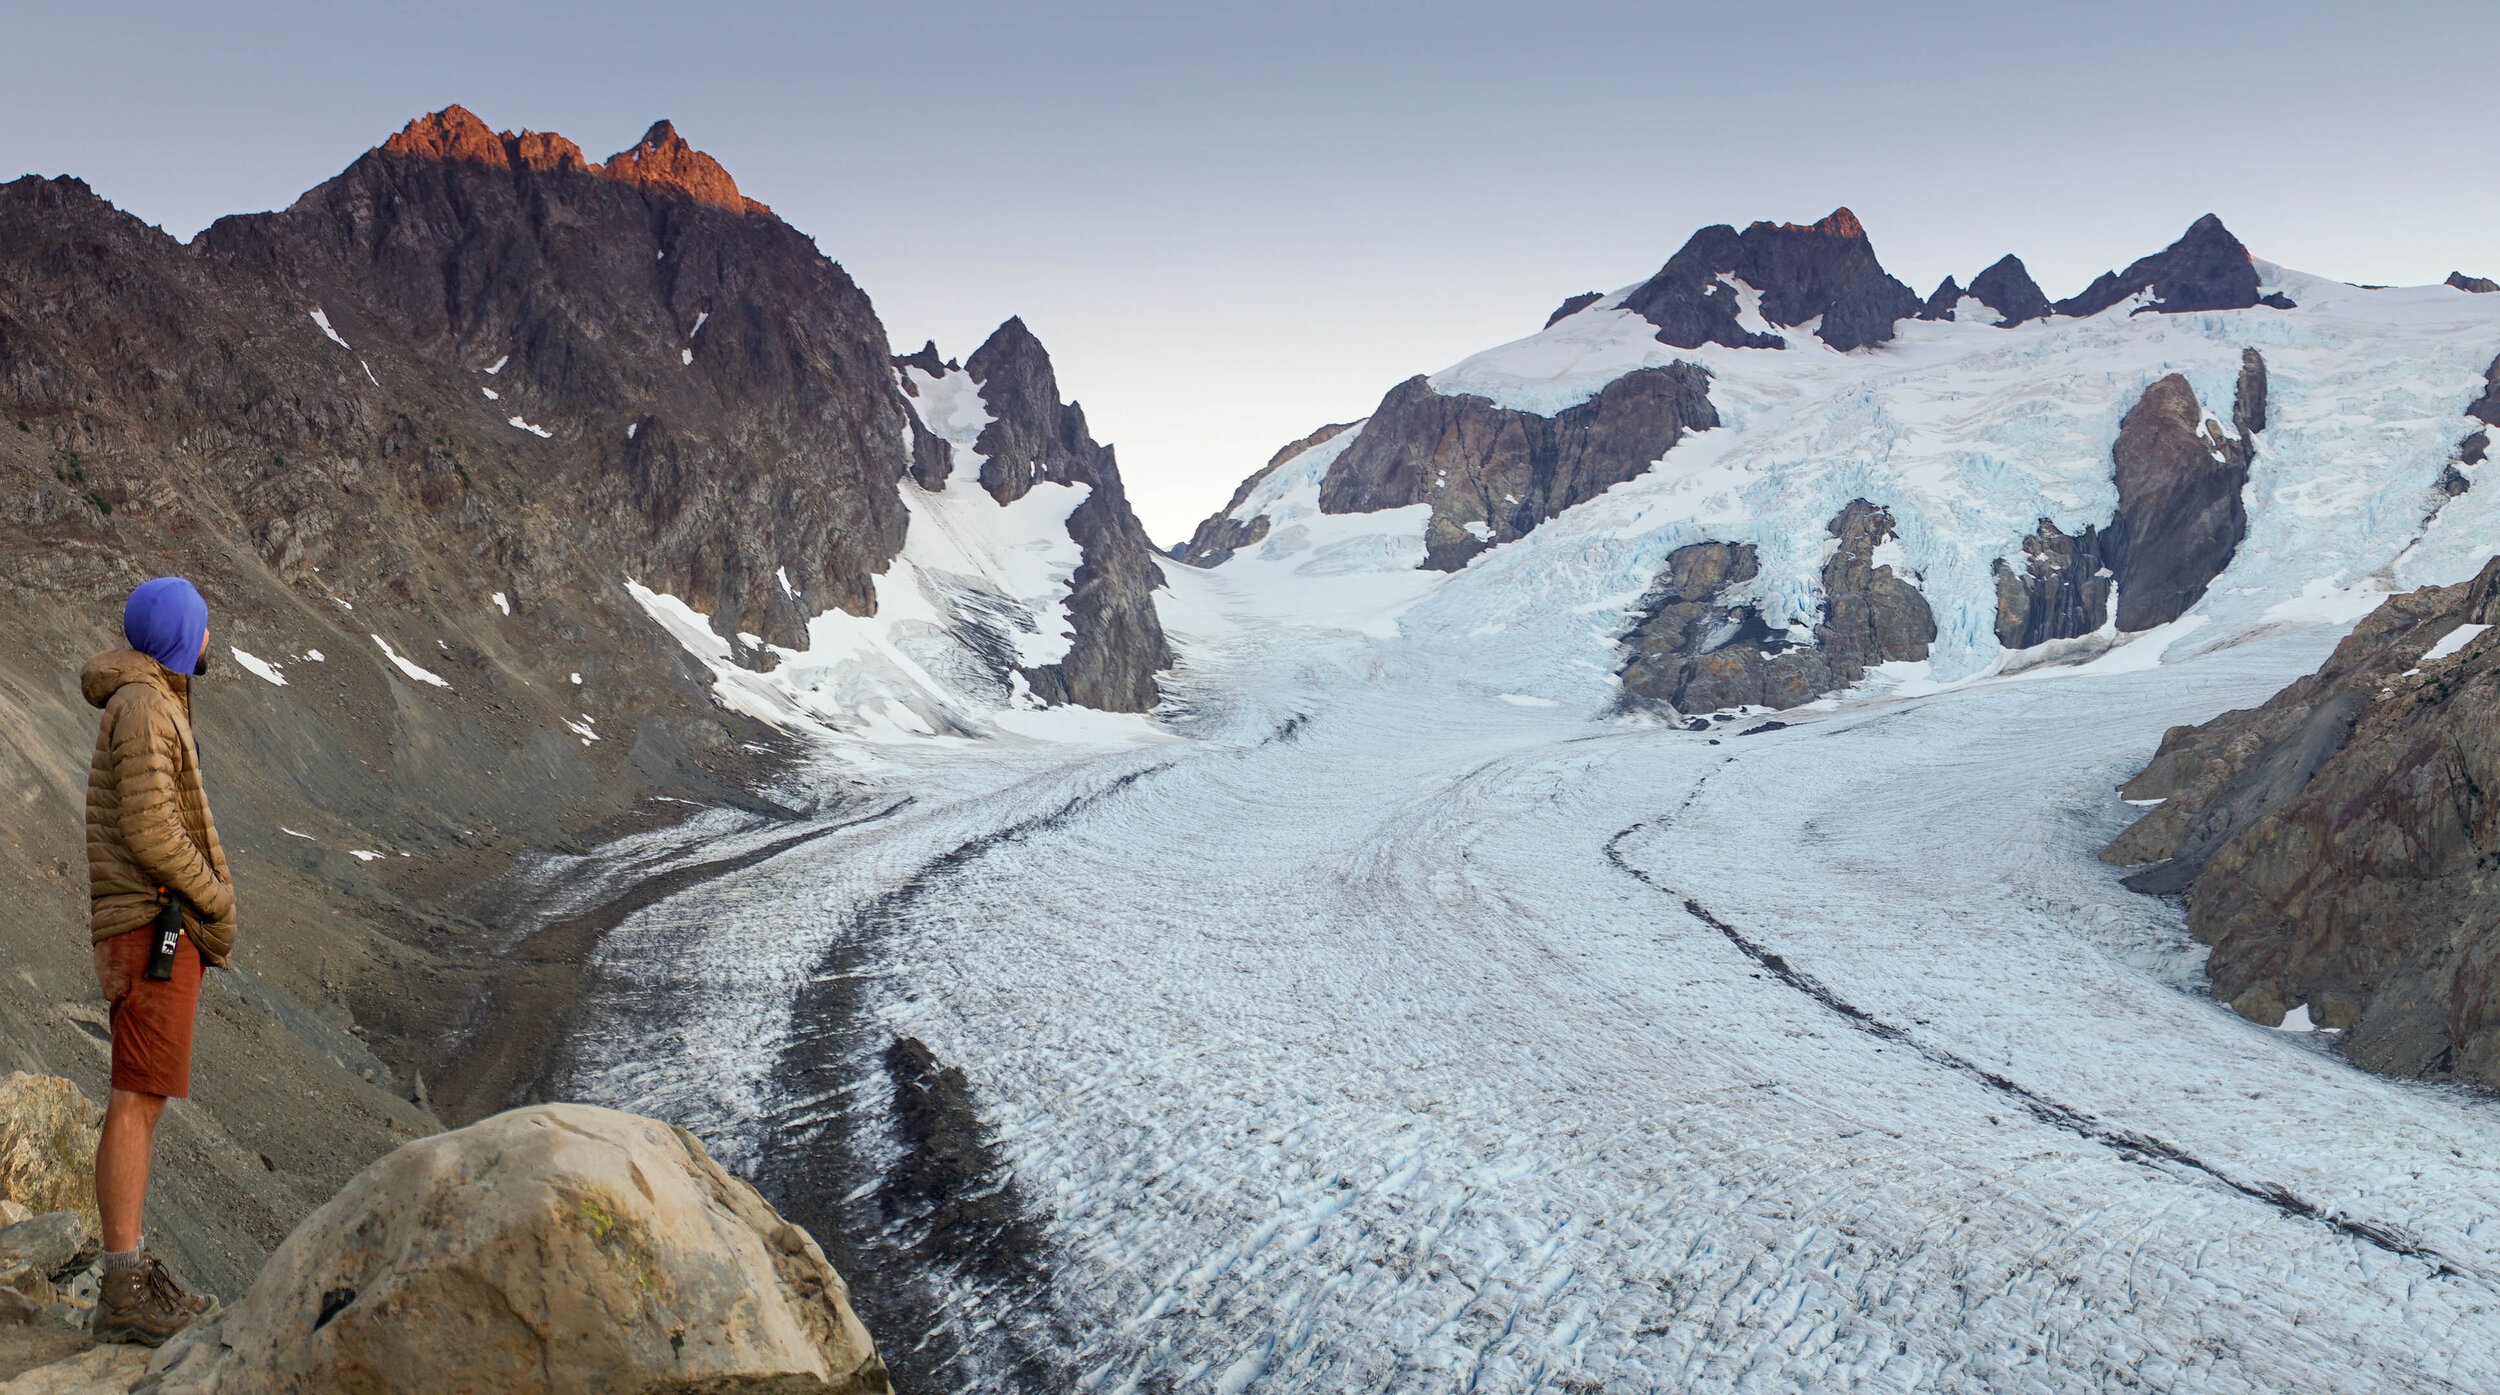
 Eventually, you will make it to Glacier Meadows, and you will be happy to see the campsites.  We will note a small stream at Glacier Meadows to filter water to drink and prepare food with.  From here, there is still about 1000 ft of vertical climb and about a mile of hiking up to the terminal arm.  This is where you realize that every step was worth the effort.  When you top out, you’ll see the Blue Glacier running down Mount Olympus carving a massive moraine.  This is one of the most beautiful things I've ever seen on a backpacking trip.  We got up there around sunset and stayed until it was dark.  We hiked down without headlamps back to Glacier Meadows and slept like babies.  

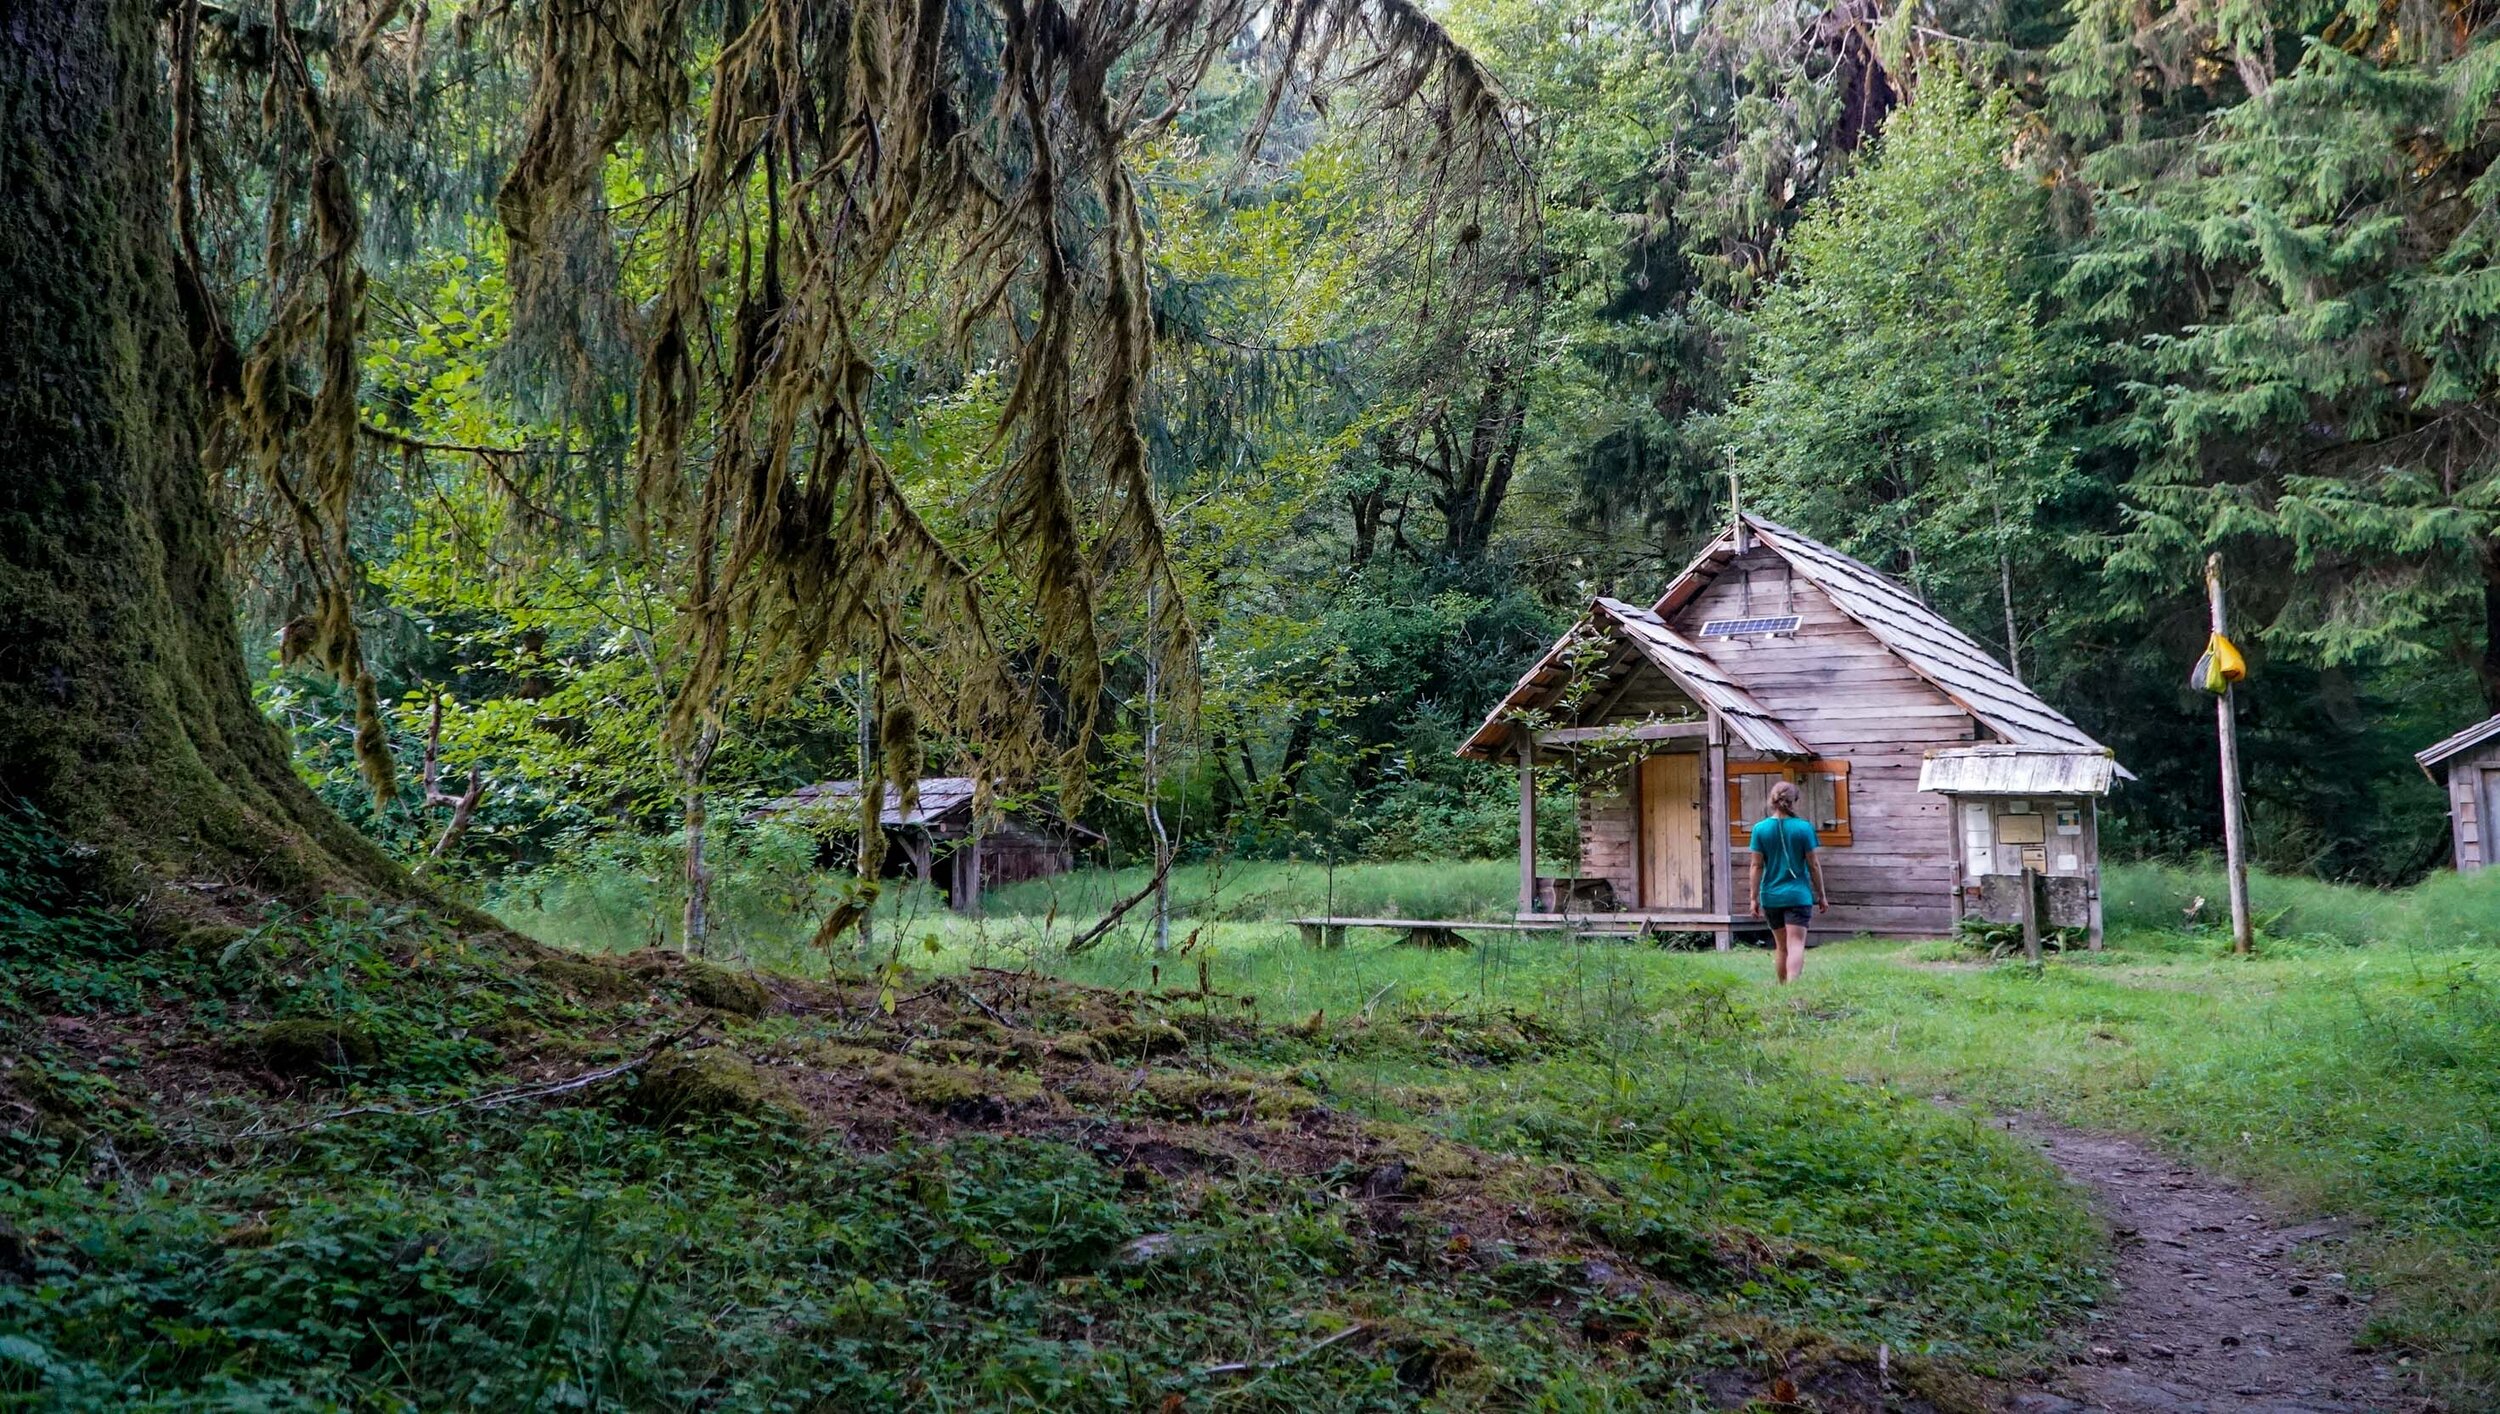
We headed back down in the morning to the Hoh River Ranger Station for our last night.  There are some really awesome campsites here at the Ranger Station.  We will also note that the Ranger came and asked us for permits, so if you are thinking of poaching this hike, you've been warned we saw a ranger here and at Mt. Rainier NP.  We wrapped up the hike the next day out through the Rain Forest. We saw a few Elk and we were stoked to get back to the car to eat some real food.  

We ate and then we headed out.  There are some decent free camping options outside the park along the Hoh River on the park's entrance road. They are surprisingly quiet at night as no one is entering the park after about 5 pm.

Backpacking the Hoh River Trail

This was an amazing experience and we will never forget it.  If you are heading to the Olympic National Park and up for a tough and rewarding adventure and are having trouble booking other expeditions check with the WIC to see if you can plan a Blue Glacier expedition, you won’t regret it!  

Hoh River Trail to the Blue Glacier Backpacking in Olympic National Park

This is one of the best multi-day backpacking trips we have ever done. It’s a long journey but worth every step. We did this trip in 4 days 3 nights. It could be done in less time, but the 4 days was the perfect amount of time to fully take in this amazing place. In this post we are going to tell us what our itinerary was and what we would change if we did this backcountry hiking trip again.

4 Reasons why you Must Visit Mount St. Helens National Volcanic Monument

Ape Cave Mt St. Helens Washington Best Hike

We almost completely skipped out on Mount St. Hellens thankfully there were a few road closures in the area due to fire that forced us into its strong gravitational pull and we ended up absolutely loving this place!  Mount St. Helens National Volcanic Monument has much fewer visitors than its bigger sister Mt. Rainier and for this reason alone we really enjoyed the peace, quiet, and abundance of outdoor activities this National Monument has to offer.  

Mt. St. Helens Lava Tubes Hiking

Lava Caves

Mount St. Helen’s fiery past has created some pretty cool geological features.  Easily our favorite adventure at the volcano was the lava tubes.  Ape cave is one of the longest lava tubes in the world!  You can walk about 3 miles total in this cave!  It’s dark and wet so bring a headlamp and a backup flashlight and proper outerwear.  Don’t forget to check out the Trail of Two Forest Interpretive Site on your way either to or from the cave.  We loved this little trail we highly recommend crawling through the lava tube off the boardwalk.  

Lava Canyon Trail Mount St. Helens Best Hikes

Waterfalls

If you weren't stoked enough on the lava tubes well there’s plenty more in store for you here.  If you are into gushing waterfalls your in luck because the Lava Canyon Trail has a plethora of gushers.  This can be a pretty dangerous trail so use caution and if it’s wet forget about it.  There is a suspension bridge on the trail and it was closed at the time of writing this.  I will note that the trail after the suspension bridge really starts to drop off and become increasingly dangerous from here down.  

Ape Canyon Hiking Mt St Helens Best Hikes in the Area

Hiking

This Volcanic Monument is jam-packed with amazing hikes.  If you are feeling up to it you can even summit Mount St. Helens but you’ll need to obtain a permit in the summer months before the expedition.  For more information on permits check here.  Other than climbing the summit there’s plenty of hikes that range from easy to difficult.  You can circumnavigate the entire ring of the volcano (Lowit Loop) or hike any spur trail that takes you to the trail.  We recommend Ape Canyon for a nice afternoon hike.

Mt St. Helens  Hiking, Camping, Caves (3 of 4).jpg

Camping

Outside of the National Volcanic Monument is National Forest land which you can disperse camp on.  We found some awesome campsites here with incredible views of the peak.  We even got some late summer snow and got to see St. Helens get a snow cap crown while we were there.  

The Mount St. Helens National Volcanic Monument is a must-do stop over on your PNW journey.  There was so much more here than we were expecting and we are so glad we were able to experience this amazing place.  

Ladder Canyon, California's best Slot Canyon

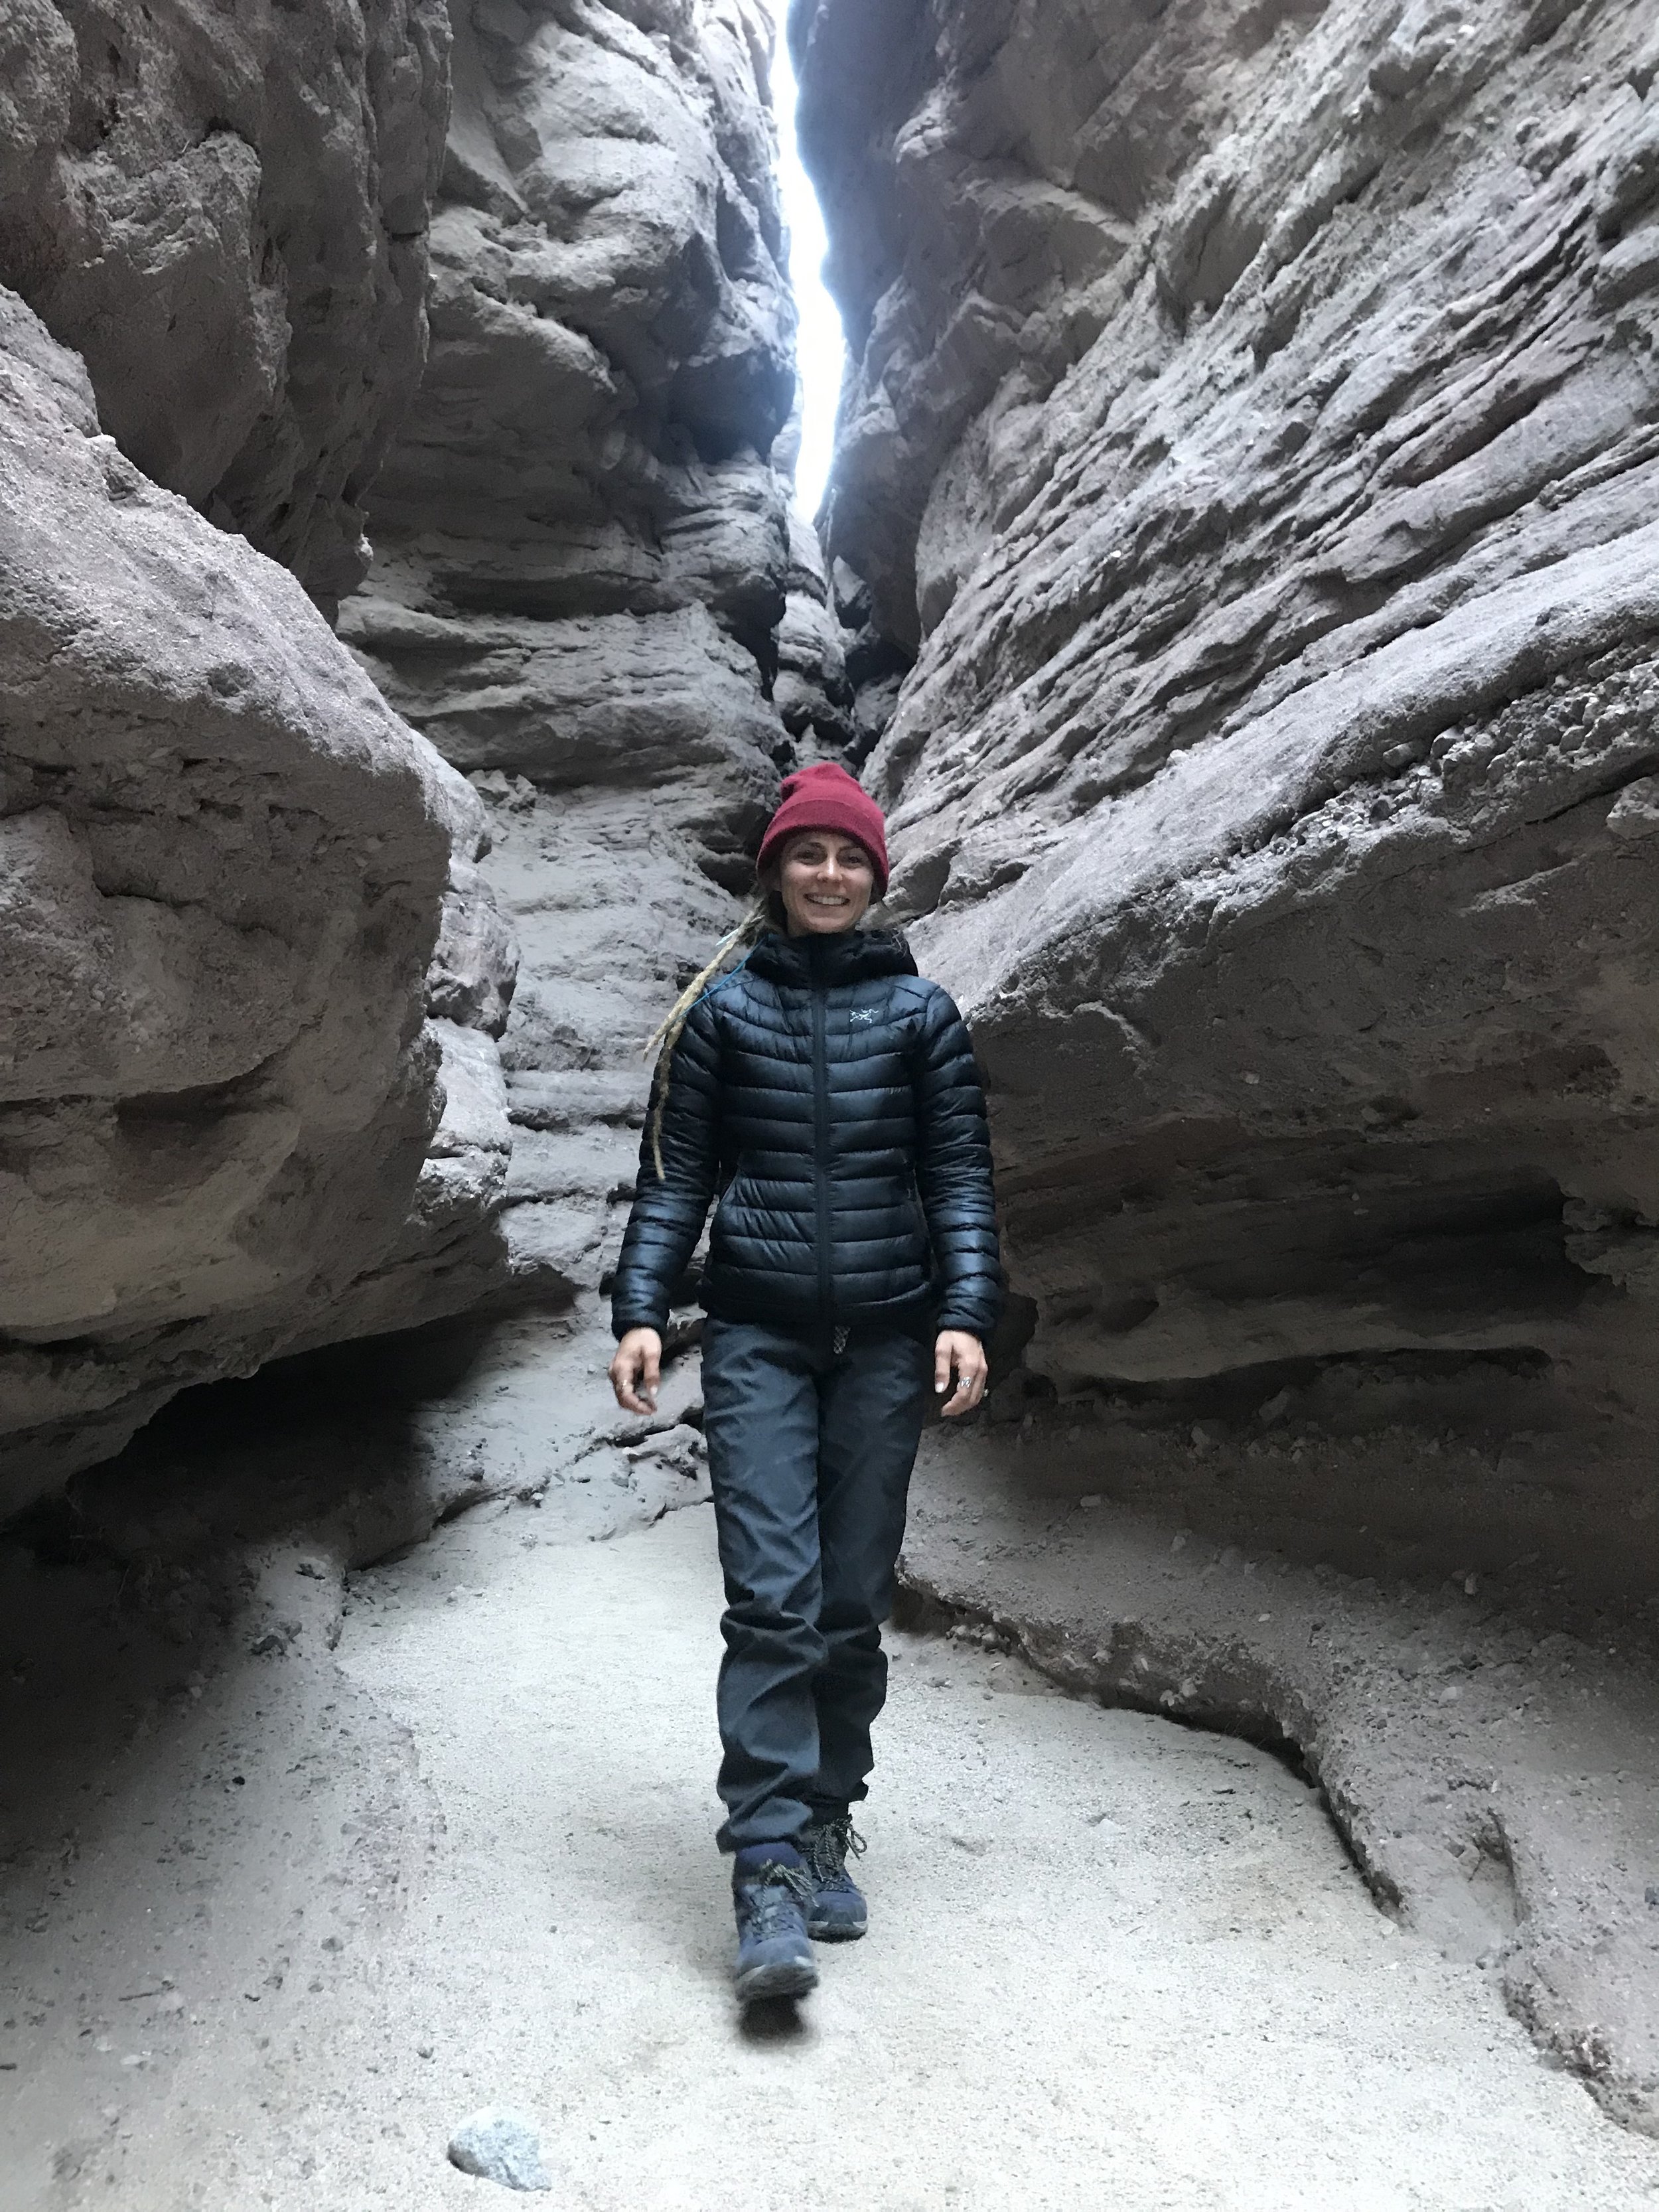
Ladder Canyon California Hike

This is another California desert gem that we weren't really expecting to be as amazing as it is.  Ladder Canyon is dubbed California’s best slot canyon it’s the first we've seen in Cali so we give it two thumbs up!  If you are looking for Ladder Canyon just google it and it will lead you in the right direction no need for 4WD to access the trailhead we did it in a 2WD VW Vanagon so anyone can make it.  Ladder Canyon is on BLM land so there is a 14 day camping limit, there are drop toilets on site but they are a walk so bring a shovel.  We decided to camp right at the mouth of the canyon and it was a great place to spend a few days exploring the area.  

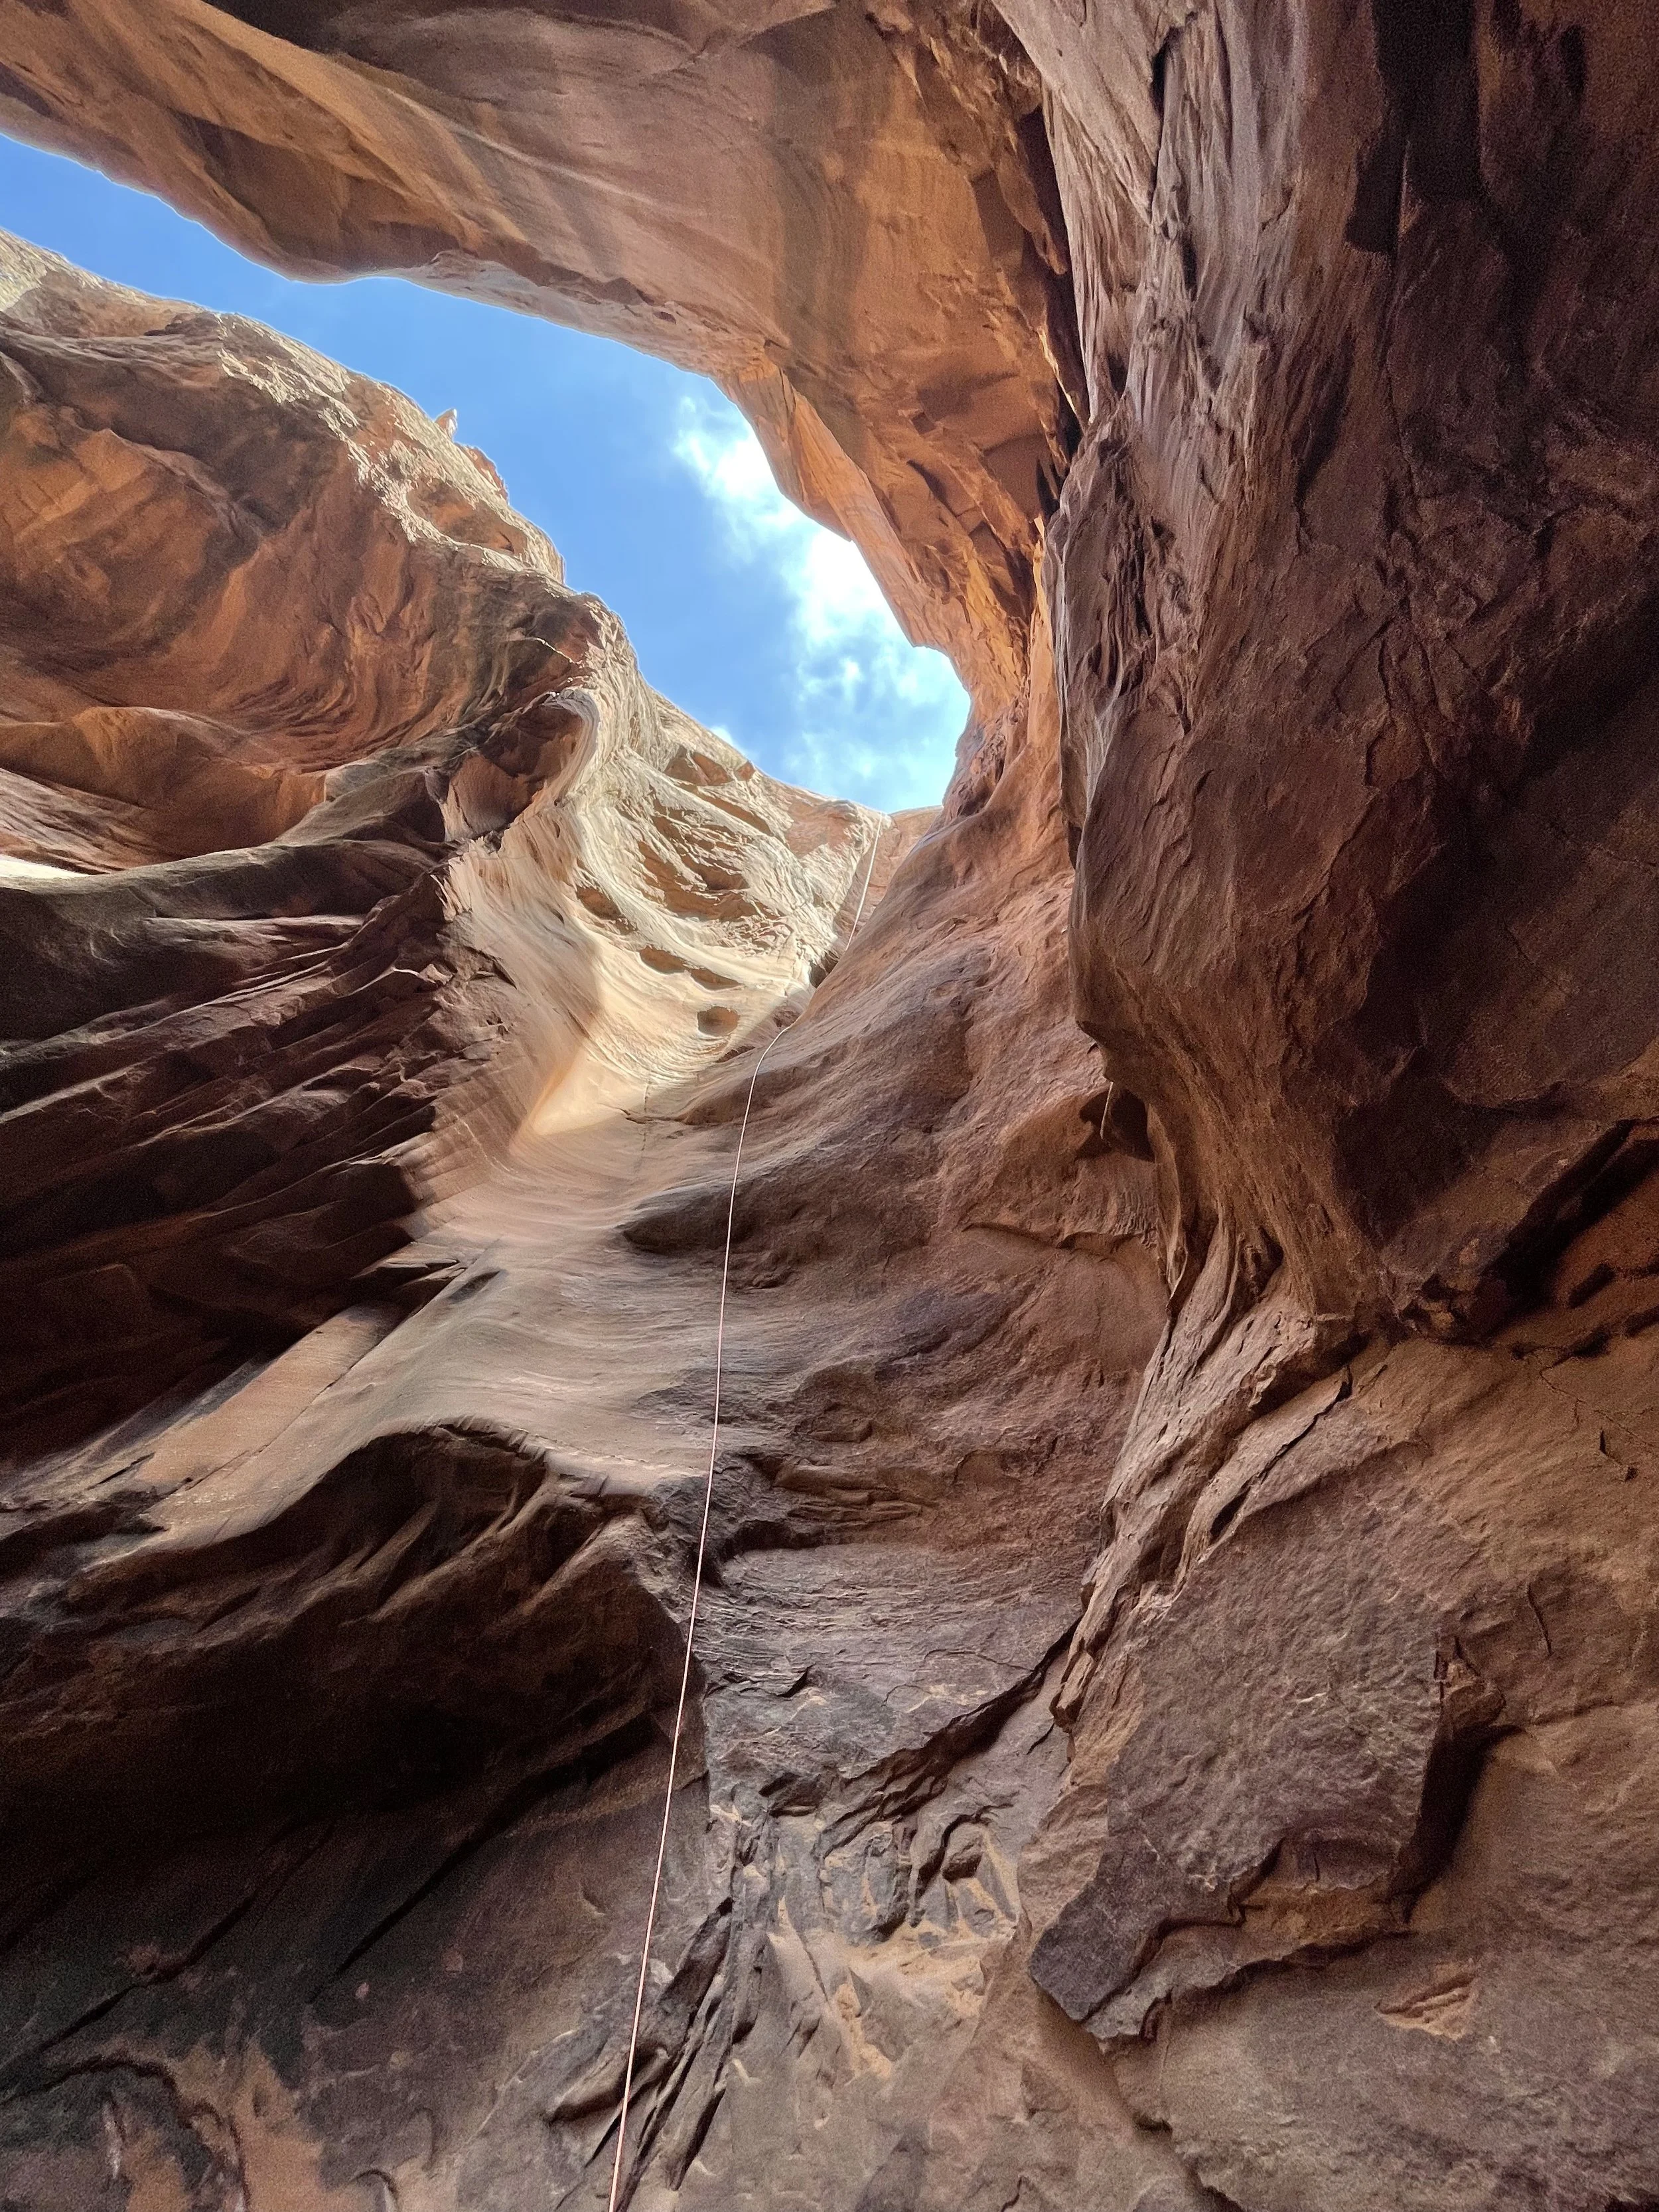
The Ladder Canyon hike is a 4.5 mile hike that can be done in a loop.  When starting the hike keep a keen eye to hikers left where you will begin the journey up the first slot canyon.  Navigating this section requires a bit of rope climbing and there is what I would call a V0 bouldering problem that some in our group struggled with.  With a boost and a hand we were on our way past this section.  Once you top out of this canyon you will very exposed to wind and sun above the eroded desert landscape, this is where ample water and sun protection will be needed.  We were here in February and needed plenty of water along this stretch of the hike.  If you are here in the summer it’s going to be a scorcher so be prepared!  

Ladder Canyon California SLot Canyon

Once you top out you can hike to the summit for amazing views of the desert or you can begin navigating your way down ladder canyon.  You will drop down into a canyon and eventually come up on a series of ladders to help you get down into the slot canyon this is where the canyon gets the most narrow and really gives you that Utah/Arizona slot canyon feel.  You will exit back into the large canyon you started in.  There are more off shoots all around this area and you may need more that a day to explore all this area has to offer.  

Remember when camping to pack it in, and pack it out.  Lets keep these amazing BLM areas natural.  Happy Trails! 

Ladder Canyon camping

Best Views of Shasta Just minutes off I-5 | Castle Lake Overlook

Mount Shasta Free Camping

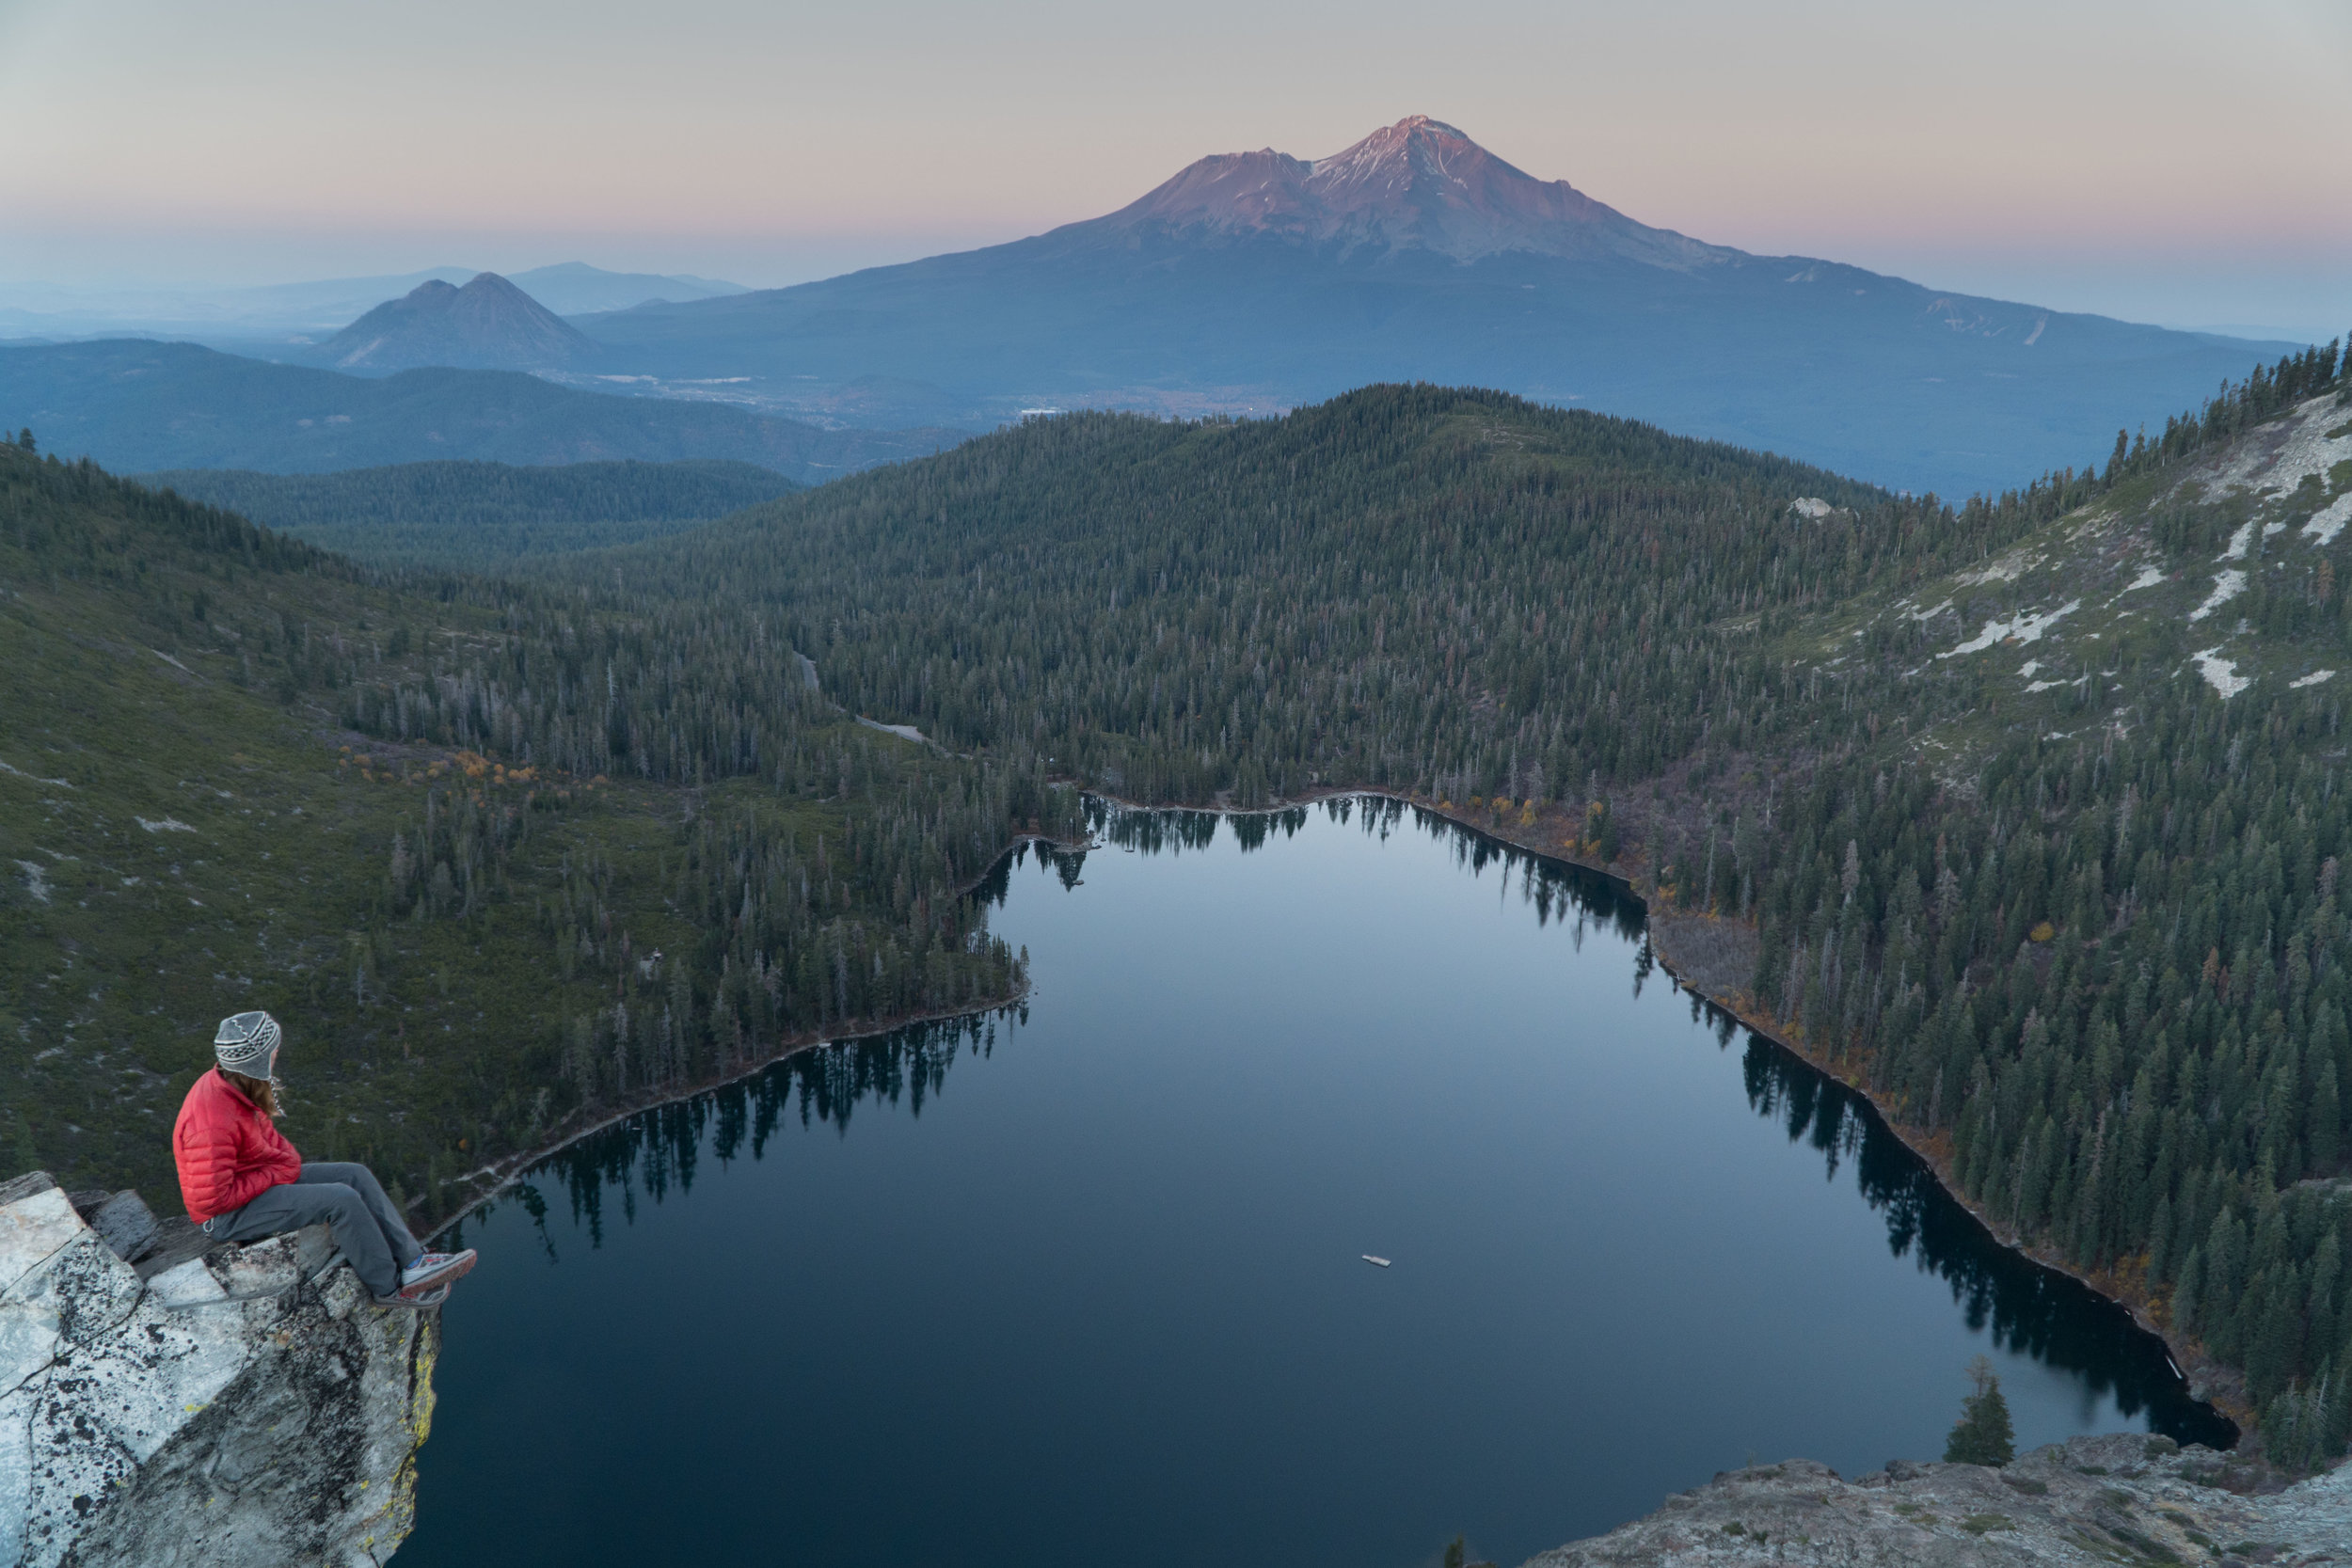
If you have ever driven up I-5 form California to Oregon there’s no way you missed the overwhelming beauty of Mount Shasta.  Shasta is a massive strata volcano that juts out of the earth to an elevation of 14,179 making it the tallest Volcano in California.  Lucky for you we have an easy way to get amazing views of the Volcano just 15 minutes off of Interstate 5.  

The Castle Lake overlook is a short out and back around 3 miles long to one of the most rewarding views considering how short the approach is.  

Park in the Castle Lake parking lot from here you will take Little Castle Lake Trail (#4W02) after just under a mile the trail will split off to the Castle Lake Overlook trail.  You have to have a keen eye to see the turn off.  You don't want to hike to far on the Little Castle Lake Trail otherwise you will end up on the wrong side of Castle Lake and be on your way to Little Castle Lake.  Just remember that you want to be on the ridge lookers right while you are hiking up the trail.  If the kooks figured this out so can you.  

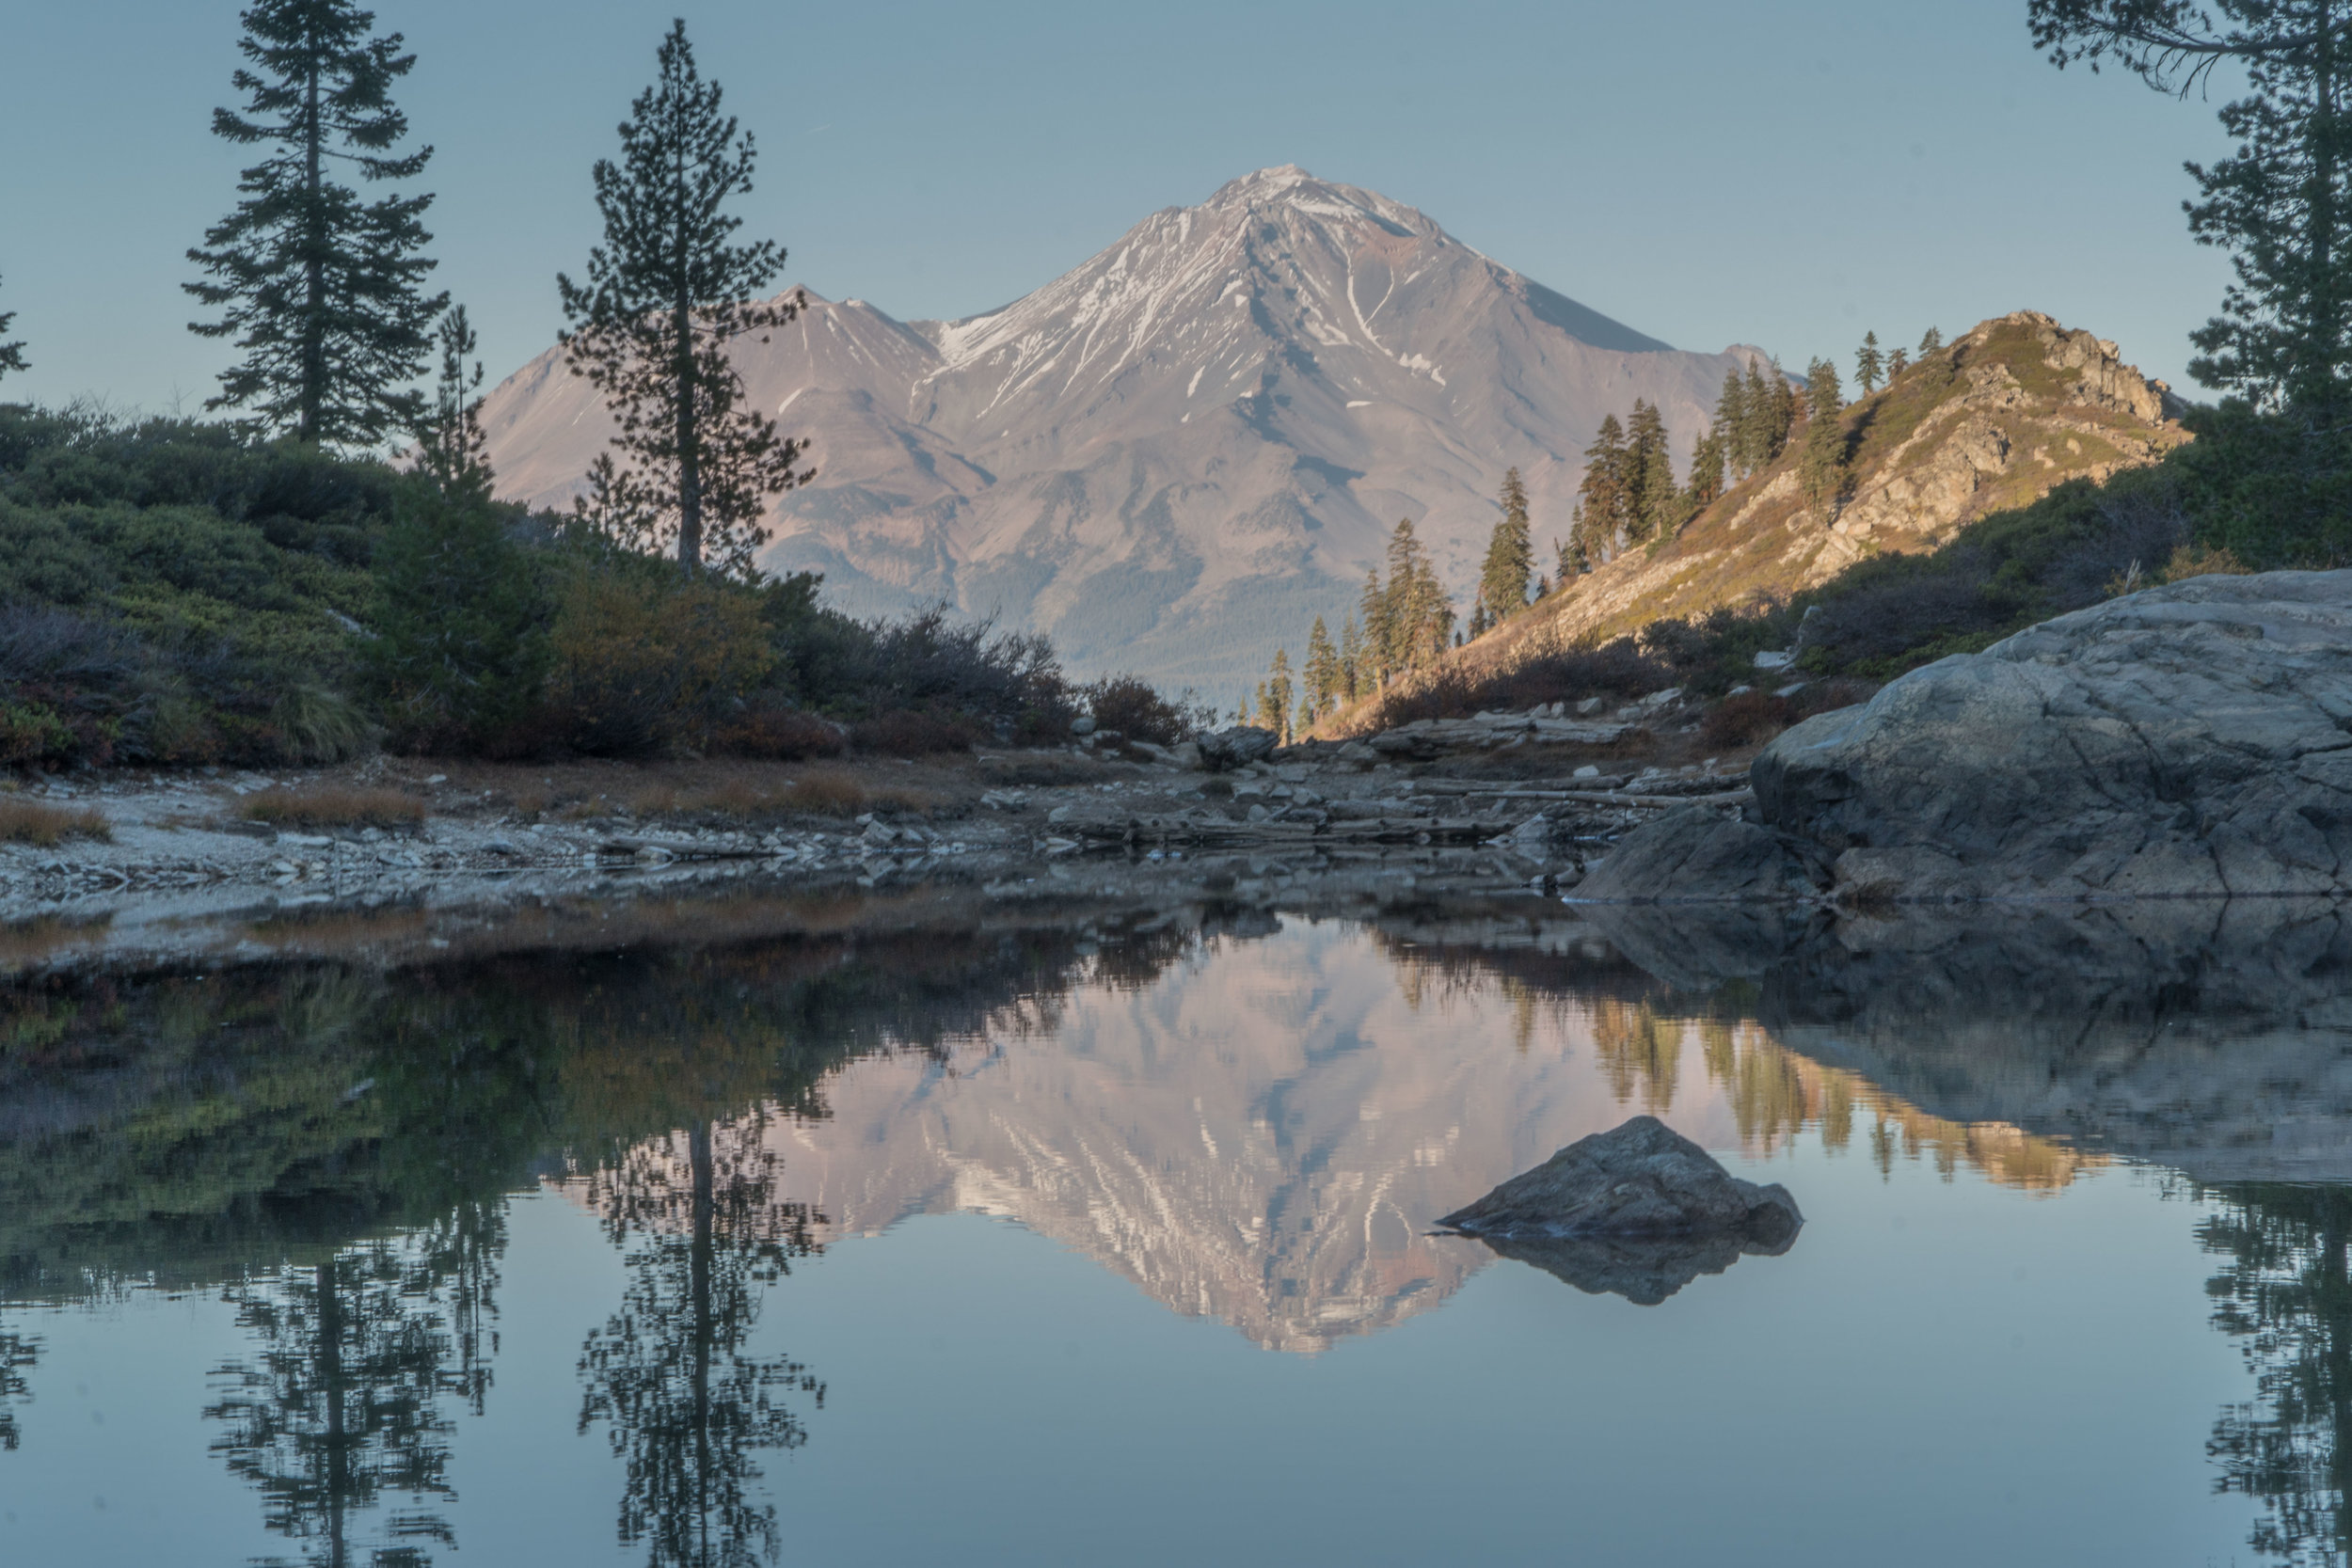
On the way up there is also an amazing photo opportunity on the right conditions at a reflection pond, here you can test your photography skills and snap a beautiful shot of Shasta’s peak reflecting off the glassy water in the tarn.  Once at the top of the overlook you will feel very rewarded for the short hike you just conquered.  Take a few moments here snap a few memories and head back down about 1.5 miles to the lot.  

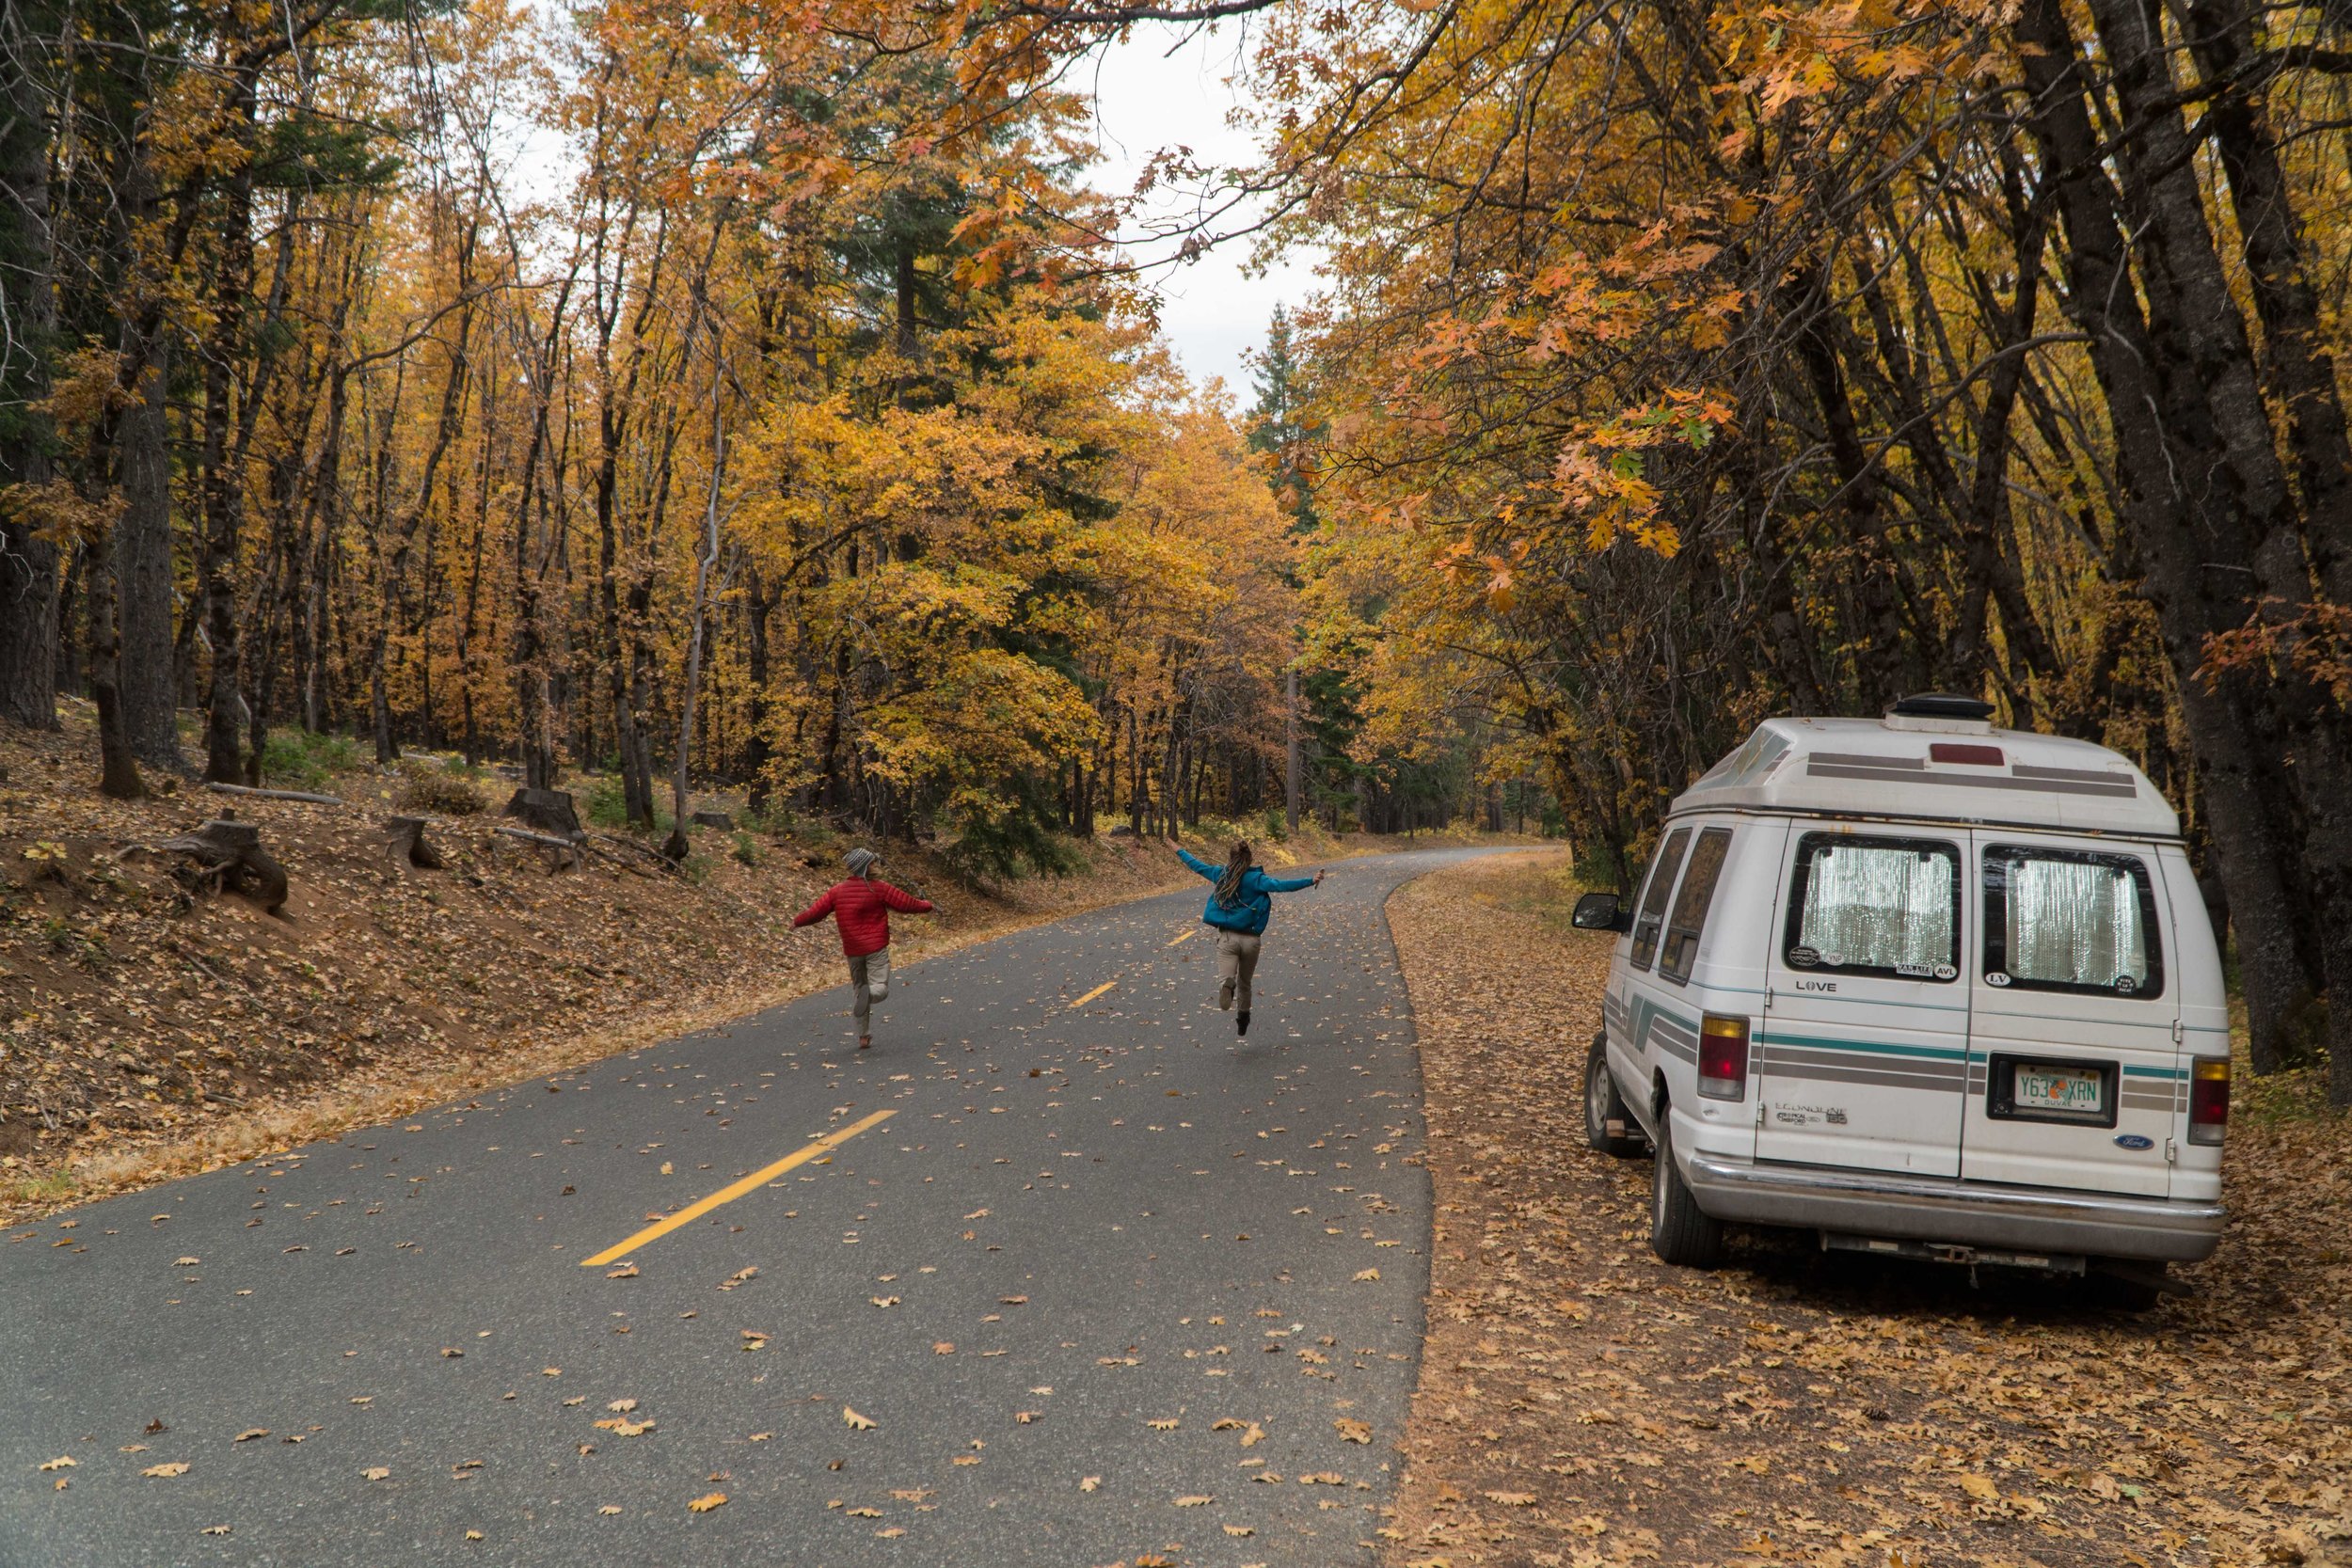
Depending on time of year camping is ok as well in the parking lot we stayed for a day in October and enjoyed amazing fall colors on our drive out.  There are pit toilets at the lot and I would imagine kayaking or SUPing would be an awesome activity on a calm day.  Also as always pack it in, pack it out!  Let’s keep these places free and wild!  
If you are driving up I-5 and are looking for a great day activity, or a place to crash this is an amazing place to spend the day there are more hikes in the area so do a little bit of research and you could find yourself on a backpacking adventure.  

4 Family Friendly Activities to do at Yosemite National Park

Yosemite Valley Family Hikes

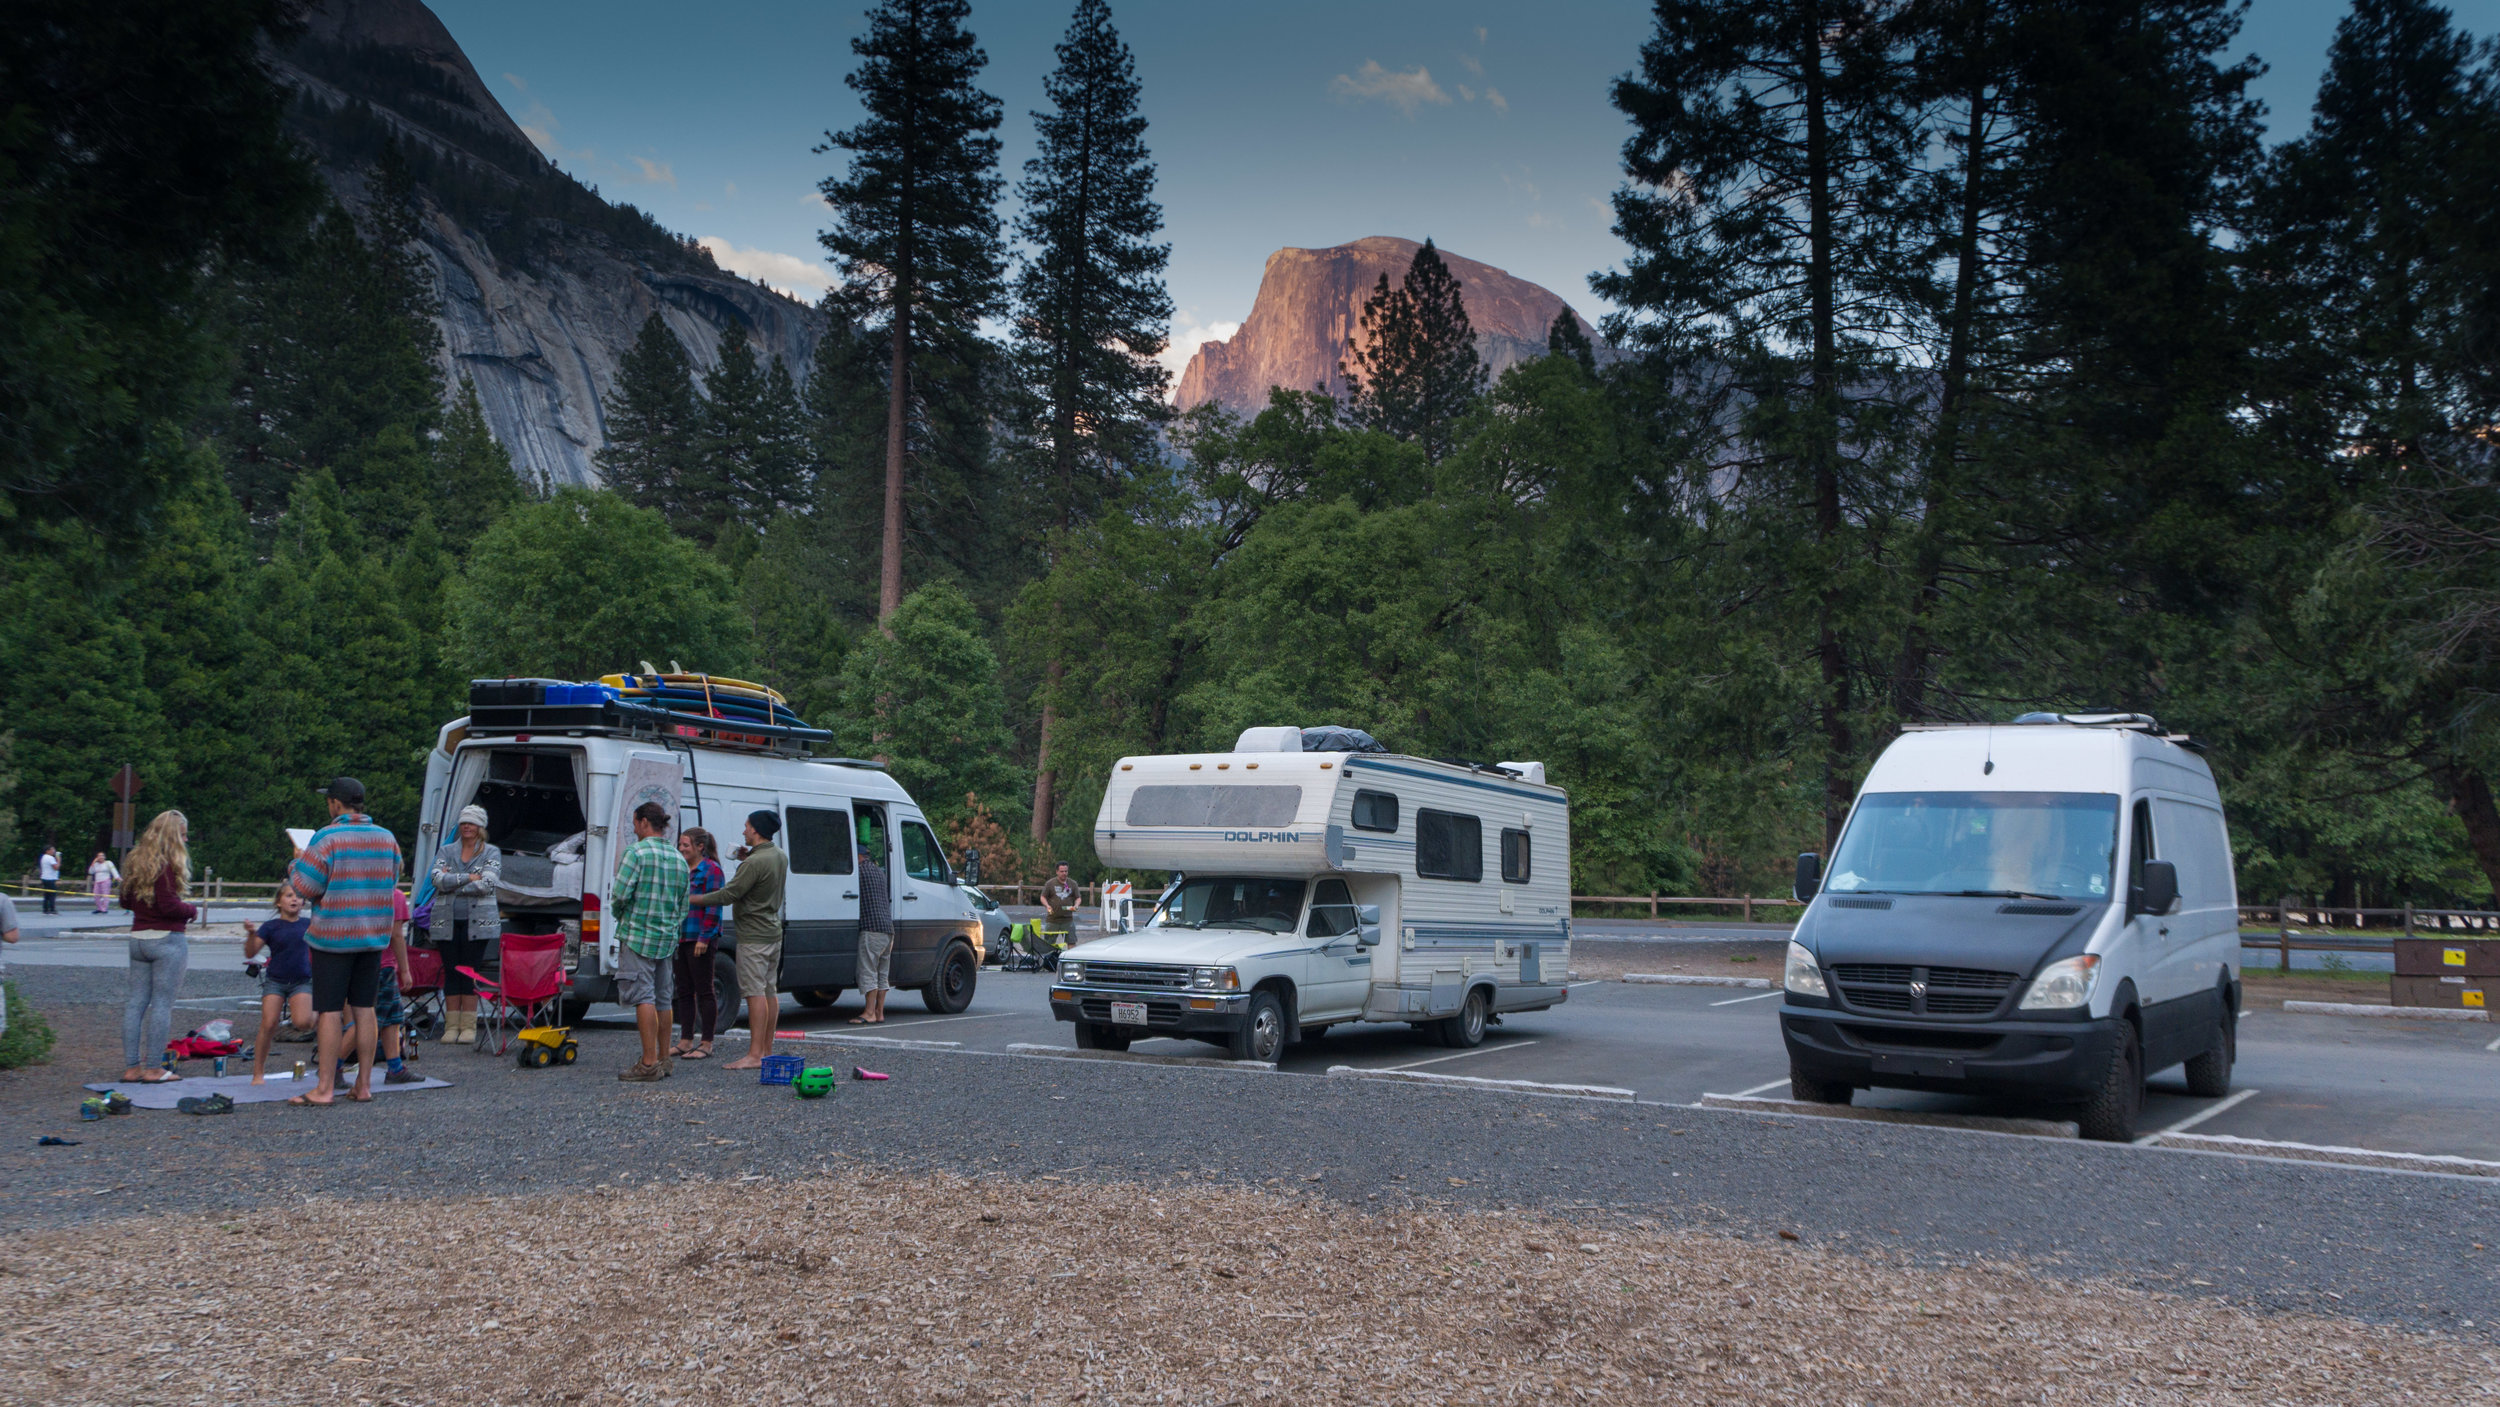
Traveling can connect you with all walks of life.  While we were traveling in San Diego we met @lifeofkuhl a Canadian family of 5 traveling the Western US and Baja, Mexico, while homeshchooloing the 3 children.  We me them at he SoCal van gathering and had traveled with them all the way to Vail, Colorado before we parted ways.  

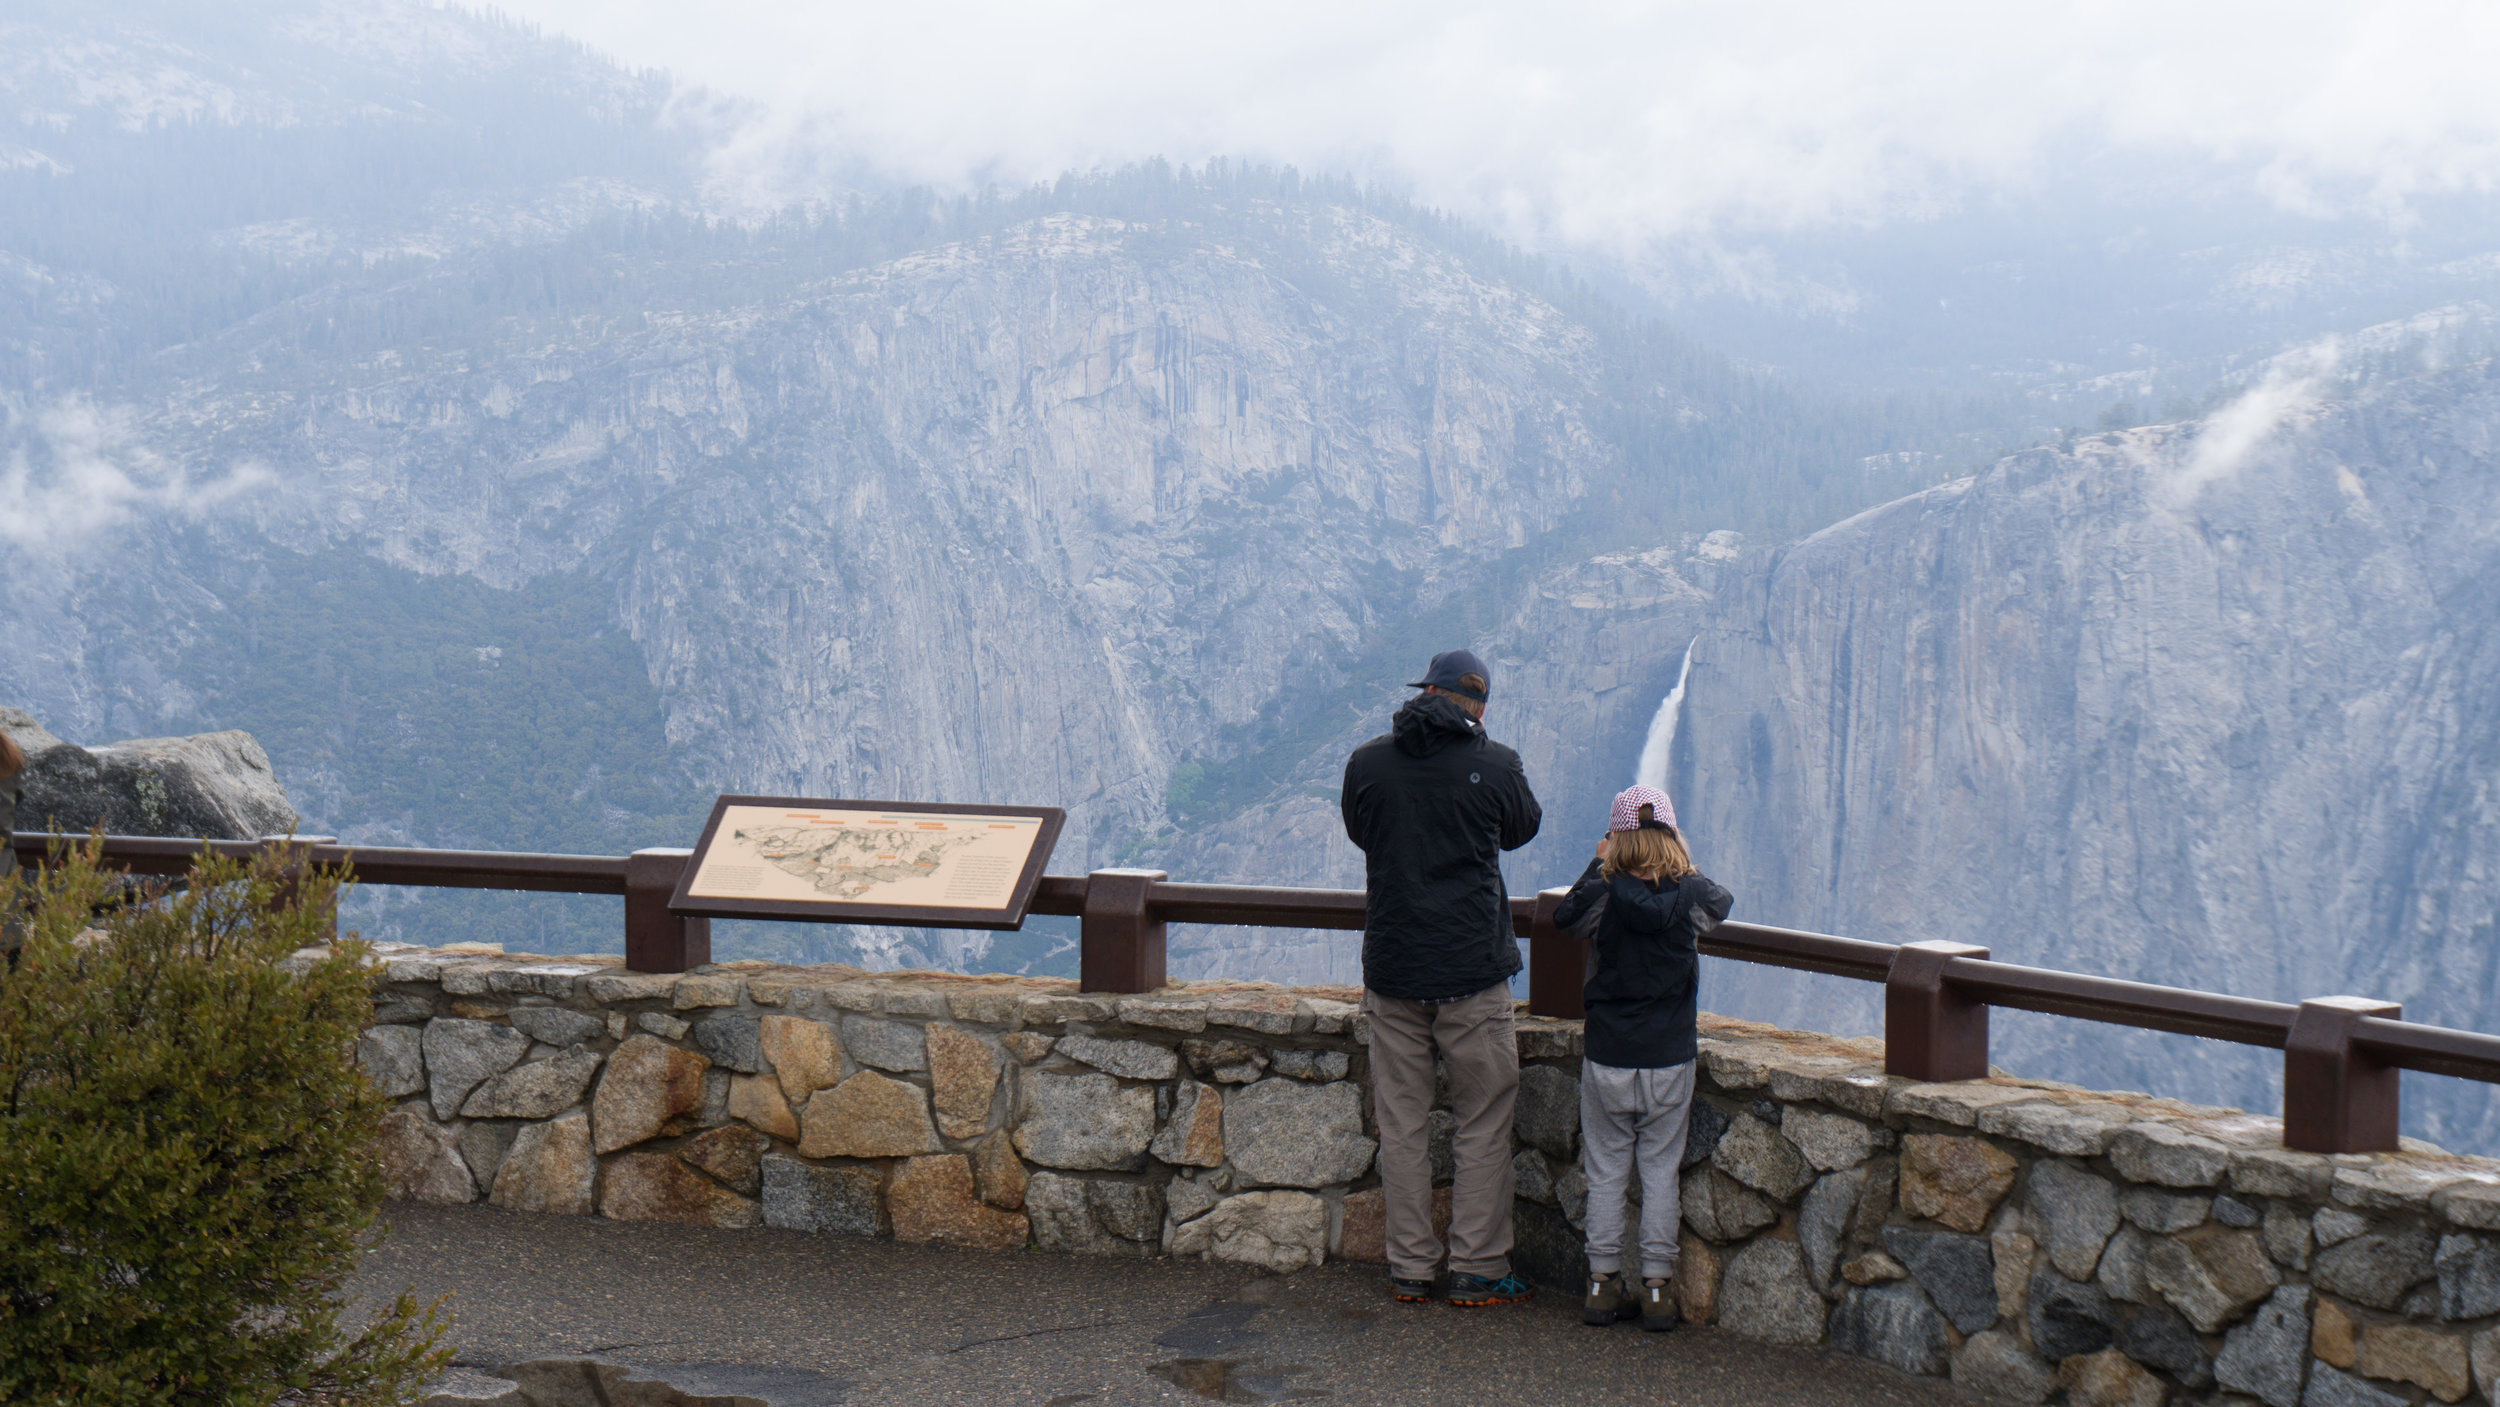
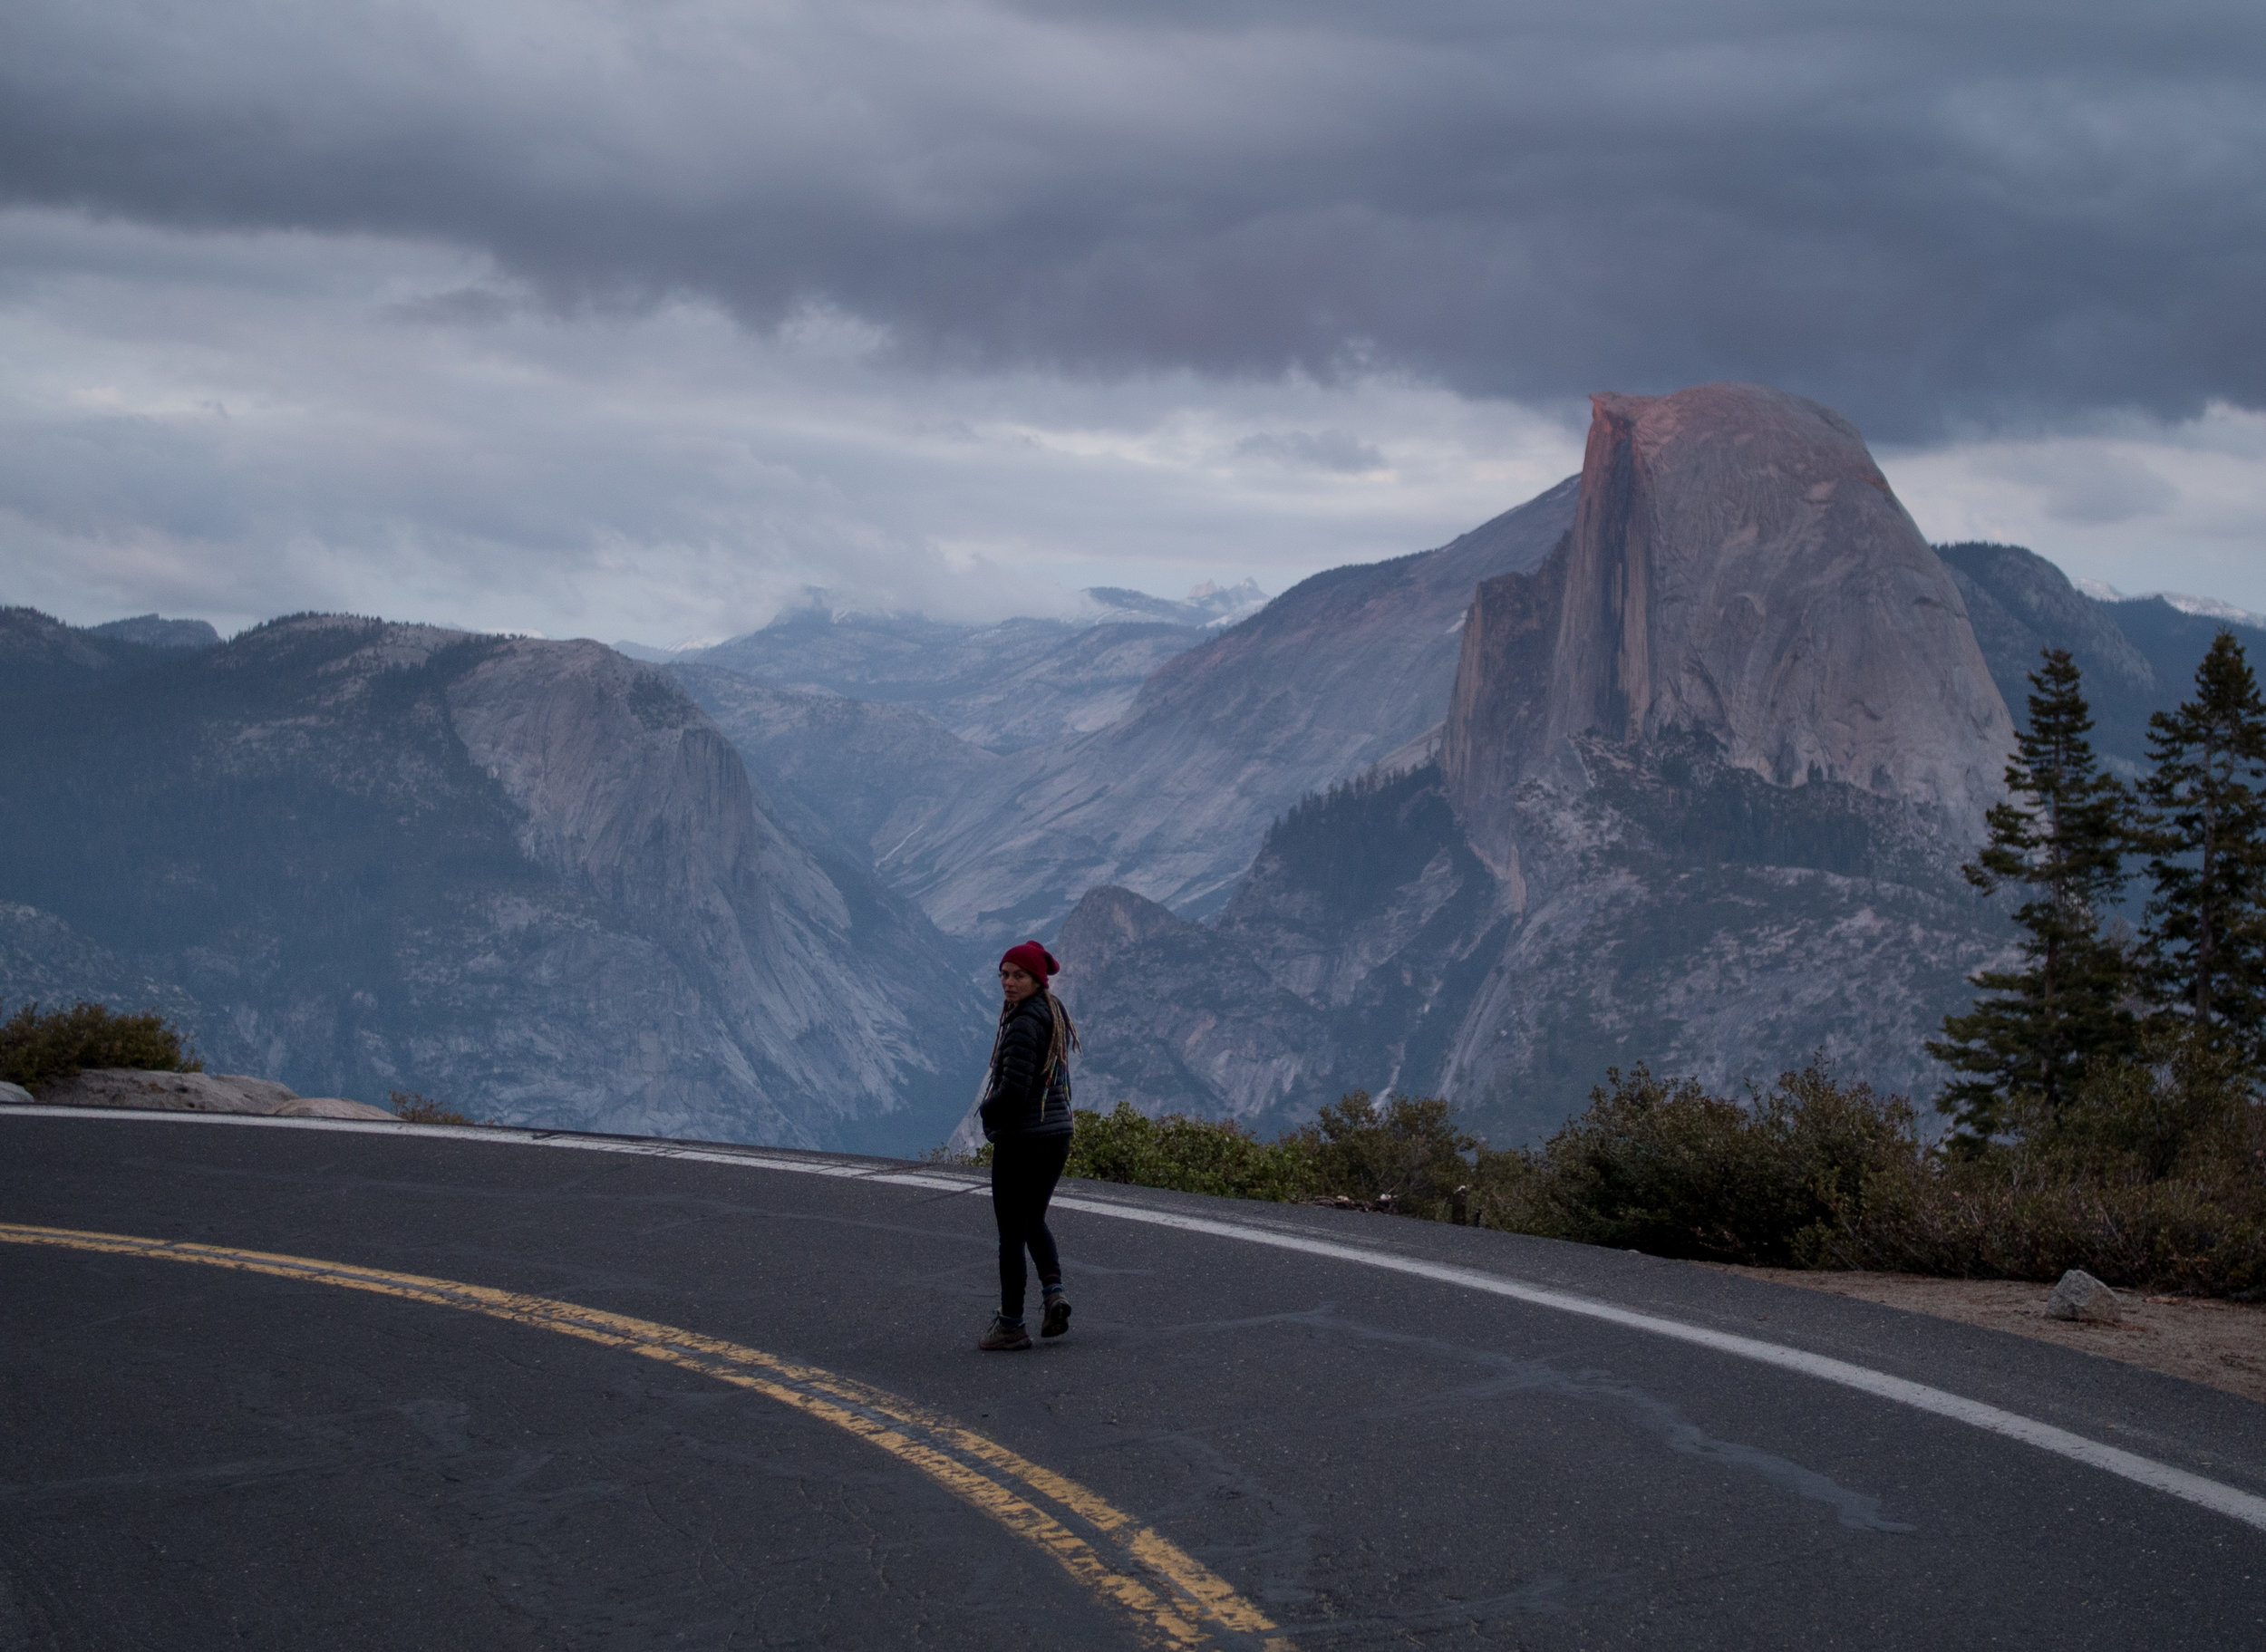
One of our stops with the Kuhl’s along our epic road trip was in Yosemite National Park in May.  This was a great time to visit the park it was just before school was out and before busy holiday weekends, and most importantly fire season so it was clear and the crowds weren't too hectic. If you’re heading to Yosemite here are a few family friendly activities that the kids will love.   

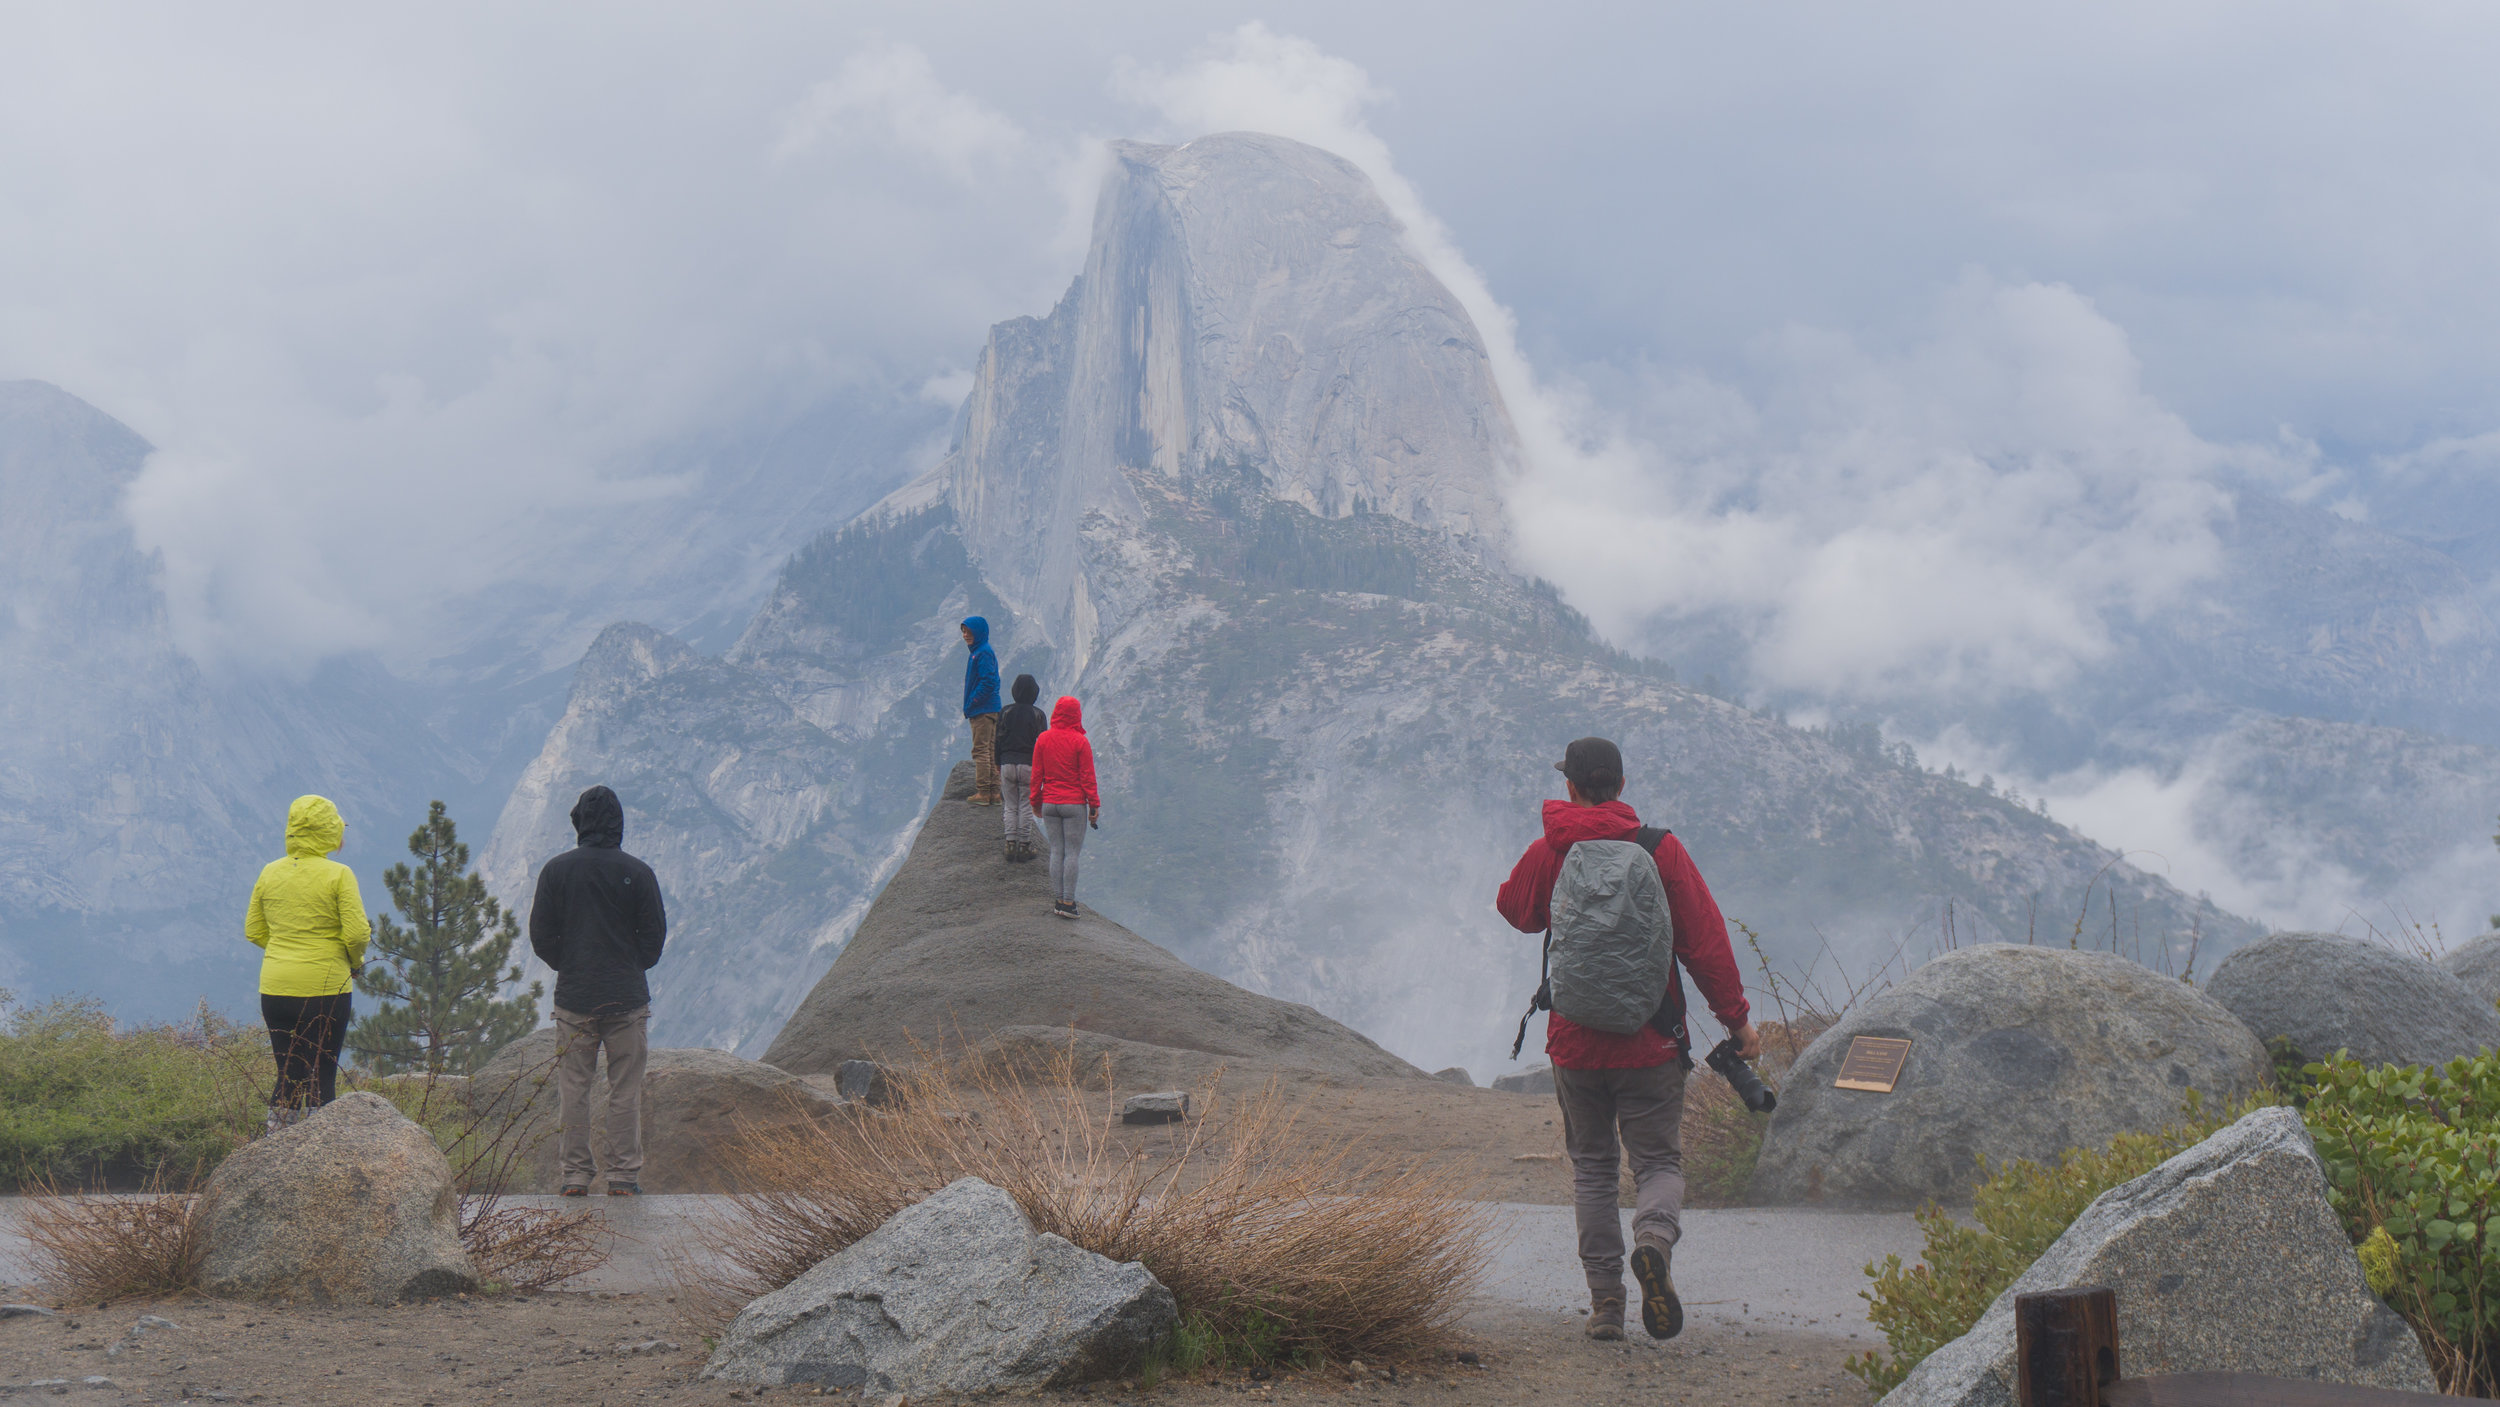
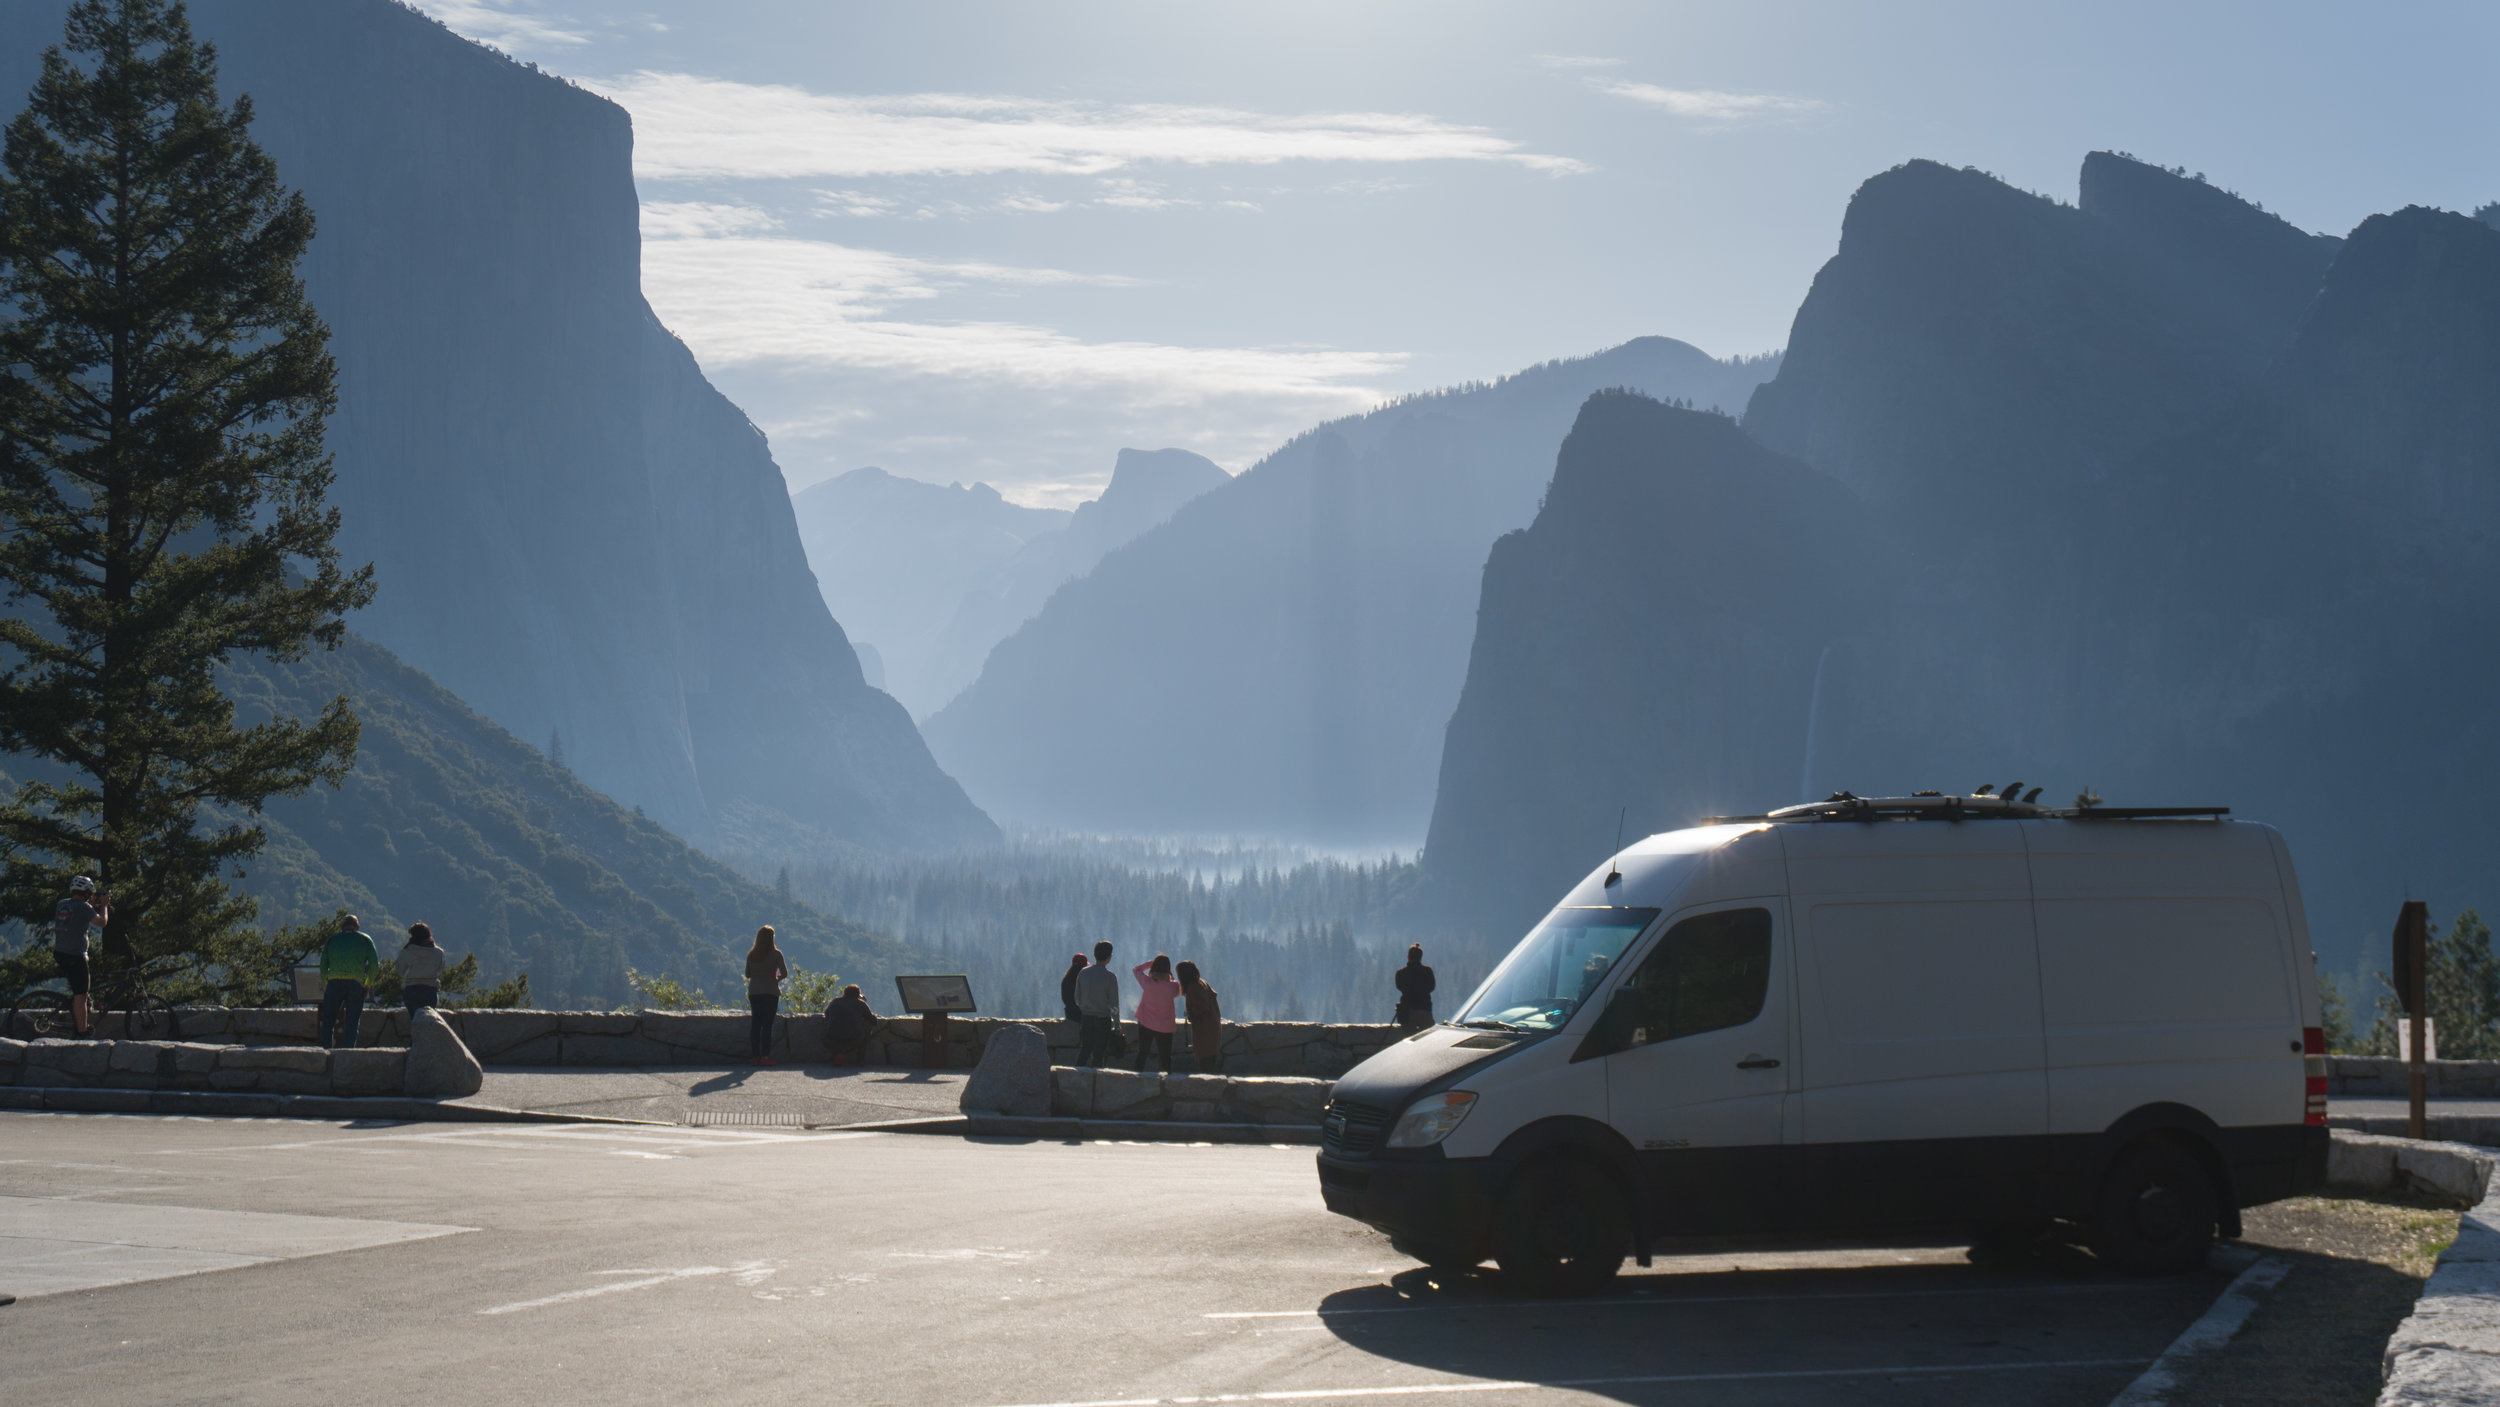
Glacier Point 

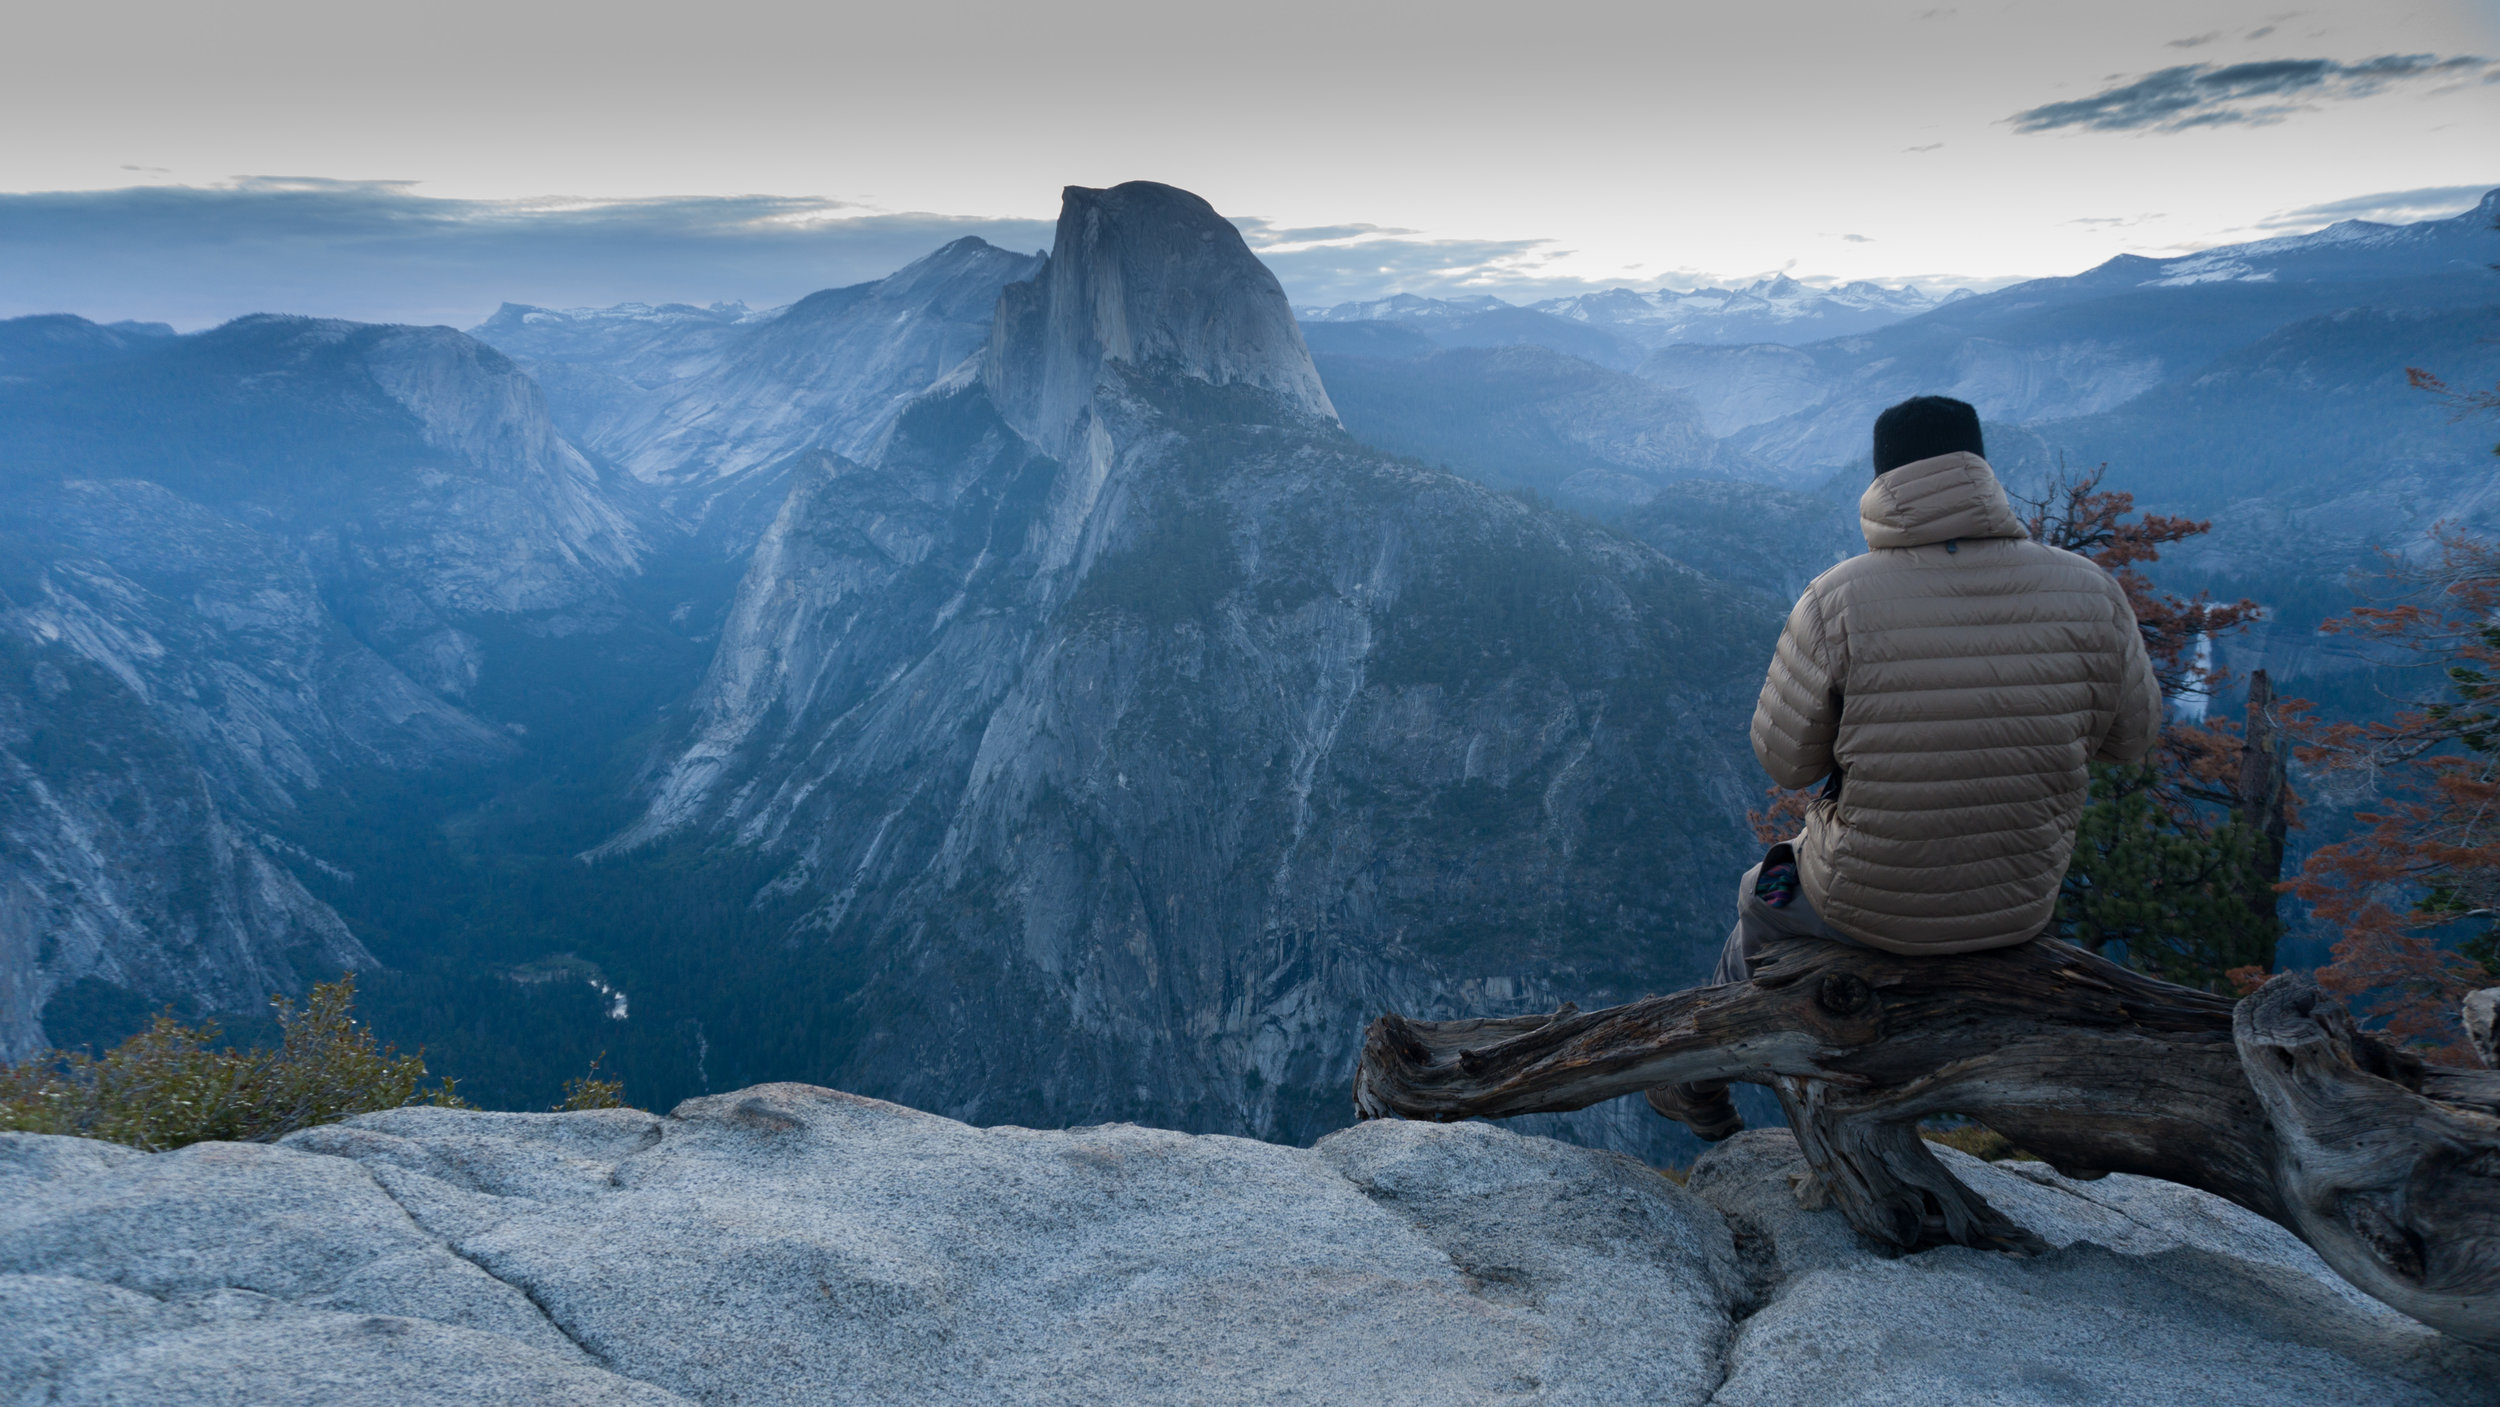
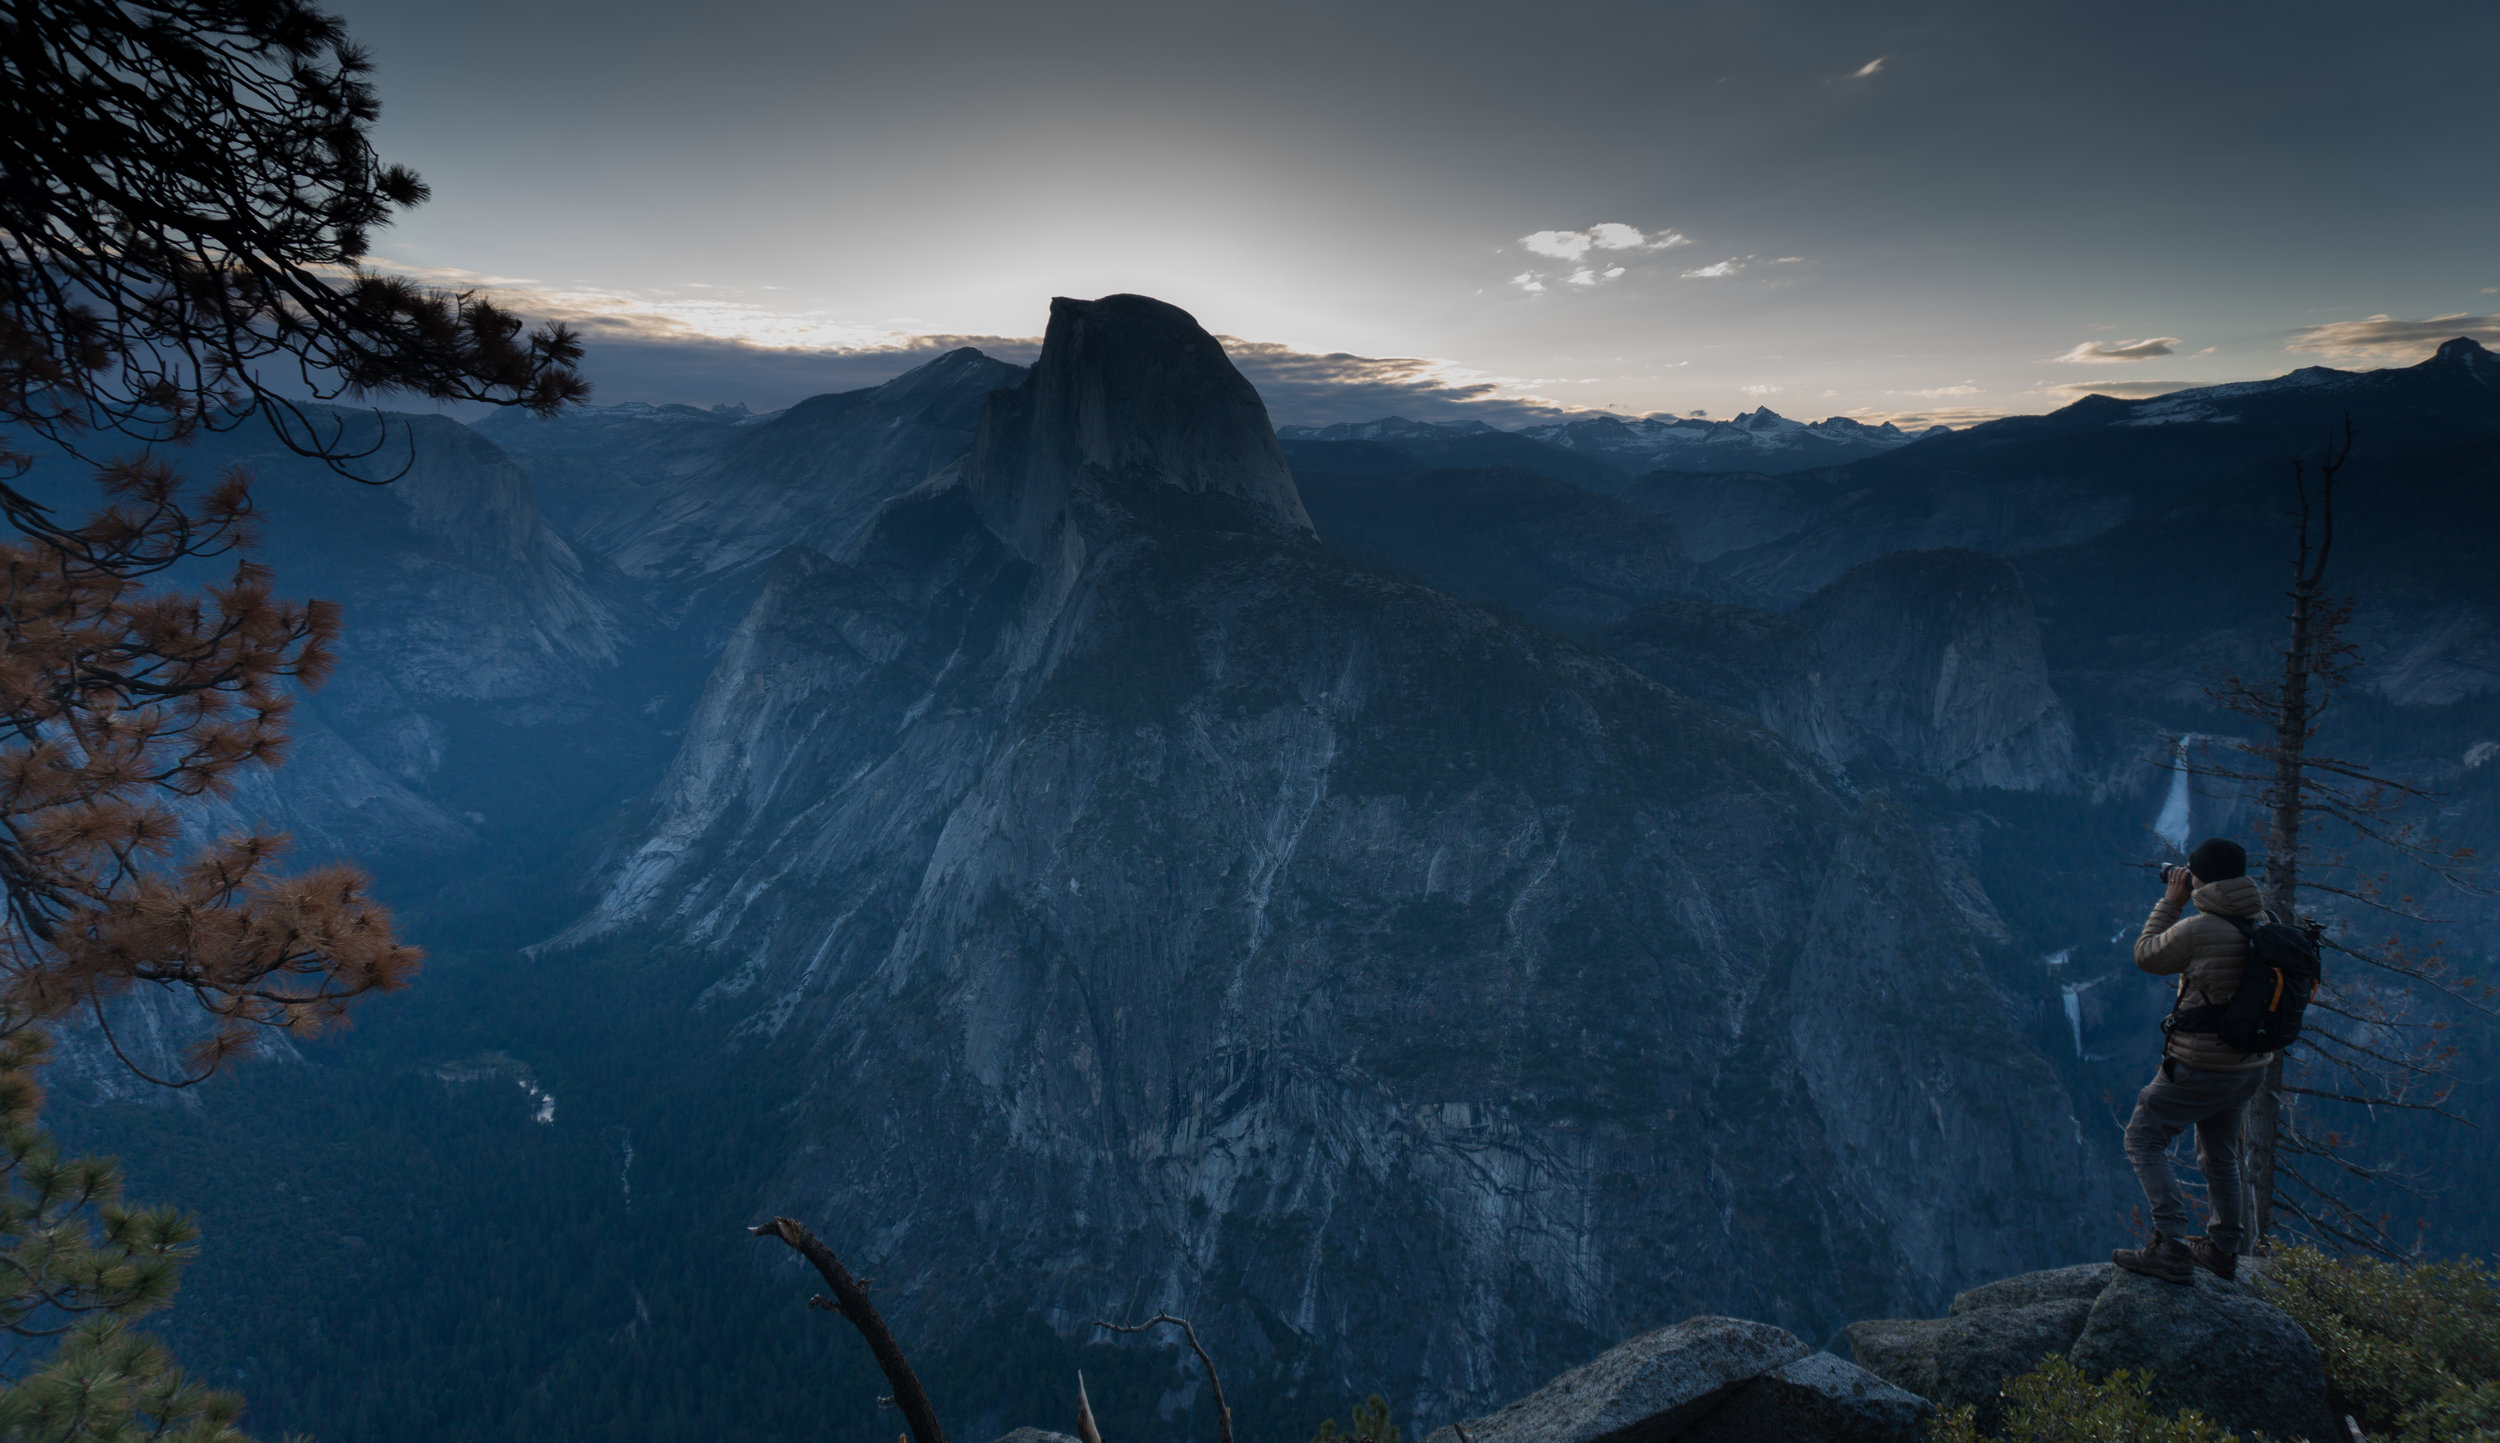
We came in from Kings Canyon so our first stop was Glacier Point in my mind a mandatory Yosemite stop for sunset this is a family friendly activity the view are amazing (some of the best on earth) and there is little hiking involved (0.5 mile) to get them. There is plenty here to keep the kids busy and entertained.  If you are looking for more head to the Sentinel Dome trail (2.6 Miles Moderate) for something to really get the kids tired. 

Biking

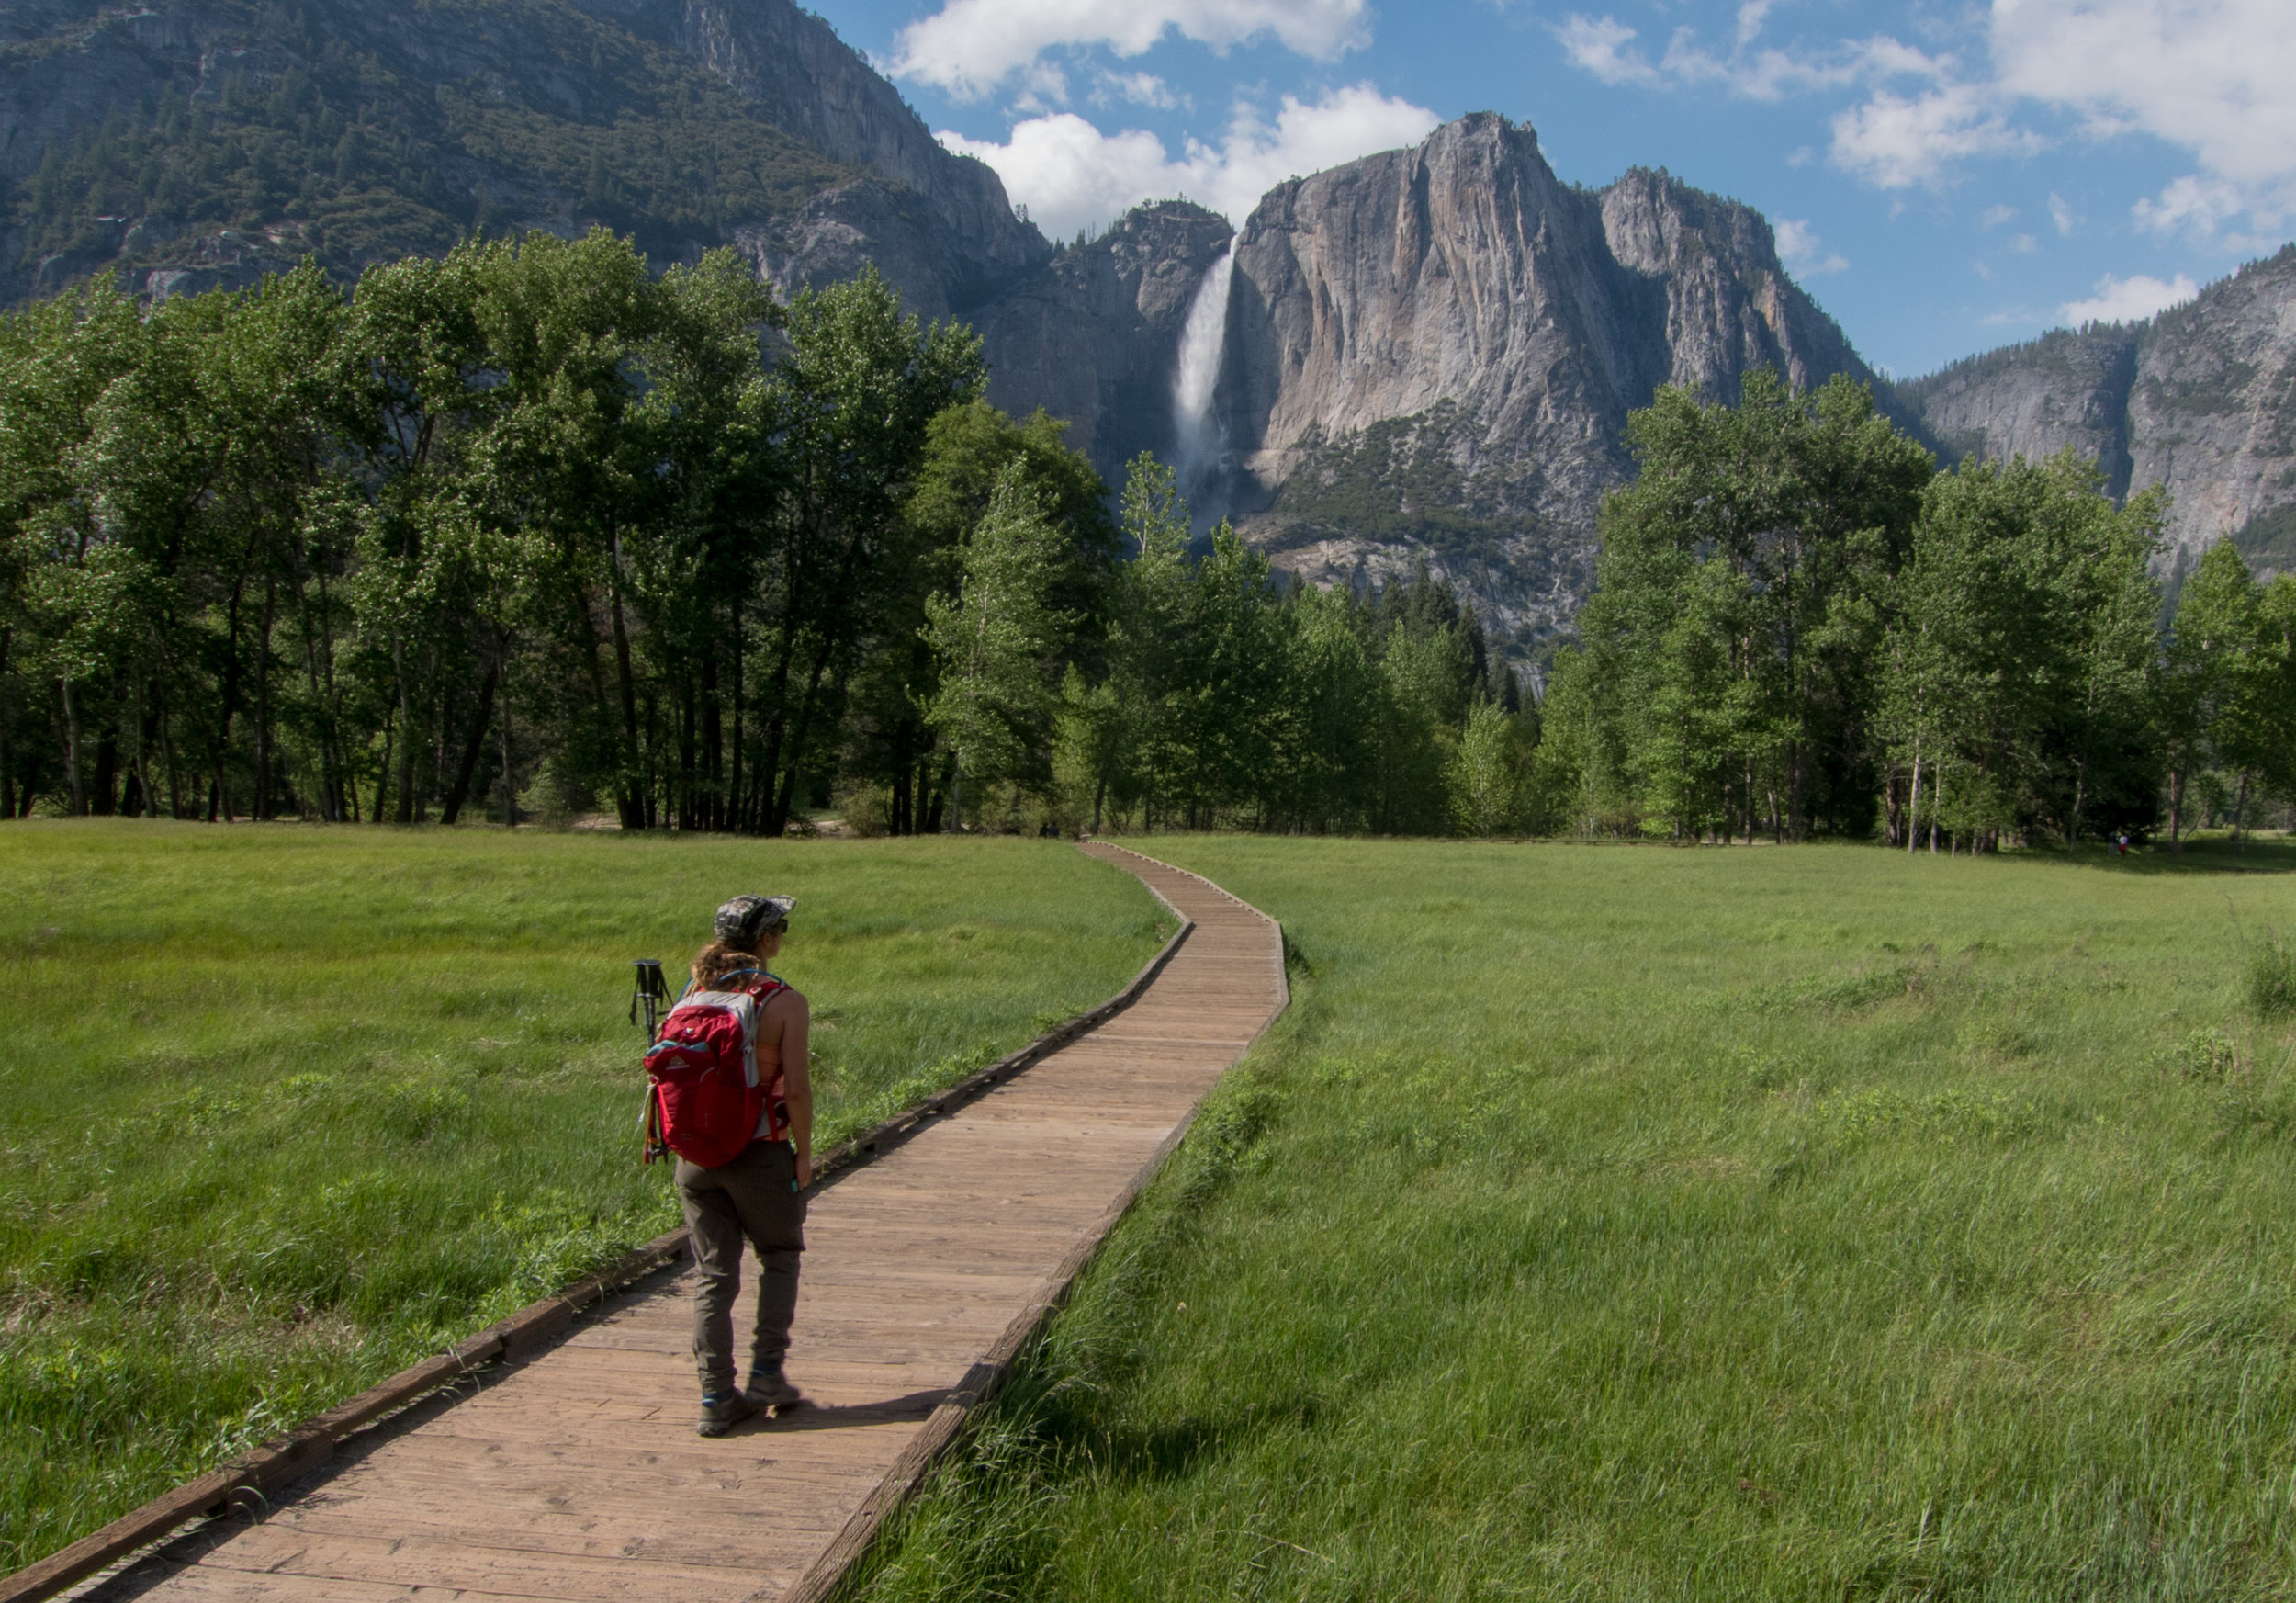
Yosemite Valley has a 17 mile bike trail (Valley Loop Trail) that goes around the entire valley.  While you don't have to ride the 17 mile ride you can bike to a few places for the kids to hang out.  You could make a short bike ride from Half Dome Village to the Merced River to cool off or bike to Yosemite Falls this trail will let you access plenty of family friendly hikes and places to enjoy the valley views. 

Hiking

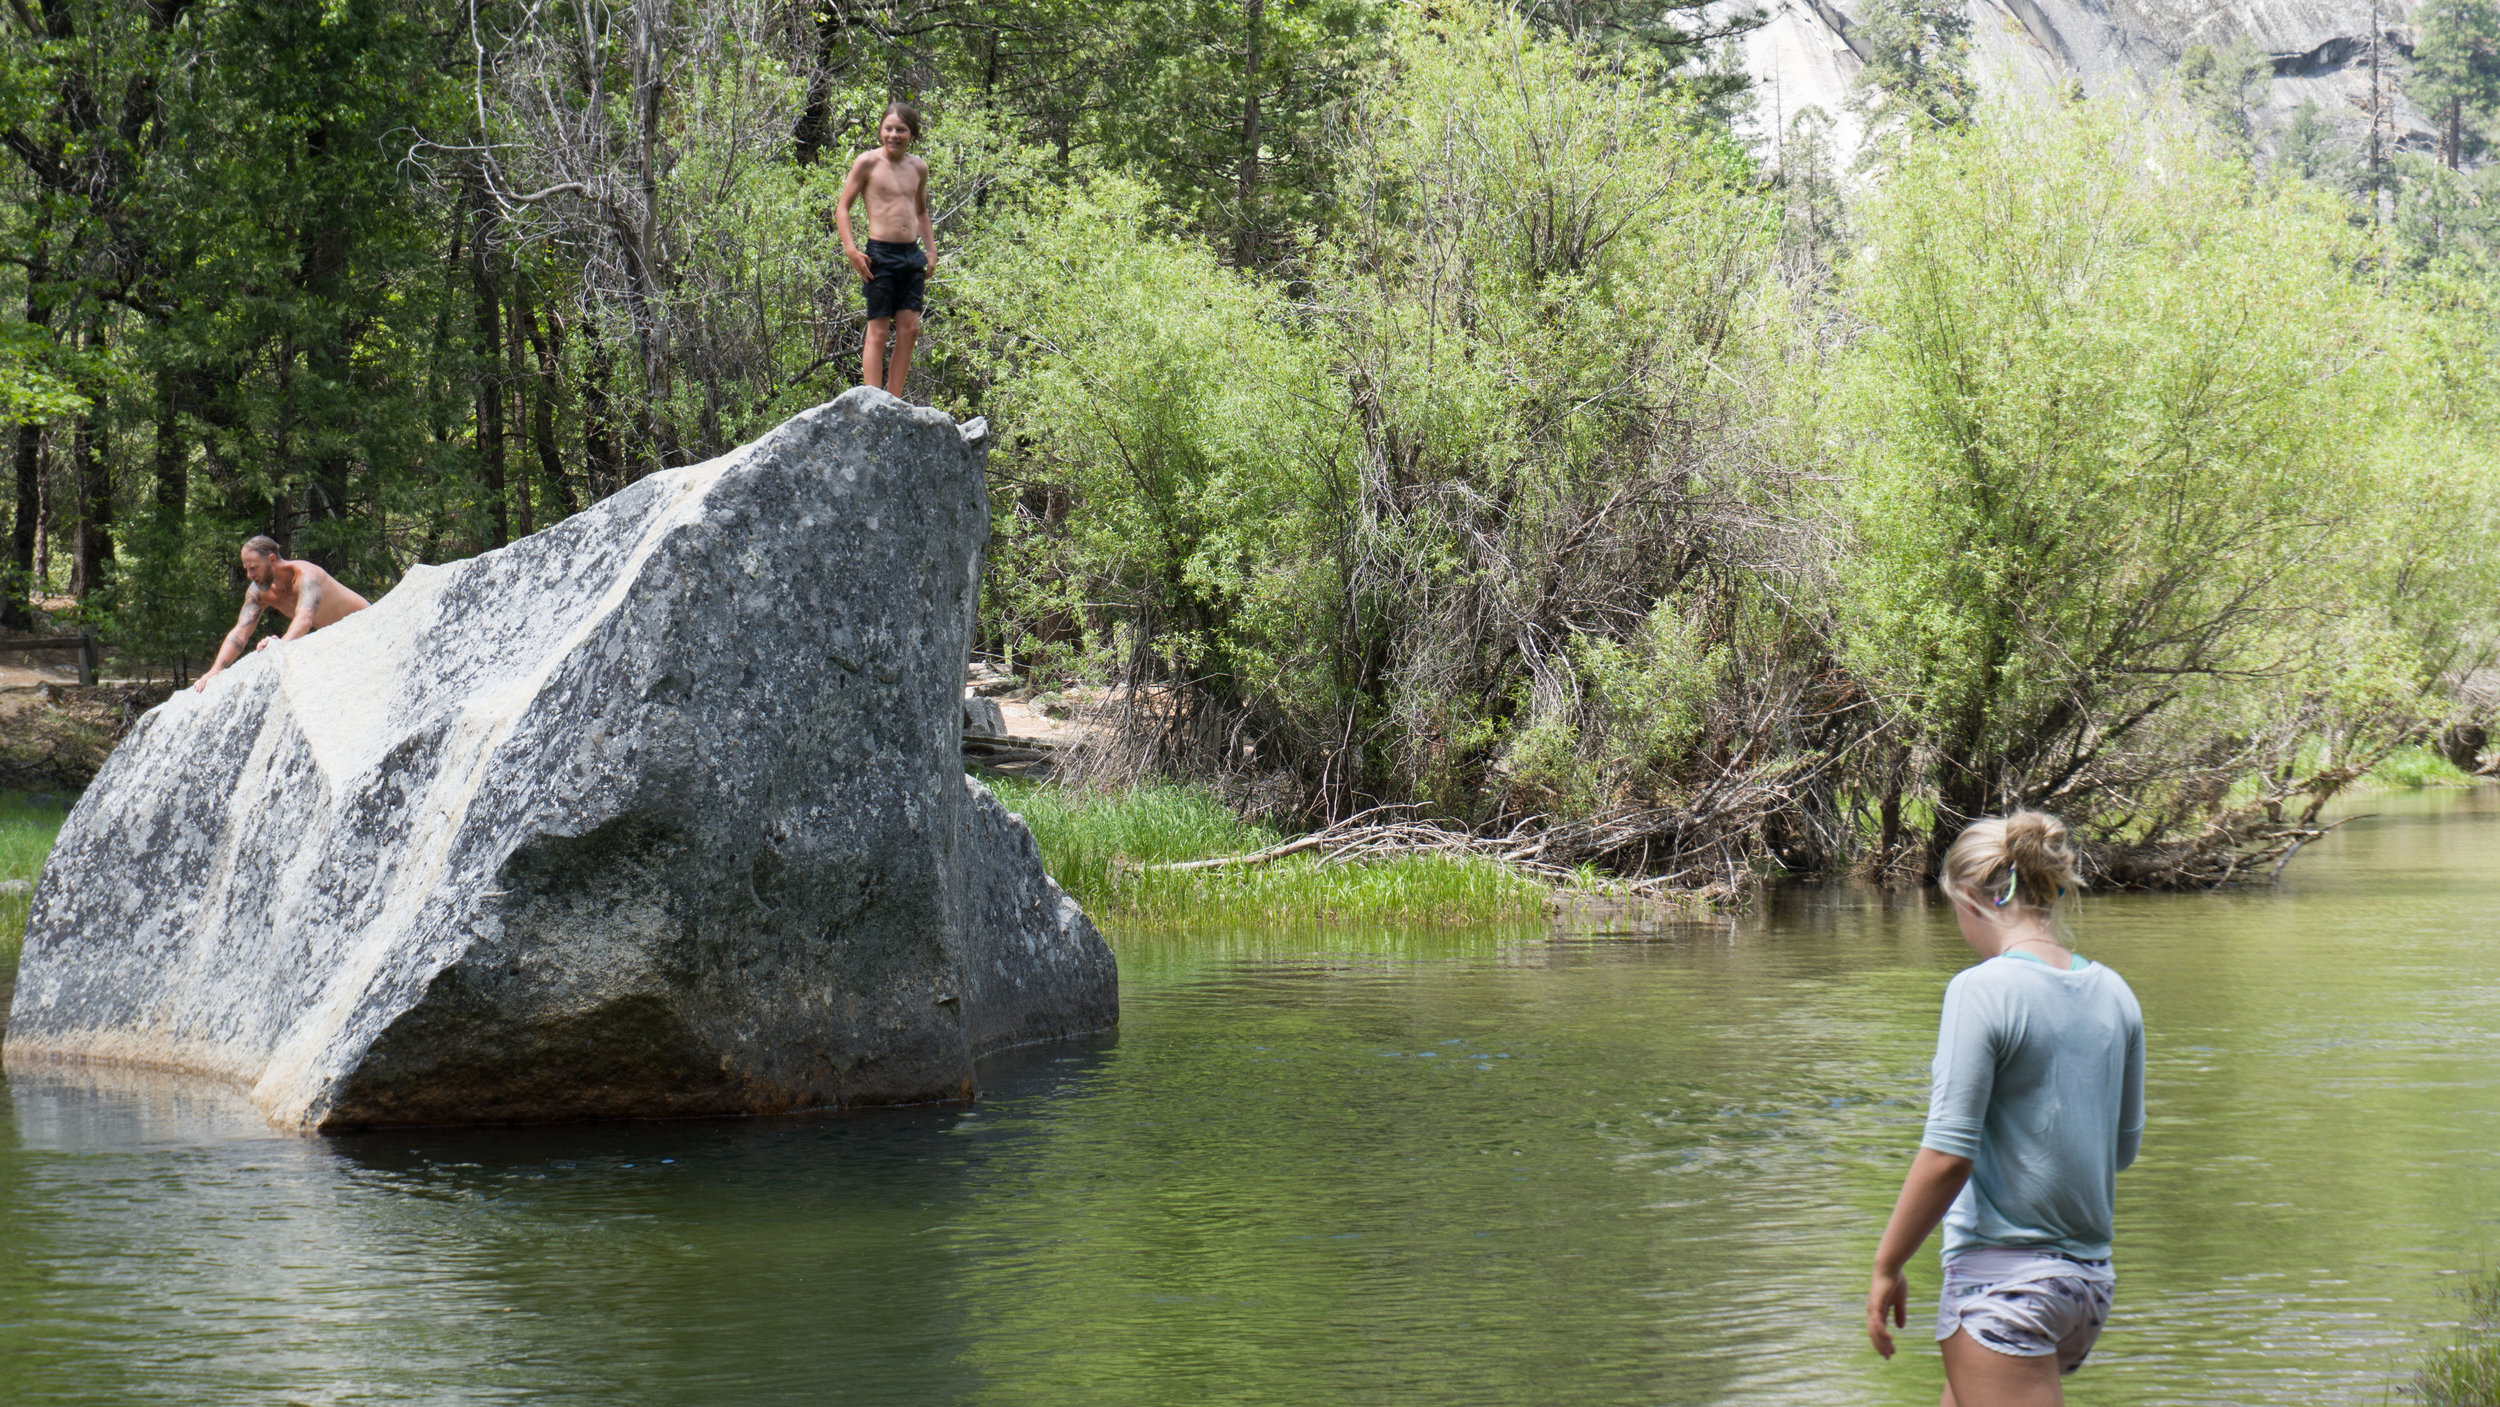
There are plenty of easy but entertaining trails in the valley for the whole family to enjoy.  While with the Kuhl's we hikes a number of trails.  We started the day off with shuttle ride from Half Dome Village to Lower Yosemite Falls (1.0 Mile Easy) There were plenty of boulders and side trails that the kids enjoyed.  We then headed across the valley to Mirror Lake Trail (4 miles easy) here were hung out set up hammock and the kids found a rock to jump off and swim in the lake.  After that that was enough to get the adults and kids pretty tired.  

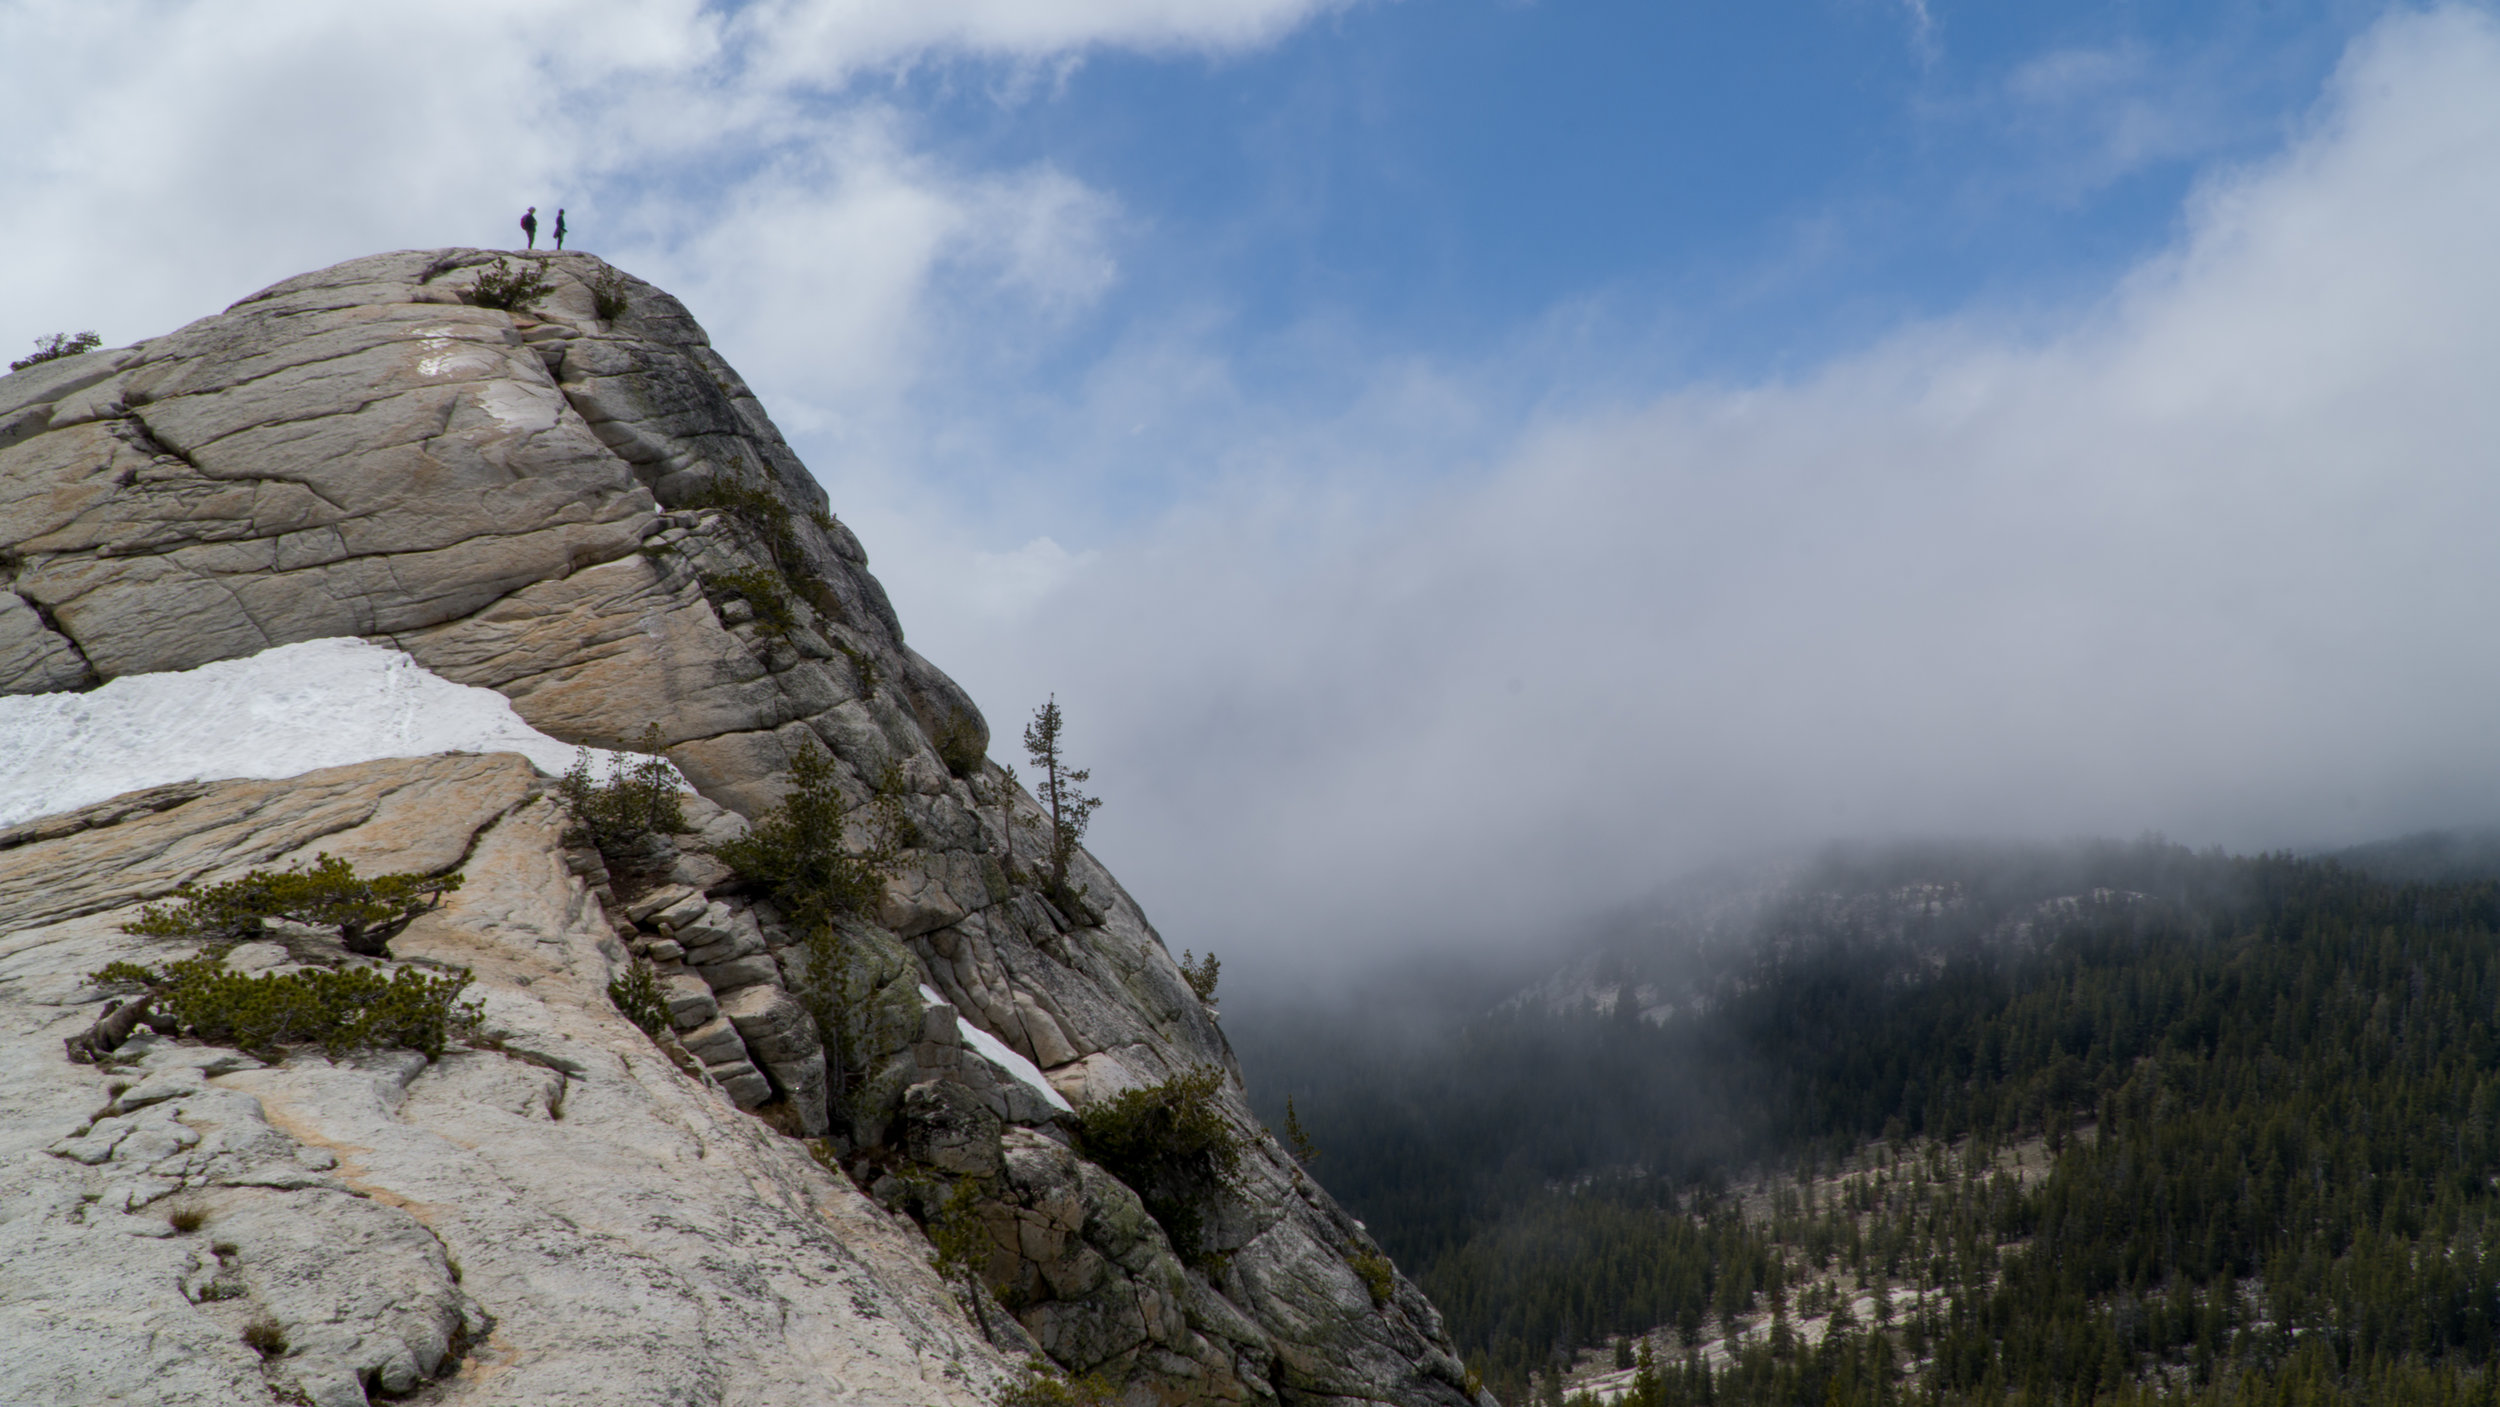
During busy season head to Tuolumne Meadows on the east side of the park. Lembert Dome Trail (2.3 Miles Moderate) is a great hike for families and has a major pay off at the end. This is a uphill climb but it is worth every step the kids will love the wide open granate surfaces to scramble on.

Float the Merced

Images along the merced river Yosemite national park

This was something that we weren't prepared enough for but now we are after purchasing our Intex Challenger K1’s.  The Kuhl’s had two stand up paddle-boards and inflatable rafts (their Canadian) but we didn't and the price to rent was out of our budget.  However knowing this we are passing the information on to you to be prepared with rafts or SUPs if you are there in late spring the river looked amazing.  You will also need to arrange a pick up vehicle since they charge you on the shuttle so plan ahead.  I believe the start is near Half Dome Village and ends at Swinging Bridge.  

Few Items we use to shoot our adventures

Three Activities to do in and Around Bend, Oregon

Bend has endless activities, but if you are struggling to narrow some down. Here are three activities to do in and around Bend area that won’t break the bank while keeping the stoke level high.

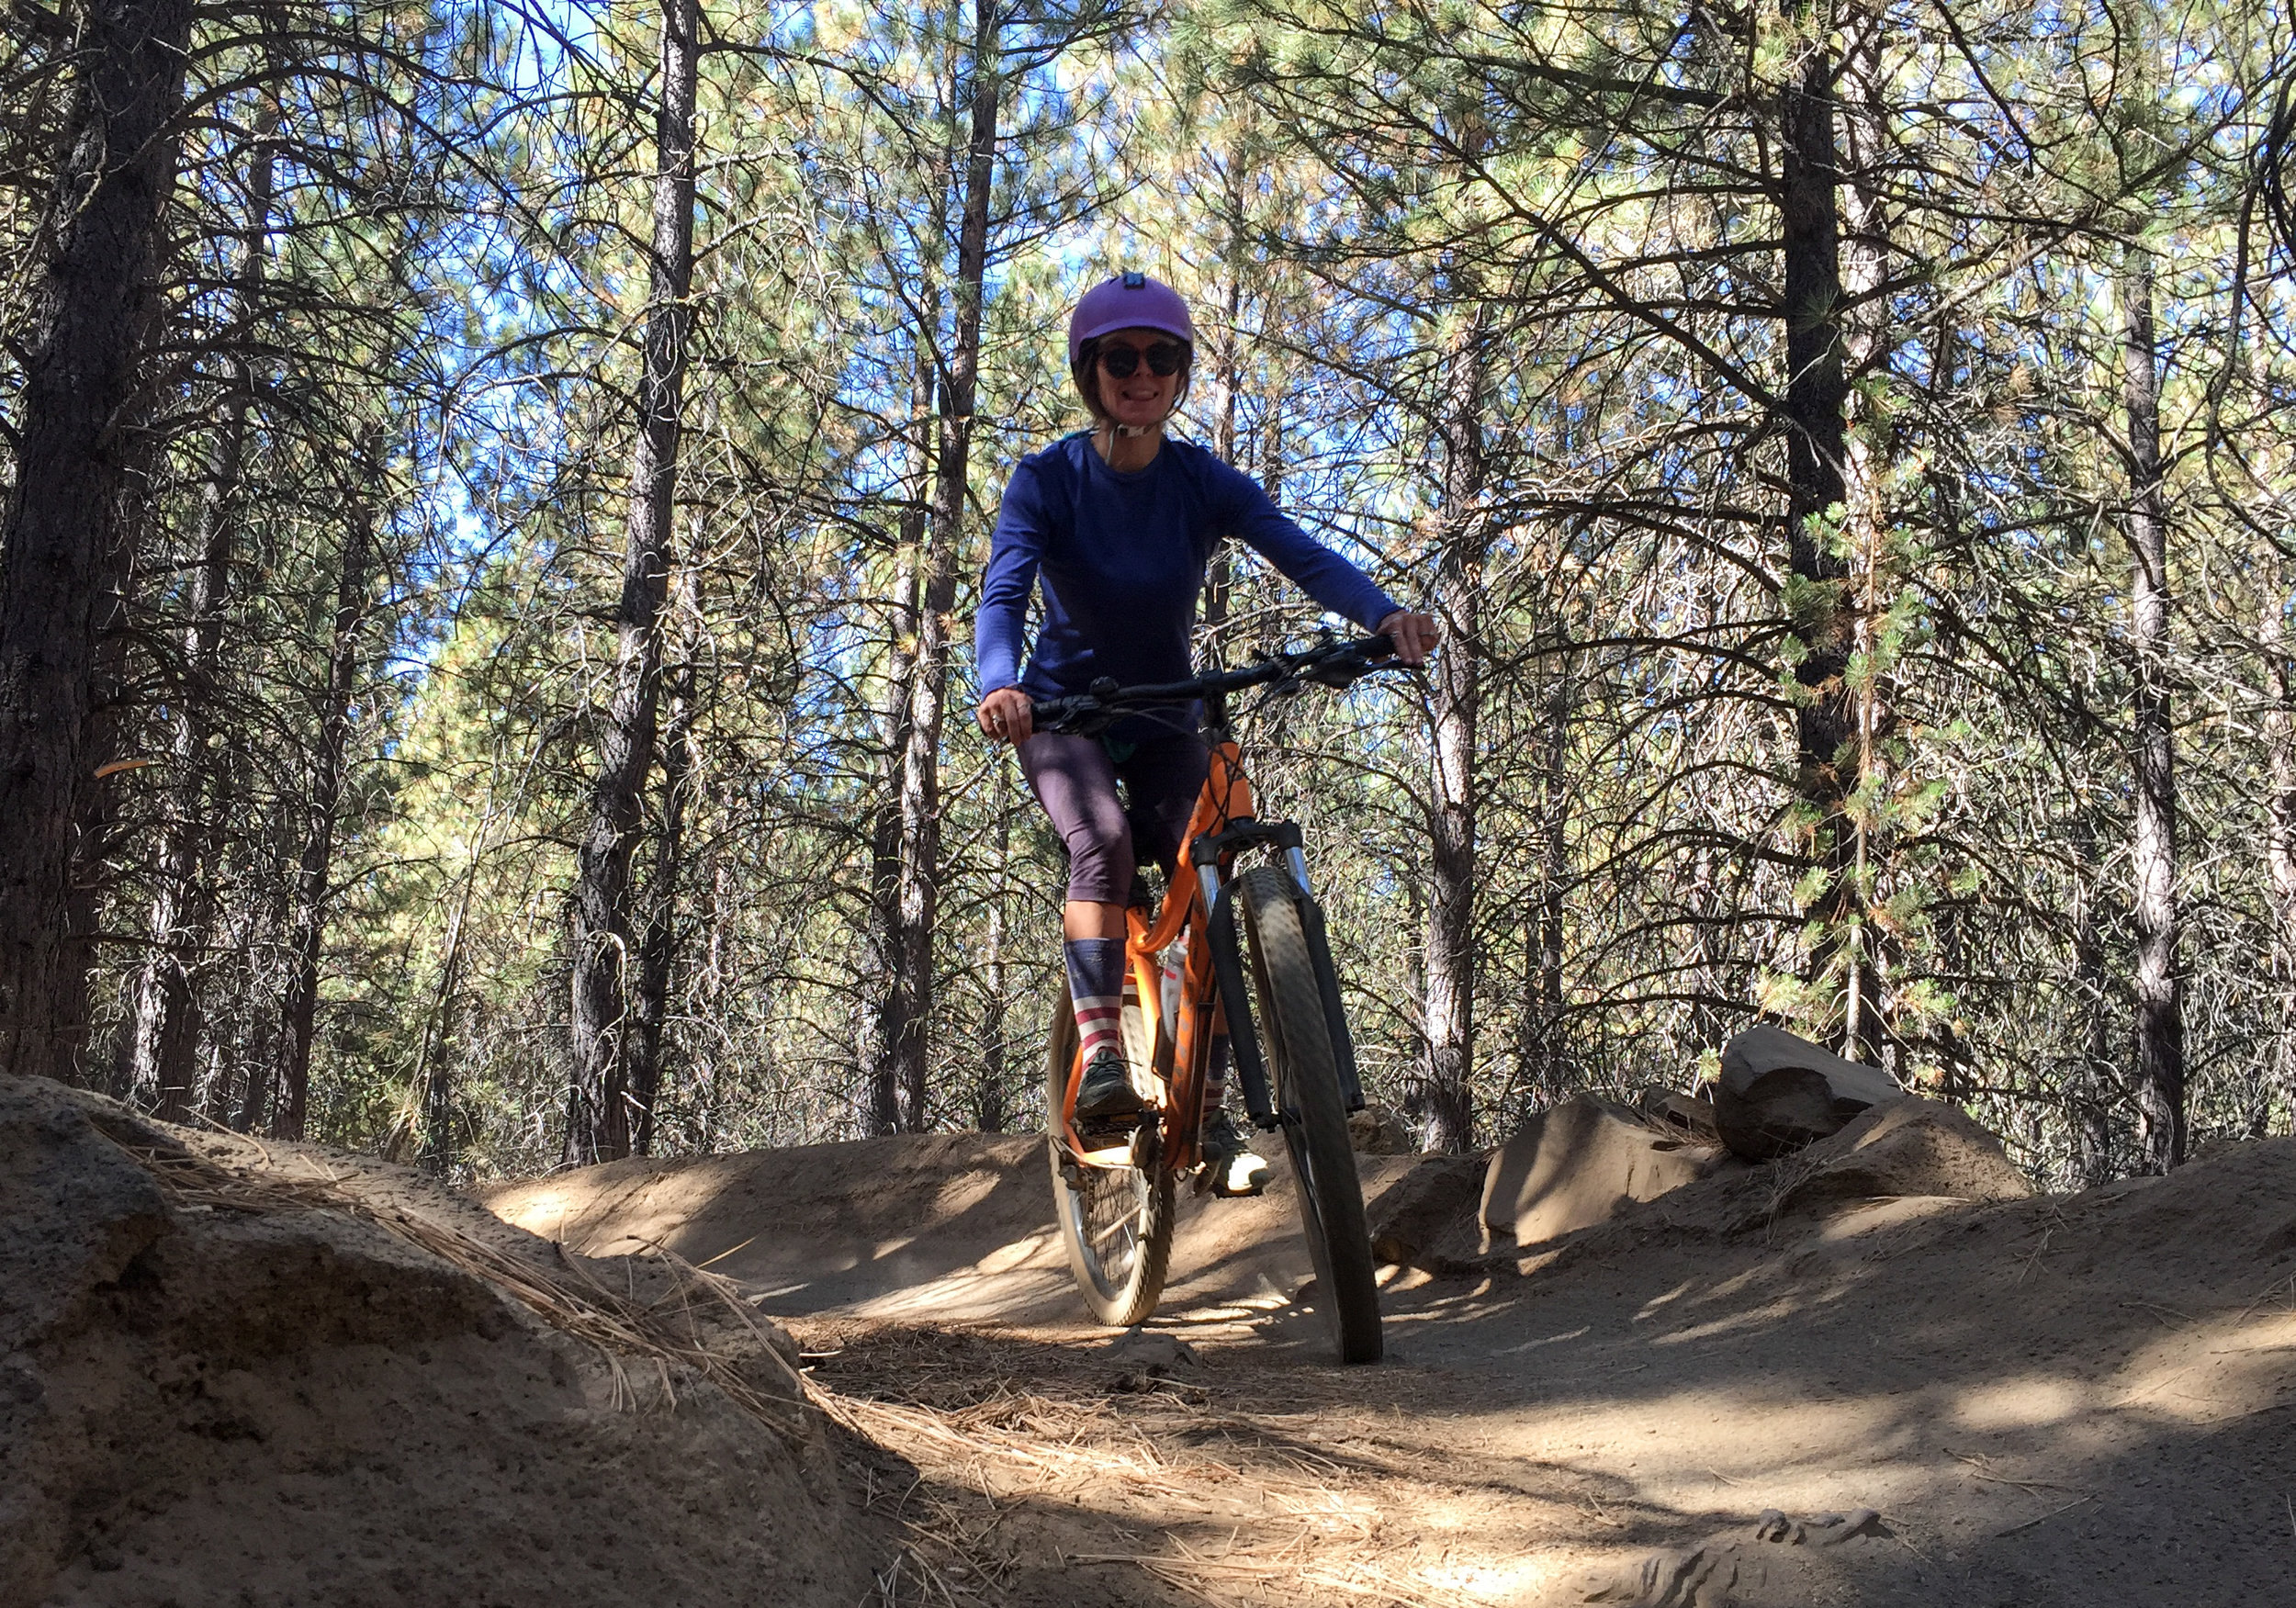
Mountain biking phil's trail camping phil's trailhead

Phil’s Trail Head

If you mountain bike, this is area is a haven for endless flow and fun system of smooth trails right outside you van, car or RV. 

If you are just visiting for a day ride, you can park at the main parking lot, where most of the trails start and finish. 

There is a sweet little pump track to the right of the trailhead sign. Be sure to check it out, it was pretty fun. 

If you are trying to have an epic mountain bike camp out, then you will want to park off 4610 in free dispersed camping. You will be near the upper parts of most of the trail complex. We were able to connect on to Ben’s to the top, then we connected that with upper whoops, Phil’s, then Kent’s back to our campsite off 4610. 

Mountain Biking Phils Trailhead

Upper whoops was our favorite. There were jumps, berms and down hill flow. It was so much fun. We had to go back and do it again! It really is a central Oregon gem.  

Standing Wave at McKay River Park

bend water park surfing

McKay River Park is pretty awesome. It is a man-built white water rafting course. There is a beginner side with mellow white water “drops.” And then, down the center, is where all the experienced white water rafters send it.
Further down the second section, in the middle, is the standing wave. You really can’t miss it. There are river rats surfing there from sunrise till sunset. 

Bend Rock Climbing Gym

Bend Rock Climbing

This place was awesome on the one rainy day we had in Bend. 

There are showers, a nearby food truck, and if you get there before noon or on a Thursday, you can climb for $16, which is $2 cheaper. There are about 9 Auto Belay’s in just one of the rooms. With difficulties ranging from 5.7 to 5.12-, there was something for everyone to climb on in the same room, including heaps of bouldering from V0-V9. There was also a weight lifting area in there as well. 

In the front room, there was about 7 tall-wall auto-belay’s and the rest of the room was lead belay climbing and the rest was bouldering. 

If you buy a day pass, it also gives you access to the Yoga classes. So be sure to check that out.

Free Camping Near Crater Lake National Park

Crater Lake is the deepest lake in the United States and the 9th deepest lake in the world.

Crater Lake  (1 of 1).jpg

The lake is contained within a Caldera created by a volcano that erupted and then collapsed in on it self. The lake is not a typical lake, filled by rivers or streams. All the water that is inside the lake came from rain, snow, or snow melt, which makes it one of the cleanest large bodies of water in the world. I always knew this fact, but it wasn’t until I got there that I found out that you could actually hike down to the water, touch it, and even swim in it if you wanted, via Cleetwood Cove trail. But beware, Cleetwood Cove trail is known to be steep and strenuous. The hike back to the top is equivalent to climbing 65 flights of stairs, so it is marked for hikers that are pretty physically fit. This trail is open mid-June to October. There are vault bathrooms at the start and bottom of the trail. 

While there are over 90 miles of hiking trails in the Crater Lake National Park, you can also chose to drive the rim of the crater, if hiking isn’t your thing. There are plenty of easy trails and or look outs along the East and West Rim Drive. Plaikni Falls seems like a pretty chill walk thru an old growth forrest to a waterfall that is also fed by snowmelt, not Crater Lake, as one would expect. 

We chose to do the Garfield Peak trail. It is a 3.6 mile (round trip) rocky hike to the top of Garfield Peak where you will have panoramic views, above the crater, at summit. Most of the hike gets more and more scenic, the higher you go on the trail. We are moderately fast hikers and it took us 31 minutes to summit and 40 minutes to get down. The hike recommends allowing yourself 2-3 hours for the entire hike.  

Crater Lake  (6 of 9).jpg

Difficulty of this hike:

It is marked as “Strenuous,” which, I think, keeps most people off of the trail. We saw maybe 10 people on the trail, which is a stark difference from the groups of tourists we saw getting off buses near the Crater Lake Lodge and Gift Shop. 

While this hike climbs 1,010 feet in elevation over 1.7 miles, I didn’t think it was too strenuous. Maybe it was my racing the sun attitude, as we decided to jump on this trail pretty late in the afternoon, as soon as we spotted Garfield Peak. However hard it was, the reward at the top, seclusion along the trail, and the views all along the trail definitely made any difficulty or struggle worth it. If that sounds good to you and you are still worried about the “strenuous” label, there are plenty of pull-offs, with rock benches to sit on and take in the view and catch your breath. 

Free Camping Near Crater Lake:

There are no free campsites inside the National Park, but the Sno-park’s on the North and South entrance of the boundary is free camping in the Summer months. There are vault toilets at each spot. 

We camped at the North Crater Lake Trail Head Sno-Park, which is also apparently a PCT parking lot. There are vault toilets here and picnic tables. There are no views as it is amongst the trees off HWY-138, but it is so quiet. We were there with two other vans, but you could hardly tell as we all had our own little tree coves to pull into. 

We checked out the Annie Creek Sno-Park, the South Entrance free camping, off of the 62, going into Crater Lake National Park. There were a couple of 5th wheels and tents at the end of the huge parking lot. It looked to have views, if we were headed back south, we would have stayed here for the views. 

Hiking the Narrows, Spring vs Summer

Hiking Zion Narrows Spring summer what to bring

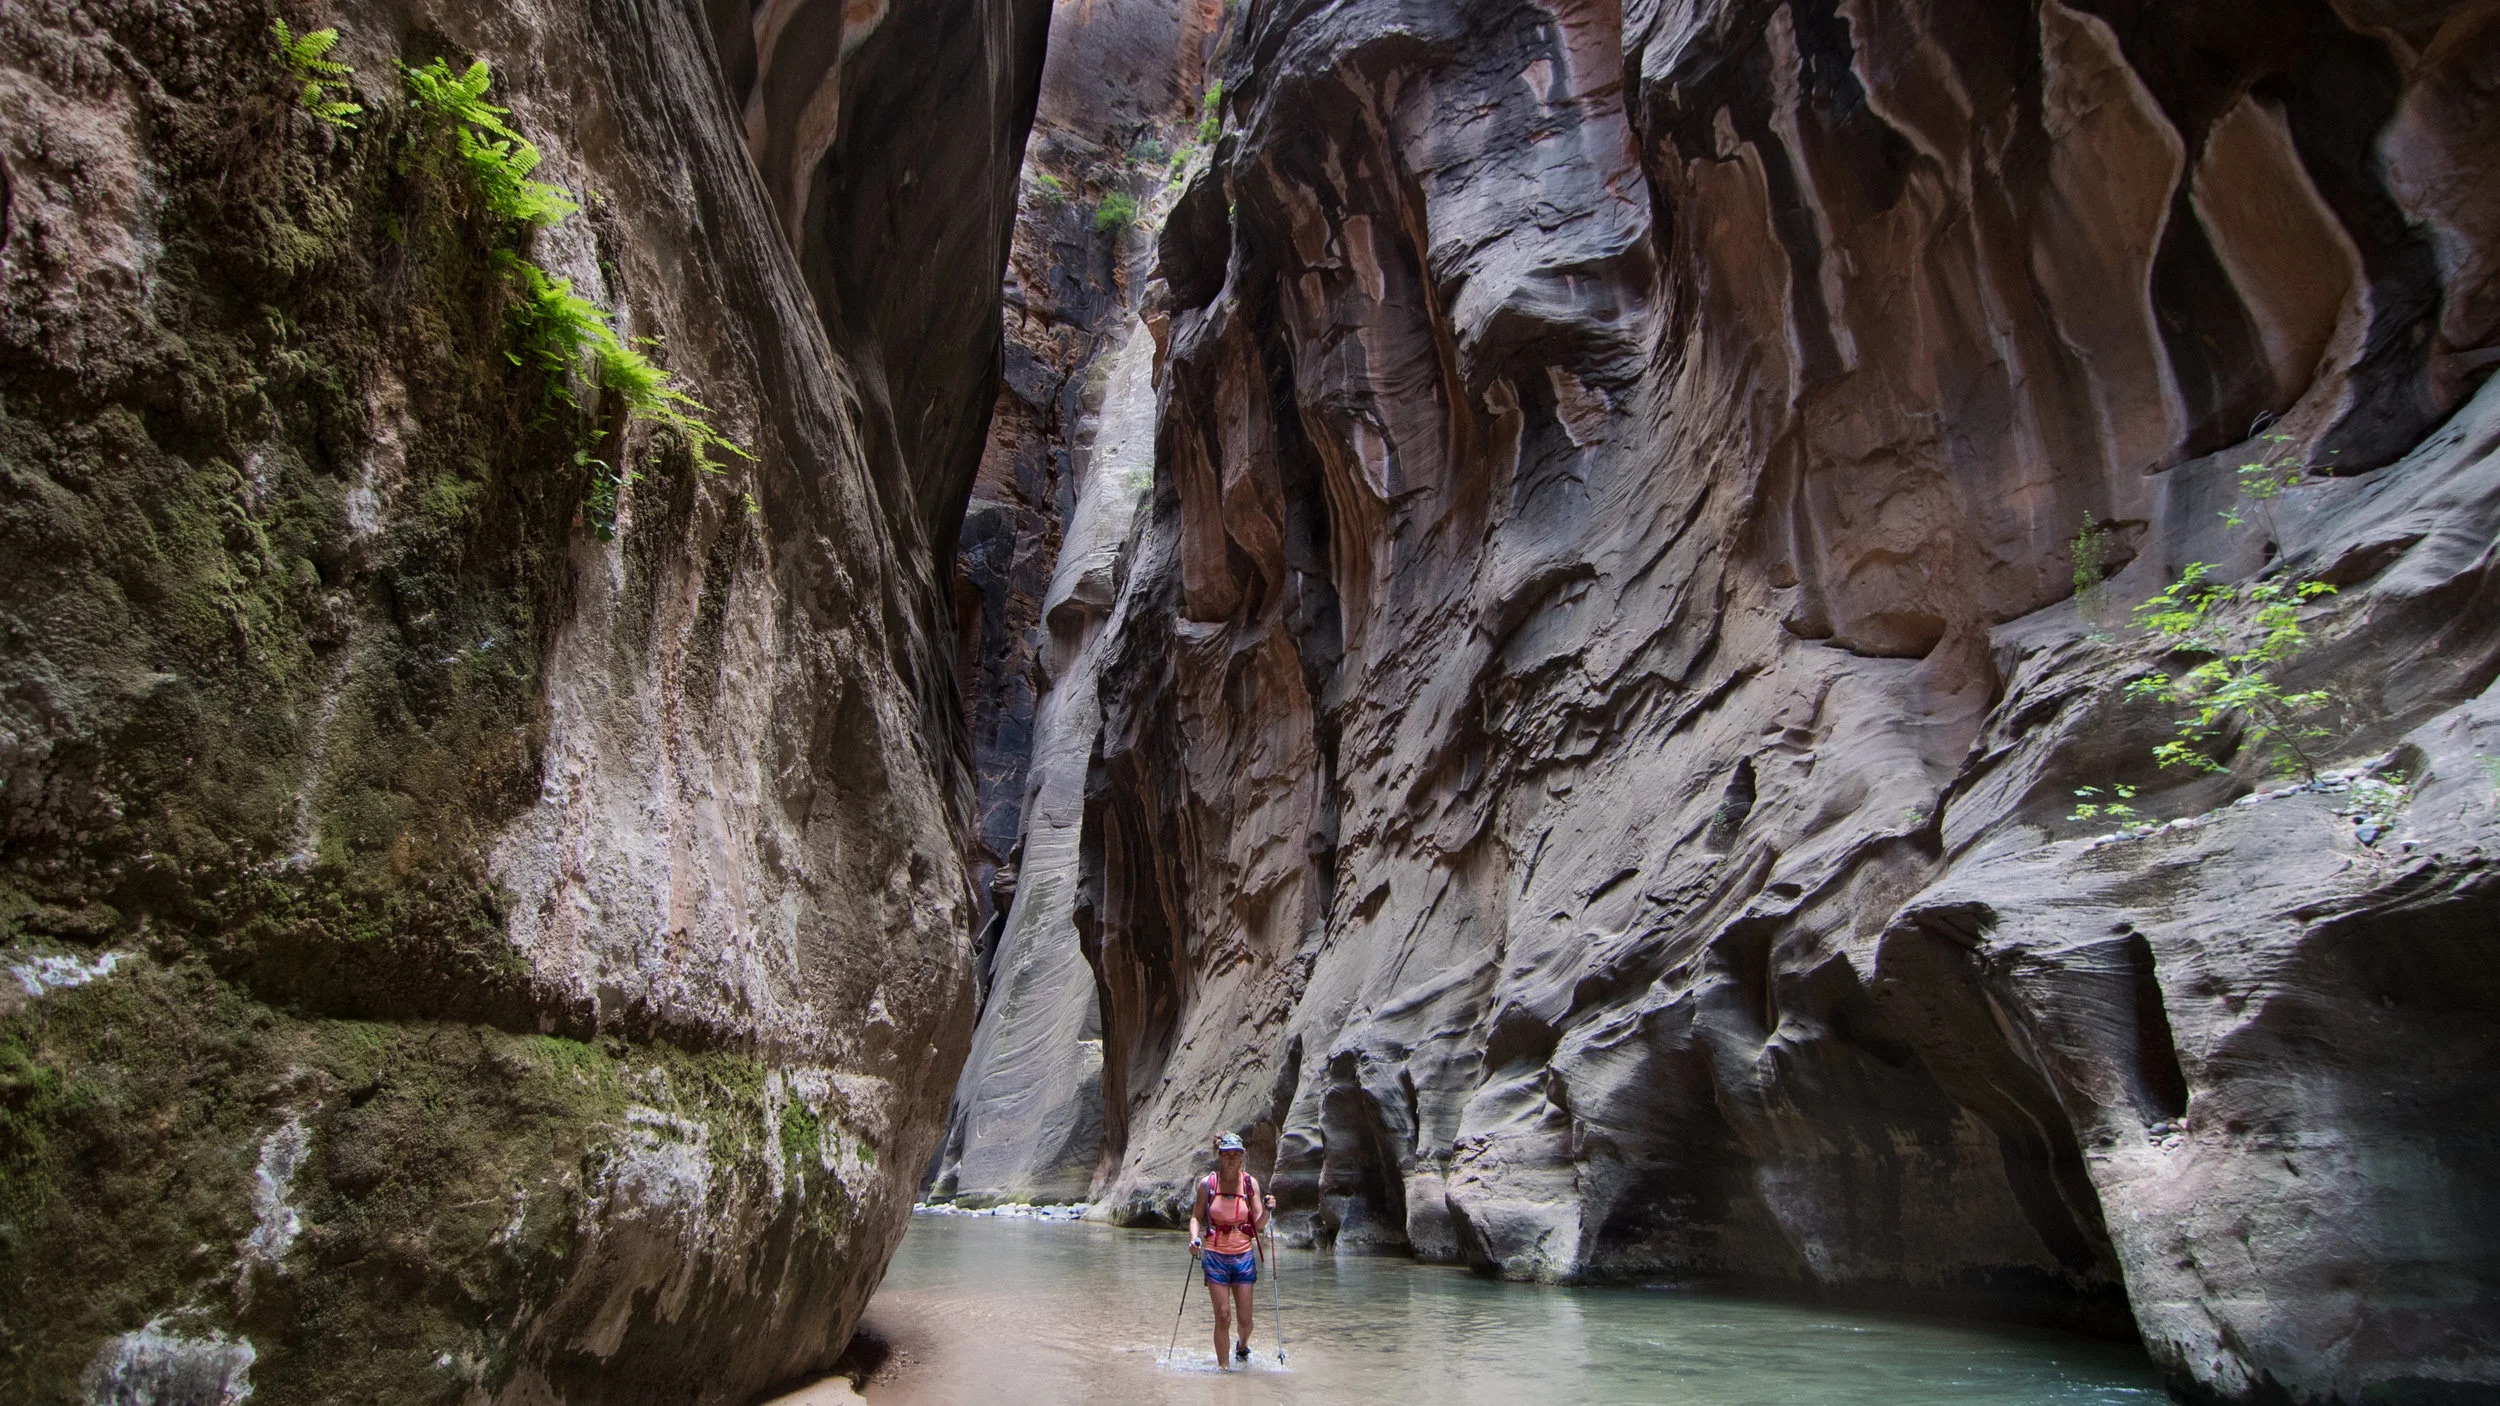
The Narrows,  in Zion National Park, is one of the most well known and visited slot canyon hikes in ZNP. 

The Narrows starts at the last stop on the Park shuttle bus, the Temple of Sinawava. You will get off the bus and follow the river walk trail for about a mile to where the side walk ends. 

Then, as the trail continues, it is basically up the Virgin River. So plan on getting wet, very wet. Sometimes you are up to your ankles and sometimes you are up to your waist wading through water, zig zagging from high shorelines to low shorelines. 

You may go as far up the river as you feel comfortable. Then, you will turn around and retrace your steps down river, making the hike as strenuous as you wish to make it.

Is this hike seasonal?

This hike is mostly seasonal and ultimately dependent on water levels. The beginning of the hiking season is dependent on runoff and water levels if they are low enough to send hikers through. For instance, you typically don’t need a backcountry permit to hike the Narrows, but if the water levels are above 120 cfs, the Narrows will be closed to hikers. 

If it is over 150 cfs, the wilderness desk will probably be issuing kayaking permits for the Narrows, not hiking permits. Even with open hiking allowed with a water flow of 100 cubic feet per second, it is still pretty difficult and dangerous. While a flow of around 50 cubic feet per second, this indicates a relatively easier and safer hike.

Typically, the Narrows hiking seasons are Summer and Fall, where the water levels are pretty low and the water temperatures are pretty warm. We have hiked in both the spring and mid-summer and there are some huge differences we wanted to talk about here. 

Hiking the Narrows in the Spring 

Hiking the Narrows in the spring

We have visited Zion in Spring two different years 2017 and 2018. Water levels and run off levels were dramatically different.

May 2017, they were issuing the last of the Kayaking permits for the Narrows. So we didn’t even think of hiking those rapids. 

March 2018, earlier in the year and a couple days before the Spring Break madness, the water levels were actually low enough to allow hikers and there was no rain in the forecast.  So, we jumped on the opportunity. 

The water temperatures in late March were cold. There were less hikers than we saw in the summer, but there still a lot of hikers. About 98% of them were in rented Dry Suits and the Adidas waterproof Ankle supporting boots. 

Being thrifty vanlifers and having everything we need all the time, we avoided spending $55 on drysuits, as we threw on our  5/4 winter wetsuits, 5ml booties, and hiking poles. We were warm. It was perfect. To be honest, our foot and ankle muscles got quite the work out tho! If you have weak ankles, I would not recommend the booties, as the rocks are slippery and covered in algae and the booties offer no ankle support. Wear some hiking boots that offer ankle support. 

Others that are in our group did not have wetsuits and were not interested in paying $55 in rental gear to hike the Narrows. So they layered up and wore wool clothing items, hoping the wool would keep them warm even when wet. 

They toughed out the cold water temps for as long as possible, but we ended up turning around a little before Wall Street. Feeling like we didn’t “finish” the hike from turning around early, we needed to go back!

Hiking the Narrows in the Summer

narrows hiking in summer what to bring equipment (1 of 1).jpg

In late May 2018, we crossed Utah again and made the mandatory Zion detour. We needed to hike the Narrows as far as we could go.

This time it was a completely different experience. It was summer. There were heaps of people all along the river bank swimming, playing, picnicking, not just hiking. This is the spot to be in this park on a Hot summer day. The shadows created by the tall canyon walls keeps the canyon pretty mild. It is a great escape from the heat. 

This time around, we hiked in shorts, tank top, and hiking boots. We were sure to bring extra layers, because being wet and in the shadows can be pretty chilly no matter how hot of a day it is outside that canyon.

What was the main difference?

narrows hiking in summer what to bring  rentals equipment (1 of 1).jpg

The main difference between the two times of year was the air and water temperature. 

In the Spring, mostly the prepared and dry suit equipped braved the cold air and water temperatures. If we didn’t have a wetsuit, we would have been in a lot of layers, like our friends, just to stay warm from being soggy in the cooler air temps. 

In the Summer, it was a shady oasis for all looking to escape the heat. It was a very busy hike up stream with the groves of other tourists that varied in skill levels and ages. 

Things to remember

Flash floods can occur from storms miles away from the canyon, even if there is no rain predicted in the National Park. Make sure to check for potential weather in the area before you go hiking in any narrow canyon. Water levels can raise 12 feet within minutes, with no high ground to scramble to. Please take this seriously!

Bring some shoes with ankle support. And use a walking stick or hiking poles to give yourself more points of contact while hiking upstream. 

Bring a headlamp. It gets dark in those canyon as the sun sets. To be on the safe side, make sure you carry an emergency light source, it could help you from spending a dark and unintended cold night in the canyon.

If you don’t have a Dry Bag, this would be the time to get one for your electronics that you would like to bring that you do not want to get wet. 

Slot Canyons, Arches, and Waterfalls - 3 easy Escalante Day Hikes

Zebra Canyon Escalante Utah

Grand Staircase-Escalante National Monument is a massive area that could take you a lifetime to explore.  It’s one of our favorite places for solitude, amazing geological formations, and night skies.  If you’re just passing through Escalante on a road trip, here are a few short day hikes we highly recommend. 

Lower Calf Creek Falls

Lower Calf Creek Falls

This is a relatively flat (5.8 miles) easy hike on sand and slick rock to Lower Calf Creek Falls (126 feet). Upon arrival to the falls, it seems as if you have reached a desert oasis. The air near the waterfall is crisp and cool, almost too cool for that dip we were talking about the whole hike. There is also camping, on site, which looks pretty awesome, but busy.  The hike is scenic with classic southern Utah rock formations and a refreshing creek to cool off in.  

Escalante Natural Bridge and Indian Ruins

Escalante Hiking

Just a short 4 mile round trip hike off HWY 12 will take you to the Escalante Natural Bridge.  This is a very easy hike, it’s more of a stroll along the river.  You will have to cross the river multiple times, but it is quite refreshing.  After about 5 river crossings you will come to the natural bridge.  This is a great place to relax in the river and cool off.  If you want to extend the hike, you can head about another mile to a natural arch where you will find a pretty awesome Anasazi cliff dwelling ruins. 

Hole in the Rock Road - Slot Canyons

Zebra Slot Canyon Escalante Utah

A long bumpy ride down Hole in the Rock road will lead you to the trail heads of both Zebra and Spooky Slot Canyons.  Note: Hole in the Rock Road is a very bumpy road our van almost rattled to death on the journey to and from these slot canyons.  The trails are short, but there is little or no shade. So, bring water and appropriate head wear and more water than usual. Zebra slot canyon is a longer hike at around 6 miles. There is also another canyon called Tunnel Canyon, this will add an additional 2 miles and some navigation skills.

5 Awesome Outdoor Activities to do in and Around Boulder, Colorado

South Arapaho Peak

This summer we were fortunate enough to spend some quality time in Boulder, Colorado, soaking up the sun and enjoying the Rocky Mountains.  The front range of the Rockies are plentiful with outdoor activities.  Here are some of our favorite things to do while in and around Boulder, Colorado.  

Day Hike

Indian Peaks Wilderness Hikes Fourth of July

South Arapaho Peak - Less than an hour drive from Boulder is the 4th of July Campground, in the Indian Peaks National Forest.  From here, the Arapaho Pass trail will take you to a number of different destinations.  We have hiked quite a few of these trails and feel that it is safe to say that the South Arapaho Peak is the most bang for the buck.  The trail is 8.6 miles out and back and has 3,213 feet elevation gain to the summit at 13,356 feet.  The summit rewards you with views of the the Arapaho Glacier and the Rocky Mountains.  On a day with high visibility, you can even see Pikes Peak.  You’ll see plenty of Marmots and they might even try to take your lunch, so be on the lookout.  This hike offers amazing views, wildlife, wild flowers and lakes.  

Overnight Backpacking

Crater Lake Indian Peaks Wilderness

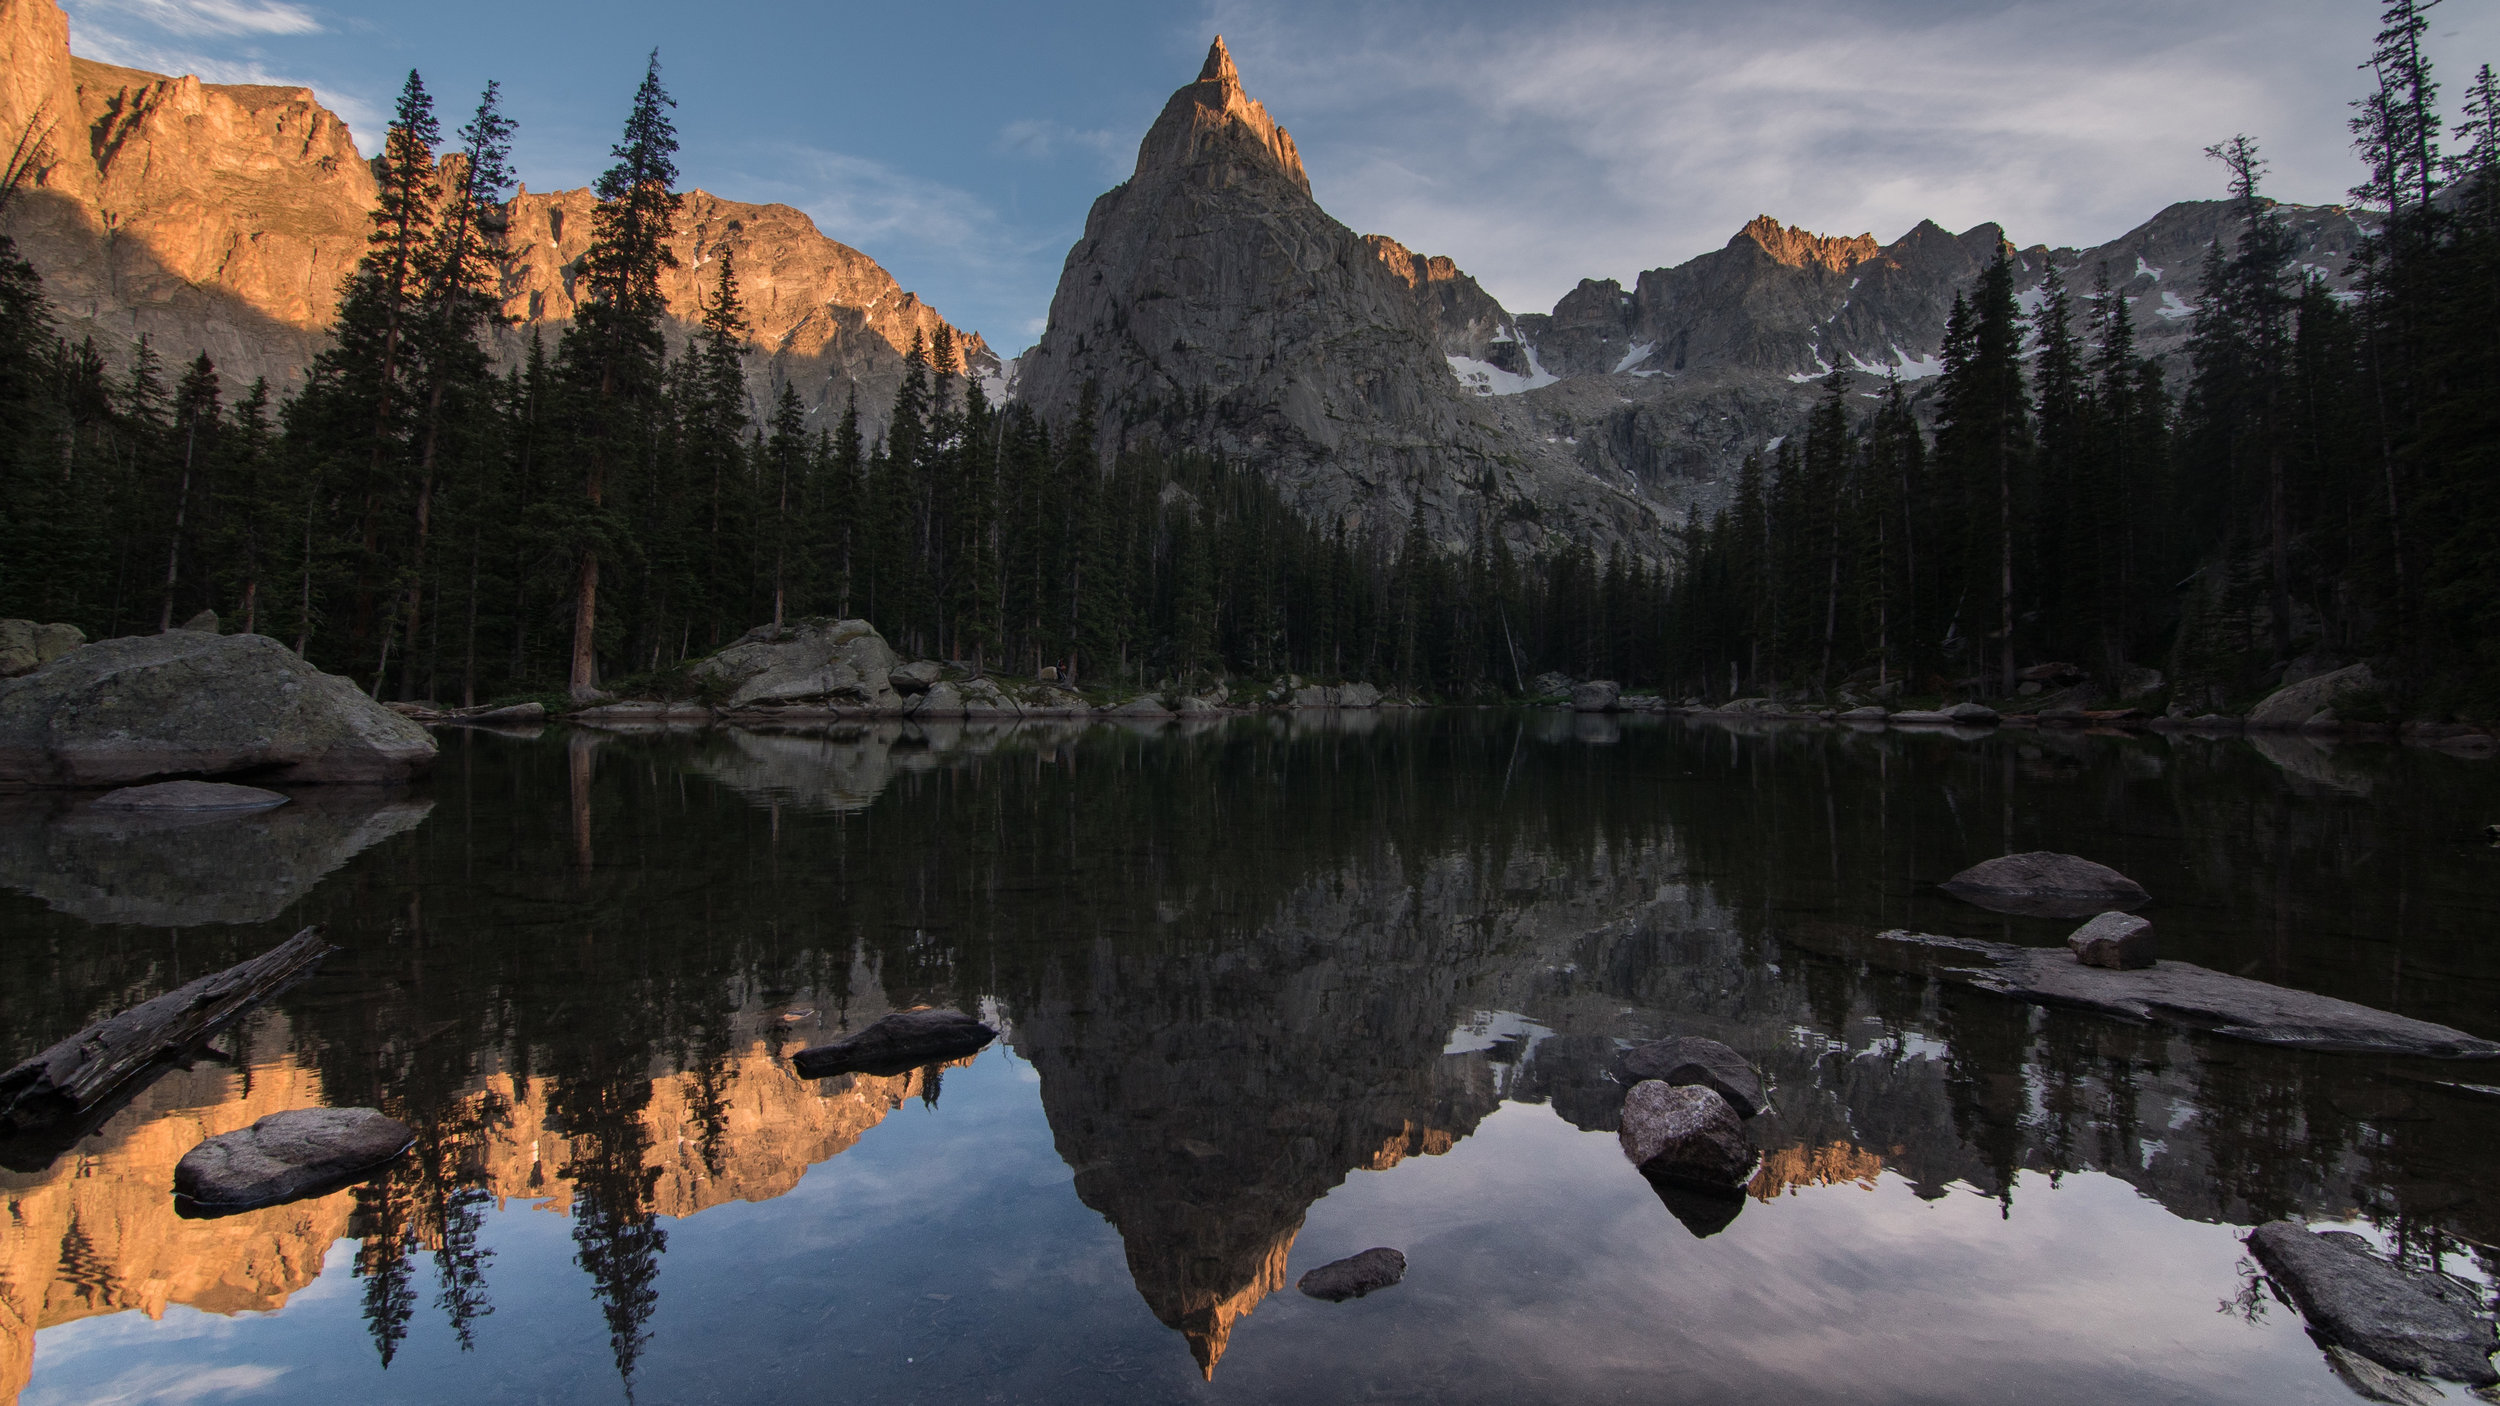
Crater Lake - Just on the other side of the 4th of July Campground is Monarch Lake unfortunately it’s a 2 hour and 30 minute drive from Boulder, but it’s worth it.  The trailhead for Crater Lake (Monarch Lake, and Cascade Trail) is located near the Monarch Lake parking lot. The hike isn’t a short hike either at just about 15 miles round trip and a little over 2,000 feet vertical. It’s a big hike for an overnighter, but 100% worth the effort.  The hike is packed with wildflowers, wildlife, and waterfalls.  You’ll want to set out for Mirror Lake the smaller lake before Crater Lake. Mirror Lake will be your best bet for views and photos of Lone Eagle Peak.  This was our first experience backpacking with a hammock and we loved it. This was one of the most scenic places I’ve ever been to in Colorado it was an amazing night of stargazing and hanging with new friends.  

Summer Fun

Boulder Creek Whitewater Course

Take a plunge down the Boulder Creek. You’ll need to head to McGuckin’s Hardware to grab a $11 River Rat tube or come prepared and order online. Once you have the tube, head over to Eben G. Fine and get ready to send it down the Creek.  This is one of my favorite activities to do on those sweltering Boulder days.  You’ll want to start about a half mile up the bike path from Even G. before the path curves to HWY 119, you’ll see a bunch of people hanging out around the launch spot.  From here, it’s a series of small rapid drops to pools and nothing is too extreme. I would say ages 10 and up can hang on this mellow course when the water is lower. The course is some some good ol’ fashion fun!  Remember to keep your butt up or you will slam a rock or two. 

Mountain Biking

Valmont Bike Park Boulder

We always talk about how great the Valmont Bike Park is in Boulder.  We came here at least twice a week it’s a great place to work on skills and progress for the trails, without the drive or having to ride 10+ miles with tons of uphill.  You can find tons of lines in this park. There is a 2 mile Hot Lap, to get the blood flowing, as well as, a slope stye course for all levels.  

Outside of Boulder, there are plenty of bike trials all around table mesa and in the front range.  A trail we really enjoyed and found at the end of our stay was the Betasso Preserve, a 7.4 mile loop that’s rated intermediate, but has some challenging technical sections that we struggled on. But over all, this was our favorite trail near Boulder.

Paddling

Gross Res Boulder Colorado

We just recently bought the Intex Challenger K1 for $50 on Amazon Prime Day and we love them.  While in Boulder, we went down the creek plenty of times on the K1’s as well as paddled at lakes and down rivers.  One of our favorite spots was the Gross Reservoir just an hour from Boulder.  This is a no wake lake and has calm glassy water and is great for paddling.  Another option that you can convert into a camping trip is heading to Lake Grandby on the other end of the Indian Peaks. 

Free Camping in Sedona, Arizona

DSC03768.jpg

Free Camping in Sedona 

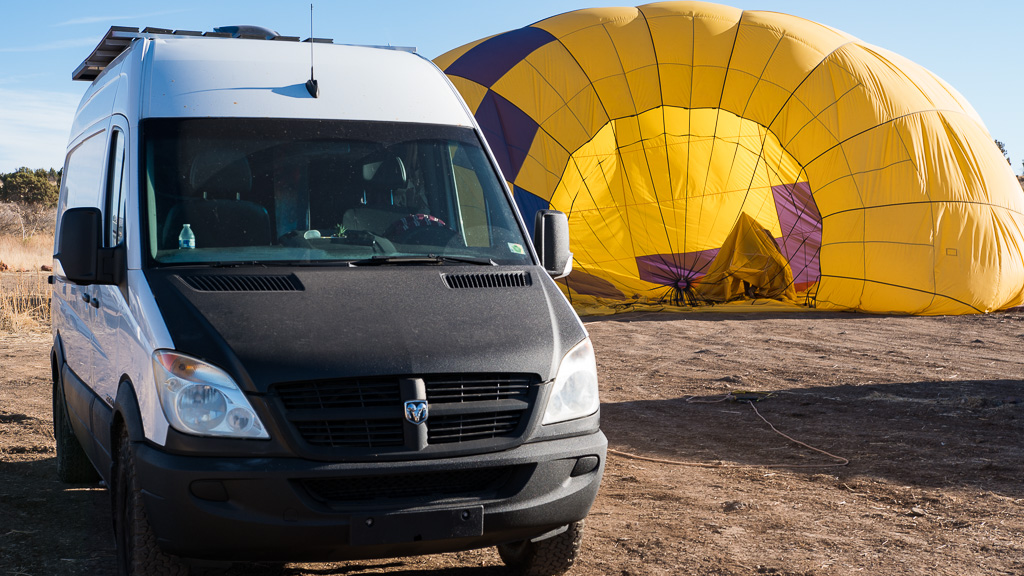
We park and camp at the same spot every time we come to Sedona. There are no free camping areas inside Sedona, but there are some scattered just outside, with a stay allowance of 14 days. There is free camping on Schnebily Hill, but I’ve heard that it is difficult to get to, but worth the views. The Free Dispersed Camping just off Arizona SR 89A and Forest 525 road is the only one I can speak for. Apparently this is an alternate launch site for a Sedona balloon tour company, so breakfast views sometimes come with some nearby balloon landings.  

Be prepared to share this site. The first couple pull offs are usually occupied by quite a bit of trailers and motor homes every time we come. You can drive further down the road for quieter more solo sites, we’ve done that for tent camping. And when we were sick of camping with the cavemen and their loud ass generators, we went as far as we could down Forest Road 525. The views get better the further down 525 you go. Some spots are right up in the red hills below Bear Mountain and they are totally secluded and actually feels like camping or quiet off the grid living. 

DSC03654.jpg

Mountain Biking in Sedona

In the morning after you’ve cooked up a breakfast, head in towards Sedona for some mountain biking or hiking. There are heaps of trails just off Dry Creek Rd. 

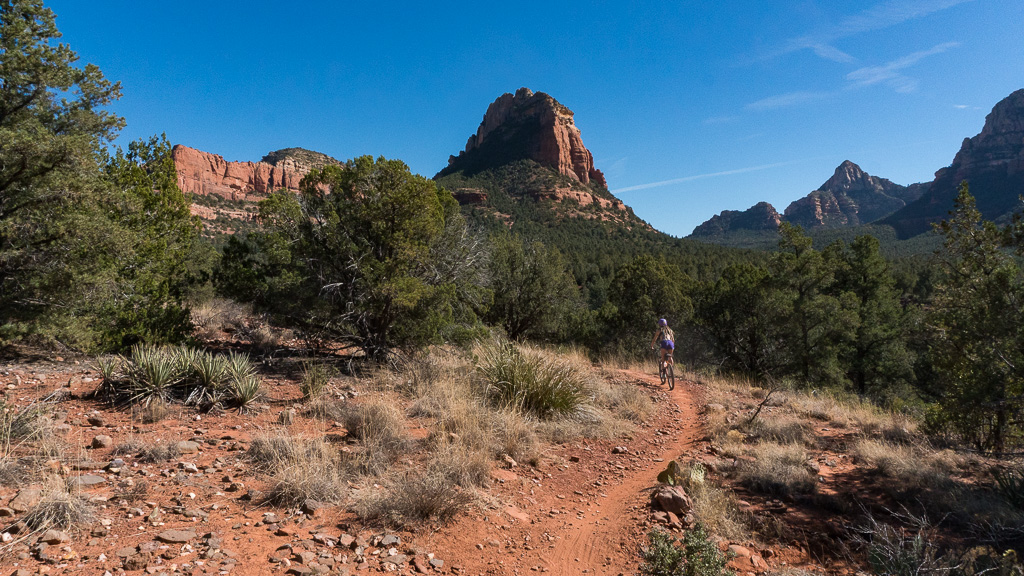
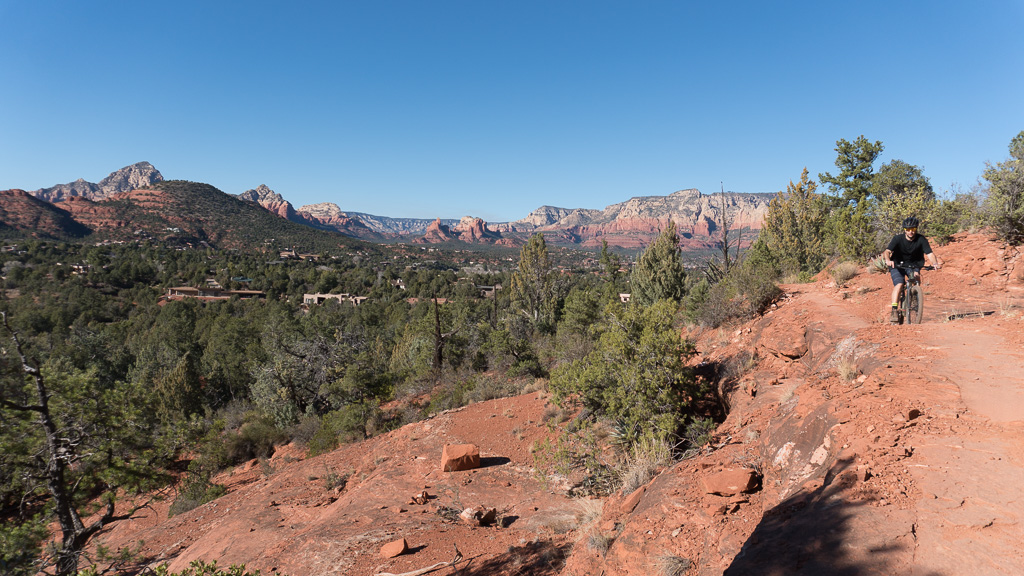
We hoped on the 7.6 mile Chuck Wagon loop. It is a hike/bike trail. For us, it was walk-a-bike in a few sections, but it was an overall really fun ride. There was enough flow-y, fun, and technical sections to make you forget any bumpy technical climb you may have just endured. It is definitely one of my favorite trails. The views are all time. 

We took in the views from our pull off parking spot and snacked in the van. Since we had not been around wi-fi, we headed into the restaurant area to find a Starbucks or some place with free wifi. We hung outside of a pizza place to send some emails and make contact with the outside world. 

Once we were up to speed and wi-fi’d out, we headed back towards Forest 525 Road to cook some food and catch some z’s. 

Aeire Trail/Cockscomb trail - After being pumped about the Chuck Wagon trail, we wanted to try some others, although we were really tempted to do it again. 

We decided to try the Aeire Trail linked with the Cockscomb trail to creat the Aeire Loop, it does a 5.4 mile loop around around Doe Mountain. It was pretty chunky, but makes a nice short loop if you are short on time or if you are a eager beginner that wants a trail with some rewarding reviews. We saw people doing this trail with bike lamps at night. They were flying thru there.  Made me want to get some bright ass lights and try some night biking!

After the loop around Doe Mountain, we made some food in the van and looked for a hiking trail to cap off the afternoon. We checked out our REI Hiking app and saw two nearby that looked interesting: Bear Mountain and Boyton Canyon. They were both about 2.4-2.6 miles, one-way. Since the Boyton Canyon hike seemed to just hike gradually up thru the canyon, instead of straight up a mountain, we decided to do that one, since we weren’t really mentally prepared or ready to hike down a crumbly mountain in the dark. We would leave that hike for the next day.

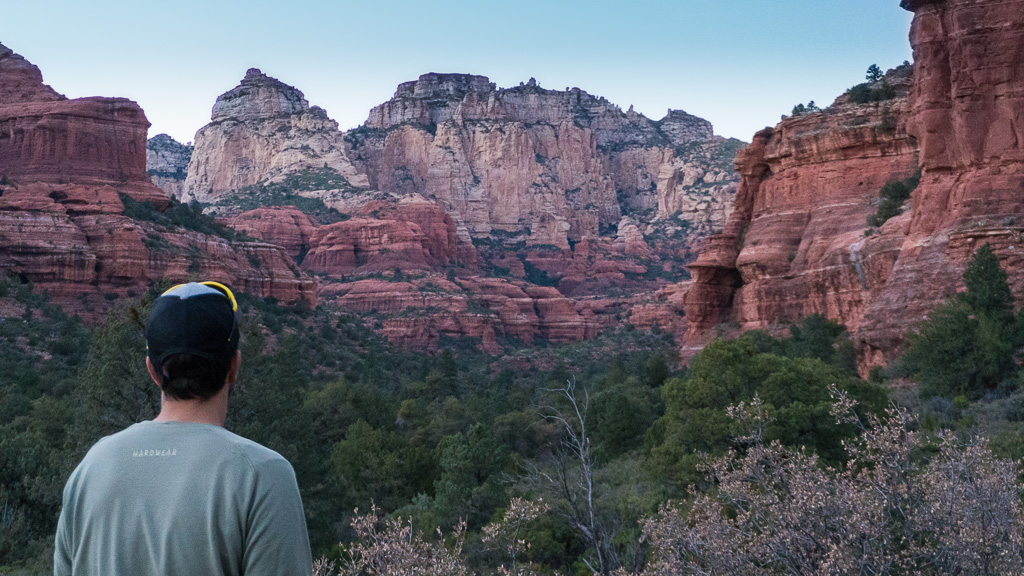
Boyton Canyon Hike - Boyton Canyon was beautiful. At the beginning of the trail, it looked like you were hiking into a secret city. There were mind blowing houses and vacation properties, with stucco to match the hill sides they were so efficiently nestled into. There were views of the canyons for about the first 1.5 miles, then the tree canopy kind of takes away the views of the hill sides pretty much until you reach the End of Trail sign. The hike was more like a stroll, and where the “end of trail” sign is, it kind of invites you to find your own view. If you follow a little goat path to the right of that sign, it leads you up to a ledge where you can over look the canyon valley you just hiked thru. You return the same way you came in. 

Twin Buttes Loop - At this point our stoke level is high with Sedona, we want to do everything. So we figure we need to get on our bikes to see things faster. Even if we have to walk-a-bike in sections, if we can ride partial parts of the trail, we are into it. So we hoped on the Twin Buttes loop. This was a hike/bike trail. It was pretty epic, like every part of it was up until Chicken Point. Then, it was just alright. Parts of the trail go thru neighborhoods on the pavement. It is just kind of bizarre that it is part of the same loop as the first couple epic miles of Broken Arrow. 

The only lame part about this loop was all the pink jeeps EVERYWHERE, at every single vista. I found them to be very annoying. I didn’t mind the Duck tours in Seattle or other big cities, because it was chaos everywhere in cities and when one of those things comes squawking by with their obnoxious blab pointing out stuff, it just blended in with all the city noise, but bloody hell, they are just obnoxious out in nature. 

They would come one right after the other. As soon as you thought, “oh this is the time I can go and sneak a picture before anyone else is around,” or just take a breath and enjoy the silence I was trying to escape to, here comes another over-enthusiastic dude romping over some hillside to turn his jeep around, precisely where you are standing. Even when the Pink Jeep tours weren’t around giving tours, they were giving instruction to new members of the team. Letting them practice on the obstacles before they bring paying customers aboard. I wonder if this bothers the hell out of the locals. I really can’t imagine this place during busy season, if that is the way it is in February. 

All my personal annoyances aside, the views are worth the hike, bike, or hike-a-bike. When we were done with the loop, we cooked some food, strapped on our hiking boots, grabbed some head torches and hiked the Broken Arrow section again. That is how awesome the views were. This time, we had it all to ourselves, as we saw the last Pink Jeep Roll out past the mostly empty parking lot. It was so quiet, I felt I could hear the static of silence. 

Bear Mountain -On this day, we got a late start. We couldn’t decide if we wanted to take the day off or go enjoy Sedona before the weekend hit and the Phoenix weekend warriors come up. We decided we better get out there. So we cooked a nice brunch, packed up camp, and parked up at the Bear Mountain trail head. We got on the trail about 2:45pm, just enough time to chill, see the sunset and probably hike the last part out in the dark. 

Most people don’t like hiking in the dark, but we find it to be a great trade-off to have the spot to yourself. We leave enough time for the easiest part of the walk to be mostly in the dark. The hike estimated time is 4.5 hours. It took us 1:35 to get to the top and about the same to get down. If we didn’t stop to take pictures every 5 steps, we may have been able to do it faster. 

The hike starts out pretty easy as it slowly starts to get crumblier. Then, you start to climb to get up top of that plateau, and then climb, dip down and then climb some more. It flattens out enough after each hard climb to catch your breath before the next climb. Sometimes you have to use your hands to pull yourself over some sections. It is exactly 2.4 miles from entry to end of trail sign. 

At the top, we hung out and tried to place where we were from our usual campsite. We spotted many RVs and campers so close to the rocks, we were curious as to what road they were parked, because those spots looked epic, secluded, and so far from those noisy ass generators we had been camping next to. From up on Bear Mountain, we realized you could take that same road all the way to the end and we would hit Forest Road 525, the road you can camp on for up to 14 days, free. So we started our hike down, with plans on finding our own secluded campsite. Although we found our spot in the dark, we woke up to a pretty epic views. 

Because you are hiking with your back to most of the views as you are climbing the trail, the entire way down is so picturesque. We literally stopped so often, just to take in the views. The view from any summit is rewarding, when you make the effort to get to the top, but I felt like the summit views weren’t as amazing as the rest of the hikes views. I am only mentioning this because if you were tired, and didn’t feel like you could finish the entire hike then, any of the vistas that you pass on the trail will make up for not making it to the top. So don’t beat yourself up if you can’t make it to the top. Just take in the views.

4 Outdoor Activities to Enjoy in and Around Boulder, Colorado

Rocky Mountain National Park

After shooting the GoPro Mountain Games in Vail.  We headed down to Boulder for a visit with one of our best friends.  We just had a few days and really wanted to get after it while we were in Colorado.  

Bear Peak

Bear Peak, Boulder Colorado, Hiking

We wanted to get used to the altitude and get in better hiking shape before we headed to Rocky Mountain National Park later in the week.  We went with Bear Peak a 7.7 mile out and back hike to the highest point in the Flat Irons.  This hike is rated difficult and is a climb all the way to the top, and was a great warm up to the high country and getting adjusted to the altitude.  

Valmont Bike Park and Antelope Trail

Mountain Biking, Boulder Colorado.

We discovered the Valmout Mountain Bikepark on this day and fell in love.  We went in the morning before the summer camps showed up.  This is an amazing place for beginners, and advanced riders to develop skills we rode about 5 miles in the park alone.  Later we headed out to ride a few trails out near Lyons.  We rode the Antelope Trail and connected with Nelson Loop for some flowy single track with amazing views.  This was a fun ride with some big climbs and descents.  

Chasm Lake

Rocky Mountain National Park, Boulder

We woke up feeling a bit sore but it was a great day to head up to Rocky Mountain National Park.  It’s a short scenic cruise from Boulder.  Since it was summer the was very busy.  We didn’t want to deal with the crowds plus the day before the NPS was saying that all the parking was full and they weren't letting people in the park.  Knowing this we headed to the lesser used and free (if you don't have a parks pass) Longs Peak Trailhead, near Estes Park.  Earlier in the week we were considering Longs Peak but we decided to do a more mellow hike.  We went with the Chasm Lake Trail.  This is a 8.2 mile out and back trail that is rated moderate to difficult.  We really enjoyed this trail and this was the highlight of the trip.  After we finished the hike we headed down for a night in the Subaru.  I would tell you where but it was so  out there I don't even know where it was.  With this being said there is plenty of camping available on Forest Roads in the area.  

National Forest Camping

Subaru Camping

We woke up and took it easy ate breakfast and enjoyed the sunshine for a bit before heading back down to boulder.  We just took it easy this day visited a few dispensaries and rode the Valmont Bikepark again that evening.  We later biked over to Avery Brewery for a few of the local selections before calling it a night.

On the last day we spent a majority of this day on our bikes.  We headed over to the bikepark, in the morning.  Then spent the rest of the day checking out boulder and its large array of bike trails and headed up to the top of the Boulder Creek Trail.  If we were more prepared and had known we would have brought our tubes and wetsuits for what looked like a wild tube ride down the Boulder Creek.  Later that night we headed to Fresh Thymes for some vegan cuisine.  

Boulder is an incredible little town that has a lot to offer.  We will definitely be back. 

Jemez to Taos, Hot Springs and Mountain Bike Tour

Jemez New Mexico Hot Springs

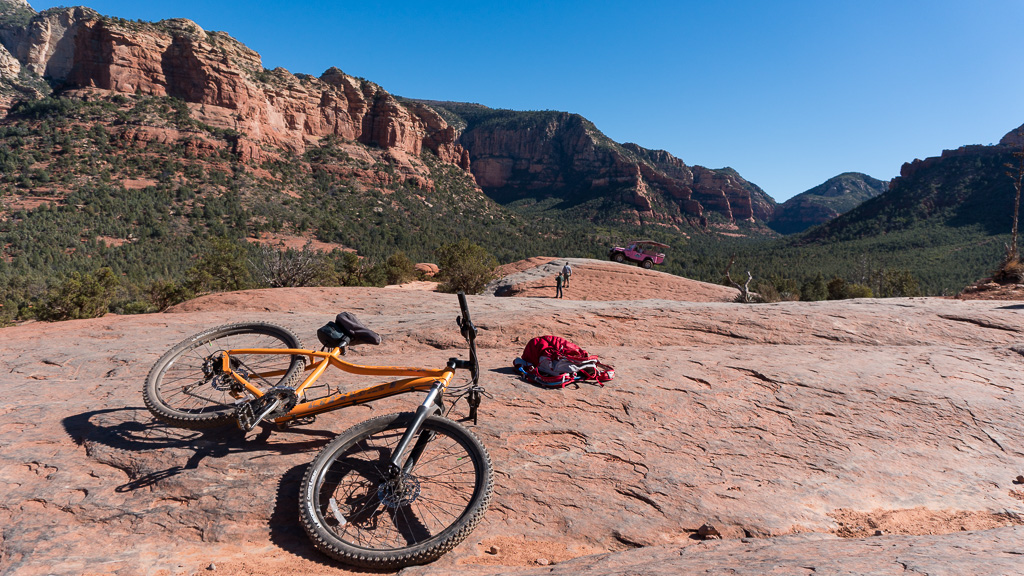
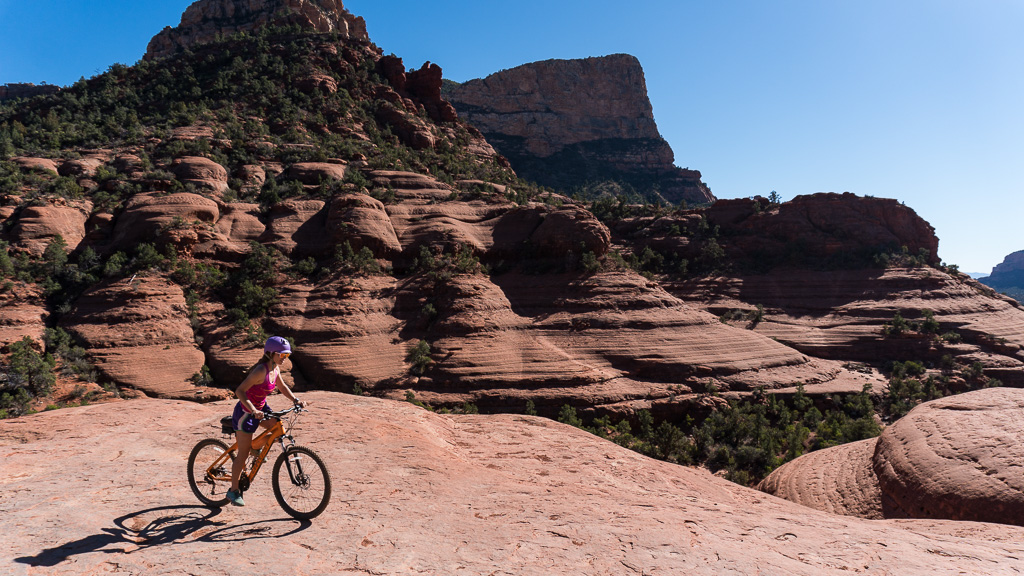
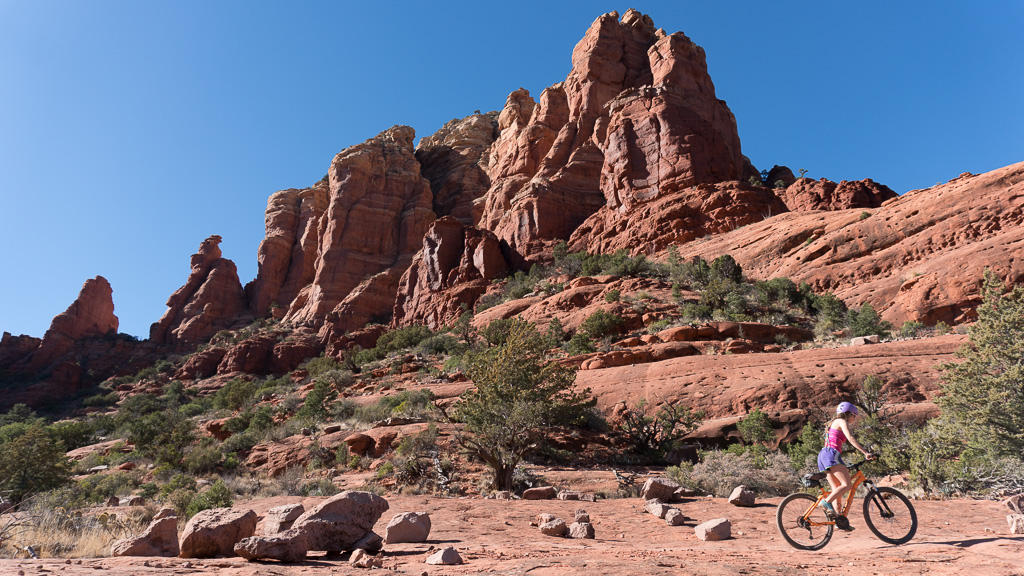
White Mesa - Mountain Biking

We packed up the newly remodeled road-trip-ready Subaru and headed out for a northern New Mexican adventure.  Our first stop was Jemez, just about an hour and thirty minute drive from Albuquerque.  If the weather was cooler and it wasn't the peak of summer, I recommend stopping at White Mesa (photos below) for a very unique mountain bike experience. 

Jemez Hot Springs

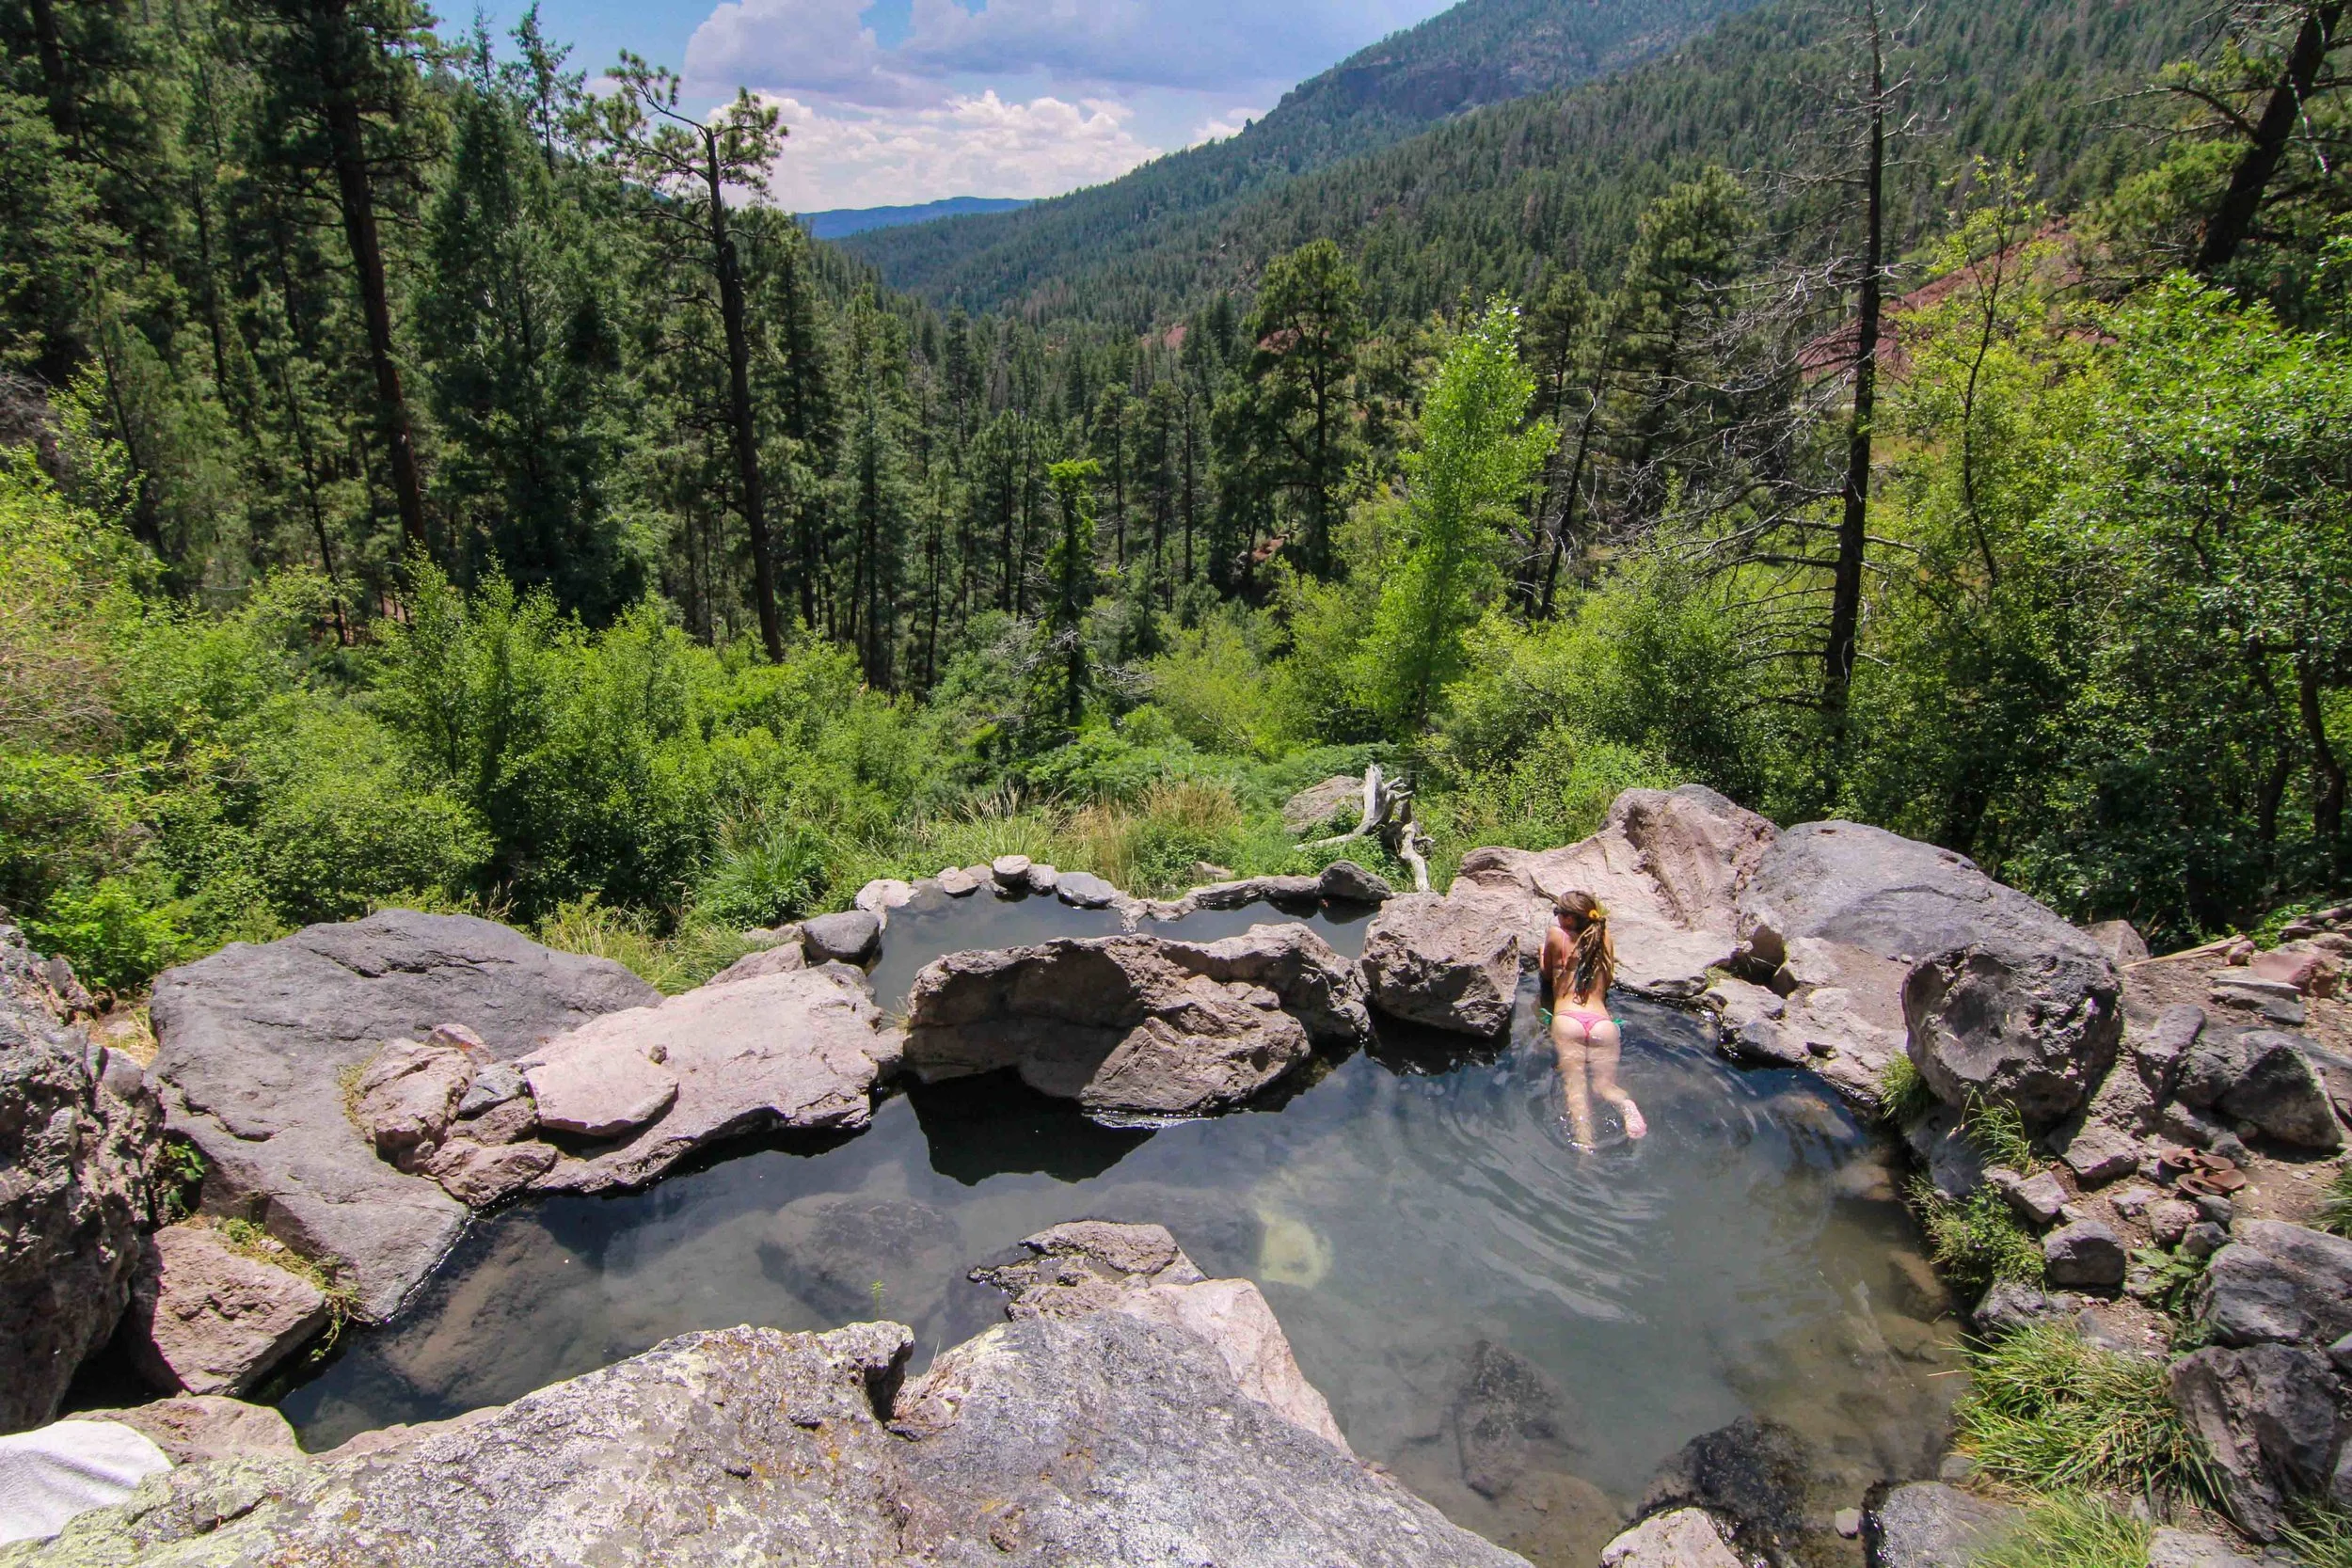
Our first stop in Jemez was Spence Hot Springs, while we waited for a friend.  The pools at Spence aren’t incredibly warm, but they are worth the short hike and they have an amazing view from the pool.  Our next stop was San Antonio Hot Springs, off of Highway 126.  We arrived to a closed gate and had to walk over five miles, one way to the hot springs, but it was well worth the walk.  These are some of the best hot springs I’ve been to in New Mexico.  It consists of about 5 pools with a high pressure source pumping out into the top pool.  We left in the late afternoon and were soaked on the hike out and slept in the Jemez Falls parking lot that night.  

Taos - Mountain Biking and Hot Spring

The next day, we drove highway 4, easily one of the New Mexico’s most scenic roads, passing through the Valles Caldera and then through Los Alamos, where there is more mountain biking.  The next stop was Taos Ski Valley to ride the Northside Trails.  With a climb of over 2,100 feet, this trail is a big climb and the only alpine riding in New Mexico.  The Climb is worth the effort and the views of the Carson National Forest are epic.  Get ready for a steep ride down.  I don't know if you've ever been to TSV, but they say Taos is a four letter word for steep.  

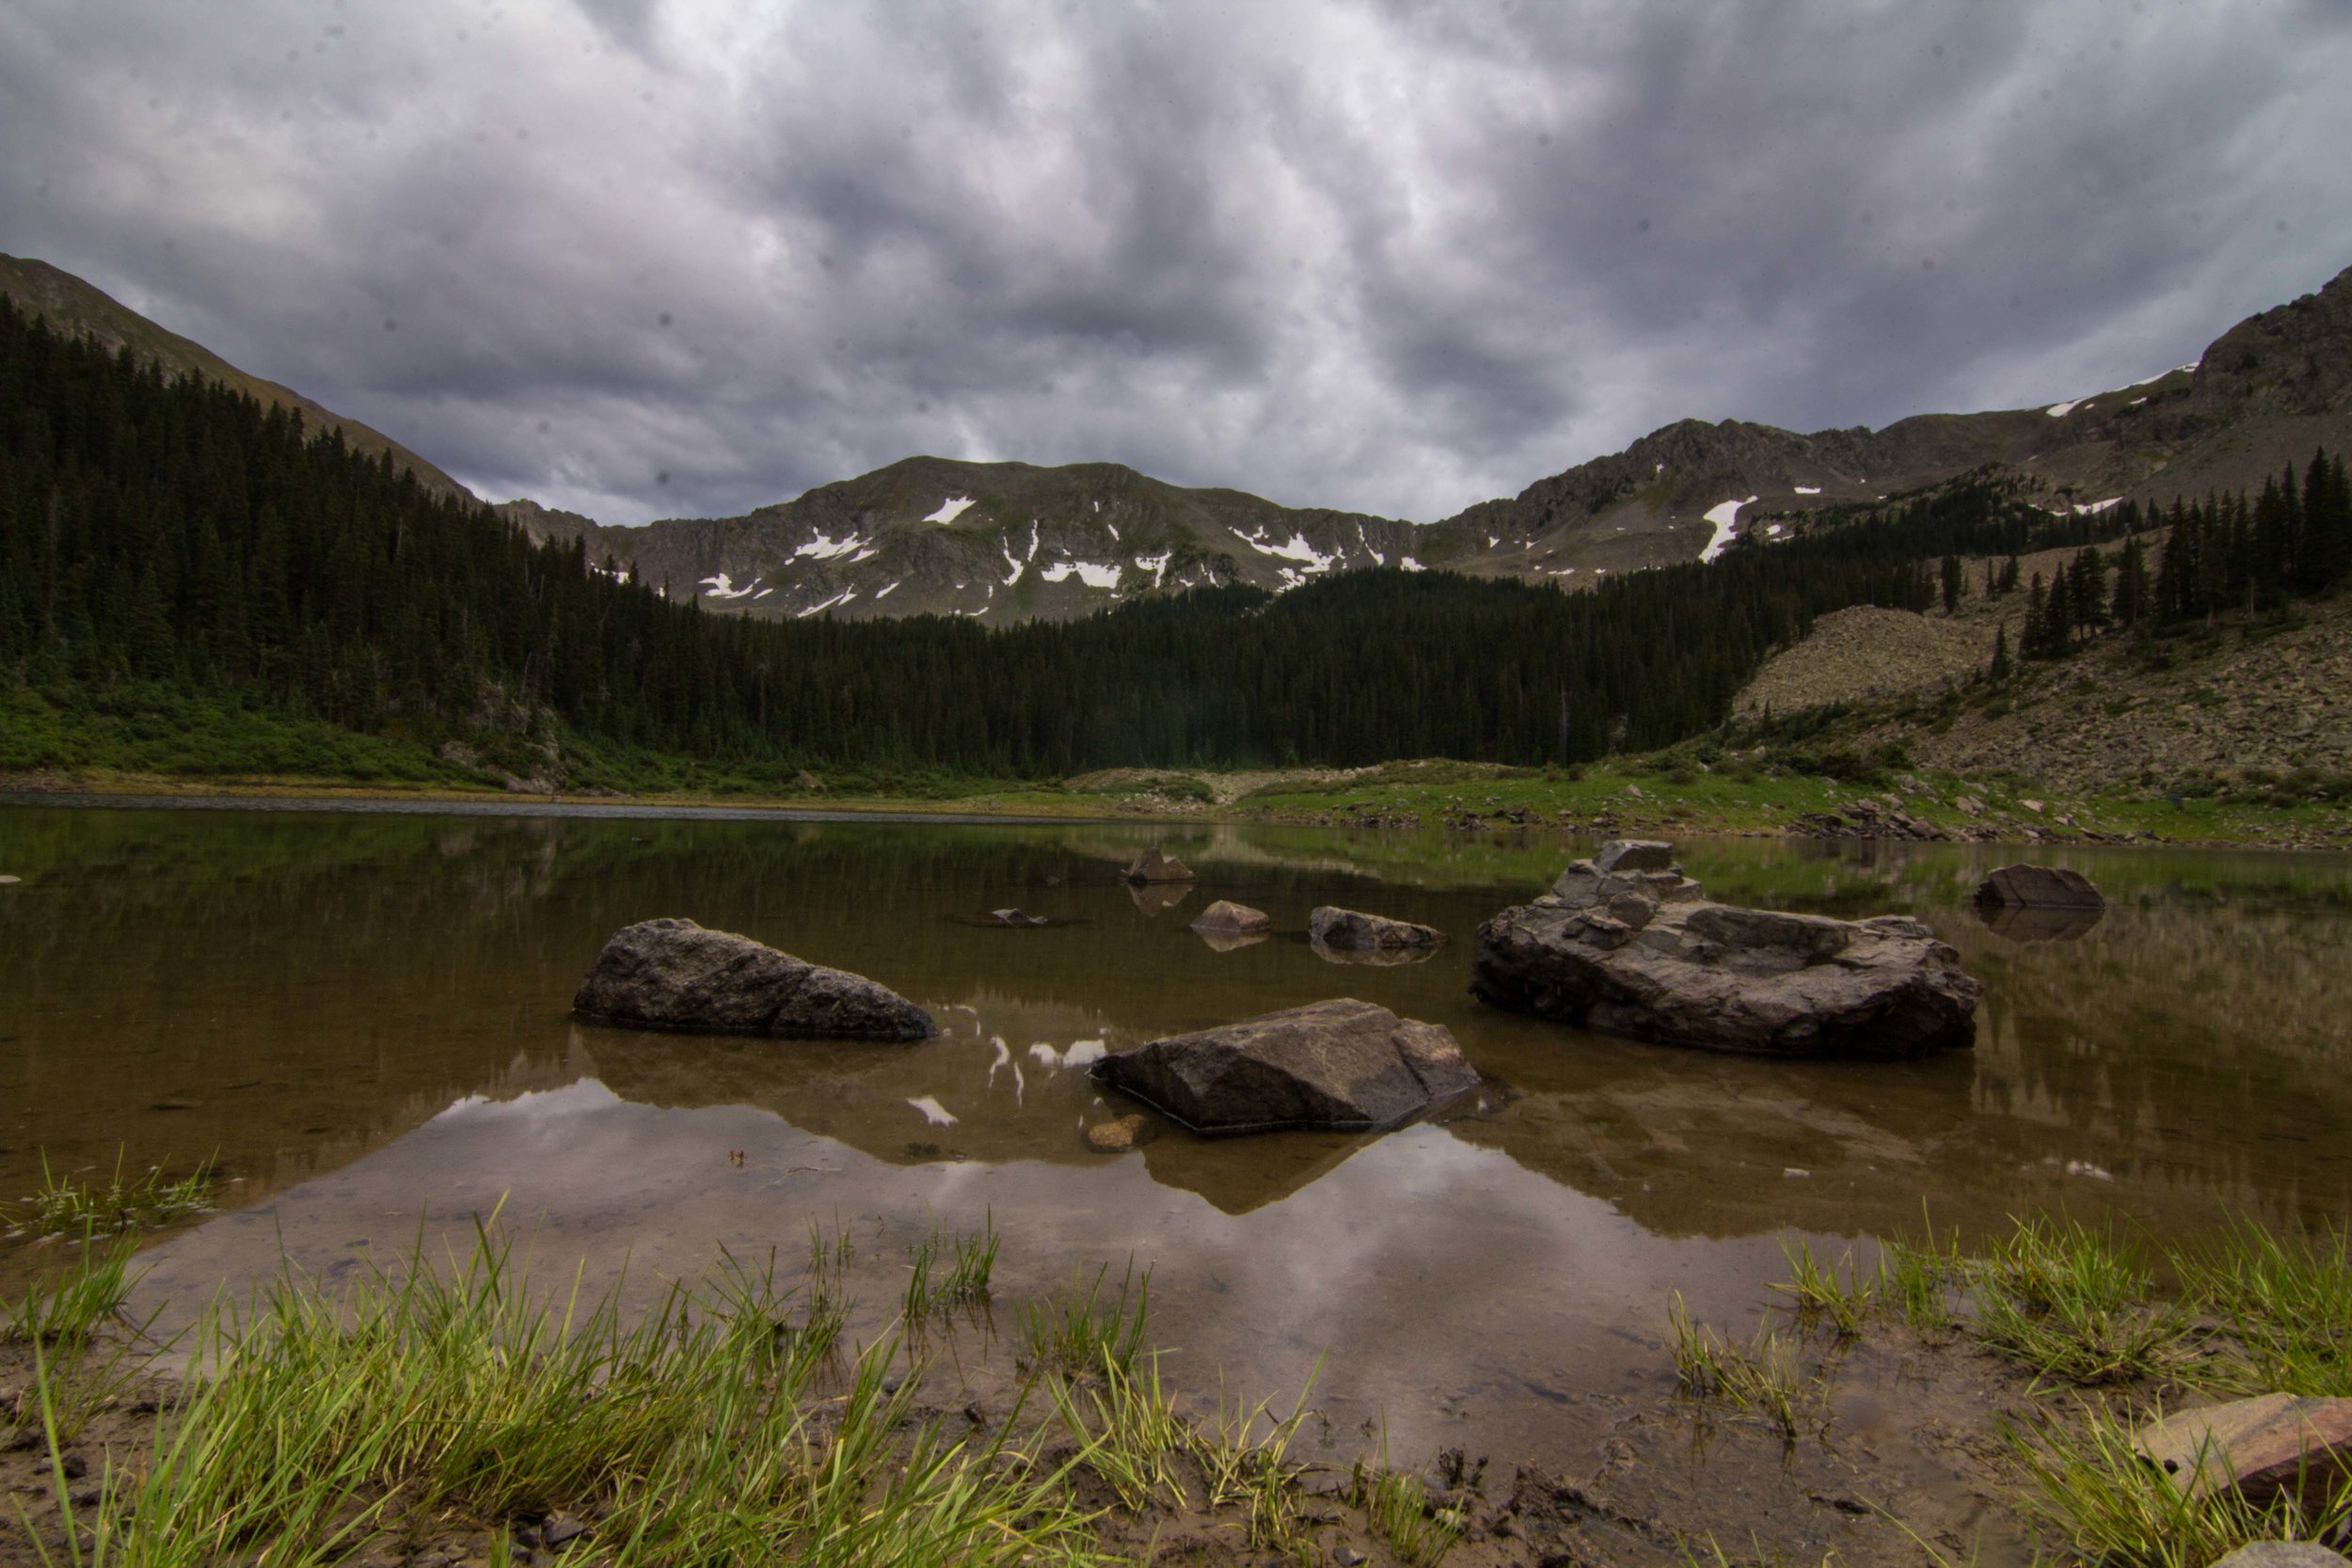
After the ride we had a beer and snack at the Stray Dog Cantina and headed down the valley to Taos Mesa Brewery.  We stayed a few days out on the mesa with a good friend and relaxed and explored Manby and John Dunn hot springs in the Rio Grande Gorge.  One afternoon we headed back up to TSV to hike to Willams Lake. The lake sits below New Mexico’s tallest point, Wheeler Peak.  Later that week, we rode Horse Thief Mesa and the Rift Valley Trail before heading back to Albuquerque.  Before arriving to Albuquerque, we stopped at our favorite trail, Bobsled, in Palcitias.  Upon Arrival, we were really stoked with our spur of the moment trip and another trip in the Subaru.